Latest Games


Latest Guides

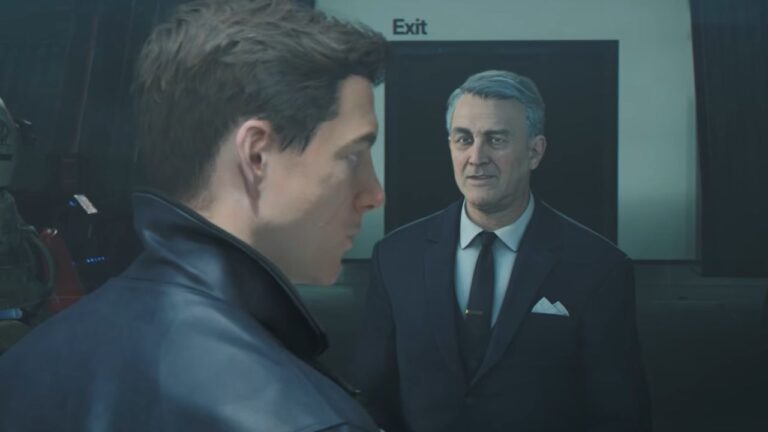
007 First Light Chapter 10: For England Walkthrough
Chapter 9 ended with Bond inside a cell at MI6. Isola is in the cell across from him. M is frustrated because Bond claims he worked alone with no MI6 assistance. M has nothing on Isola either. She has manipulated…

007 First Light Chapter 9 Wave of the Future Walkthrough
Chapter 9 opens with Bond and Isola in Antarctica. Your first objective is to Infiltrate the R&D Facility with the sub-objective to Follow Isola. The path is linear so just keep up with her. After a short while the sub-objective…
007 First Light Chapter 8: Time to Die Walkthrough (Part 2)
After stepping in and stopping Murto from burning Lorca alive in the first part of our guide, this second part takes you to the start of their battle. The Quarry After defeating him in this epic fiery battle, you help…

007 First Light Chapter 8: Time to Die Walkthrough (Part 1)
Chapter 7: Knightfall ended with Moneypenny briefing Bond on a series of suspicious deaths. Benjamin Kwan, a green energy pioneer working in neutrinovoltaic energy research, died in Singapore under unclear circumstances. Three weeks later a geoengineering specialist died in Orlando.…
007 First Light Chapter 7: Knightfall Walkthrough
After uncovering the truth behind the assassination in Chapter 6, Chapter 7: Knightfall takes you deeper into the mystery surrounding Webb Industries. Bond and Greenway infiltrate Webb Industries HQ to discover who is behind everything that has happened and uncover…

007 First Light Chapter 6: Uninvited Walkthrough
After a chapter filled with intense firefights and epic chases, Chapter 6 takes you to the WEBB Gala at the Art Museum. Your objective is to track down the assassin who tried to kill you and find out who they…

007 First Light Chapter 5: Beyond the Grave Walkthrough
Chapter 4: The Past Never Dies ended with Beckett confirmed dead, having been beaten and tortured in Bawma’s boathouse. Bawma captured both Bond and Greenway, but Greenway used the knowledge of Bawma’s sister, Harmony, as leverage to secure their release.…

007 First Light Chapter 4: The Past Never Dies Walkthrough
Chapter 3 ended with the objective to reach Aleph. Chapter 4 opens with you and Greenway in an SUV driving through the desert. Keep driving forward as the path is linear. The chapter title “The Past Never Dies” will appear…

007 First Light Chapter 3: All the Time in the World Walkthrough
Chapter 2 ended with M briefing the recruits on Rhys Beckett, a former 009 who spent a decade in hiding and has now resurfaced. He claims to have evidence of a conspiracy against the state but will only hand it…

007 First Light Chapter 2: A Night Out Walkthrough
Chapter two of 007 First Light jumps to August, where Bond and Cressida go out to a club with all the other spies. All of a sudden, all their phones chime and show that the MI6 Field Test is active,…
007 First Light Chapter 1: The Needle’s Eye Walkthrough
Chapter 1 opens with Bond finishing a conversation with M, who makes clear she intends to turn him into a spy after what happened in Iceland in the Prologue. Moneypenny is waiting outside the room and walks with you, explaining…
007 First Light Prologue: Against the Odds Walkthrough
007 First Light opens with two helicopters under attack. You are in one of them as Bond. The other chopper goes down and yours takes a missile hit just as Bond forces the door open, sending him out. The screen…

Citlali Full Character Guide, Build, & Teams
Citlali is a Cryo support who enables many different team compositions. Updated for version Luna VI. Table of Contents Should I pull Citlali? Pros Cons Practically the only character who can solo enable forward melt consistentlyCan equip Scroll of the…

Yelan Full Character Guide, Build, & Teams
Yelan is a Hydro support and sub DPS who deals a considerable amount of Hydro Damage. Updated for version Luna VI. Table of Contents Should I pull for Yelan? Pros Cons Great Hydro applicationDecent supportive capabilityPretty decent sub DPS potentialGood…

Columbina Full Support & Sub-DPS Guide, Build, & Teams
Columbina is a Hydro support and sub DPS who deals a considerable amount of Lunar Damage. Updated for version Luna VI. Table of Contents Should I pull Columbina for support/sub-DPS? Pros Cons Increases the amount of Lunar Damage dealtCan enable…
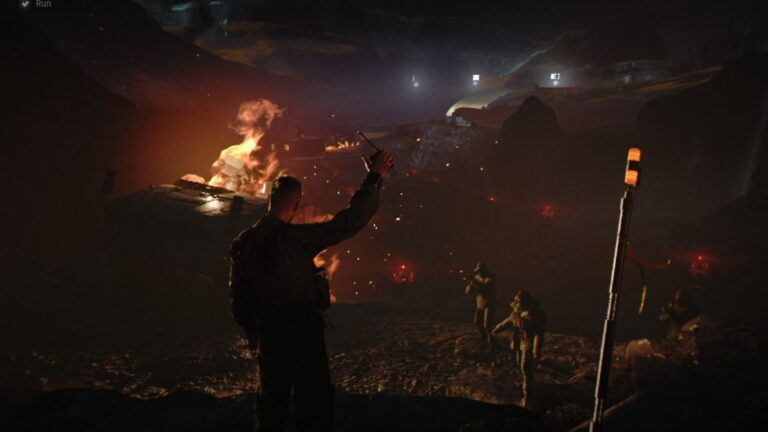
Crimson Desert Chapter 8 Blood Coronation Walkthrough
This guide will walk you through all of Chapter 8, but in a way that respects your time. I will be brief on the obvious points of the mission that are hard to miss, but will expand on the more…
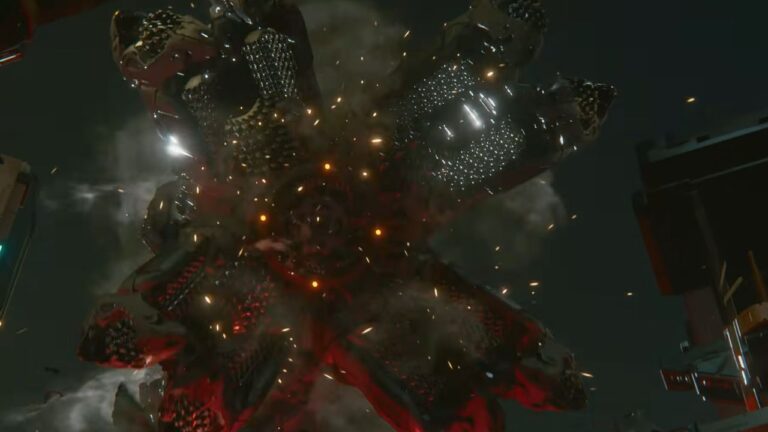
Crimson Desert Chapter 7 Homecoming Walkthrough
This guide will walk you through all of Chapter 7, but in a way that respects your time. I will be brief on the obvious points of the mission that are hard to miss, but will expand on the more…

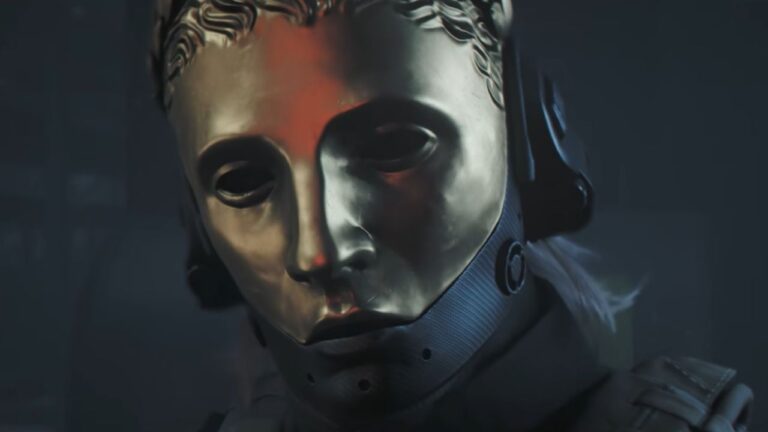
Resident Evil Requiem Leon Must Die Forever Walkthrough
Leon Must Die Forever is a free minigame added to Resident Evil Requiem as a post-launch DLC update. It can be accessed by anyone who has finished the main campaign. To find it, head to the main menu and select…

Genshin Impact Support Tier List
Genshin Impact currently has 113 playable characters as of Luna V. This is an updated version of these characters (that have support capabilities, can be considered as such, or have been considered as such) ranked based on their support capabilities.…

Pragmata Sector 06: Central Port Walkthrough
Central Port is the sixth Sector in Pragmata. Hugh and Diana push through a massive cargo and research facility on their way to the Orbital Elevator, where Eight is waiting. The area is split into four sections: Port Entrance, Research…

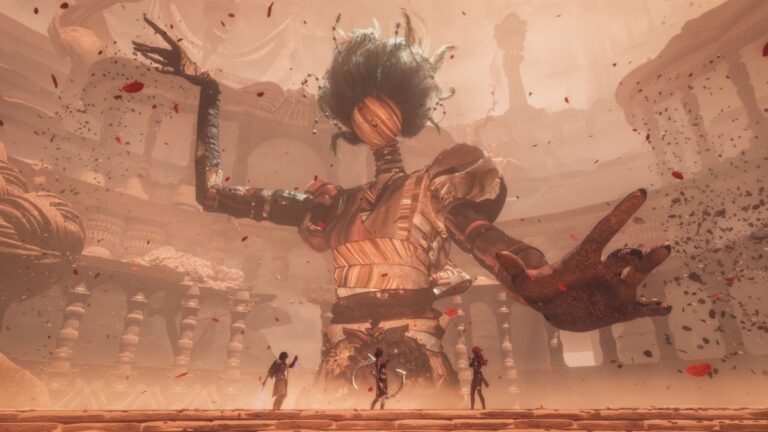
Pragmata Sector 05: Experimental Pragmatics Walkthrough
This sector is not repeatable once you finish the game, so make sure you collect everything thoroughly before moving on. You arrive at the Experimental Pragmatics area carrying a heavily wounded Diana. Keep moving forward along the linear path until…
Pragmata Sector 04: Lunum Mines Walkthrough
After beating the Garden Keeper in Terra Dome, it’s time to explore the Lunum Mines. First off, check the blue screen by the exit to read the Lunum Mine Excavation Status, then head outside. This is your first outdoor area,…
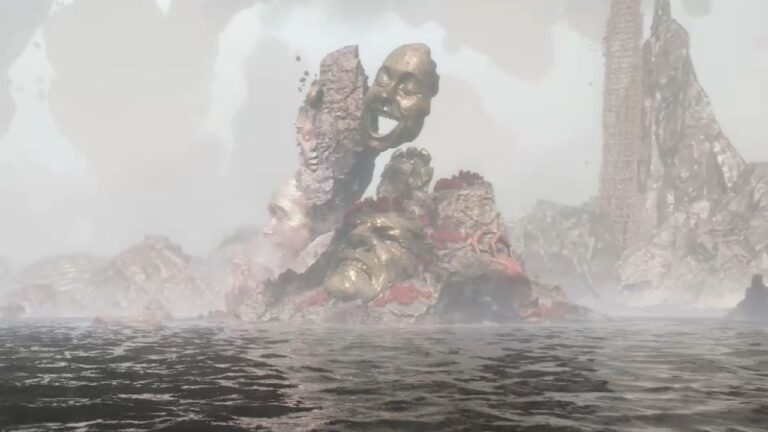
Pragmata Sector 03: Terra Dome Walkthrough
Terra Dome is the third Sector you’ll visit in Pragmata. Hugh and Diana head here chasing a distress signal from a mysterious figure named Eight. Before heading in, make sure to see what the Shelter Level 2 Key unlocks. Pragmata…

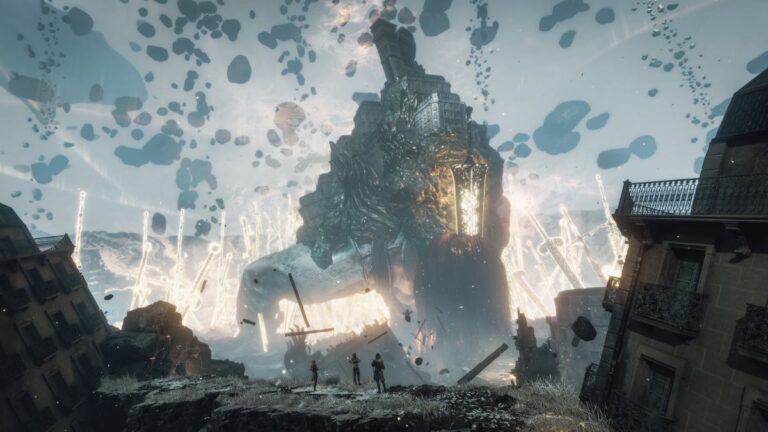
Pragmata Sector 02: Mass Production Array Walkthrough
After clearing Sector 01, you’re now pushing through a recreation of New York City toward the Comms Tower. The sector is split into six Blocks. Check your map after unlocking each Escape Hatch to see what’s nearby. Shelter Level 1…
Pragmata Sector 01: Solar Power Plant Walkthrough
The Solar Power Plant is the first Sector you’ll visit in Pragmata. To get there, press Triangle to open the Tram Menu, choose the Ride Tram option, and select Solar Power Plant. The area is split into three blocks and…
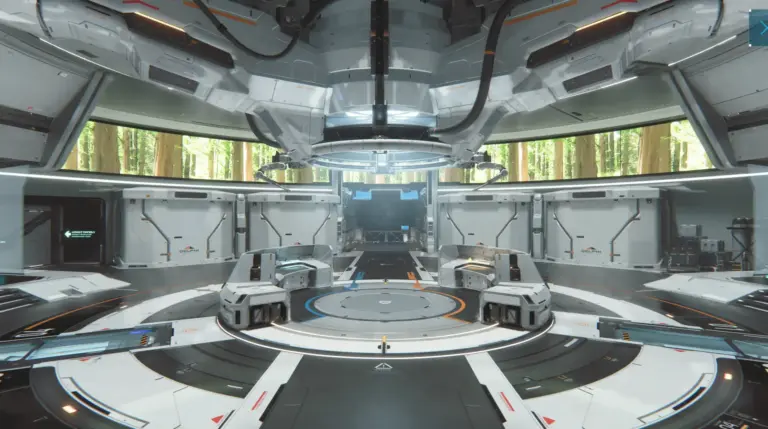
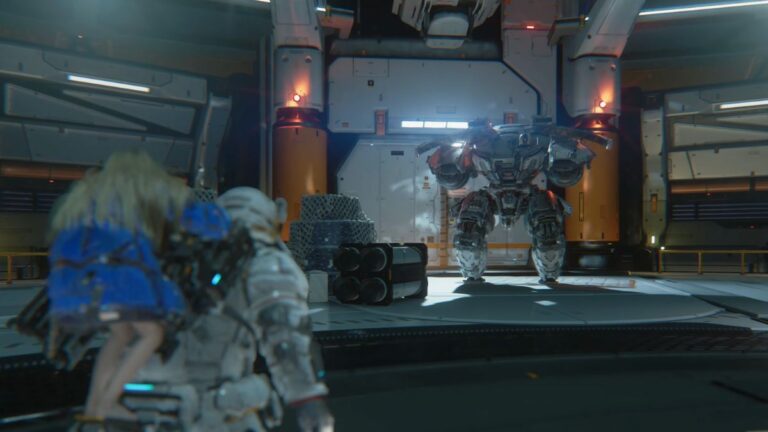
Pragmata The Shelter Walkthrough
After the opening introduction to Pragmata, you’re separated from the others and taken to your next destination, the Emergency Shelter. On the way there, you ride a hanging circular tram and meet the girl who will be travelling with you.…

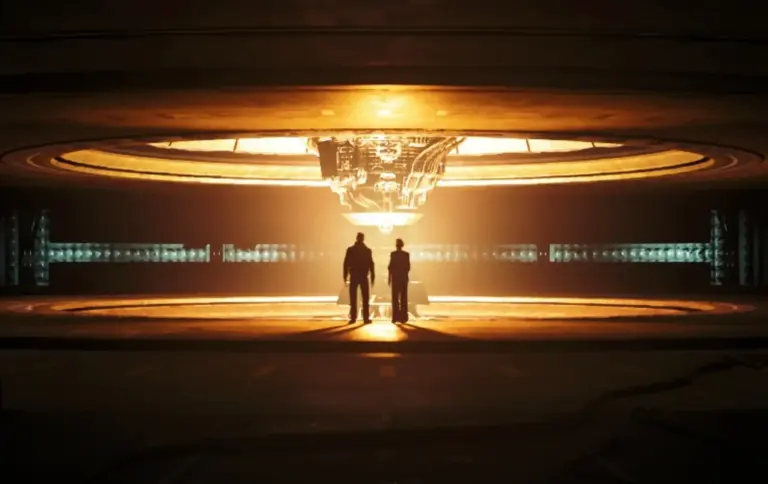
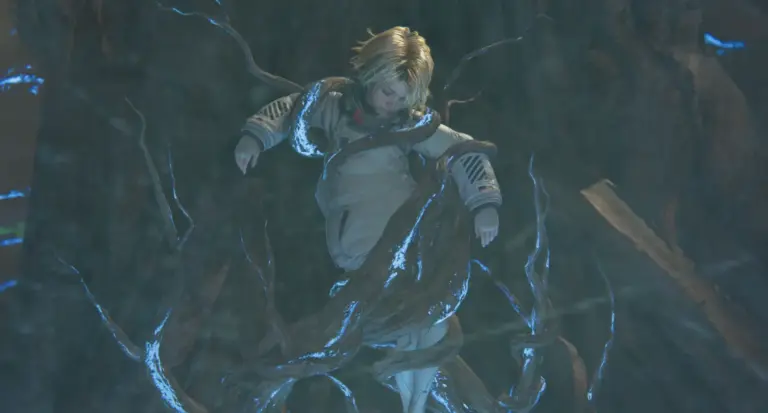
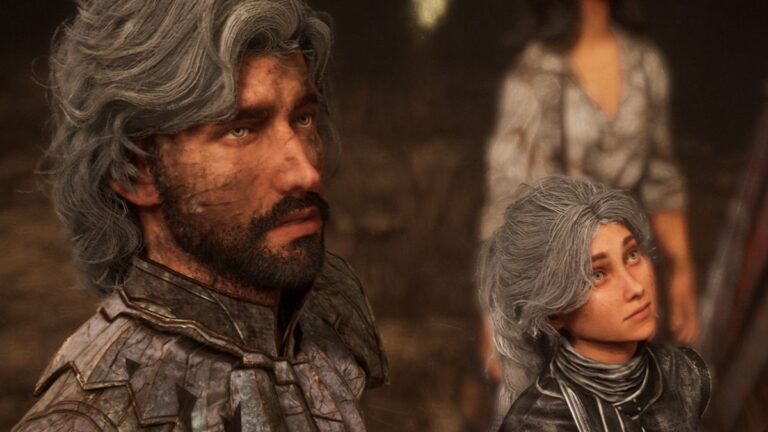
Pragmata Prologue Walkthrough
When you start a new game, a lengthy cutscene plays showing a spaceship travelling toward a station on the moon called the Cradle. The scene runs around three to four minutes and introduces Hugh, the protagonist, alongside his team. Once…

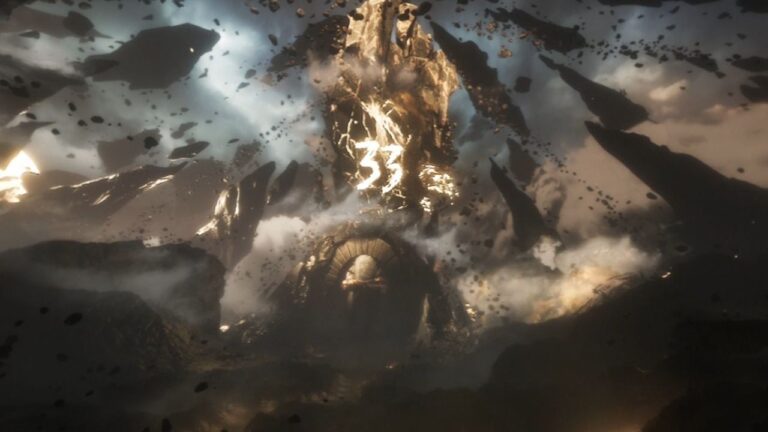
Clair Obscur: Expedition 33 Back to Lumiere Walkthrough (Final Chapter)
You’re in the final chapter of Expedition 33. Before doing anything else, equip the Painted Power Pictos you got from defeating the Paintress. This removes the 9,999 damage soft cap per attack, which matters a lot for the fights ahead.…
Crimson Desert Chapter 5 Guest Unbidden Walkthrough
This guide will walk you through all of Chapter 5, but in a way that respects your time. I will be brief on the obvious points of the mission that are hard to miss, but will expand on the more…
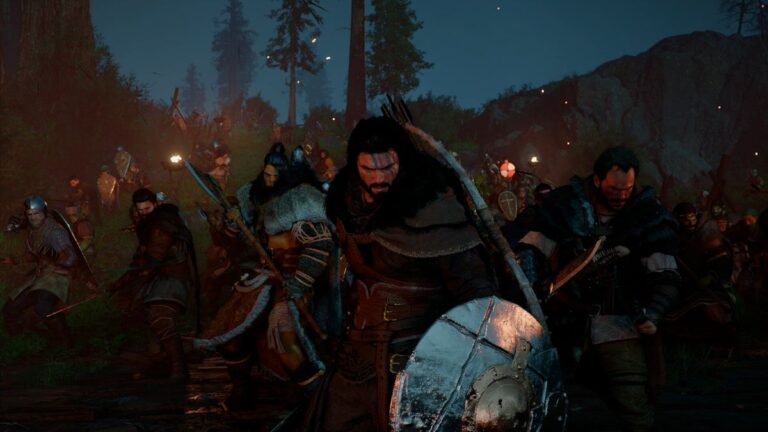
Crimson Desert Chapter 6 Cracks in the Shield Walkthrough
This guide will walk you through all of Chapter 6, but in a way that respects your time. I will be brief on the obvious points of the mission that are hard to miss, but will expand on the more…
Crimson Desert Must Know Advanced Tips
Crimson Desert is absolutely packed with content and features that aren’t really explained. This guide is intended to be an organized way to understand the game better to fully enjoy it like you should. I’ll separate tips into different sections:…
Crimson Desert Chapter 4 Walkthrough
This guide will walk you through all of Chapter 4, but in a way that respects your time. I will be brief on the obvious points of the mission that are hard to miss, but will expand on the more…
Clair Obscur: Expedition 33 The Monolith Walkthrough
The Monolith is the final dungeon before facing the Paintress. It’s the largest and most complex area in the game, pulling together environments from every region you’ve explored. Take your time here, there’s a lot to collect. After defeating Sirene,…
Clair Obscur: Expedition 33 Sirene Walkthrough
Sirene is a large area with a lot of branching paths, several collectibles, two optional bosses, and one story boss before you reach the final fight. Here is everything you need to get through it. Entering Sirene Walk along the…
Clair Obscur: Expedition 33 Monolith Peak Walkthrough
After defeating Renoir in the Monolith, a series of story scenes play out. When they finish, a portal appears right in front of you. Walk through it to reach Monolith Peak. As soon as you arrive, look to your right…

Clair Obscur: Expedition 33 Visages Walkthrough
Visages is where you face the first Axon. Enemies throughout this area are weak to Fire and Dark elements, so build your party around that going in. Follow the path along the cliff when you first enter. Grab the Colour…
Clair Obscur: Expedition 33 Path To Visages Walkthrough
After returning to Old Lumière, the goal is to defeat the two Axons, Sirène and Visages. Even though both are visible, explore the Northern Continent first to gather upgrades and resources. You start on a beach north of Old Lumière’s…
Clair Obscur: Expedition 33 To Sirene Walkthrough
After defeating the first Axon, Visages, a cutscene plays where Sciel saves the rest of the party. The Mask Keeper’s body disappears and the team heads back to camp. Before moving on to the second Axon, Sirene, there are a…

Clair Obscur: Expedition 33 Back to Old Lumiere Walkthrough
After finishing the main story of Old Lumiere and defeating Renoir, you can come back to find new paths that have opened up. There are Pictos, weapons, Chroma, and an optional boss waiting across these areas. Here is everything you…
Clair Obscur: Expedition 33 Old Lumiere Walkthrough
Old Lumiere is a big area with two separate street sections, a manor to explore, and a boss fight near the end. The team also splits up partway through, so be ready for that. Here is everything you need to…