Latest Games


Latest Guides
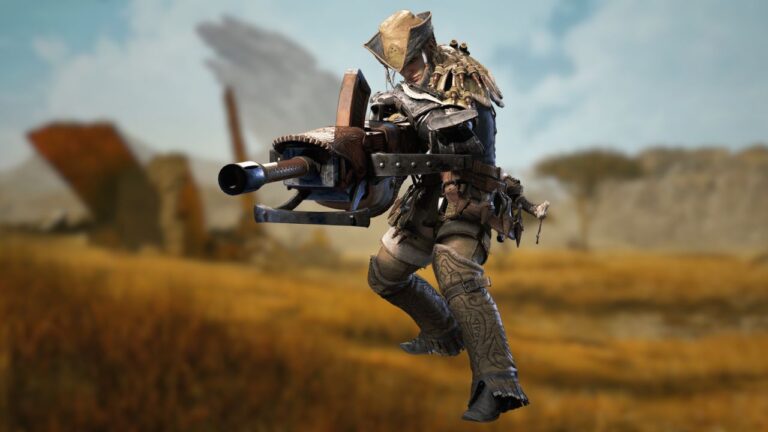
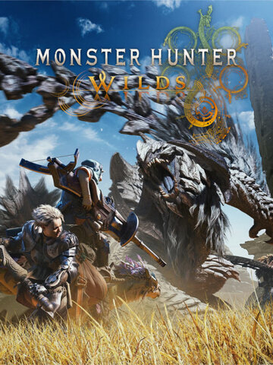
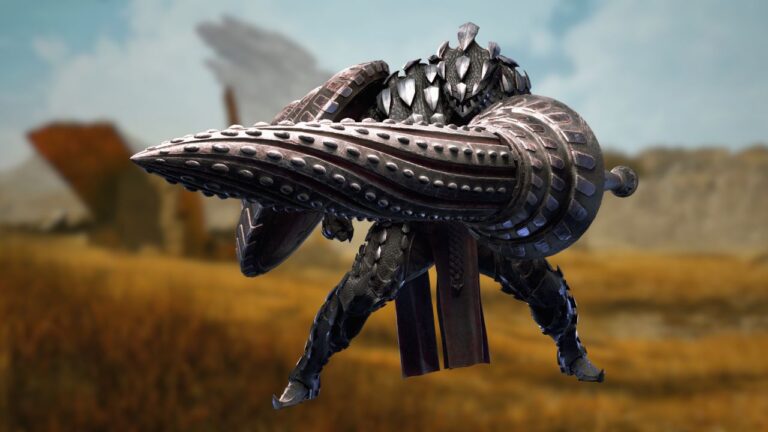
Monster Hunter Wilds: Best Light Bowgun Builds – TU 4
Light Bowgun is a weapon full of surprises in Monster Hunter Wilds. There is always something up the sleeve of an LBG user. One moment they unleash a barrage of rockets, the next they stun the monster, and a second…
Monster Hunter Wilds: Best Insect Glaive Builds – TU 4
Graceful in the air and lethal on the ground, the Insect Glaive is one of Monster Hunter Wilds’ most dynamic and versatile weapons. Combining a powerful rod with a Kinsect companion, it offers a unique playstyle unlike any other weapon…
Monster Hunter Wilds: Best Hunting Horn Builds – TU 4
Heed the maestro of Monster Hunter, the Hunting Horn! It is a weapon that not many hunters use, but when one joins the party, a successful hunt often becomes much easier. With the right build, the Hunting Horn can maximize…

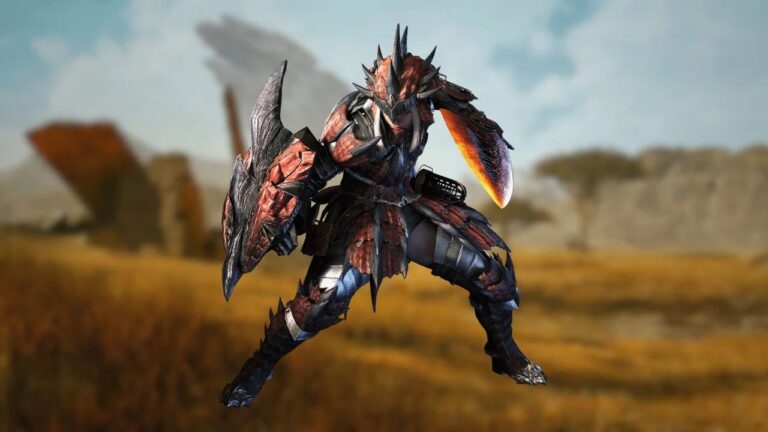
Monster Hunter Wilds: Best Charge Blade Builds – TU 4
The Charge Blade is arguably the most mechanical and rewarding weapon in Monster Hunter Wilds. Already a fan favorite for its depth and complexity, the addition of the new Power Axe mode makes it even more devastating than in previous…
Monster Hunter Wilds: Best Switch Axe Builds – TU 4
The Switch Axe is one of the most powerful and exciting weapons in Monster Hunter Wilds. It’s a technical weapon that takes time to learn, but once you get the hang of it and have the right build, it absolutely…
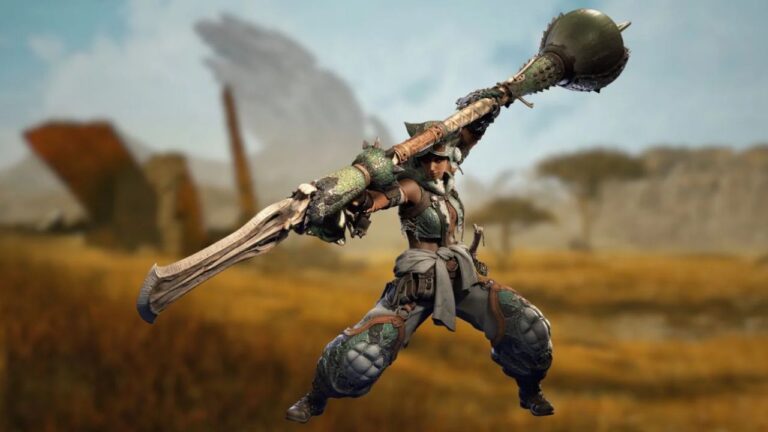
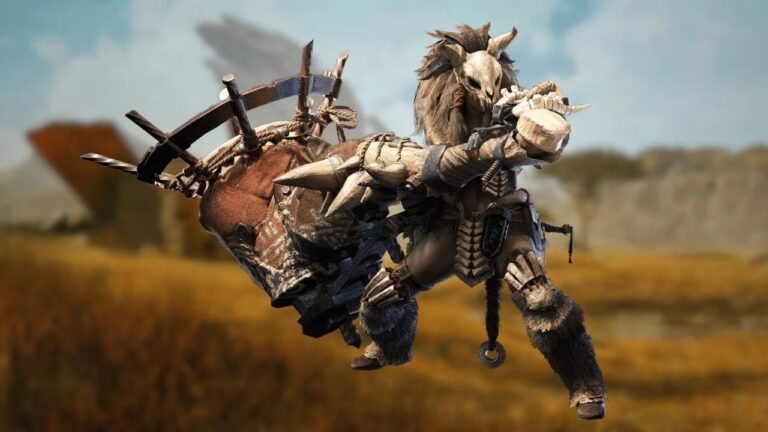
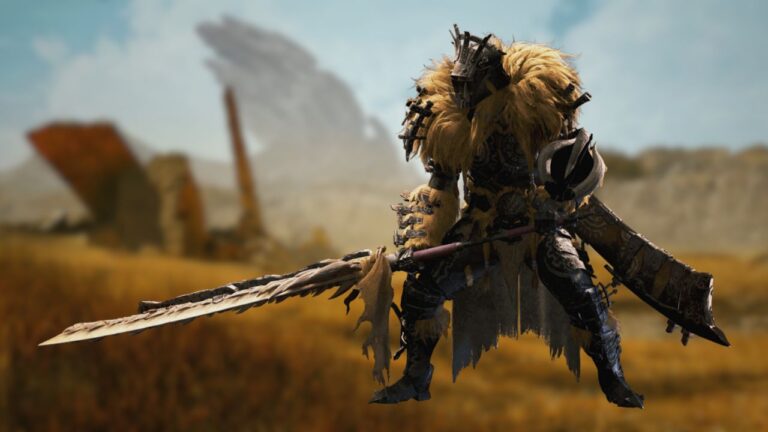
Monster Hunter Wilds: Best Hammer Builds – TU 4
The Hammer is one of Monster Hunter Wilds‘ most enjoyable and rewarding weapons to master, delivering the kind of satisfying, bone-crunching impact that few other weapons can match. Landing a KO on a monster never gets old, and with the…
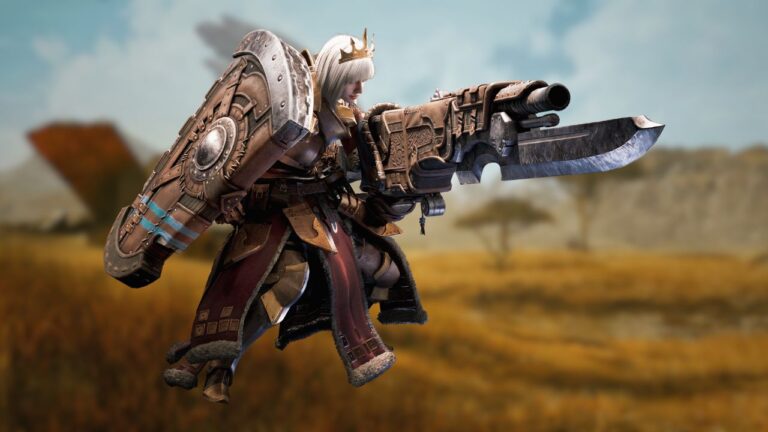
Monster Hunter Wilds: Best Gunlance Builds – TU 4
Shield up, gun up, and burst out. The Gunlance is a devastating burst weapon that not only defends but also deals huge amounts of damage in Monster Hunter Wilds. Some builds remain among the best despite recent updates. In this…
Monster Hunter Wilds: Best Lance Builds – TU 4
If you want to feel almost immortal while still serving as a frontline DPS, the Lance is the weapon for you in Monster Hunter Wilds. With the right skill set and build, the Lance becomes one of the best weapons…
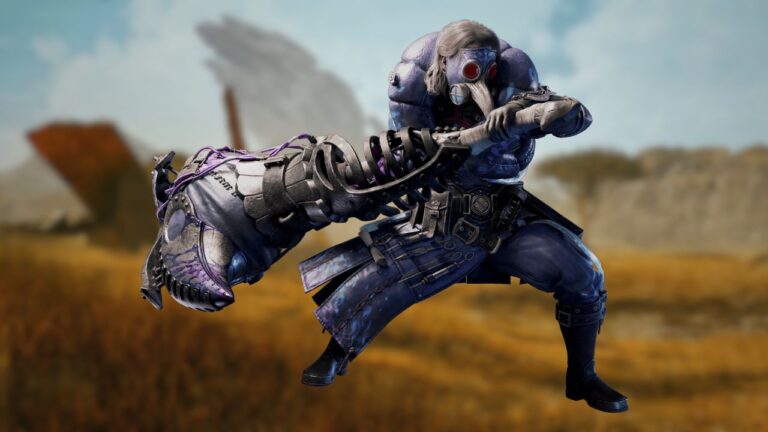
Monster Hunter Wilds: Best Dual Blades Builds – TU 4
Slashing with speed and precision (sometimes not), Dual Blades are one of the most iconic and stylish weapons in the Monster Hunter series. Thanks to their speed, Dual Blades can deal extremely high elemental damage, but they require the right…

Blue Prince: All Permanent Upgrades
While your runs reset after each day ends in Blue Prince, you can unlock permanent upgrades that can boost your runs every day. This guide will cover all permanent upgrades you can get and how to get them. As a…
Blue Prince: Day 1 Room 46 Walkthrough
If you are hunting achievements, or simply looking for a challenge, you can try beating the game in a single day. To do so requires a lot of game knowledge, a good strategy, and a bit of luck. This guide…
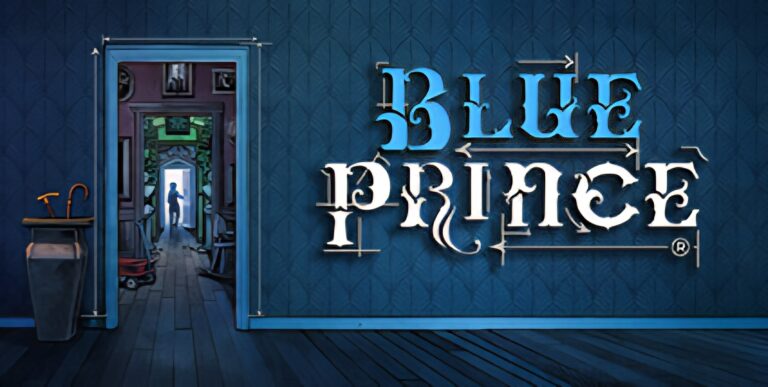
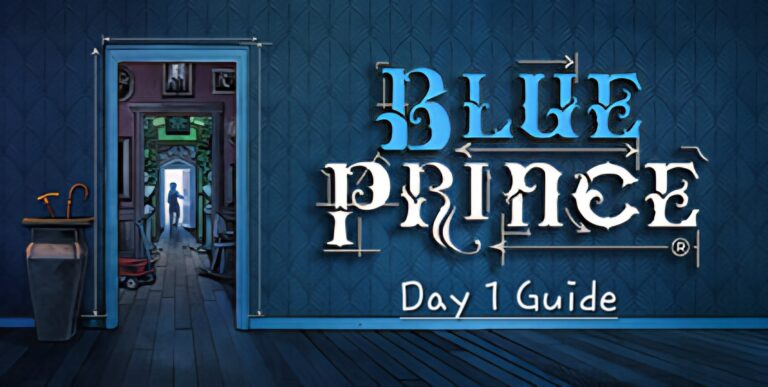
Blue Prince: How to Play and Things to Know
Blue Prince drops you right into the game without wasting much time. While it does let you get to gameplay faster, it does fail to teach you many of the game’s core mechanics. As soon as you start, the game…

Al Haitham Full Character Guide, Build, & Teams
Al Haitham is a Dendro main DPS who deals a decent amount of Dendro damage. Updated for version Luna V. Table of Contents Should I pull for Al Haitham? Pros Cons Best on-field Dendro driverGood AOE damage and applicationGood F2P…
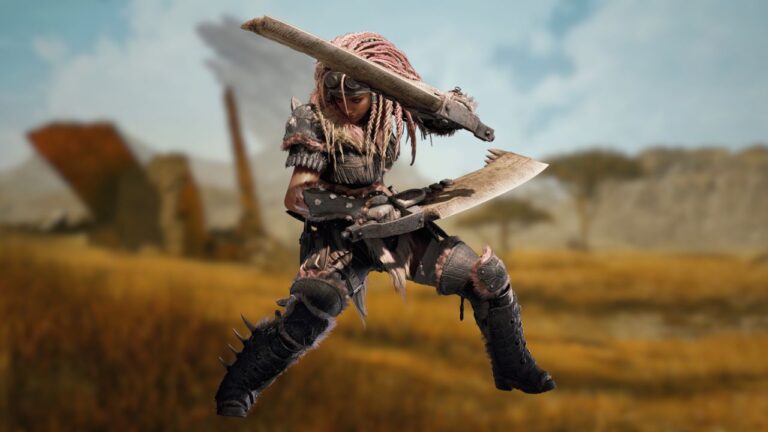
Monster Hunter Wilds: Best Sword & Shield Builds – TU 4
One of the most versatile weapons, and still capable of delivering top-tier DPS in hunts, the Sword & Shield shines in Monster Hunter Wilds. With new movements and combos, this simple weapon becomes deadly, especially when paired with the right…
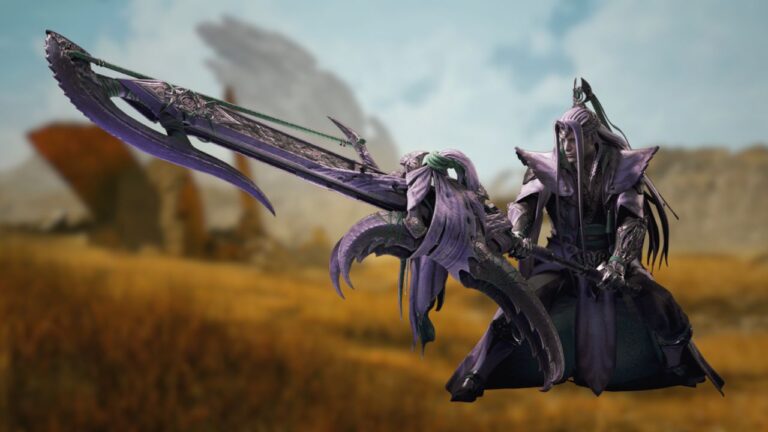
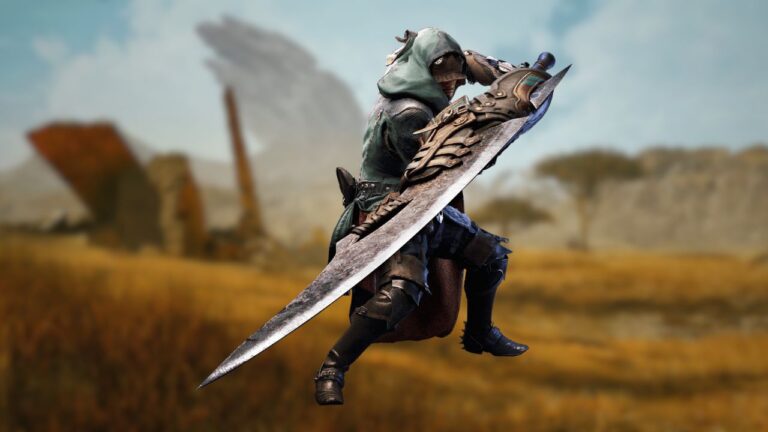
Monster Hunter Wilds: Best Long Sword Builds – TU 4
Slash, Slice, Style. These three S’s perfectly capture the essence of the Long Sword in the Monster Hunter series, especially in Monster Hunter Wilds. In Wilds, the Long Sword is even more stylish and, more importantly, remains one of the…

MH Wilds: Best Builds to Beat Gogmazios (All Weapons)
Beating the current end-game Elder Dragon, Gogmazios, can be frustrating. However, if you understand its weaknesses and use the best weapons, you can take it down with ease. In this guide, you’ll find the best builds to defeat Gogmazios and…
Monster Hunter Wilds: Best Great Sword Builds – TU 4
As iconic as it is powerful, the Great Sword remains one of the most reliable weapons in Monster Hunter Wilds. From the very first Monster Hunter game to today, the Great Sword has always been a fan favorite. Having the…

Ineffa Full Guide, Build, & Teams
Ineffa is an extremely powerful Electro sub DPS who deals a significant amount of Lunar-Charged damage. Updated for version Luna V (6.4). Table of Contents Should I pull Ineffa? Pros Cons Arguably the most best sub DPS in the game,…
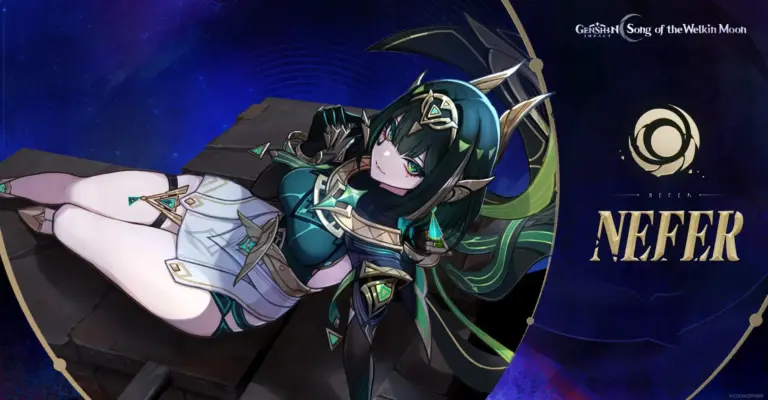
Nefer Full Character Guide, Build, & Teams
Nefer is an extremely potent Dendro DPS who deals a huge amount of Lunar-Bloom damage. Updated for version Luna V. Table of Contents Should I pull Nefer? Pros Cons Arguably the most powerful DPS in the game in the right…

Kamisato Ayaka Full Character Guide, Build, & Teams
Kamisato Ayaka is a Cryo main DPS who deals a powerful amount of Cryo Damage. Updated for version Luna IV. Table of Contents Should I pull Ayaka? Pros Cons Synergizes very well with modern supports (Furina, Escoffier)Very easy to play…

Chiori Full Character Guide, Build, & Teams
Chiori is a Geo sub DPS who deals a considerable amount of Geo Damage. Updated for version Luna V. Table of Contents Should I pull Chiori? Pros Cons Can eat up a lot of the previously useless DEF% pieces on…

Emilie Full Character Guide, Build, & Teams
Emilie is a Dendro sub DPS who deals a considerable amount of Dendro damage. Updated for version Luna V Table of Contents Should I pull Emilie? Pros Cons Very high off-field damage outputGives life to a dead reaction (burning)Very good…
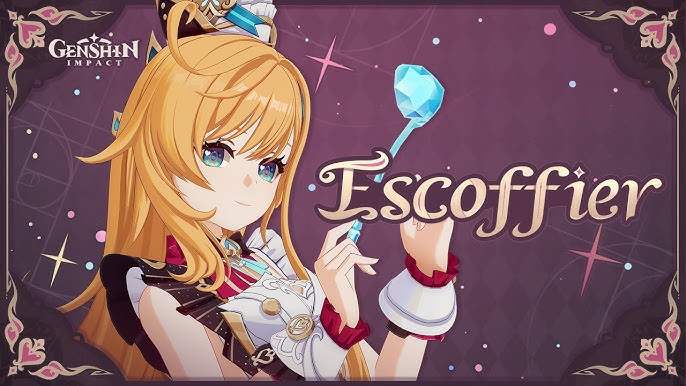
Escoffier Full Character Guide, Build, & Teams
Escoffier is a Cryo sub-dps and support who continuously deals off-field Cryo damage. Updated for Version Luna IV (6.3) Table of Contents Should I pull Escoffier? Pros Cons Very high personal damageVery high RES shred and healingBuffs still apply to…

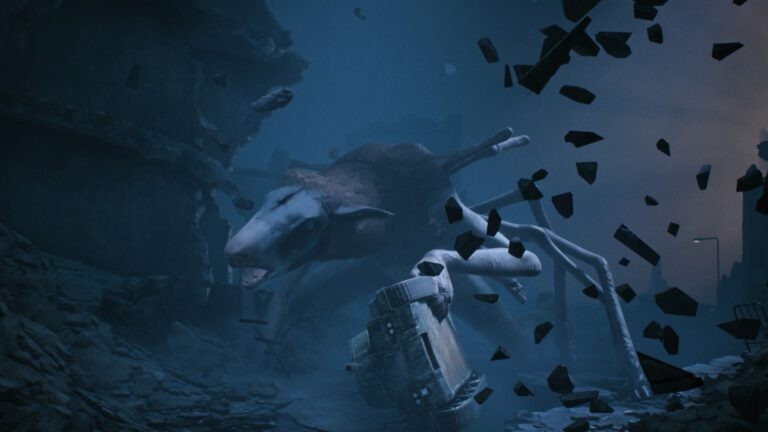
Reanimal Chapter 9: All-Consuming Past Walkthrough
Chapter 9 of Reanimal begins with the siblings taking control of a tank that was previously attacking them. Prepare for a journey filled with destruction and a mind-blowing conclusion. Here’s the 100% walkthrough guide for Reanimal Chapter 9: All-Consuming Past.…
Reanimal Chapter 8: The Watcher Walkthrough
Chapter 7: The Spoil ends with the lamb creature swallowing your friend, while you and your sister watch from behind a bed. You follow it into another room, and that’s where Chapter 8: The Watcher begins. Reanimal Chapter 8 Walkthrough…

Reanimal Chapter 7: The Spoil Walkthrough
Chapter 6 ends with you carrying the girl and following the sheep to a larger open area. Chapter 7: The Spoil picks up immediately after, with your entire group reunited and standing together. Reanimal Chapter 7 Walkthrough The Trenches As…

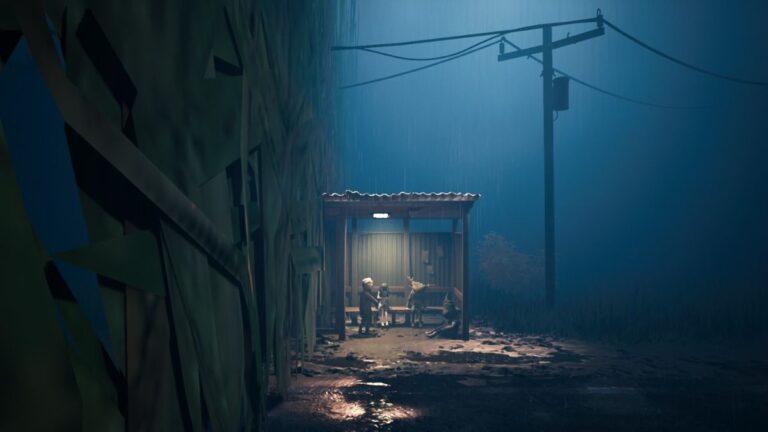
Reanimal Chapter 6: Nobody Left Behind Walkthrough
Chapter 6 begins after the truck crash, sending the siblings on a thrilling underwater journey and some heavy artillery! Follow this walkthrough to achieve 100% completion in Chapter 6: Nobody Left Behind of Reanimal Reanimal Chapter 6 Walkthrough The Bunker…

Reanimal Chapter 5: Down in a Hole Walkthrough
At the end of Chapter 4: No Shelter, you help Hood escape from a wooden box — but he falls back down before you can reach him. A cutscene then plays where the baby ghosts catch you and y our…
Reanimal Chapter 4: No Shelter Walkthrough
Chapter 3 ends with you boarding a bus and heading to your next destination. After a short ride, the bus pulls up and you step off. Chapter 4: No Shelter begins here. List of Chapters before Chapter 4: Reanimal Chapter…

Reanimal Chapter 3: After the Flood Walkthrough
Chapter 3 begins with the siblings stranded on a beach after a thrilling van chase ends with them falling off a cliff. Make your way east toward the grated door and force it open to continue your journey. Reanimal Chapter…

Reanimal Chapter 2: The Cleaning House Walkthrough
After the events of Chapter 1: Dead in the Water, you, your sister, and Hood cut down a massive tree to create a bridge and cross to the next island. It’s a dense forest filled with corpses hanging from the…

Reanimal Chapter 1: Dead in the Water Walkthrough
The game opens with you on a boat at night. In the distance, you’ll spot a red light (a buoy). Press RT to steer your boat toward it. Keep following the buoys one by one, and when you reach the…