
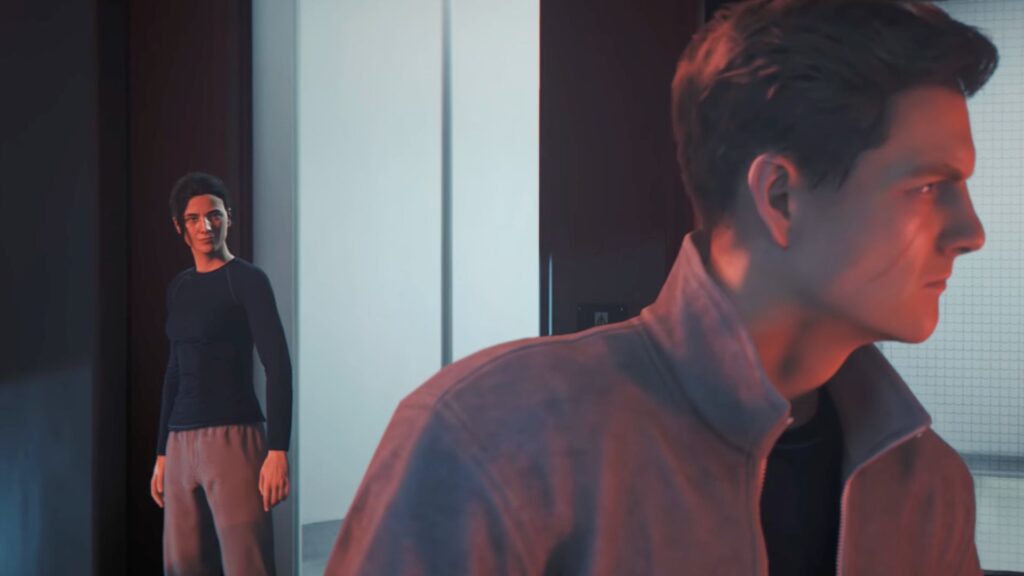
Chapter 9 ended with Bond inside a cell at MI6. Isola is in the cell across from him. M is frustrated because Bond claims he worked alone with no MI6 assistance. M has nothing on Isola either. She has manipulated every screening and biometric record and MI6 has no idea who she is working for.
Then a red alert sounds and every cell door opens on its own. Someone shouts from behind and Isola runs. Before she goes she tells Bond to give them hell. Chapter 10: For England begins here.
007 First Light Chapter 10: For England Walkthrough
Escaping the Cell Block
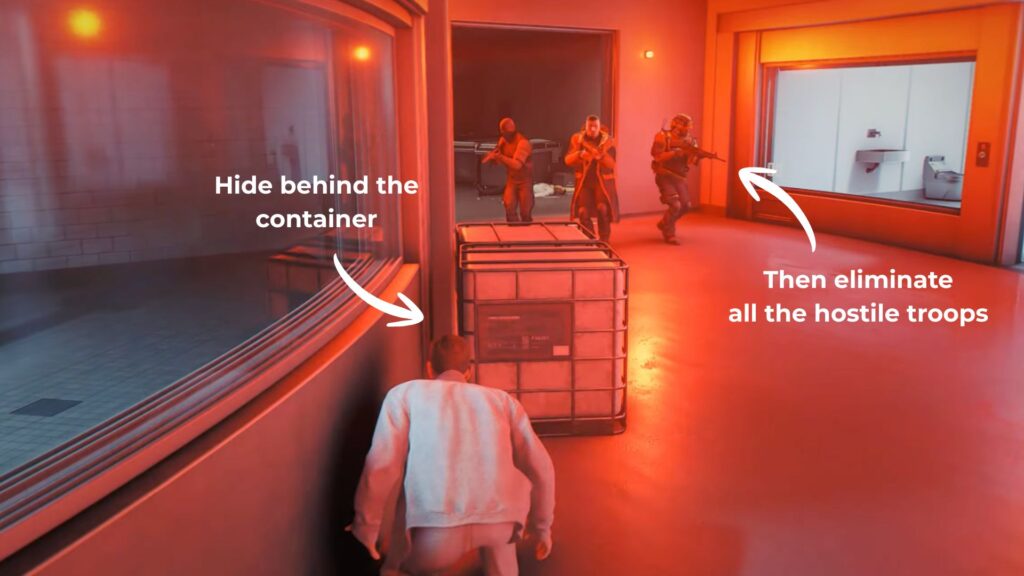
Your first objective is to Escape the Cell Block. Run forward until you find a container on the left side of the wall. Hide behind it because three people are coming.
You have no gadgets or weapons so you need to take at least one of them with melee attack. When one goes down you can pick up their gun. Clear all five enemies then open the
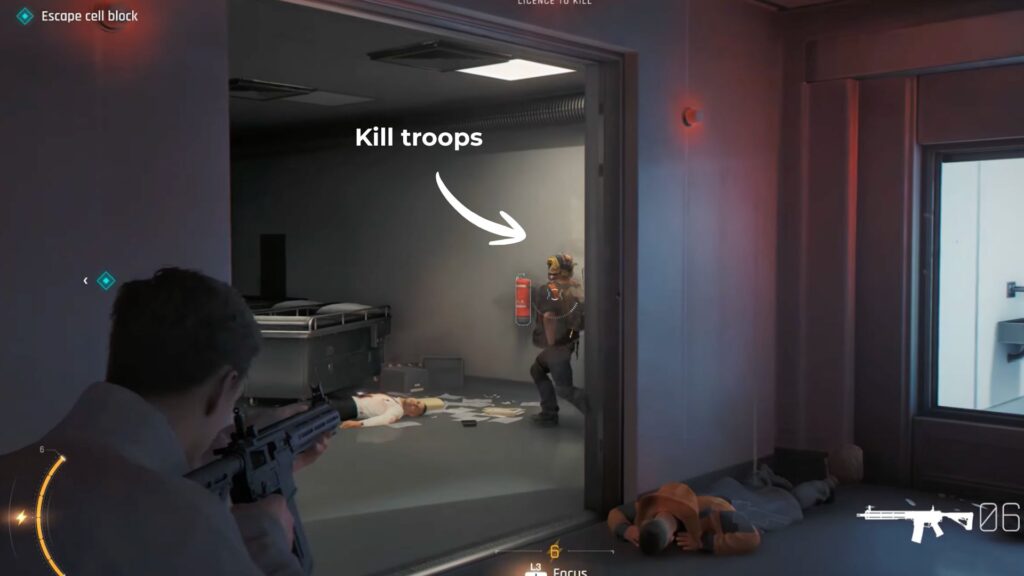
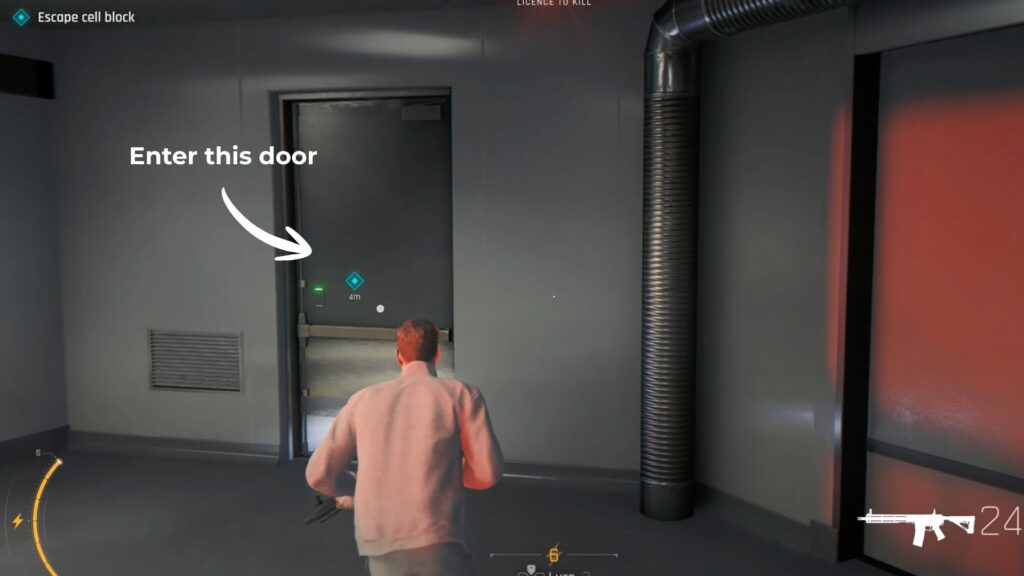
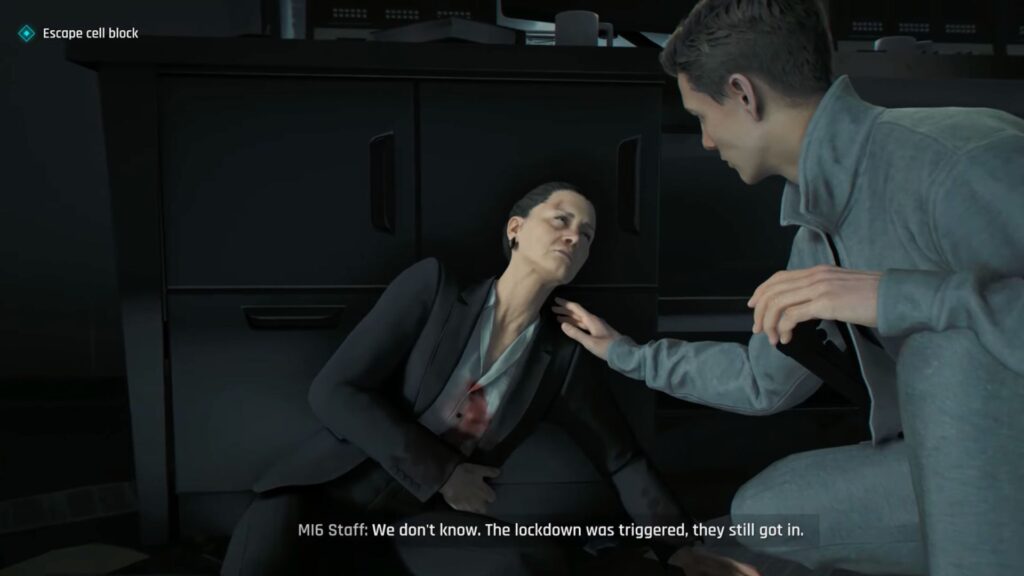
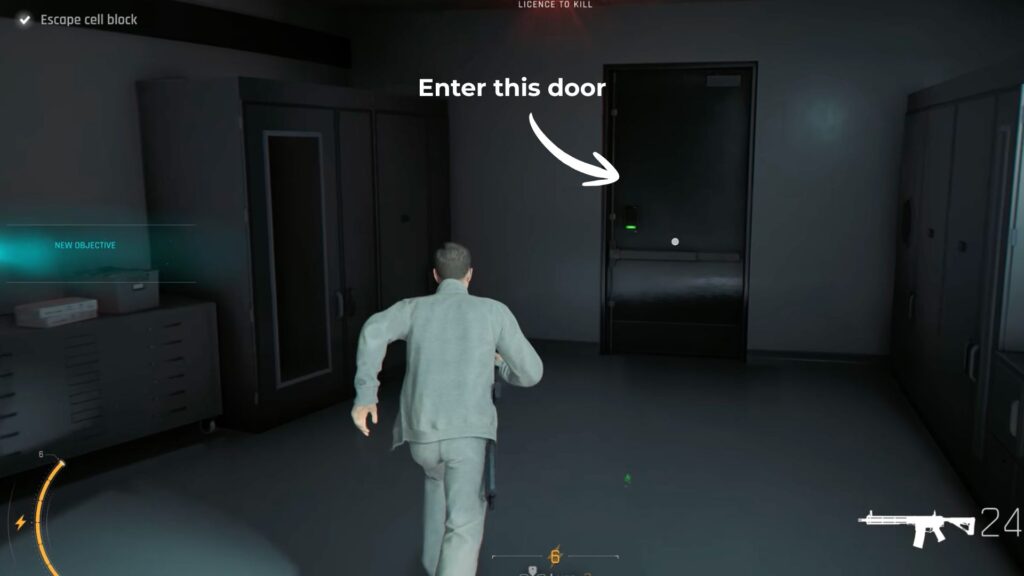
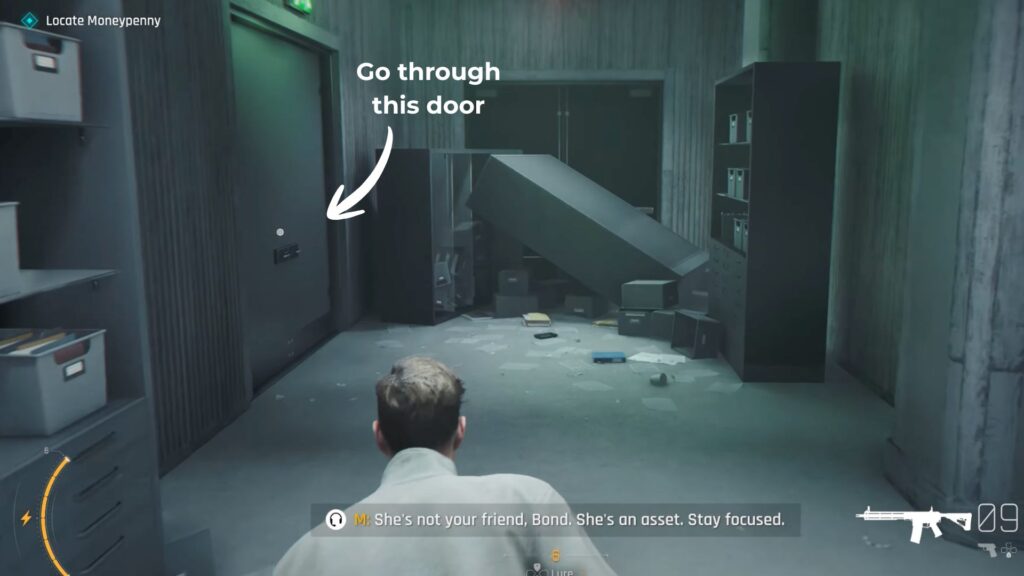
A cutscene plays showing an MI6 staff member getting shot. Nobody knows who the attackers are. A lockdown was triggered but the hostiles are still pushing through. You need to find the security room through the metal door ahead.
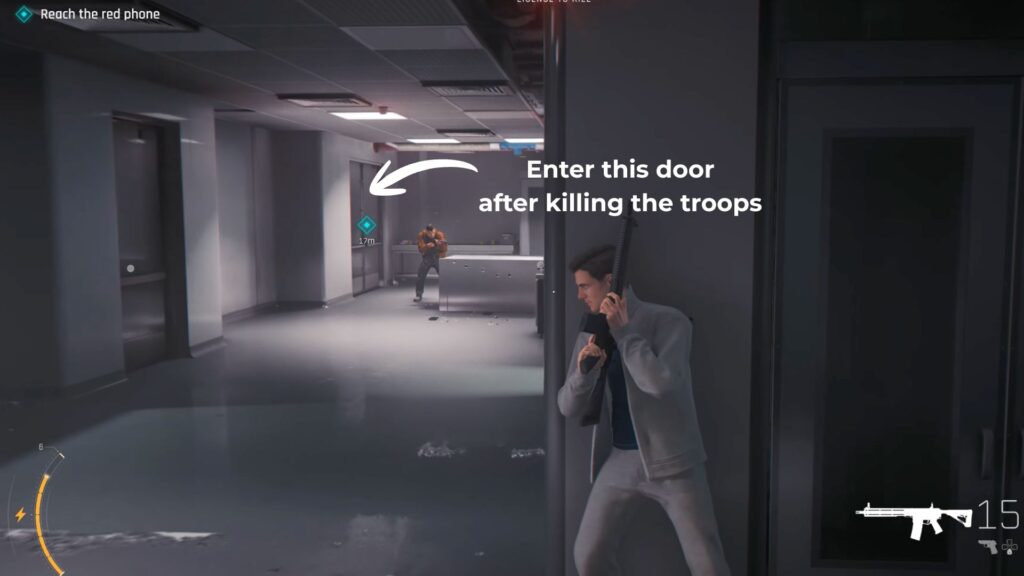
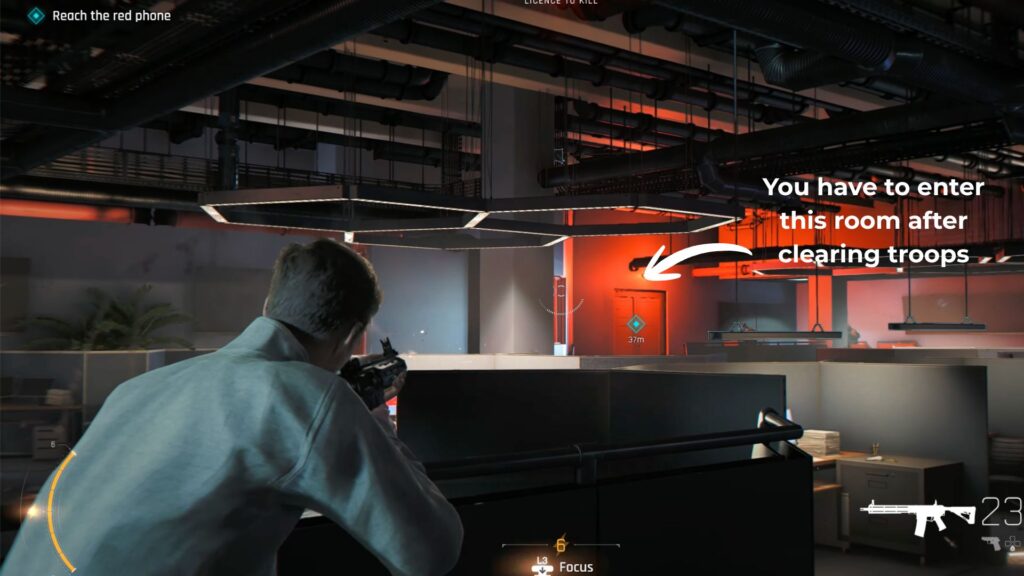
Move through the main area and clear all the hostile troops before you reach the security room. Head through another metal door. The security room has already been breached and one MI6 staff member is being held. There are a lot of enemies here so you need to be smart about it.
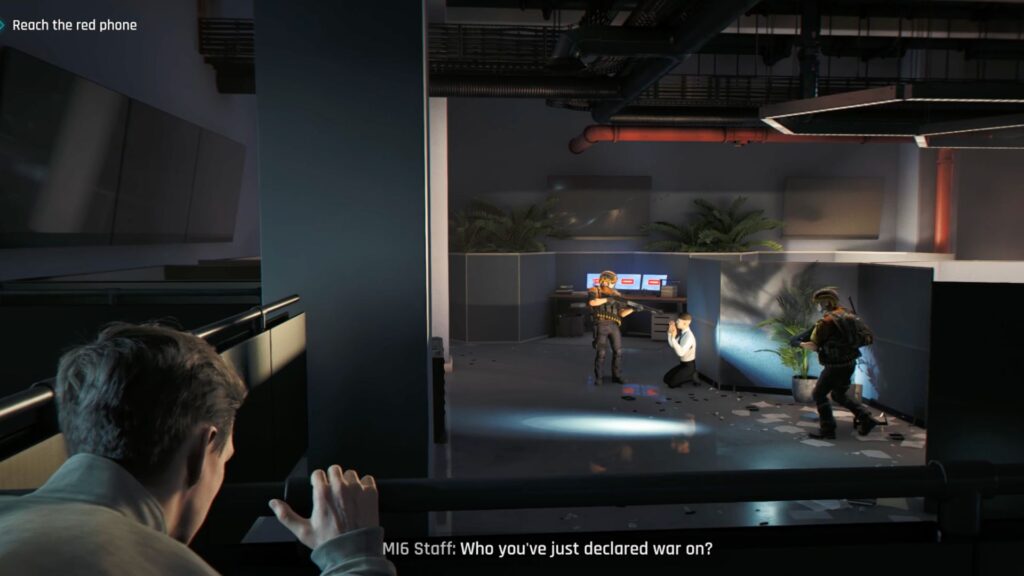
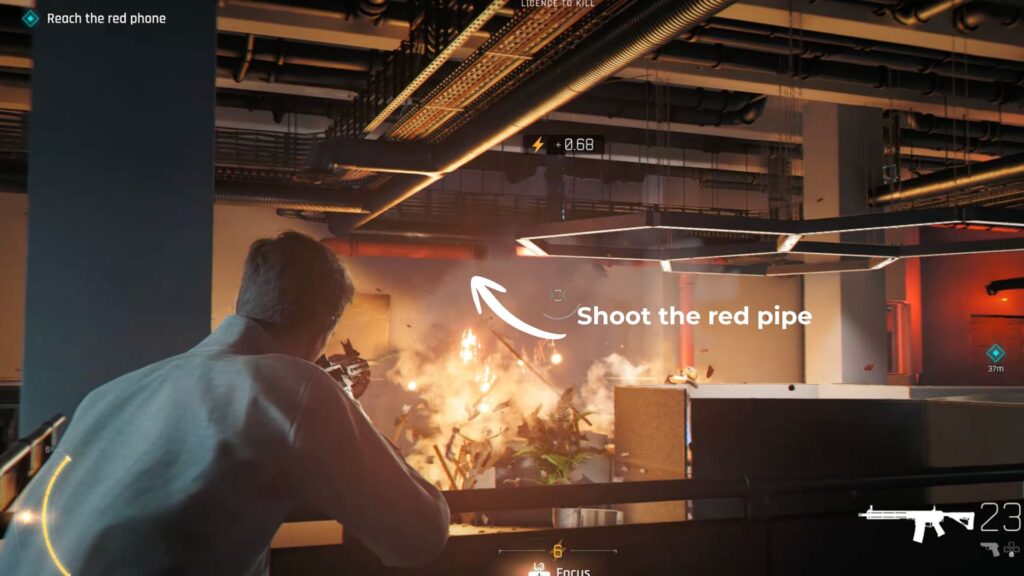
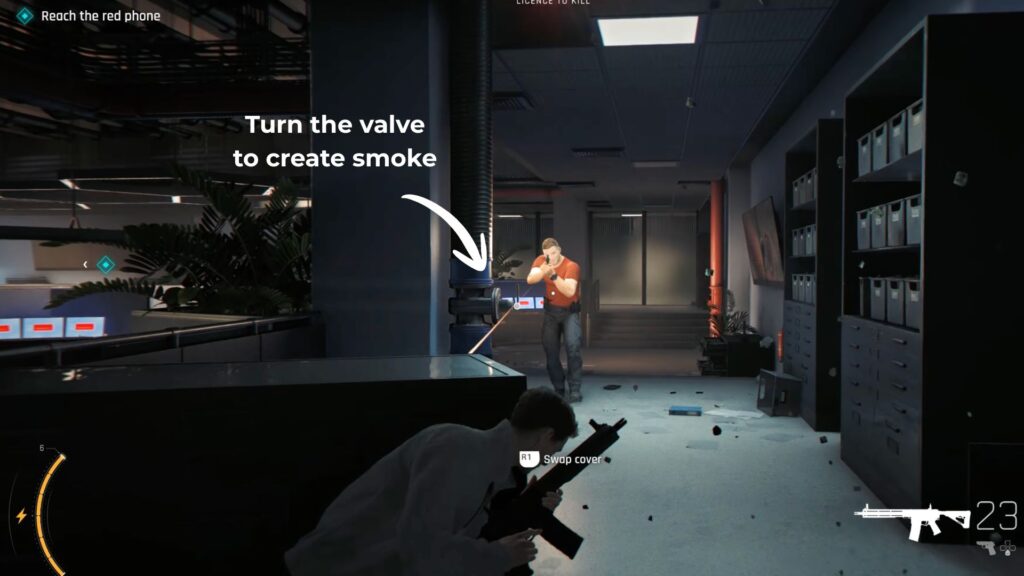
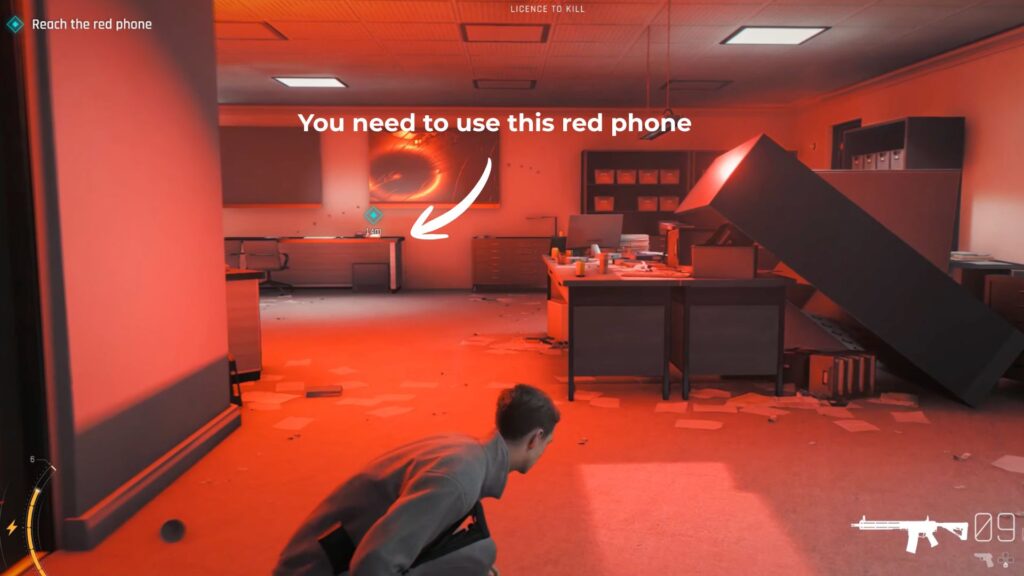
Shoot the red pipe on the ceiling to create smoke and fire, then crouch deeper into the room. As you move forward you will find more pipes on pillars with levers. Turn each one on as you go to keep the smoke building. The enemies will know you are there and will shoot at you so stay low and keep moving while clearing them out.
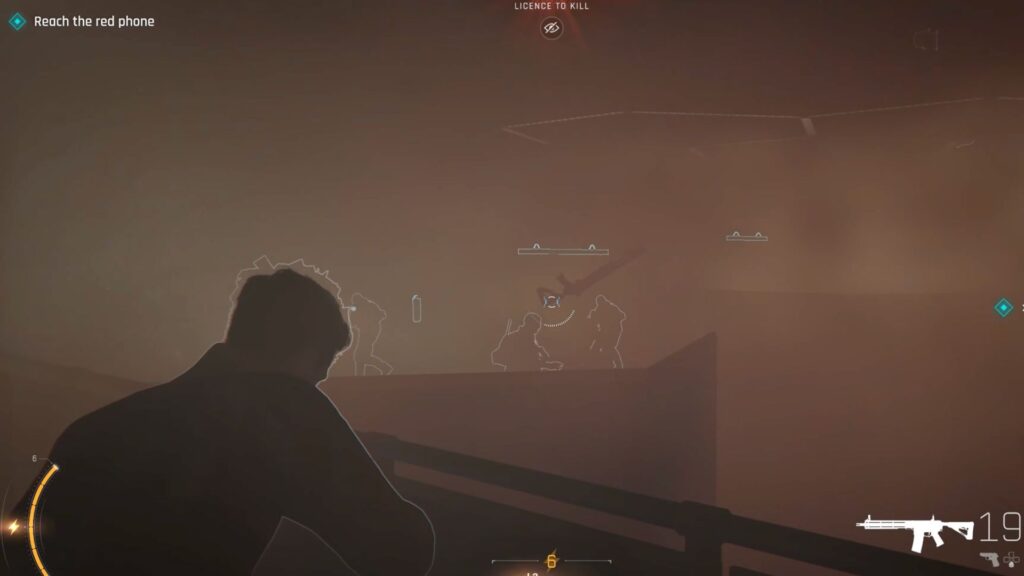
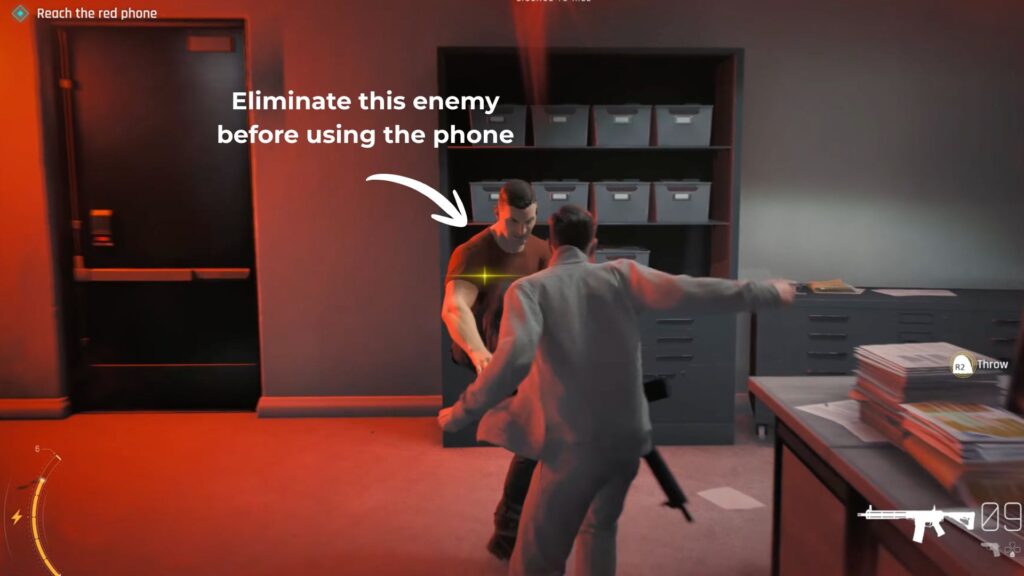
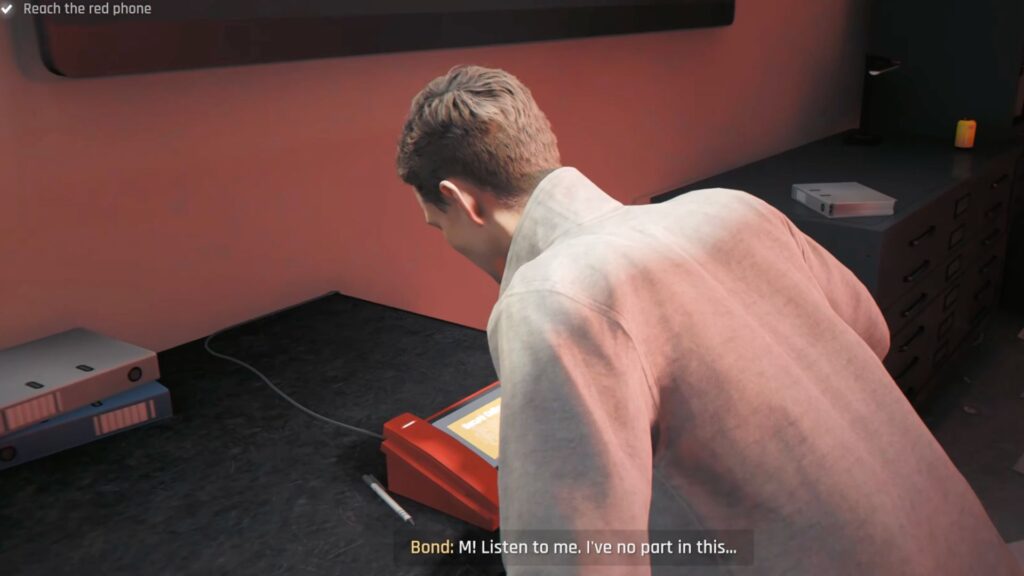
Once you reach the security room there is one enemy inside. Take him down before you use the phone. You tell M that you had no part in the attack.
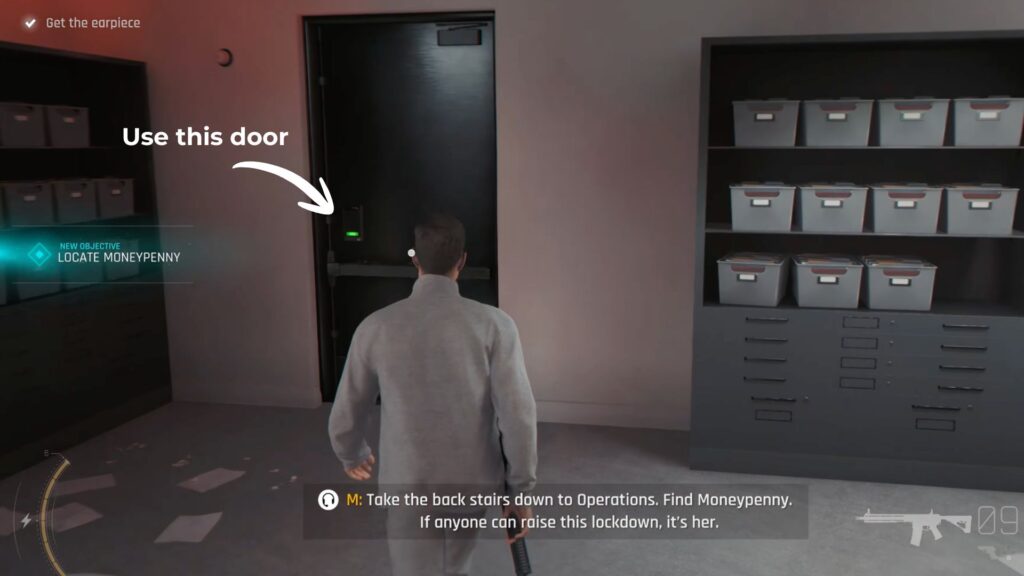
Pick up the earpiece from the enemy you just took down. M will communicate through it from here and will also reactivate your Q-Lens.

Getting to Operations
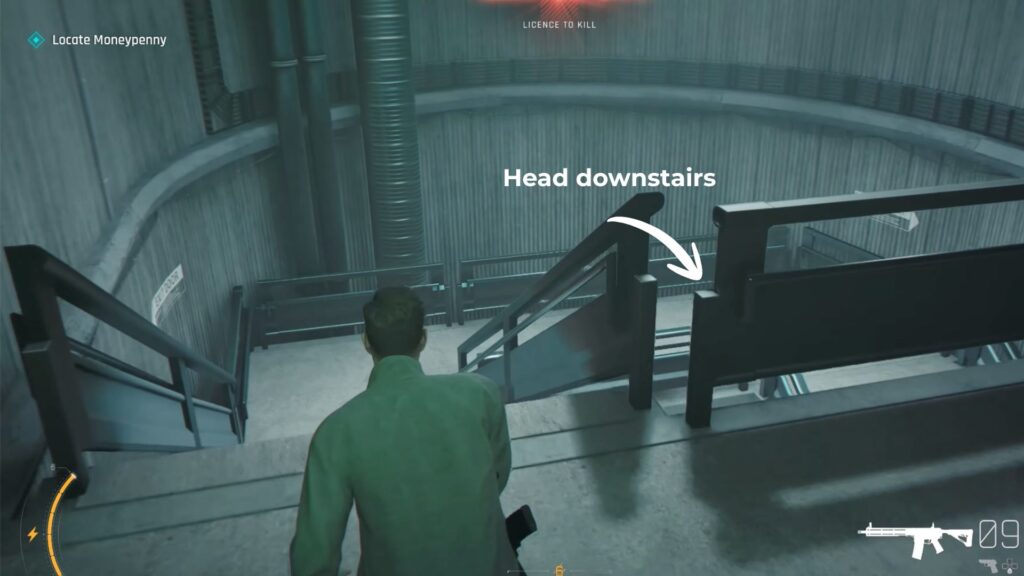
Go out through the back door and through another black door. Head down the stairs and enter the Operations room.
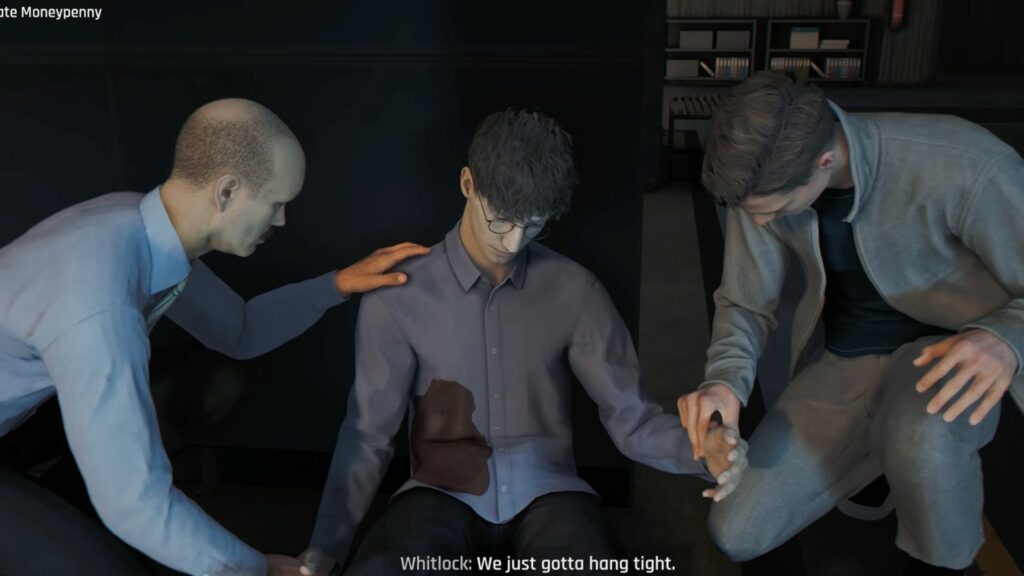
A cutscene plays. Whitlock is talking to Henry, the same man who wished you good luck just before you first met Isola.
Henry is already dead. Move straight through and clear the area. There are a lot of hostile troops packed in here so use your best combat and shooting skills. Your Q-Lens is not yet fully reactivated at this point.
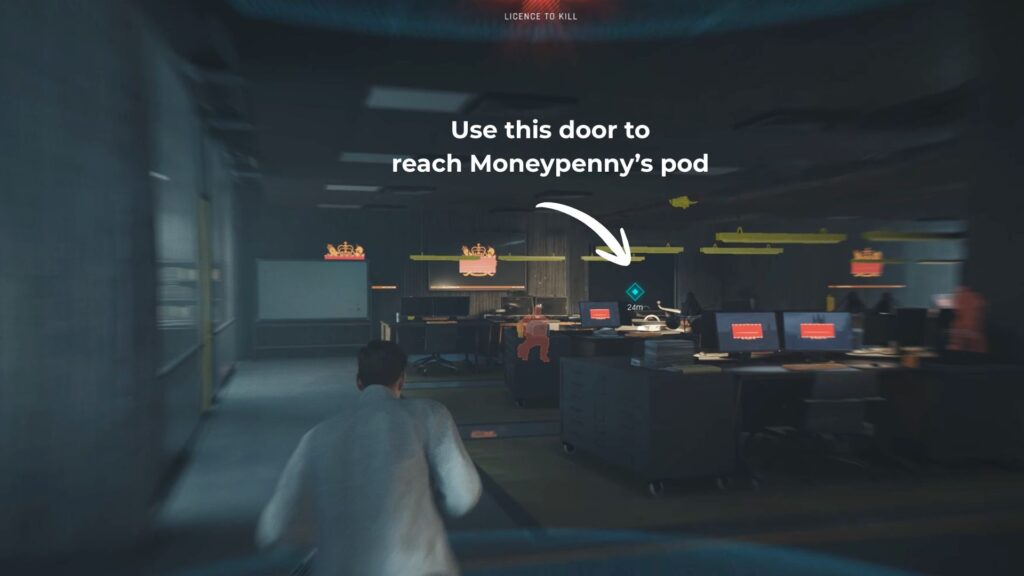
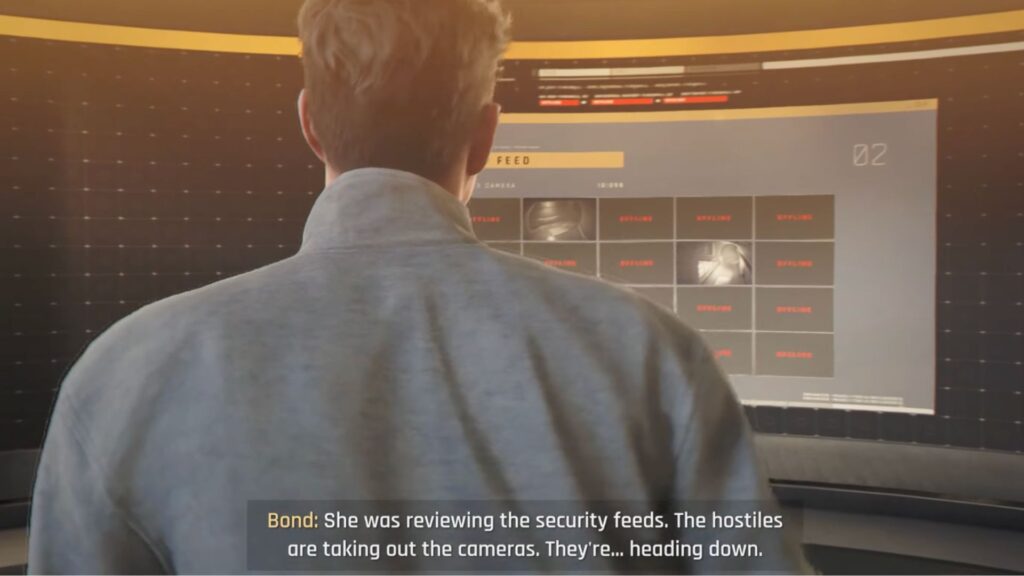
Go through the back door toward Moneypenny’s office. Unfortunately, she is not there. From her screen, Bond realizes the hostiles are taking out the cameras and heading toward THEIA.
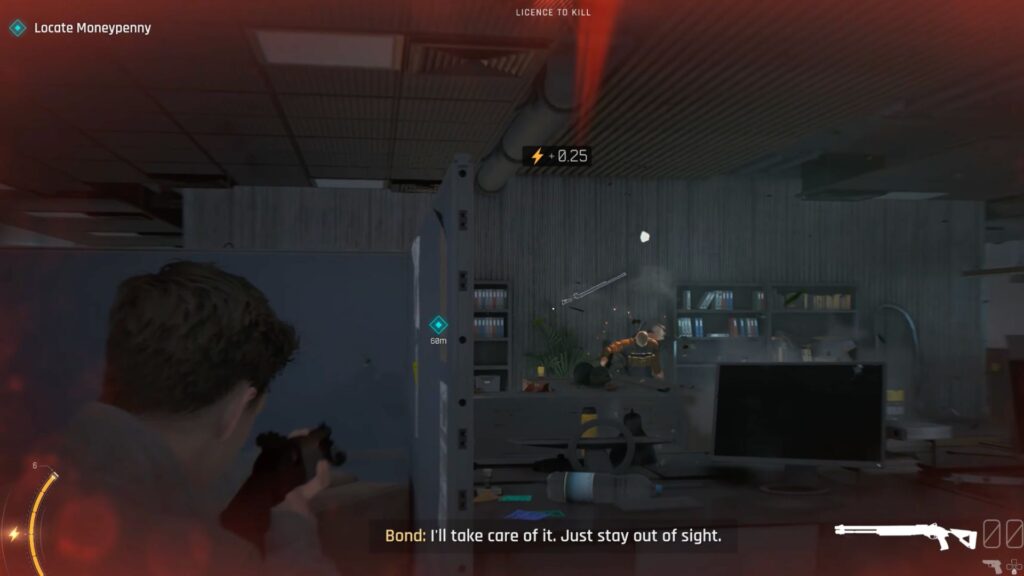
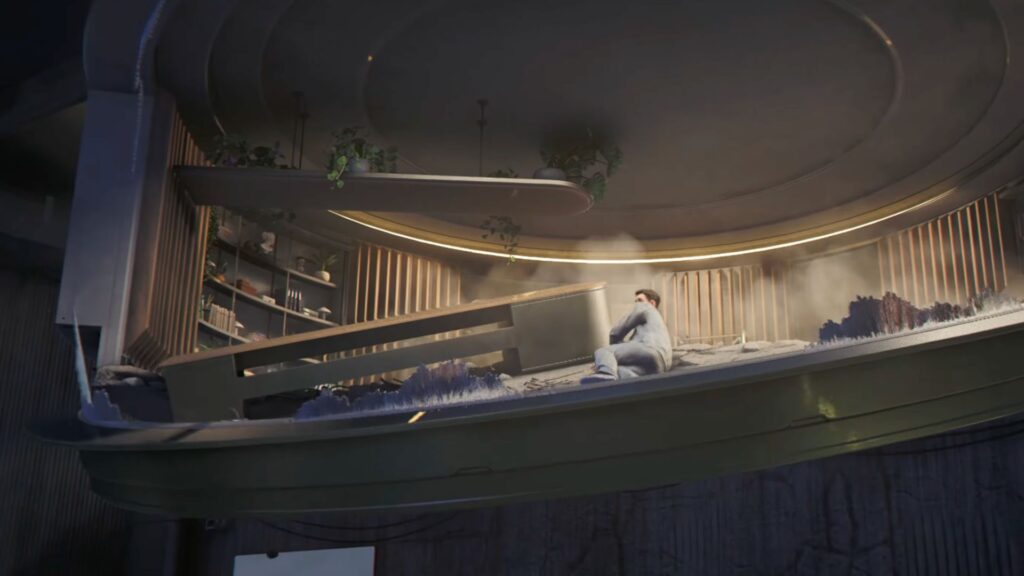
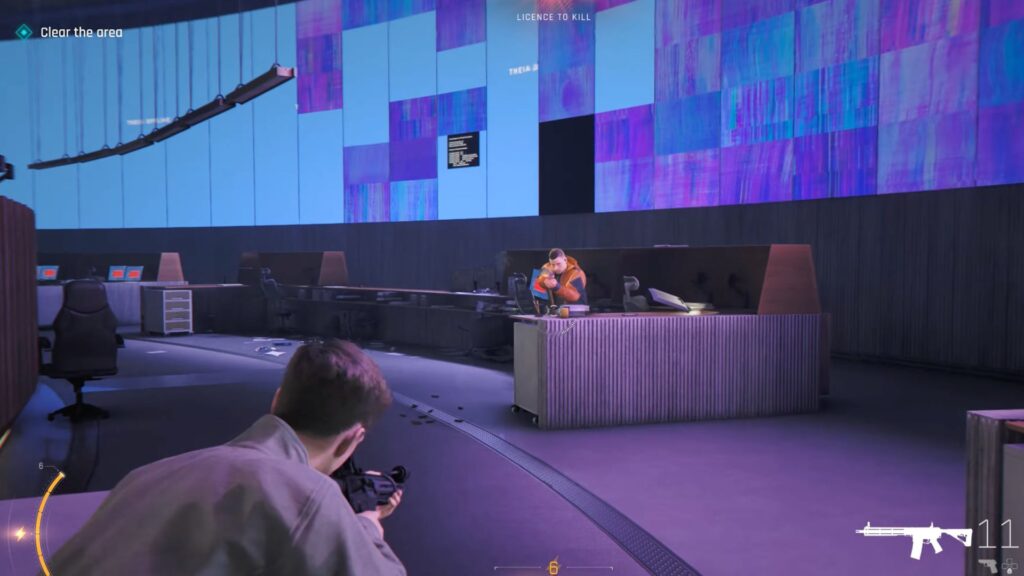
Before M can find the fastest route down for Bond, a bomb goes off and Moneypenny’s office pod breaks apart and falls to the floor below. Your new task is to clear the office area underneath it.
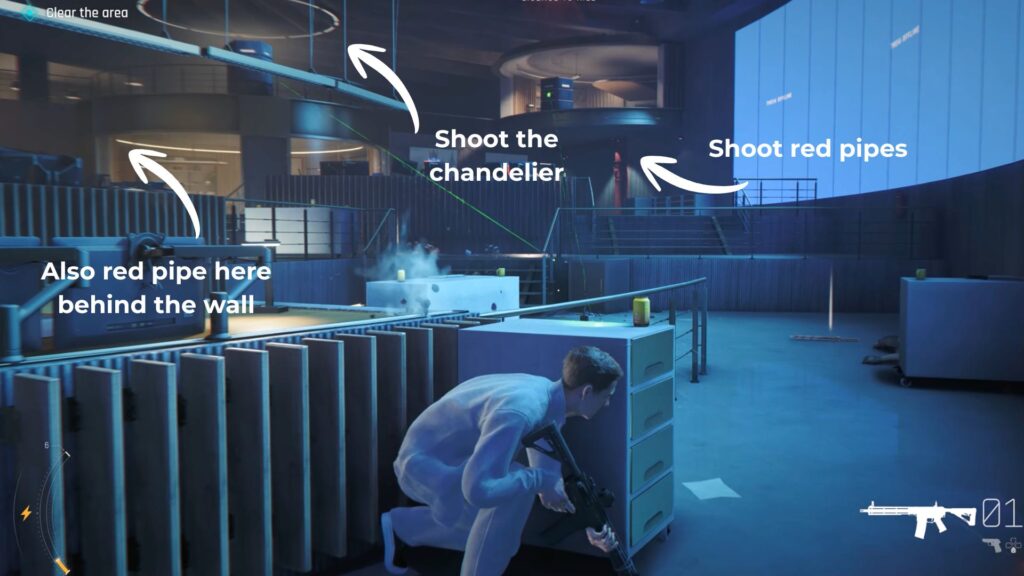
Use every piece of cover you can find and keep shooting enemies. However, bullets alone will not be enough here. Shoot the pipe under the pod above the office to bring it crashing down on the enemies below.
You can also shoot the large red pipe on the wall to trigger a blast that takes out multiple enemies at once. There is also one enemy firing from inside a metal box above you. Shoot the large circular chandelier hanging above it. When it falls it will crush the box and kill the enemy inside.
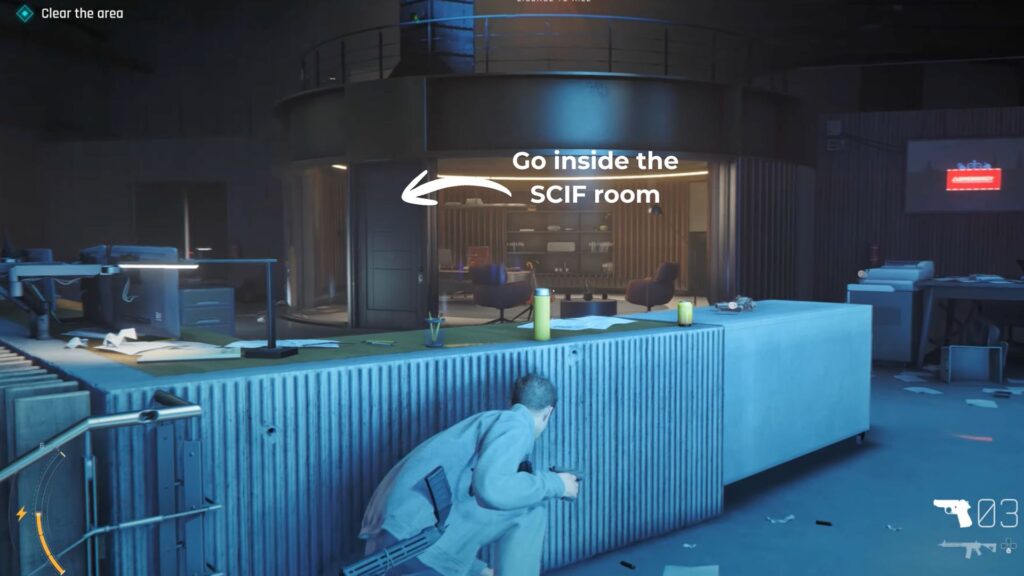
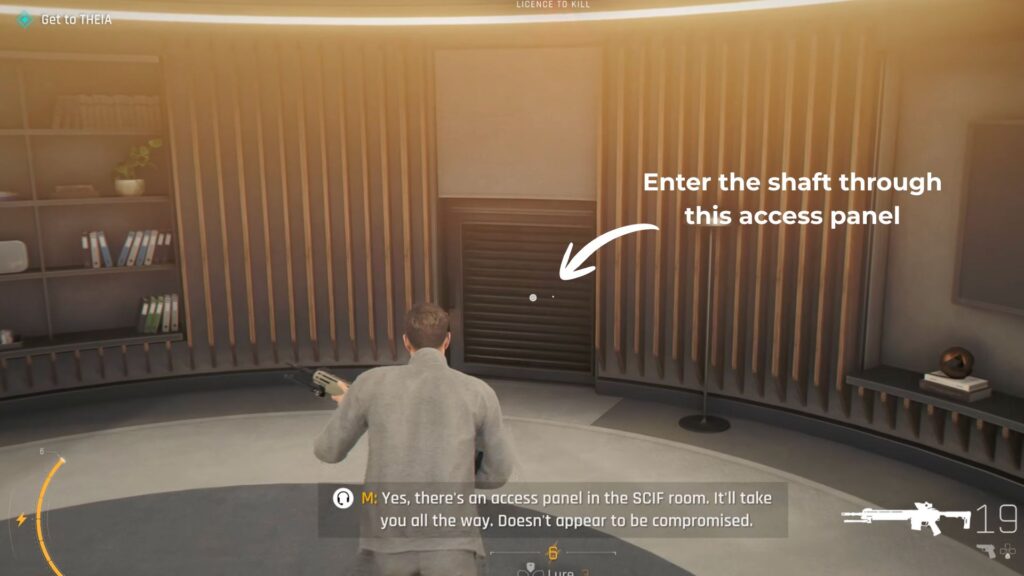
Once the area is clear, find the SCIF room at the far end of the office. There is an access panel inside. Open it and follow the shaft all the way toward THEIA.
During this section M explains that the hostiles used MI6’s own security protocols against them, triggering an automatic lockdown while a second strike team came through the tunnels in Q-Lab.
Through the Shafts
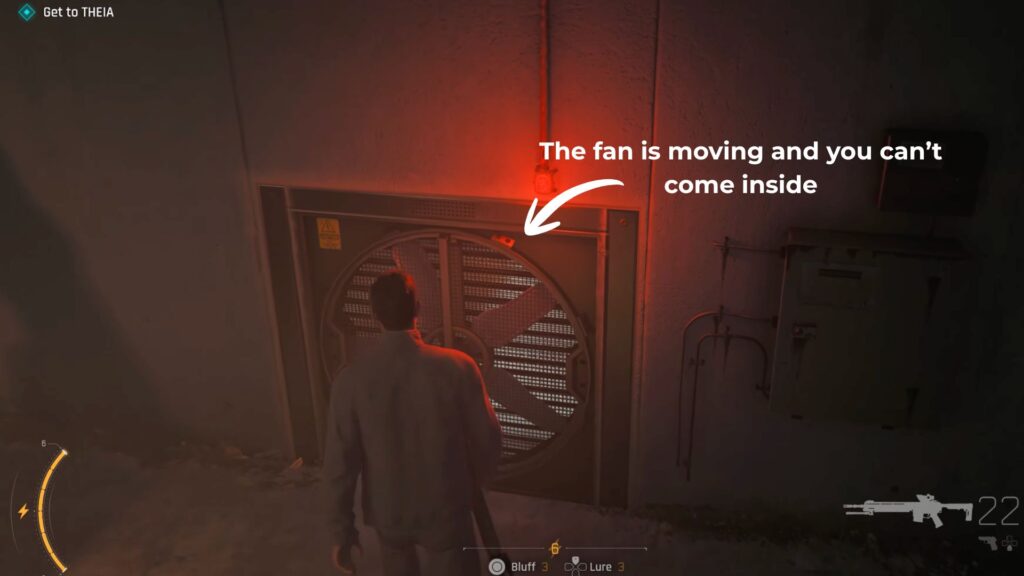
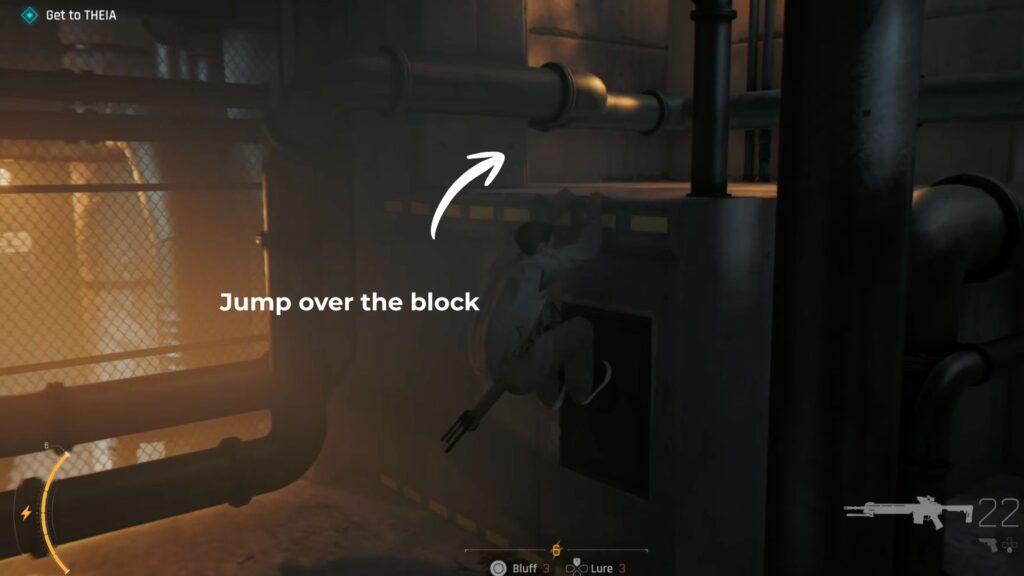
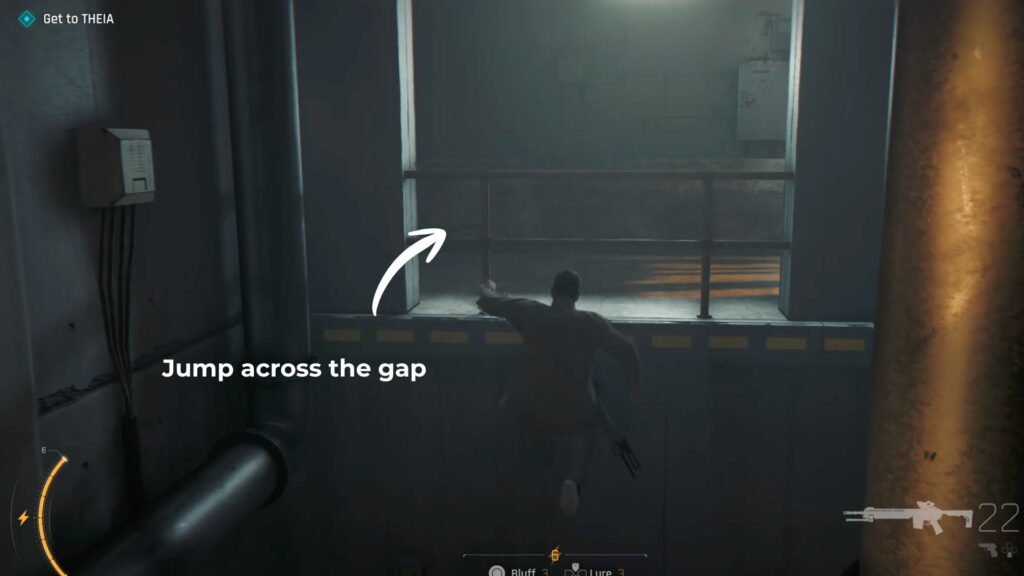
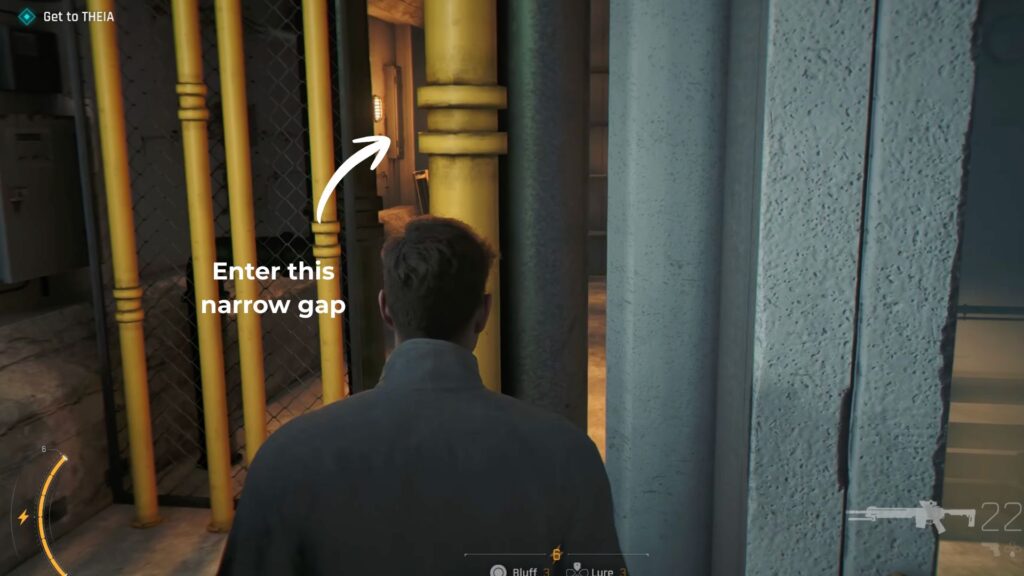
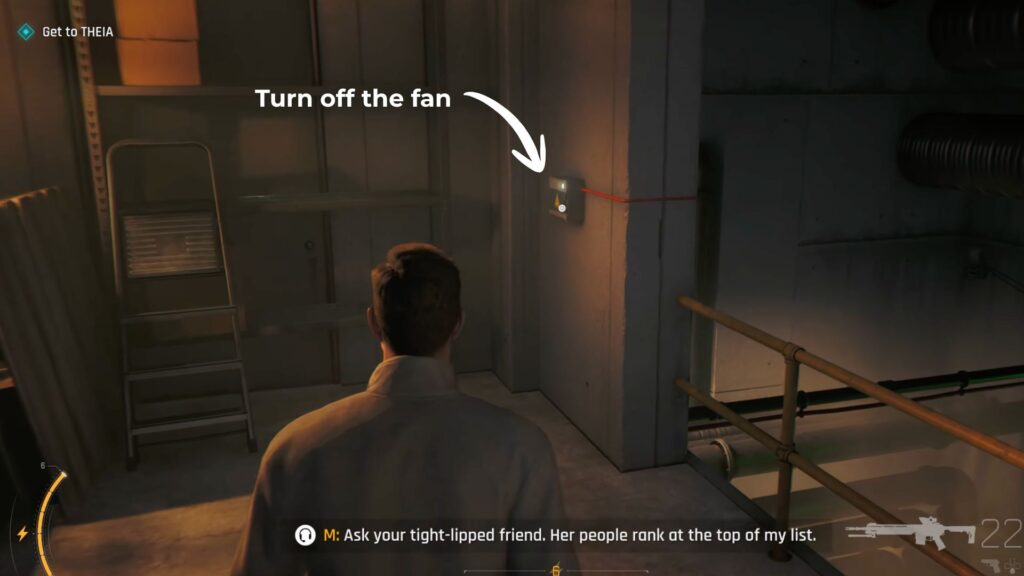
Keep moving through the shaft, until the end of it. You reach a room with a spinning fan that you cannot open. Climb over the block in the room and jump across the gap to find a control panel on the wall. Use it to stop the fan, then open it and continue through.
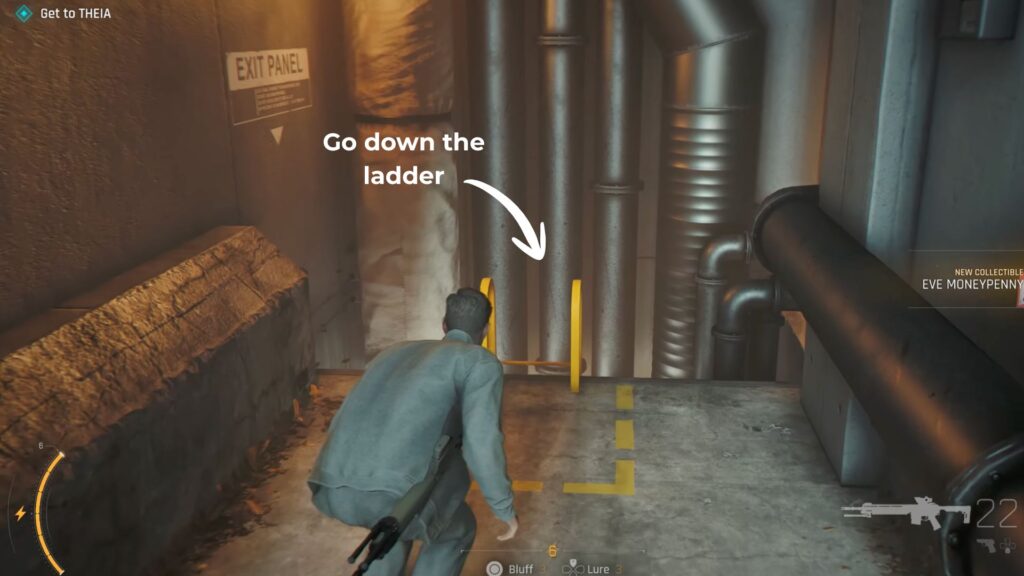
After passing through the fan, find the yellow ladder and climb down. Open the next access panel.
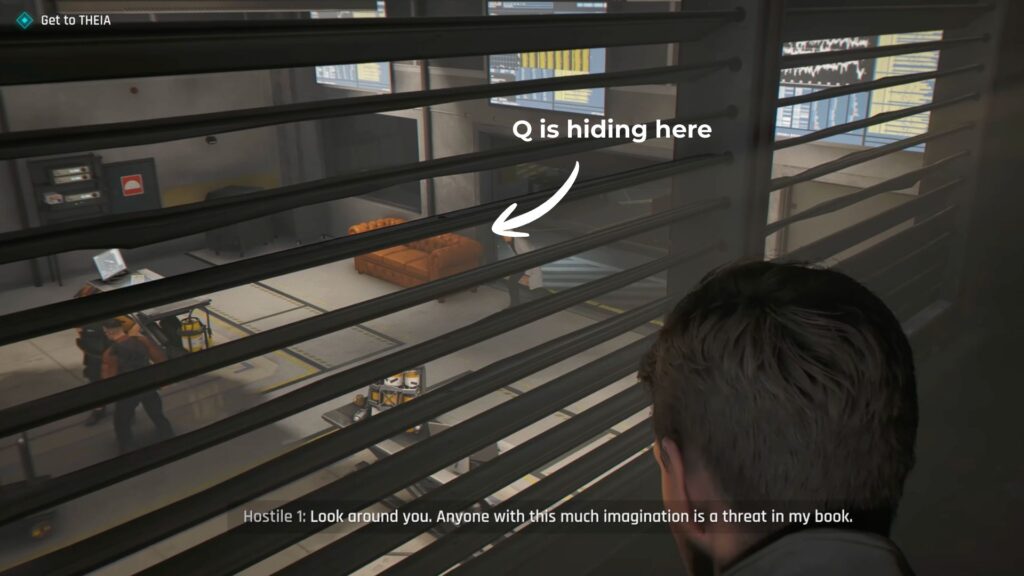
You will enter an aisle. You can hear hostiles below so crouch slowly and continue to the access panel at the end. Through the shaft you can see Q hiding inside an orange sofa in the lab below. Bond passes this on to M.
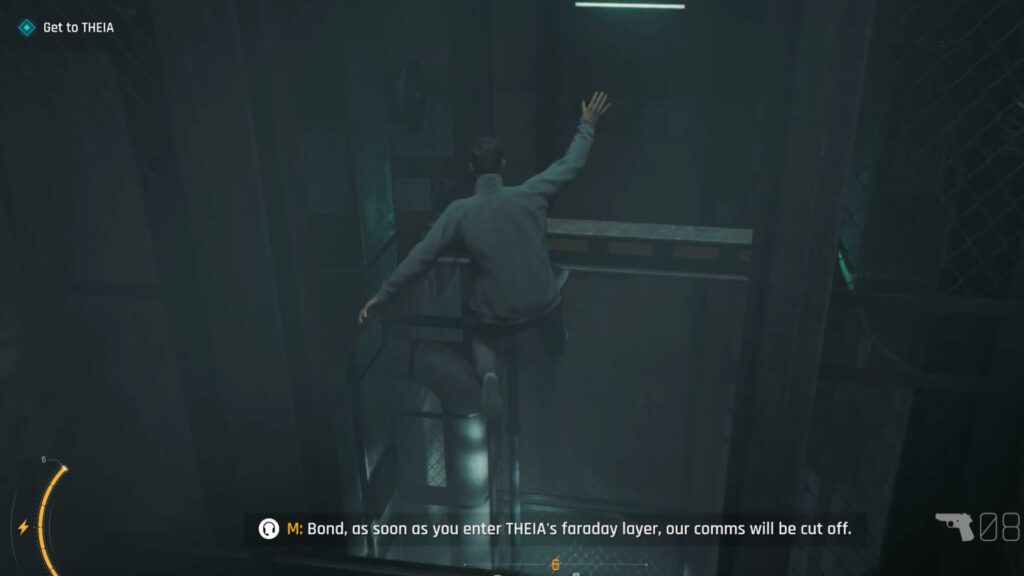
At the end of the next shaft there is another panel. Open it and you will be inside a dark room with a moving elevator. Time your jumps to get across when the elevator is not passing and keep moving through the obstacles. M warns that once you enter THEIA’s faraday layer all communication will cut out.
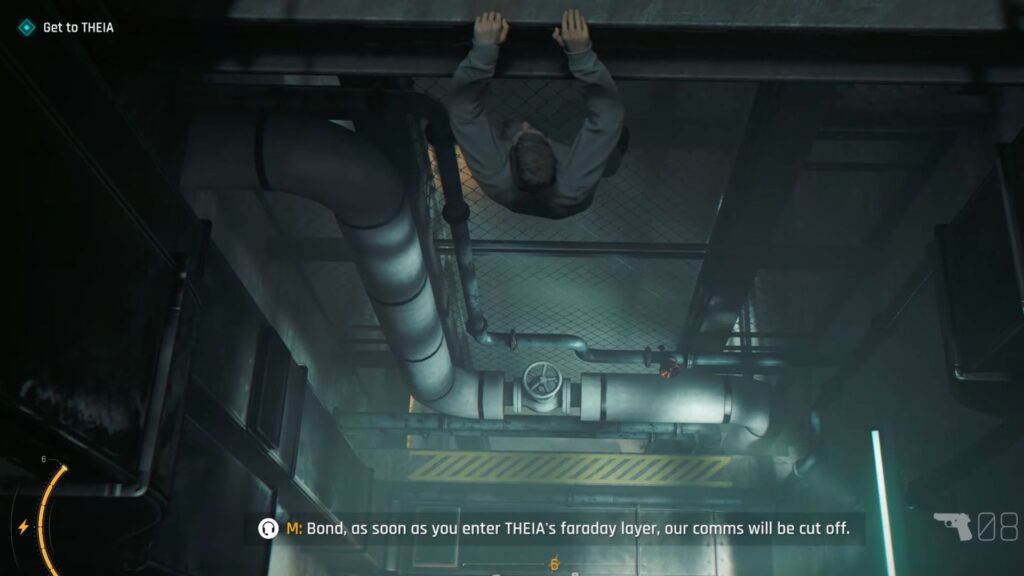
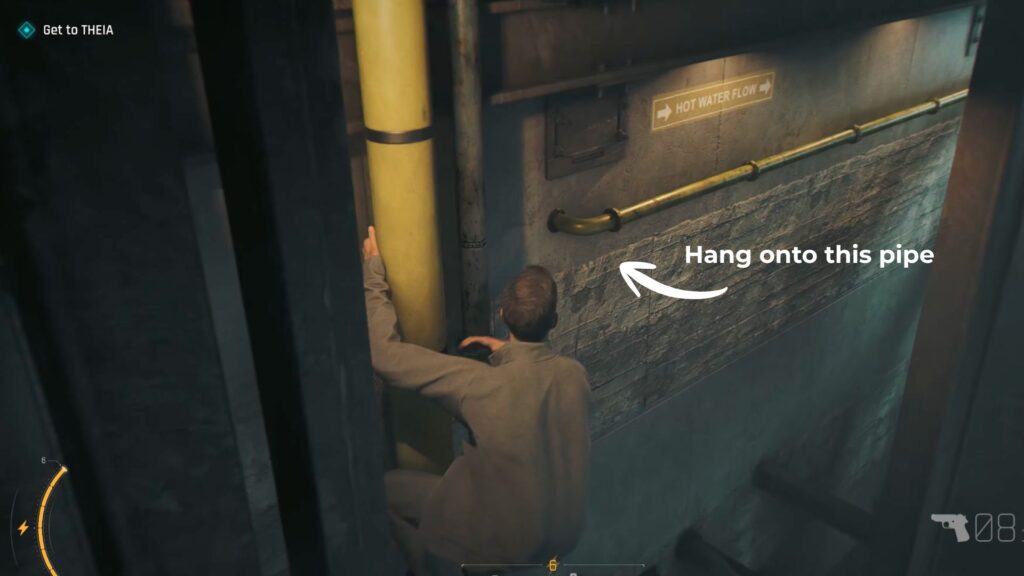
Keep descending until you find a yellow pipe. Slide down it, then jump and grab the water pipe, and drop down again from the end of it.
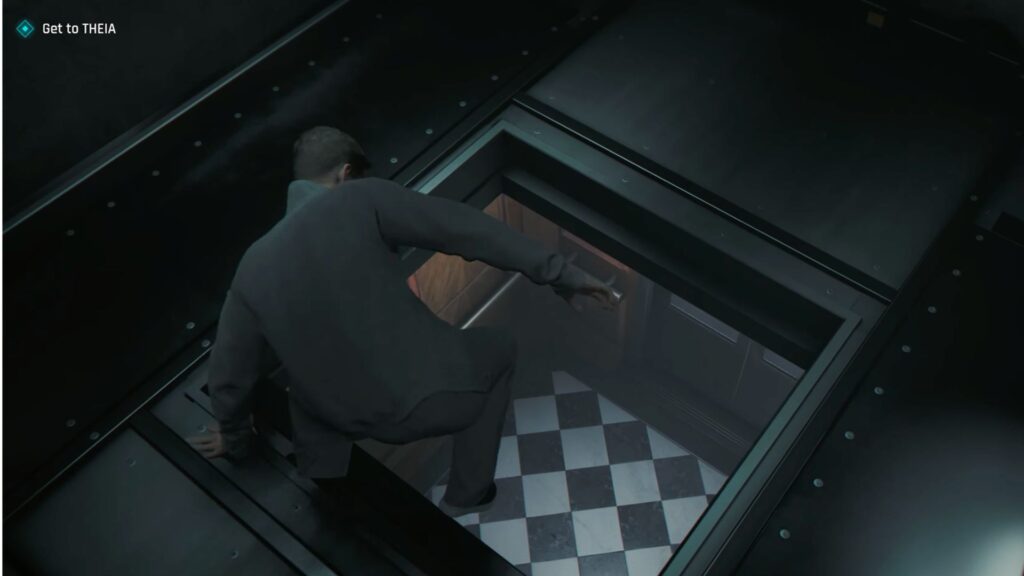
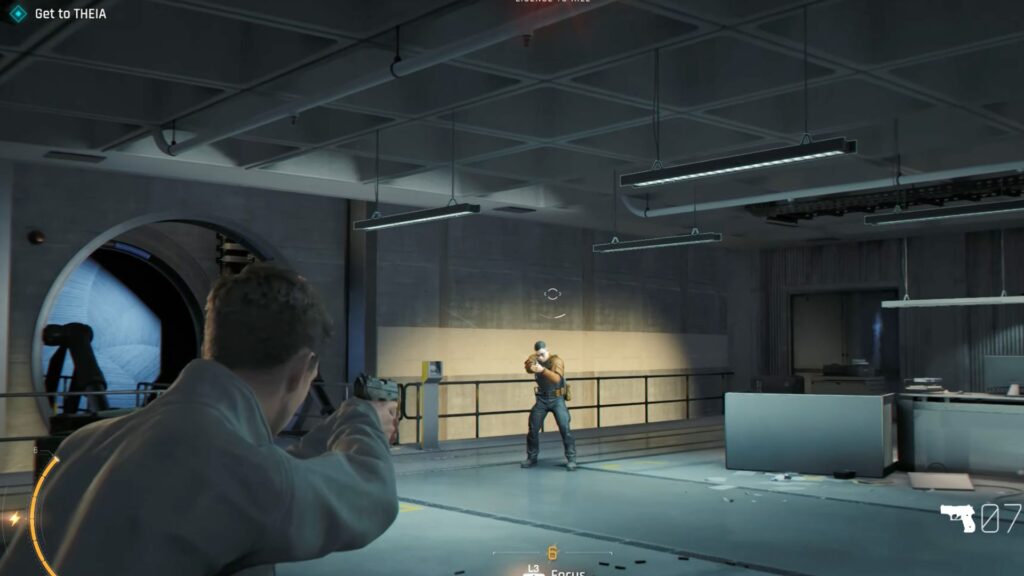
A cutscene plays. Bond kicks open the elevator roof and drops inside. When the doors open, enemies are waiting. Clear them all.
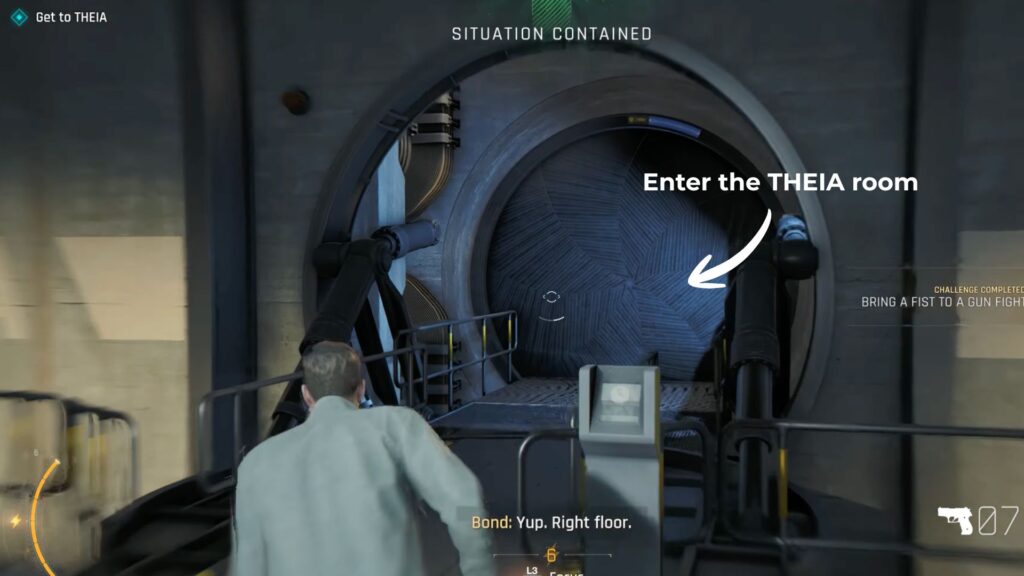
The THEIA Room
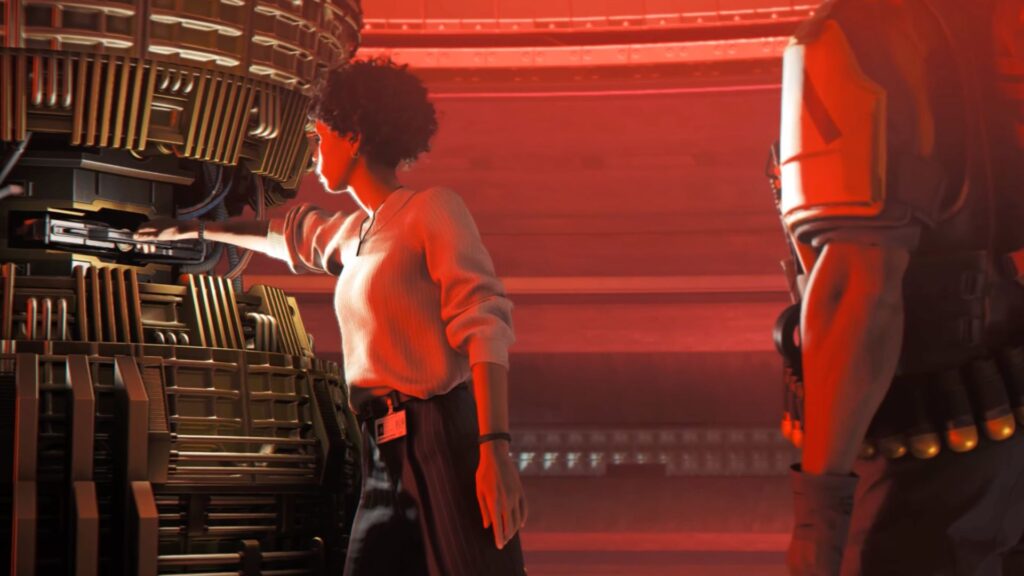
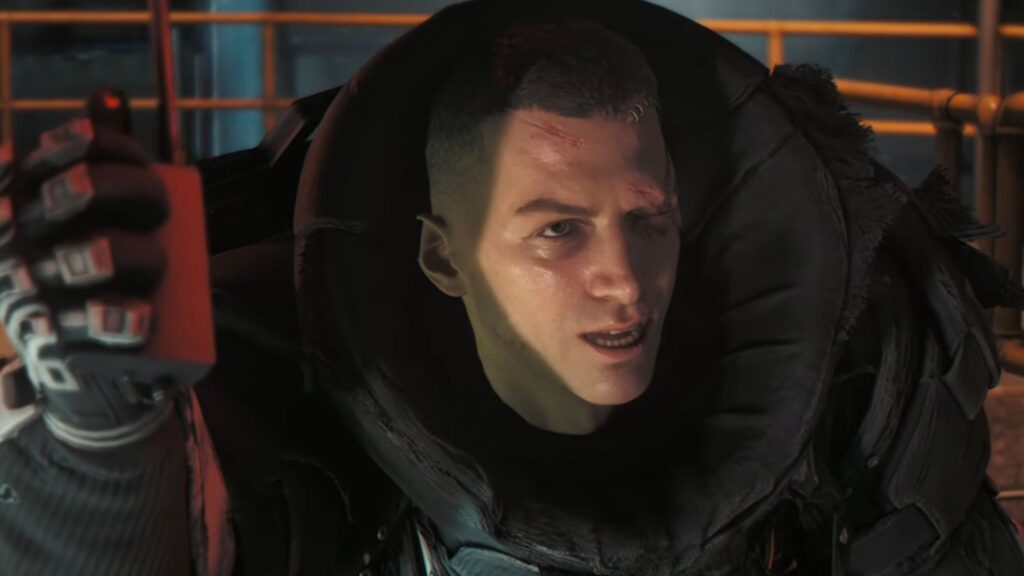
Enter the THEIA room. Damien is inside with Moneypenny. He has her by the neck with a knife at her side. He tells Bond his father is dead and everything for him is gone except THEIA.

Moneypenny follows Damien’s instructions and opens the bridge to THEIA. She removes THEIA from the machine and Damien takes it from her.
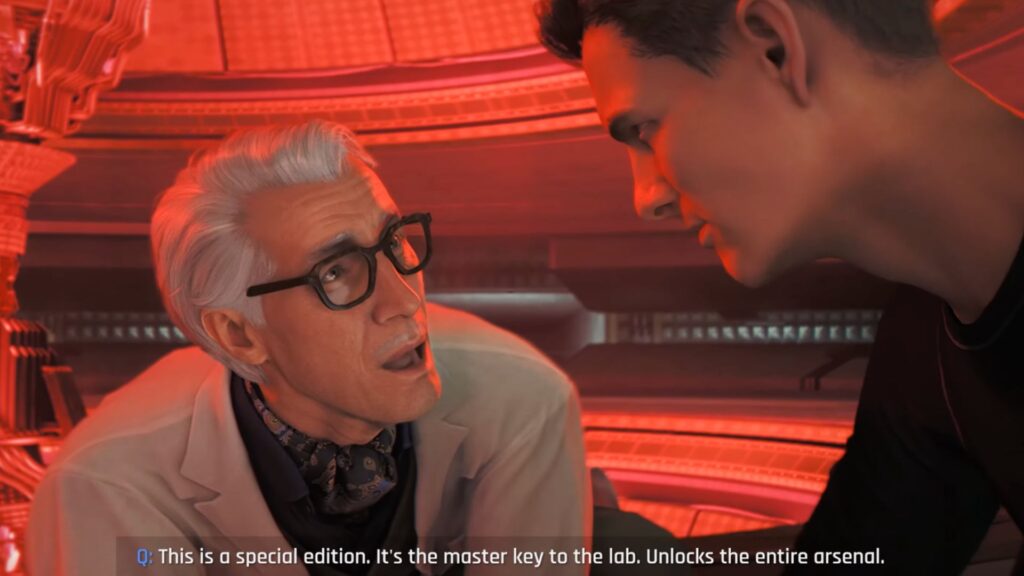
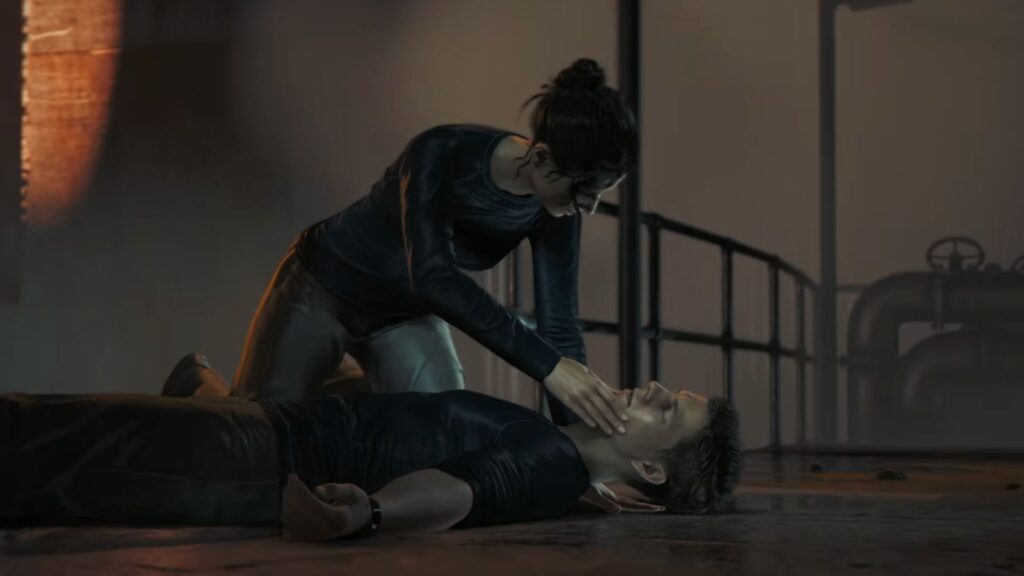
Then he drives the knife into Moneypenny’s stomach. Bond runs to her and tries to hold the bleeding. Q arrives and tells Bond to go after Damien.
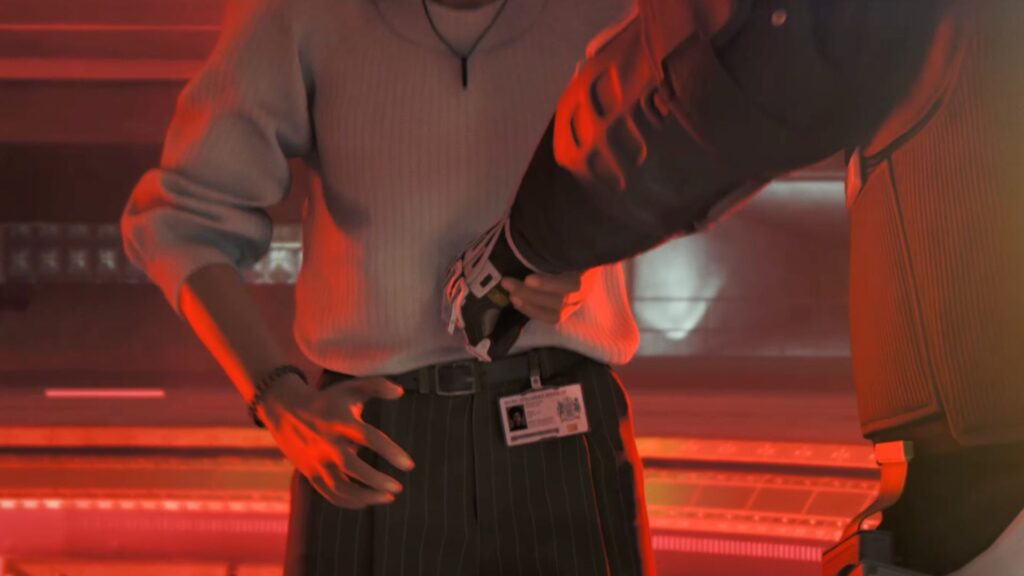
His only way out is through the tunnel. Q hands Bond a special edition Q-Watch and a master key to the lab that unlocks the entire arsenal.

Through Q-Lab
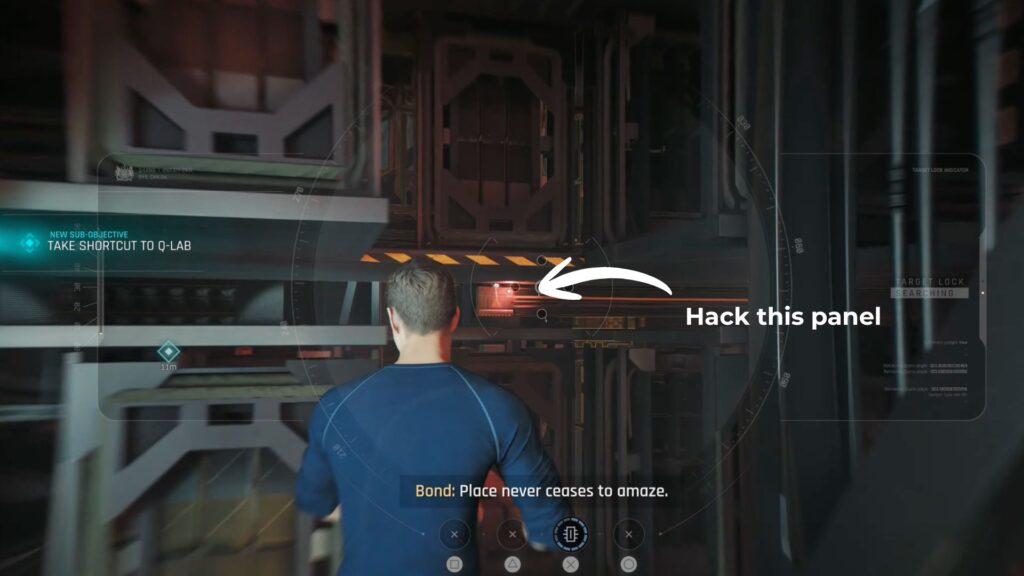
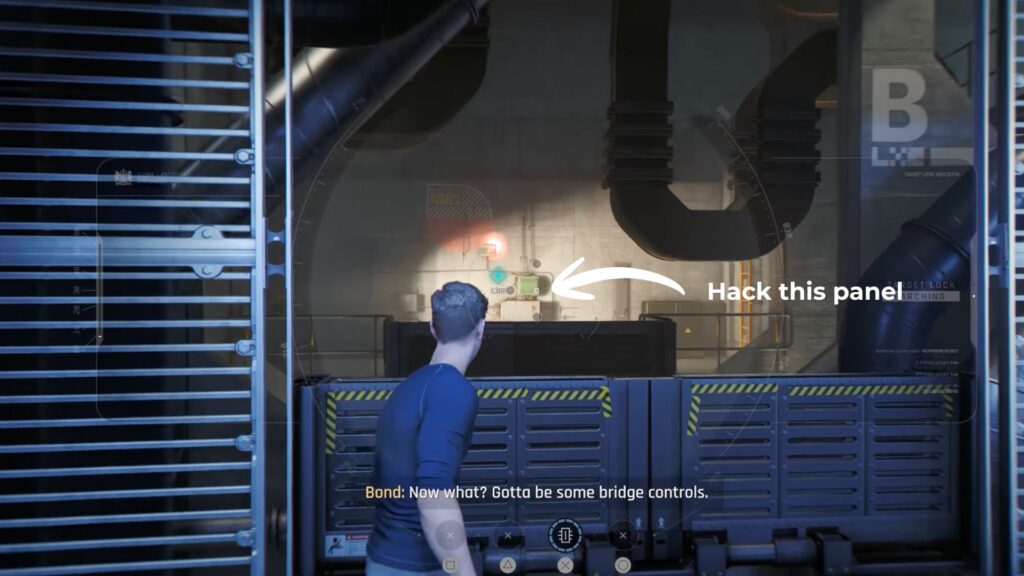
Your new objective is to Stop Damien. Jump down through the hatch and take the shortcut to Q-Lab. Hack the panel to open the way and follow the pin marker.
A large gap ahead needs a bridge. Hack another panel on the wall across from you to extend it, then jump across. Climb the yellow stairs on the wall and take the right turn at the top.
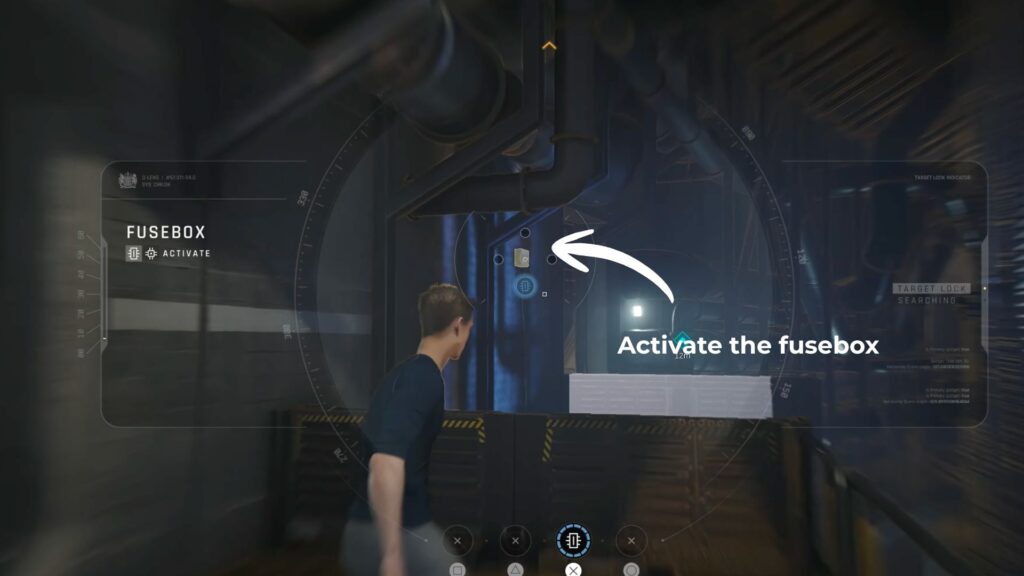
There is another gap ahead. Activate the fusebox with your Q-Watch to extend another bridge. Jump across and enter the door on the left.
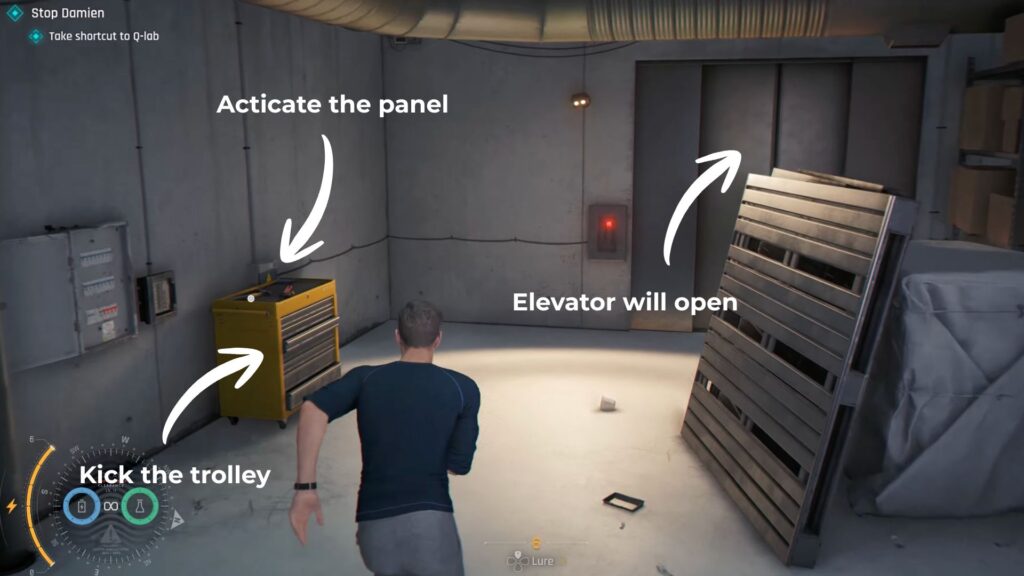
At the intersection take a left and another left to open a door. Push the yellow trolley inside to reach the panel for the elevator. Activate it.

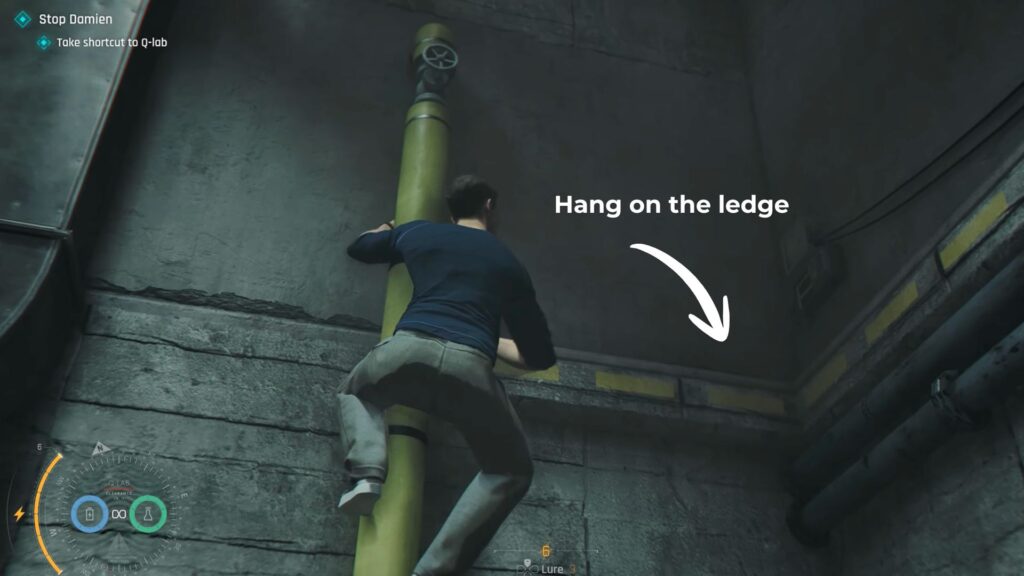
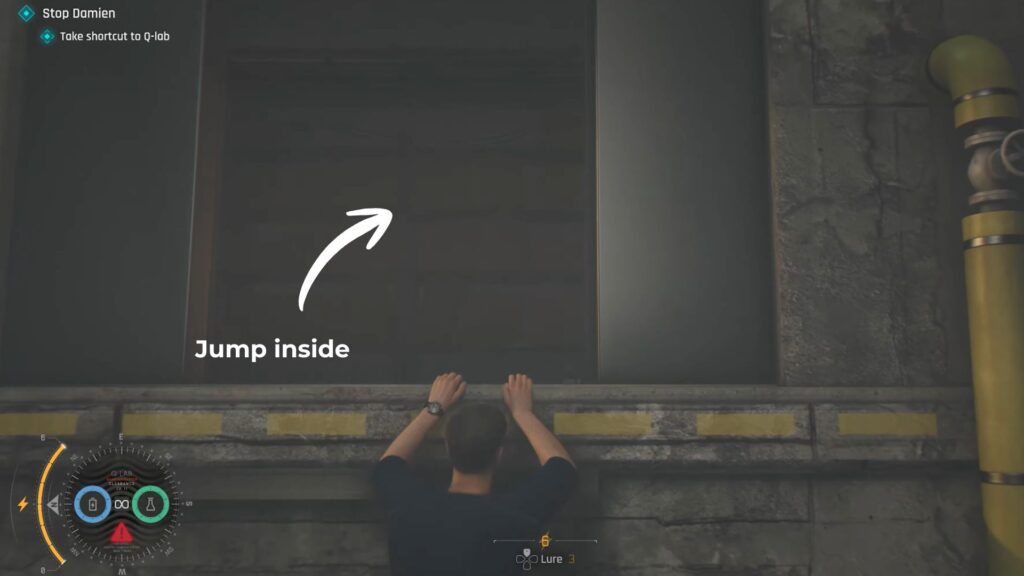
The elevator is not there so jump to the ledge on the wall instead. Climb the pipe above and keep following it around. Grab the larger pipe and pull yourself up. Keep going until you find another ledge to hang from. Climb another yellow pipe around the corner until you reach an open door. Jump inside.

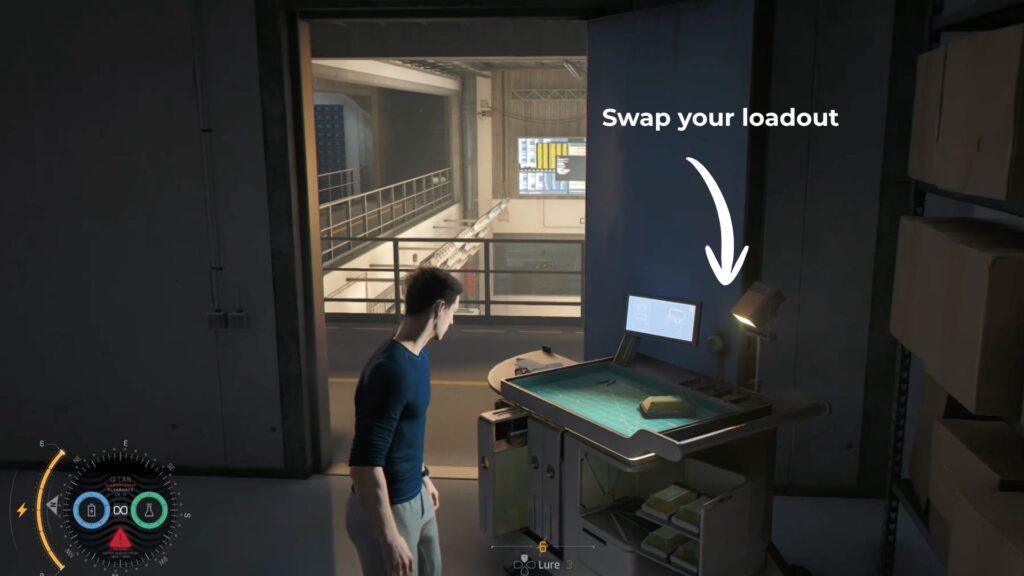
In this room you can swap out your gadget slots. The most useful loadout here is:
- Q-Watch
- Missile Pen
- Dart Phone
- Smoke Pod
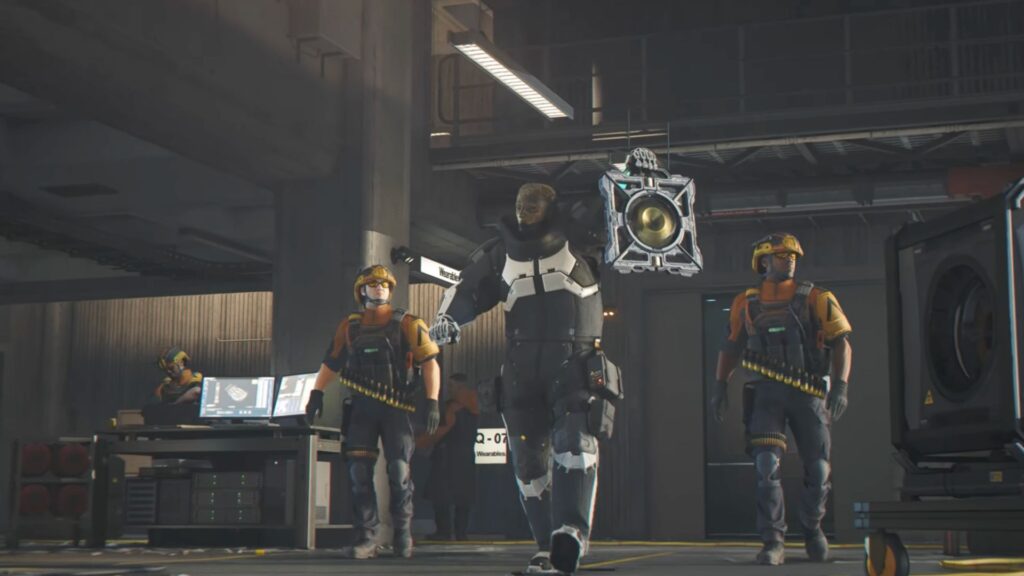
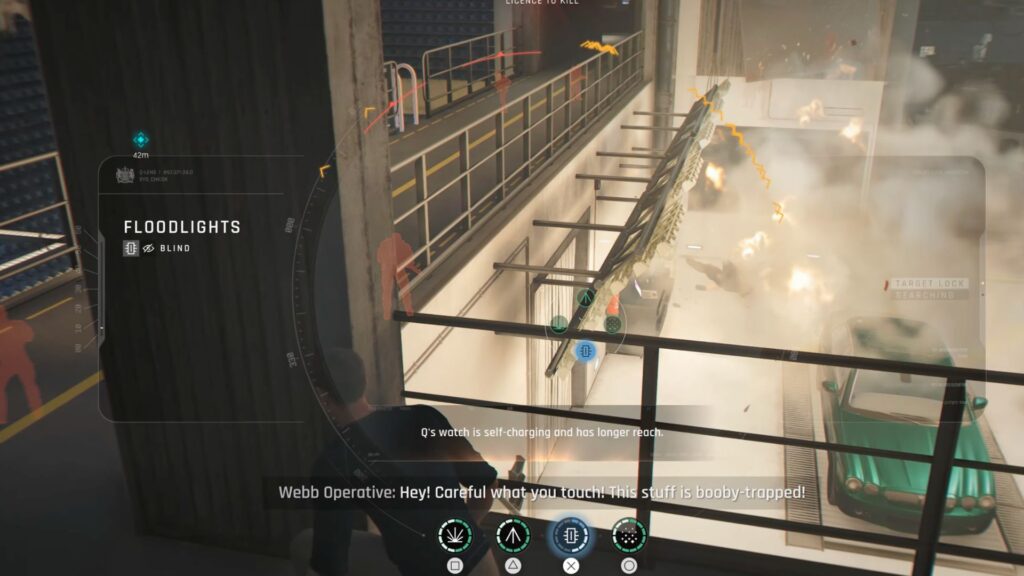
A cutscene plays. Damien is in Q-Lab telling his soldiers to grab whatever they can and get out. Your objective is to Find the Valhalla Keys.
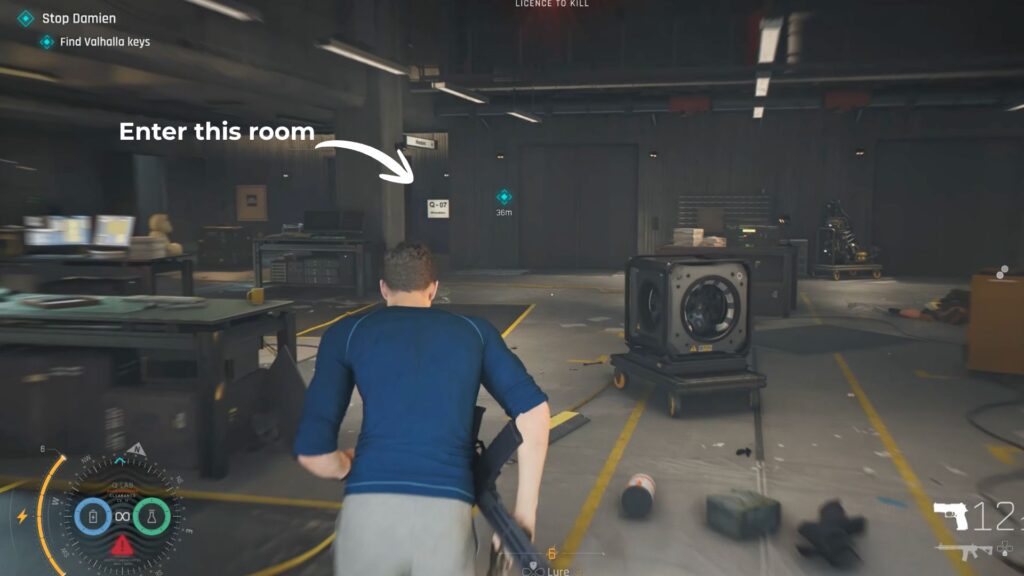
Use your gadgets constantly throughout this section. Hack machines that enemies are touching to electrocute them. Fire missiles to make them think everything is booby-trapped. Shoot when you need to and hack or blast anything that helps clear the room. Keep pushing deeper into Q-Lab until you reach room Q-07, the Wearables section.

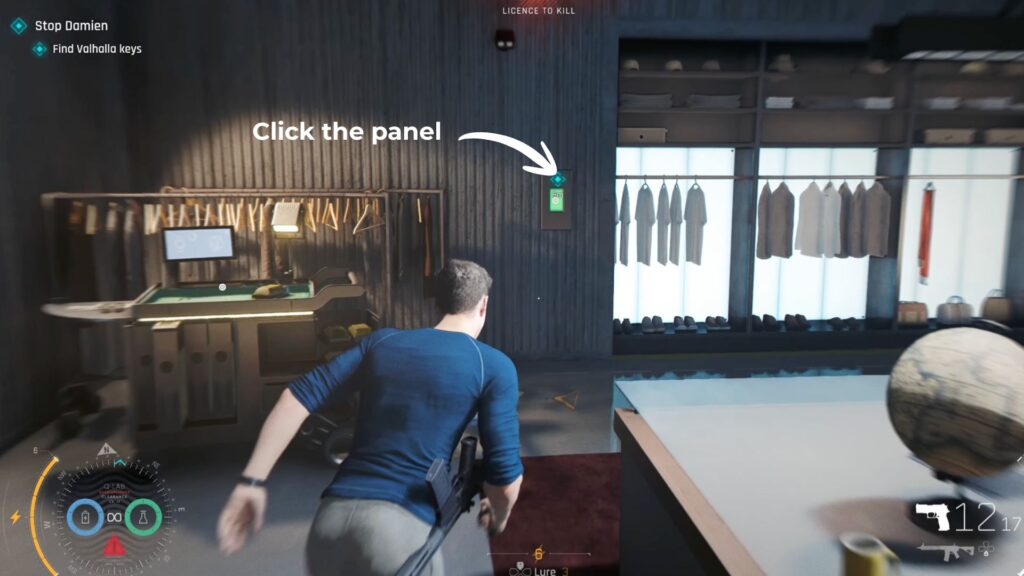
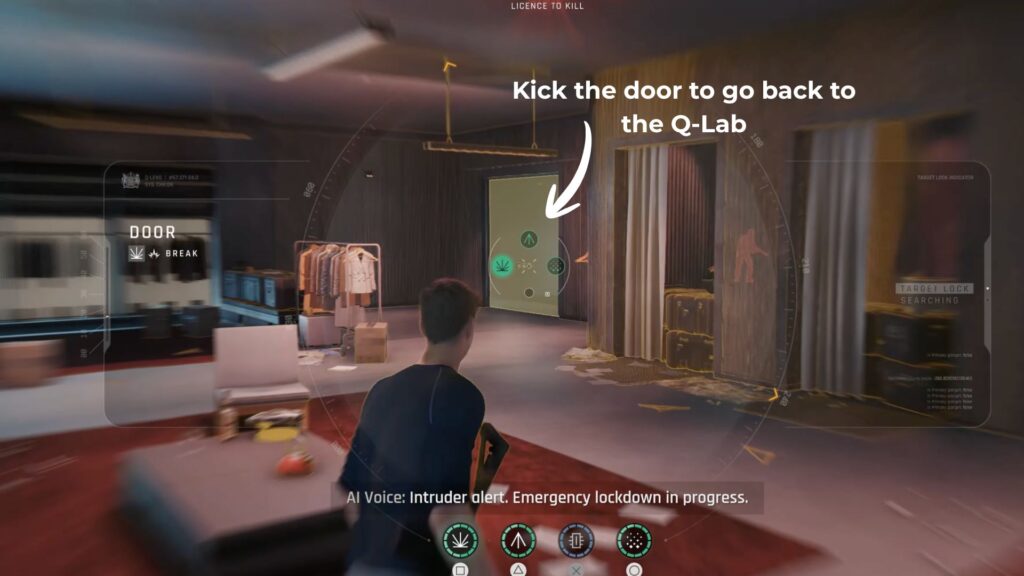
Click the panel to cycle through the wardrobe shelf. The key is inside Q’s jacket, which is hanging on the far right of the wardrobe.
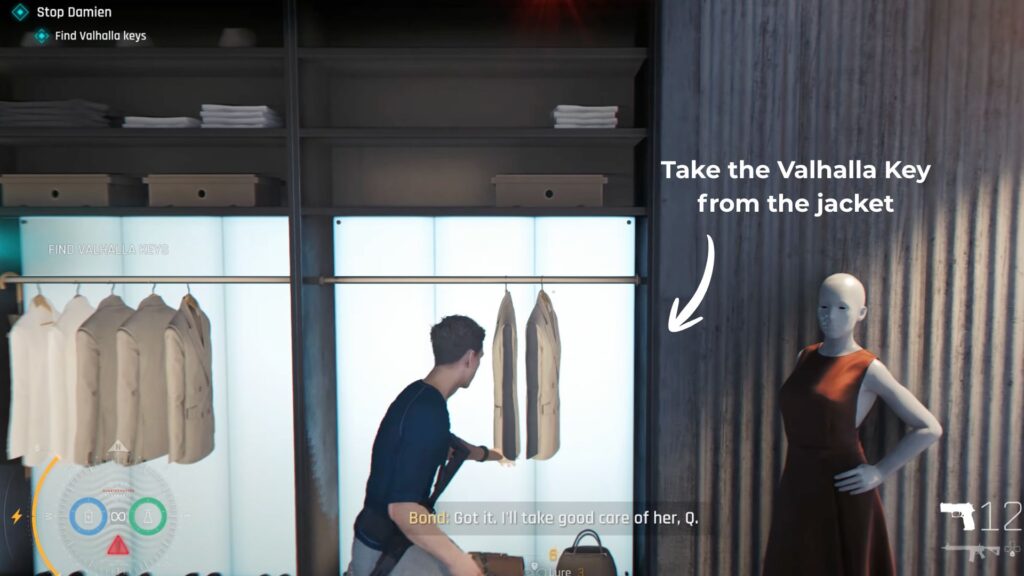
Since you are not Q, the Q-Lab AI registers you as an intruder and triggers a lockdown. Your next objective is to Override the Lockdown. Kick the door in the left corner of the room to get out and keep clearing enemies throughout the lab.
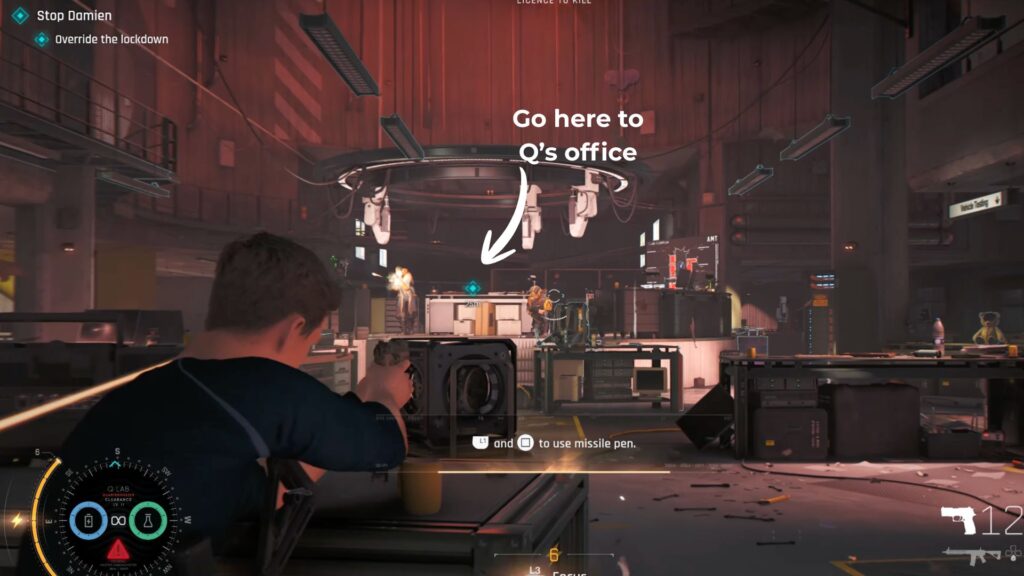
Head to Q’s platform in the center of the lab, the same spot where you first met Q back in Chapter 1. Use Q’s laptop on the desk to override the lockdown. This activates the lab’s defence mode and switches on laser turrets around the room, which helps deal with the next wave of enemies coming in.
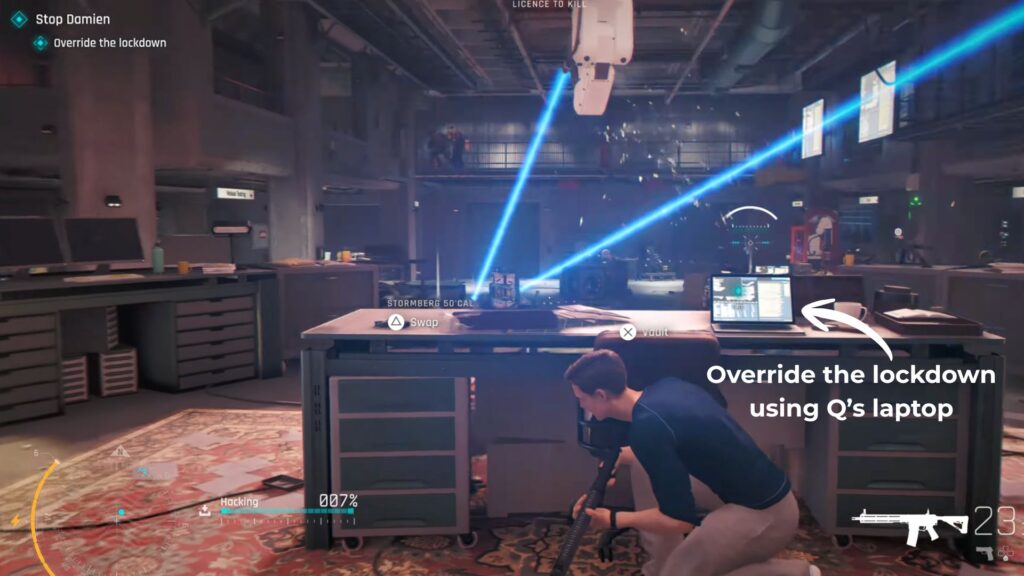
While waiting for the override to finish, shoot machines and hack anything nearby to create area damage and keep enemies at bay. When the override completes, make your way to the garage at the back of the lab where the Valhalla is located.
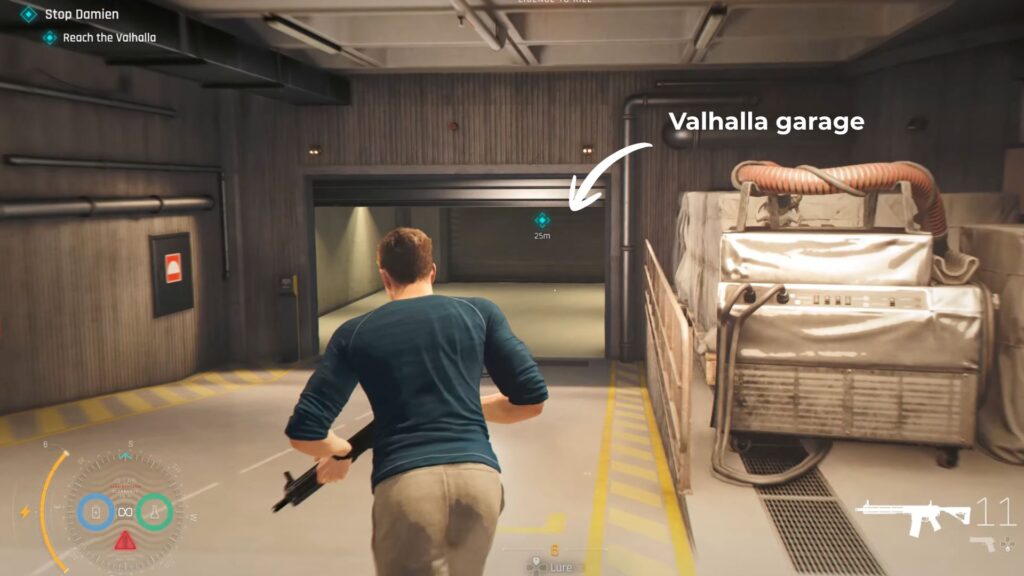
The Valhalla
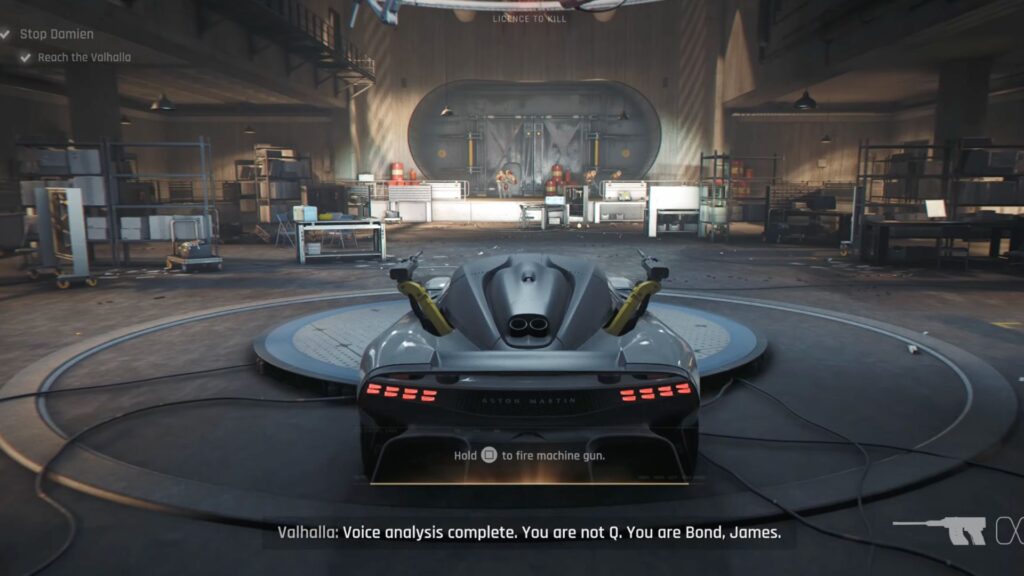
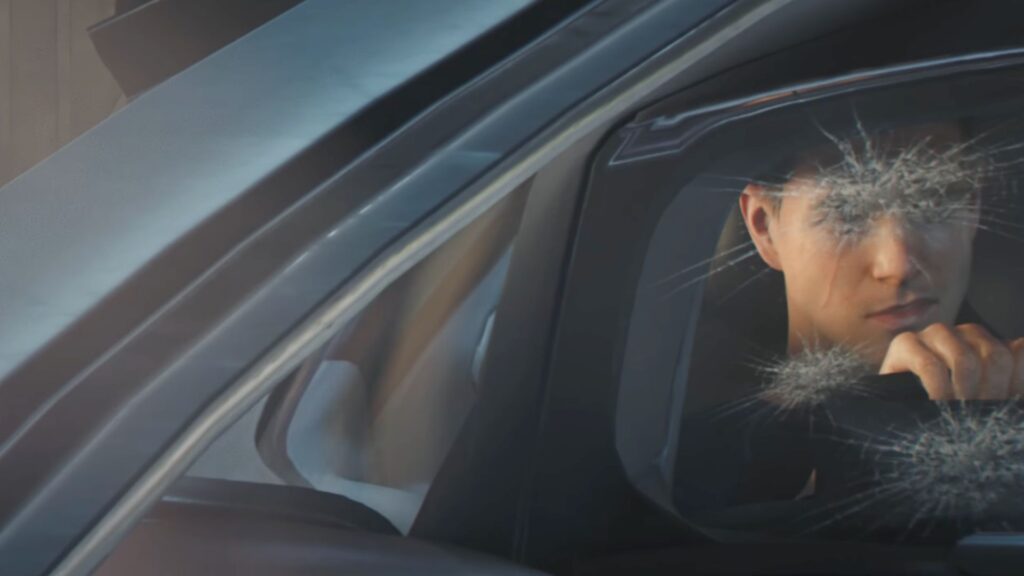
A cutscene plays. Damien’s soldiers are trying to break through the steel wall to escape. Bond spots the Aston Martin Valhalla and gets inside it. Damien notices him. They start shooting at the car.
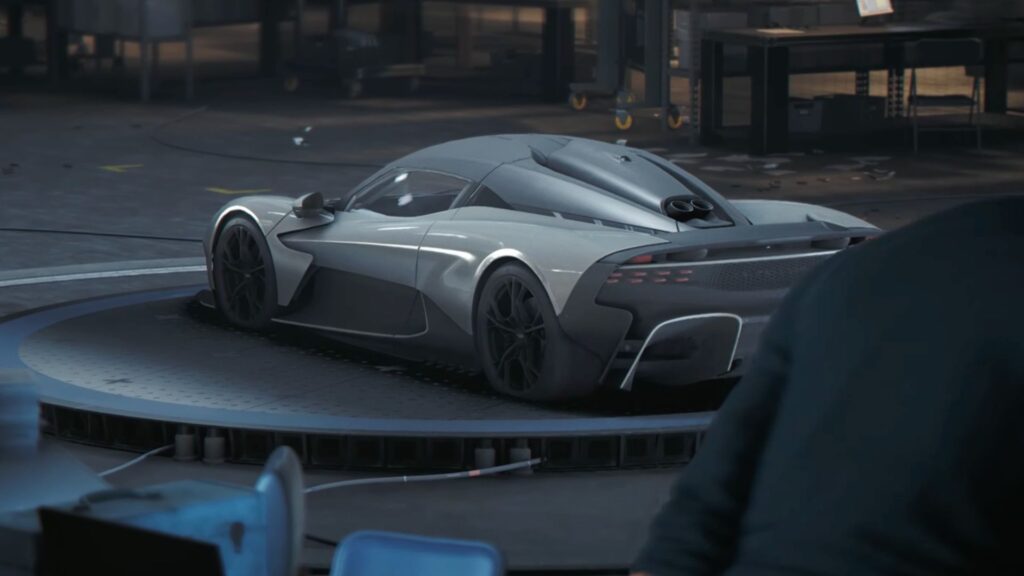
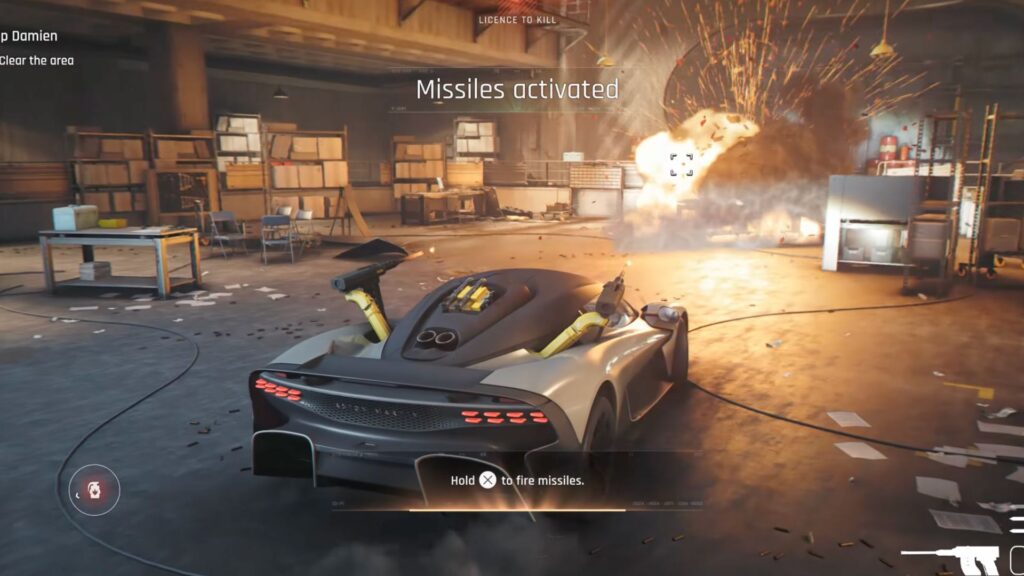
The car is bulletproof so Bond is fine inside, while trying to use voice commands to attack Damien back. The flamethrower is there, but it is not ready. The missiles are still loading too. Bond has no choice but to activate the machine guns, which are ready to fire.
Drive the Valhalla around the room and use the machine guns to take out the remaining hostiles. Once the missiles are ready, use them when you need to.

When the area is clear a cutscene starts. Damien arrives with a large bazooka and shoots the maintenance machine above the Valhalla. It falls onto the car and traps Bond inside. Damien approaches and leaves him there. Bond activates the ejector seat and gets out of the car.
Chasing Damien
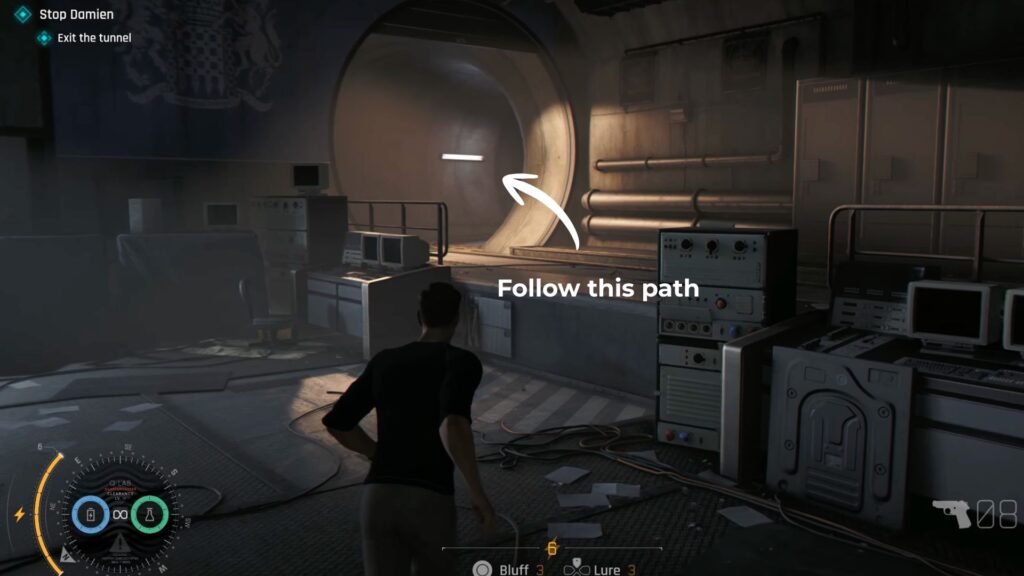
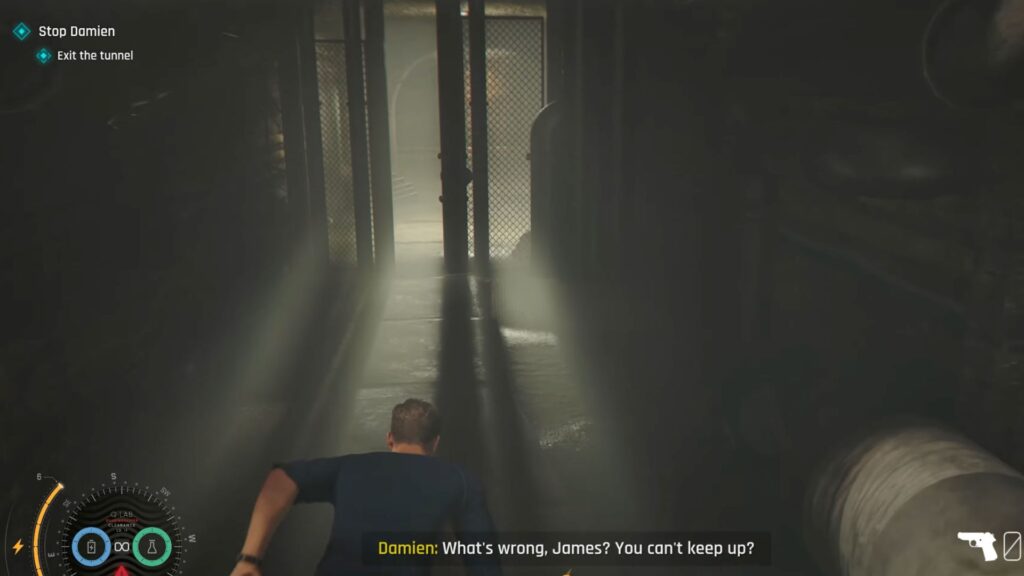
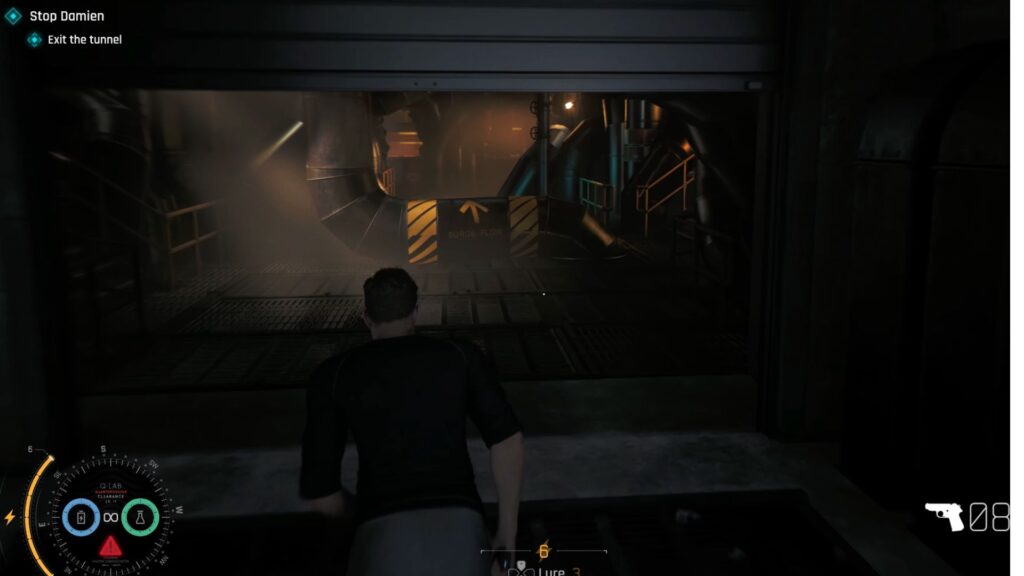
Follow Damien into the tunnel. Keep on following the path until you see a door on the right. Go through it and keep going. Jump across gaps, hang on pipes, and follow Damien’s voice and shadow to stay on his trail.

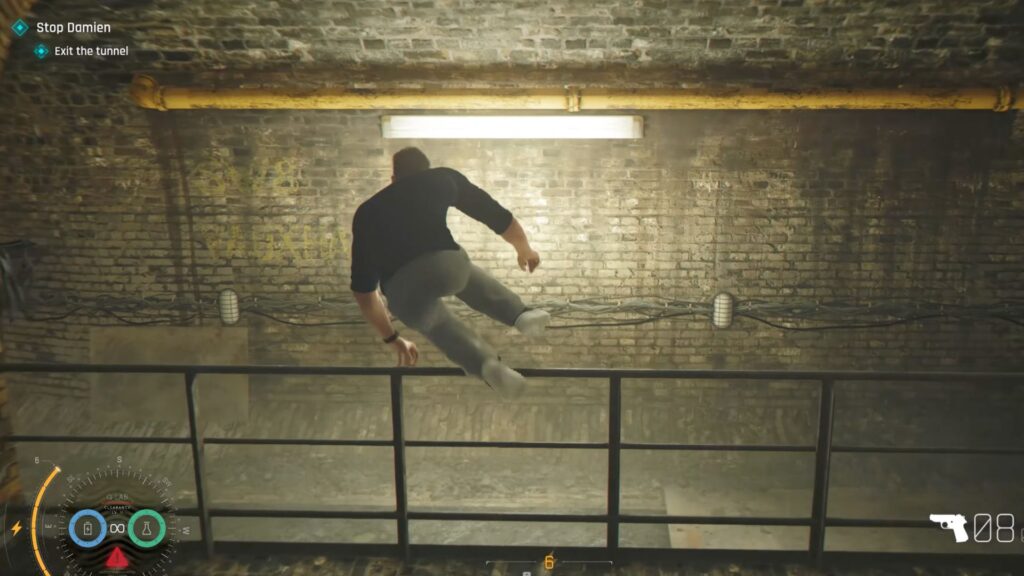
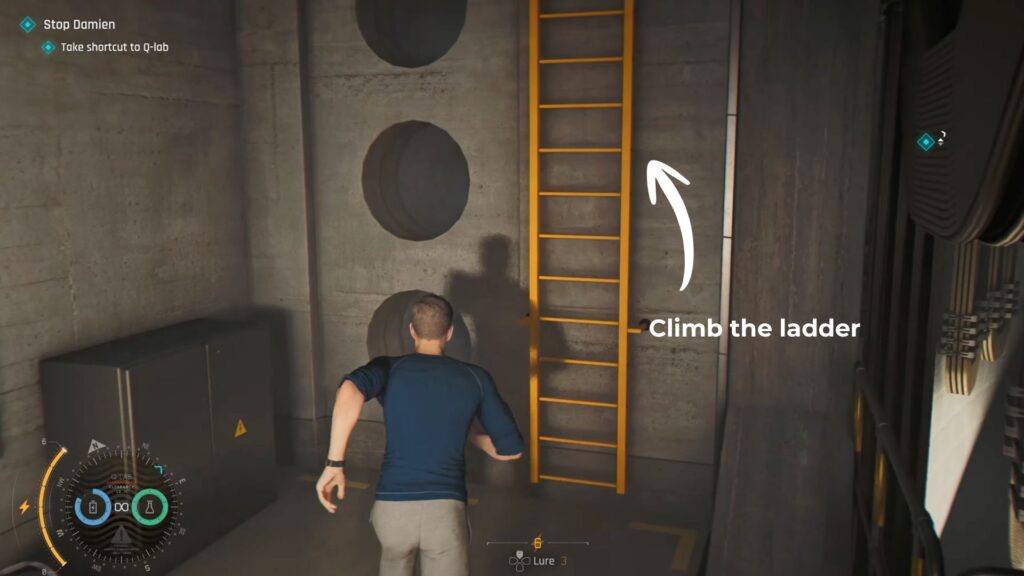
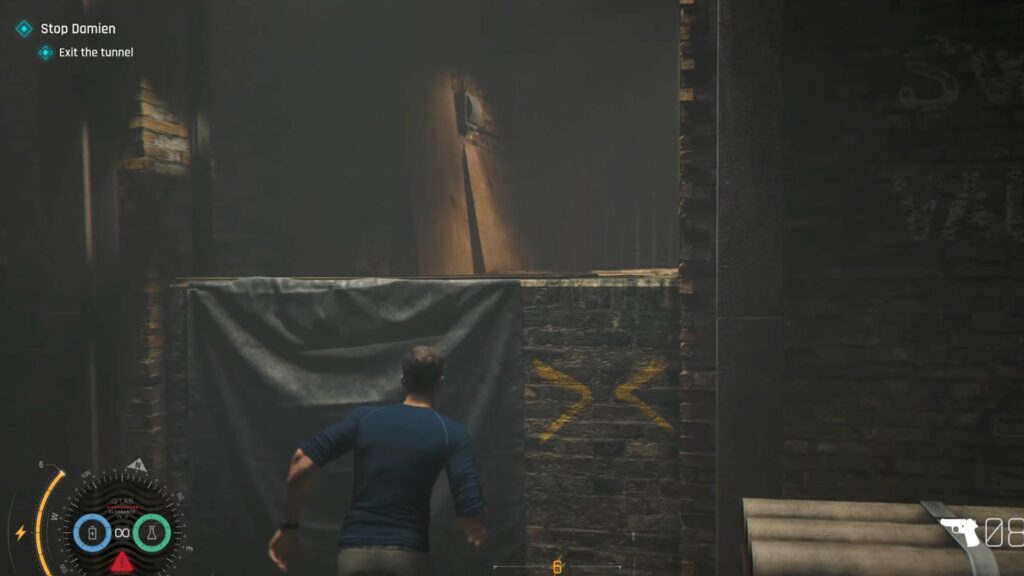
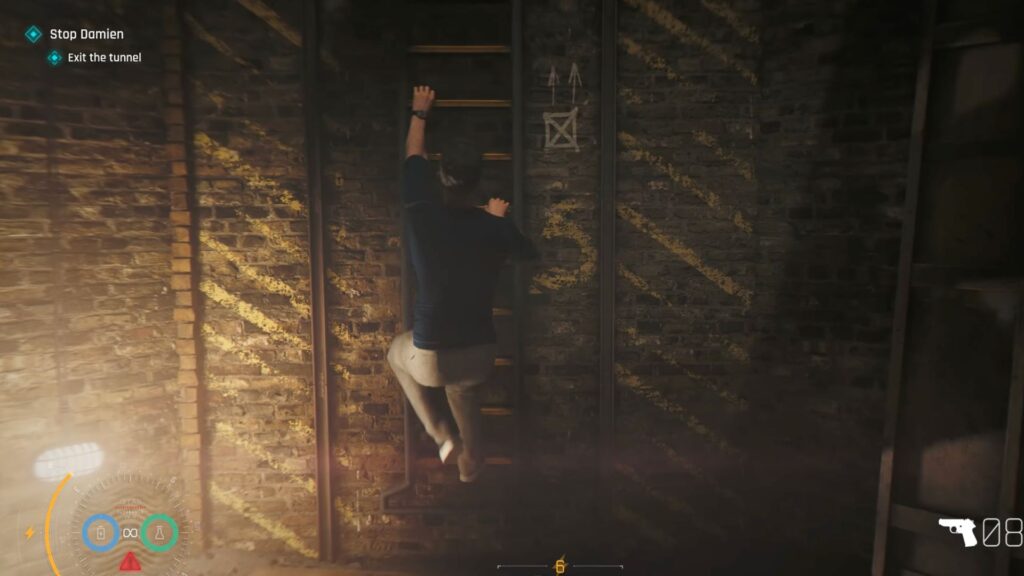
When you finally close in, a steel gate comes down between you both. Step back and look to the left for another way through. Jump along the wall and keep moving. Climb the ladder on the wall and enter the restricted area door. Keep going straight until a cutscene begins.

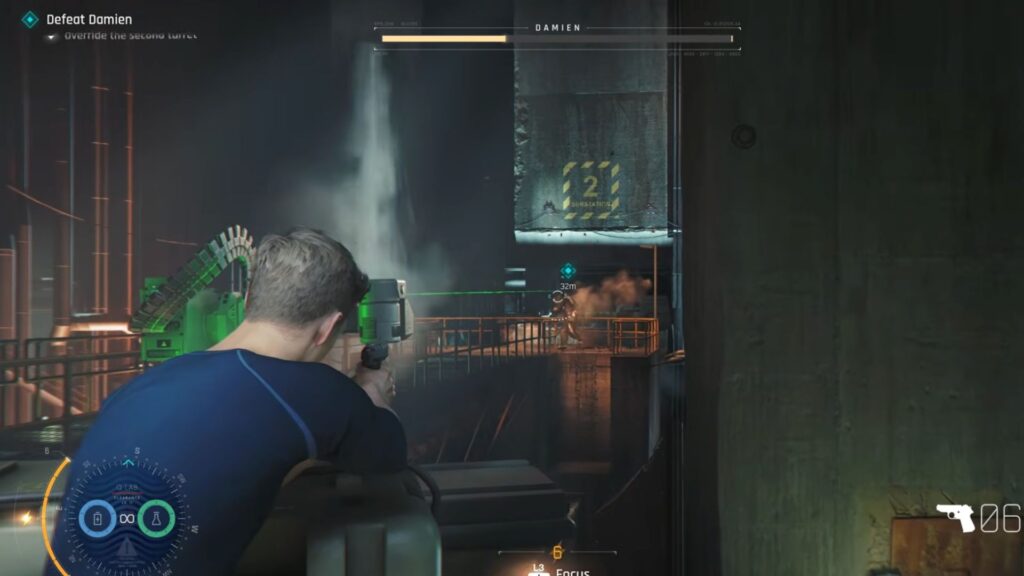
Everything you’ve gone through this chapter leads into the final boss fight that closes out 007 First Light. Damien is the final boss of the game. Defeat him to finish your mission.
Final Boss: Damien
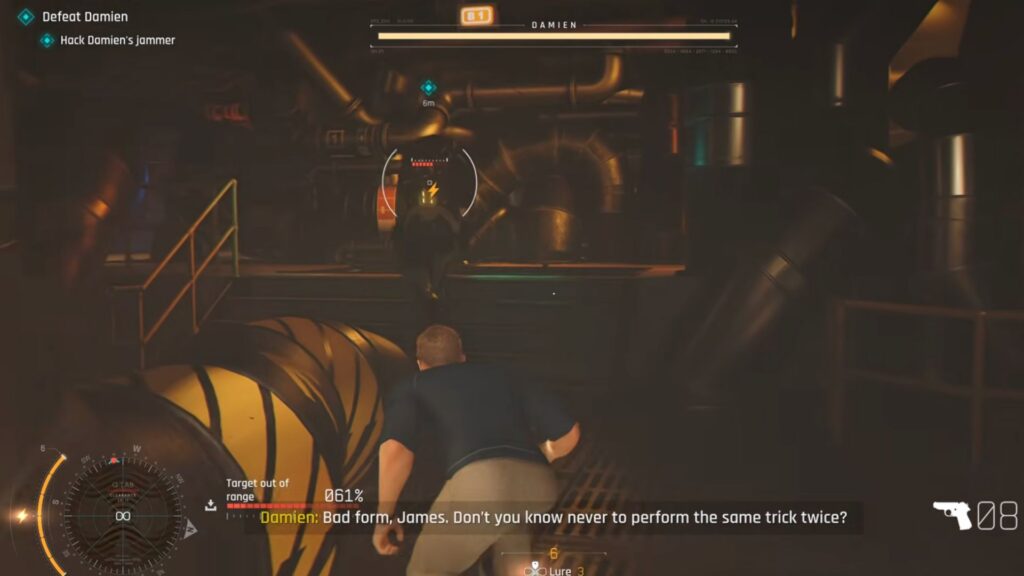
Damien has a large health pool and a Jammer built into his arm that blocks your gadgets. To disable it you need to hack it, but you have to get close to him to do so. Use the pipes around the area as cover and close the distance when you can to chip away at the hack. Keep moving between cover and pushing the hack forward until it reaches 100%. Once it does, your gadgets come back online.
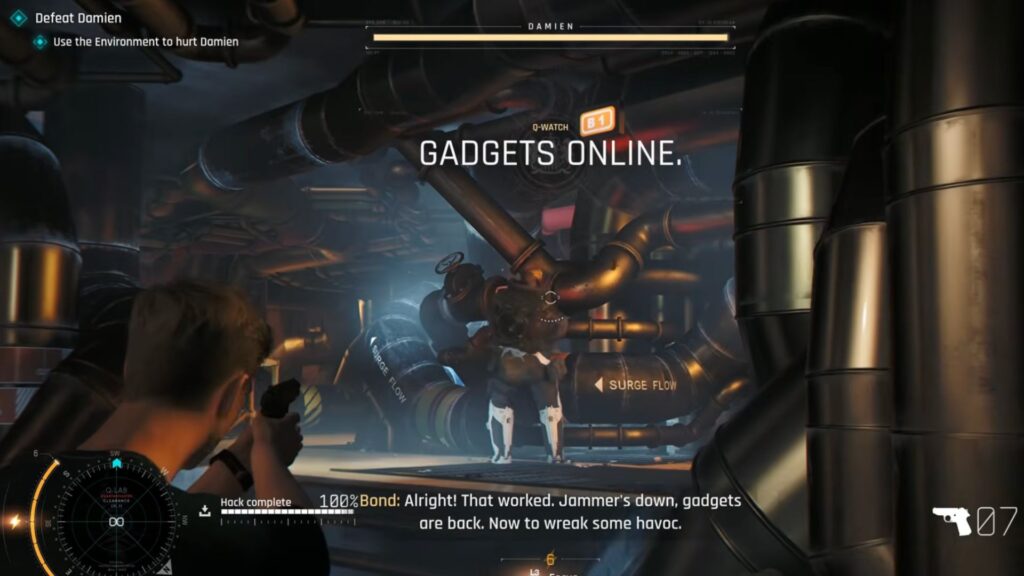
From here, use the environment against him. Hack and activate anything around the arena to deal damage and wear down his exo-suit. At some point you will be able to activate laser turrets in the area. Turn them on and use them to help bring Damien down.
When his health is fully depleted, Damien triggers a remote detonator on himself. Bond does not stop him. The blast does not kill either of them but it destroys the bridge they are standing on. Both of them fall.
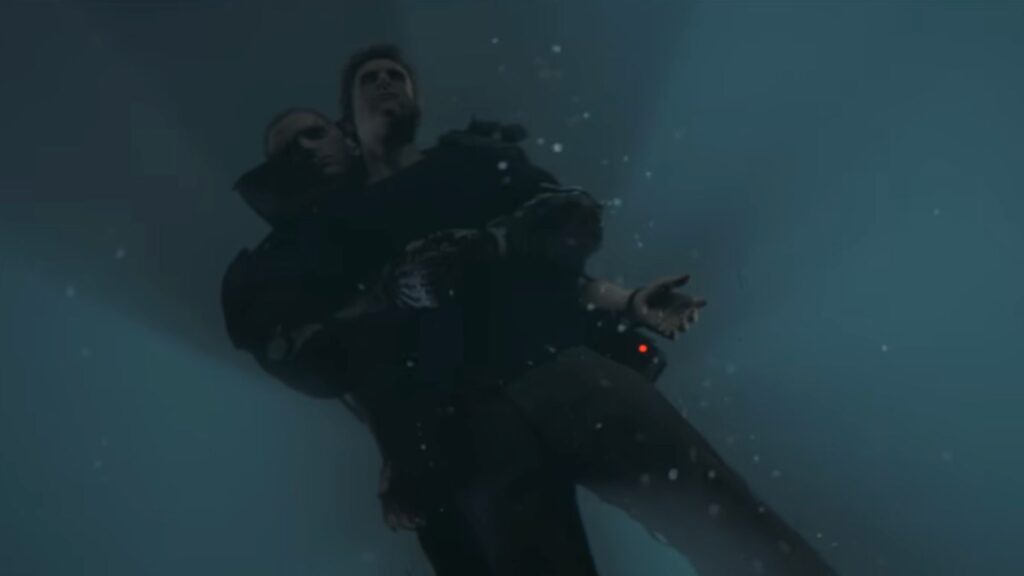

The fight continues below with melee attacks as you both go down. Then you both hit the water. Isola suddenly appears, dives in, and pulls THEIA from Damien’s grip. She also helps Bond to safety.
Ending
The game closes with M and Bond attending Greenway’s memorial service. Afterward M hands Bond his official ID card, designating him as 001. Bond points out that since he was the seventh recruit, he would rather be 007. M accepts it.

But Bond makes clear that it is not over. Someone pulled him out of the water and took THEIA. The question of who that was and where THEIA is now remains unanswered as the credits roll.