
This sector is not repeatable once you finish the game, so make sure you collect everything thoroughly before moving on.
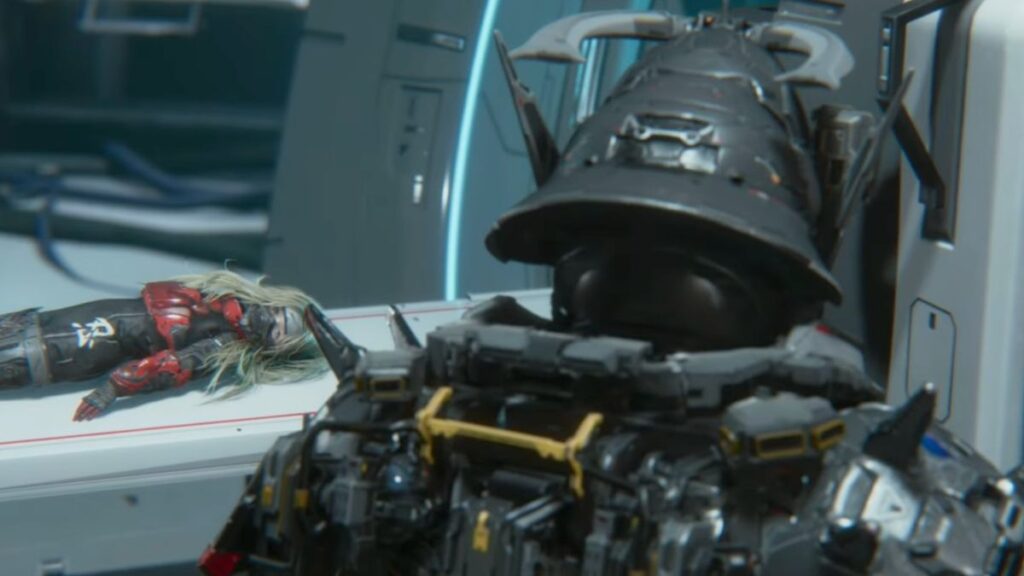
You arrive at the Experimental Pragmatics area carrying a heavily wounded Diana. Keep moving forward along the linear path until you reach a larger room filled with medical equipment. A cutscene will play as you continue, after which you’ll receive a new objective to Get the Energy Reactor.
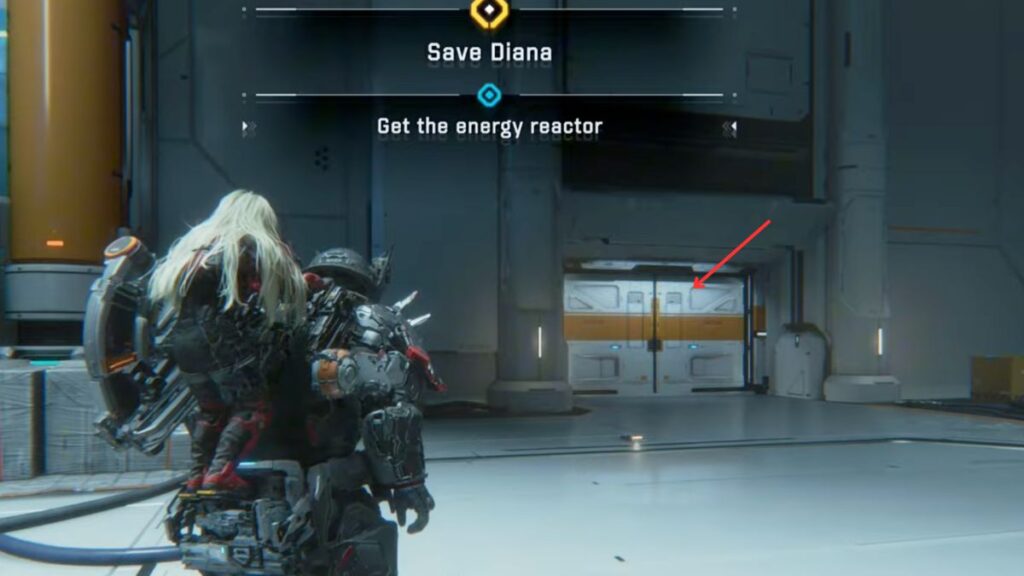
Getting the Energy Reactor
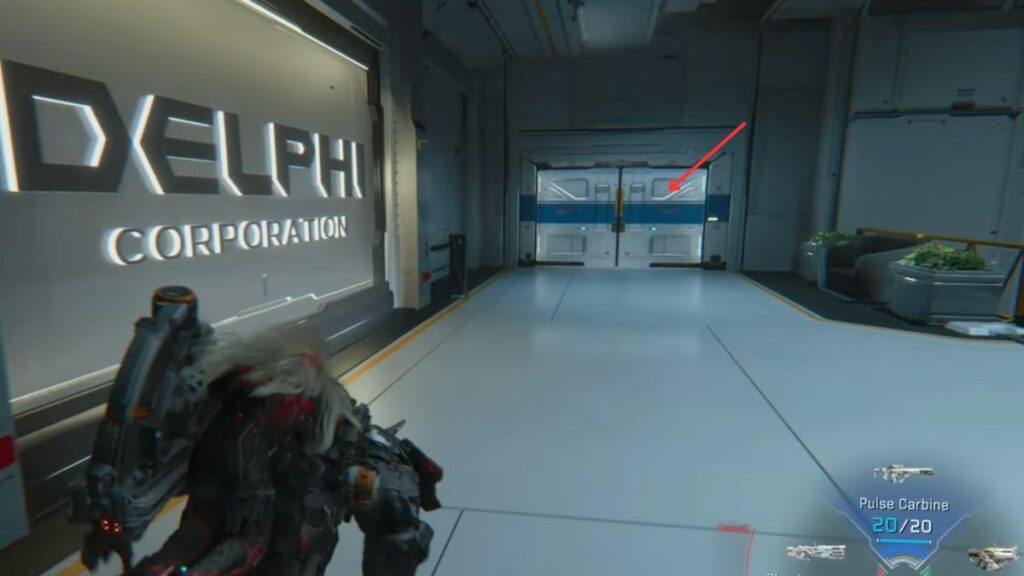
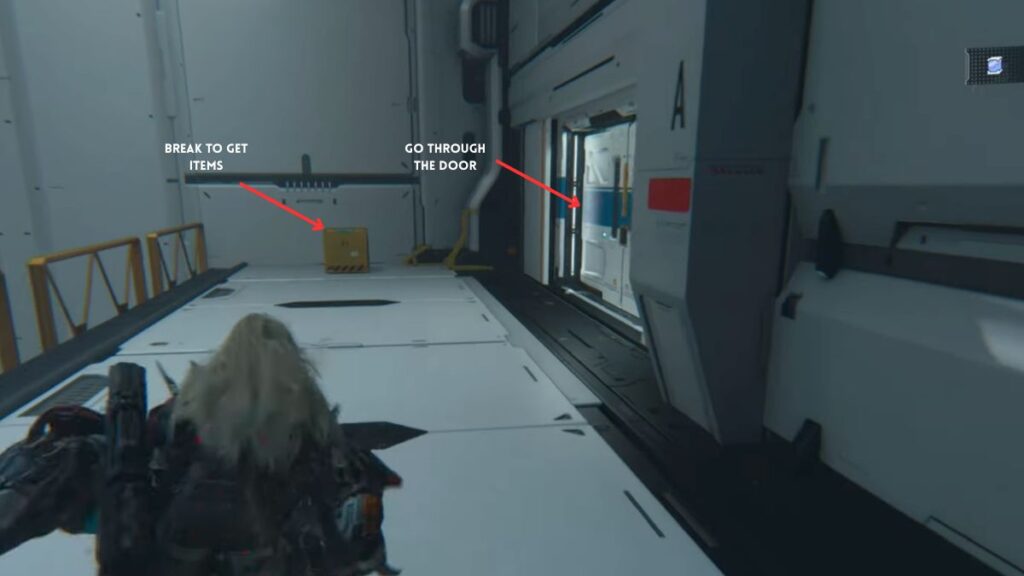
Before leaving the room, collect all the loot boxes in the area. Head out through the right door and go up the stairs, continuing forward until you reach another staircase. There are two stairways here but they both lead to the same place. Take the left one and grab the loot box at the top, then go through the right door ahead where a Walker is waiting.
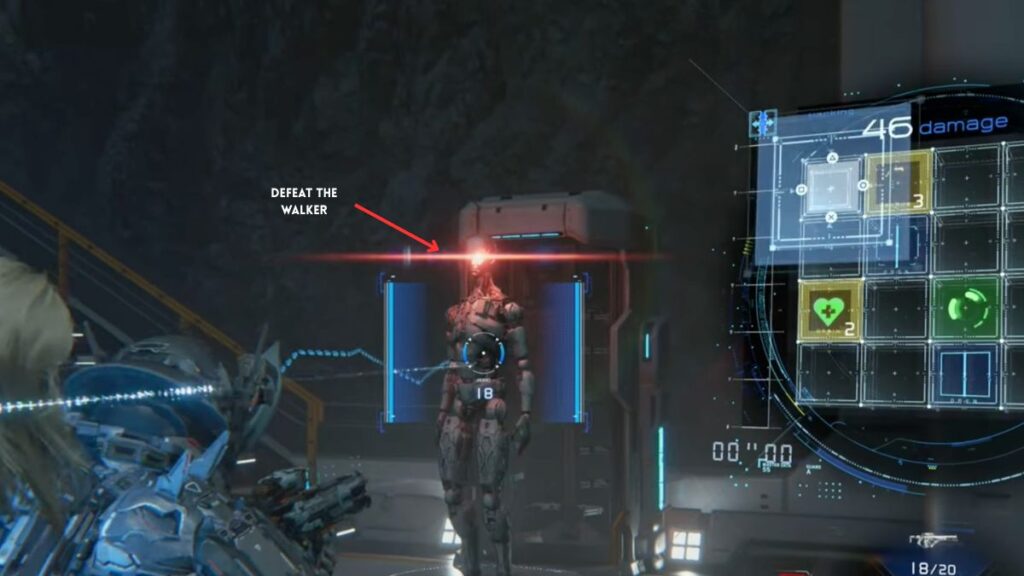
This is where the game introduces Purple Nodes. Passing through a purple node during a hack will briefly stun Diana and reduce her hacking gauge, so avoid them when navigating the hacking matrix. Defeat the Walker and walk through the automatic door ahead.

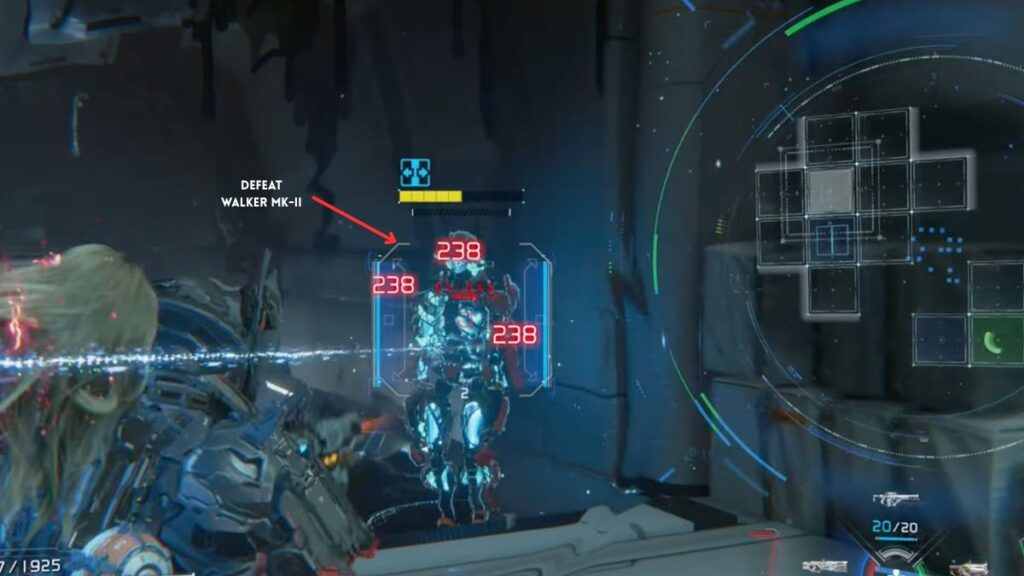
In the next area, you’ll face a Walker and a Walker MK-II. Both should be straightforward to handle by this point in the game. Take them down, head upstairs to collect another loot box, and go through the automatic door on the right.
Shortly after, you’ll spot Hazardous Dead Filament on the ground. Walking through it interferes with Diana’s hacking ability, causing corrupted purple nodes to fill the hacking matrix and making hacks significantly harder. Use your thrusters to clear the filament patches and land safely on the other side. A Walker MK-II will be waiting for you as you land, take it out.

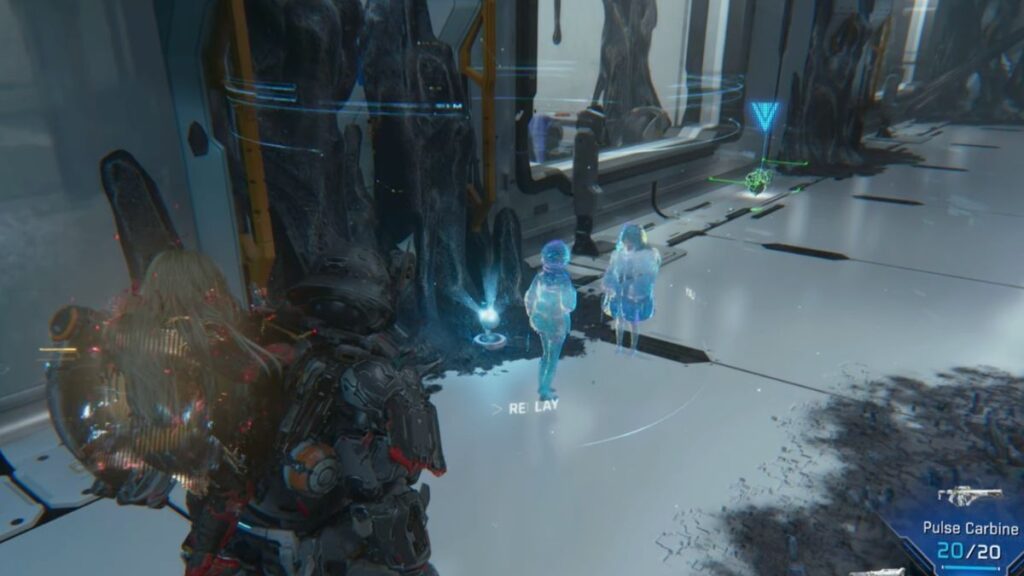
Keep following the path through more corrupted filament patches until you encounter two Watchers. Defeat them and go through the next door. Through the door, you’ll find Holo: Diana’s Creation 1. Continue along the main path to find Holo: Diana’s Creation 2 shortly after.
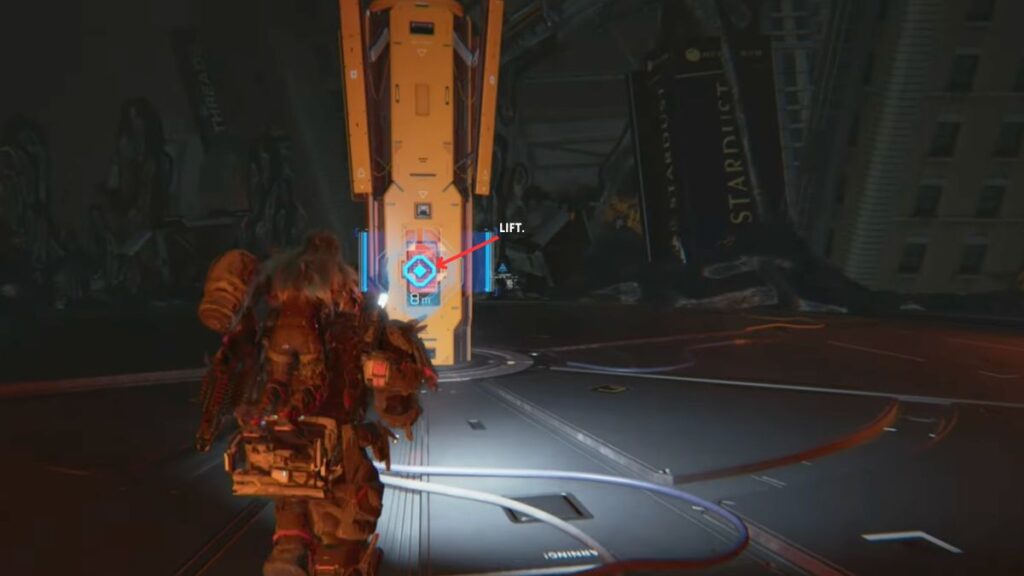
Keep moving until you reach a large area with a lift. Hack it to descend. Two enemies will attack as soon as you reach the bottom, deal with them and go through the door. Watch out for more corrupted filament along the path ahead. You’ll soon encounter a Crusher MK-II. Take it down before continuing.
Go through the next door and you’ll enter a well-lit room with a large pool of corrupted filament and a group of one Crusher and two Walkers. Clear the enemies and keep moving. The path stays linear until you reach an elevator — take it up to the next floor.
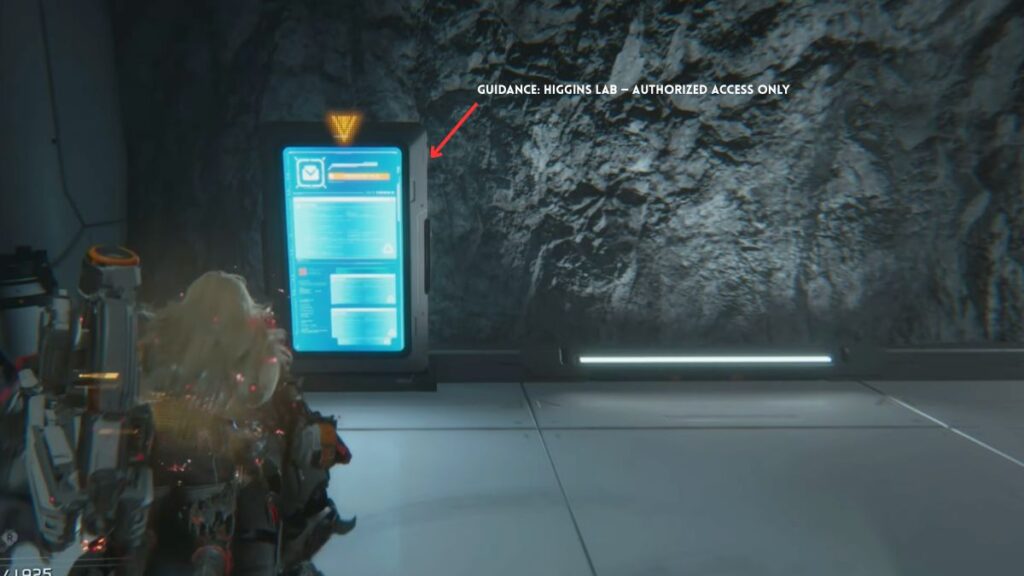
On this floor, keep moving forward until you reach a blue screen reading “Guidance: Higgins Lab — Authorized Access Only.” Interact with it and continue up the stairs ahead, where you’ll find Holo: Thoughts of Earth.
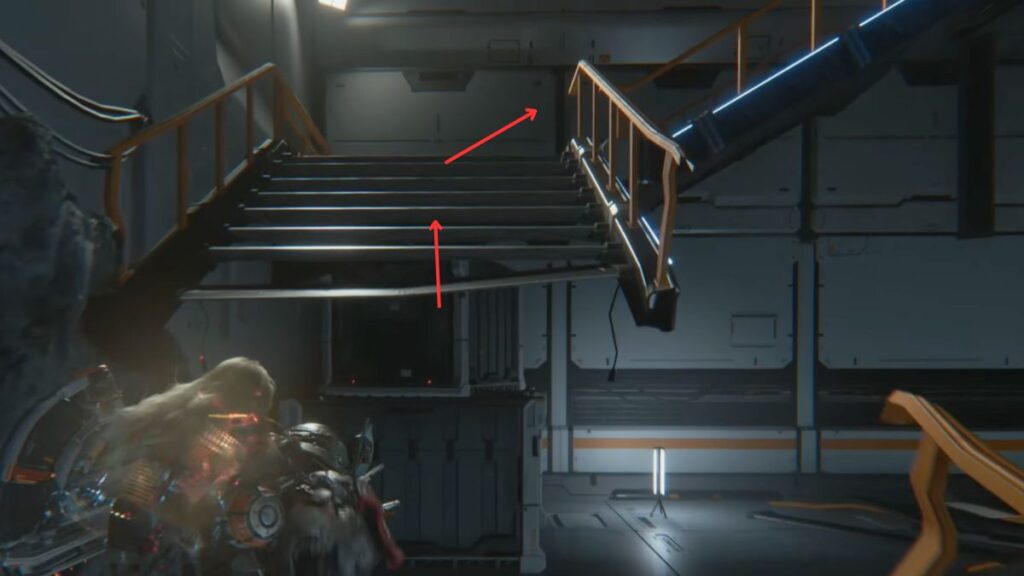
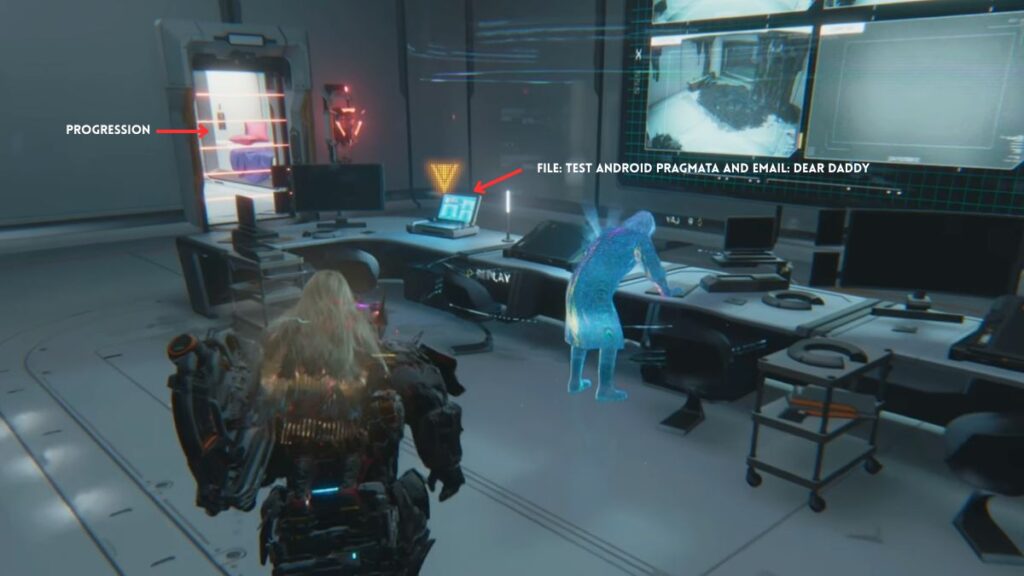
Go through the door and you’ll come to a broken staircase. Use your thrusters to navigate the broken sections and reach the top. At the top, collect Holo: Seven. On the table nearby, there’s a computer, interact with it to read File: Test Android Pragmata and Email: Dear Daddy. Hack the door here to lower the lasers and open the path forward.
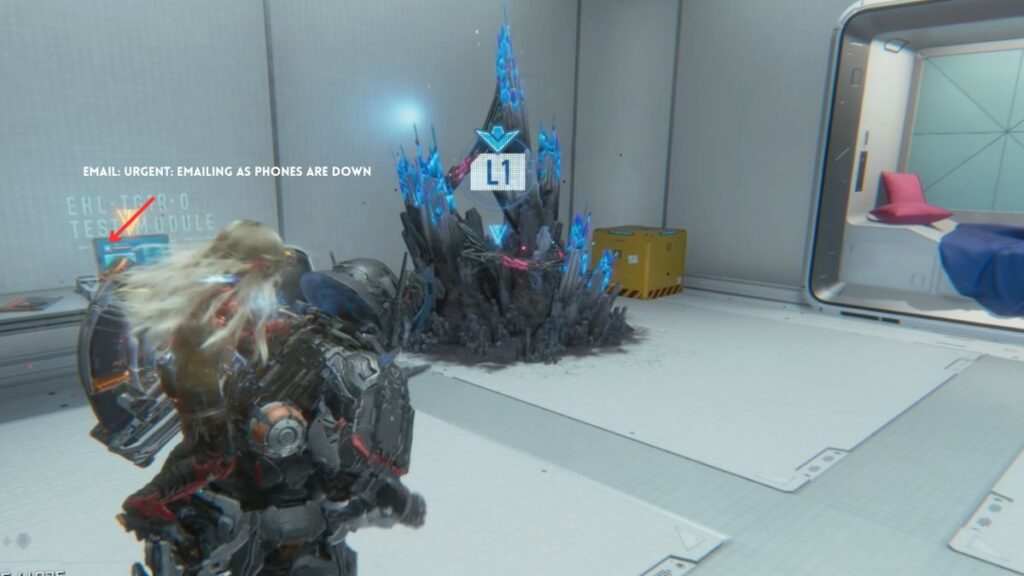
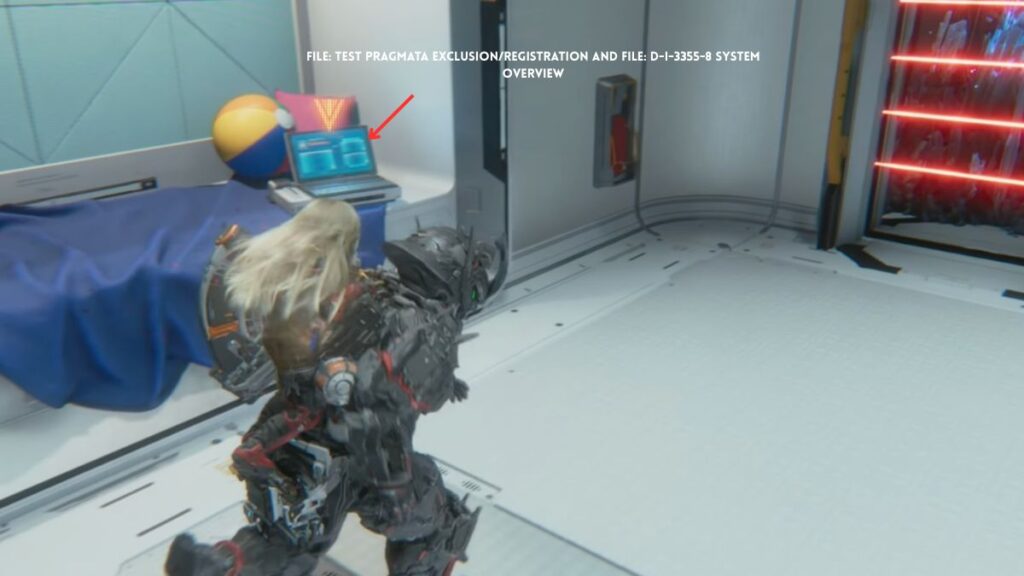
The next room contains blue crystals for Diana to collect. Hack the lasers in this room again to get through to the next one. On the left side, check the computer for Email: URGENT: Emailing as Phones Are Down. Check the computer on the bed for File: Test Pragmata Exclusion/Registration and File: D-I-3355-8 System Overview.
A door sealed by lasers is ahead. The red panel to open it is on the other side, hack it to get through. As you enter this area, you’ll find Holo: Separate Ways on the ground.

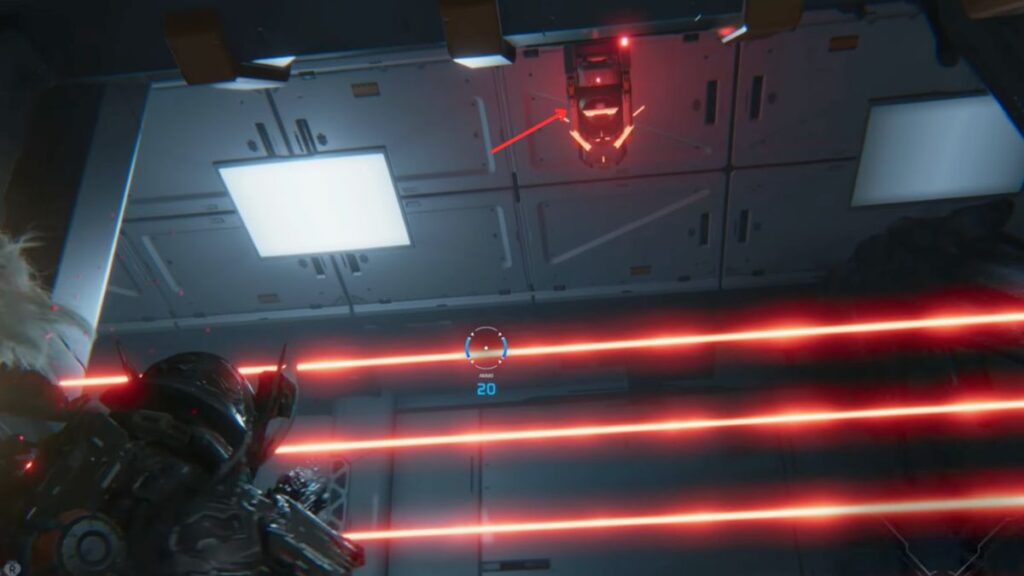
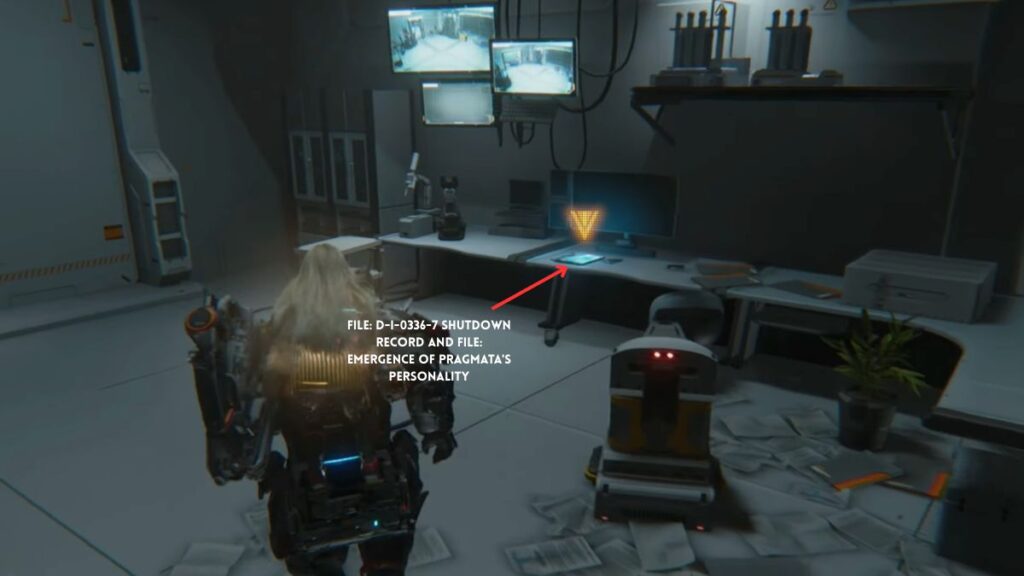
Further into this area, a larger passage is blocked by another set of lasers. The panel controlling them is directly above; hack it to open the door. In the next room, check the desk to find File: D-I-0336-7 Shutdown Record and File: Emergence of Pragmata’s Personality.
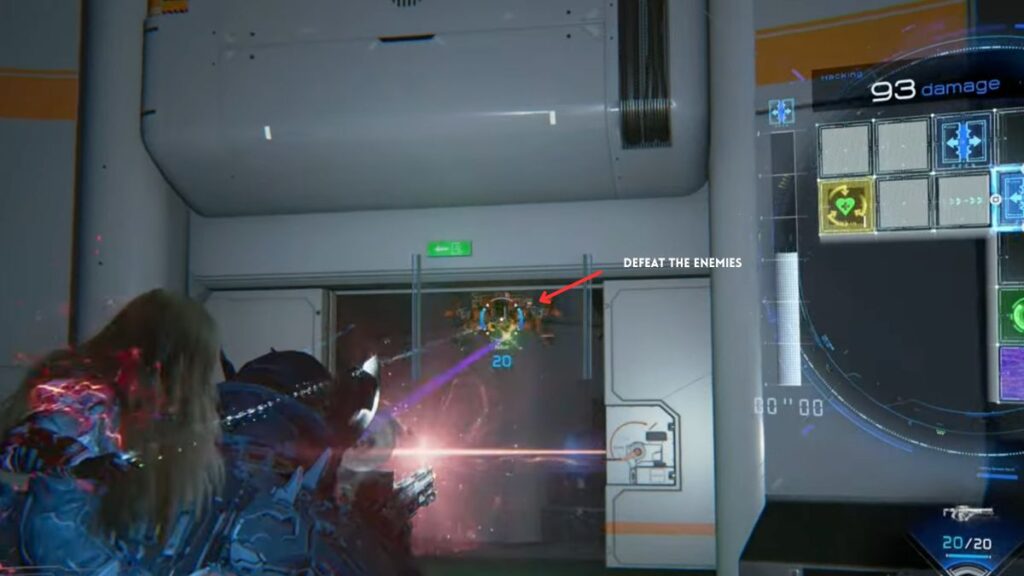
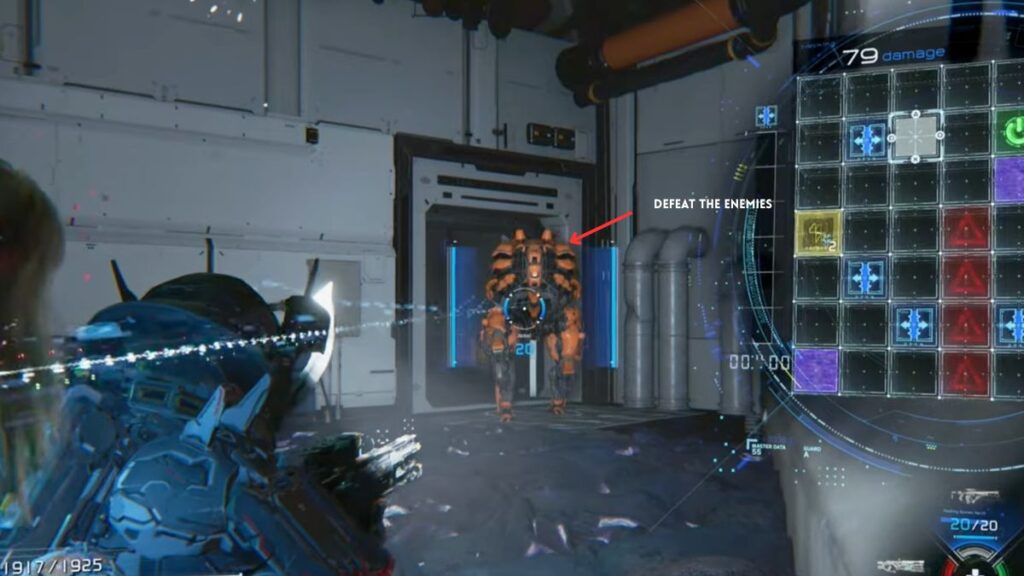
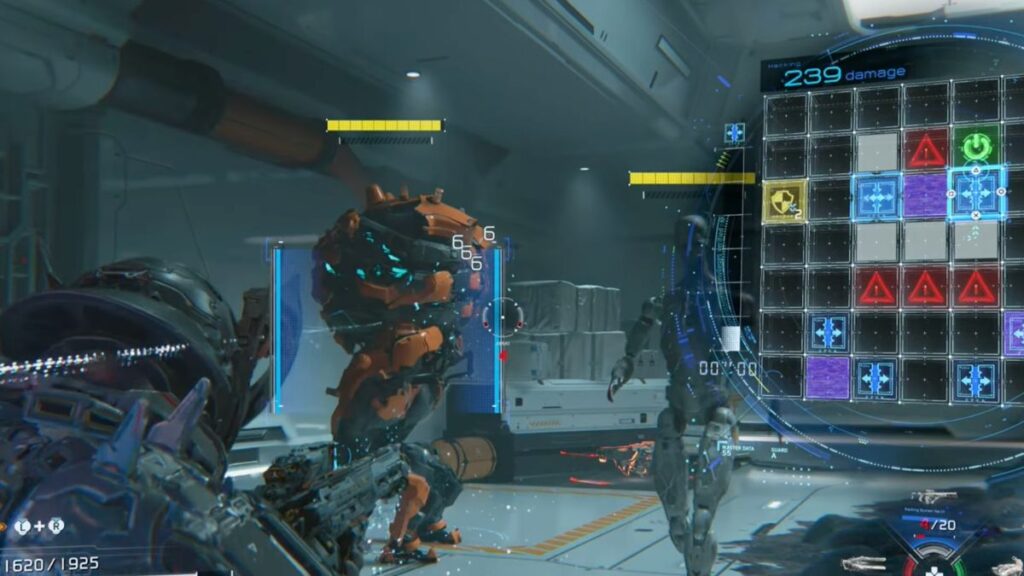
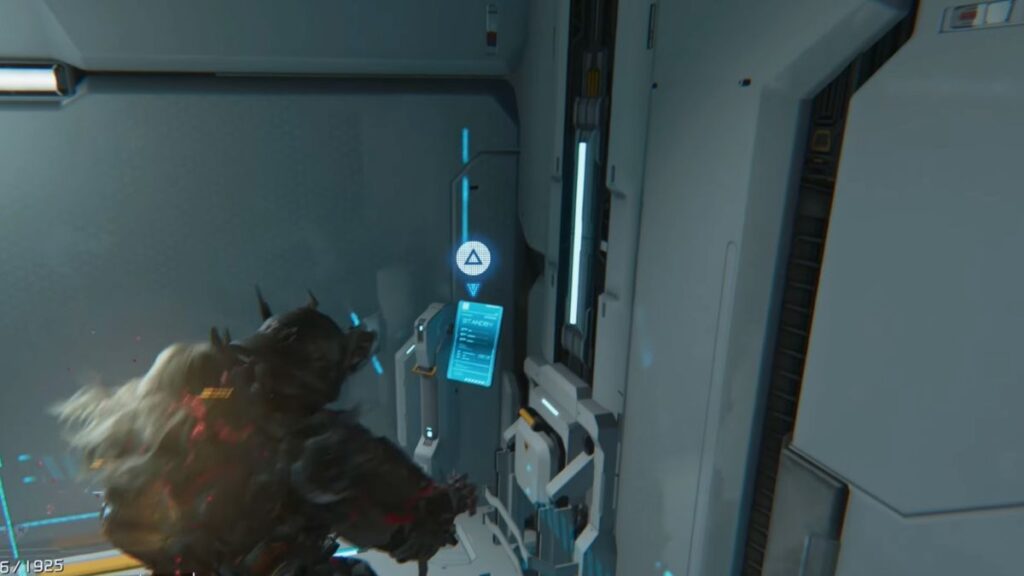
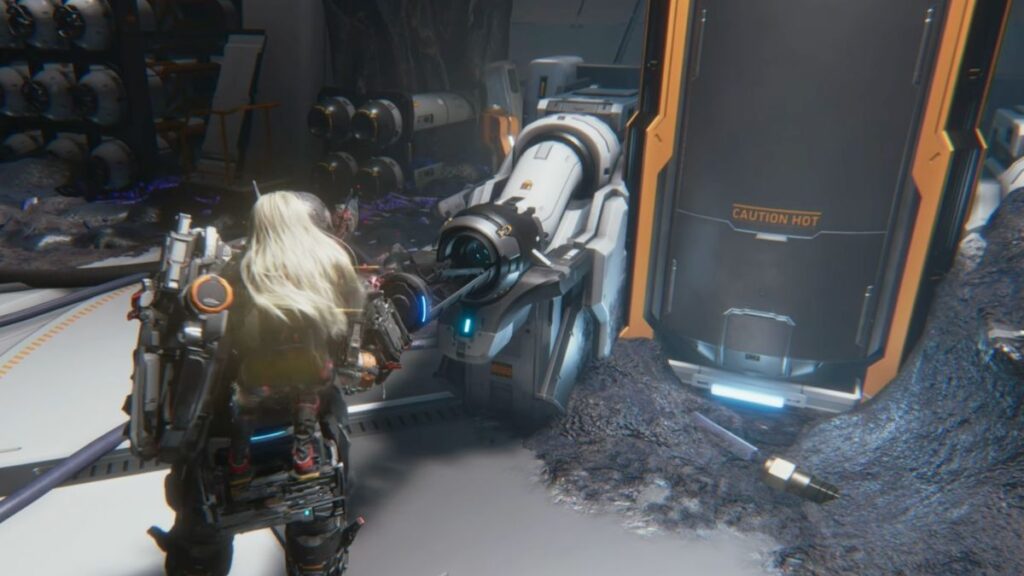
With those collected, interact with the machine in this room marked by a blue arrow. This completes the objective and immediately triggers a wave of enemies. Take them all down. Once the fight is over, a cutscene will play.
Boss Fight: Sentinel
After the cutscene, you’ll be carrying Diana again. Head through the now open door and follow the path until Holo: Eight plays. Place Diana into the machine, then prepare for the boss fight.
Following the fight, Diana unlocks a new ability — Deletion Protocol.
Deletion Protocol replaces Diana’s Overdrive ability but keeps everything Overdrive did, opening up nearby enemies, stunning them, and dealing heavy damage. It now also cleanses Dead Filament from the environment and shrinks an afflicted enemy’s hacking grid, making them significantly easier to hack.
Returning to the Shelter
With the fight done, make your way to the tram and reach the Shelter. A new ability will unlock here, Cleanse, which lets you clear these obstacles as you move.
All Collectibles
| Category | Item | Location/Notes |
|---|---|---|
| Holo Recordings | Diana’s Creation 1 | Through the door after the two Watcher fight |
| Diana’s Creation 2 | Along the main path shortly after Diana’s Creation 1 | |
| Thoughts of Earth | Top of the stairs past the Higgins Lab blue guidance screen | |
| Seven | Top of the broken staircase navigated using thrusters | |
| Separate Ways | On the ground as you enter the area past the laser door with the panel on the other side | |
| Eight | Plays automatically along the path after the post-cutscene section carrying Diana | |
| Files | Test Android Pragmata | Computer on the table at the top of the broken staircase |
| Dear Daddy | Same computer as Test Android Pragmata | |
| URGENT: Emailing as Phones Are Down | Computer on the left side of the room past the second laser hack | |
| Test Pragmata Exclusion/Registration | Computer on the bed in the same room | |
| D-I-3355-8 System Overview | Same computer as above | |
| D-I-0336-7 Shutdown Record | Desk in the room past the second large laser-blocked passage | |
| Emergence of Pragmata’s Personality | Same desk as D-I-0336-7 Shutdown Record | |
| Abilities | Deletion Protocol | Unlocked automatically after defeating the Sentinel boss |
| Cleanse | Unlocked automatically during the return to the Shelter | |
| Bosses | Sentinel | Survive the fight by dodging combos and ranged attacks — press the prompt when it appears to end the encounter |
The Experimental Pragmatics sector is one of the most story-driven areas in the game, packed with Holo recordings that flesh out the world and Diana’s backstory. The Sentinel fight strips away your usual toolkit and tests how well you’ve mastered dodging on its own. Remember that this sector cannot be revisited after completing the game, so double-check your collectible list before boarding the tram and returning to the Shelter.