
Chapter 4: The Past Never Dies ended with Beckett confirmed dead, having been beaten and tortured in Bawma’s boathouse. Bawma captured both Bond and Greenway, but Greenway used the knowledge of Bawma’s sister, Harmony, as leverage to secure their release. Bawma gave them a Land Rover and let them go. Chapter 5: Beyond the Grave begins as soon as you get inside the vehicle.
007 First Light Chapter 5: Beyond the Grave Walkthrough
Driving to the Transworld Wreck
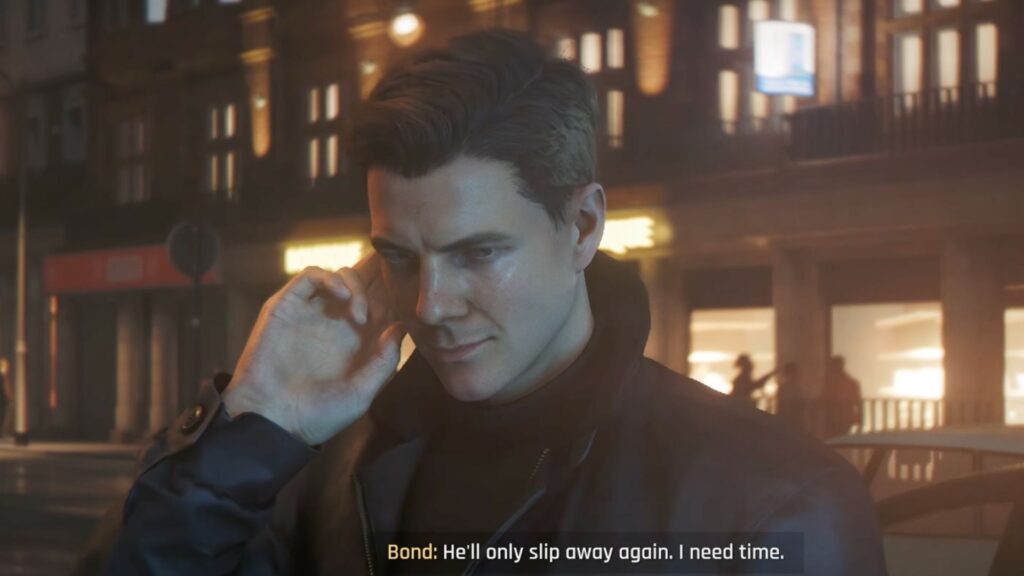
Your first objective is to Drive to the Transworld Wreck. Follow the pin marker on your screen HUD, through the beach area and across the desert. During the drive, Greenway opens up and lets Bond ask anything.
Bond asks why they didn’t go directly to Bawma with what they had on Harmony. Greenway tells him that you never give up useful information if you can get what you want for free.
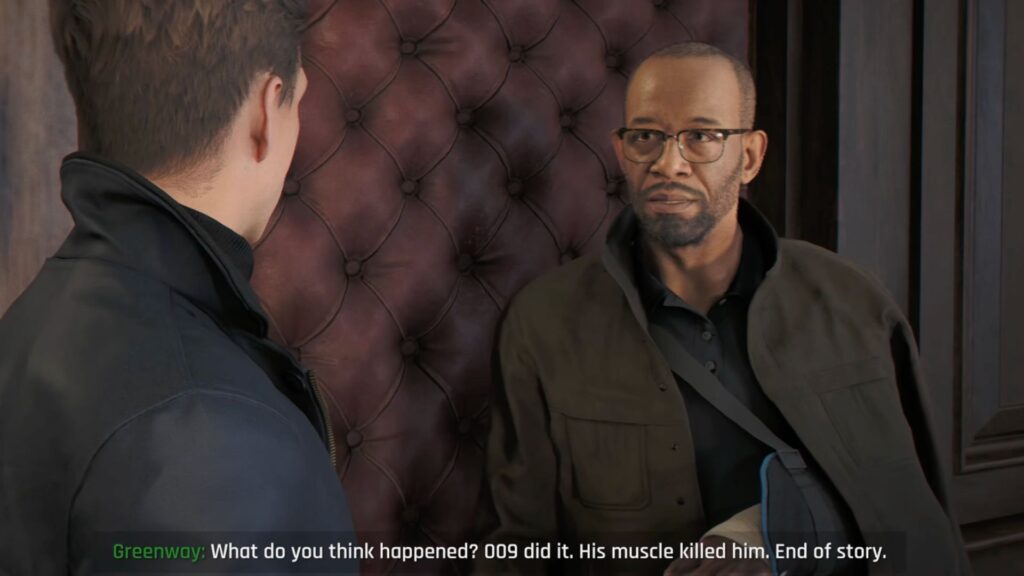
Bond also asks about what happened between Greenway and 009. Greenway explains it was Operation Knightfall. When THEIA was first set up, it discovered a mole ring at the top of British intelligence involving three 00 agents, including 009. Greenway was tasked with dealing with them. That is when they stopped being friends. As Greenway puts it, orders are orders.
The drive takes you through open desert beside the wreck at sunset. Keep following the marker. As you get closer to the area, the way gets rougher and you will need to climb several levels inside the shipwreck with the Land Rover. At the top of the wreck you need to find a way across to the Transworld Consortium.
Lowering the Bridge
To get the Land Rover across you need to release two pulleys to lower the bridge.
Start by climbing the blue pipe in the corner of the area until you reach the next level. Release the first pulley there.
The second pulley is on the other side so go down using the zip line and climb the blue pipe in the opposite corner. Kick the lever down, climb back down using the pipe, and return to Greenway. Drive the car across the bridge.
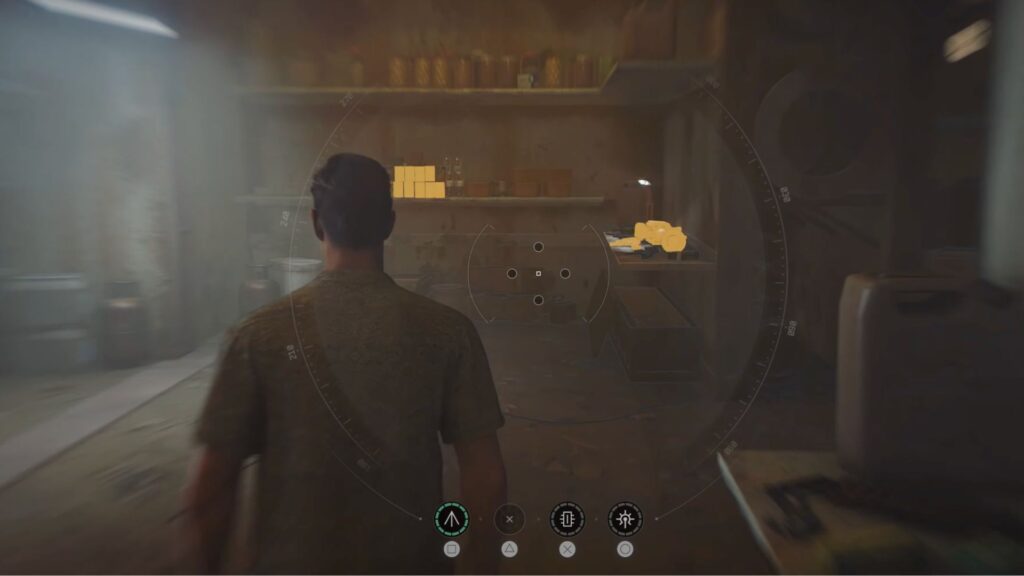
Inside the Transworld Wreck
Get out of the car and go toward the entrance to explore the shipwreck. The entrance is blocked by a metal plate. Greenway tells you to use your Q-Lens. It reveals a triangle symbol on the left side of the entrance, which is Cold War shorthand for marking safe rooms in the field. Push the metal plate to get inside.
Go in and turn left. Keep following the triangle symbols as clues. When you reach two symbols, go left and jump across the gap.
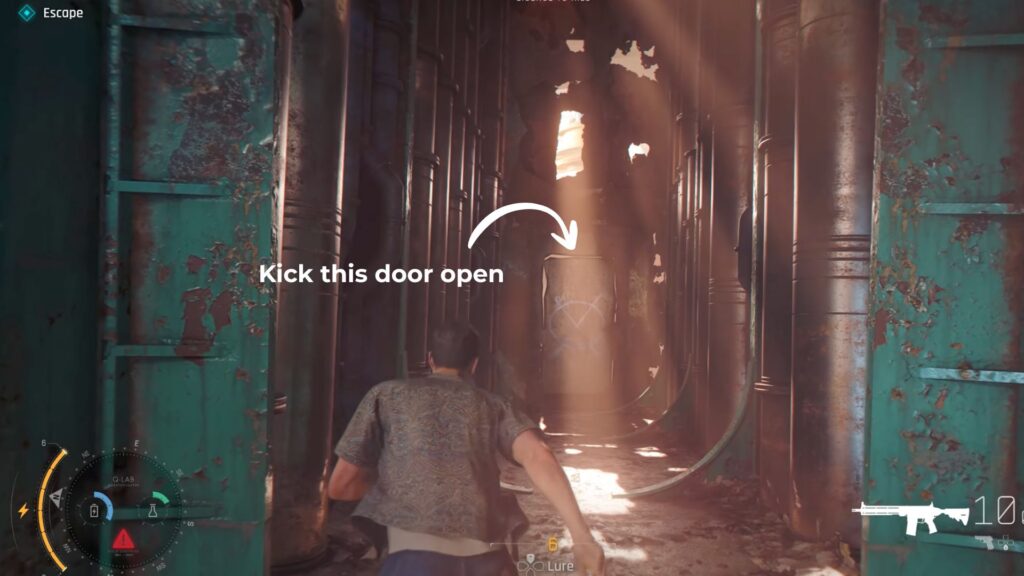
Turn the valve on the red steel door and go inside the room. There are booby traps throughout so keep your Q-Lens active. The symbols sometimes appear on the floor too. Find the next steel door and kick it open.
You are now on the outer part of the shipwreck. Hang on the ledge and move forward until you reach a steel platform. Jump across and enter the gap back into the ship.
More symbols are visible to the left but the platform you walk on collapses, creating a large gap. Jump across and hang on the ledge before falling down below. When you reach the platform you will notice an improvised lift. Use it to reach the higher level again.
From here you need to cross another large gap using the zip line. Open the next door by turning the valve. Keep disarming any traps you find.
You will reach a red steel bulkhead door locked by a large wooden plank. The plank needs two people to lift so you need Greenway. Leave it for now.
Greenway is visible but cannot reach your side. Use your Q-Lens and tilt the camera slightly upward. You will see a winch above. Shoot it with a Flash Mine and the bridge beside it will drop down, letting Greenway cross over. With him there, the two of you lift the plank together and you can turn the valve. Go inside the room.
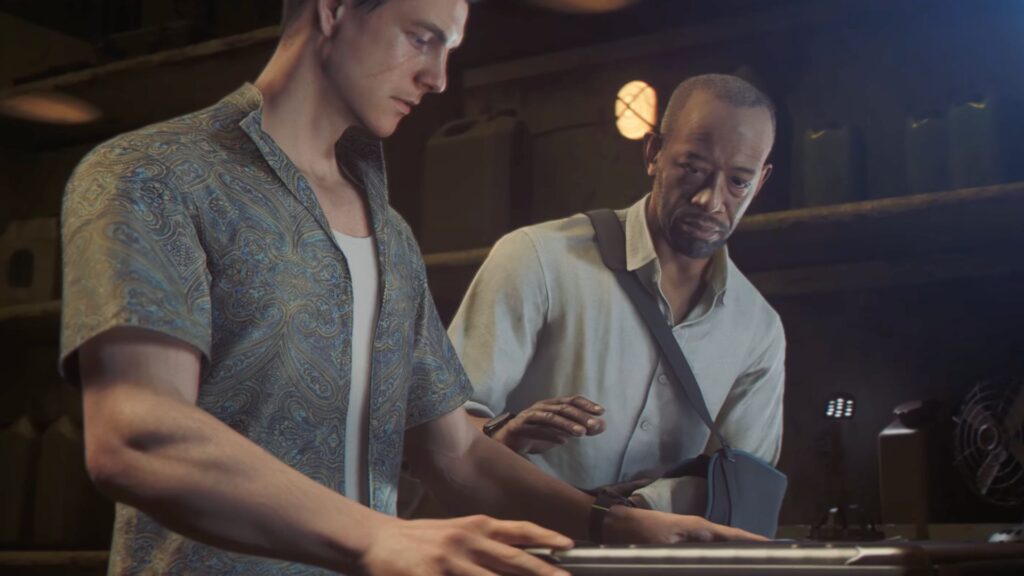
Searching 009’s Stash
Your next objective is to Search 009’s Stash. Inspect the following items in the room:
- Body armour
- Equipment including camping gear, military fatigues, and combat boots
- Ammo and explosives
- Weapons including assault rifles, a shoulder-mounted heat seeker, a missile launcher, and more
- Food supplies
- An Ammo Reloader Kit
- Combat Medical Supplies
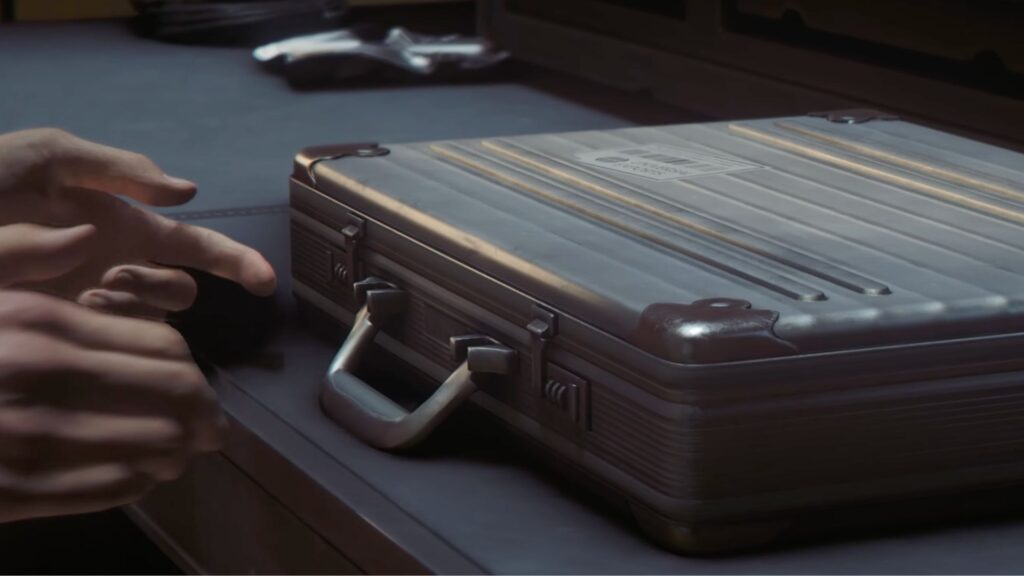
Bond finds a case on top of a desk. Greenway warns him not to touch it because it is a self-destruct case from Q-Branch. To disarm it, grab the catches on either side and turn them at the same time until they are both horizontal, then open the case.
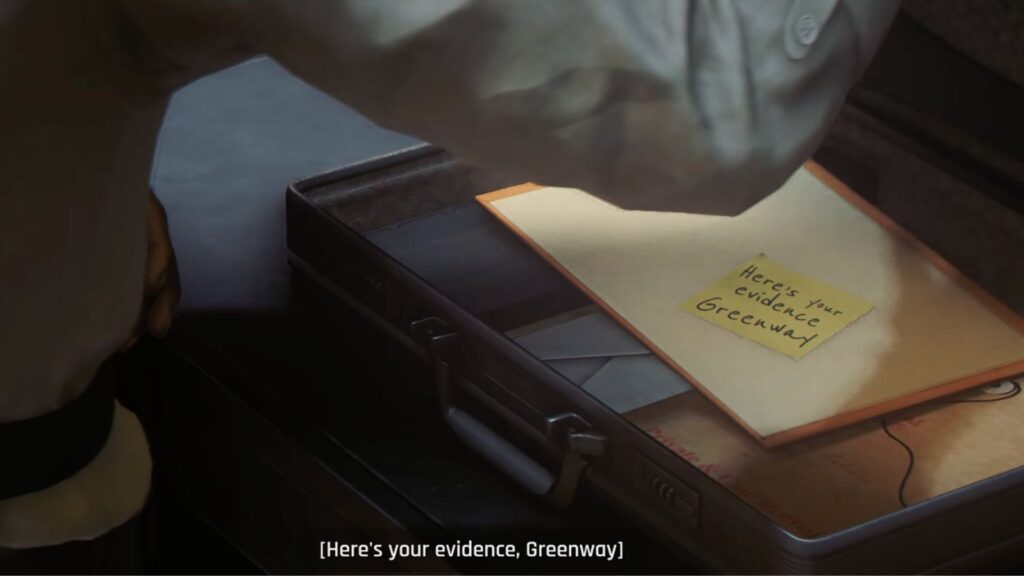
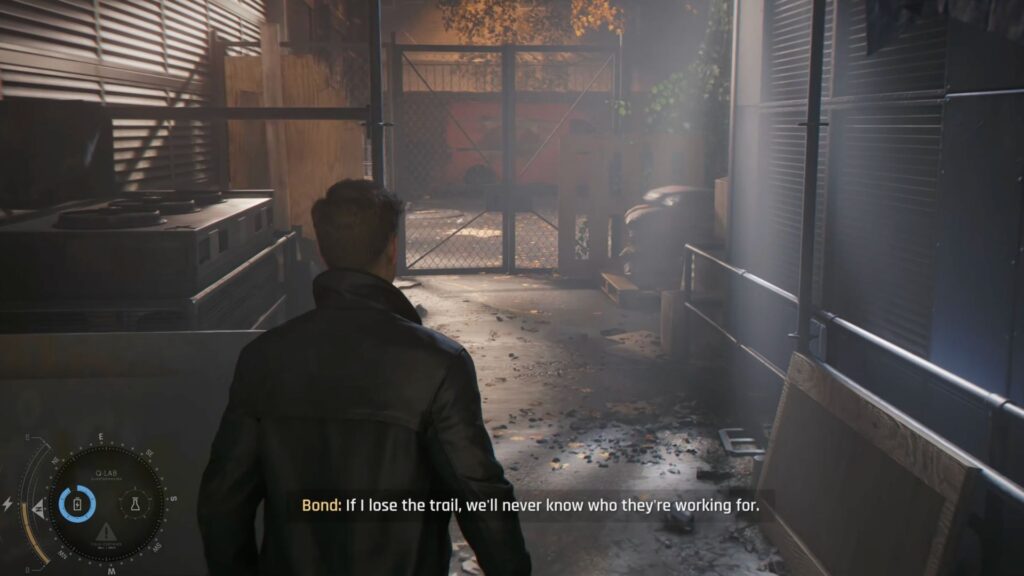
Inside is a document with a note reading “Here’s your evidence, Greenway.” Greenway concludes that 009 was not the culprit but the target.
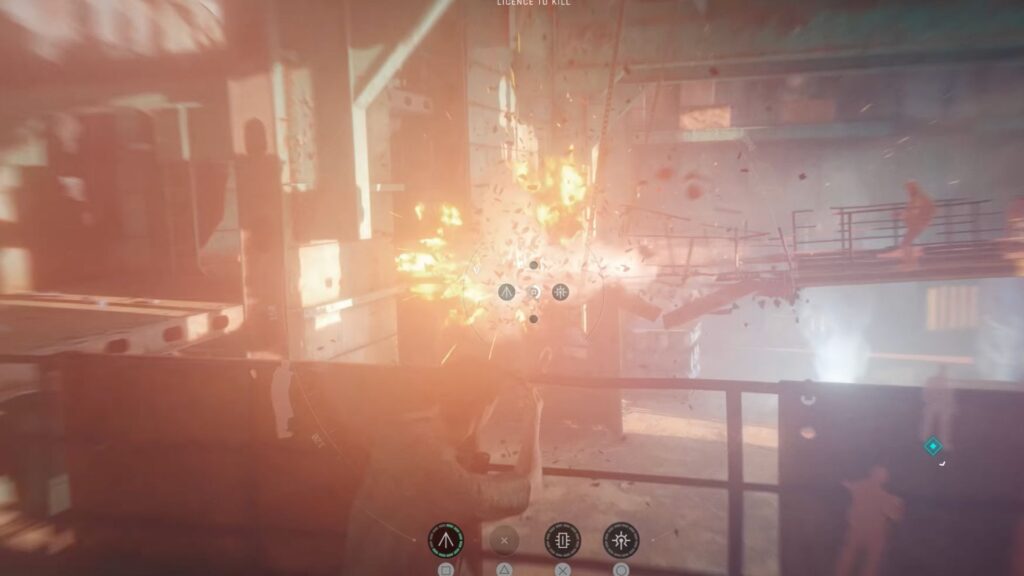
Suddenly, a bomb goes off outside. Then another goes off inside the room. Bond fallsdown and Greenway spots more enemies closing in.
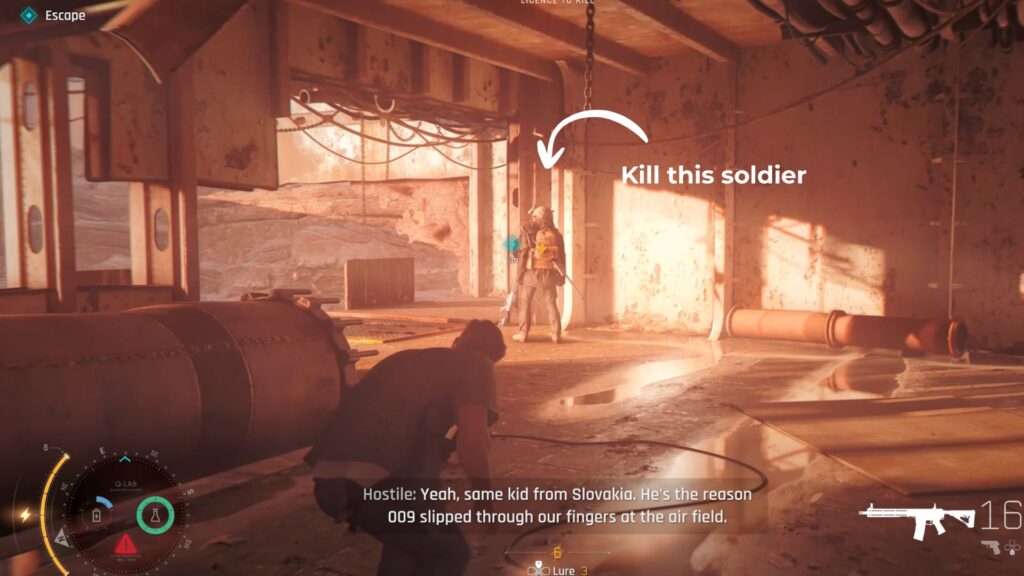
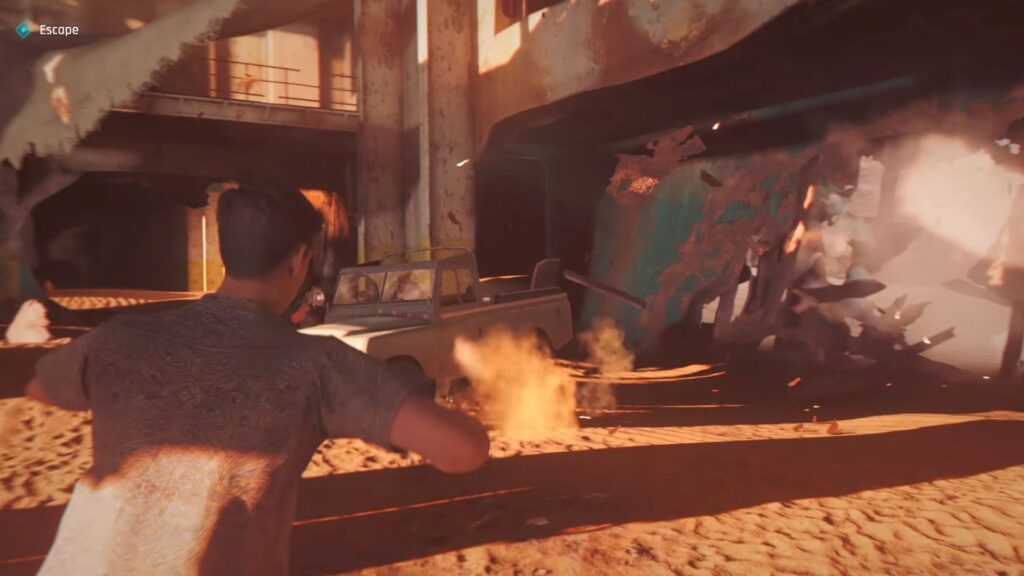
They are the same mercenaries from Slovakia. Your objective is now to escape. You need to fight through them while Greenway works on getting the Land Rover.

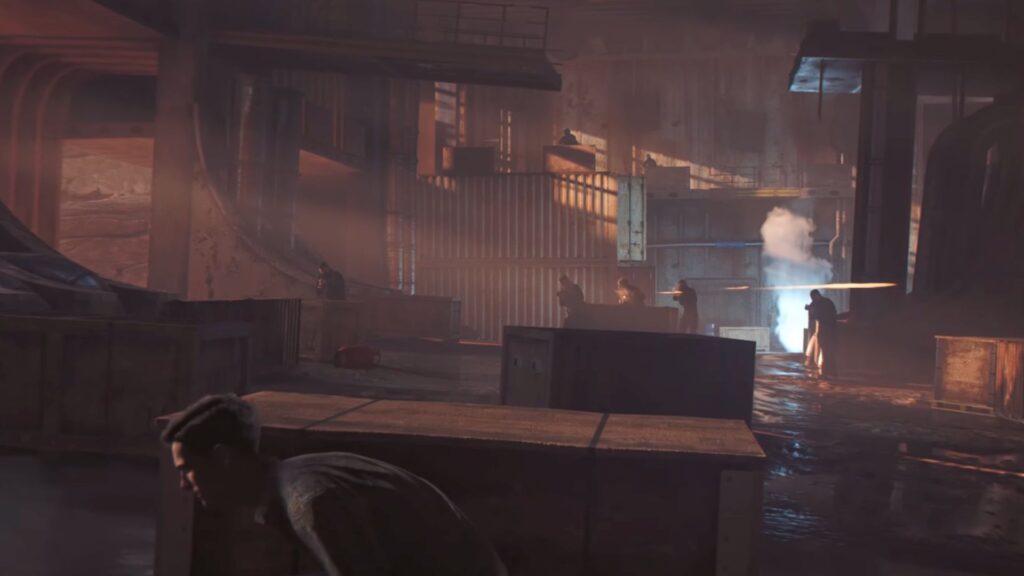
Fighting Through the Wreck
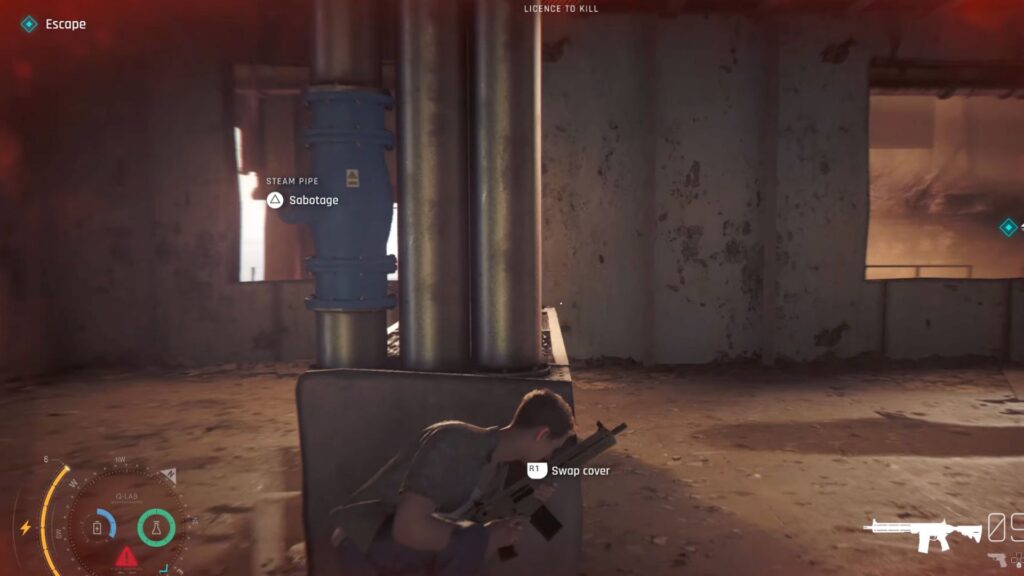
Pick up any weapons on the ground as you move through. You can sabotage environmental objects like steam pipes to help take enemies down, or use the Dart Phone to stun them.
Greenway contacts you mid-fight to tell you the enemies have taken out the Land Rover. He is working on a backup plan so keep pushing forward.
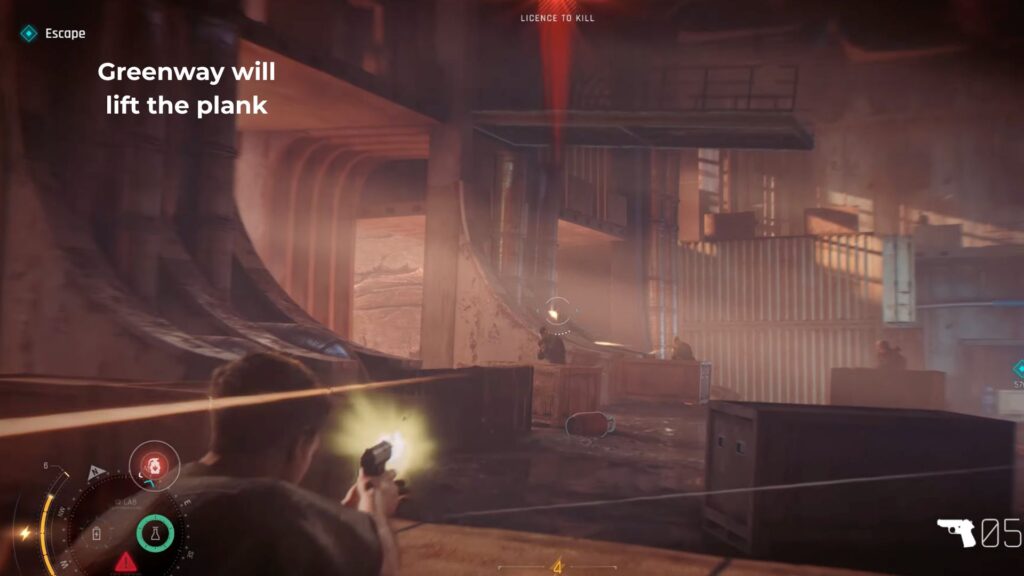
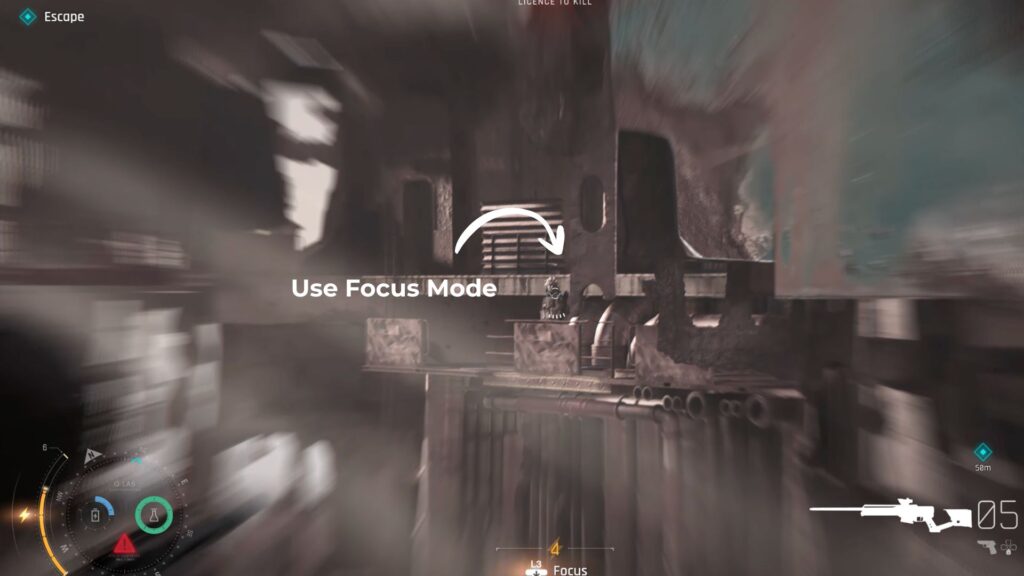
At one point you will spot a lone enemy. Take him down and grab his sniper rifle. Use your Instinct Point to activate focus mode and pick off enemies from a distance before more arrive below.
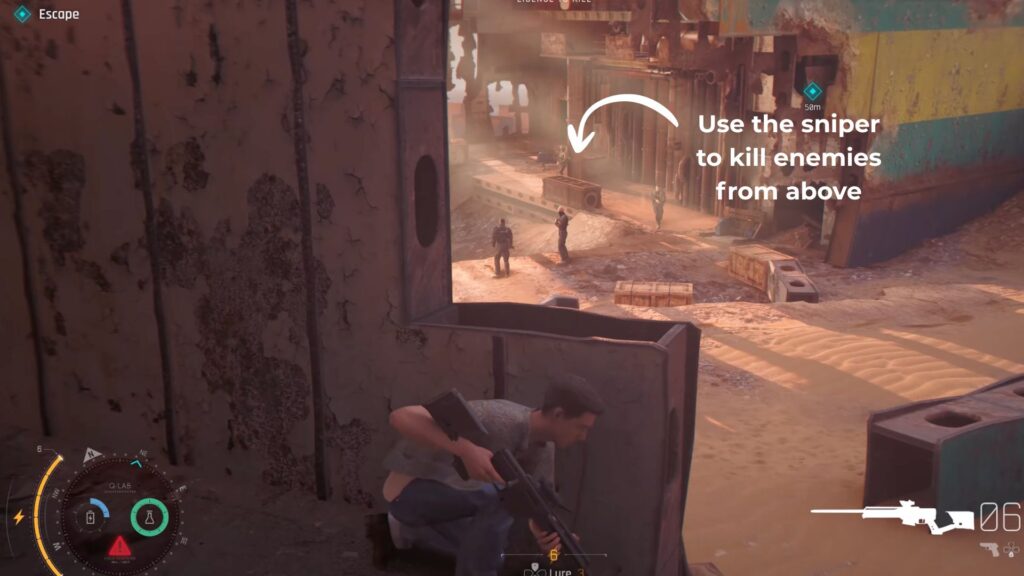
After taking down roughly half of the enemies, head down the stairs. The fighting shifts to closer range so switch to your pistol.
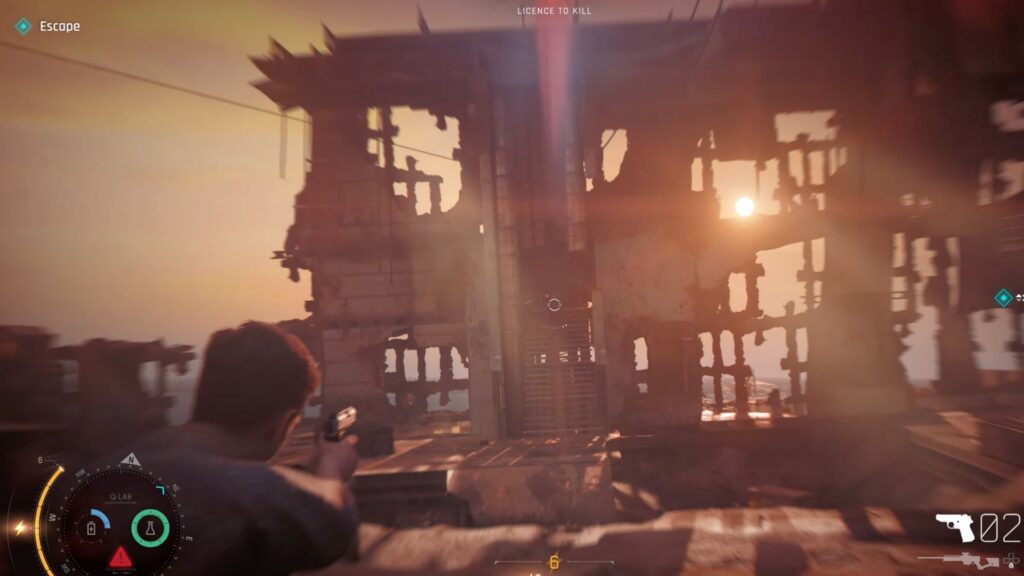
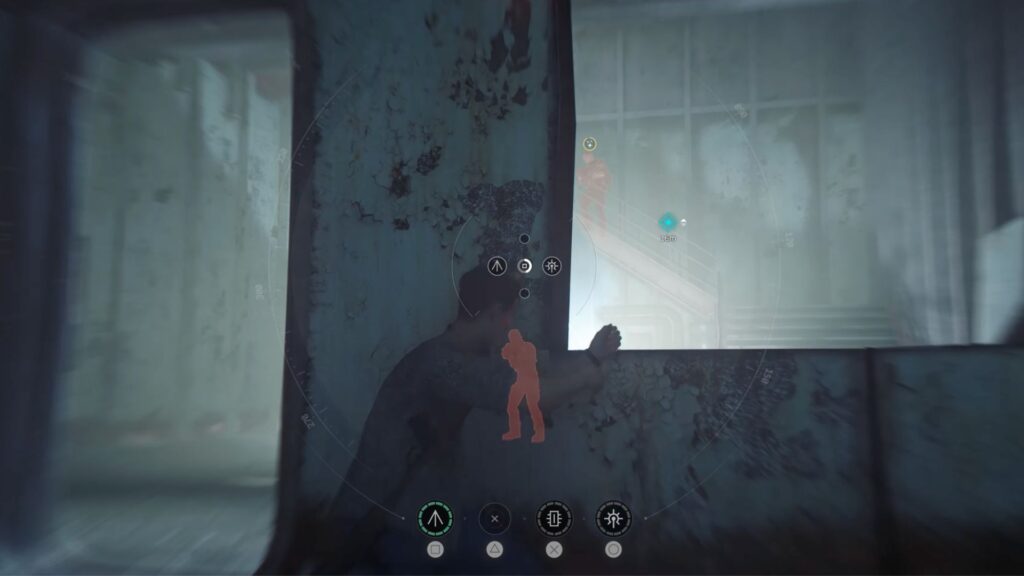
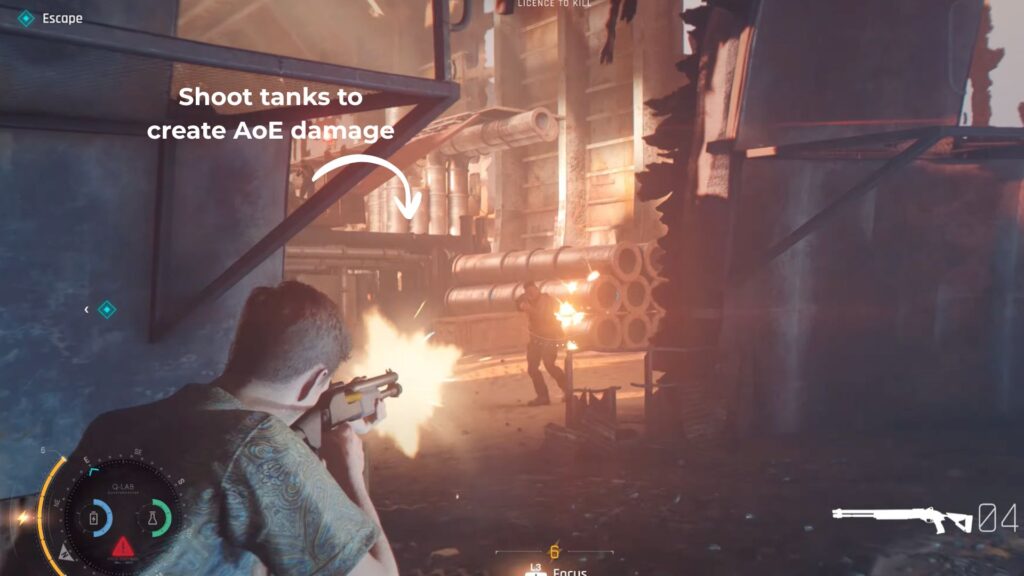
Keep your Q-Lens active to track enemy positions through cover and take them down using weapons or melee as you move forward. Shooting gas tanks can also create area damage that can clear groups of enemies quickly.

Keep clearing the area and pushing toward Greenway (use the pin point on the HUD to reach his location). You will enter a ship aisle. Keep going and kick the steel door at the end.
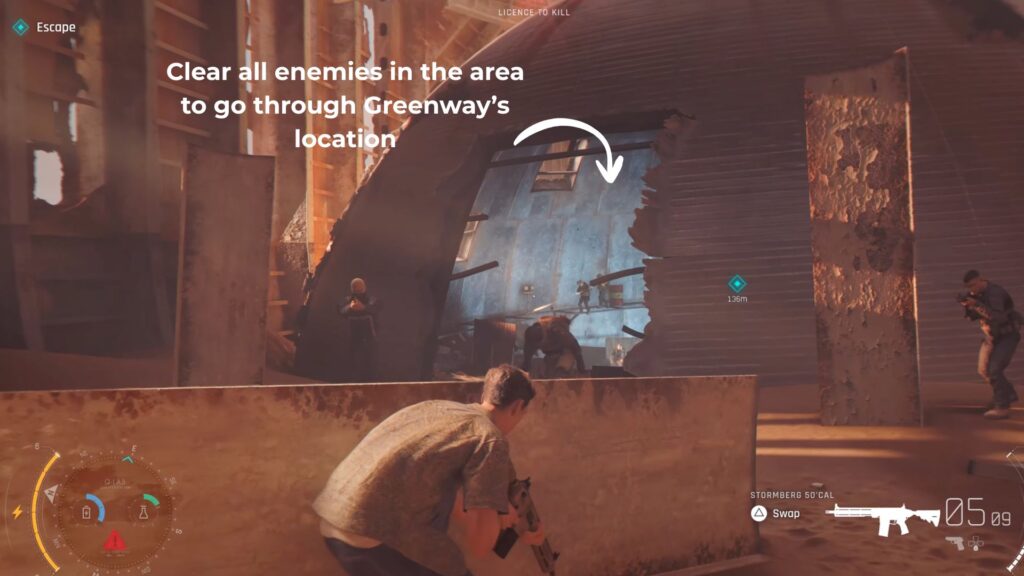
More enemies are waiting outside so clear them before moving into the dome-like structure ahead. Waves of enemies will keep coming inside all the three domes. Shoot gas tanks whenever you see them to deal with multiple enemies at once.
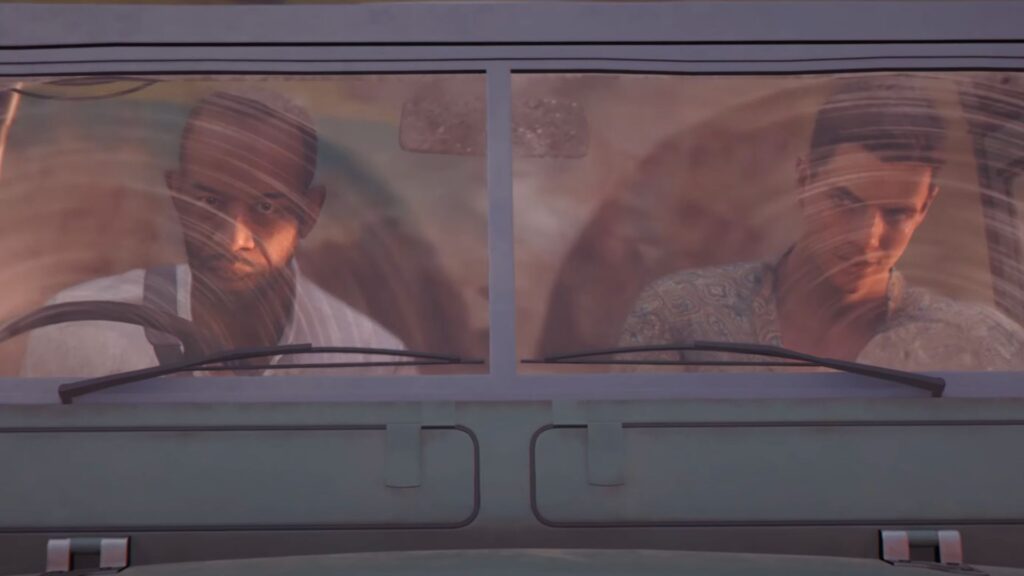
After clearing enemies across three domes you will get close to Greenway’s position. Before you reach him, the Land Rover crashes through the shipwreck wall. It is Greenway. A cutscene plays and you both get in the Land Rover. Because his hand is still broken you need to handle the gear changes while he drives.
The Chase
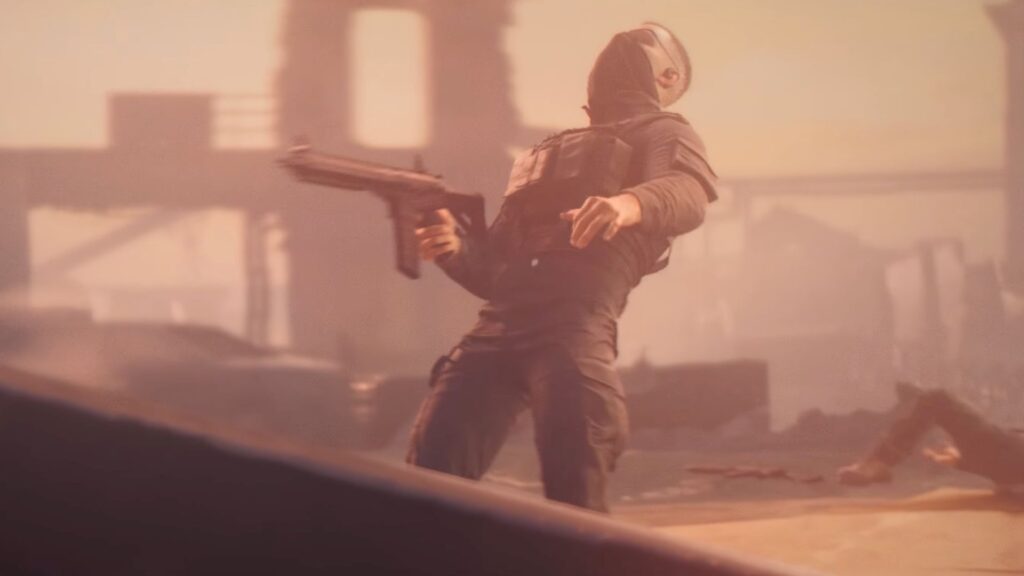
As you escape you spot the blond twins and a masked figure behind you, firing missiles. One hits the car and both Bond and Greenway are thrown out of the Land Rover.

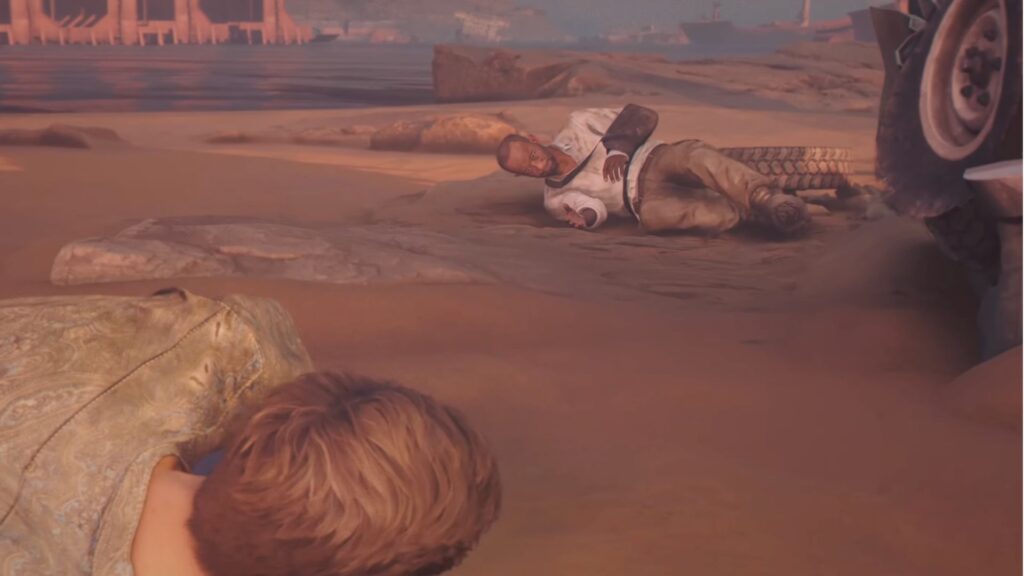
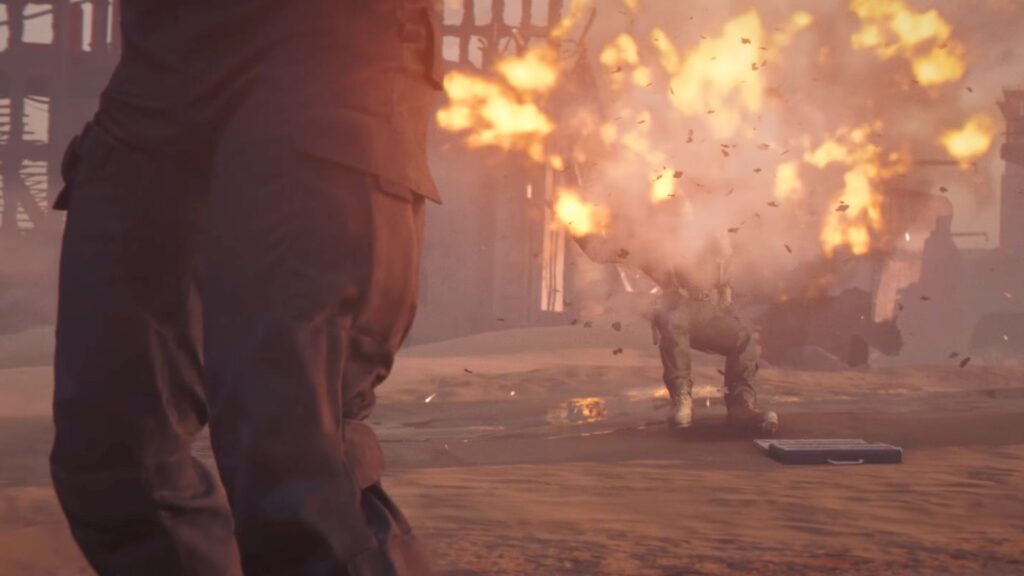
The soldiers grab the Q-Branch self-destruct case, but since they do not know how to open it, it detonates in their hands. Bond picks up the weapon from one of the soldier and Greenway has a pistol. Your objective is now to Protect Greenway.
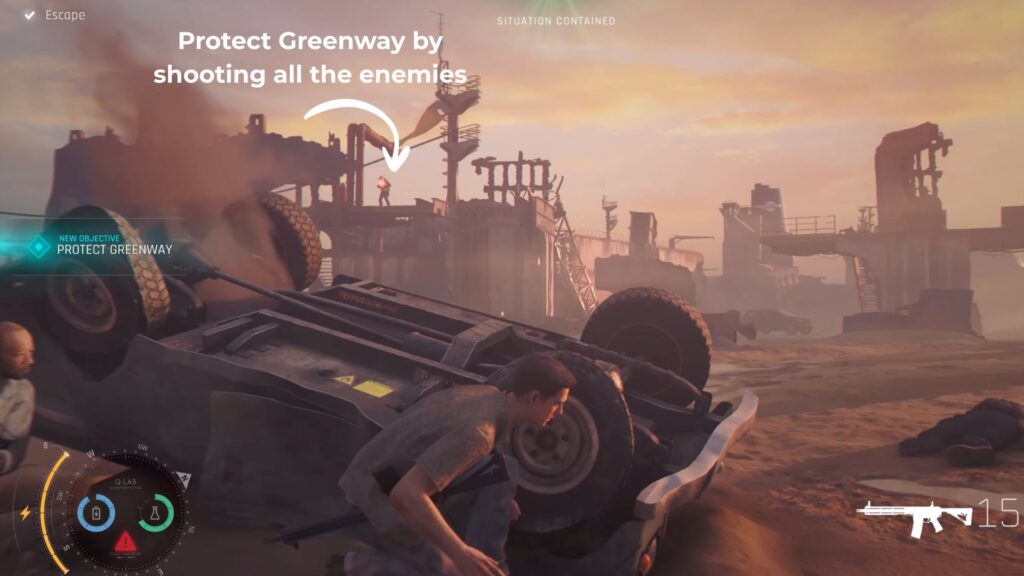
Dozens more soldiers arrive. Your sniper will run out of ammo quickly so take the gun from Greenway. Stay behind the car and clear the enemies.
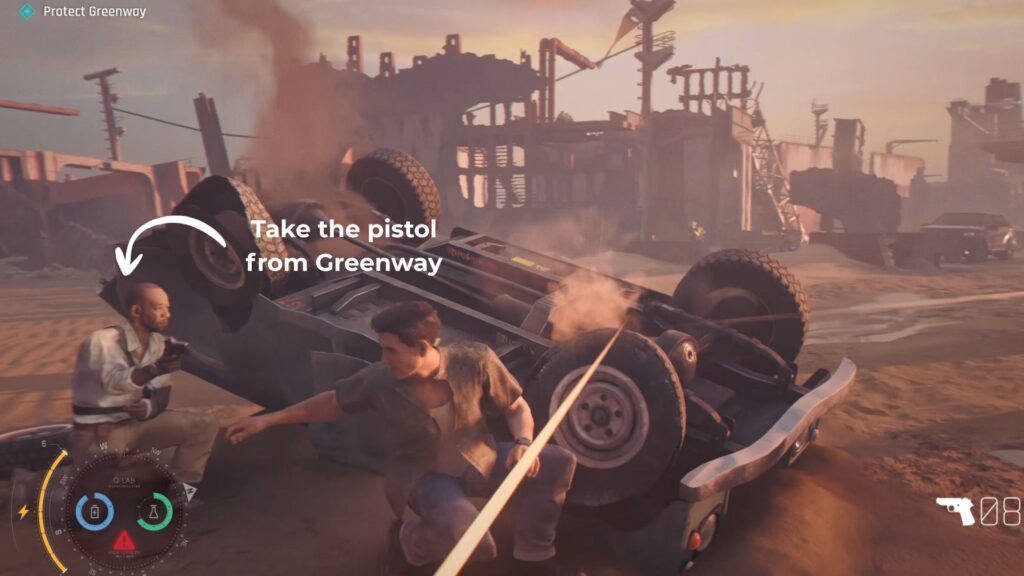
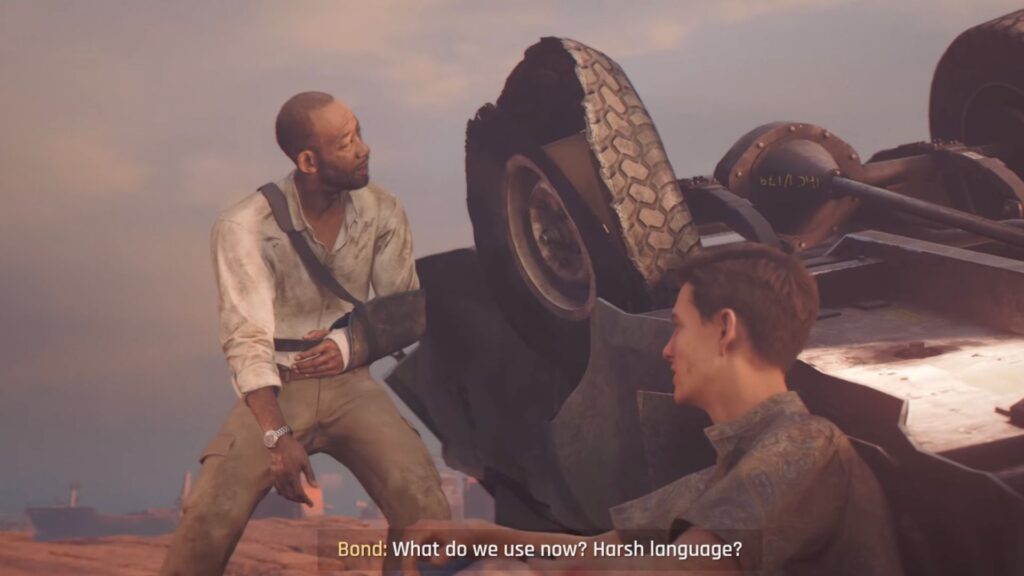
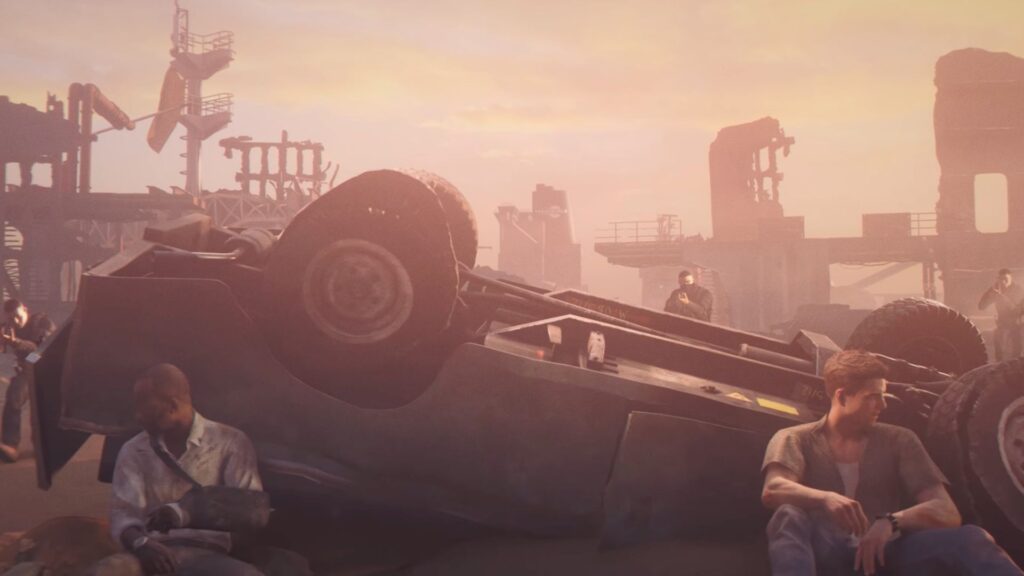
When both of you run dry, the remaining soldiers close in, both of you are on the verge of giving up. But suddenly, the soldiers start getting shot from behind. Turns out it is Bawma helping from his own car. Then, you hear one of the Murto twins call the retreat.

Back in London
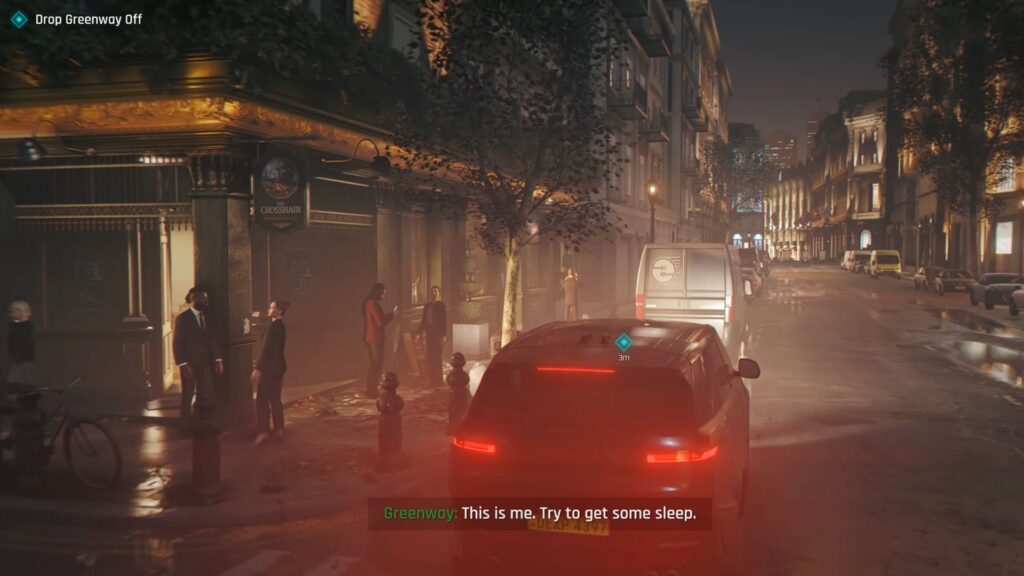
The scene cuts to M’s office. Greenway tells M that 009 was innocent. M is not impressed because there is no evidence and she needs an open-and-shut case. Greenway tells Bond to go home. So you drop Greenway off at The Crosshairs before going back to the apartment.
Bond keeps telling Greenway that the mercenaries at the airfield were not 009’s men, but Greenway tells him to stop overthinking and get some rest. Moneypenny calls and tells him the same thing. Now rive home to the MI6 apartment.

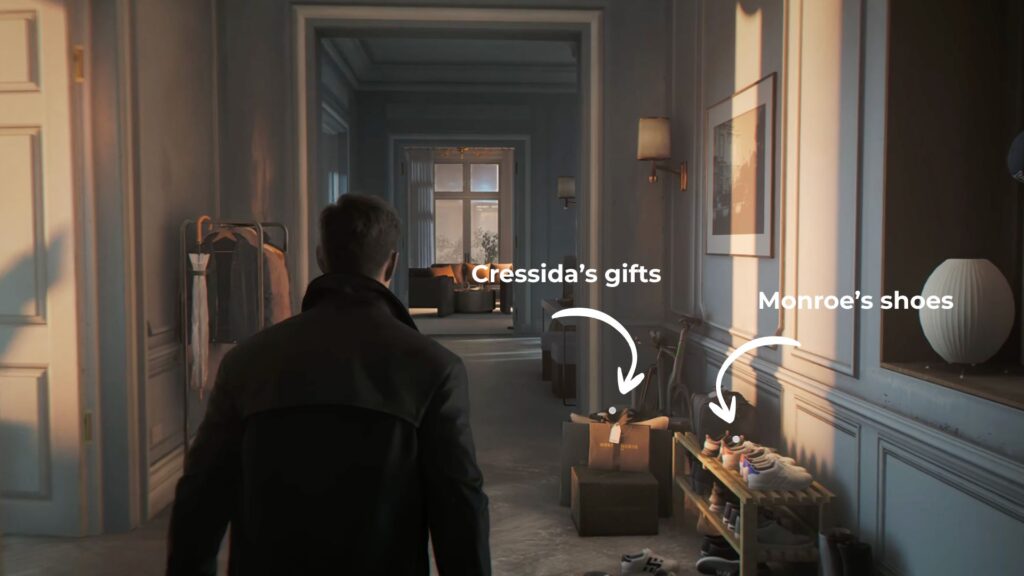
The Apartment
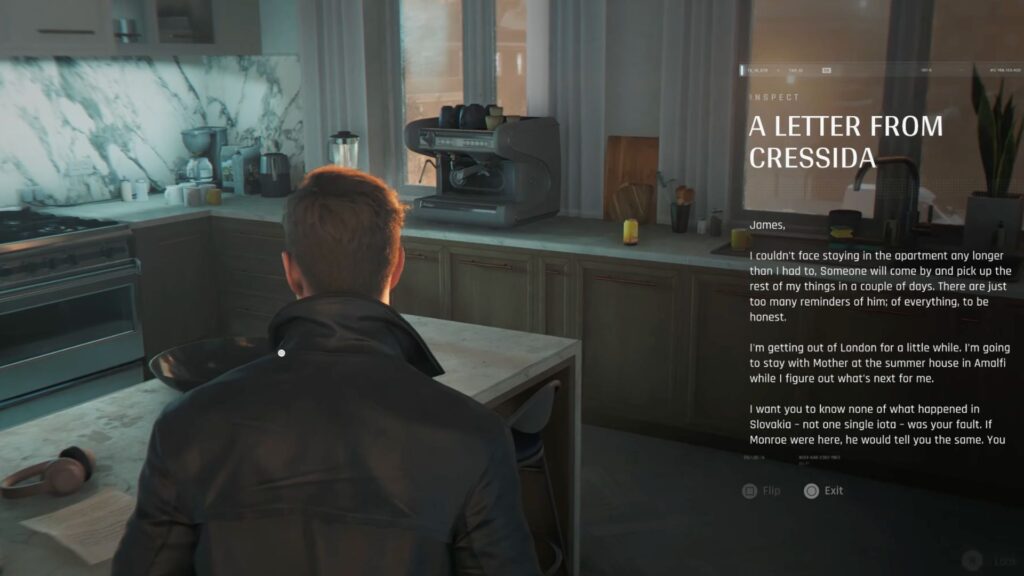
When you arrive, Monroe’s shoes are still scattered everywhere. There is a package on the table for Cressida from her mother, containing silk cushions, luxury soaps, and face cream, described in a note as emergency relief packages. There is also a letter from Cressida telling Bond she can no longer stay in the apartment because of the memories and that she is leaving London for a while.
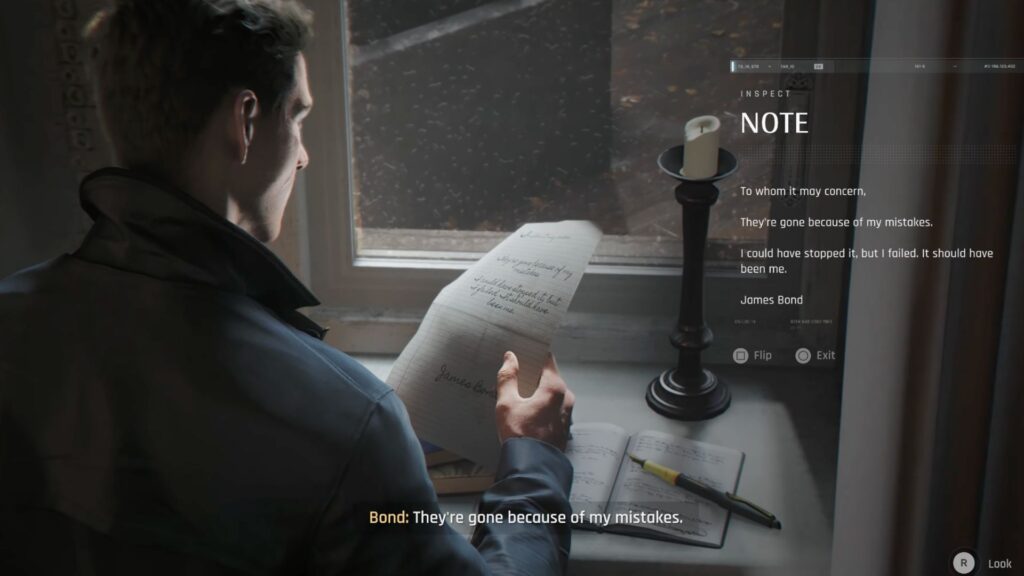
Explore the apartment freely. When you reach your bedroom you will notice a note on the window sill. It reads:
“To whom it may concern, They’re gone because of my mistakes. I could have stopped it, but I failed. It should have been me. James Bond“
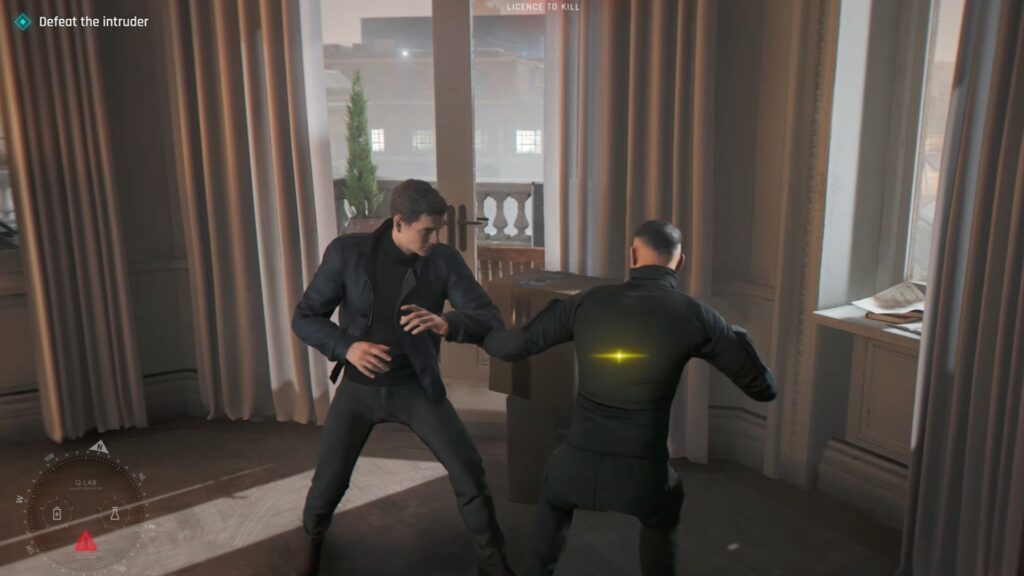
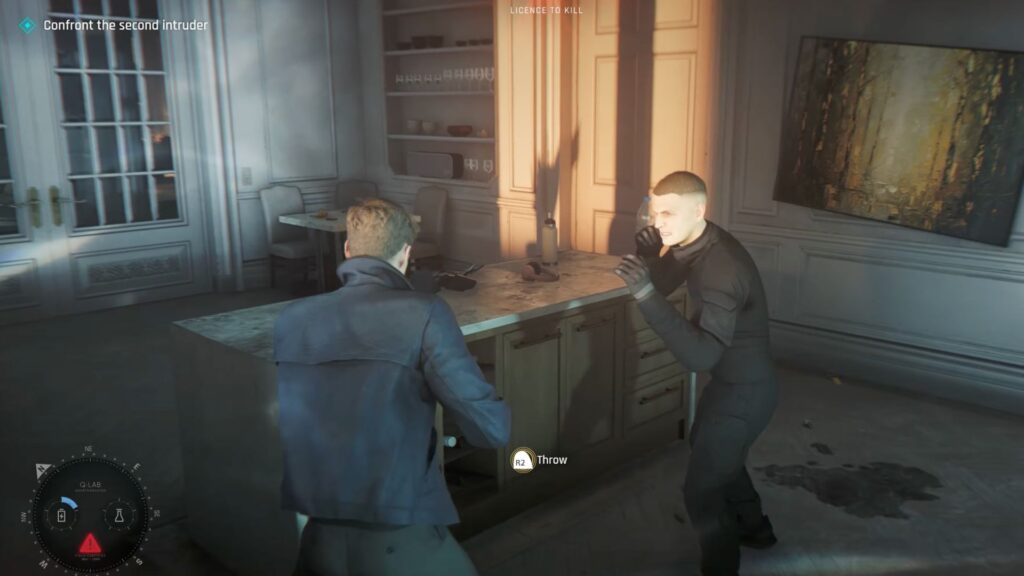
While Bond is reading it, someone grabs him from behind. It’s time for you to fight off the intruder. Once you defeat him, check his phone.
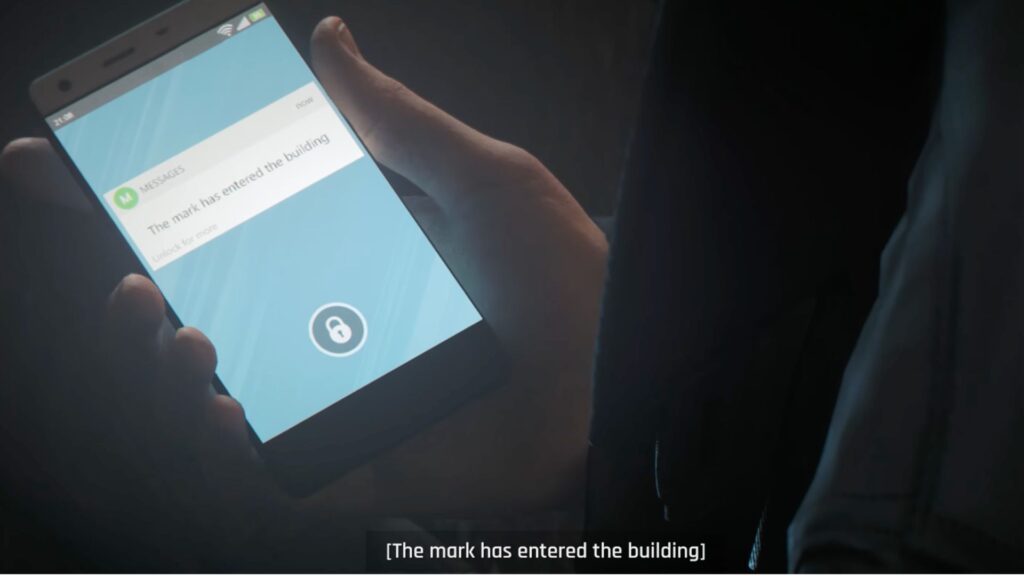
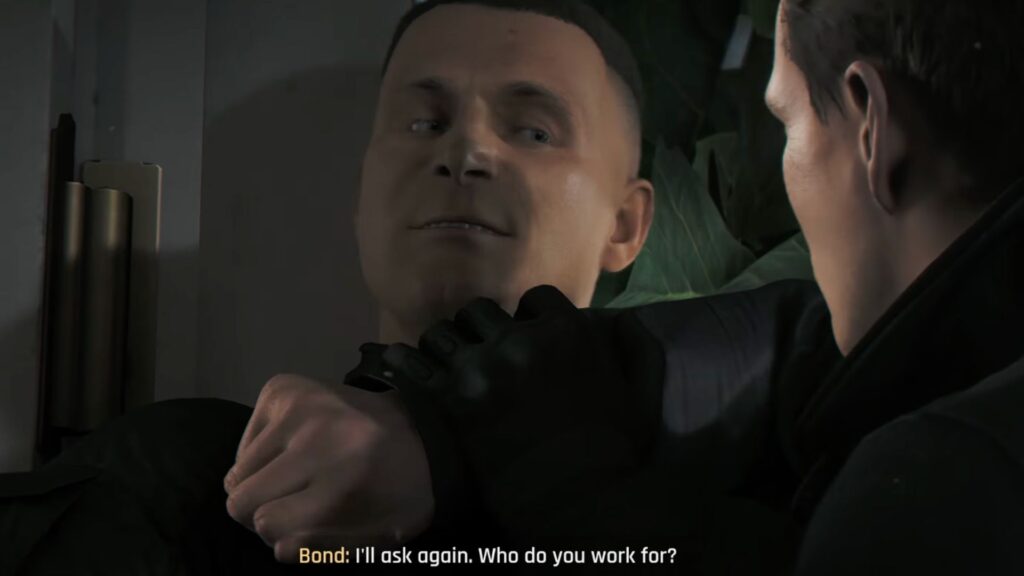
A message reads “the mark has entered the building.” This means, there is a second intruder in the apartment. Head out of the bedroom toward the kitchen and fight the assassin there.
Bond confronts him and asks who sent him, but before he can answer a green laser beam comes in from outside.
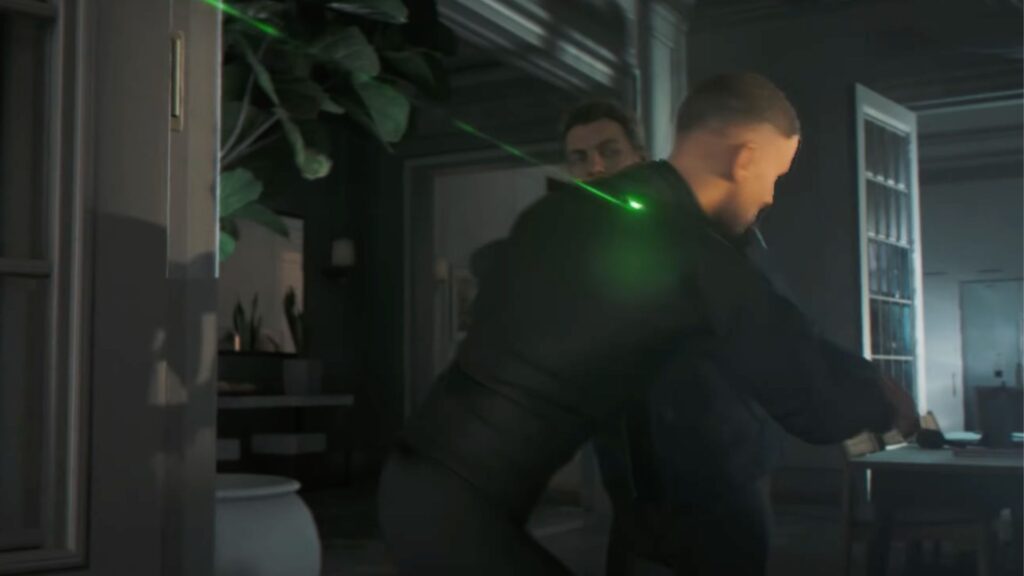
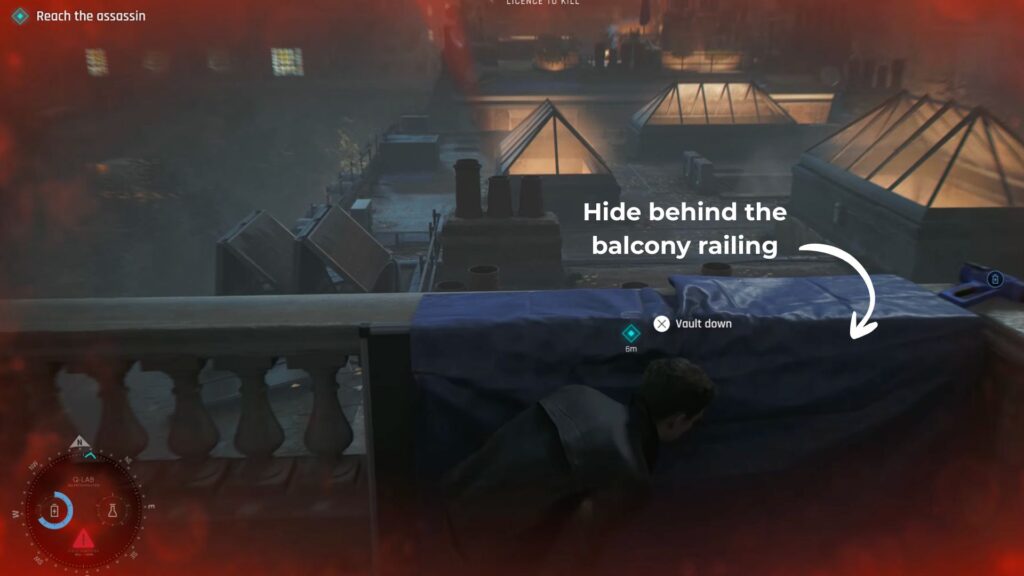
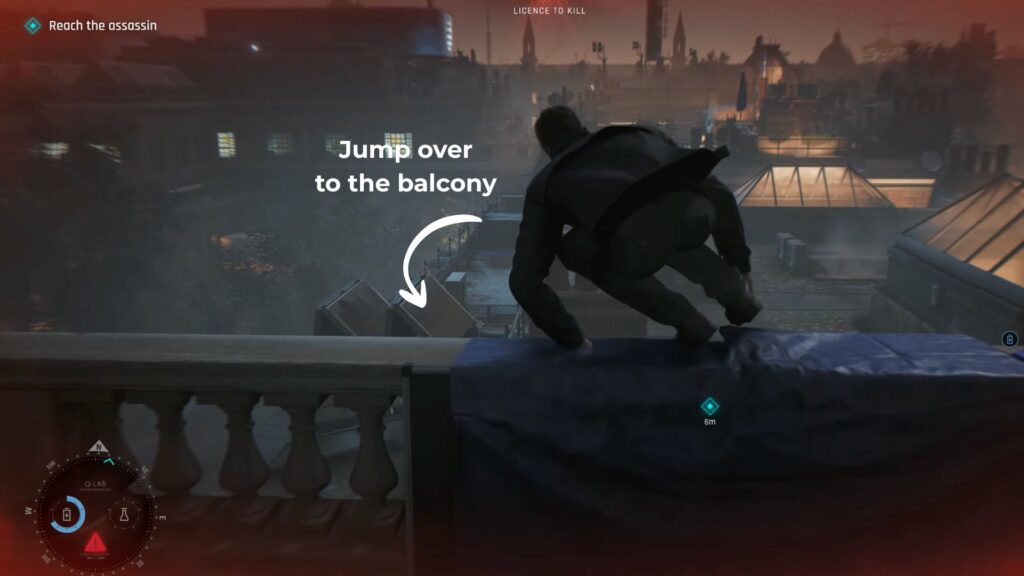
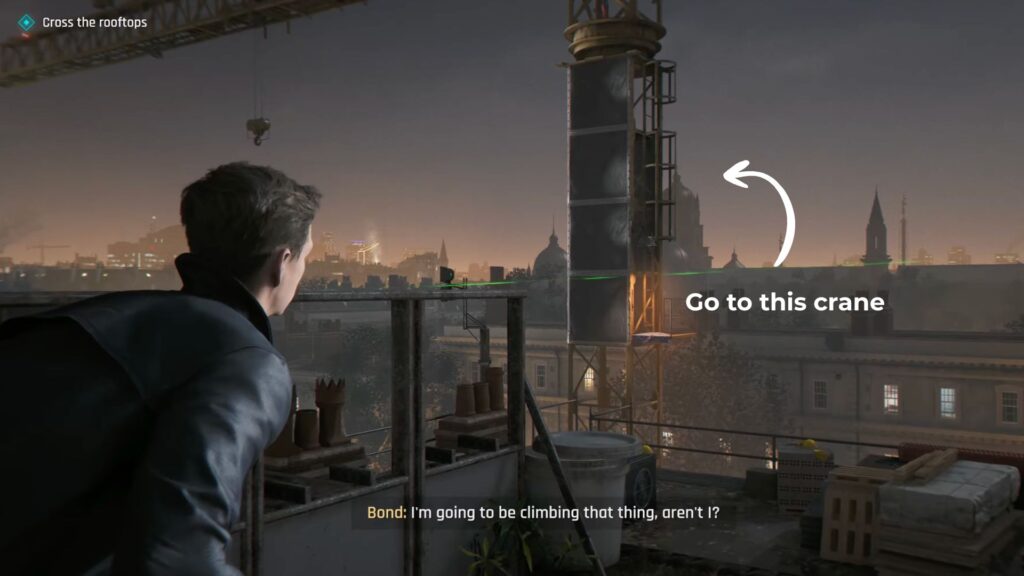
The Rooftop Chase
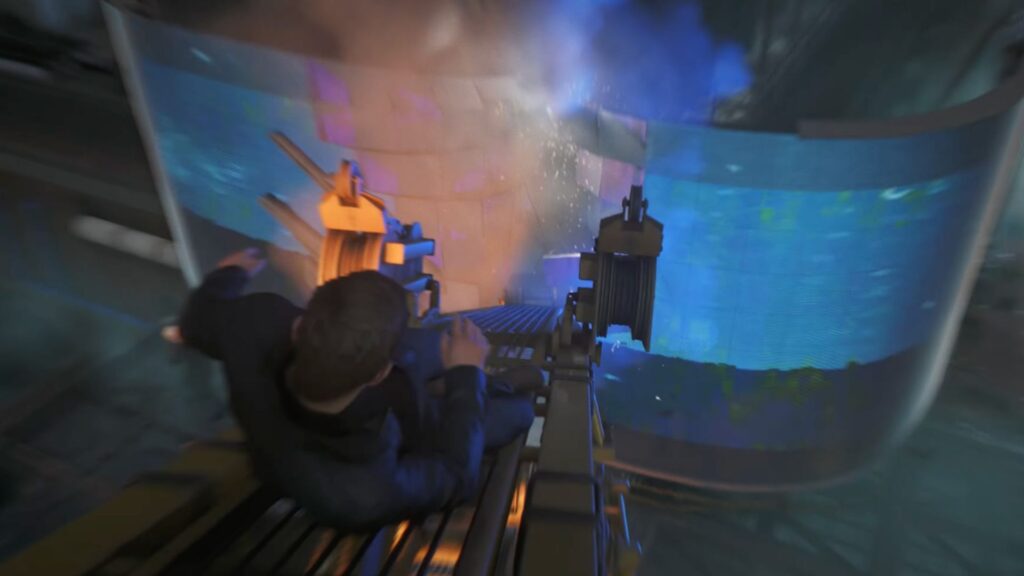
Get onto the balcony carefully while avoiding the laser that keeps shooting at you. Stay crouched and move toward the corner of the balcony.
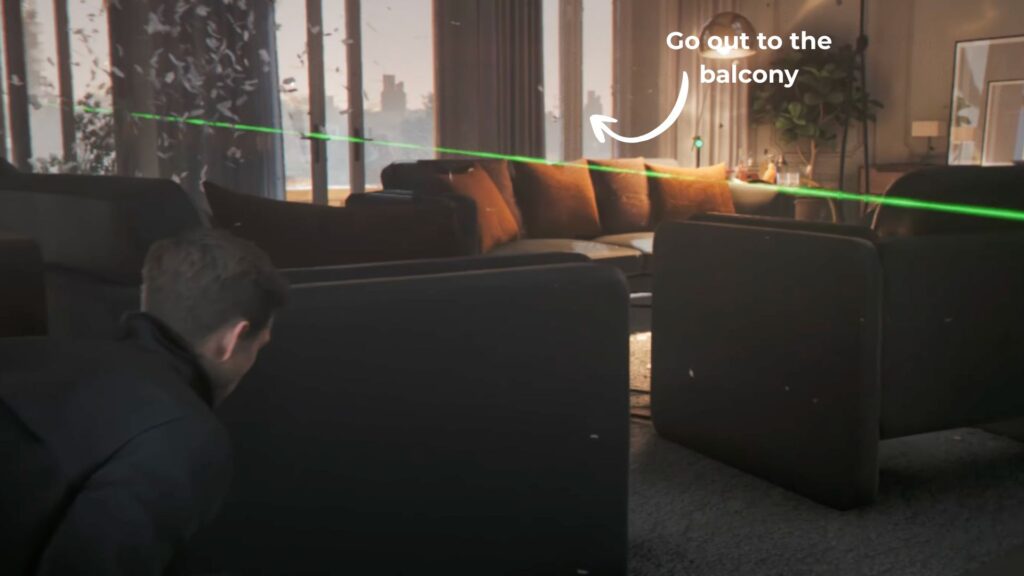
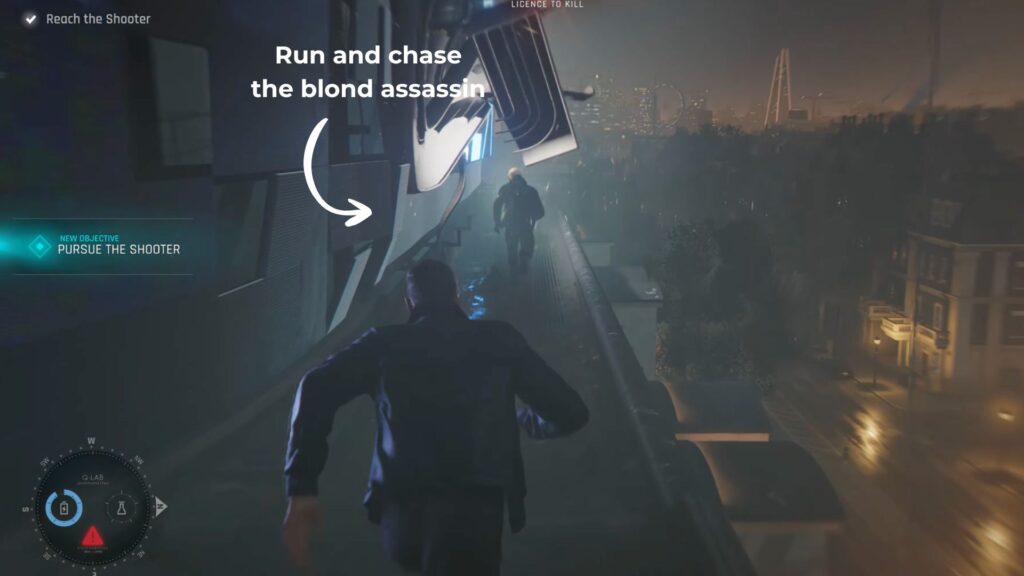
Jump down and cross all of the rooftops. Keep moving forward until you find a ladder on a wall. Climb it.
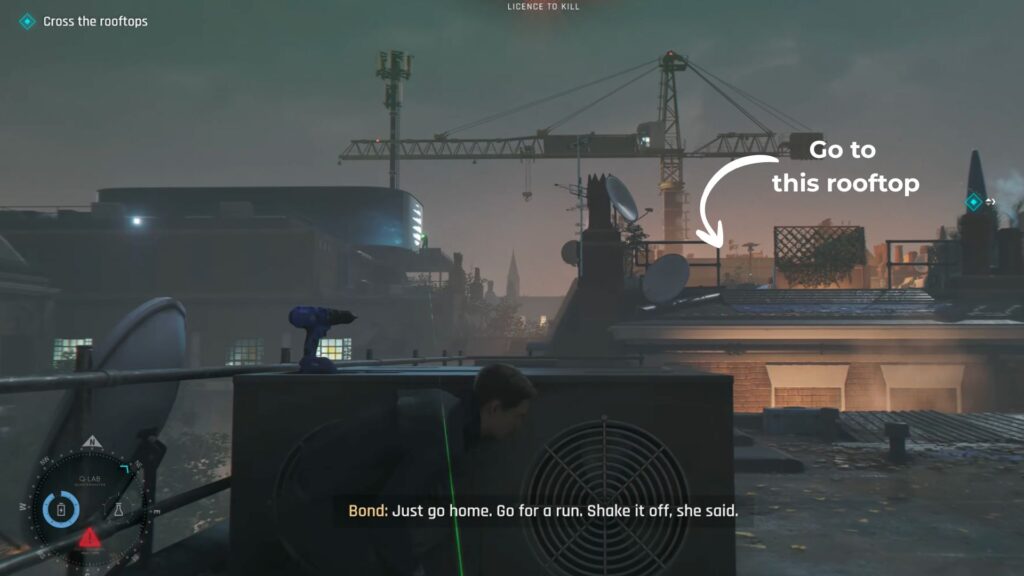
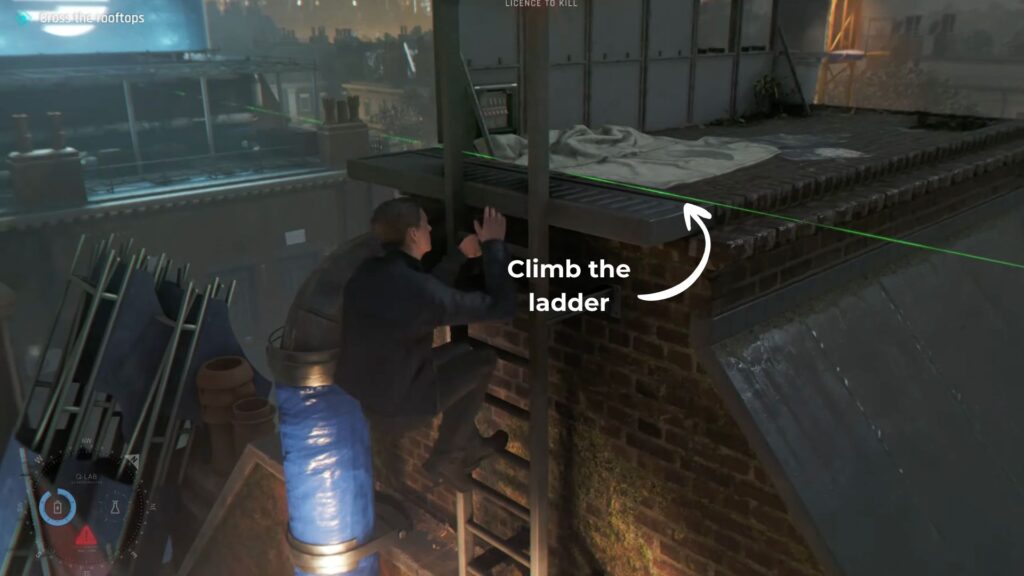
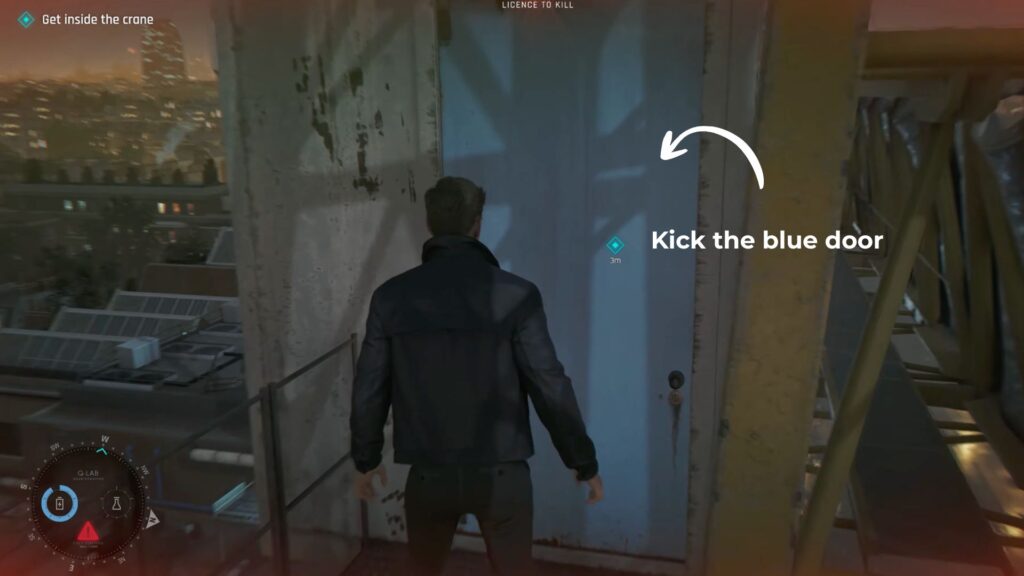
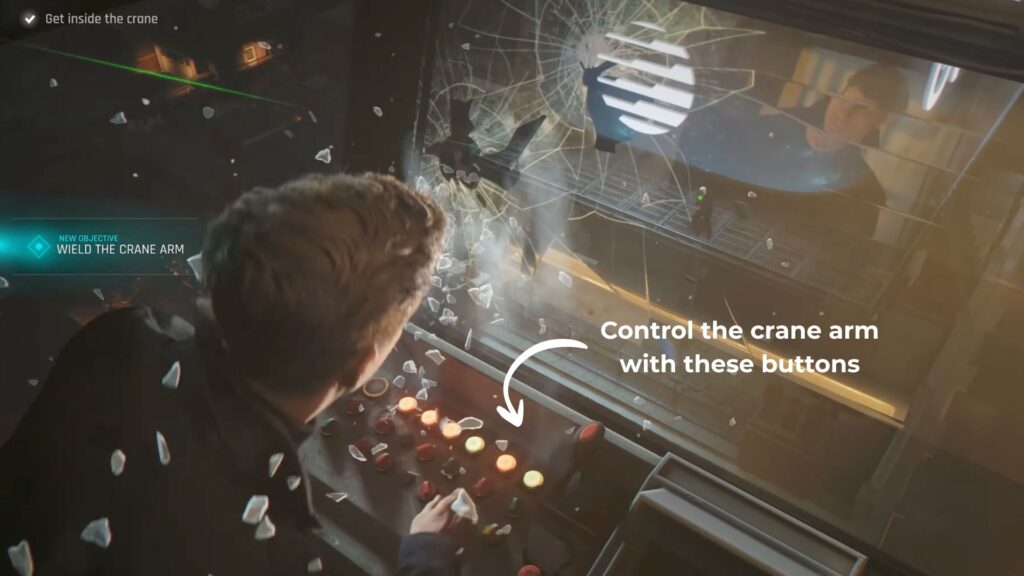
The shooter is now positioned on your left side. You need to reach the large crane on the other side. Keep climbing through the crane structure while the shooter fires at you.
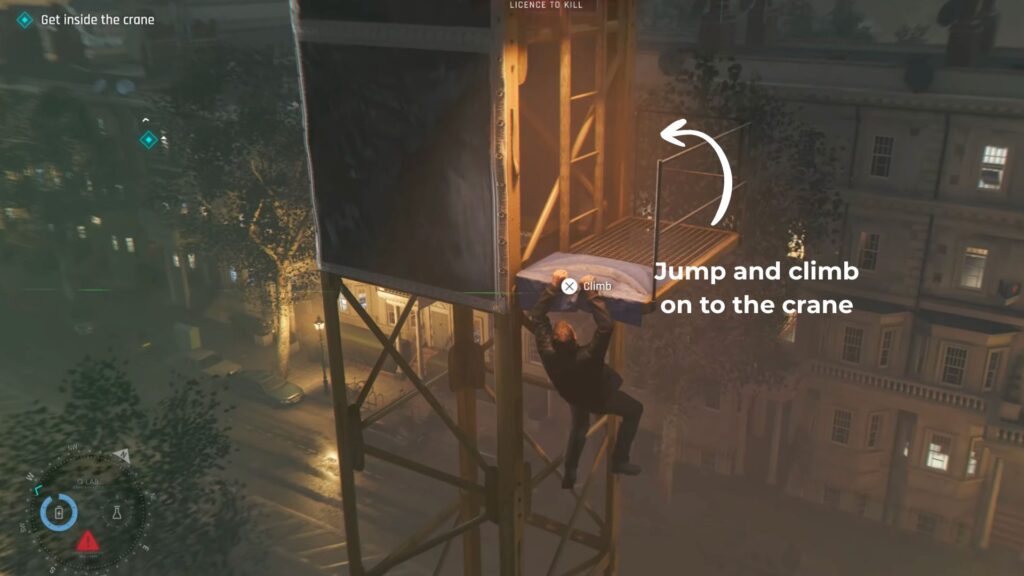
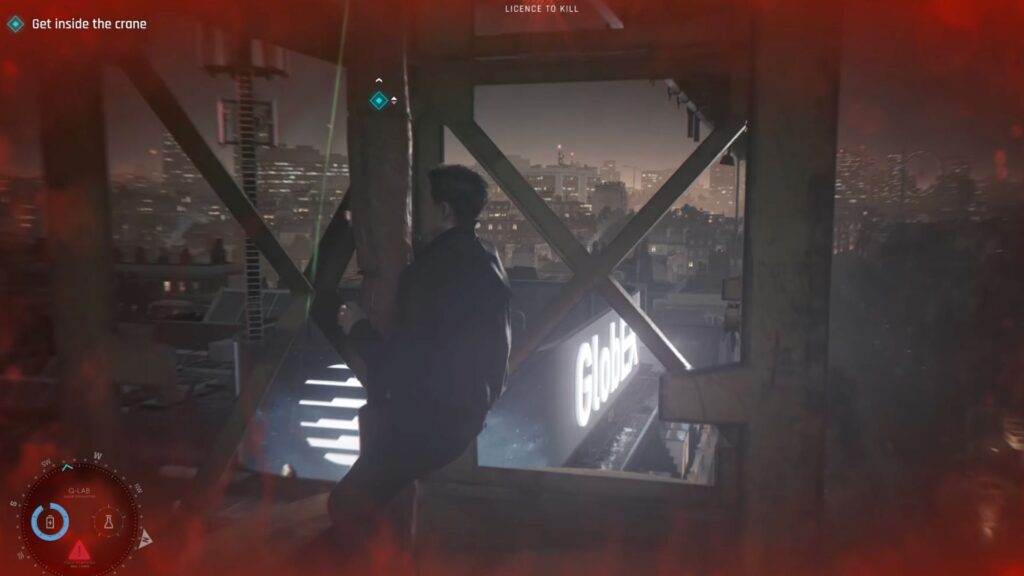
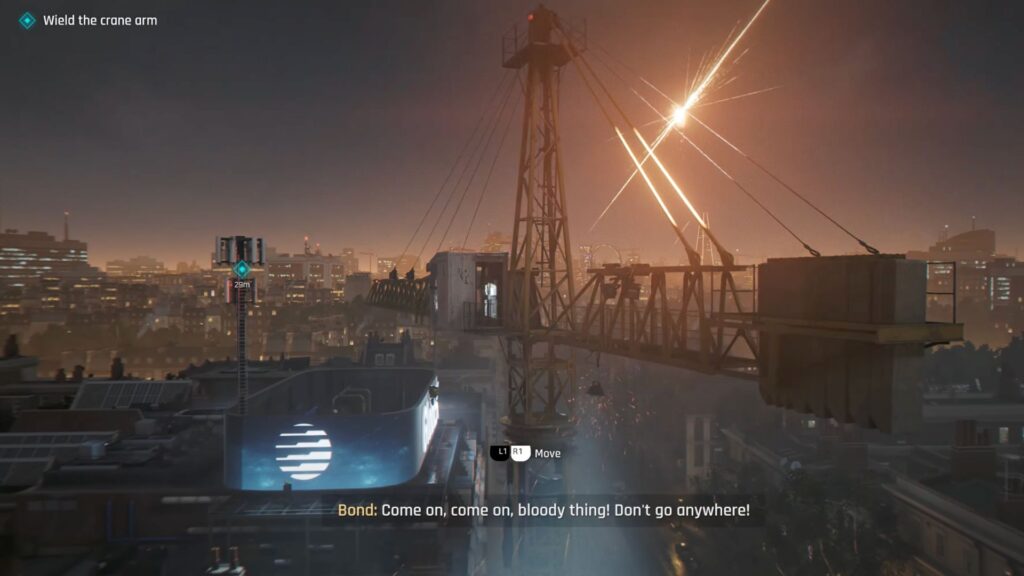
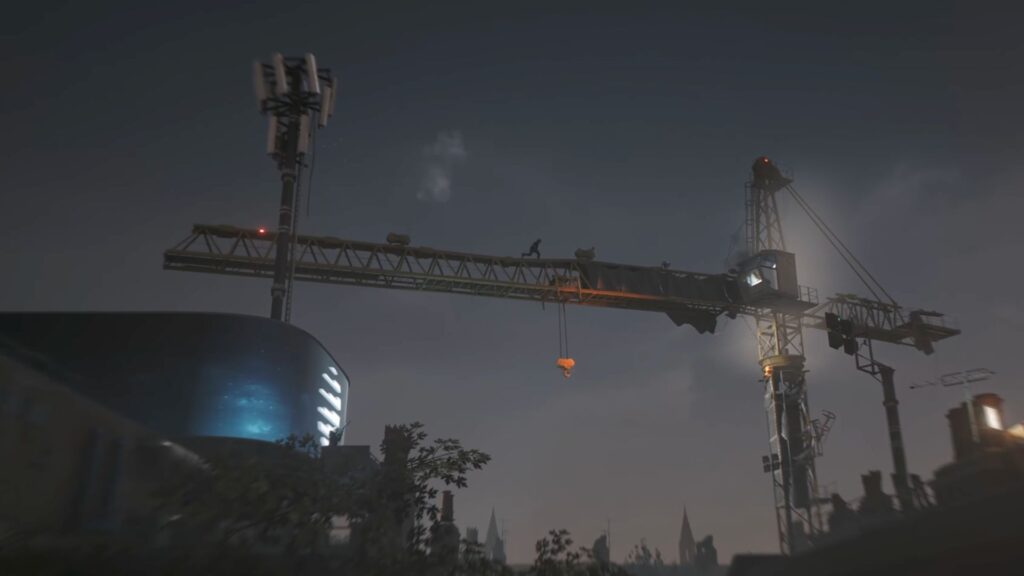
When you reach the top, kick open the blue door and get inside the crane control room. Press the button prompts to move the crane arm across to the building where the shooter is standing. Once it is in position, go back outside and run along the top of the crane arm.
A cutscene plays where the crane arm breaks and falls toward the building. You slide down and land behind the assassin. He runs so you give chase.
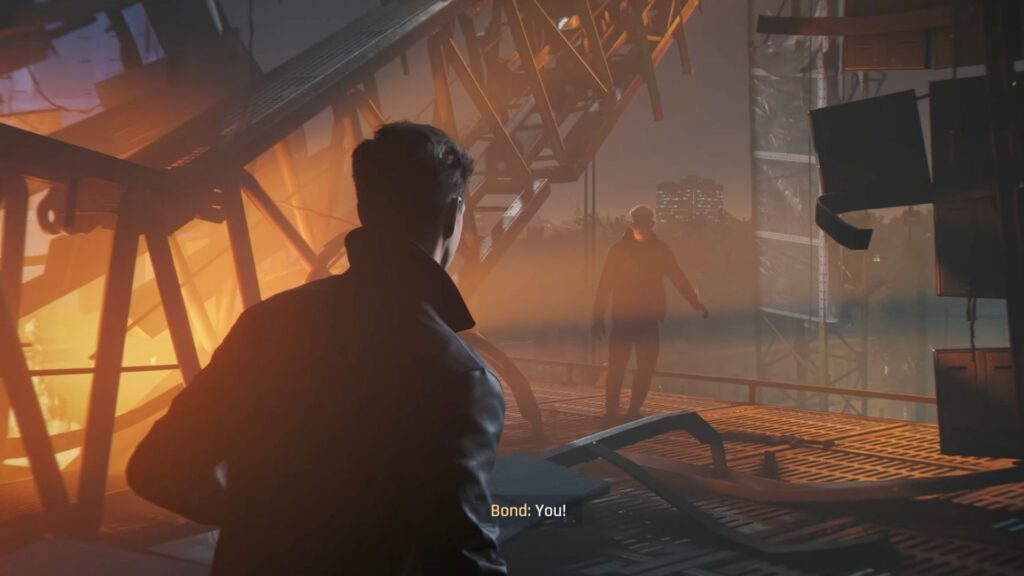
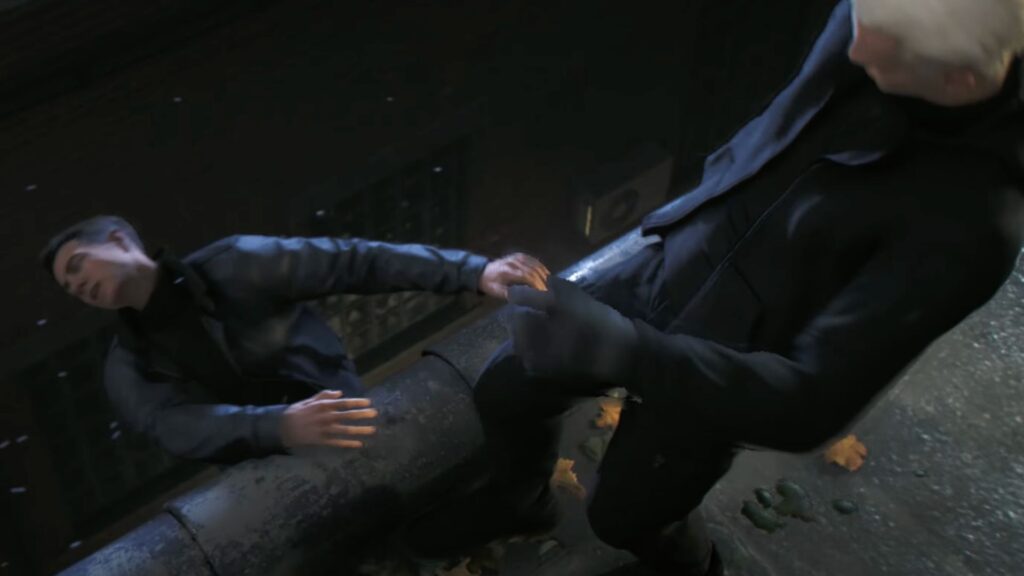
You jump across a large gap but almost fall, hanging from the ledge of the building below. You finally get a clear look at the assassin. It is one of the Murto twins. He kicks you in the face and escapes while you hang from a window grill below. You call Moneypenny and tell her what happened.

Bond traces the signal from the phone he found in his apartment to the Works and Arts Museum, where a Webb Industries anniversary gala is taking place. You head there to investigate.

Chapter 5 moves from desert, to a booby-trapped shipwreck, into a full combat gauntlet, and then ending with a rooftop chase through London. Beckett’s true innocence reframes everything that came before and sets up a bigger conspiracy heading into Chapter 6: Uninvited.