
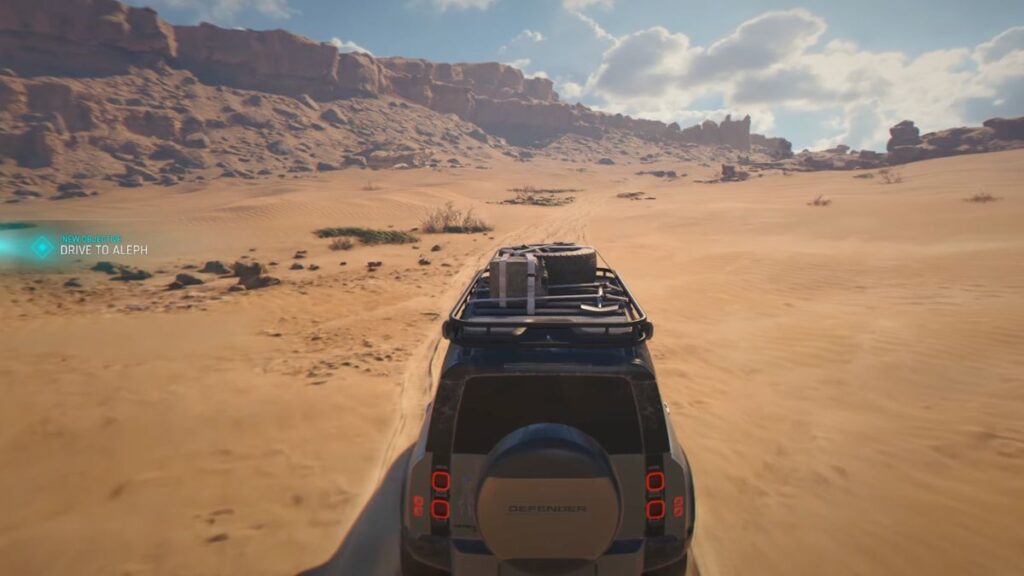
Chapter 3 ended with the objective to reach Aleph. Chapter 4 opens with you and Greenway in an SUV driving through the desert. Keep driving forward as the path is linear. The chapter title “The Past Never Dies” will appear on screen as you get closer. Follow the blue marker in the distance and drive toward it. When you reach it, a cutscene plays, after which you regain control of Bond.

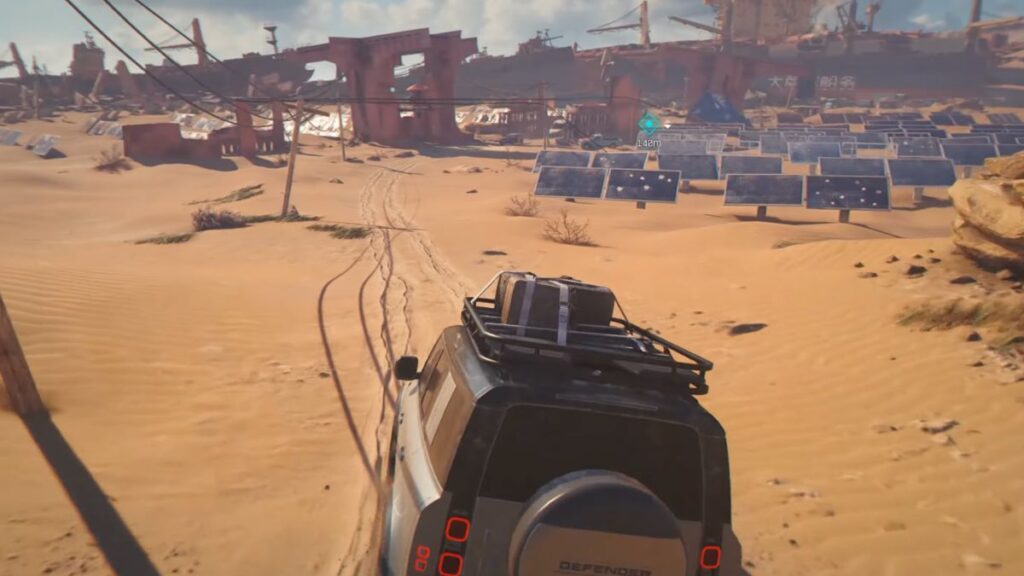
Arriving in Aleph
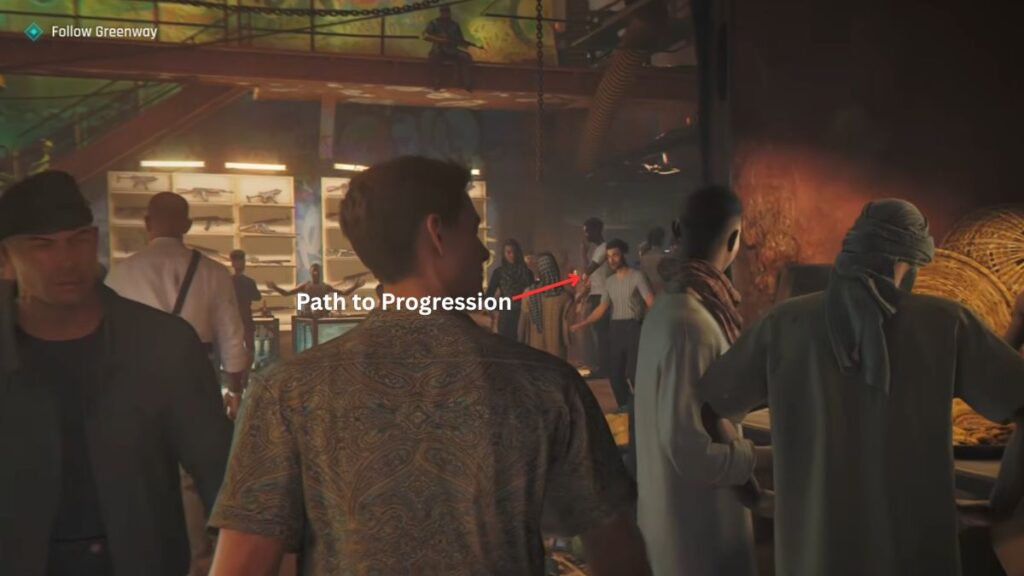
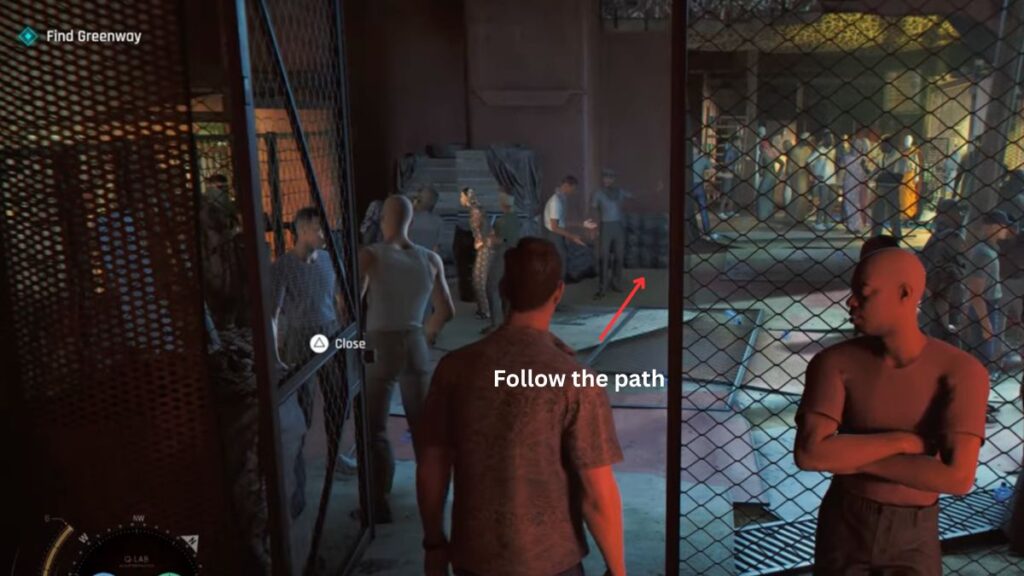
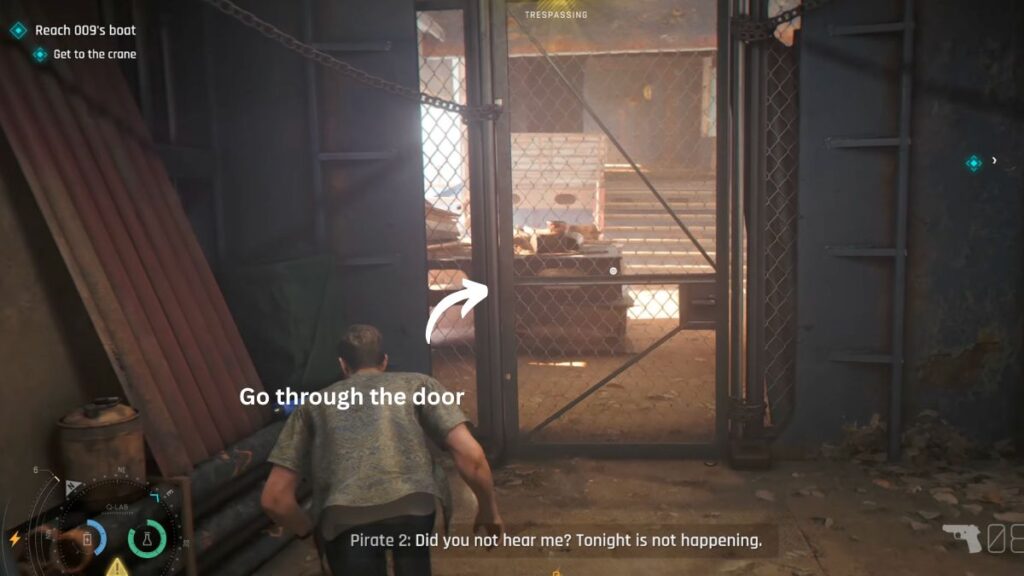
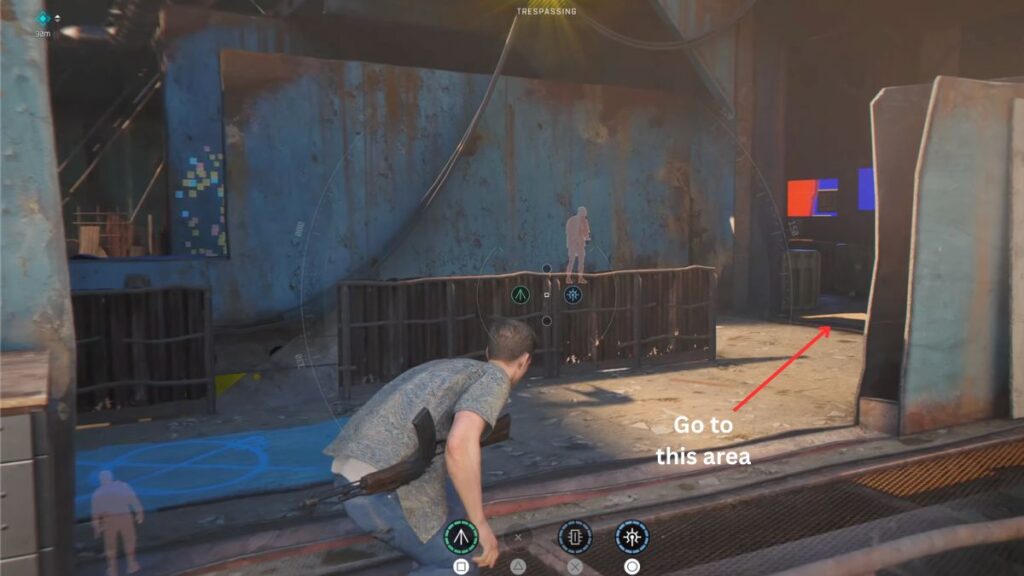
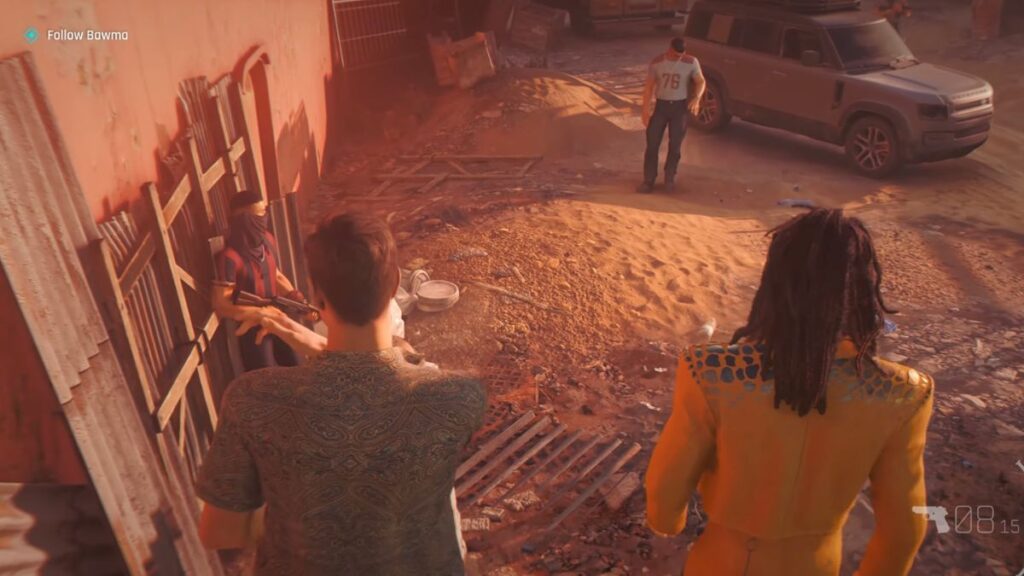
Your first objective is to Follow Greenway. Keep following him into the building but you will soon bump into a mercenary and lose sight of him. There are several things you can interact with in this area including a girl selling cigars, someone selling pills, and a man selling guns. Take the right path and keep following it until a cutscene triggers where you walk in front of a group of people watching something. The situation turns into a fight.

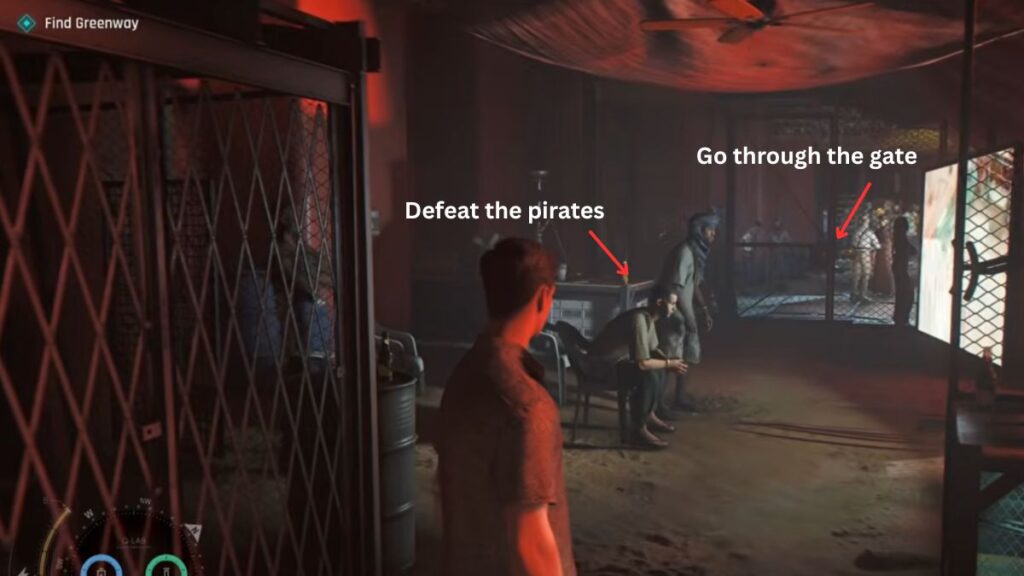
After winning the fight, keep moving forward through the gate ahead and you will spot Greenway again. Follow him up to the higher level and out of this area into the inside of Aleph. A short cutscene plays once you are out. After it ends, follow Greenway again until you receive your next objective, Speak with Barkhad Ali.
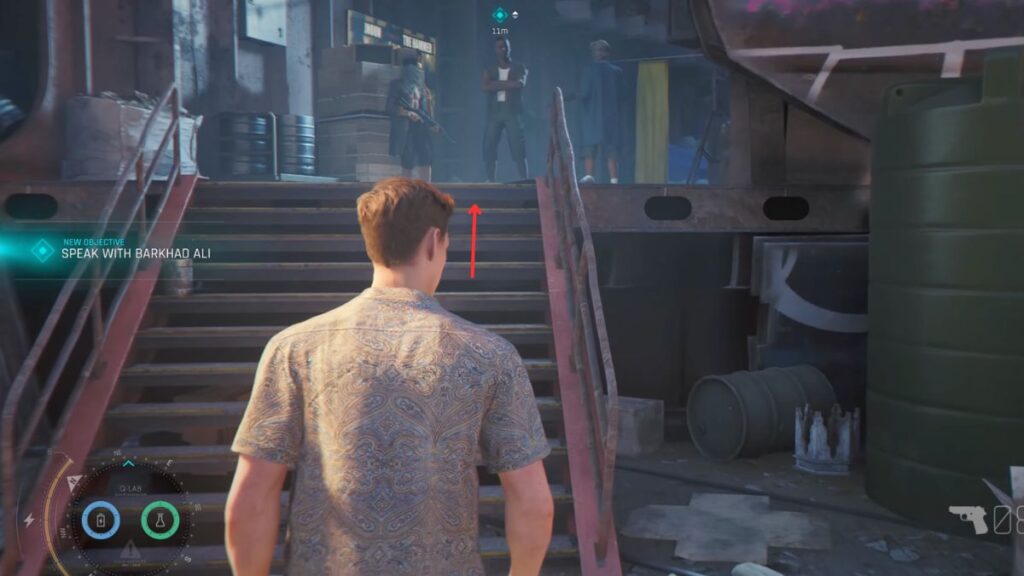
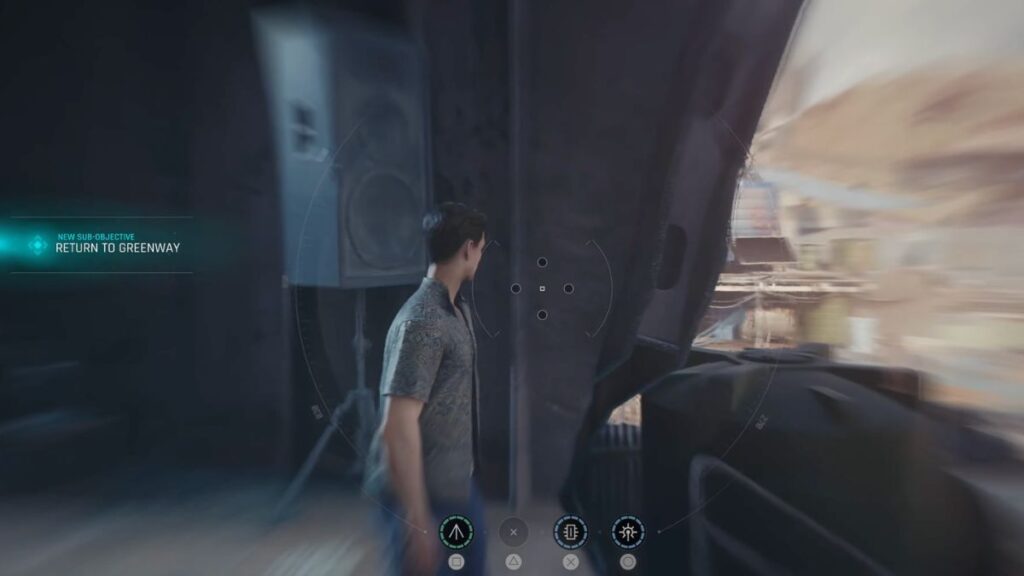
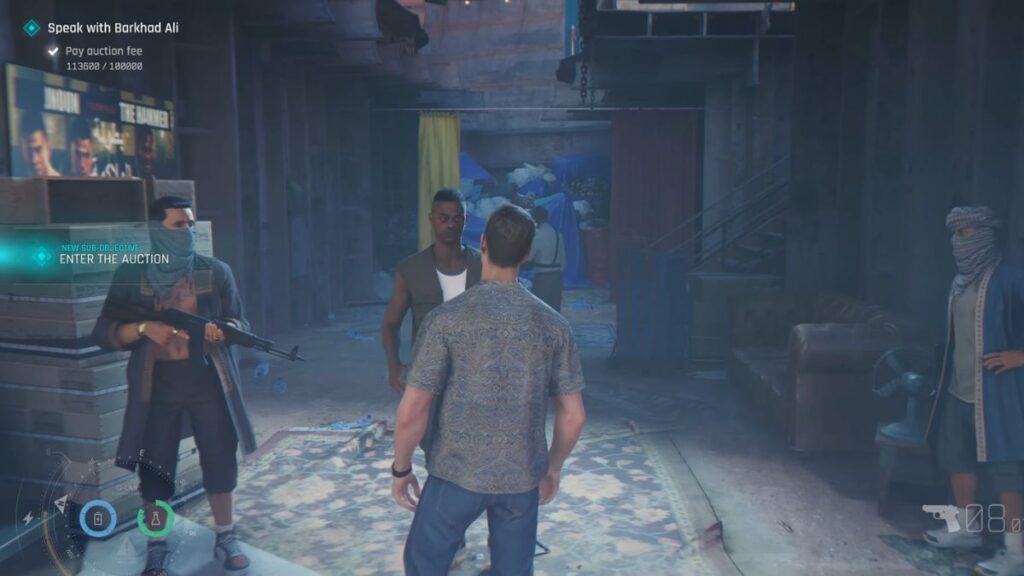
Move toward the blue marker and talk to his men. They tell you that you need to bring money to get into the auction. Your next objective updates to Return to Greenway. Walk back down the stairs and he will be standing on the left. Interact with him to trigger a short cutscene, after which you receive the sub-objective Obtain Auction Fee. There are several ways to earn 100,000 through opportunities around the area. Once you have the full amount your objective updates to Pay Auction Fee.

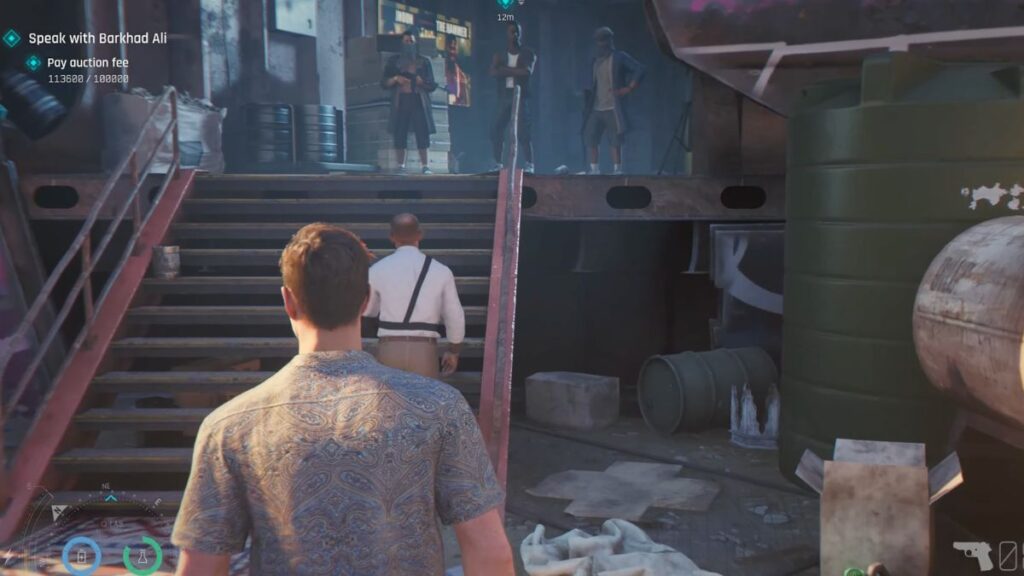
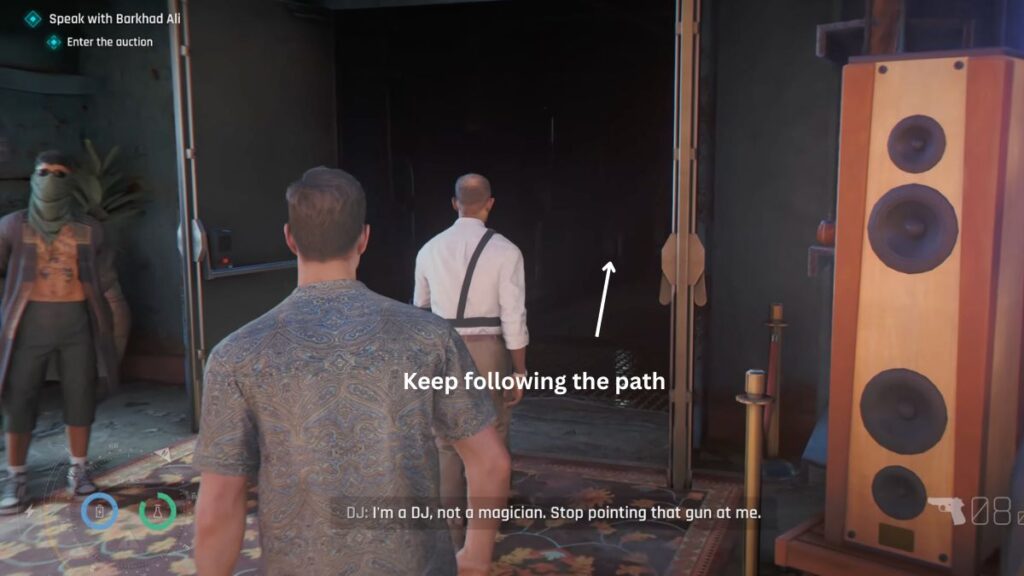
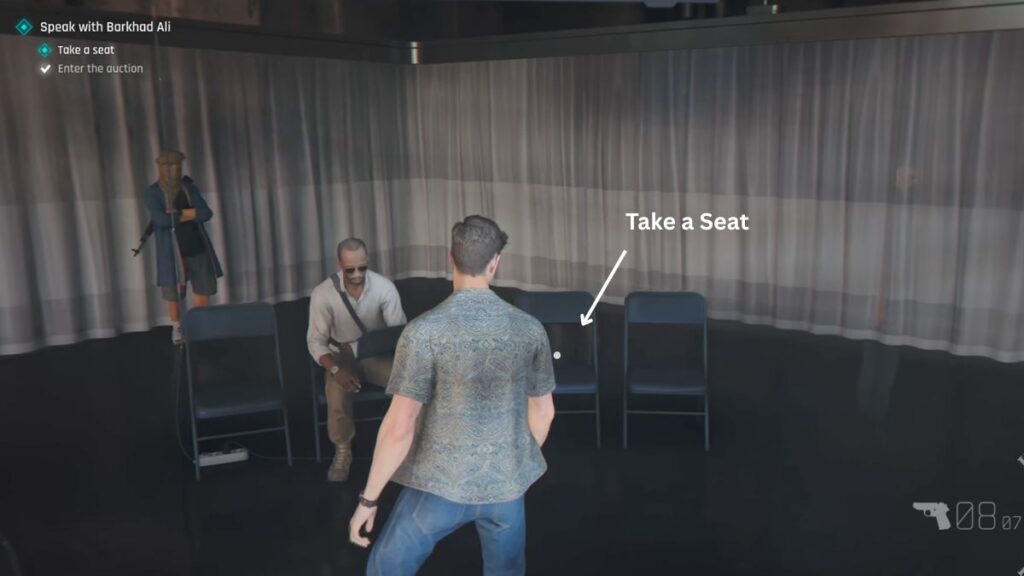
Go back to where you spoke with Greenway and walk with him to Barkhad’s men who turned you away earlier. Interact with them and pay the auction fee to get let in. Your next sub-objective is to Enter the Auction. Follow Greenway up the stairs on the right, take another right at the top, and go through the door. The path is linear from here so just keep moving forward until you reach the auction area and take a seat.
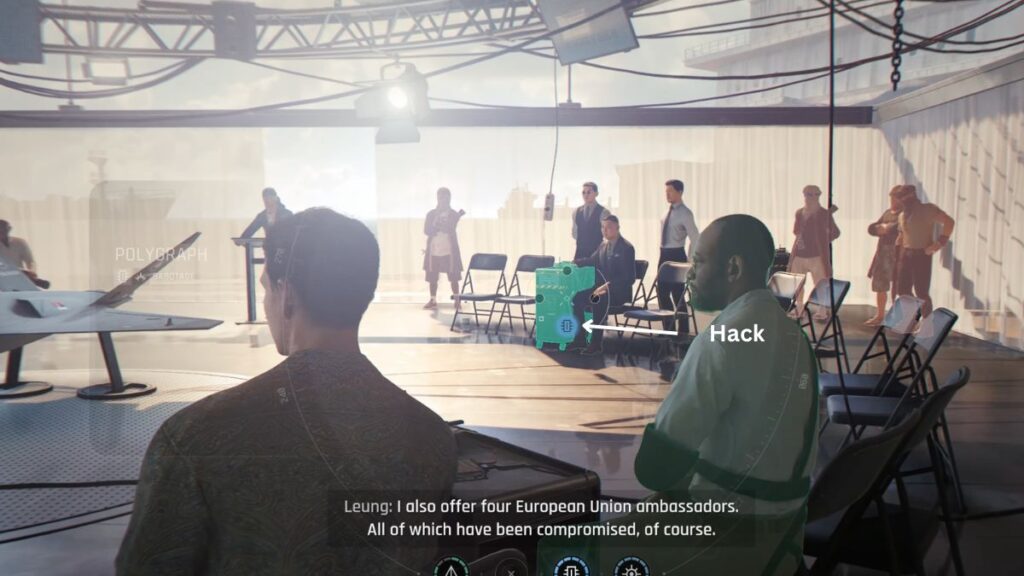
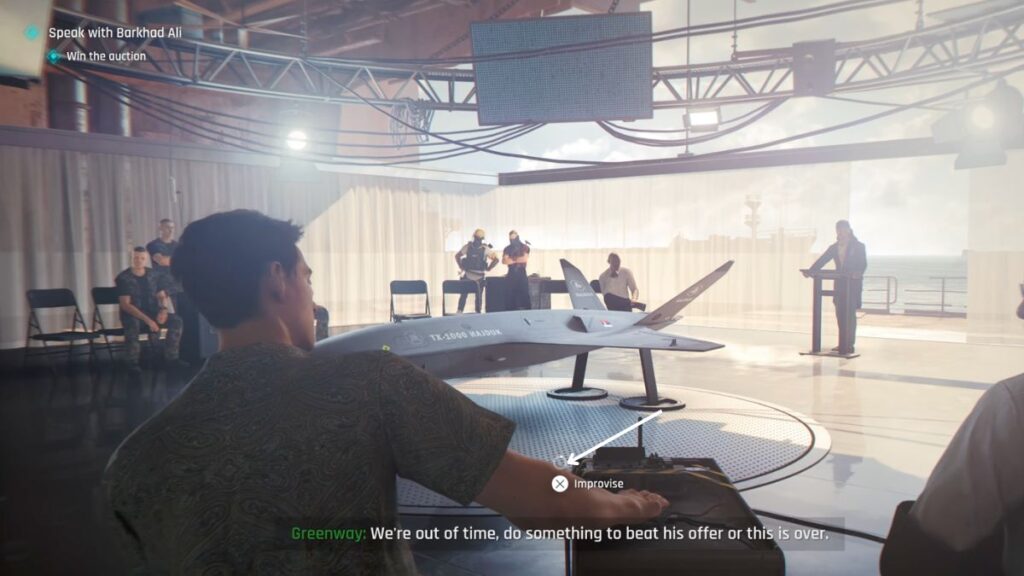
The auction starts and you will be asked to make a bid. The bid itself does not matter much. Shortly after, your next sub-objective is to Hack the Polygraph. Use your skill to complete the hack, which only takes a few seconds. A small cutscene plays where one of the auction members gets removed and you are asked to bid again. You will be outbid. A mini event starts where you are prompted to improvise by pressing X. Do so and Bond offers three decades of MI6 intel as his counter offer. A short dialogue plays and the Win the Auction objective completes. A cutscene follows.
Getting to the Crane
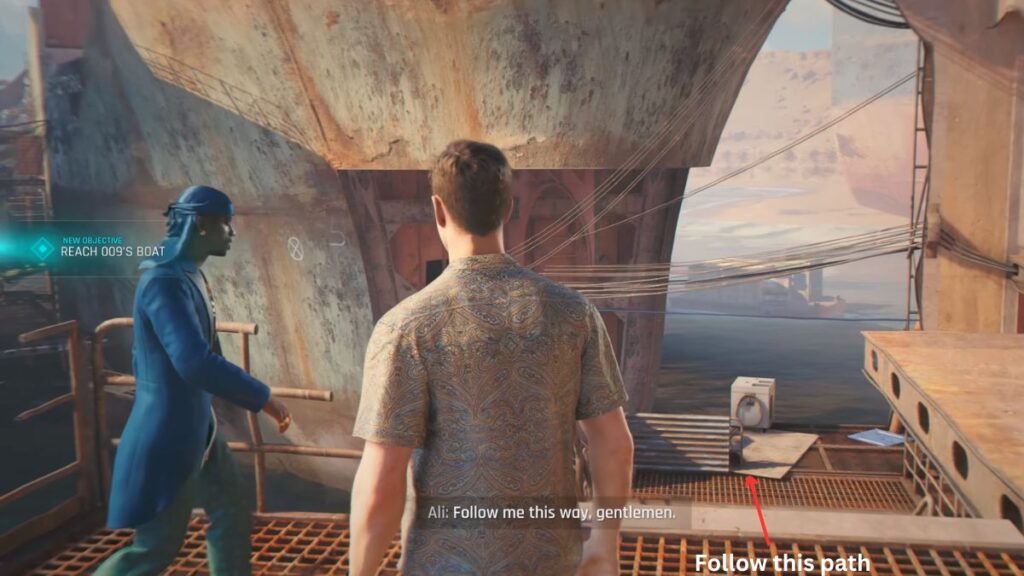
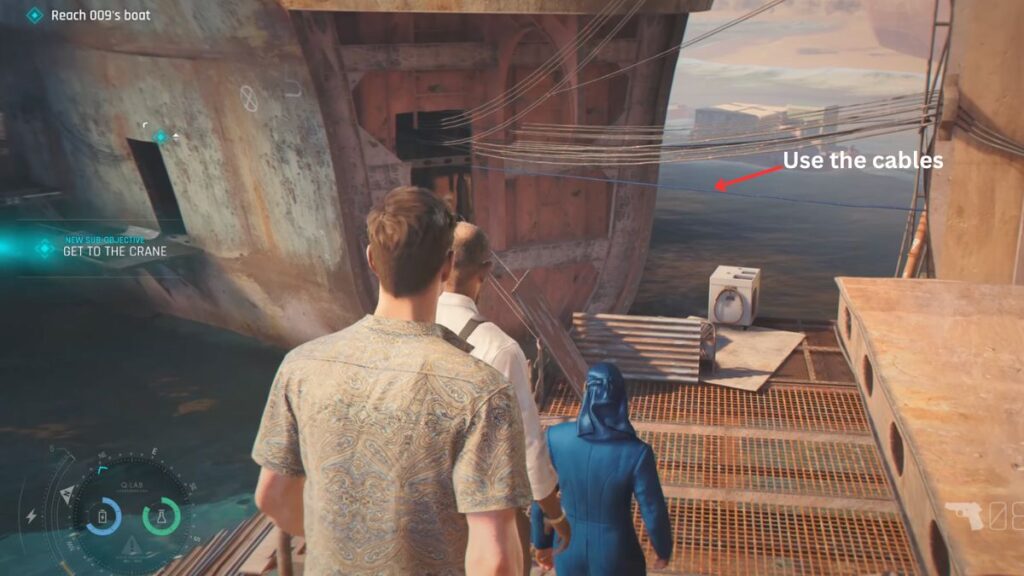
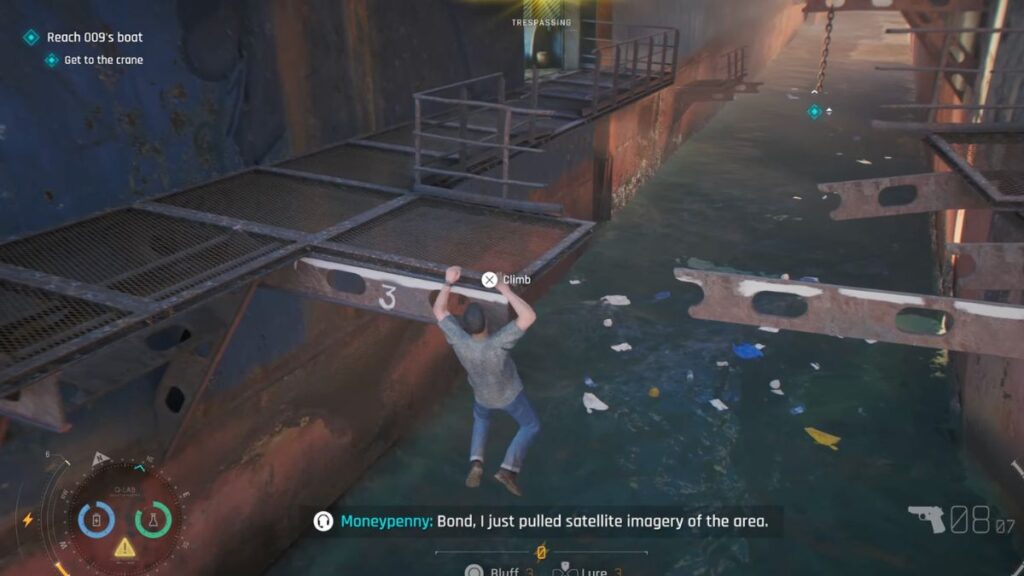
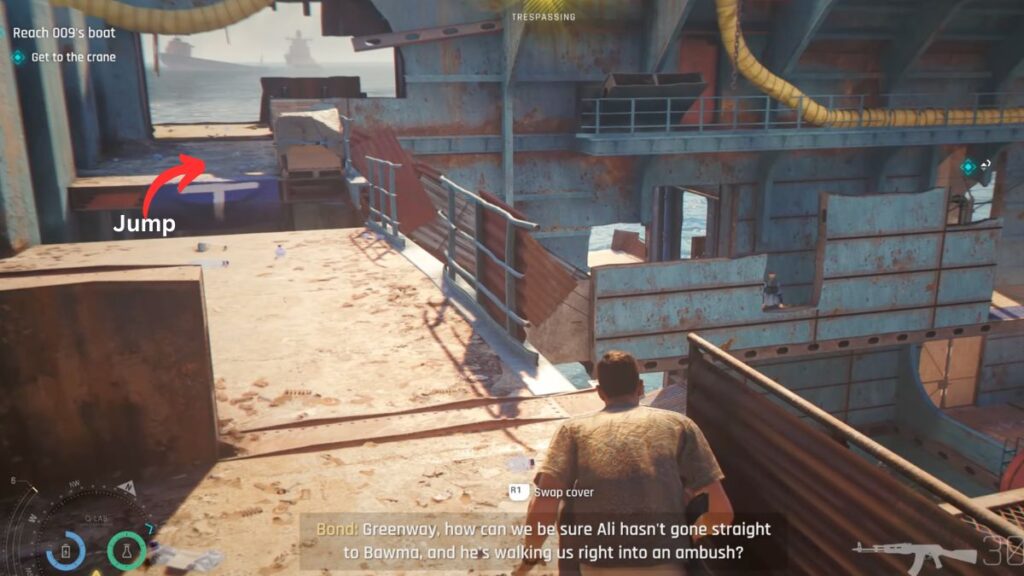
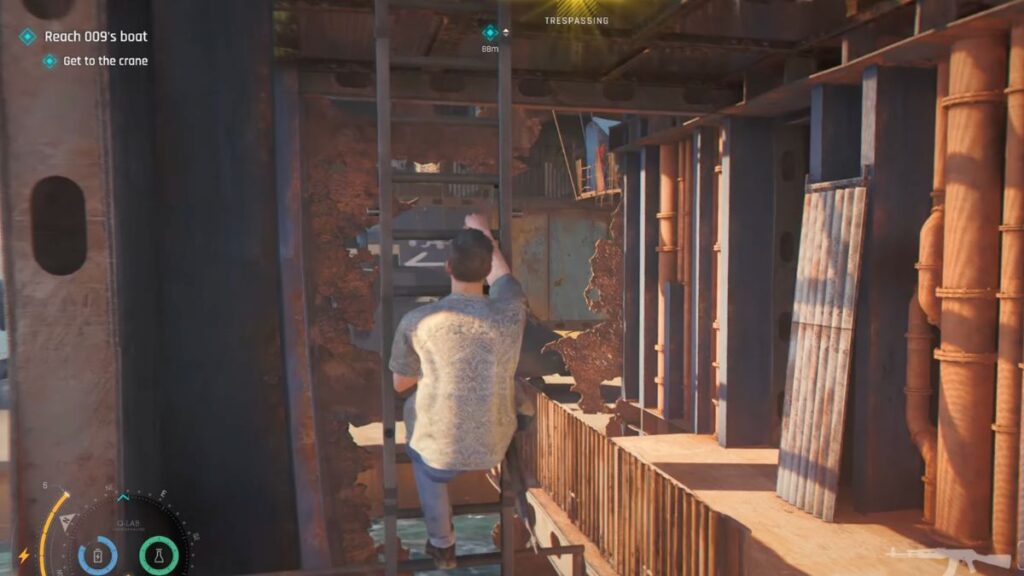
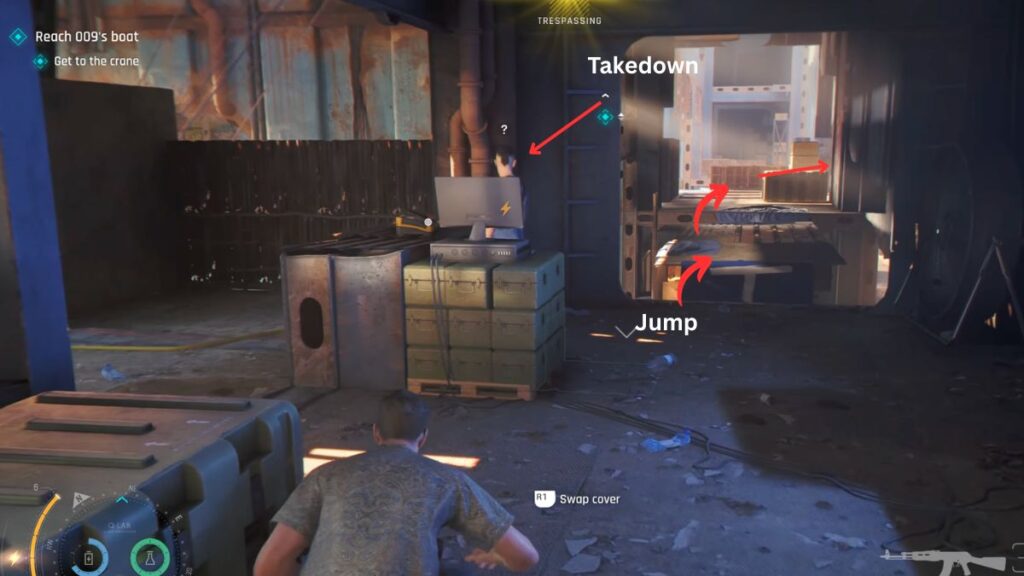
After the cutscene your objective is to Reach 009’s Boat and your first sub-objective is to Get to the Crane. Move forward and go down the stairs. You will see cables running into the ship in front of you. Jump onto a cable and cross to the other ship.
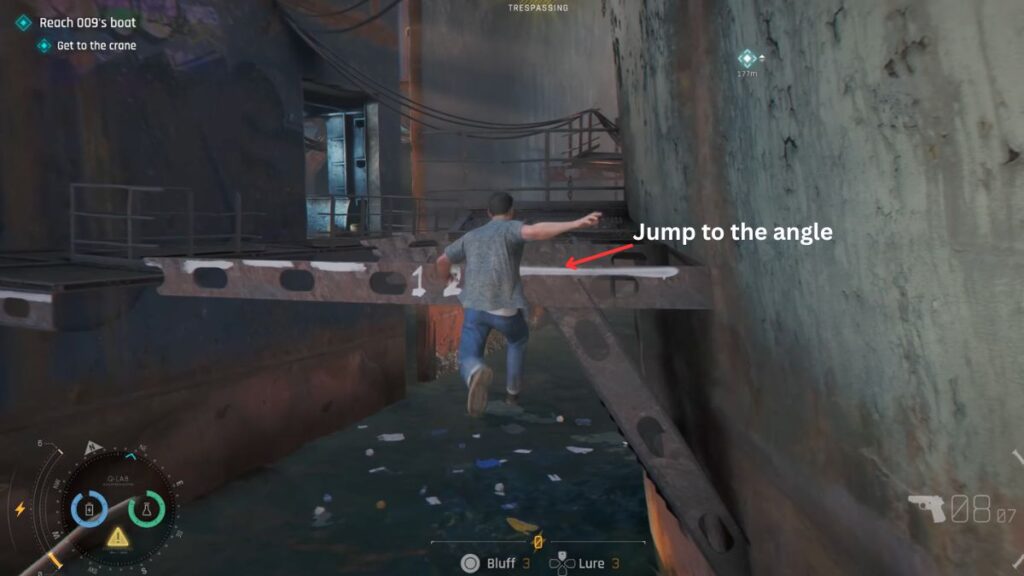
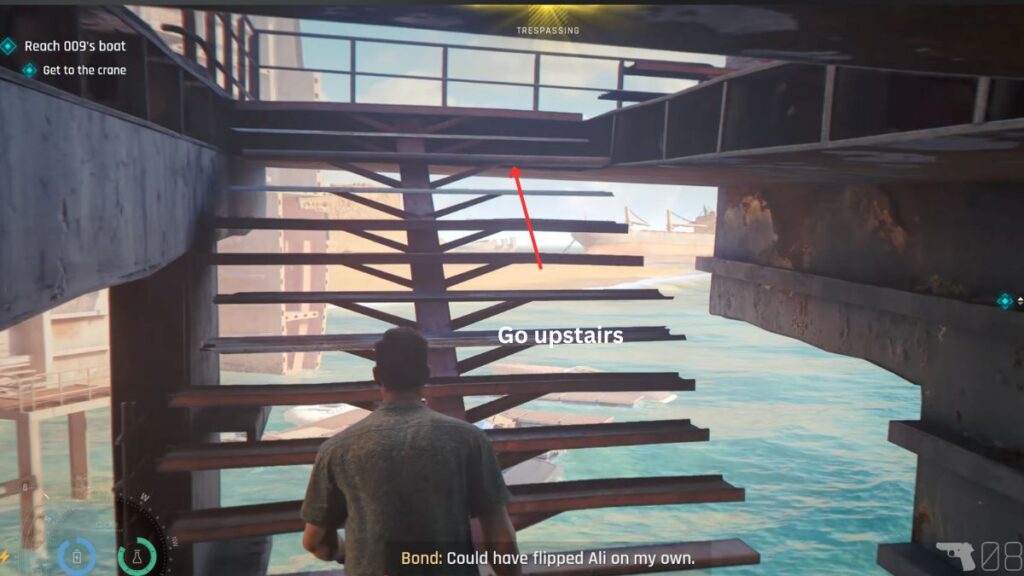
Take the left side of the ship and jump to the rusted angle ahead of you, then jump onto the ship on the left. Keep moving where the path takes you until you reach a red closed door. Open it and take the stairs up to the higher platform.

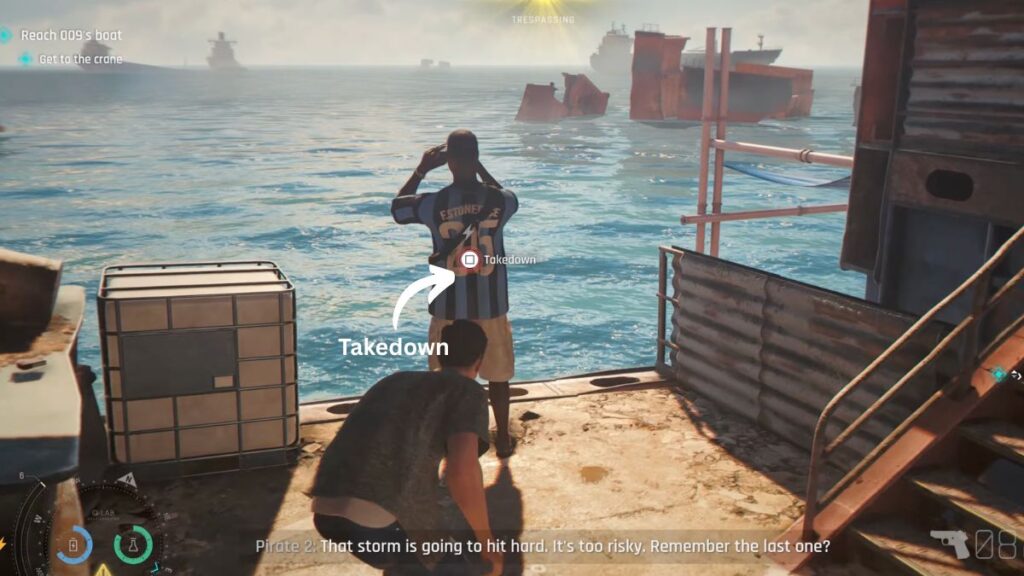
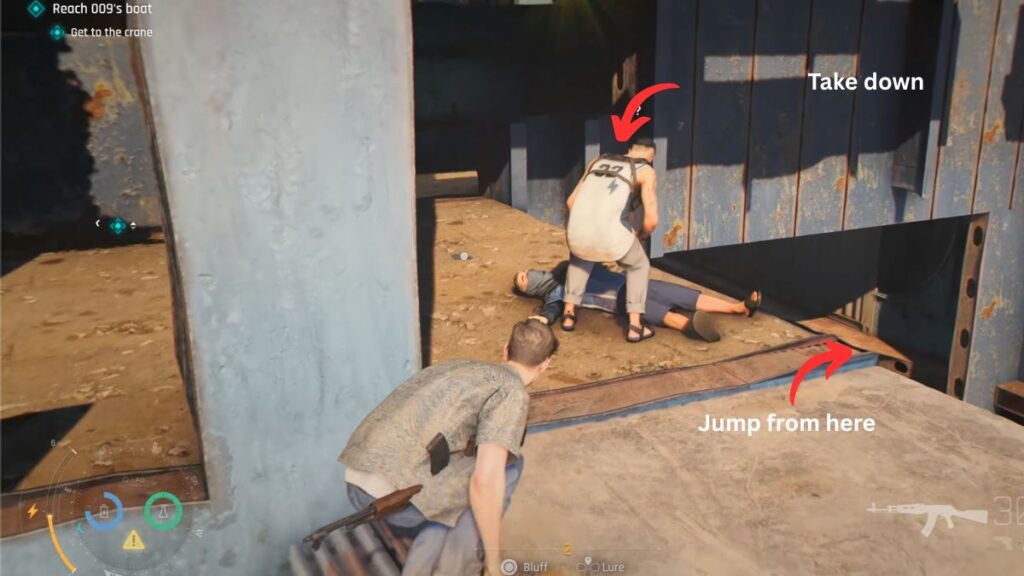
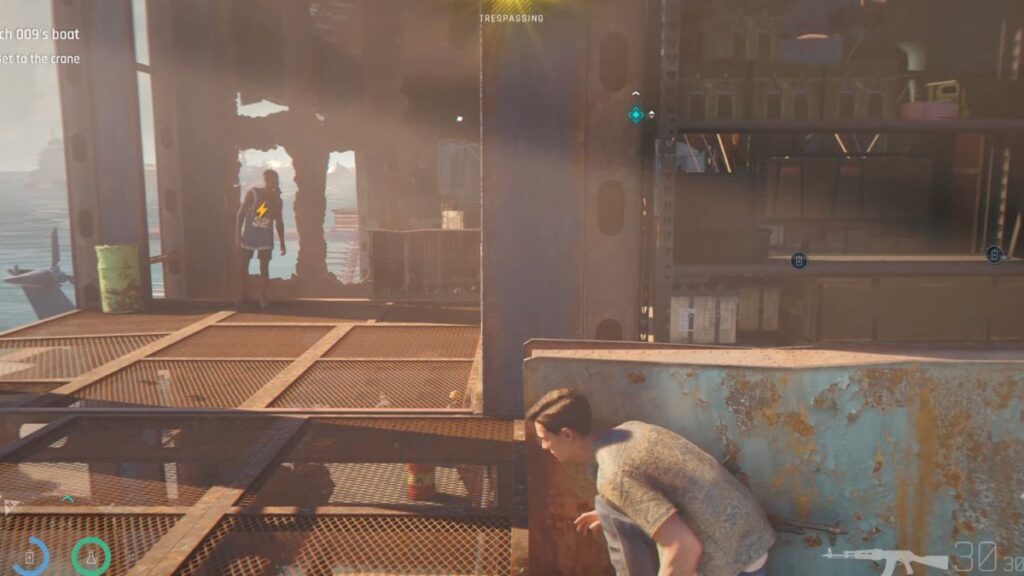
On the upper platform take a left and look down at the deck below. There are several mercenaries down there. Stay on the upper level, take another left, and jump onto the platform to your right. At the end of this path take a right and open the door ahead. Stay crouched because there is a guard standing right inside. Sneak behind him and perform a takedown.
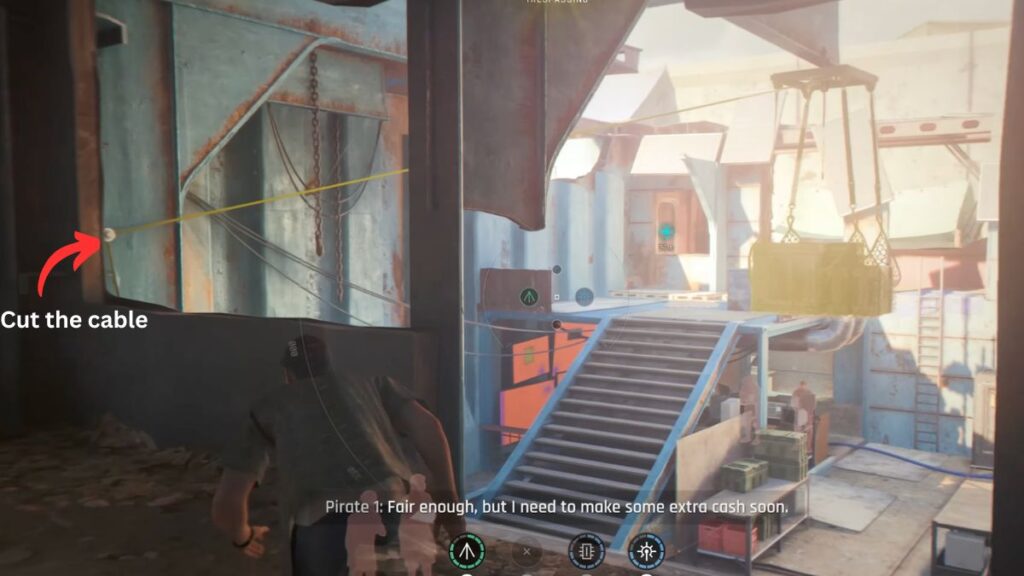
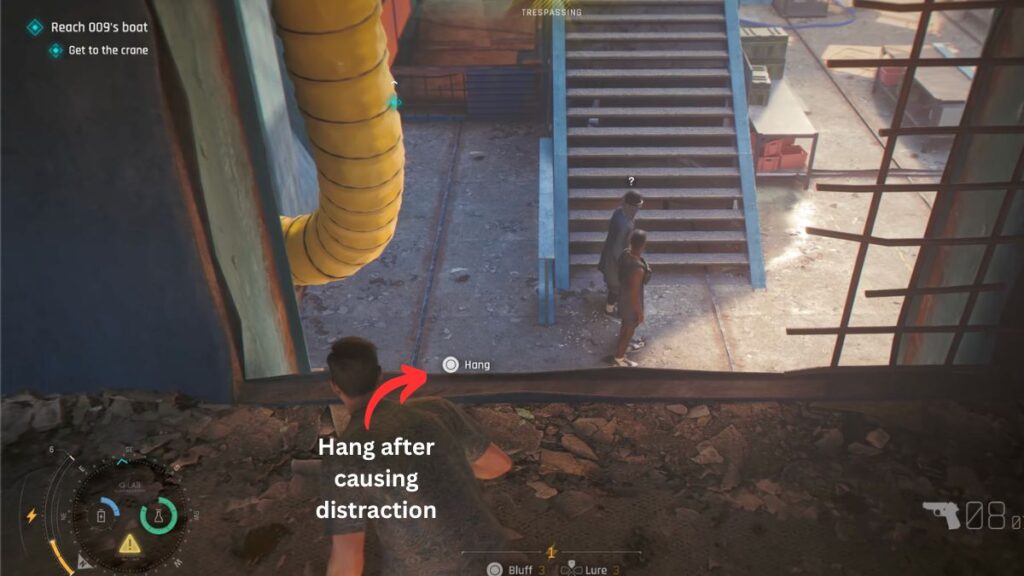
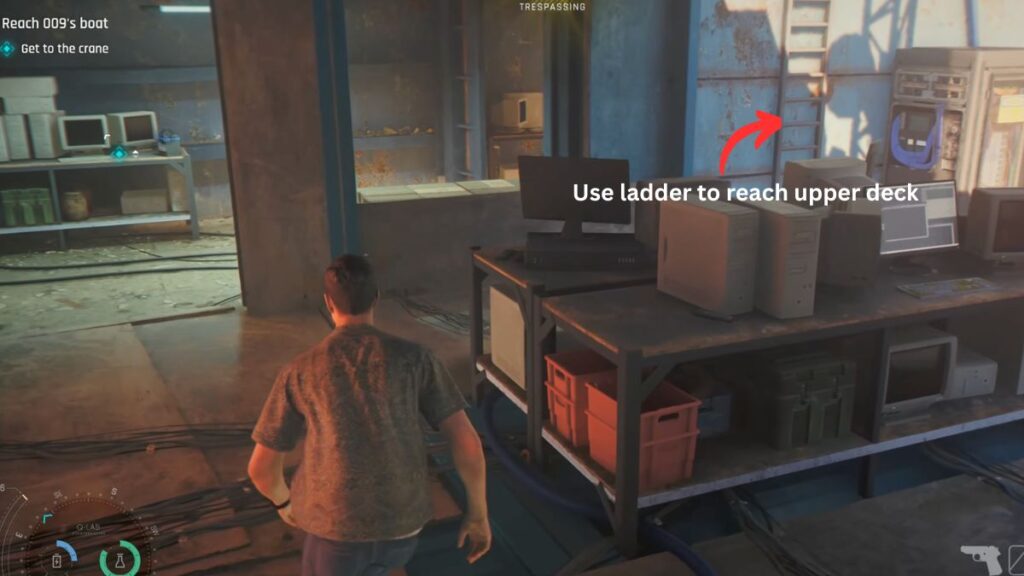
Keep moving forward and walk up the stairs. In the center area you will spot some crates tied to a cable. Cut the cable to drop the crates and create a distraction. Hang from the wall on the right side where there is a gap and jump down. Two mercenaries are below you from this position. Keep moving forward and on the right you will see a ladder. Climb it to reach the upper level.
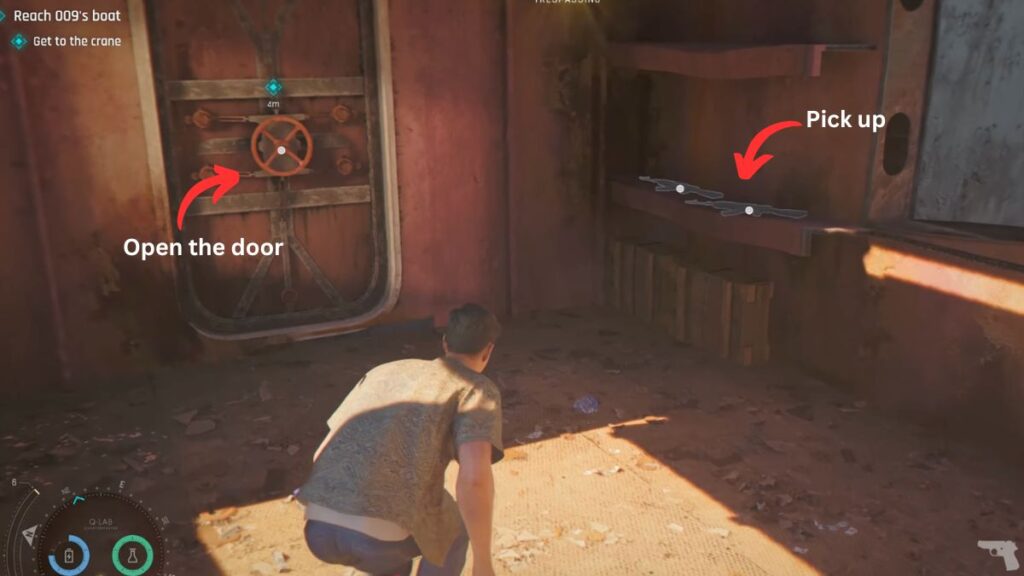
As soon as you are up, take a left and open the red door ahead. Before going through, pick up one of the guns on the right. Take a left from here and jump to the other side of the platform. Rather than going down the stairs, go to the edge and hang from the bars to cross to the other side. When you are positioned above a pirate, perform a takedown from above. Another pirate will come to check the body so stay crouched and go around the pillar to take him down as well. From here you will spot a pirate standing on a lower platform. Perform a takedown on him from above as well.
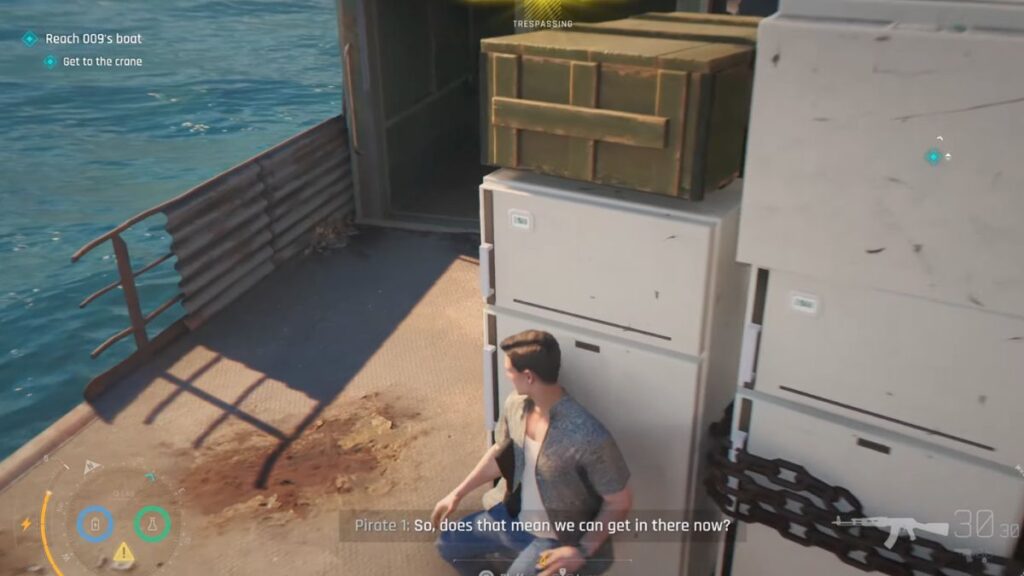
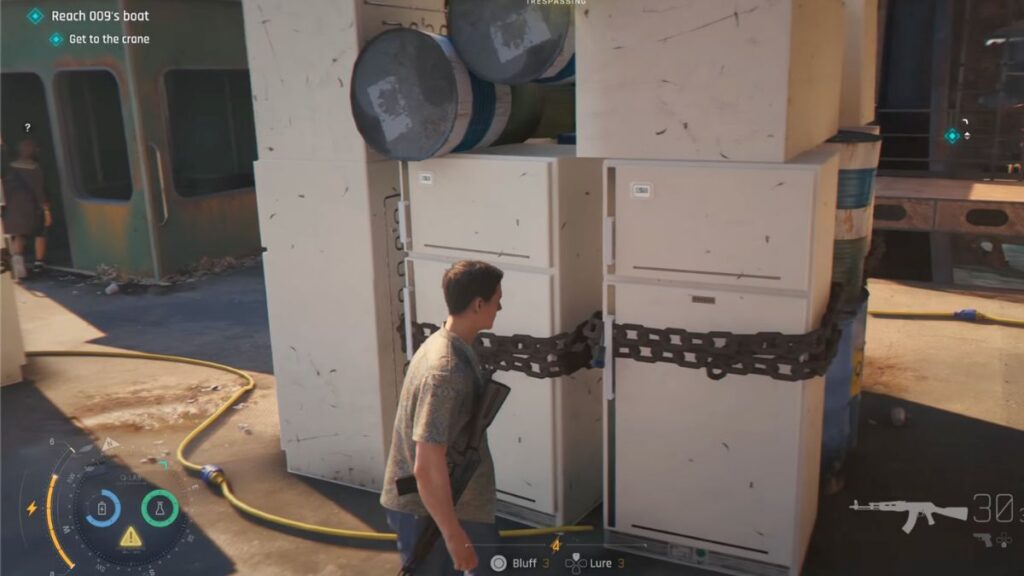
Keep moving straight ahead, and you will see two pirates talking on the left side. Jump to the other side and hide behind the refrigerators. Use the radio in the room next to them to cause a distraction, then go around the refrigerators and take down the first pirate, followed by the second.

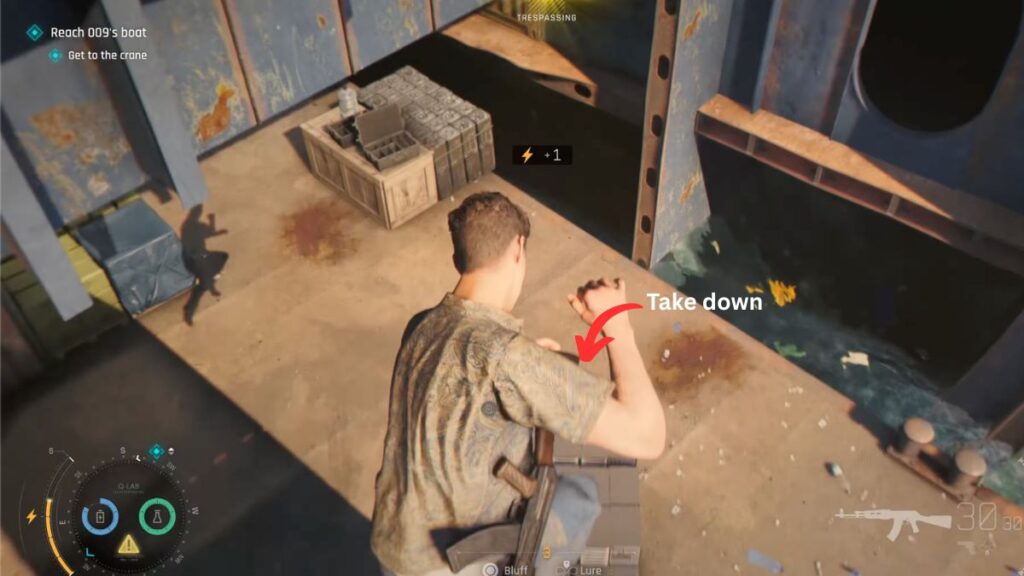
Take the ladder upstairs. As soon as you reach the top there is a guard working at a computer. Take a right and hide behind the pole or the metal block. When he starts looking for you, cause a distraction for the second pirate on the right. When the first one comes close to your hiding spot perform a takedown and then take down the other one as well.
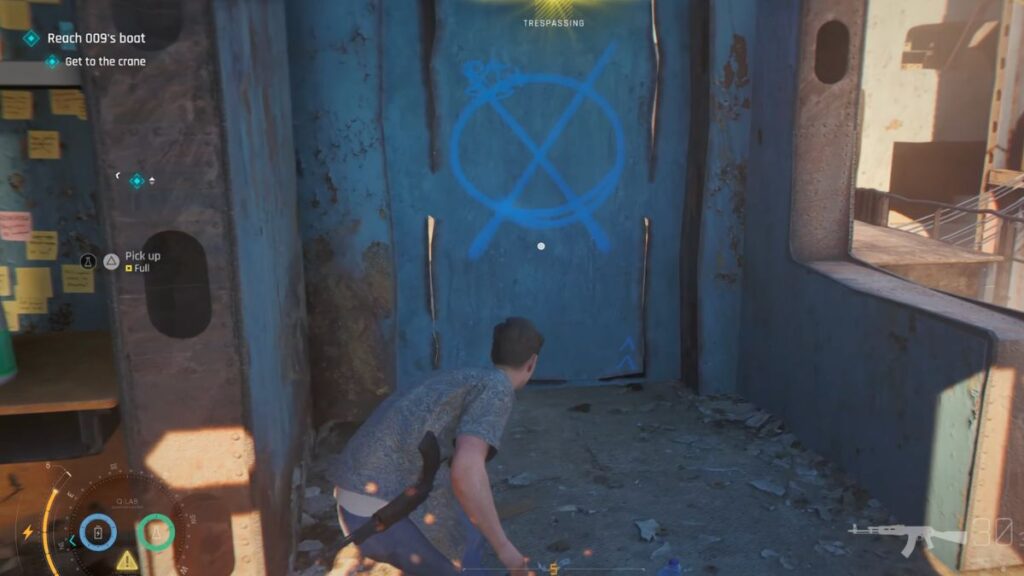
Kick down the door on the right that has a blue sign on it. The sound will bring a pirate to check. Stay crouched behind a wooden block and perform a takedown when he gets close.
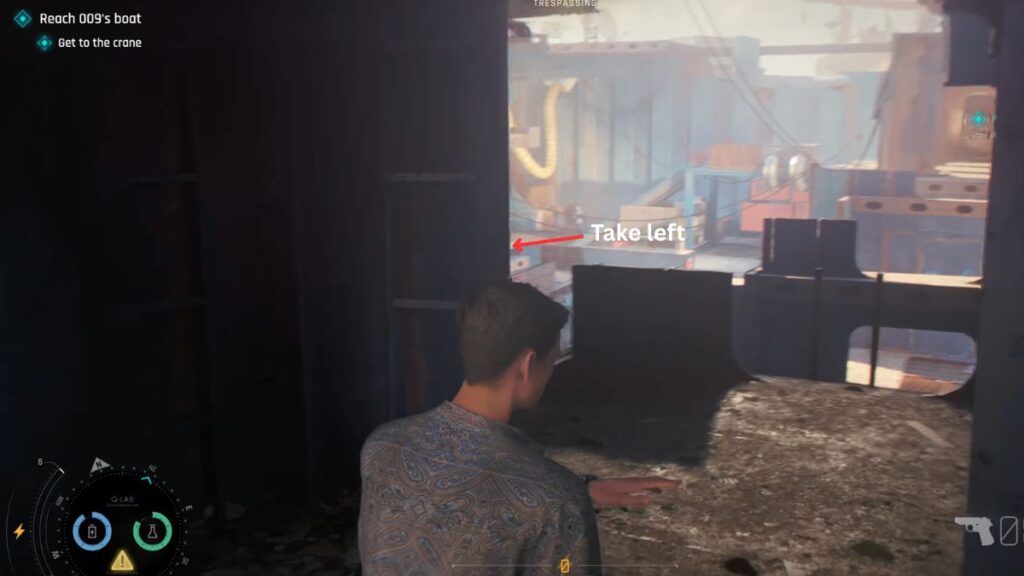
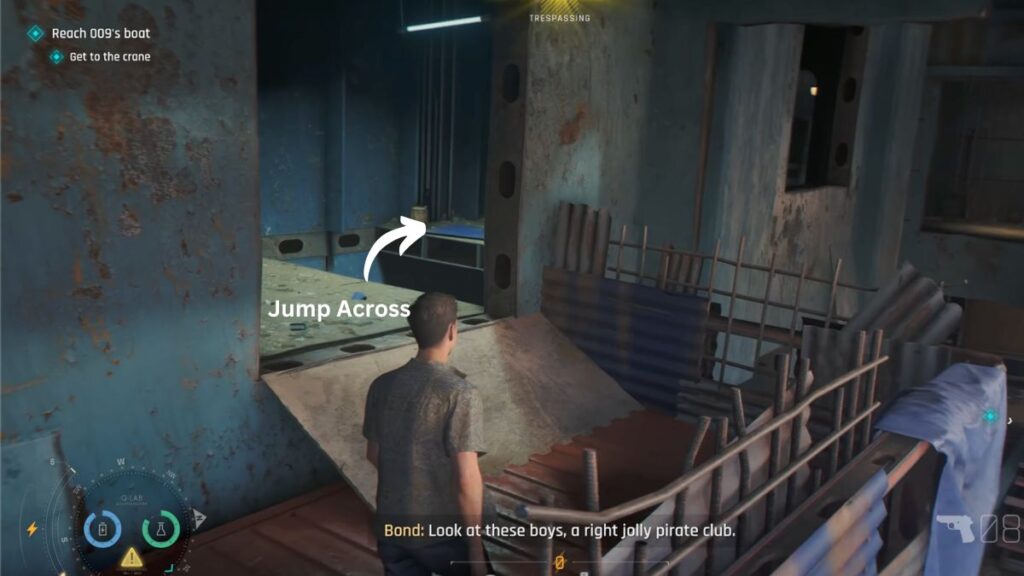
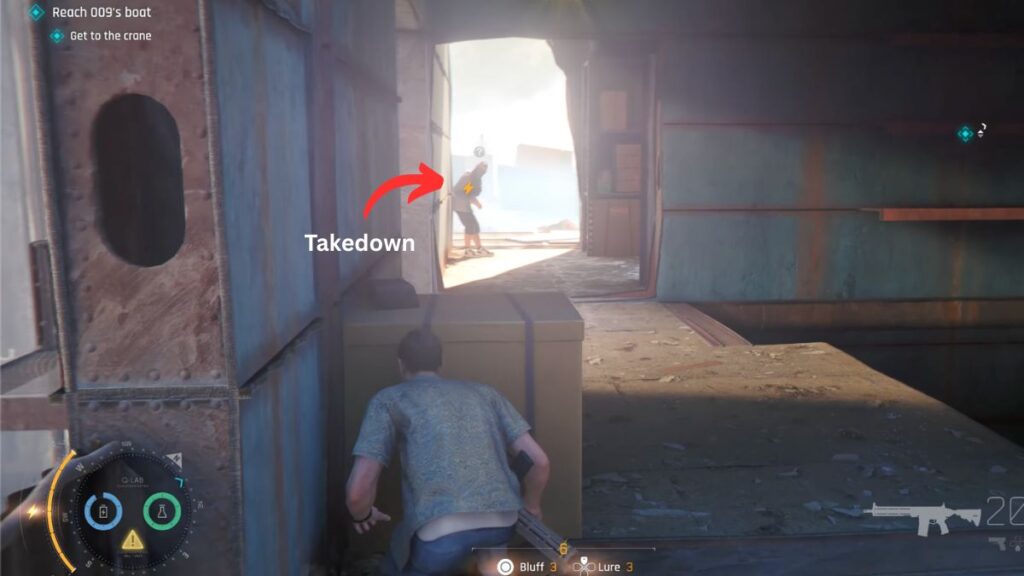
Go in the direction that pirate came from. There is a man on a laptop ahead of you. Create a distraction before closing in, then perform a takedown once he is distracted. Jump through the window onto a container and keep moving forward, then jump to the other side again.
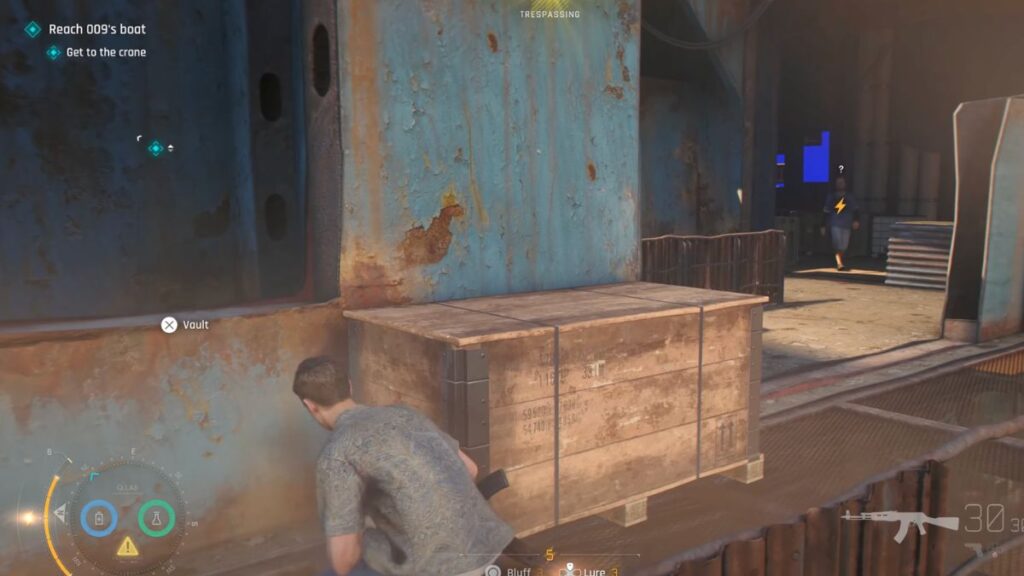
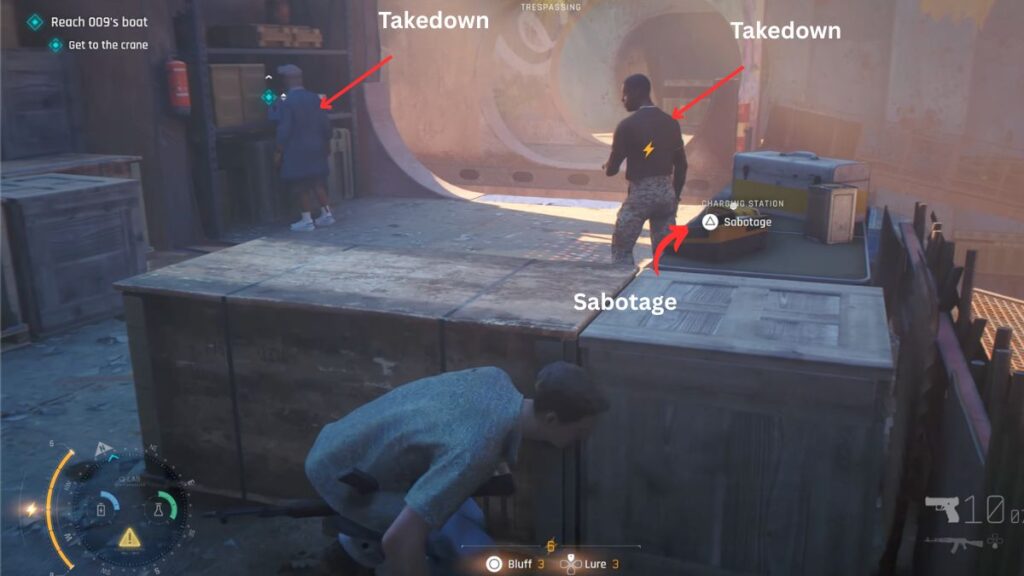
Take a right and you will spot two guards in this area. Dash behind the crates on the other side and sabotage the charging station to draw one of them over. Perform a takedown when he comes to inspect it, then sneak behind the other man and take him down too.
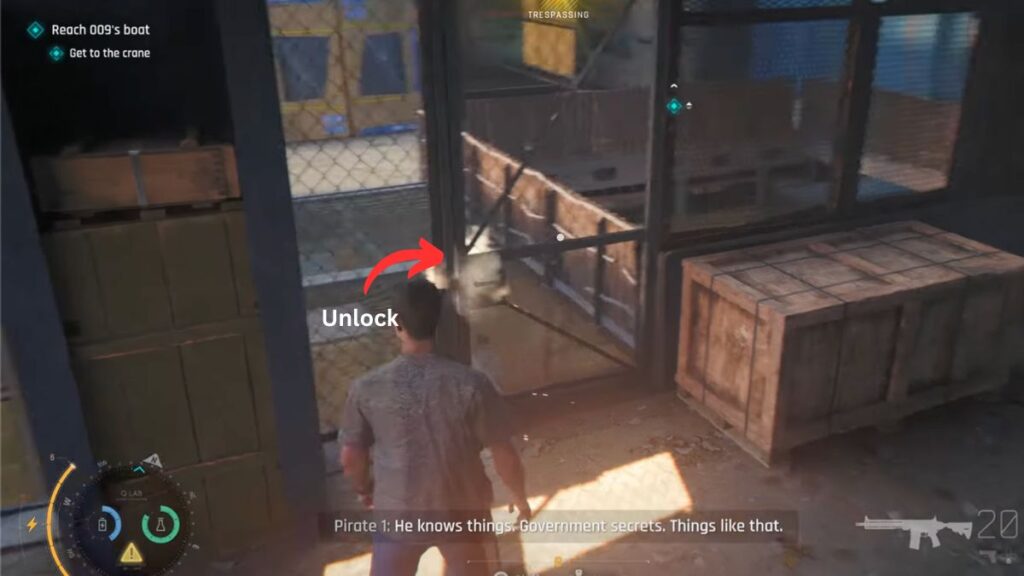
Jump to the other side and take a left. Keep moving along this linear path until you reach a locked metal gate on the left. Unlock it and go through. In front of the stairs you will see a clock. Turn on the alarm to draw the man ahead toward it and perform a takedown while he is distracted.
Go to the spot where that pirate was standing. There is another pirate there so take him down, then head outside and climb a ladder to the upper level.

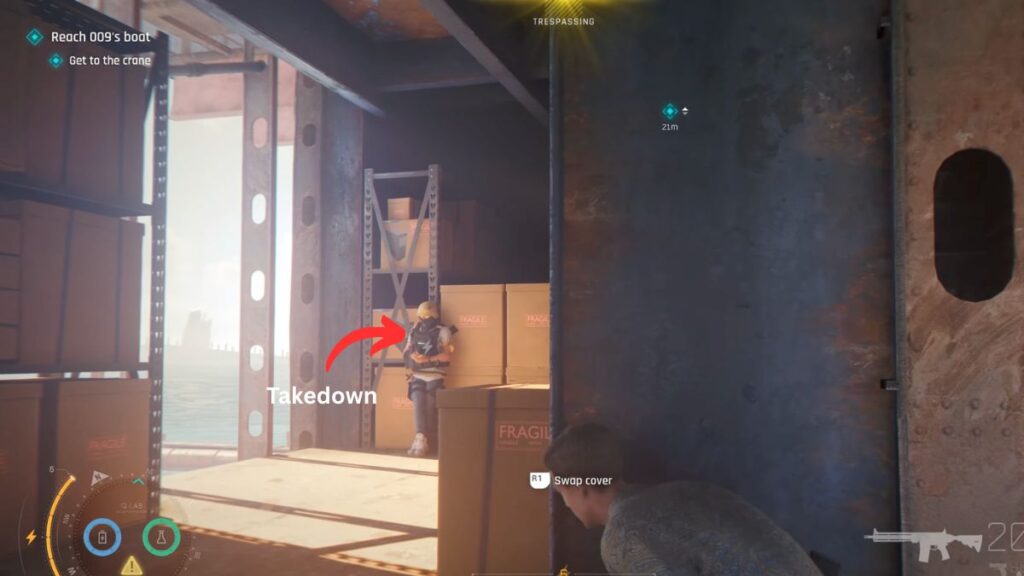
Once you are up there will be a pirate standing inside one of the broken sections of the ship talking to another pirate nearby. Stay crouched and get behind him while still on the other side of the gap. Interrupt the charging station next to the second pirate to create a distraction and take down the first pirate. Then vault inside and take down the second one as well.
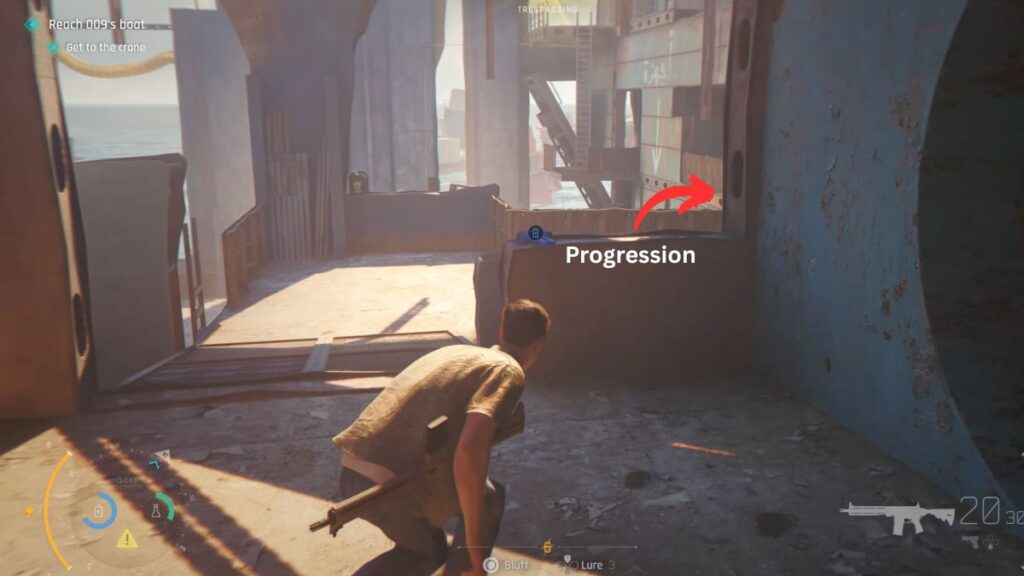
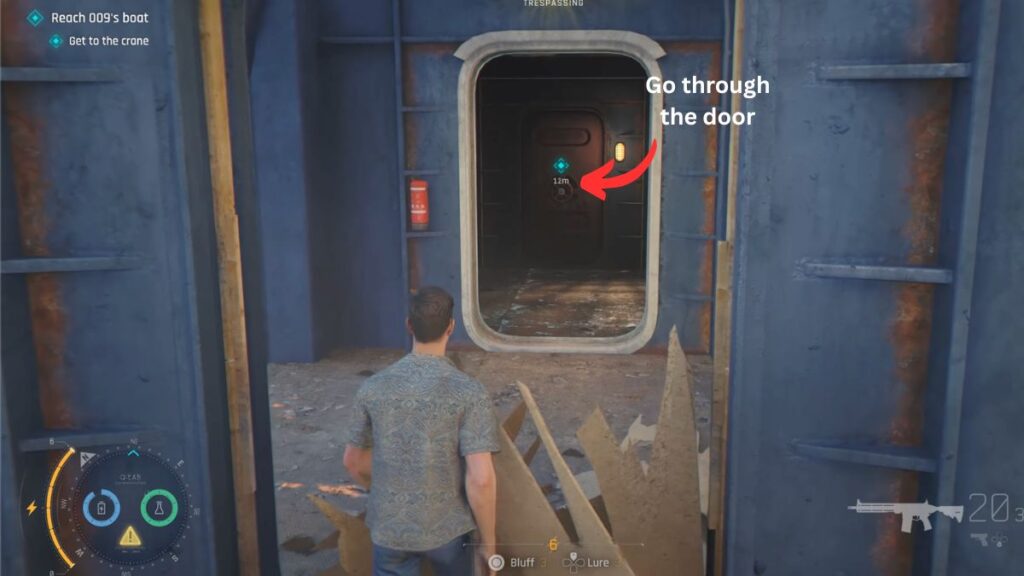
Kick through the door and move toward the blue marker. Opening the door completes the Get to the Crane sub-objective and updates your mission to Reach 009’s Boat.
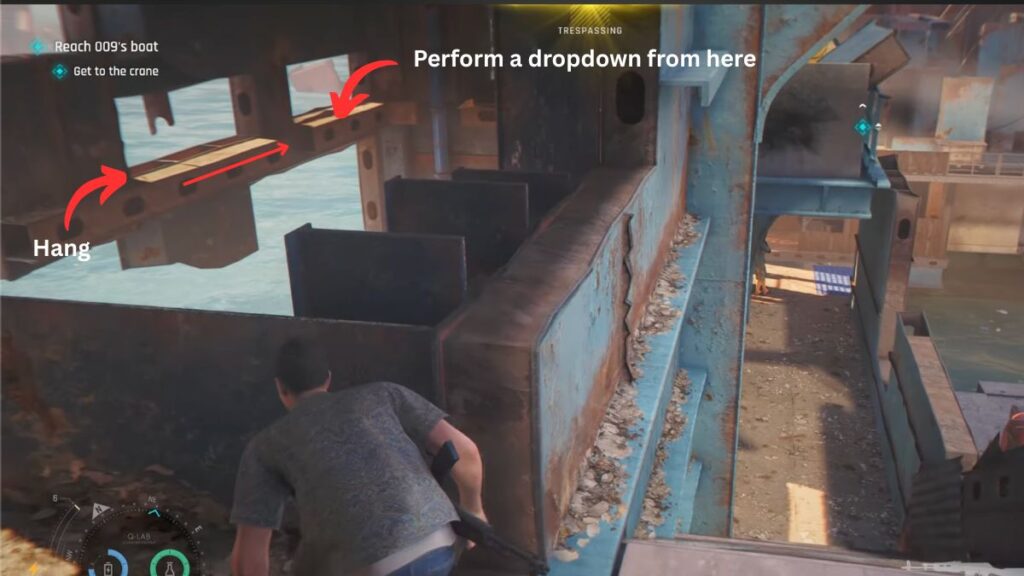
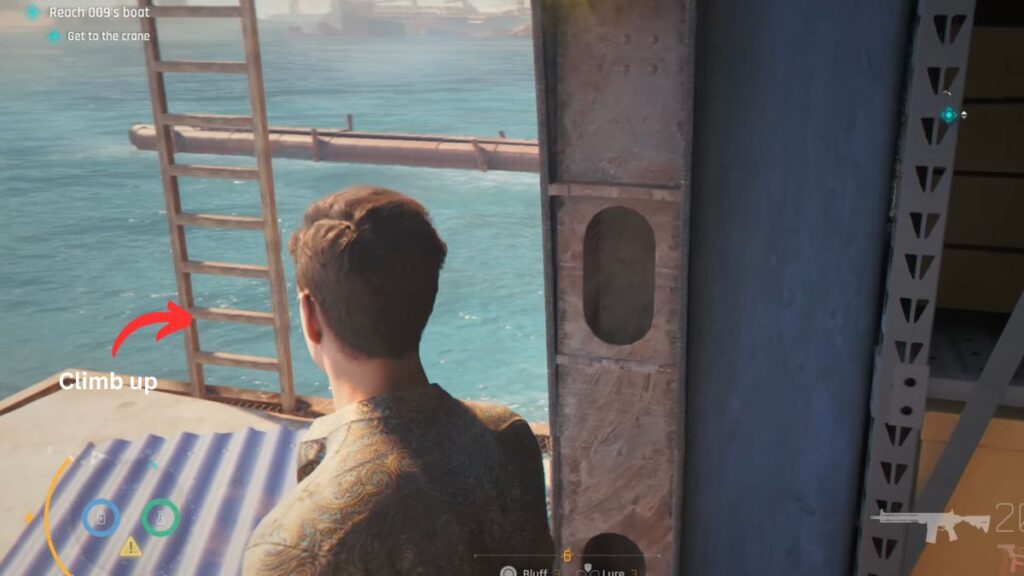
Take a left and hang down the side of the ship, moving forward along the ledge. When you reach a bigger platform, climb up and then jump down to the lower level. Take a right and jump down again. Keep following the blue marker as the path is straightforward from here.

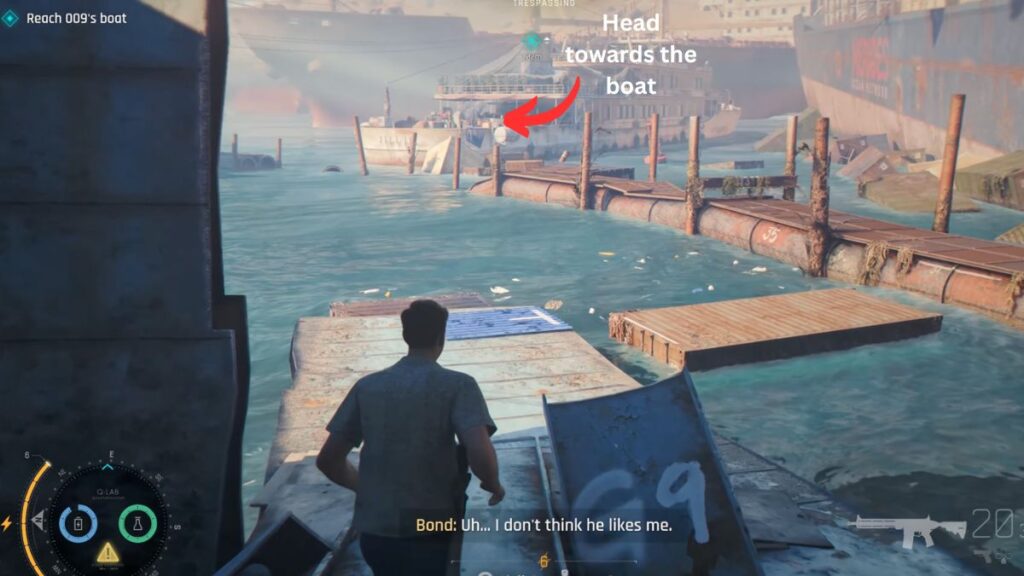
009’s Boat
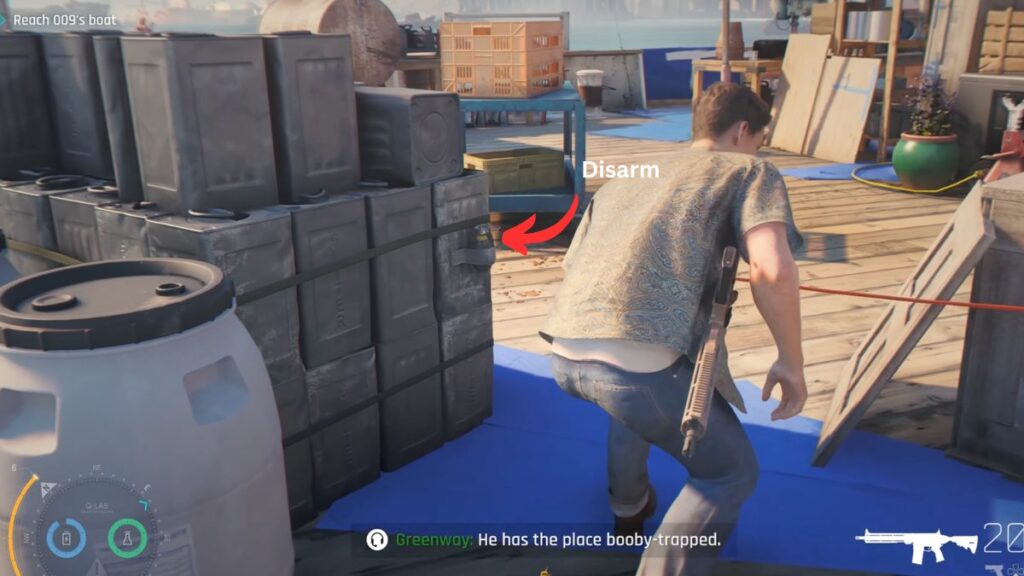
Once you reach the boat your objective is to Find 009. The area is full of booby traps so you need to disarm them before moving through.
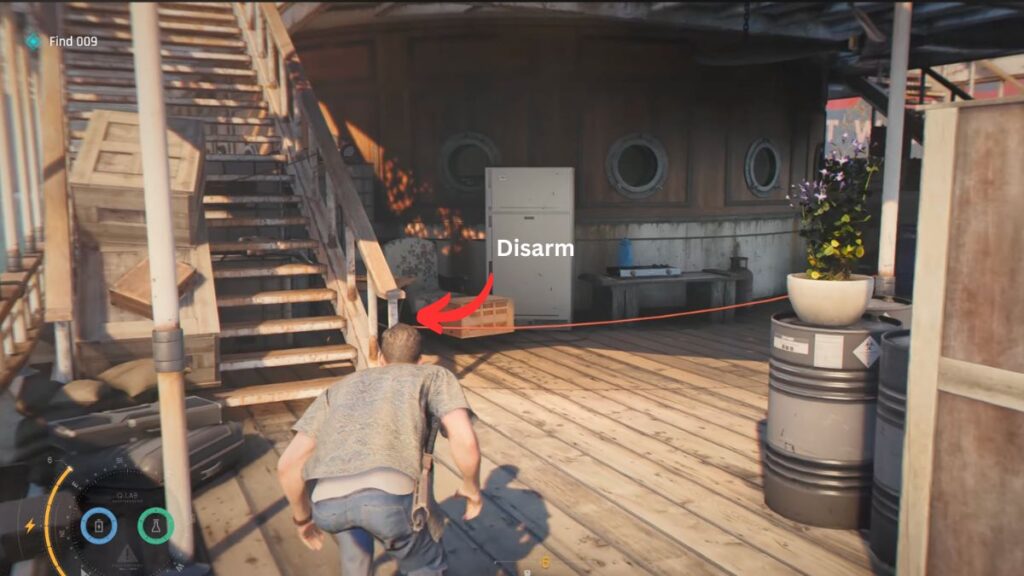
The very first one is directly in front of you as soon as you board. You will see a bomb tied to the metal containers. Cut it. After that go through the narrow gap between the wooden cupboard and the shelves to reach an area with an ATV. Disarm another booby trap on the pole in front of the ATV.
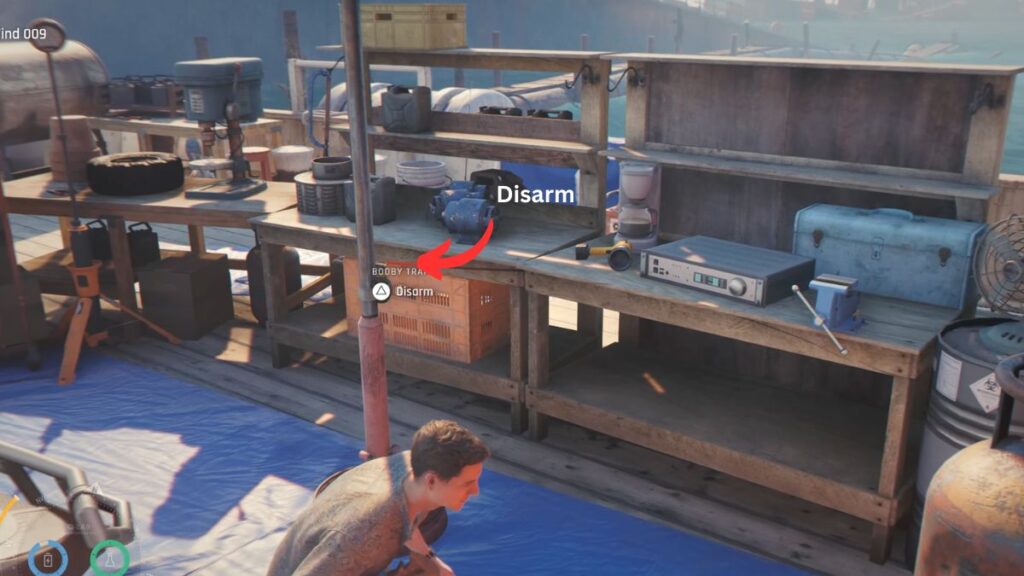
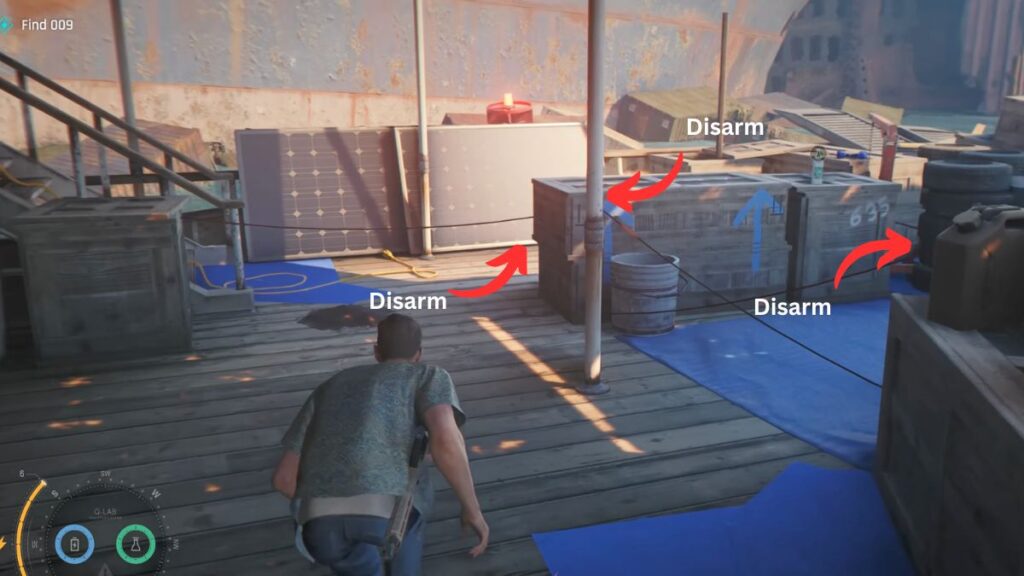
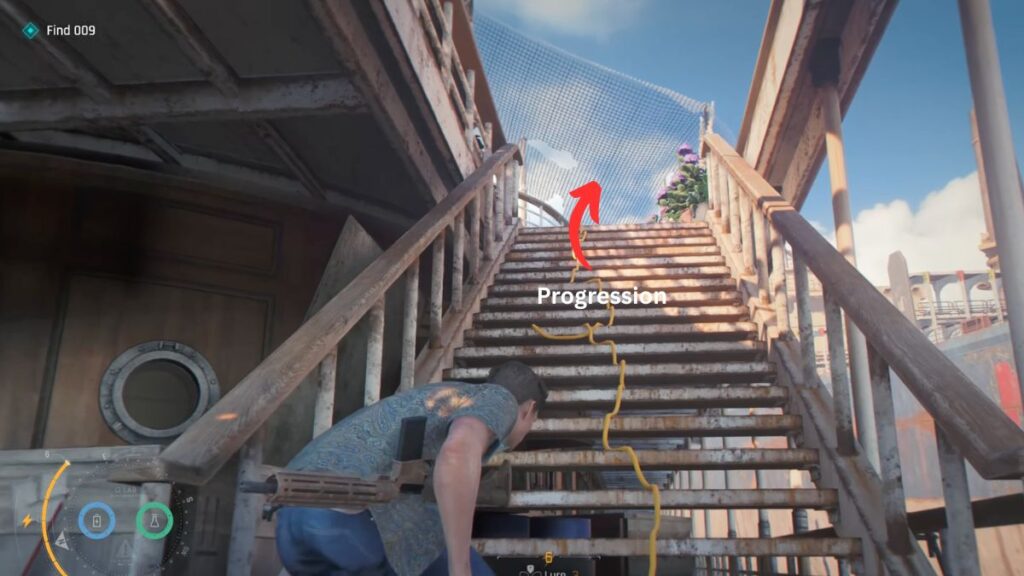
Go around toward the left staircase. As you approach it you will notice another booby trap on a crate right next to the stair railing. Keep moving right and you will find several more booby traps, one tied to the right stair railing and two more on nearby crates. After clearing all of them, go up the stairs to reach the higher deck.
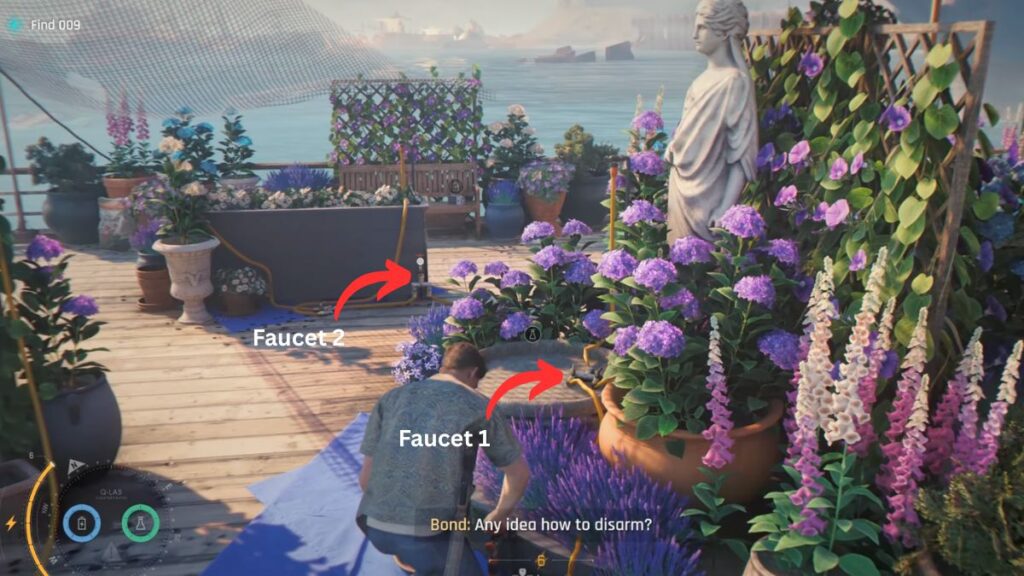
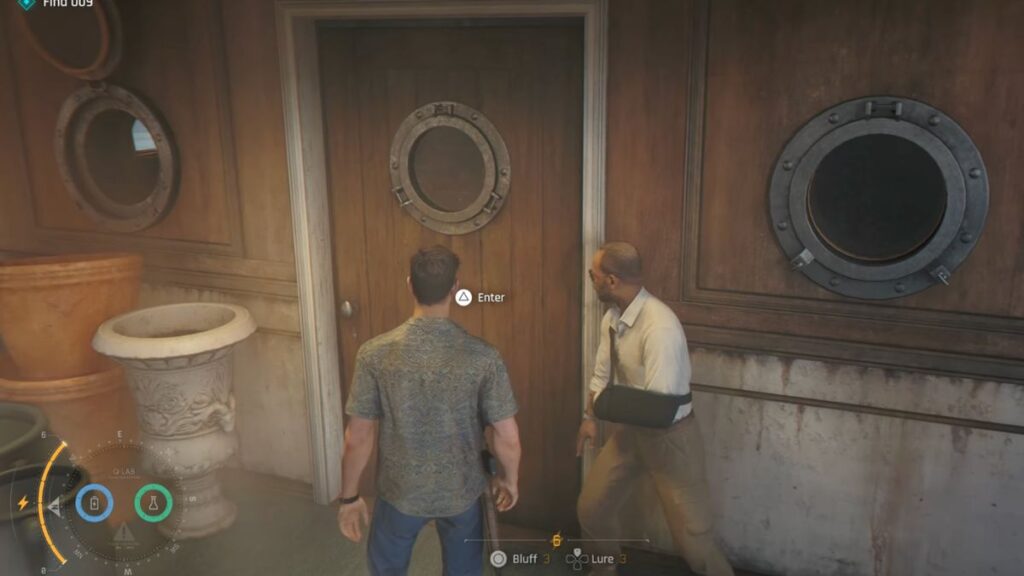
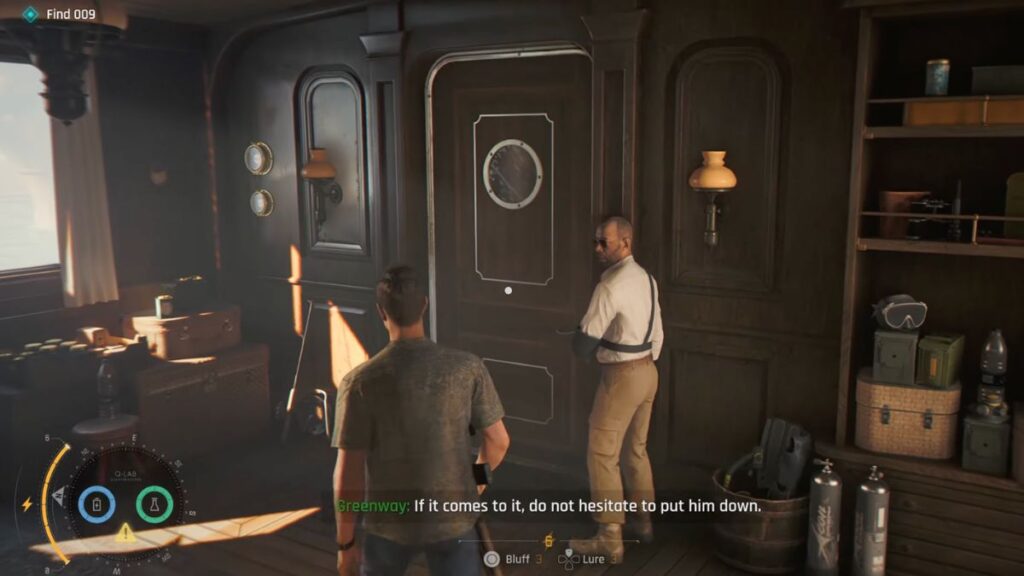
On the higher deck you will see laser lines but only one is visible at first. You need to activate the faucets around the deck to make them all visible so you can safely reach the cabin. Turn on the faucet beneath the statue first. Then look to the left and turn on a second faucet there. When you reach the left side of the deck, hang down and keep moving forward toward the cabin. When the white metal plate you are hanging from is about to end, climb back up to the deck and turn on the faucet in front of you. Keep following the path and vault to the other side on the left, then turn on one more faucet there. You will then meet Greenway in front of the cabin door. Interact with it to go inside. The cabin is empty so go through the door ahead.


Examining the Crime Scene
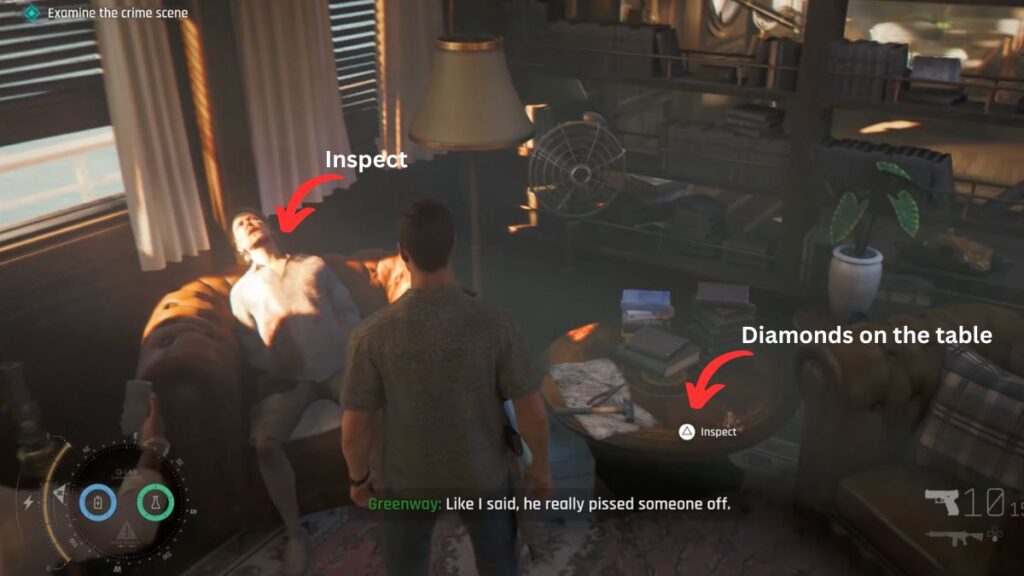
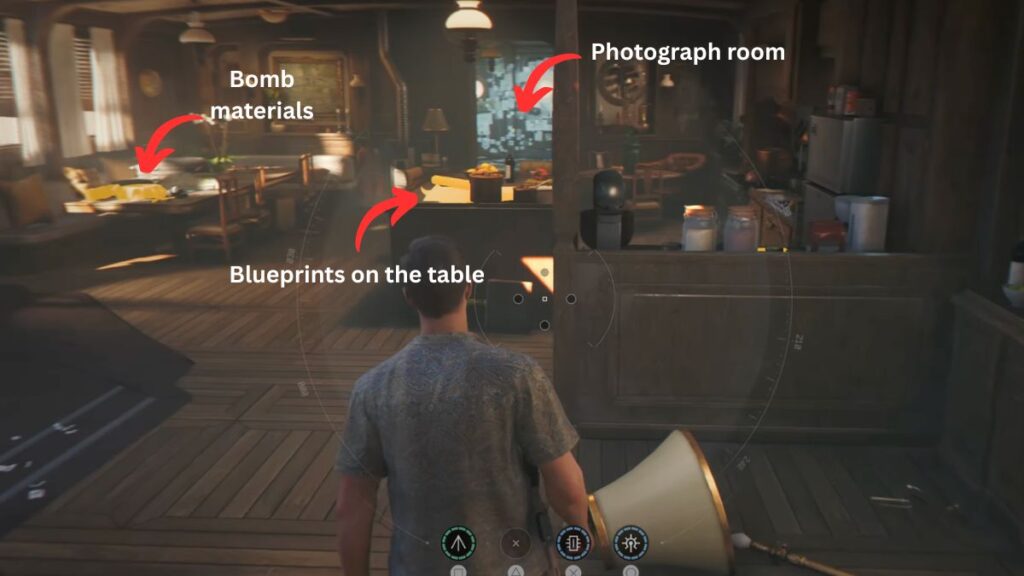
Opening the door triggers a cutscene. After it ends your objective is to Examine the Crime Scene. Inspect the following in order:
- The body of 009
- The diamonds on the table
- The bomb materials on the dining table to the right
- The blueprints on the center table
- The photographs and notes on the wall in the last room
- A photograph on the floor near a lamp at the entrance of that room
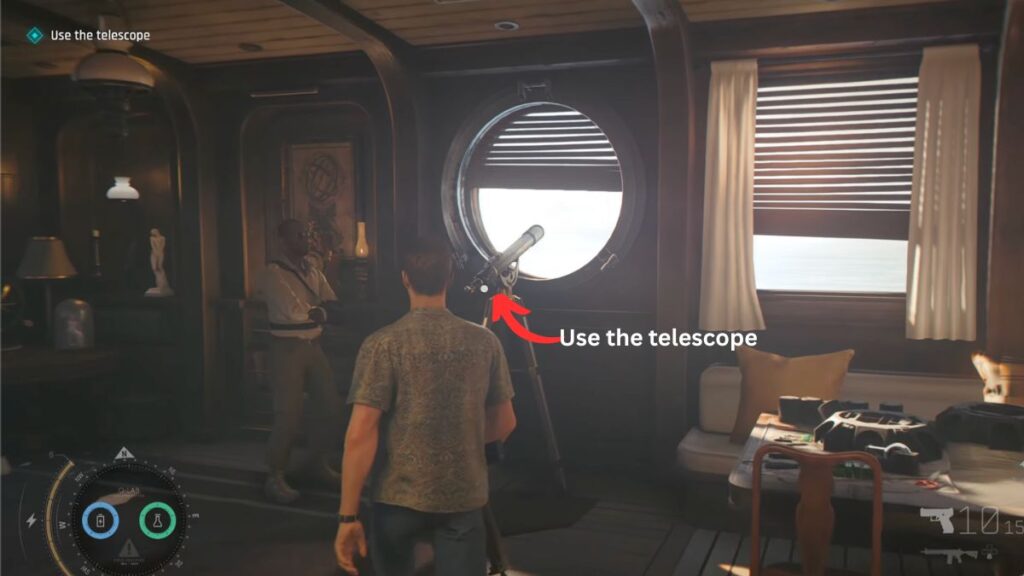
Once everything is inspected your next objective is to Use the Telescope. Go back to the area where you inspected the blueprints and use it. As you zoom in a cutscene plays.
The Crocodile Room
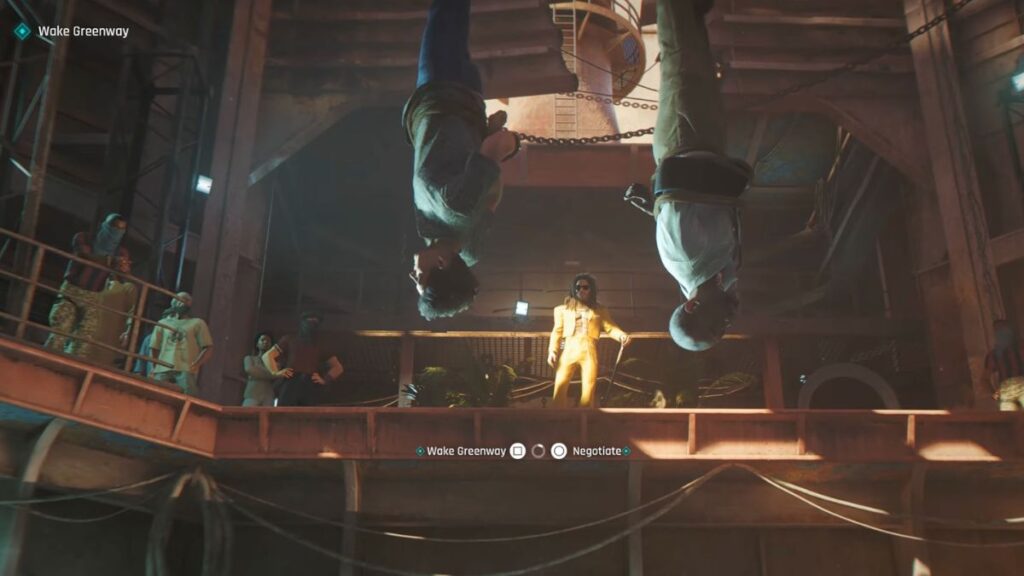
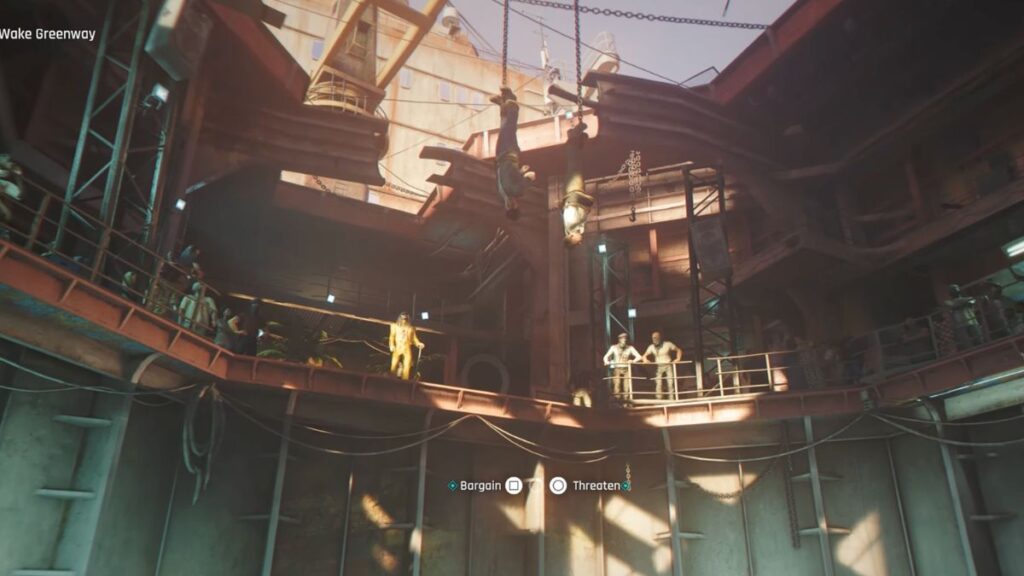
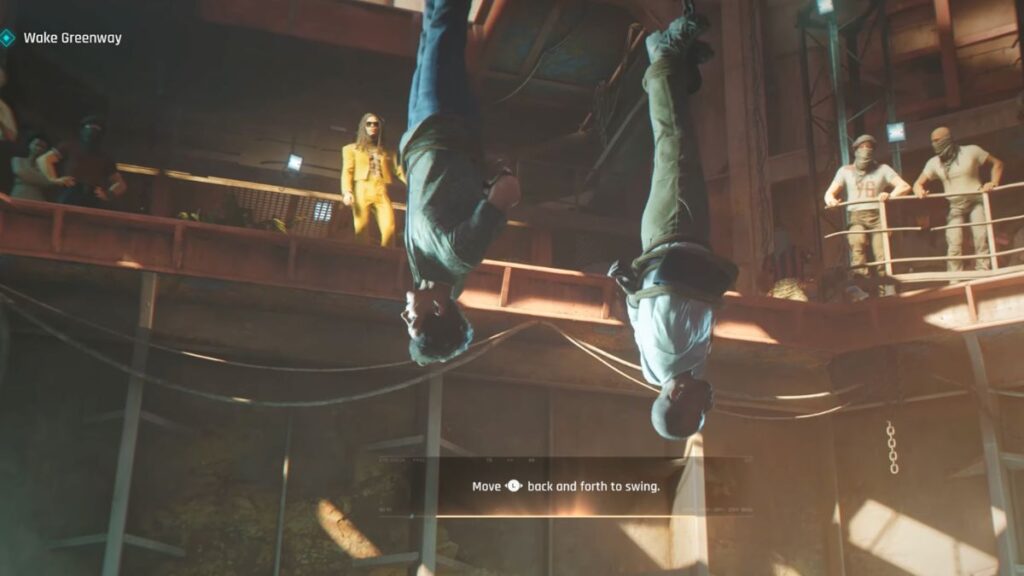
After the cutscene Bond and Greenway are hanging upside down above crocodiles. You are given two options: Bargain or Threaten. Whichever you pick, the chains will continue to lower. You are then given two more options: Wake Greenway or Negotiate. After choosing, a mini event starts where you need to move the Left Stick back and forth to swing. A cutscene plays after this.
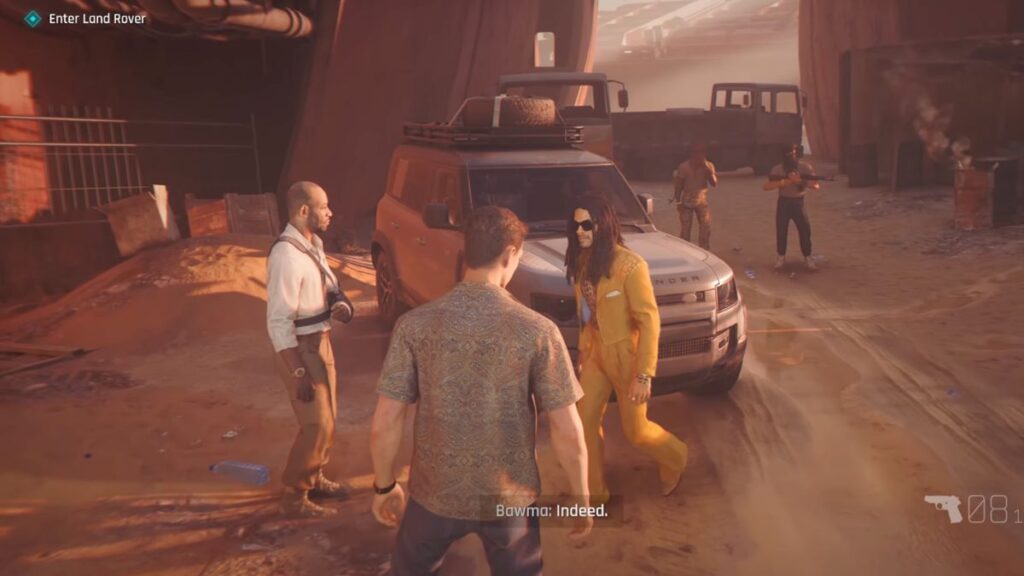
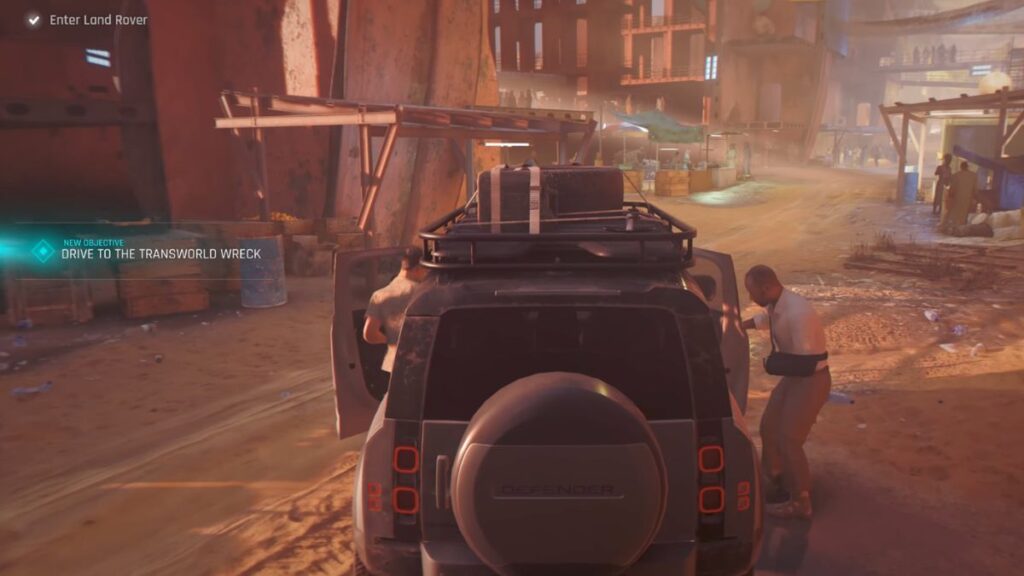
After the cutscene your next objective is to Follow Bawma. Follow him and he will lead you to your vehicle. Your next objective is to Enter the Land Rover. Get inside and then drive forward toward the next objective marker. This leads directly into Chapter 5: Beyond the Grave.
All Challenges: The Past Never Dies
There are three meta-challenges that each require completing a specific trio of objectives. Finishing all three meta-challenges counts as three additional challenges on top of the individual ones.
| Challenge | Description |
|---|---|
| Pacifist: The Past Never Dies | Complete Sightseeing, Easy Does It, and Silent Line |
| Ghost: The Past Never Dies | Complete Laser Show, Silence is Violence, and The Big Bang |
| Assault: The Past Never Dies | Complete Fall Guy, Bottled It!, and Make Them Count |
| Fall Guy | Throw Omar over the railing in the fight pit |
| Bottled It! | Hit every enemy with a throwable object in the fight pit |
| Hammer Time | Defeat The Hammer in the fight pit |
| Silent Line | Reach the burner phone without any eliminations or knockouts |
| Soldier Boy | Use the disguise inside the hideout |
| Art Lover | Complete the Scorpius deal |
| Sightseeing | Reach the antenna without knocking out or eliminating enemies |
| Secure Transaction | Hack the crypto hardware wallet |
| Shoot Em Up | Enter the shooting range challenge |
| Gunslinger | Hit all 10 targets in the shooting range |
| Cupped | Play the cup game |
| Show Me the Money | Collect $140,000 |
| Tech Support | Help Rogue Decoder fix his setup |
| Easy Does It | Reach the crane without knockouts or eliminations |
| No Trouble At All | Avoid all confrontations in the mission |
| Silence is Violence | Perform 10 silent takedowns |
| The Big Bang | Kill 3 enemies with one explosion |
| Laser Show | Reveal lasers in every possible way on 009’s boat |
| Wheels Up | Get the Land Rover airborne |
| Make Them Count | Eliminate 6 enemies with one pistol magazine |