This guide will walk you through all of Chapter 5, but in a way that respects your time. I will be brief on the obvious points of the mission that are hard to miss, but will expand on the more necessary portions. The game divides this chapter into 2 parts, so I will section each portion out in case you need to skip to a certain point. Ensure the mission is actively tracked in your quests so markers display correctly.
Part 1: Uninvited Guests
The chapter begins by sending you to the harvest festival in Hernand, detailed on the invitation you are given. Head to the castle to find some struggling guards.
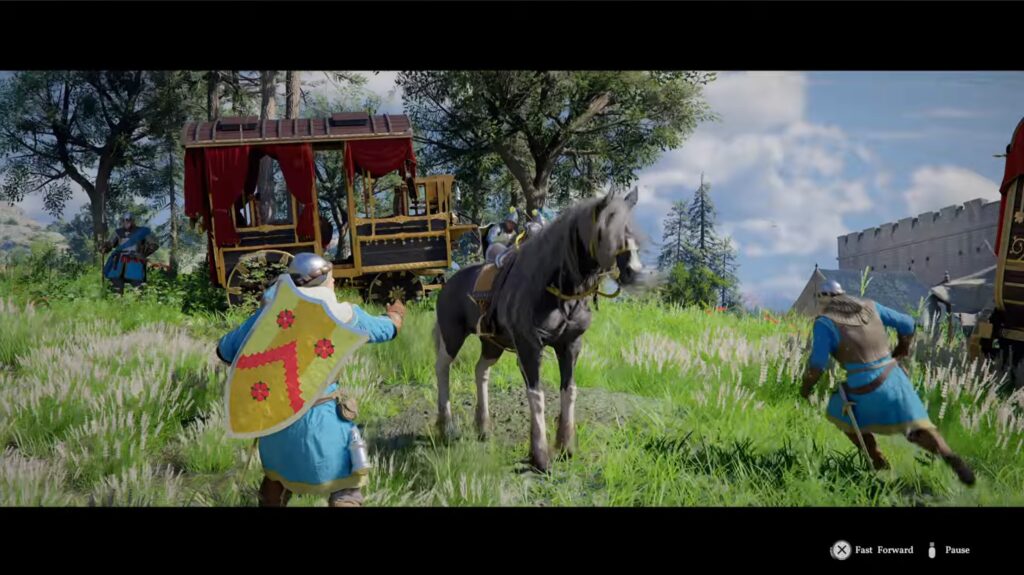
The horse is misbehaving, and they need your help to tame him. If you haven’t tamed an animal before, start by simply mounting or jumping in their back. Point your left analog to the butt of the horse, rotating the analog as the horse turns. Once the bar fills, it will be tamed.
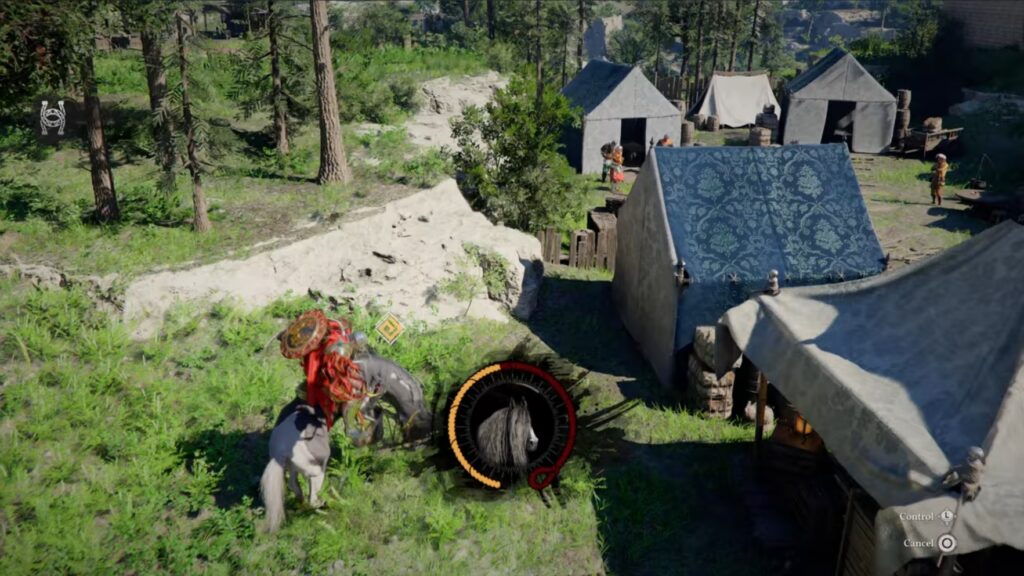
Deliver the horse back to the stable to meet up with Damiane. You will next be sent into the castle for the banquet.
– small spoiler alert until after the banquet –
The next portion is about to be a surprise boss fight. Make sure you have enough food prepped, and upgrade any gear you want before entering the castle. It isn’t necessarily super difficult, but it is lengthy, so you don’t want to struggle with a low amount of food.
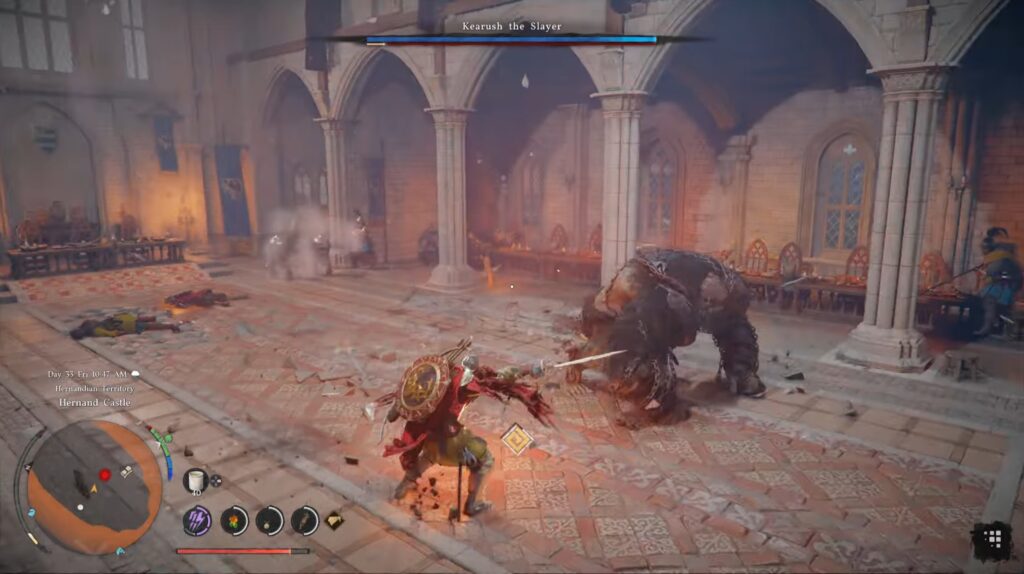
As a little tip, pillars will be knocked down during the fight. You can use Nature’s Grasp to pick these up, then slam them down on the boss. It does massive damage for some reason, so it will make the fight significantly easier if you are struggling to fight the boss normally.
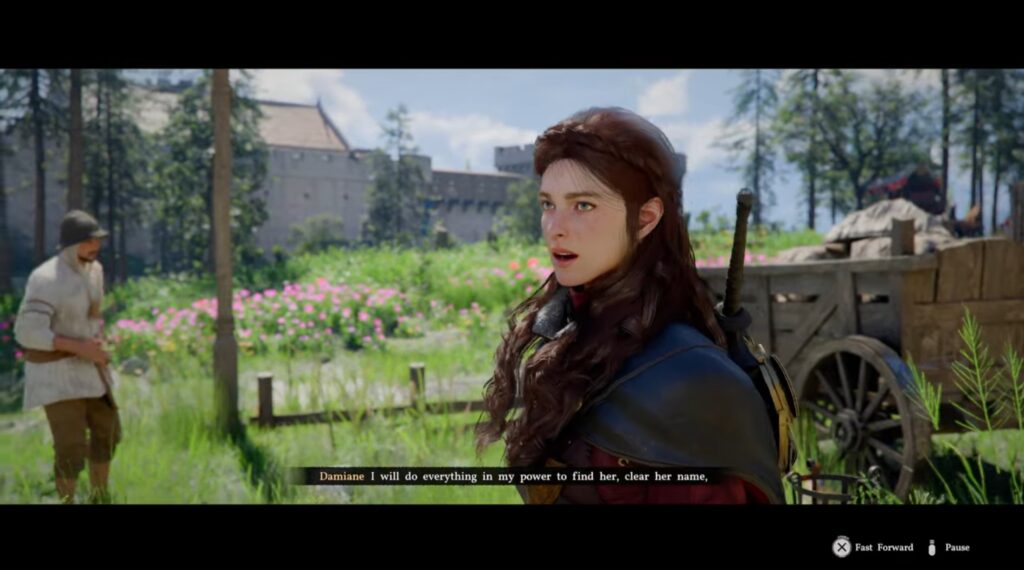
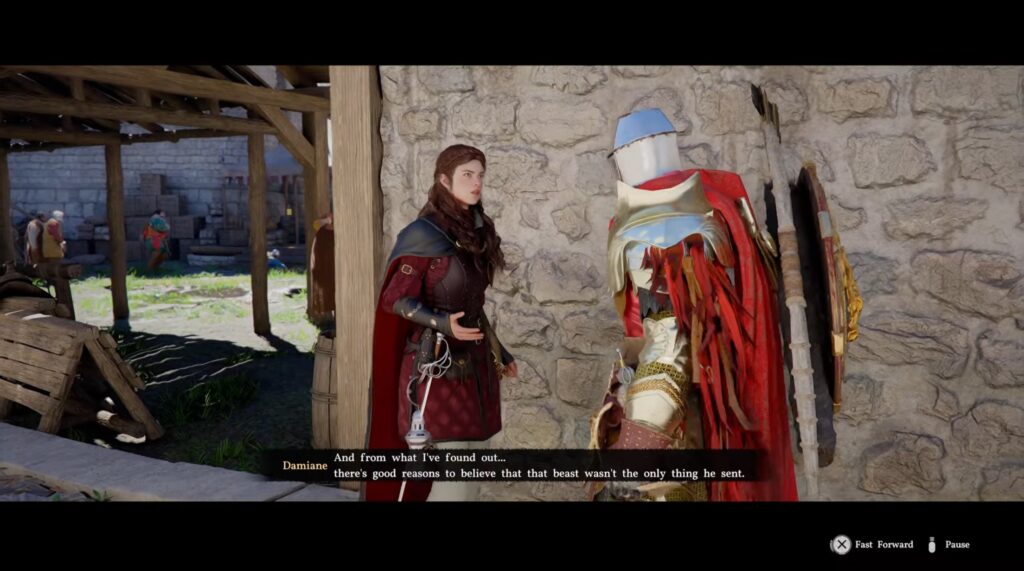
After the fight, regroup with Damiane outside the mangled building. She will send herself on a mission, making her unavailable for a few chapters. For you, though, it’s time to move on to the next part.
Part 2: Black and White
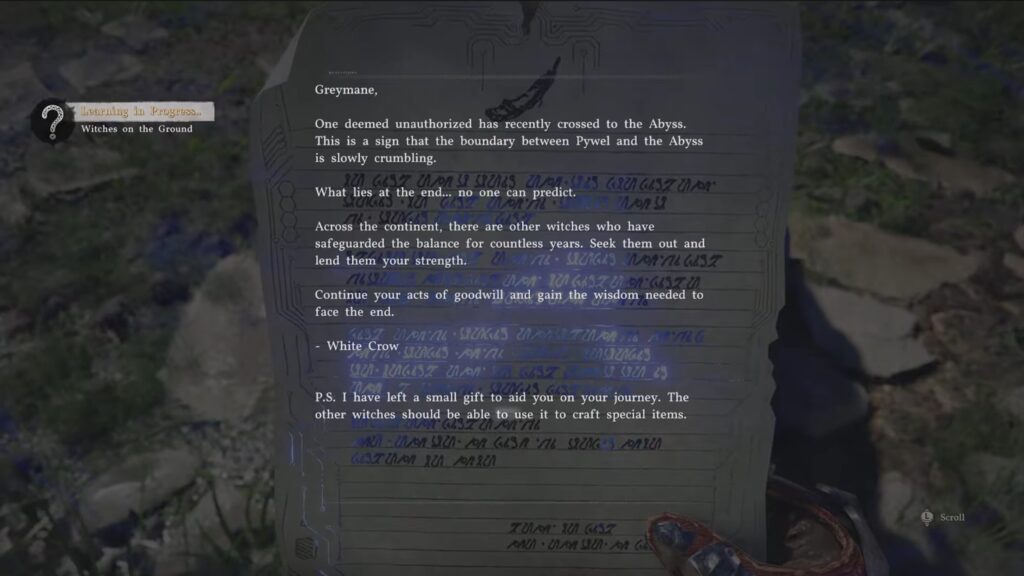
Right after speaking to Damiane, you can open your inventory and read the White Crow’s letter. You already picked it up earlier in the game, but now that the seal has broken, you can finally read it. It gives you a few materials and directs you to a new objective.
The marked area is a cabin in the woods, guarded by bandits. Fight them, or sneak around and go to a cabin surrounded by a mysterious wall of Magik spikes (they only appear if you get close). Jump onto the roof and through the window to get inside.

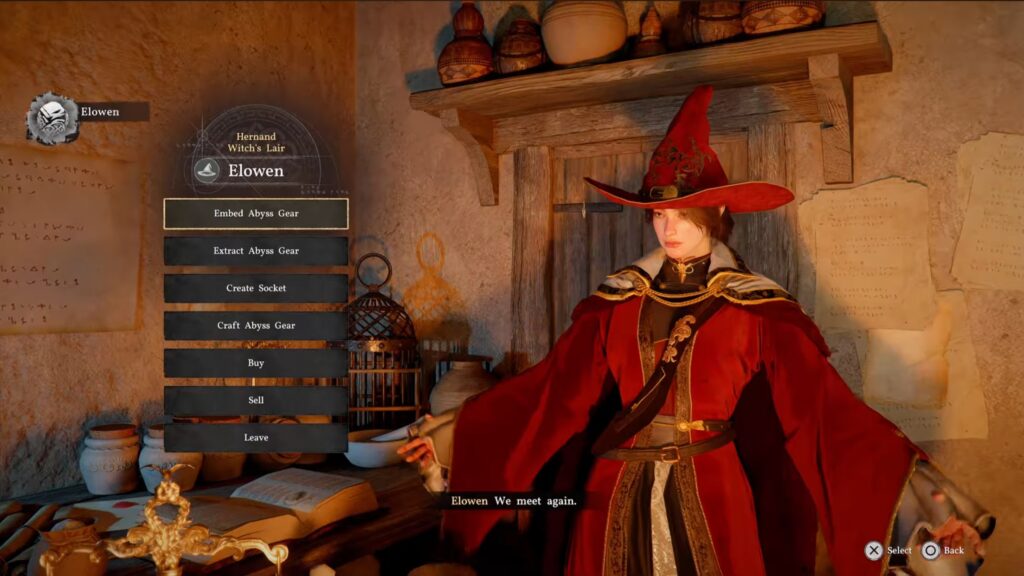
Untie the woman inside. Your kindness earns the trust of the witch (Elowen), allowing you to enter her store. Head to the neighboring building, where you can begin modifying your weapons and armor with special Abyss Gears. Those random ingredients you got at the start of this quest will let you craft one for free.
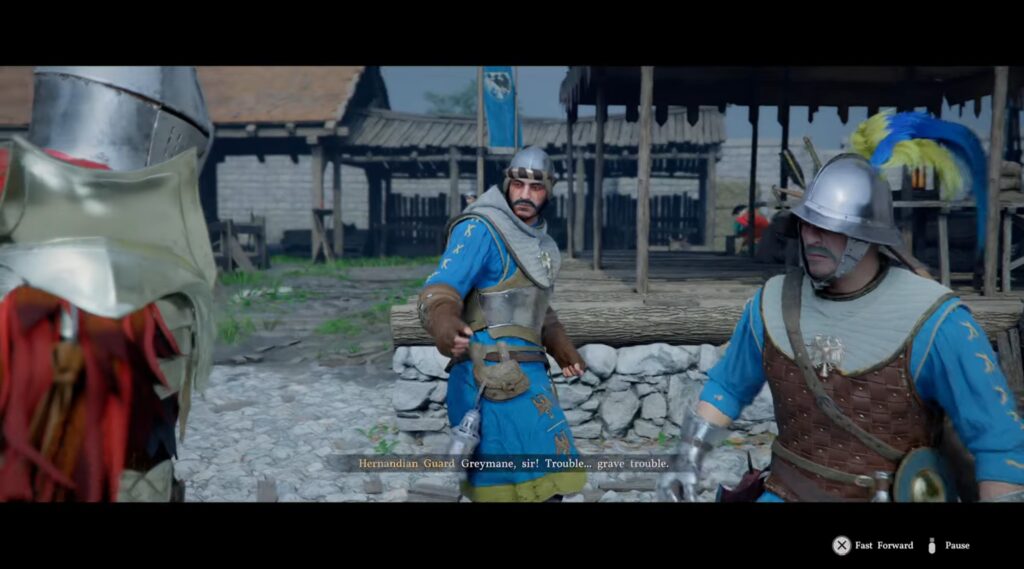
Once you’re done upgrading, you can return to Hernand. The new Objective brings you to some guards who need you to track down an intruder.
You will head into the castle to the same room that you entered at the start of the game.
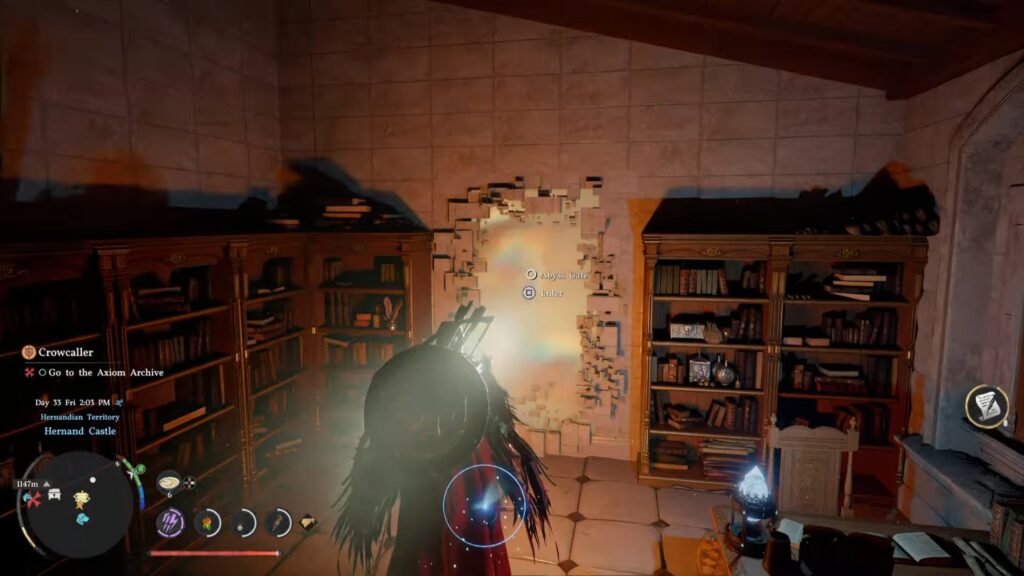
Then you will go back through the Abyss portal once again, bringing you back to your first introduction to the Abyss.
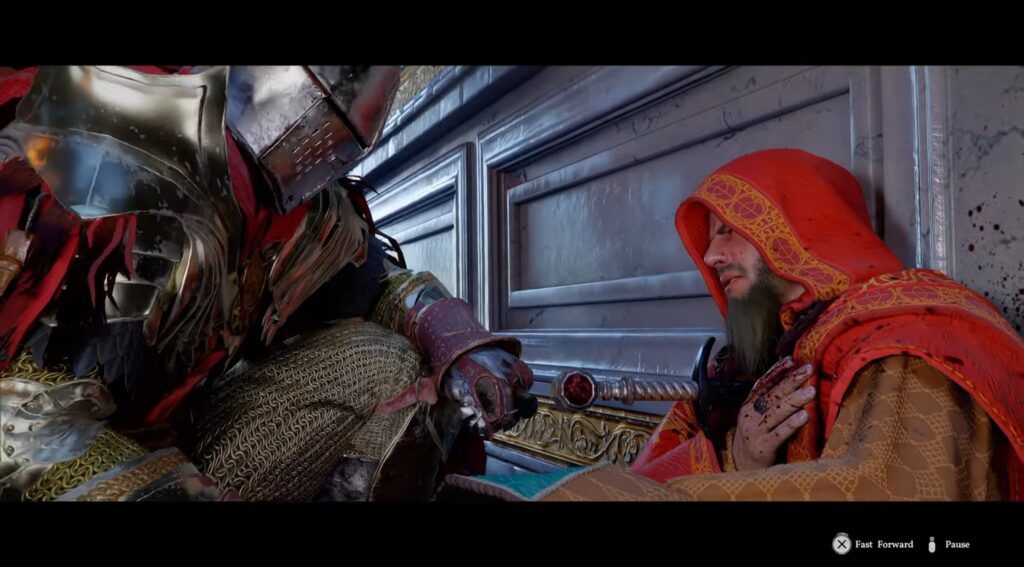
As you approach the building where Alustin is, a group of enemies will ambush you. Defeat them, then run inside to check on Alustin.
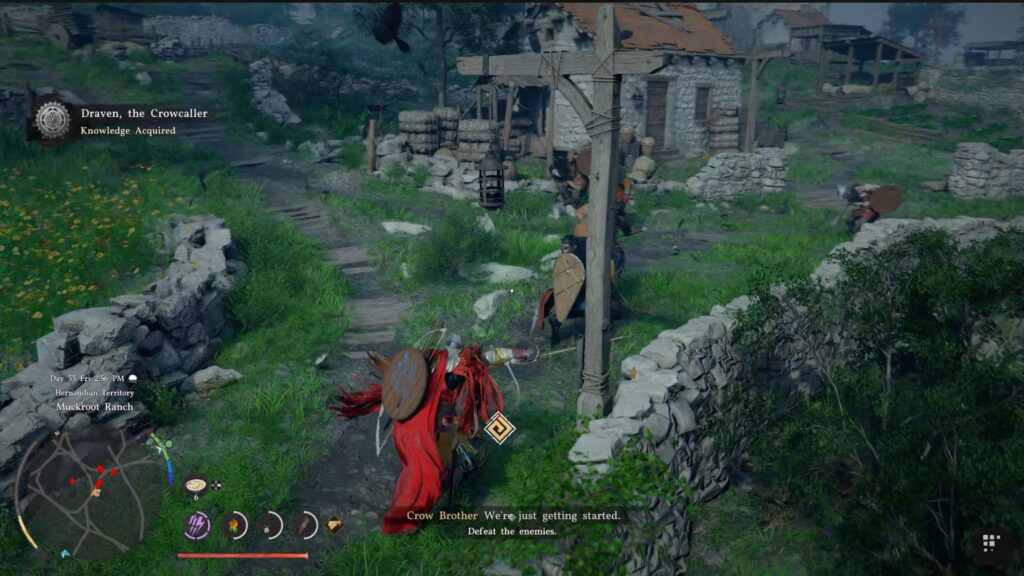
After saving Alustin, you are tasked with hunting down the Crowcaller. Travel to the marked area, or simply skydive from the Abyss! On arrival, the Crowcaller sends out more enemies to fight you.
Now is the fun part: travel deep into uncharted territory to the next marked objective! Unless you have explored already for fun, this land will be very hostile. If you don’t want to fight or explore, you can ride your horse quickly to the next area.
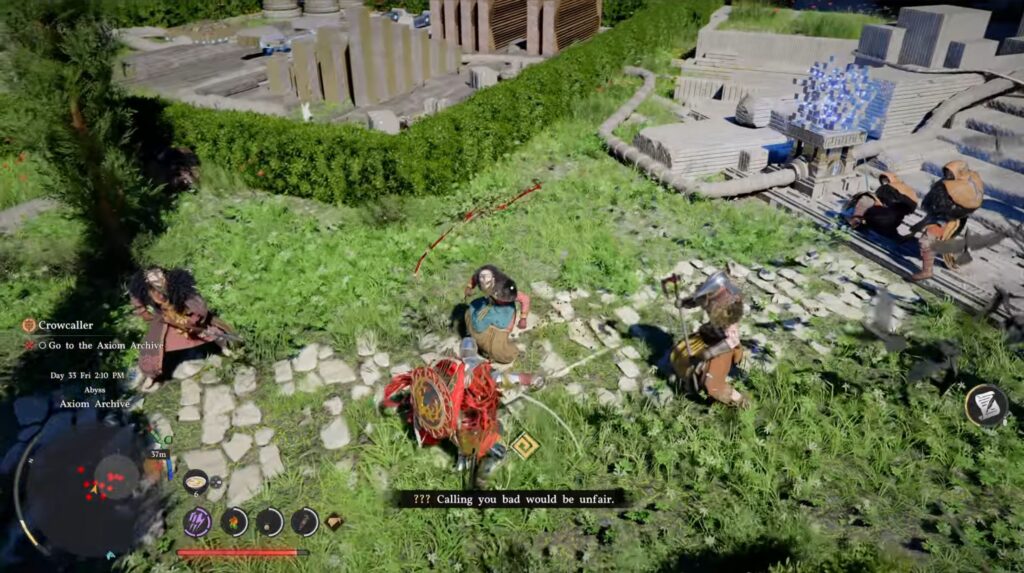
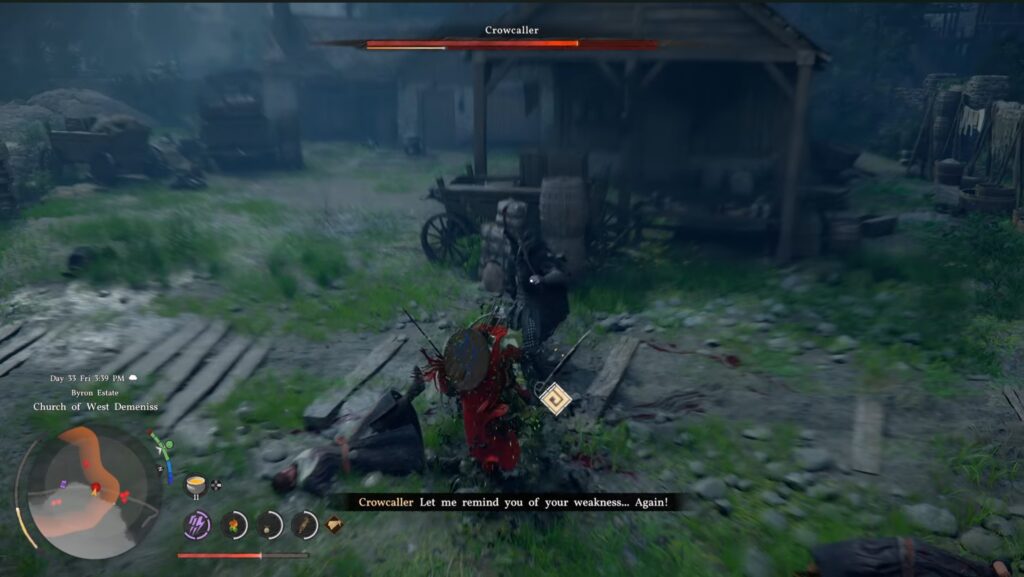
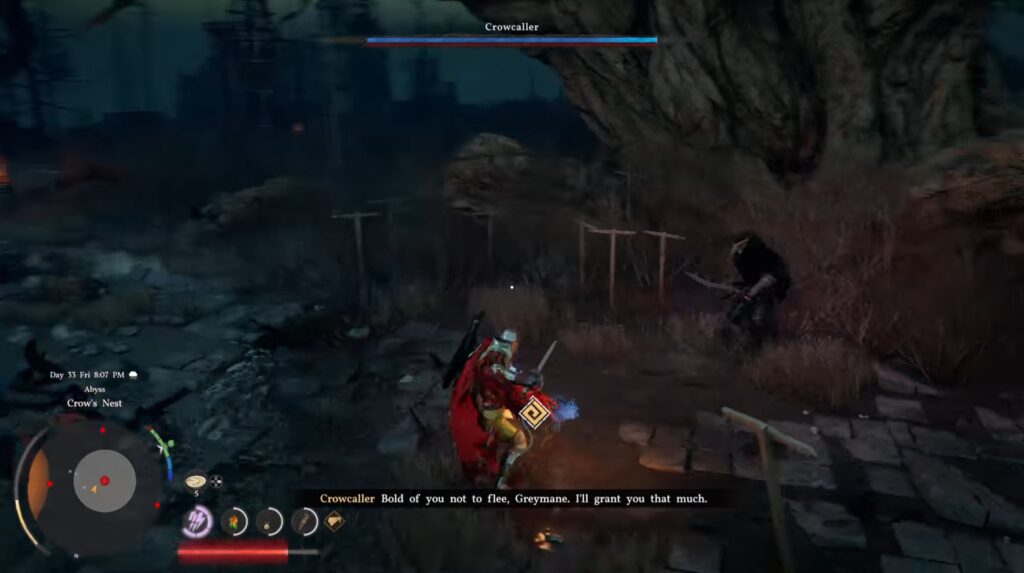
Once you arrive, it’s time to fight yet another group of enemies. Defeating them will bring you to the Crowcaller himself. This isn’t a full fight, though, so don’t worry too much about prepping.
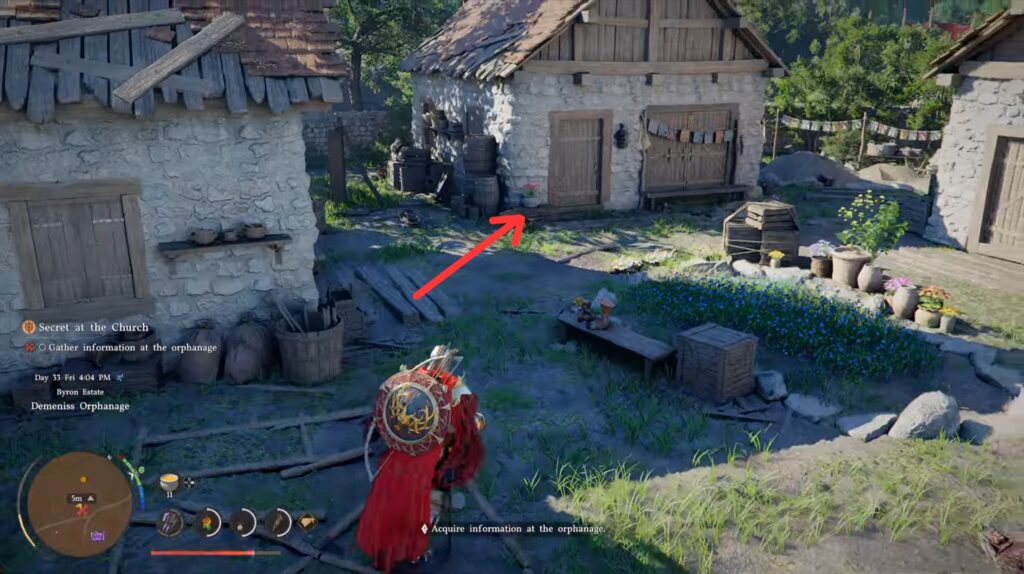
After a quick fight, he retreats, leaving you to investigate the massacred orphanage. While it isn’t super clear, you just need to enter this specific building. If a cut scene immediately begins when entering, it’s the right building.
Once you talk to the woman, she sends you on a quick errand to grab a relic. The relic is hidden in a small bunker beside the church. Open the door to the stone shed and hop down. Inside is a puzzle (the same kind as in Chapter 4).
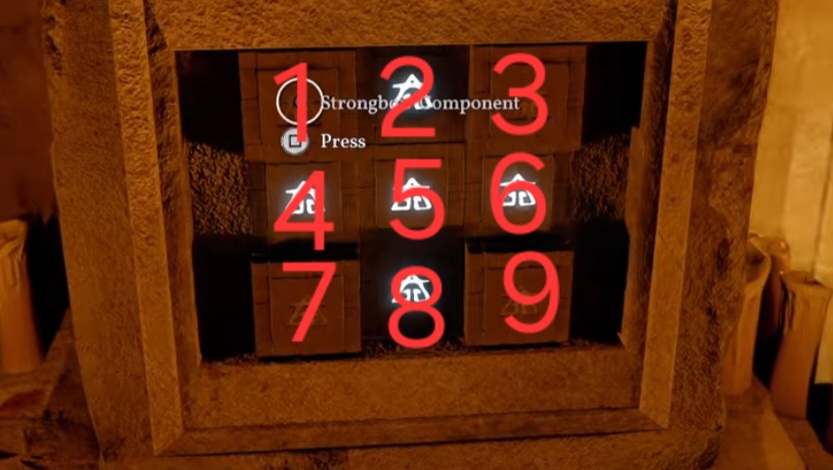
If you don’t like Puzzles, the combination is pressing the buttons in this order: 1, 9, 7, 3 (matching the image shown here).
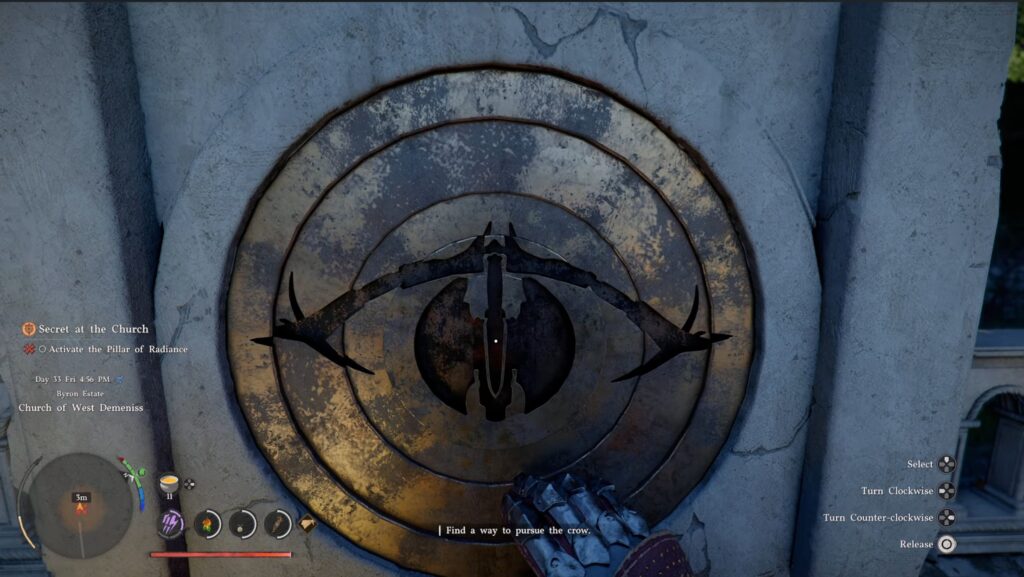
Completing the puzzle gives you the relic dagger. Take this back to the shrine that the Crowcaller vanished at. Insert the relic to reveal another puzzle.

This one’s pretty simple. Just rotate each ring to line the dark / engraved areas up with each other. The end product should resemble an eye.
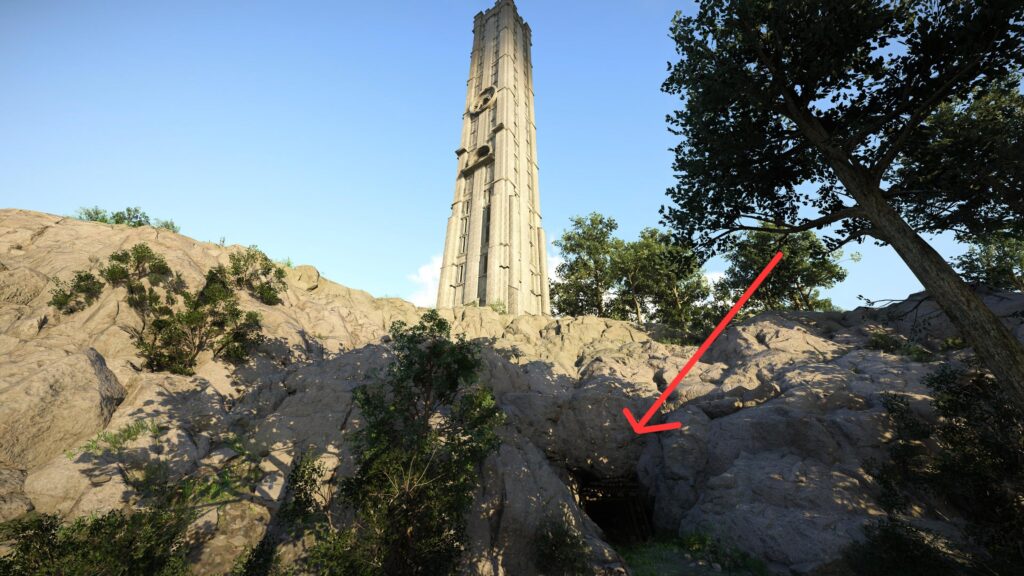
Now you can head towards the huge tower! Once you arrive, you can’t simply walk through the front door. There’s a small cave in the ground around the base of the tower.
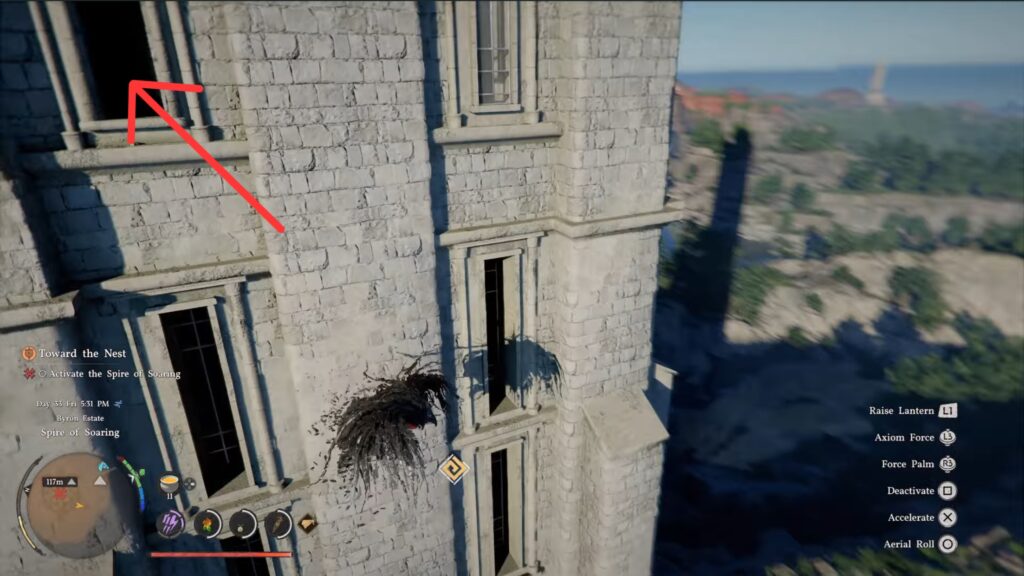
Alternatively, you can have some fun and climb the tiny windows, resting for stamina by standing in the circular holes. As you reach about midway, a window will open you can climb through.
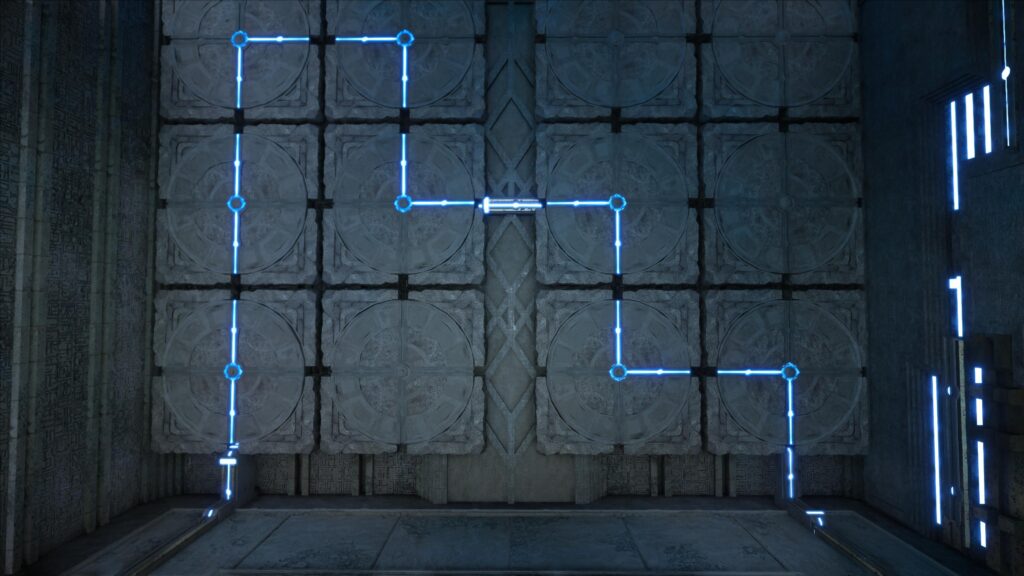
Climb inside, or glide up the tower if you came from the cave. Now it’s time for, you guessed it, more puzzles! The platform needs to be raised, so use your grapple to rotate the circular objects on the wall. You want to line up the blue power on the floor with the hidden circuits on the circles. If you want to see the solution, the next image shows the final product:
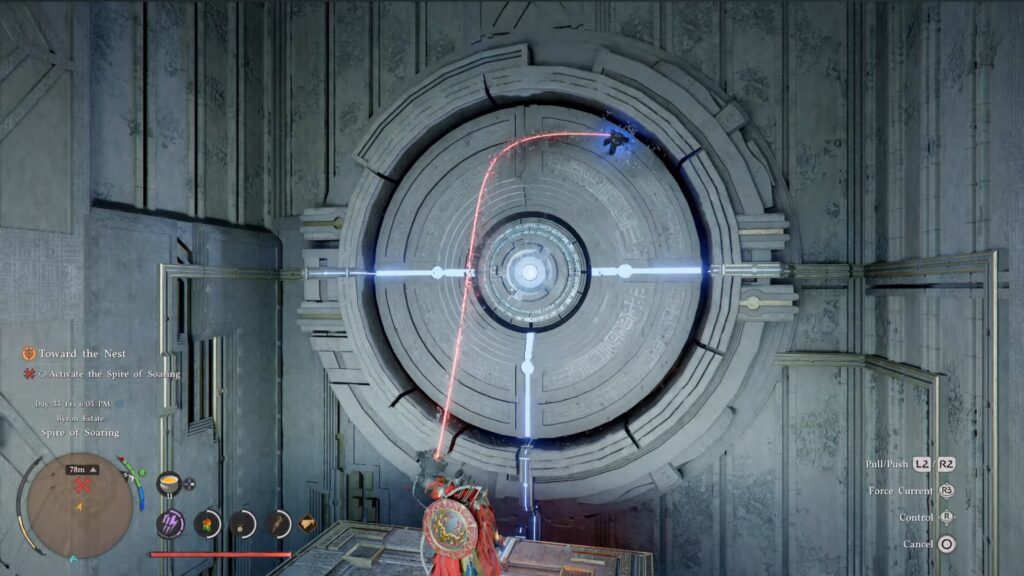
Once finished, the platform rises to reveal a new room and a small puzzle. Simply grapple the big dome in the center of the wall, then rotate it until the power connects to both sides.
Finishing the puzzle rewards you with a scenic ride on a floating platform up to the Abyss. This takes quite a while, so feel free to go grab a snack or swap to a fully charged controller while you wait. There isn’t anything you have to do immediately once you reach the end.
You could probably guess what is waiting for you at the top of the Abyss… a Puzzle! This one isn’t hard, but just tedious. Lazers are beaming through the sky. Blue ones are correctly positioned, but the white ones aren’t. You can grapple the backside of the white lasers to change their positions. Point them to the targets directly ahead of them.
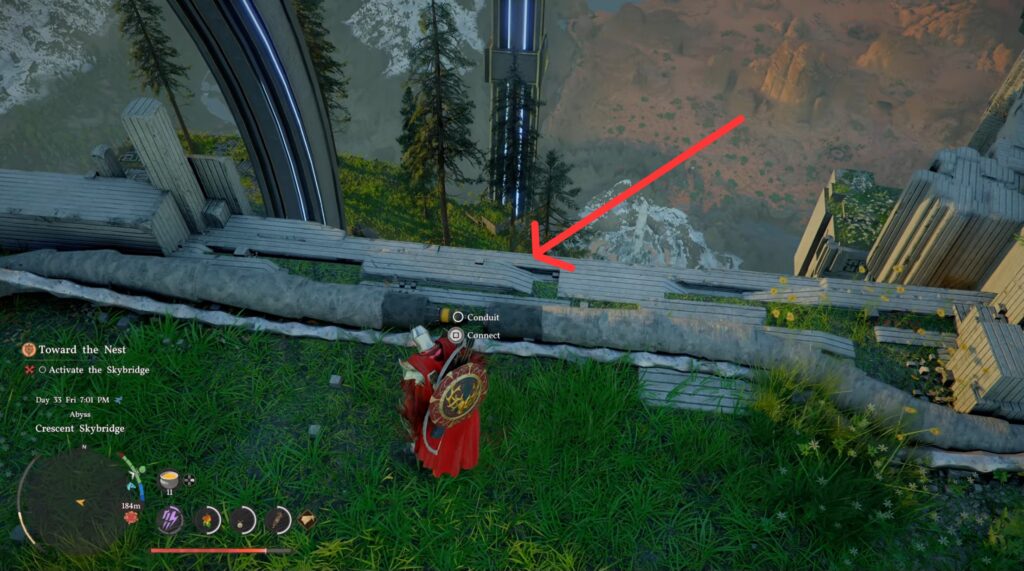
Once all lasers are blue, you have one more task before completing this section. Two cables are unhooked that you need to push back together (one on the left side and one on the right). If you can’t find where the break is, use your lantern and follow the wire until you see the break. Blue wires are powered, dotted wires are unpowered.
Be careful of the blue grass (not the music). Standing in it will damage you.
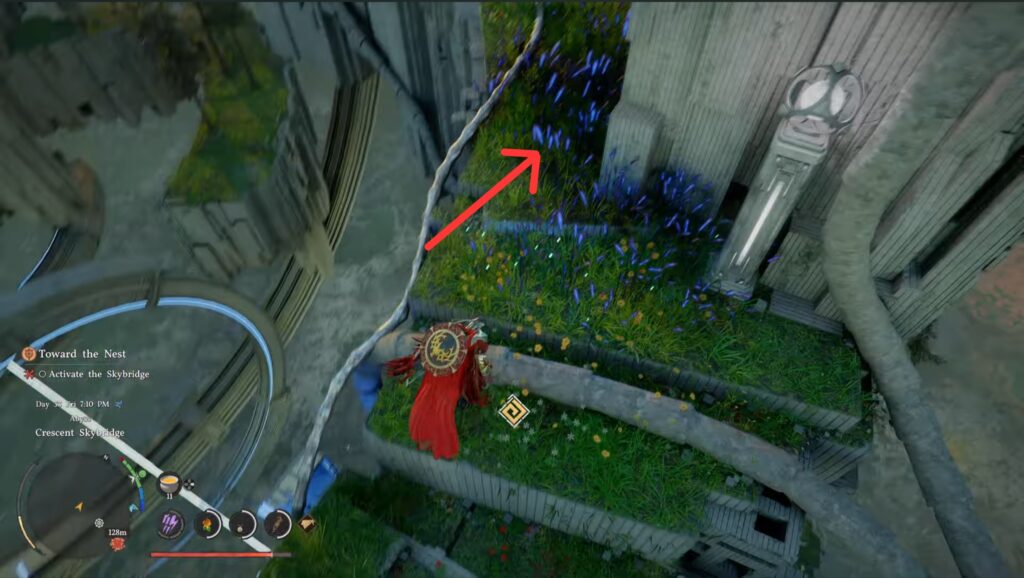
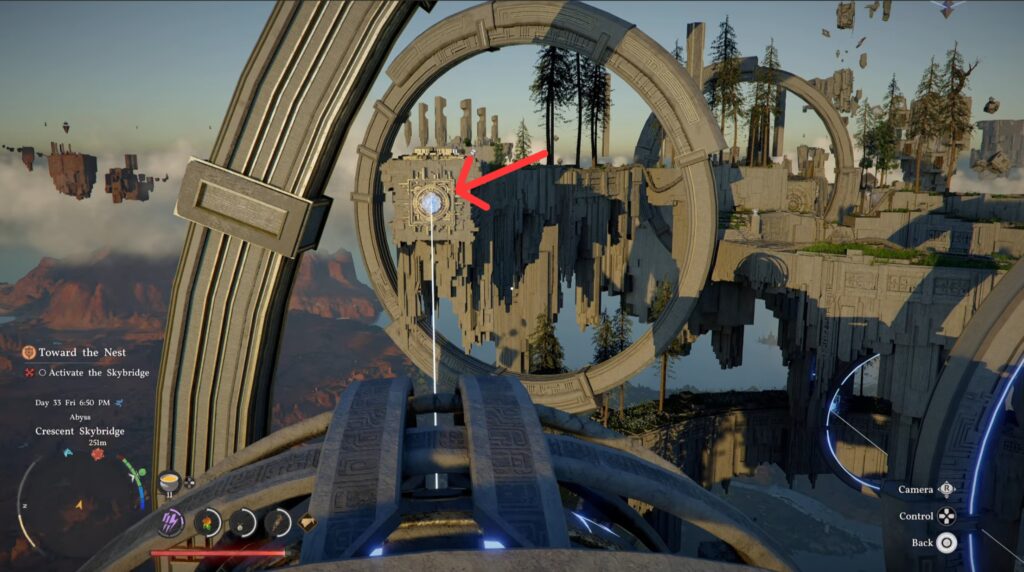
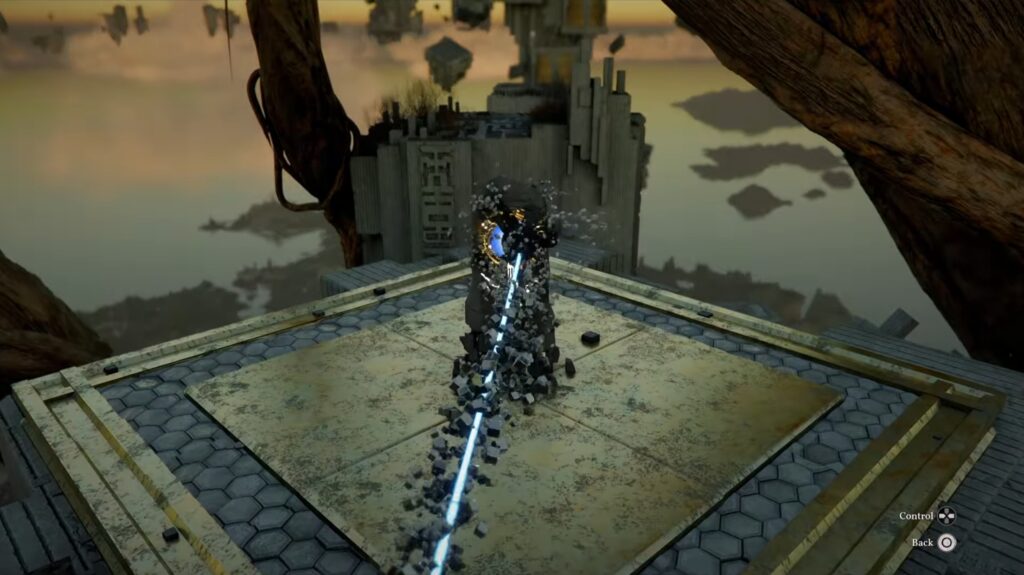
Finally, you can climb on the big button and smack it. Finish climbing up and grab a little reward for your trouble. Next, head to the marked pedestal. Grapple and rotate it like the previous ones you’ve done to create a pathway. Head across and activate the fast travel point at the end.
Next up is a rematch with Crowcaller (after a quick brawl with his minions). If you need to upgrade or craft healing, now is the time.
This boss is quite annoying to fight on his 3rd stage, but the first two aren’t too difficult. One important note is that the frame rate may significantly drop thanks to all the crows in the sky. If you experience this, try pointing your camera down more towards the ground. This reduces what you are looking at, so the game has less to render, making the frame rate a little better.
Beating the Crowcaller will reward you with some exciting gear and conclude the chapter!