

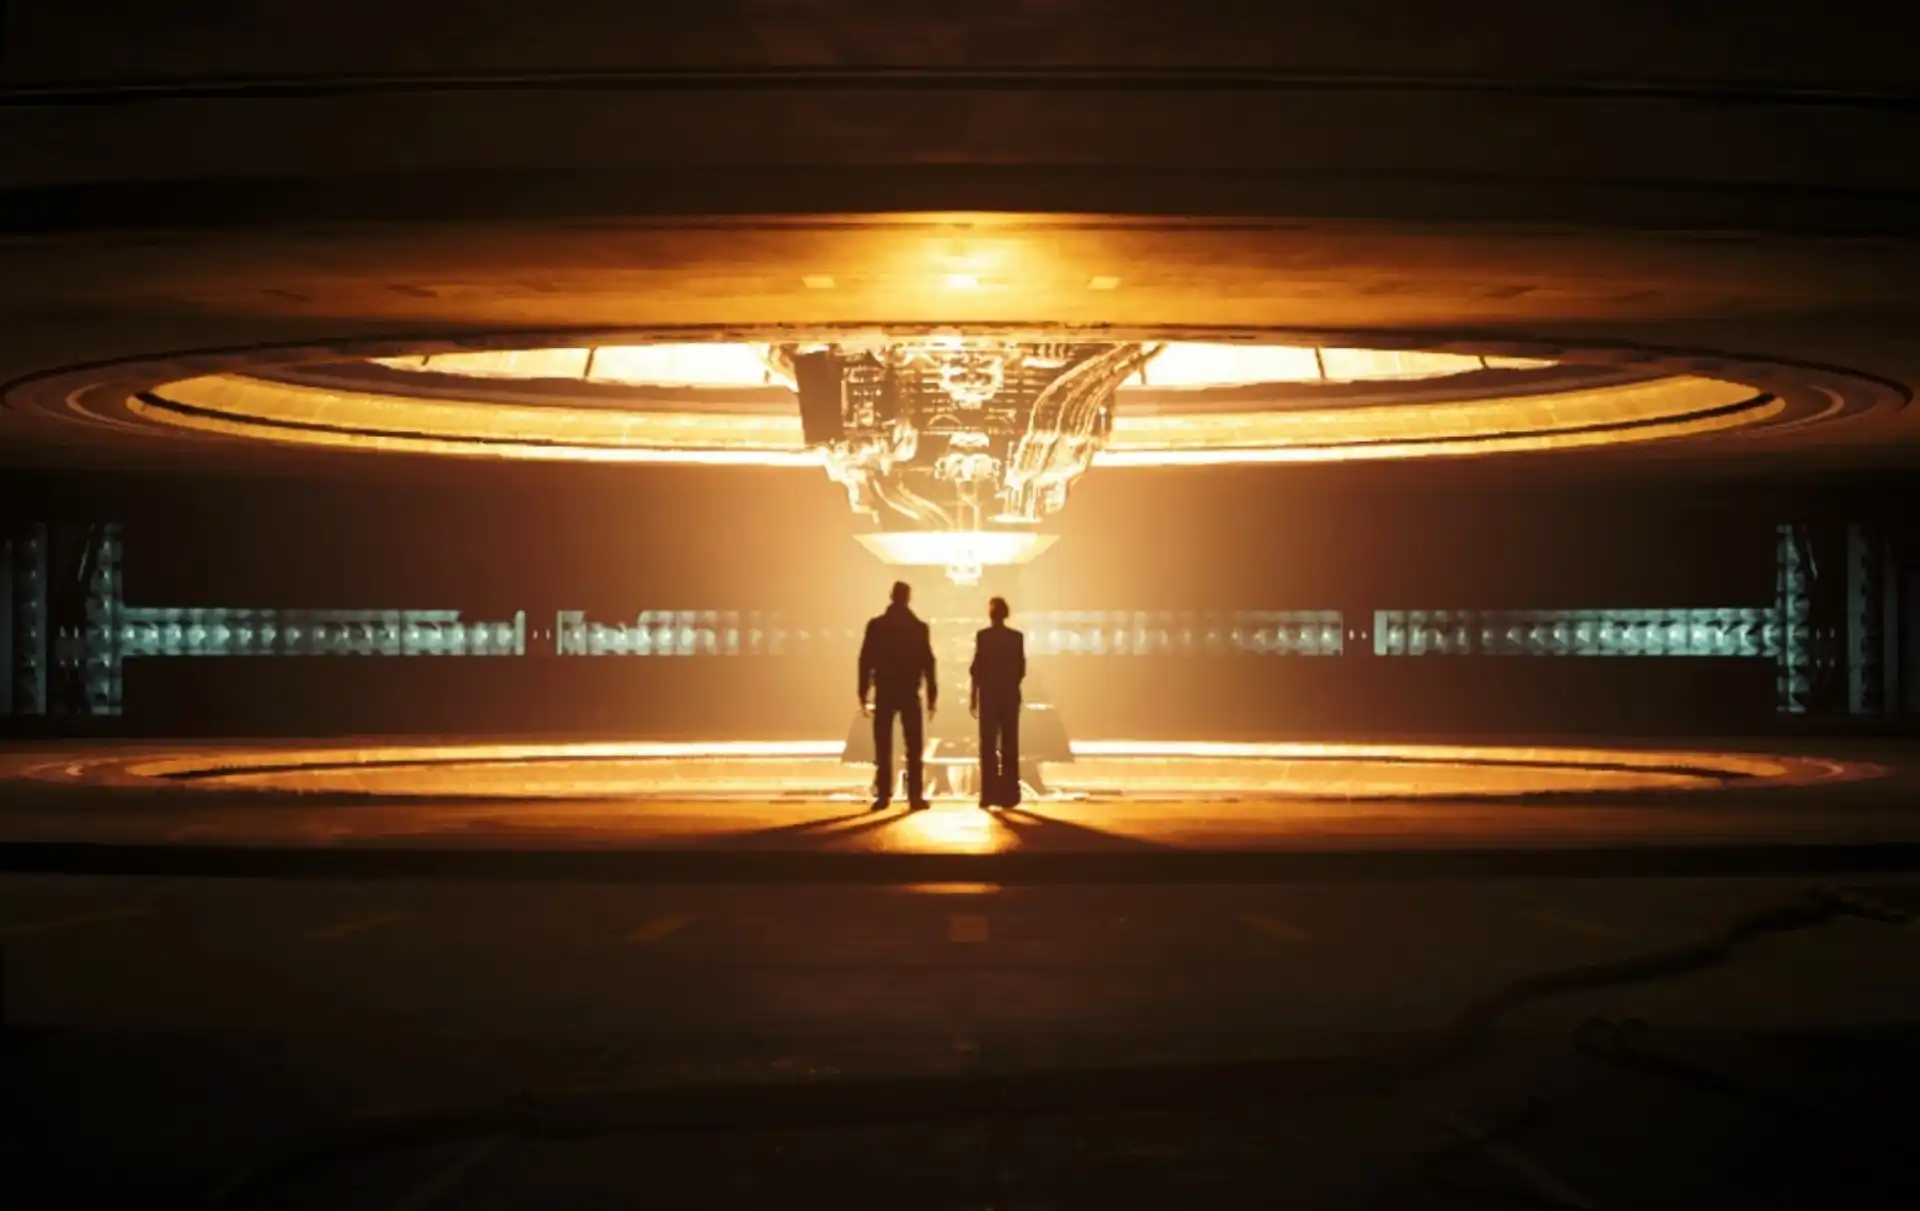
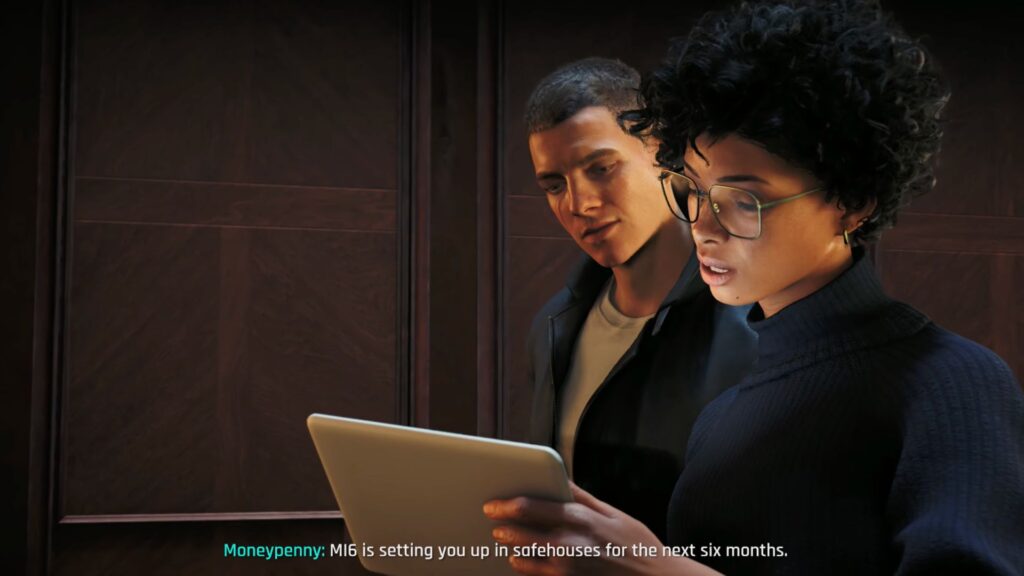
Chapter 1 opens with Bond finishing a conversation with M, who makes clear she intends to turn him into a spy after what happened in Iceland in the Prologue. Moneypenny is waiting outside the room and walks with you, explaining that only six recruits qualified for advanced training and that the final exam is six months away. Passing it is the only way to qualify for field duty. She also introduces the name John Greenway, your training instructor, before sending you off to MI6’s training facility in Malta.
007 First Light Chapter 1: The Needle’s Eye Walkthrough
Basic Training
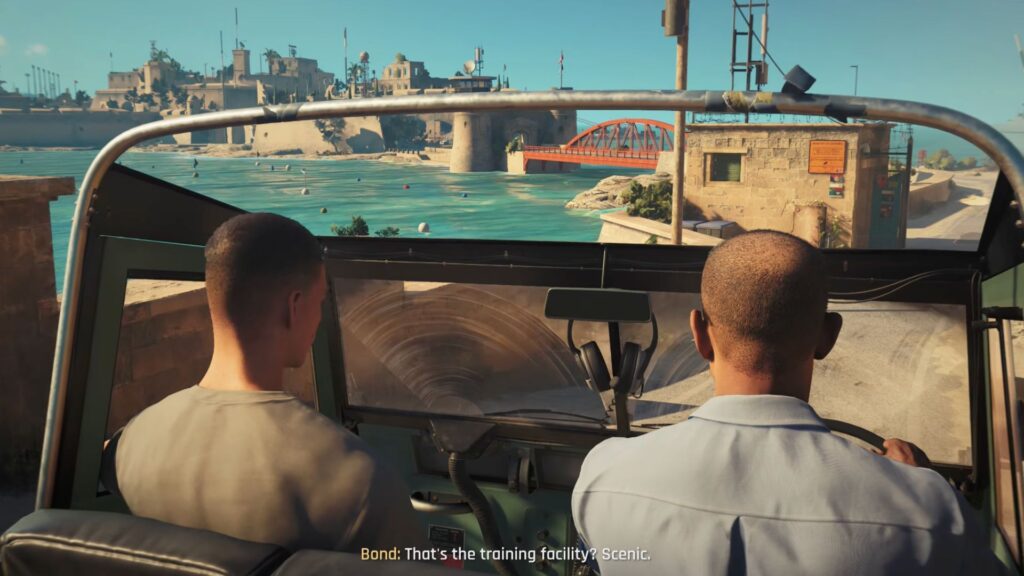
Greenway is already waiting at the airfield with an old Land Rover. He drives you through the Maltese countryside before pulling up to the facility, sealed behind a set of heavy steel gates. Once the car stops, follow Greenway inside. This is where Chapter 1 The Needle’s Eye properly begins.
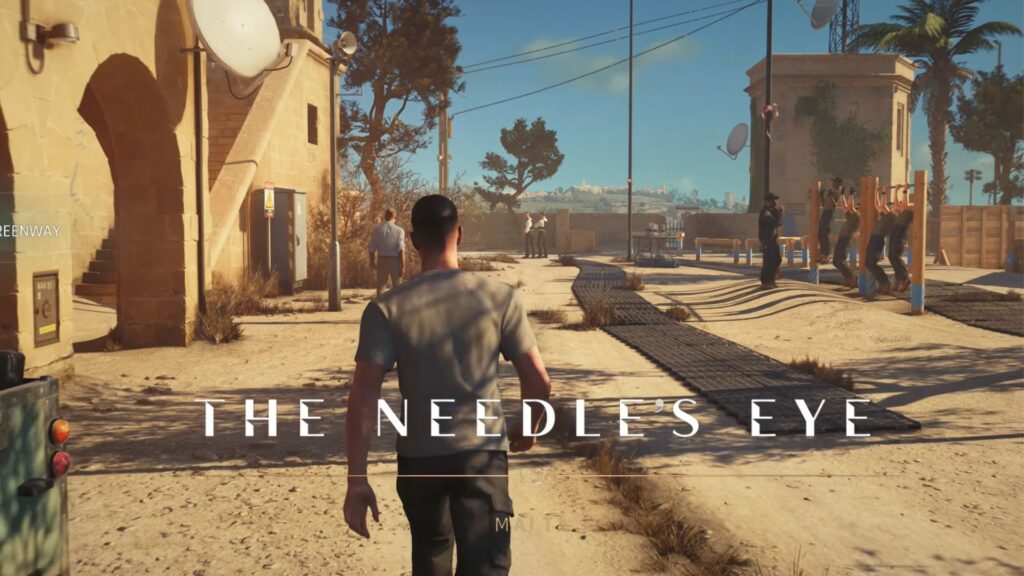
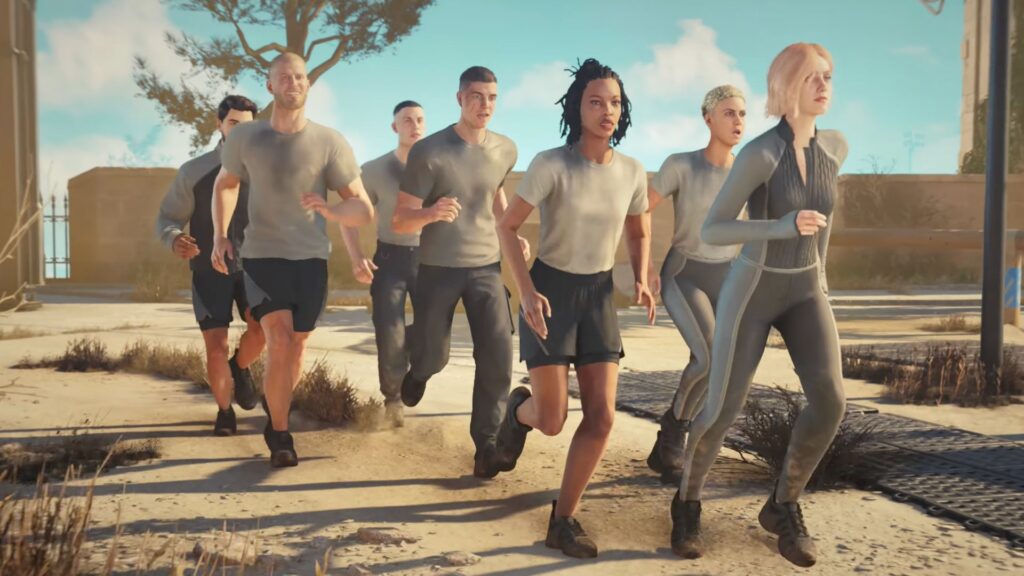
Greenway introduces you to the other recruits with a backhanded remark about Bond being so capable he could skip basic training entirely. Your first task is to demonstrate your close combat ability against Monroe.
- Square (PS5) / X (Xbox) — Strike/Punch
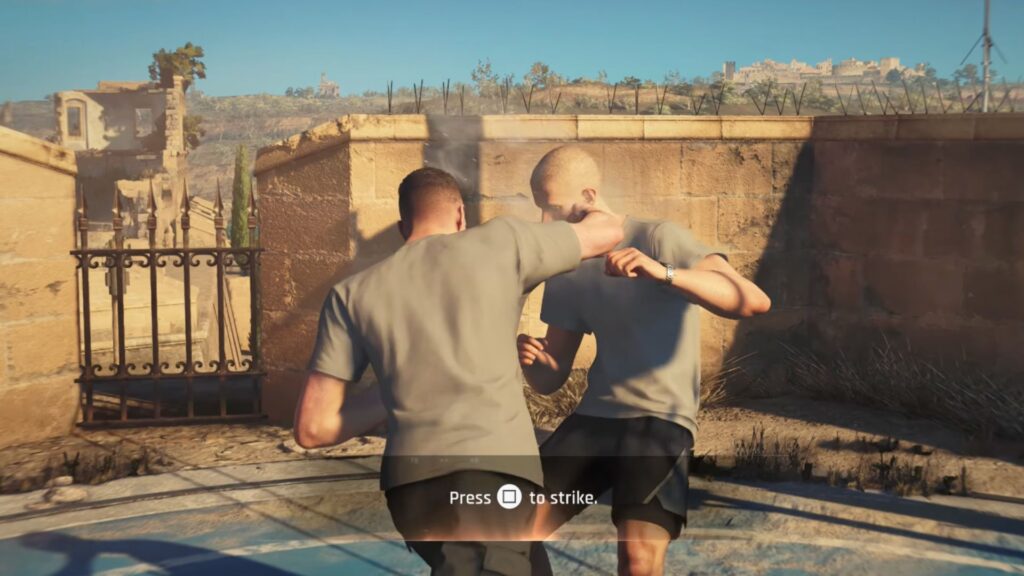
Monroe hits back several times before a cutscene plays. Greenway asks Cressida and Monroe to take over your training personally, warning them that if you fail he’ll take two credits from each of them. Naturally, that doesn’t make you any more popular with the group.
The Recruits’ Quarters
A cutscene shows you settling into the recruit bedroom, where nobody acknowledges you. You pick a bunk and the scene continues into a conversation with Monroe.
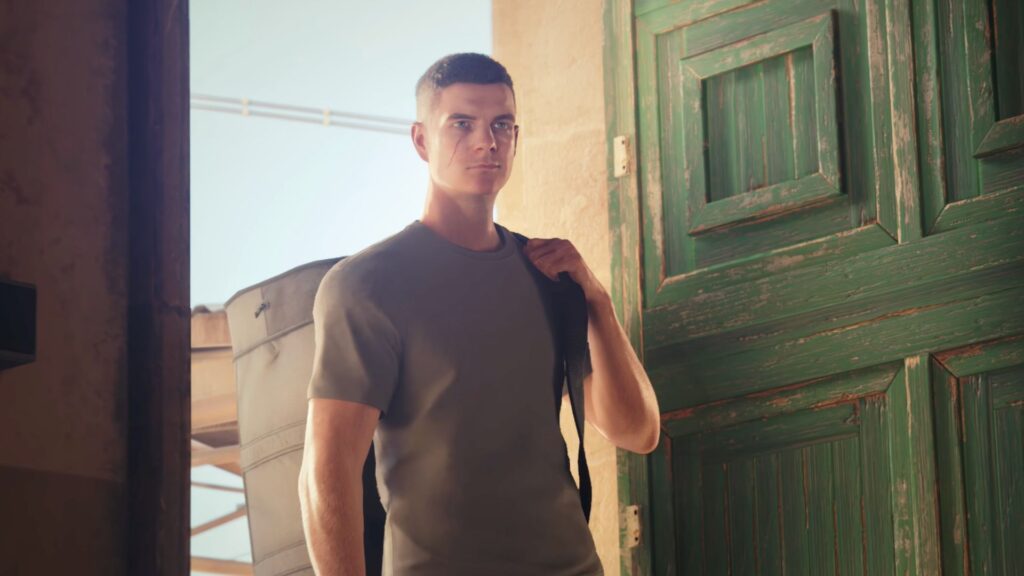
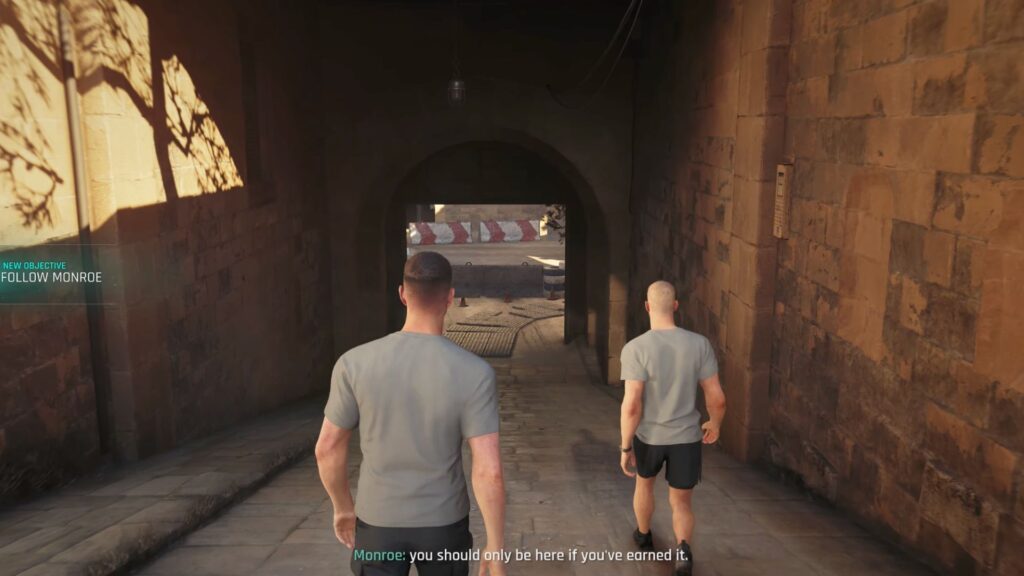
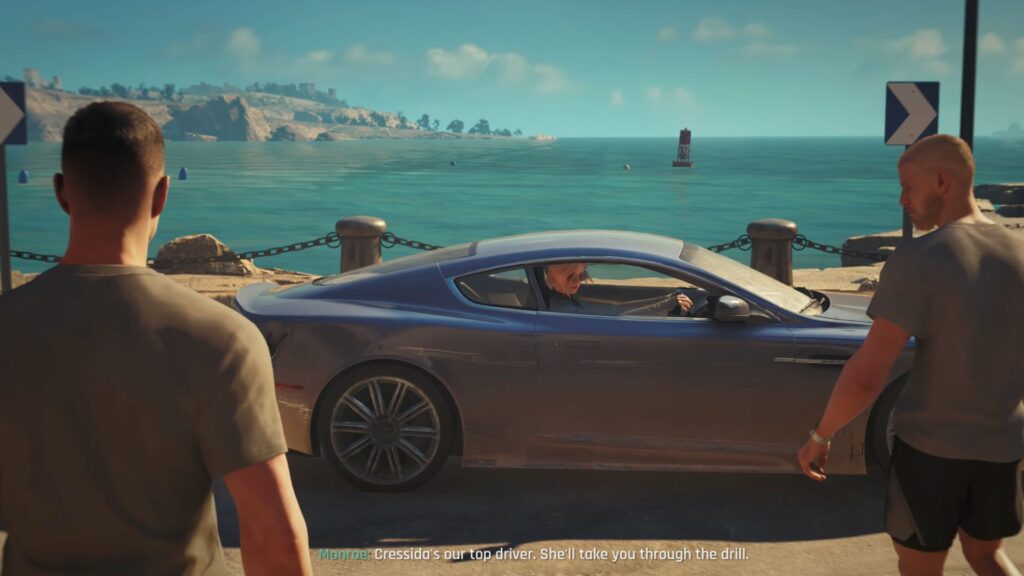
He invites you to follow him for the next round of training. Walk with him through the tunnel and head right toward the sea, where a ’06 DBS drifts up with Cressida behind the wheel, it turns out she’s the top driver among the recruits.
Driving Training
Your next objective is to get in the car and complete a full lap of the island with Cressida. She walks you through the controls during the first circuit.
- Hold R2 — Accelerate
- Left Stick — Steer
- Hold L2 — Brake
- Square — Handbrake for sharp turns and drifting
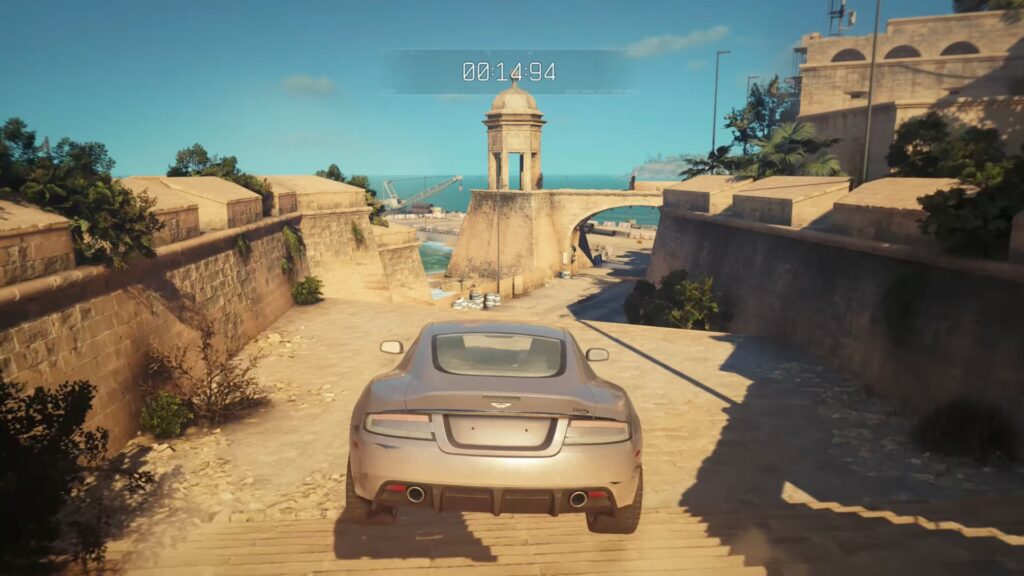
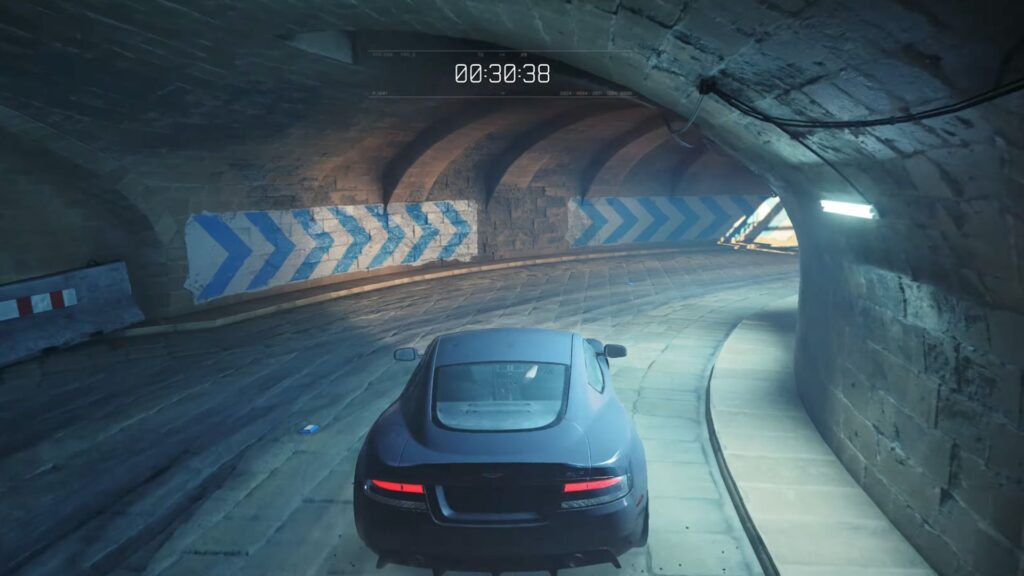
The lap has a lot of corners, so ease off the accelerator before bends and use the handbrake to drift through the tighter ones.
Parkour Training
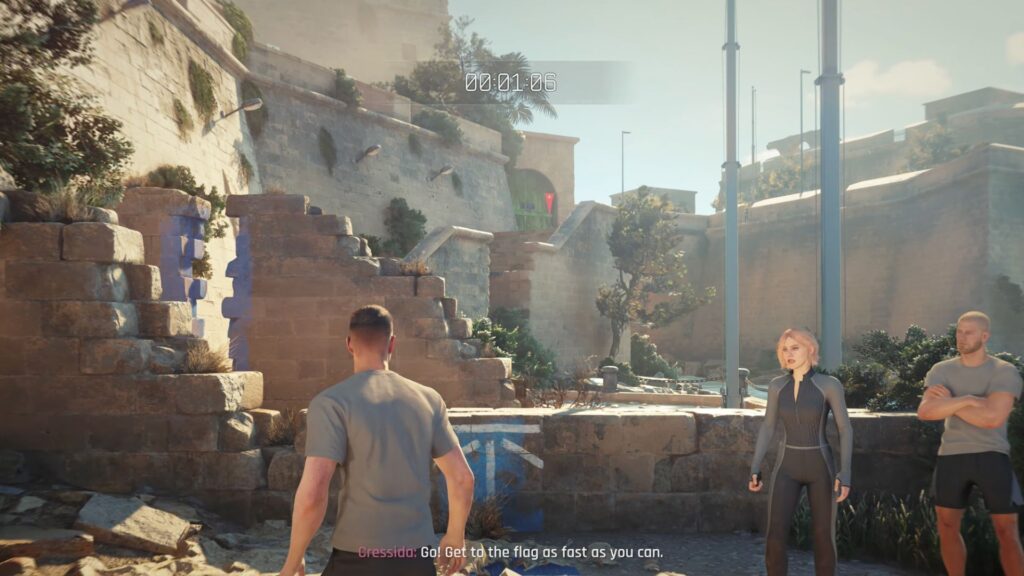
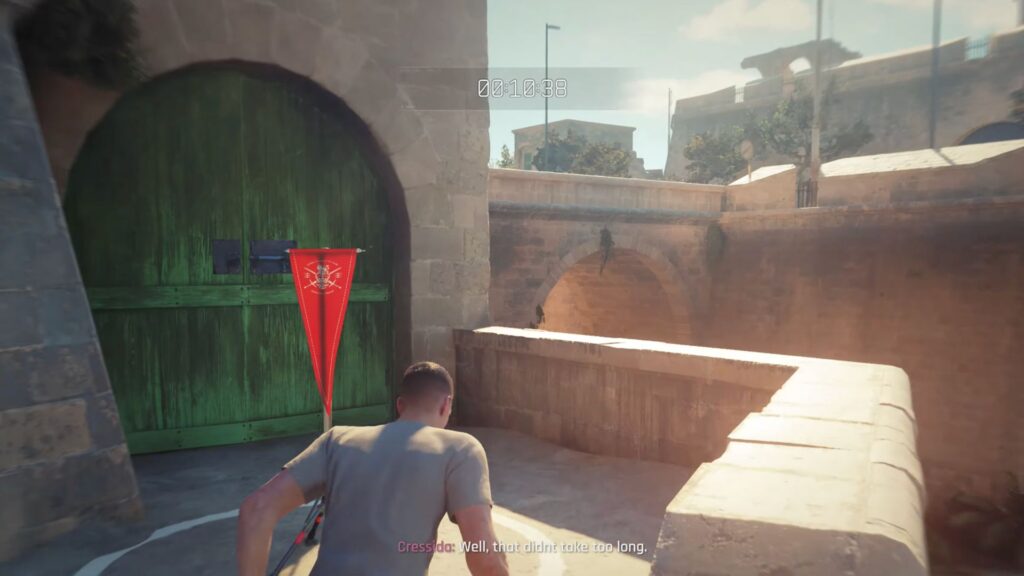
After the lap, the recruits challenge you to retrieve a red flag positioned on a high platform of the training ground building. The structure is built from old Maltese stonework, so reaching it requires parkour. The game will guide you through the mechanics as you go, but expect to vault over walls, jump across gaps, and move quickly through the environment.
Shooting, Fighting, and More
The chapter then moves through a series of back-to-back training sequences, each introducing a new mechanic.
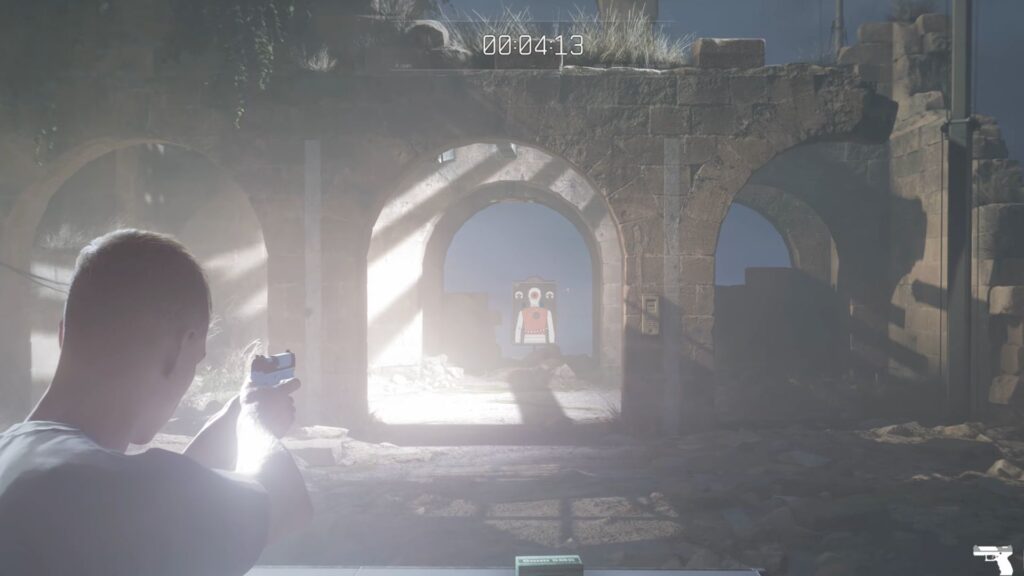
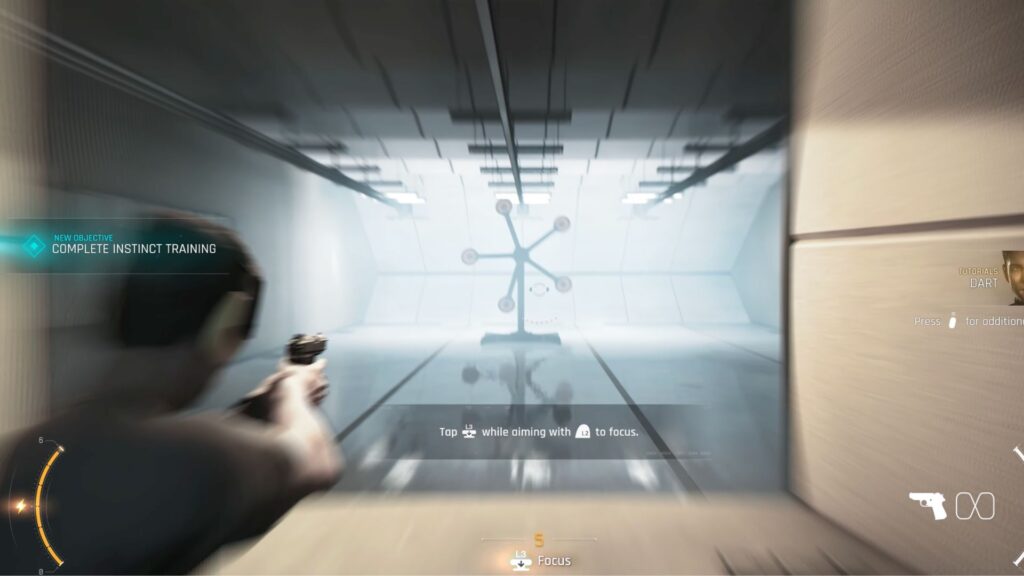
First up is pistol training using the PDR-9NL. Three stationary targets need to be hit. After that, you’re taken to the fighting ring where you learn to sidestep a grab, parry a strike, and follow up with a counter attack.
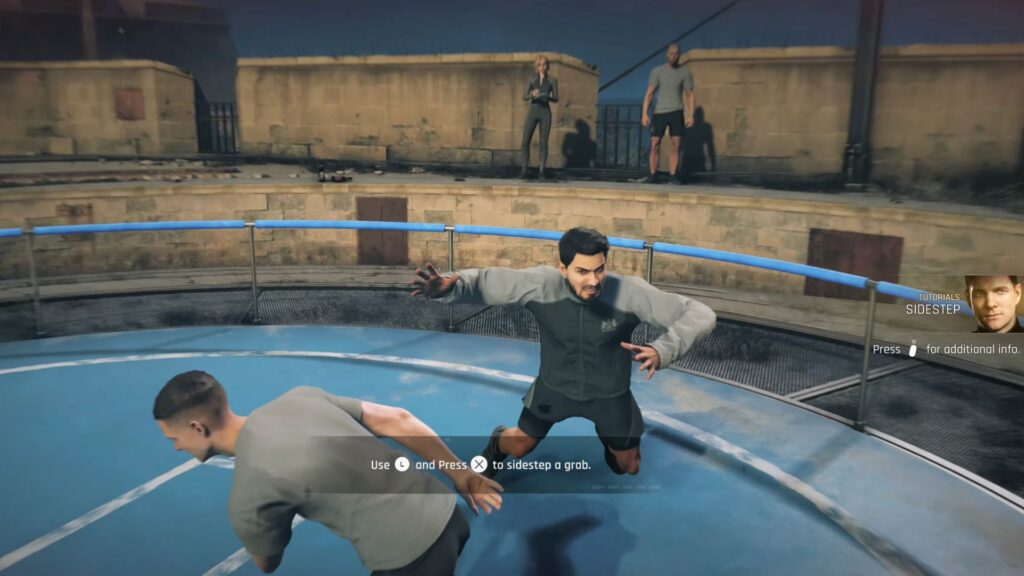
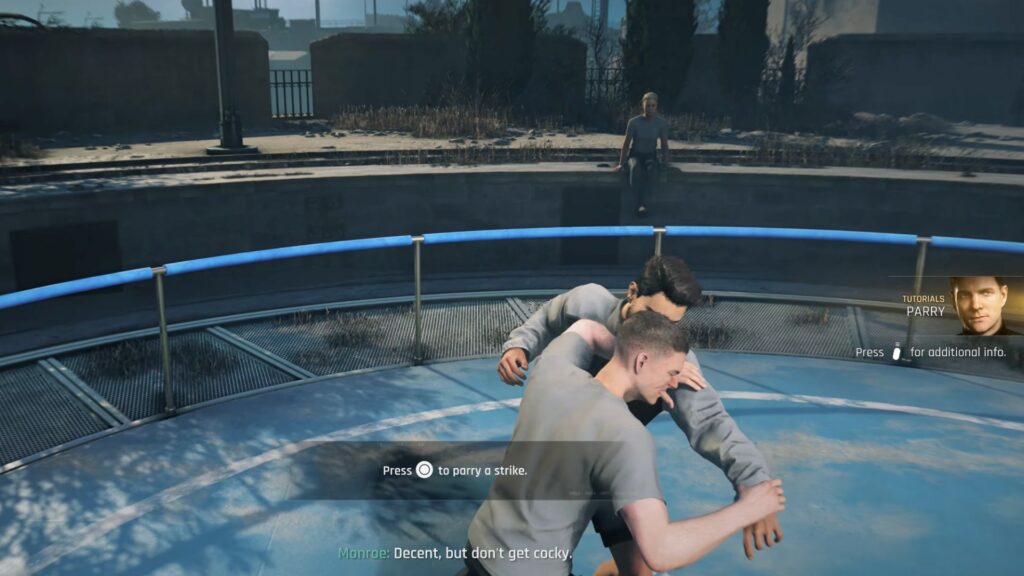
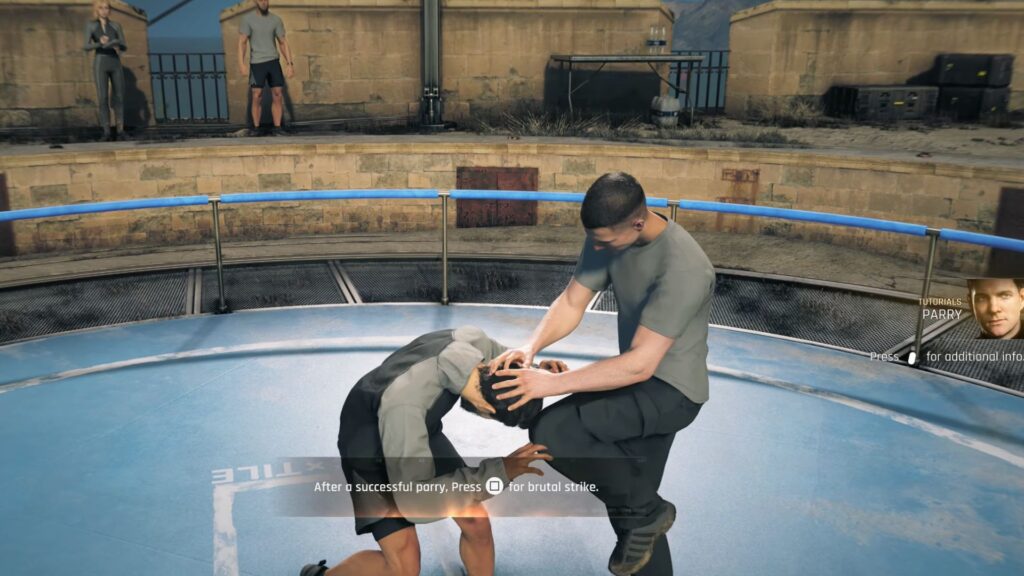
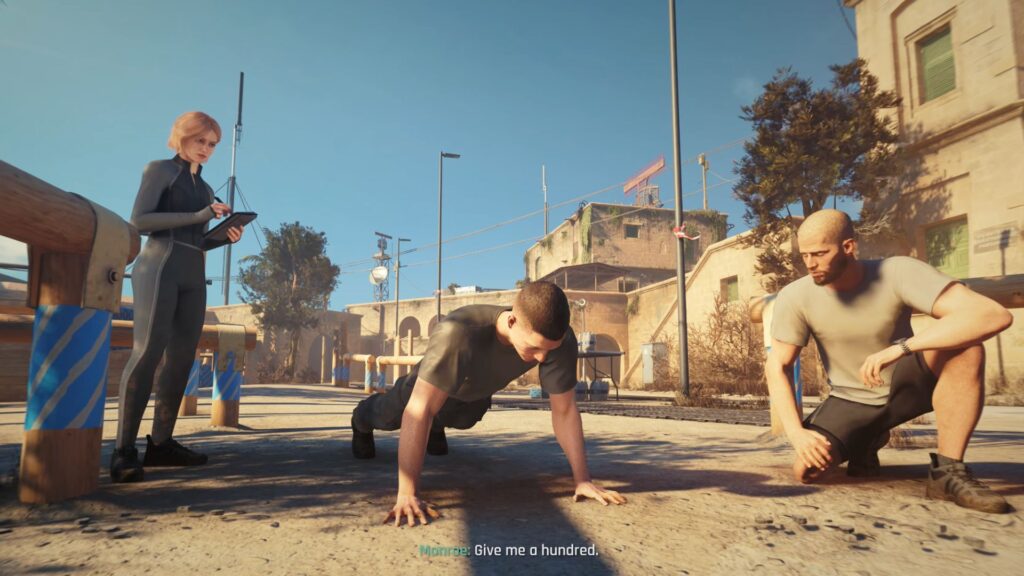
A hundred push-ups come next — don’t worry, it’s just a cutscene, so you won’t get tired because of it. Then a second red flag retrieval, this time with a 30-second time limit and a harder route featuring narrower gaps and more obstacles.
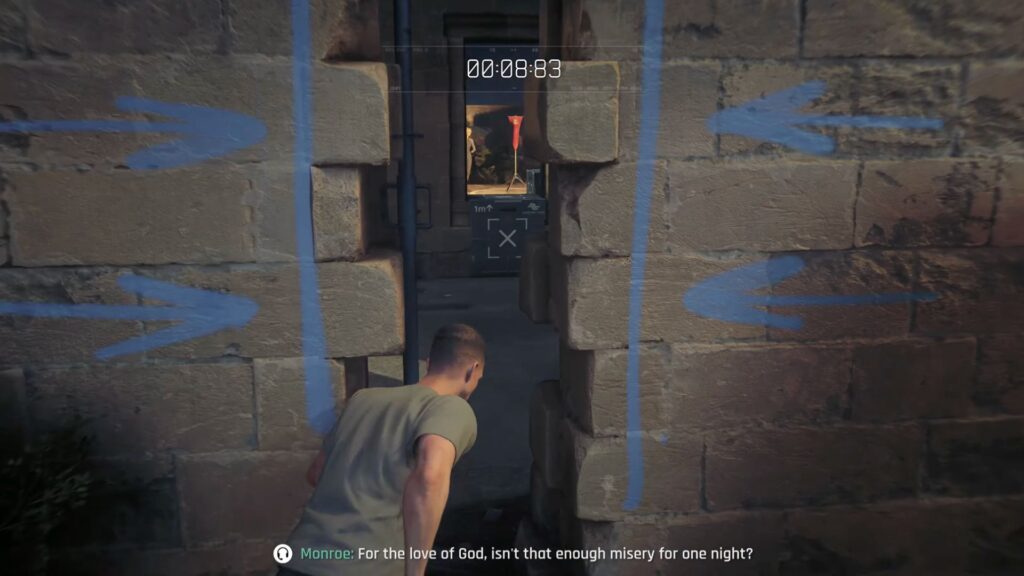
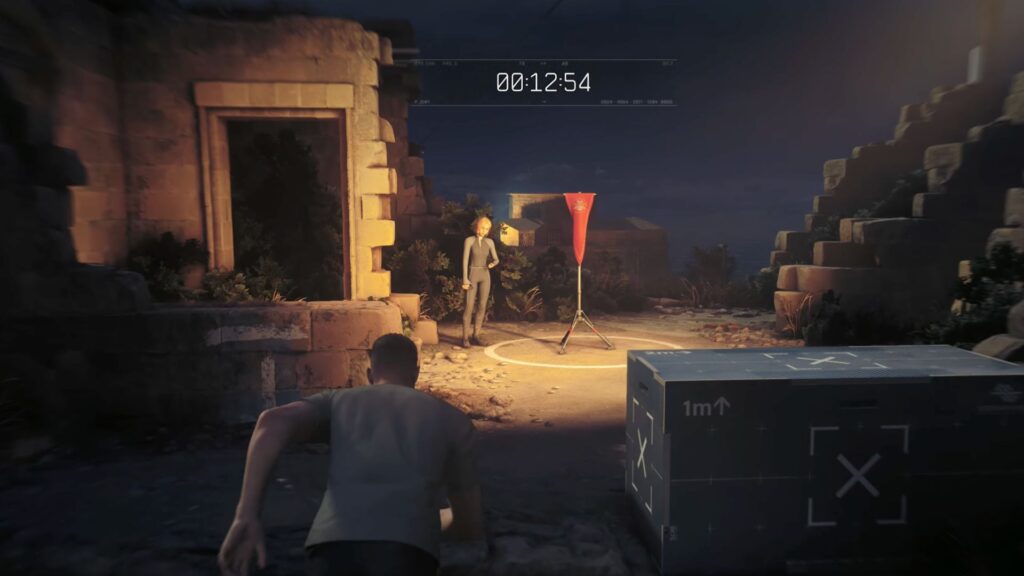
The sessions keep stacking. Another fight in the ring introduces charging at an enemy. Running drills and shooting practice with moving targets follow, then more driving, another hundred push-ups in the rain, and a combined run where you use your pistol on targets while jumping gaps, climbing walls, and staying on the move. You’ll also learn to throw your gun to disarm dazed enemies.
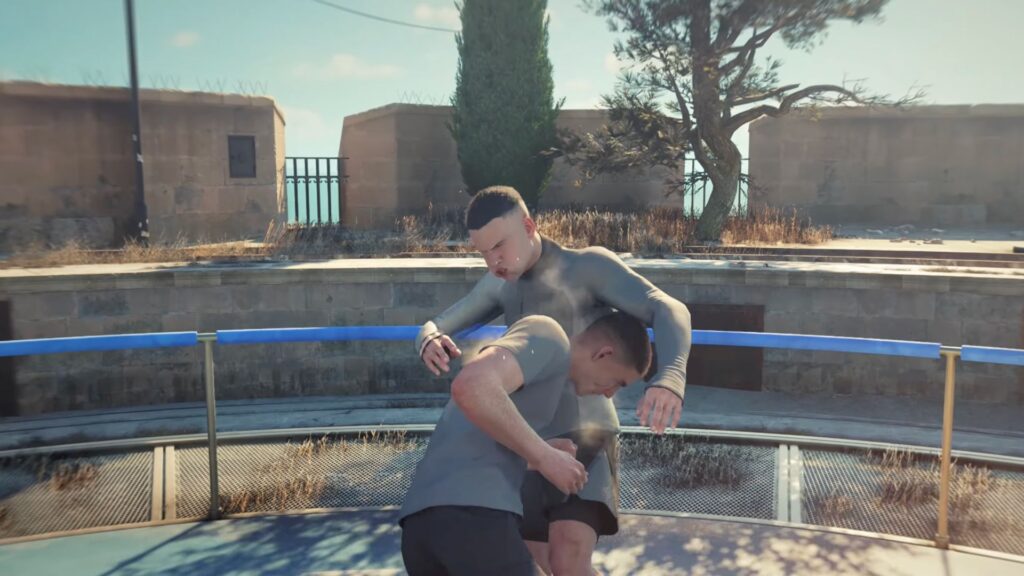
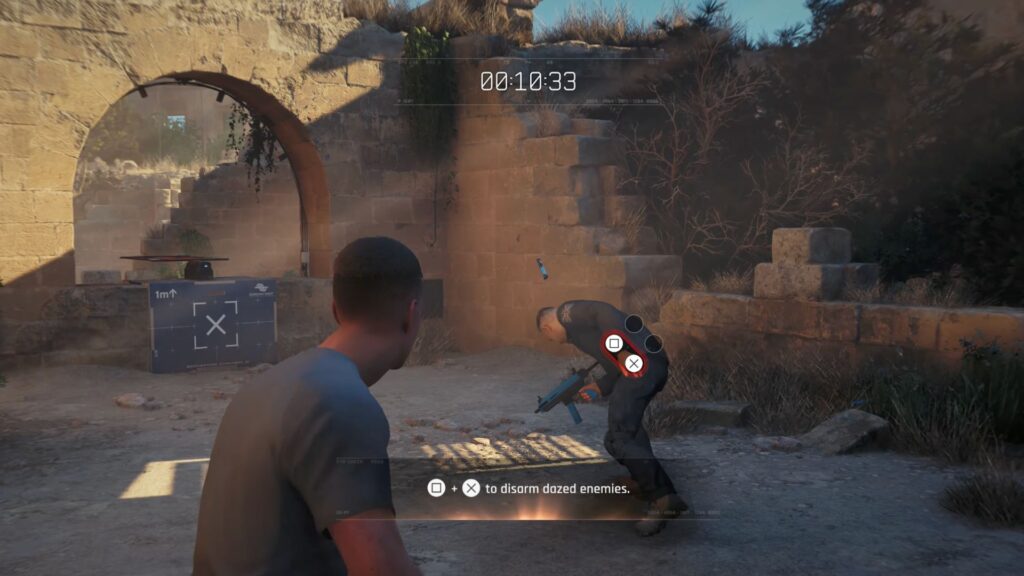
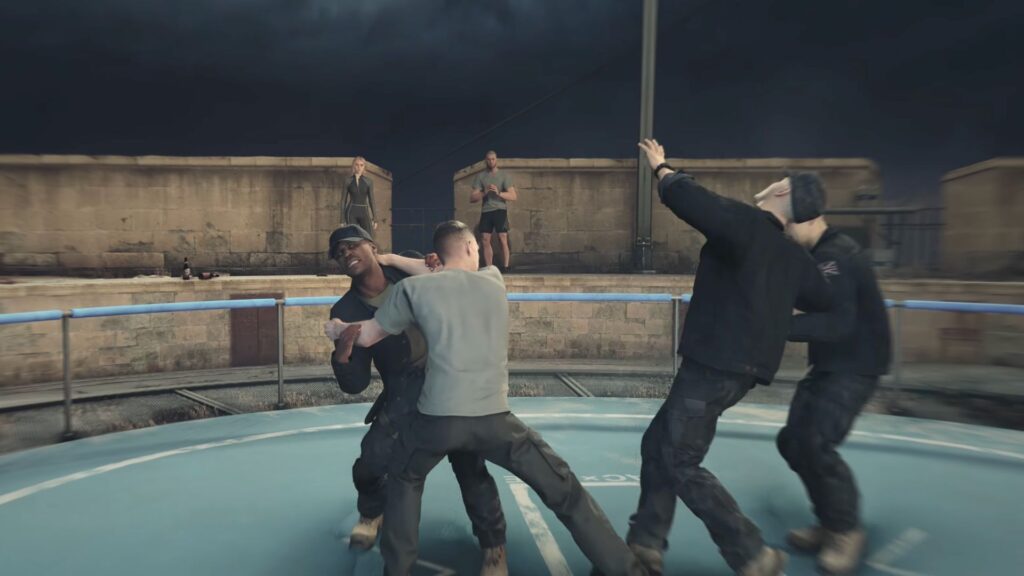
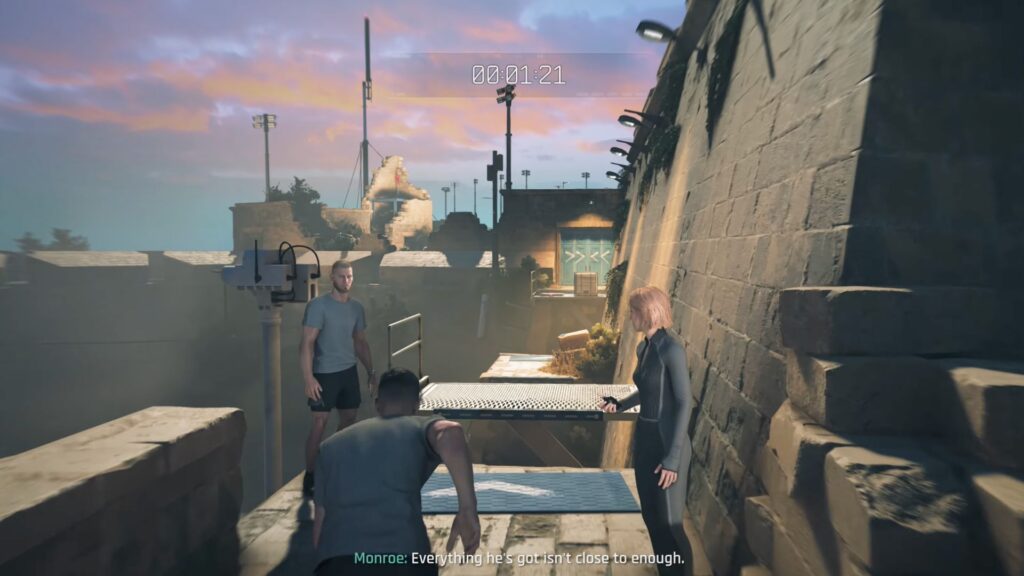
A multi-enemy fight in the ring wraps up the daytime sessions. As the sun sets, a final outdoor training sequence has you jumping across the outer walls of the camp, shooting targets and hitting enemies in the legs to stagger them. The last red flag of the training arc is waiting at the end.
The Monroe Fight
With the basic training concluded, you go head-to-head with Monroe in front of the entire group. This sequence introduces the fake surrender mechanic — when cornered, you can appear to give up and then use the moment to land a takedown.
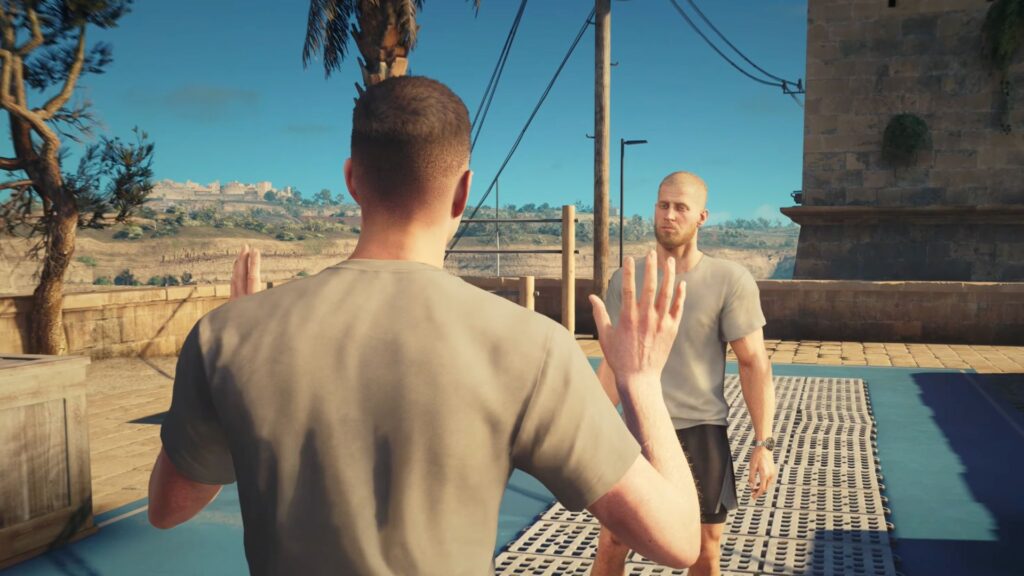
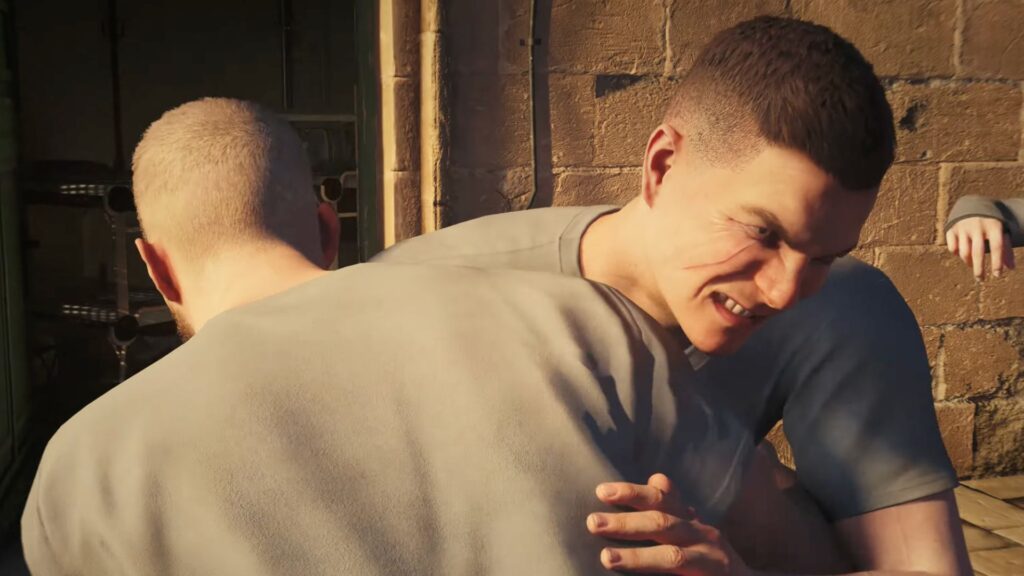
The fight escalates quickly, spilling from the training area into the dining room, then dropping two floors into the shooting range, and finally crashing out into the construction section of the building where scaffolding collapses around you.
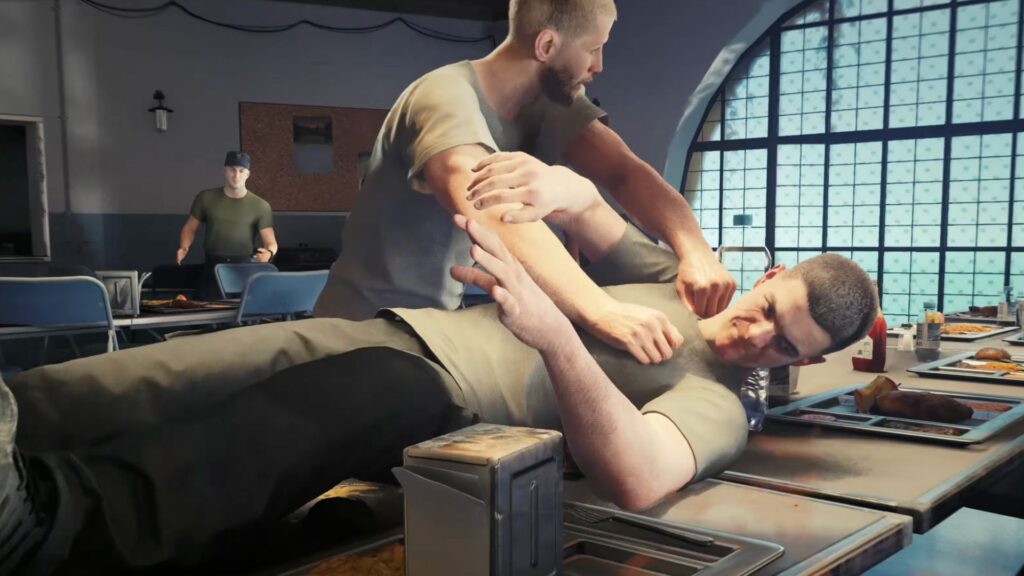
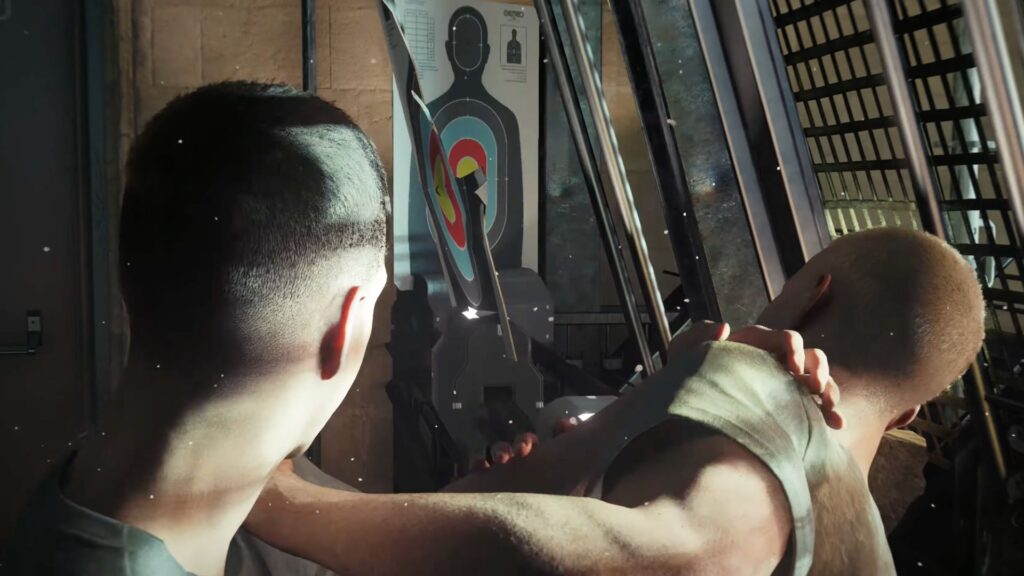
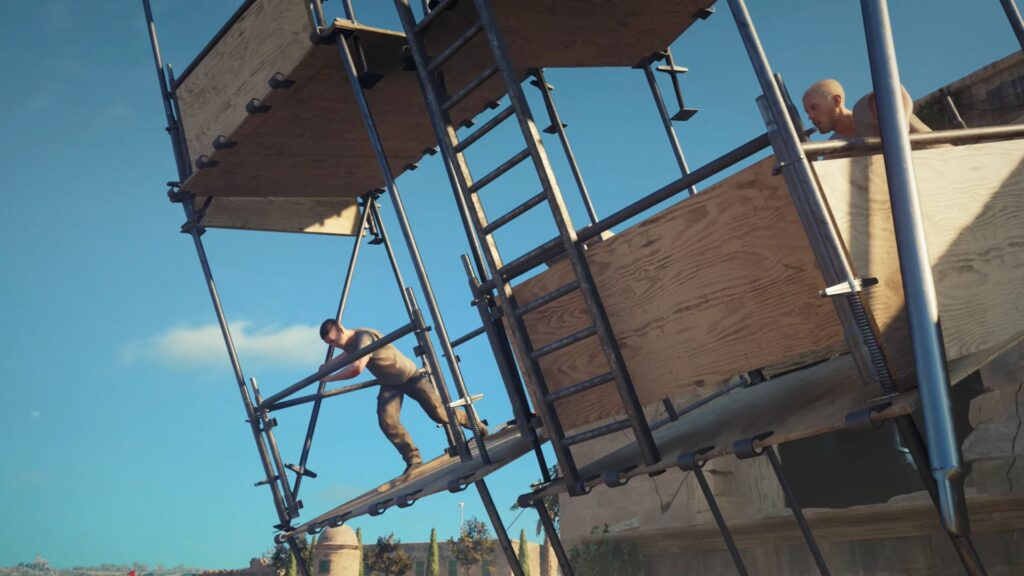
Even after all of that, Monroe isn’t done. The two of you keep going until both of you are too exhausted to continue, at which point the tension breaks and you actually end up laughing together. Greenway appears to scold you both, but Monroe tells him that Bond has finally cleared close combat.
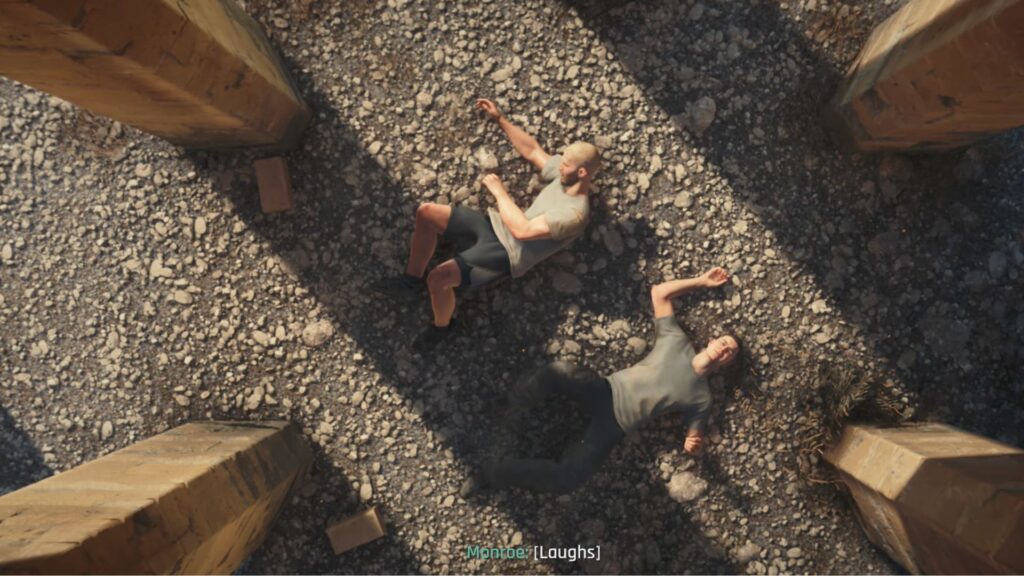
Most of this sequence is a blend of cutscenes and light interactive moments, but it flows together seamlessly and never feels like it breaks pace.
Passing Basic Training
A cutscene then follows with M confirming that you’ve passed. However, Greenway formally recommends that Bond be cut from the programme, arguing he’s a bad influence on the other recruits.
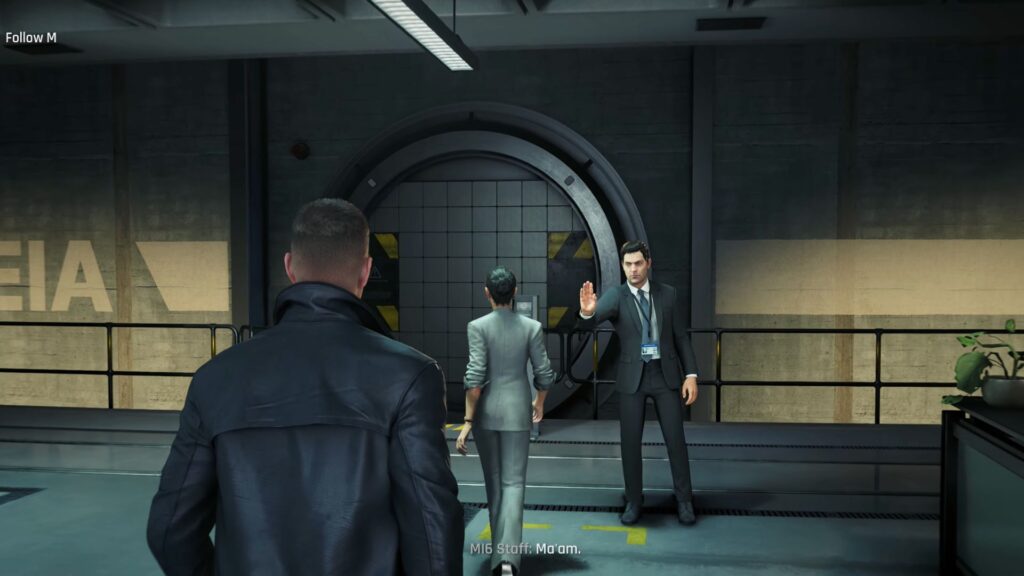
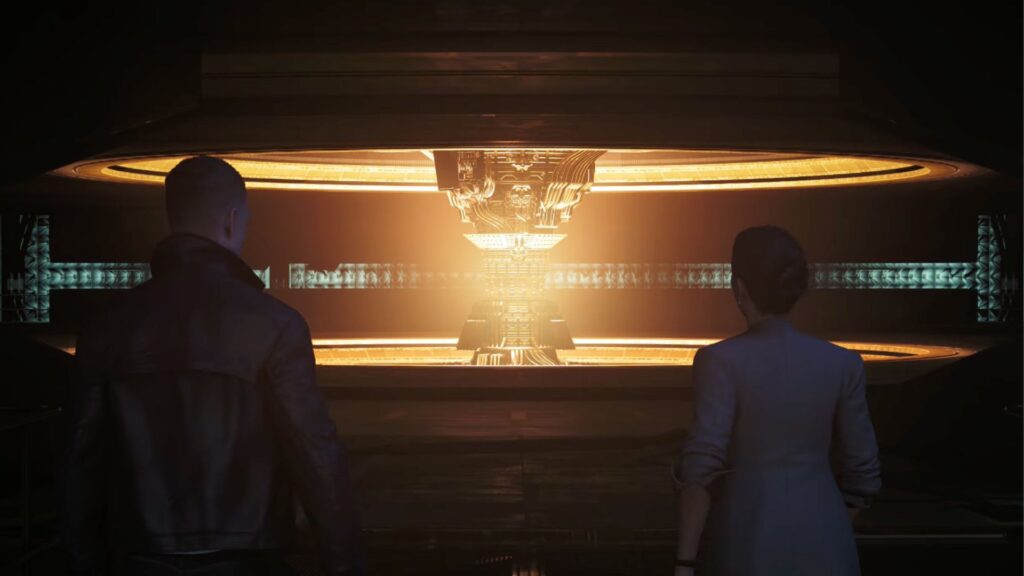
M doesn’t act on it. Instead, she takes you down in the elevator to the MI6 floor marked with THEIA on the wall. Follow her through the spiral steel door — very much the visual language of 007 — until you reach the room where M explains what THEIA actually is.
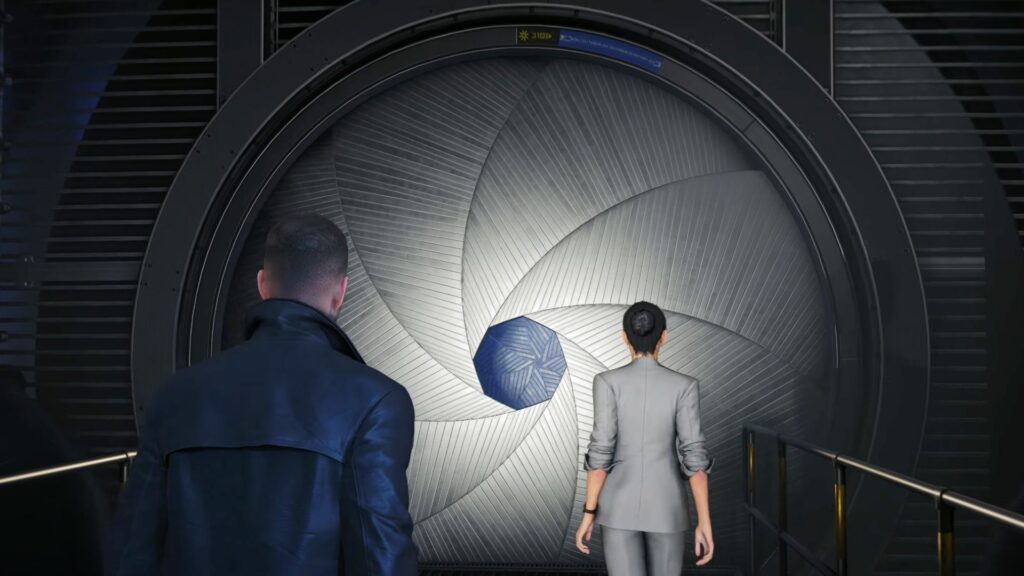
It’s the world’s first and only second-generation quantum computer, and the same system that was guiding Bond in Iceland. Moneypenny arrives shortly after to confirm you’ve cleared advanced training.
Q-Lab
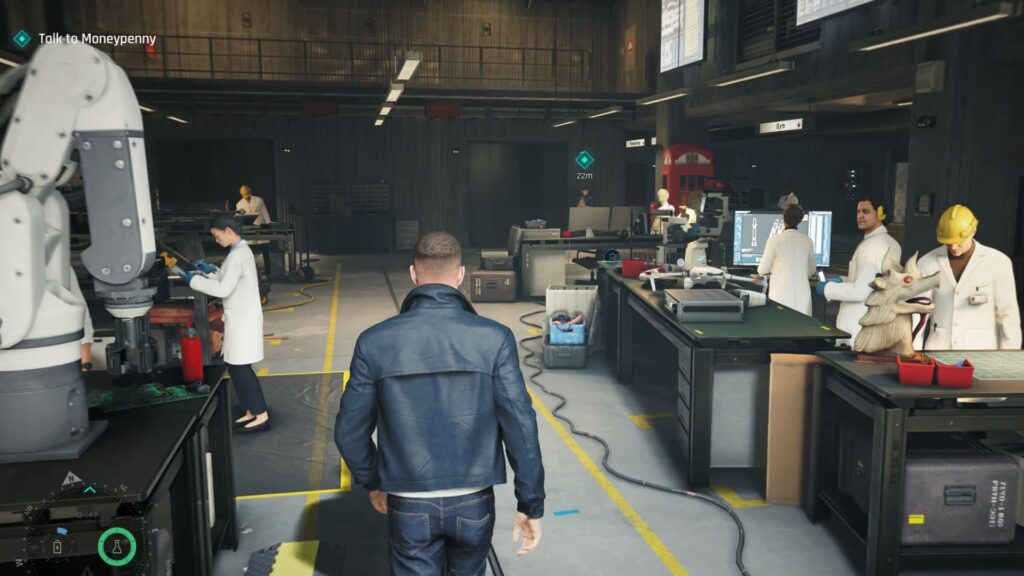
Follow Moneypenny to the Q-Lab. The space is busy — drones flying overhead, scientists testing equipment in the background. Your objective is to find Q and Selina Tan. Q is further down past the central path, but take a moment to explore the lab first.
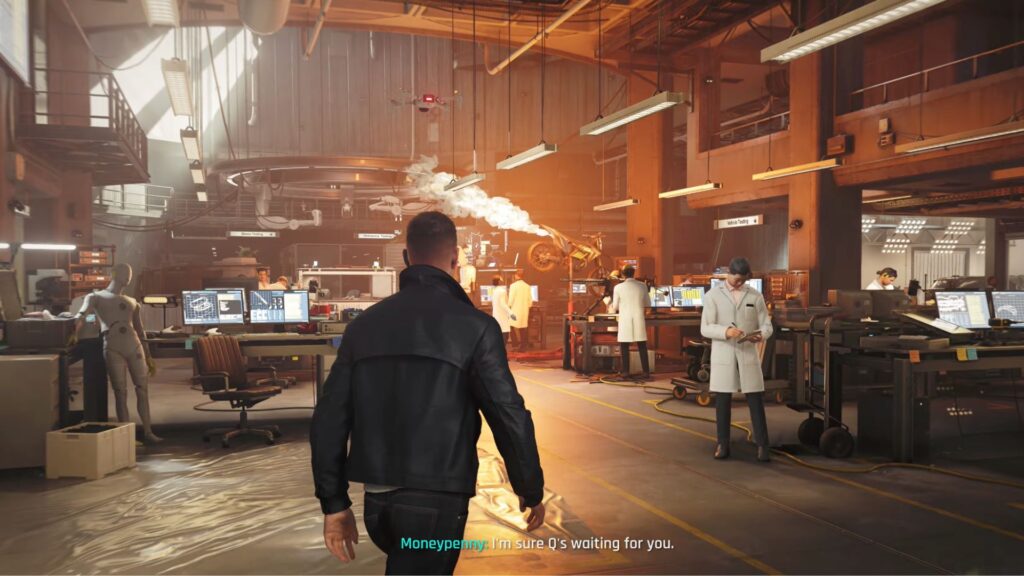
On the very first desk to the left after stepping off the elevator, there’s a lamp you can break. Doing so temporarily blinds nearby NPCs for a few seconds, a useful trick to keep in mind for later situations. Some doors in the lab are locked right now but may become accessible further into the game.
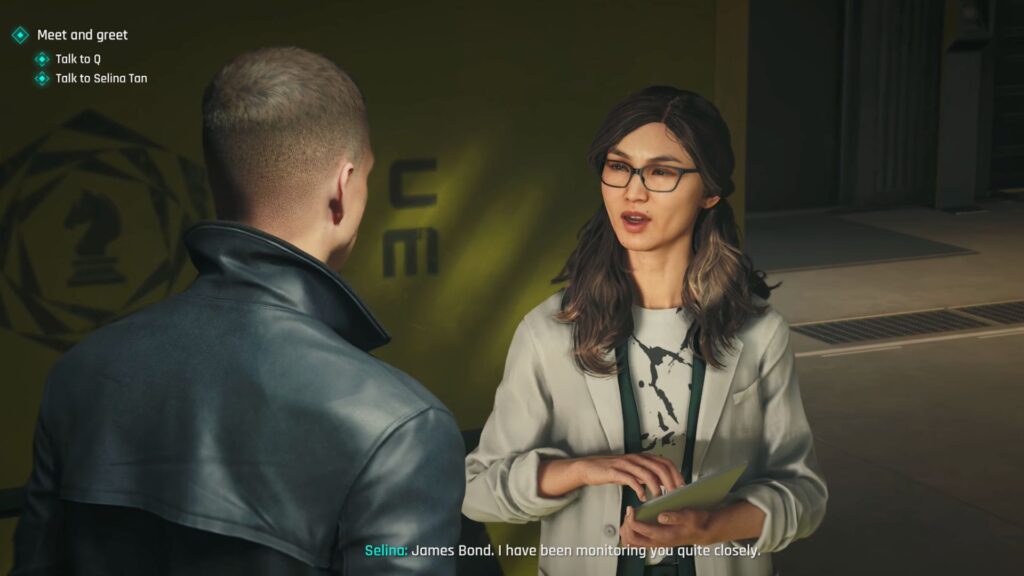
Selina Tan is standing in front of a yellow wall. She’s in charge of Tactical Simulations, so speak with her when you find her.
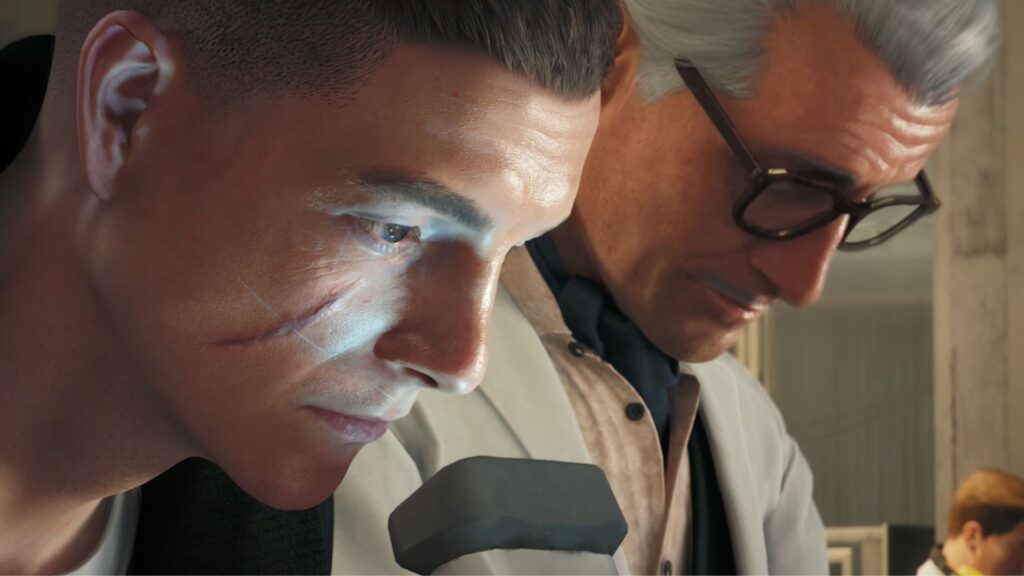
Q is nearby, standing beside a desk wearing glasses. Talking to him triggers a cutscene. Bond goes through a full intake process — body scan, eye scan, and a new set of contact lenses fitted on the spot. Q then opens a red box containing seven OMEGA watches. You need to pick one.
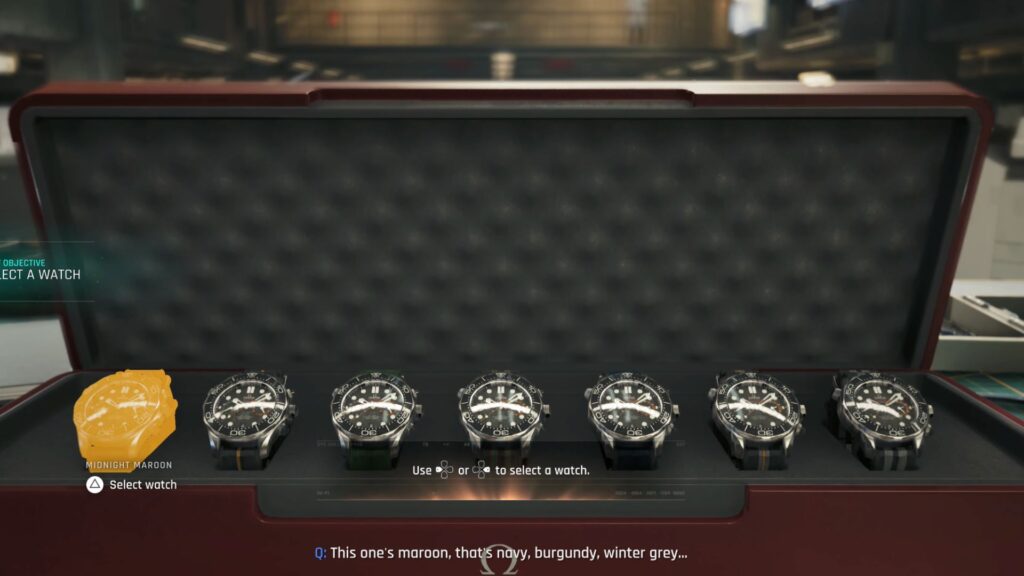
Selecting and Using the Q-Lens Watch
Once equipped, the watch opens up a wide range of options. The Q-Lens overlay gives you access to hacking, which works by aiming your crosshair at a target and pressing the corresponding button.
You can hack and switch off lights, deactivate drones, move machines to use as distractions, and more. The watch also has a battery that can be recharged at any charger you find in the environment.
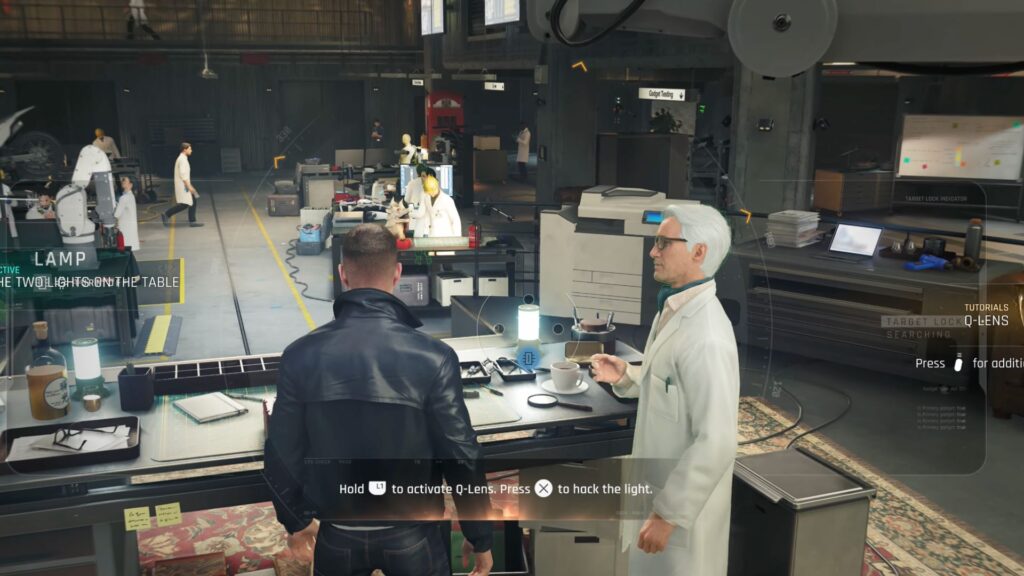
After finishing up with Q, head back to Moneypenny near the elevator. She hands you a key and tells you that a special MI6 residence has been arranged for you, Monroe, and Cressida.
The MI6 House
You arrive at the MI6 house and are greeted immediately by the Foreign Secretary, Stephen Bright — who turns out to be Cressida’s father. Monroe and Cressida are also there. Your objective is called Make Yourself at Home, and the house is yours to explore freely.
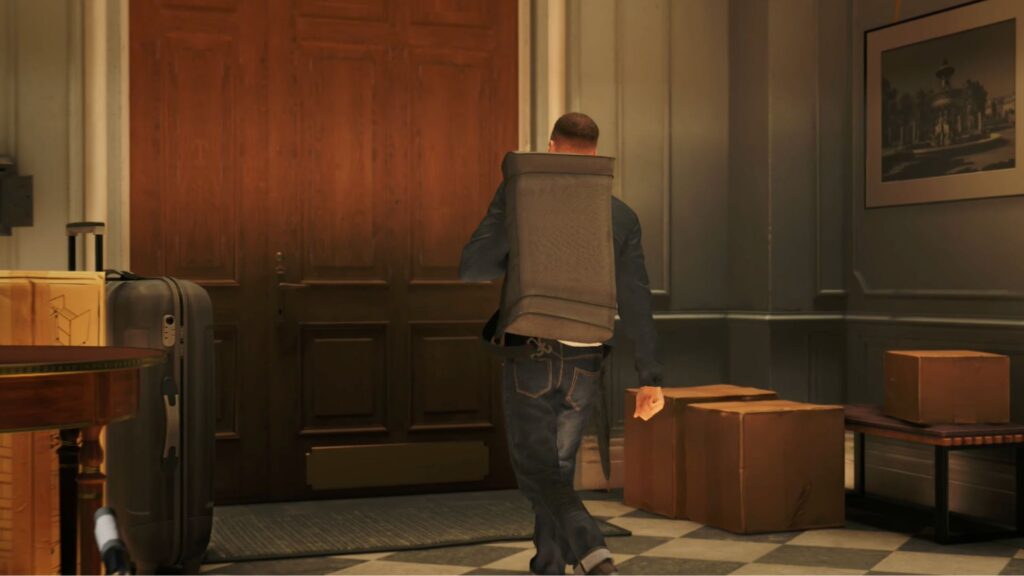
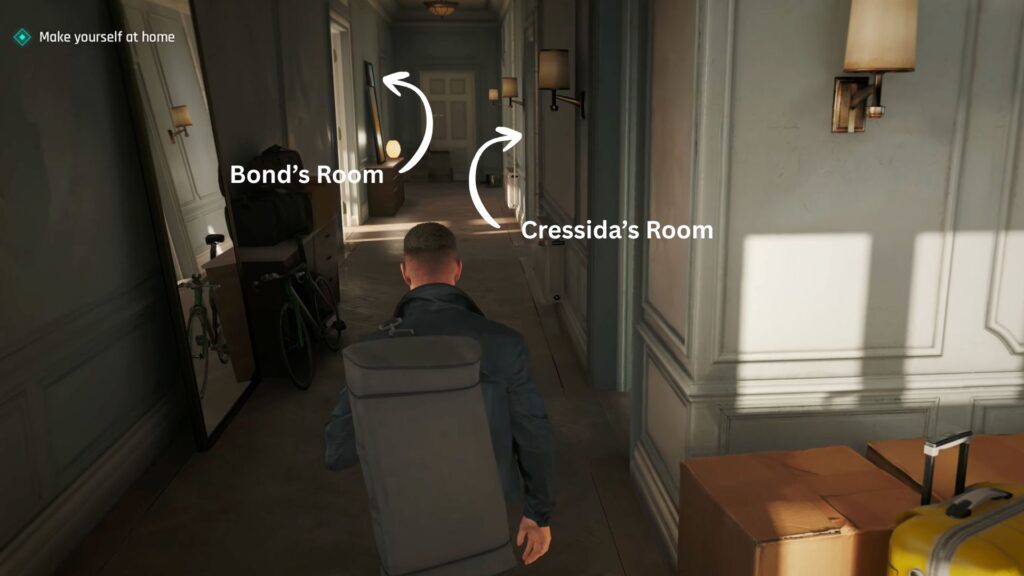
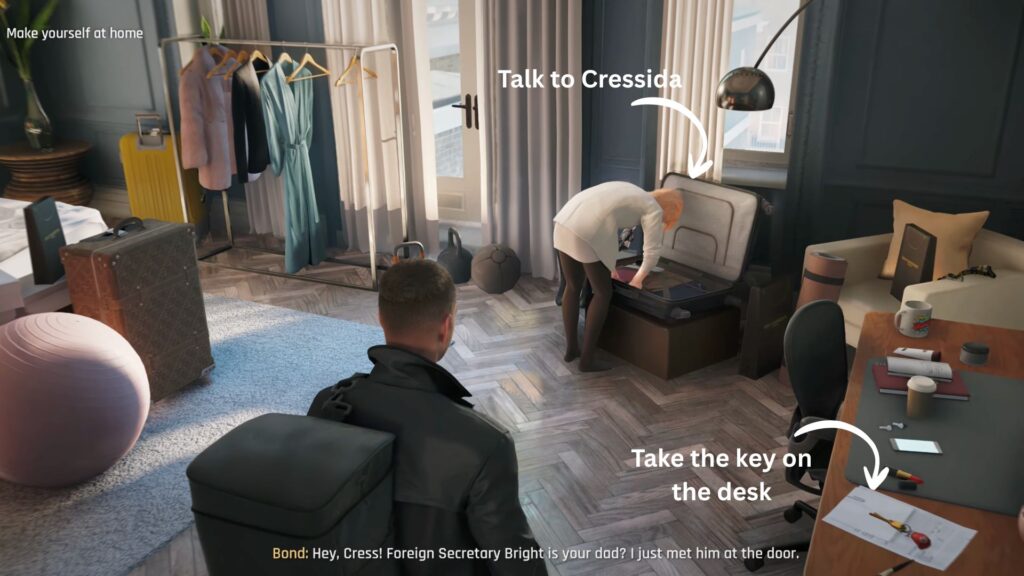
Your room is down the hall to the left, but you’ll need the key first. Talk to Cressida — her room is directly across from yours and she mentions the key is on her desk. Go collect it.
Advanced Training Begins
Fast forward to February and you’re all back in Malta. Greenway’s first order is simple: get inside and capture the flag. Lethal force is off the table unless an opponent has intent to kill. Head into the training ground and complete the exercise, putting everything from basic training to use.

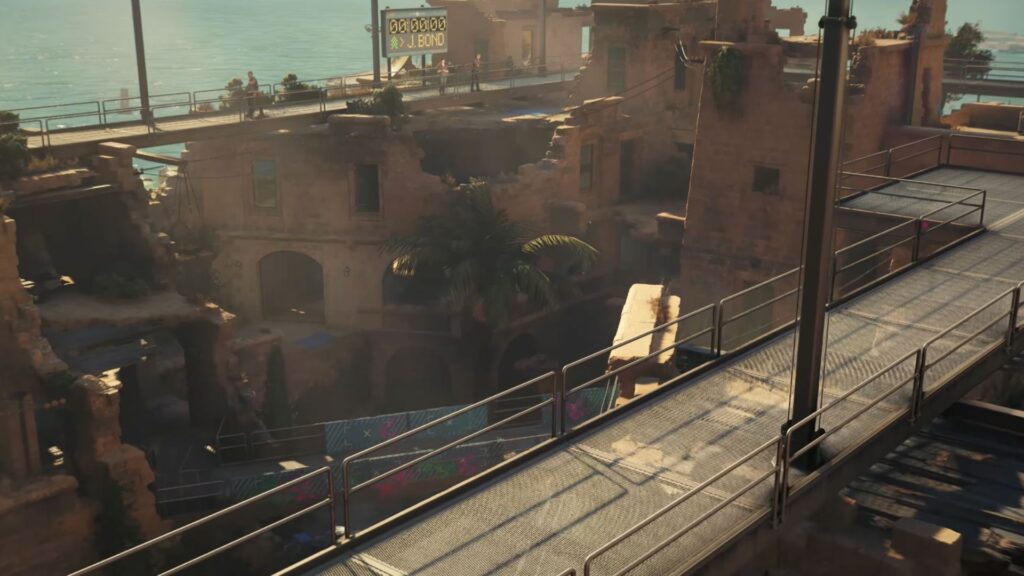
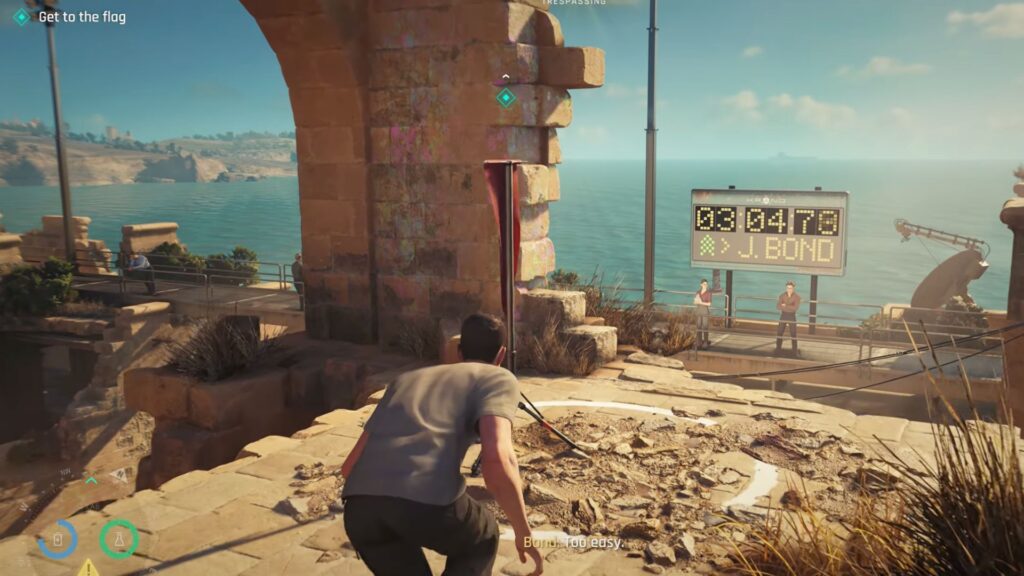
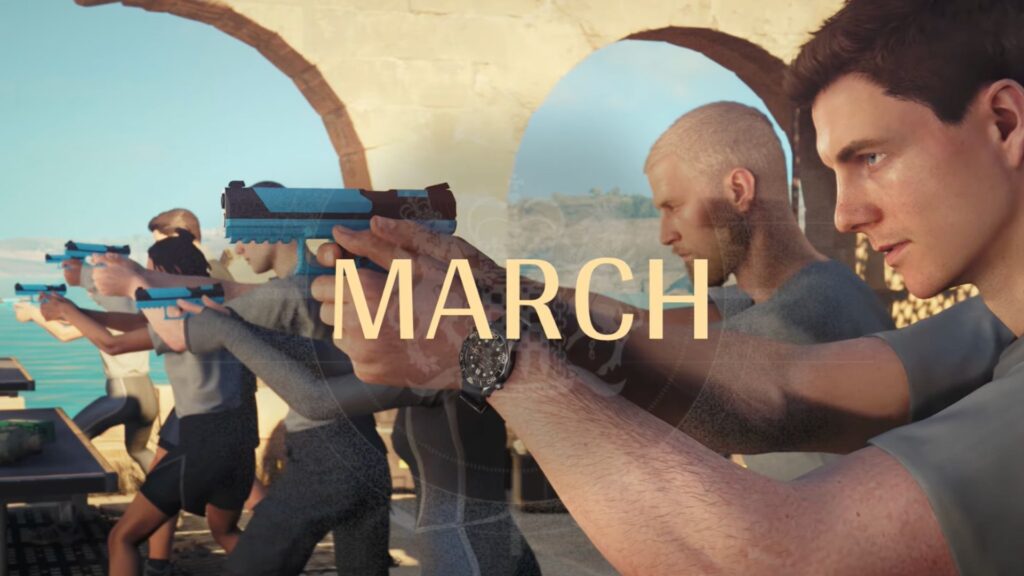
Your OMEGA watch is available here too, so use it to hack or distract enemies where you can. Once the task is done, a cutscene montage carries you through March, with more gun drills and flag exercises.
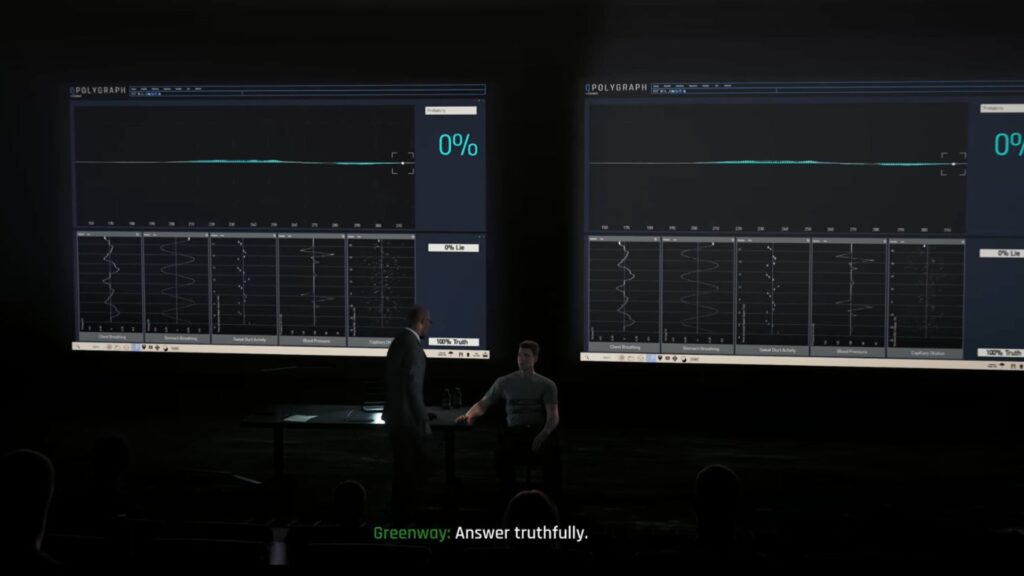
April brings a lie detector session. Greenway runs you through a high-tech polygraph and challenges every answer you give, whether it’s the truth or not. May shows the three of you growing closer in the apartment, and later gives you a chance to run the polygraph on each other, practicing your poker face and learning when to lie and when to stay honest.
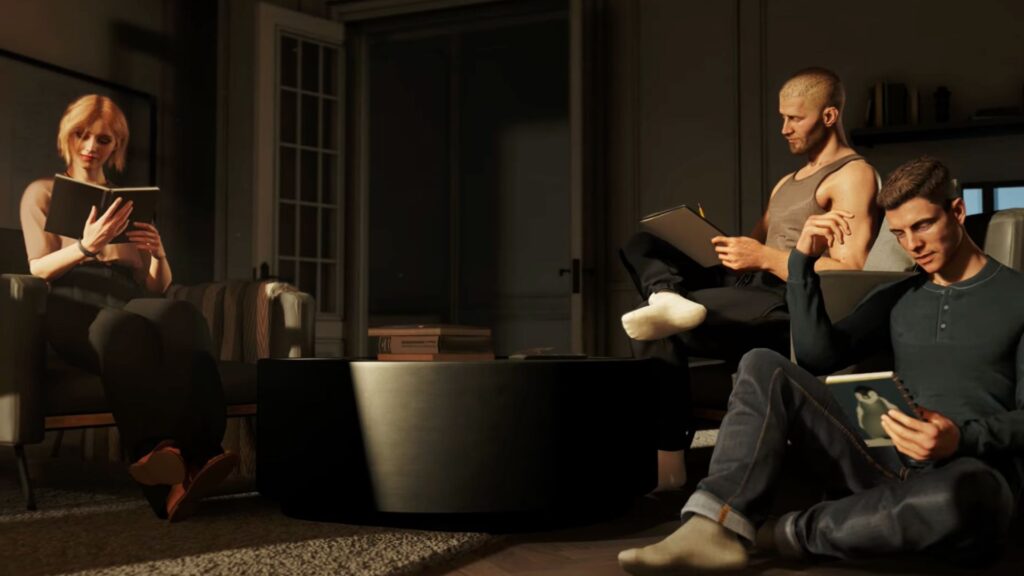
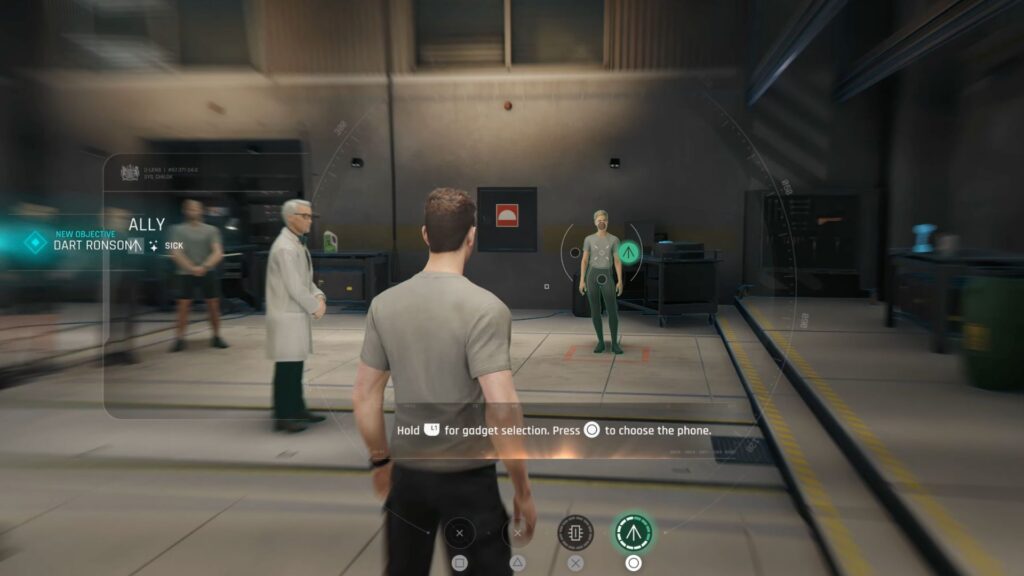
June arrives with Q handing over a new phone capable of inducing nausea, dizziness, and disorientation in a target. Training also shifts to fast-moving targets, teaching you to properly aim and focus under pressure.
Stealing the Flag
In July, Greenway reveals that the SAS will be running security for the advanced training. It’s supposed to start the following Sunday, but Bond convinces Monroe and Cressida to move the night before and steal the flag early while the guards think everyone is resting.
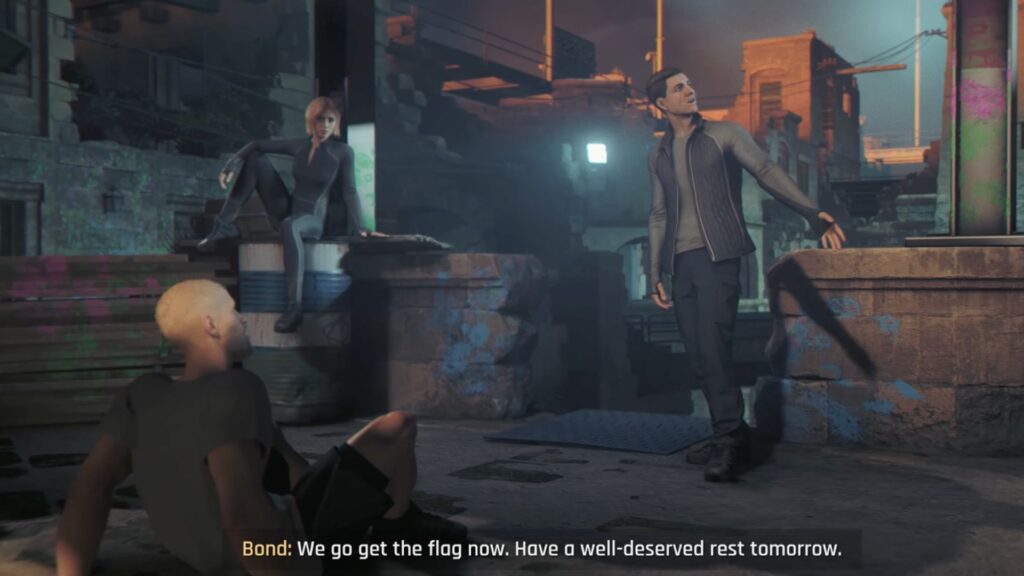
The objective is to infiltrate the training ground, get past SAS security, and take the flag. There’s no single right way to approach this. Stealth and aggression are both viable, and you can mix them freely.
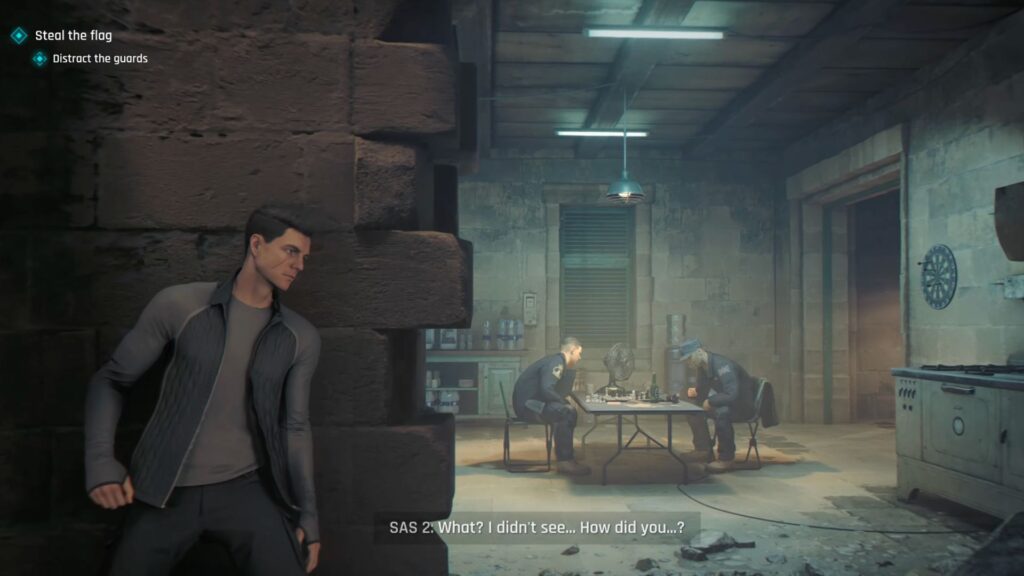
After fighting two guards alongside Monroe, the two of you split up. Monroe takes a side door while you head right up the stairs. More guards are ahead and some of them can be handled by bluffing your way past rather than fighting.
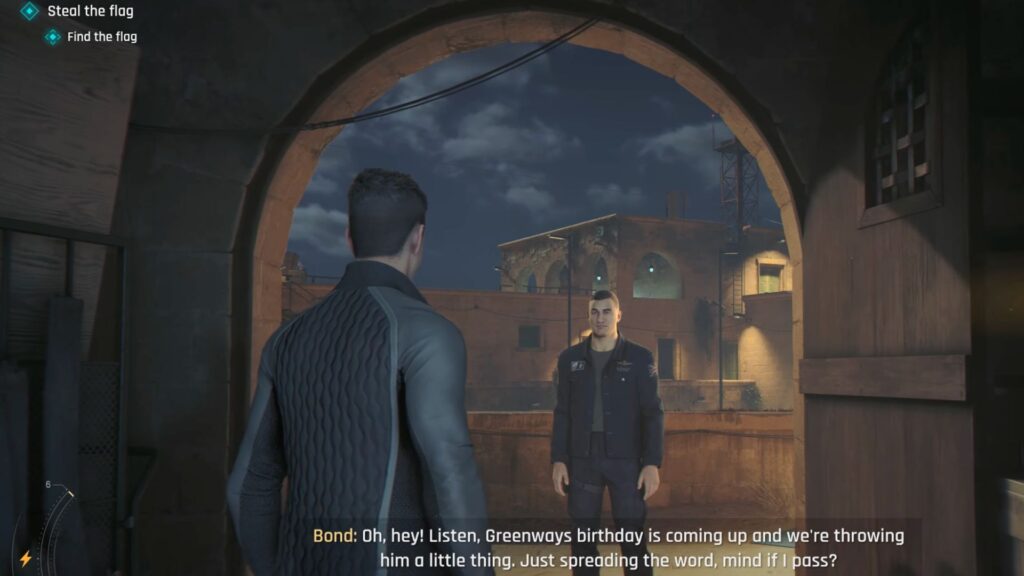
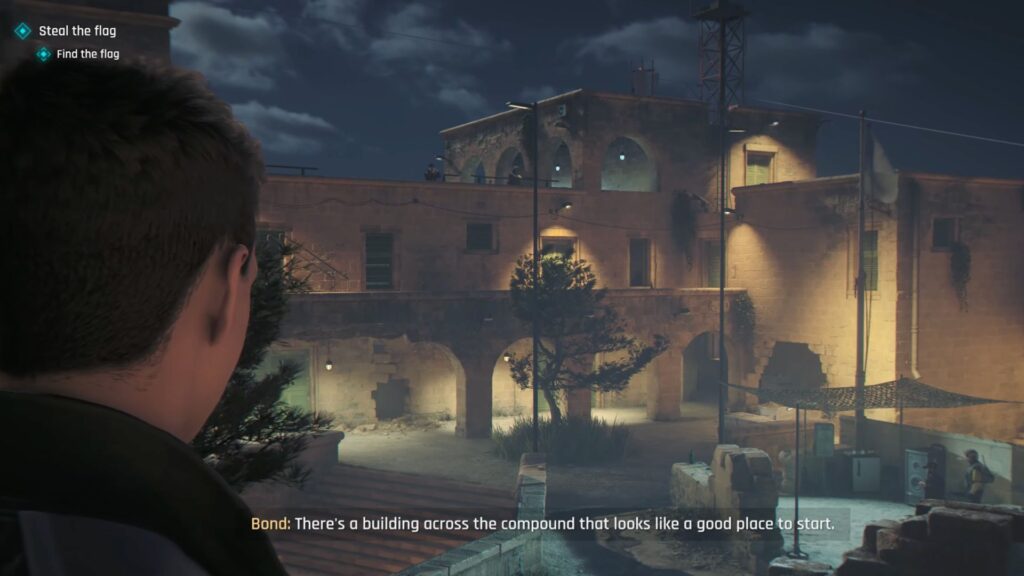
Use cover and tall grass to stay hidden when you need to, or go directly at guards with your fists and any weapons you find nearby. Keep your Q-Lens active to spot enemies through walls before they spot you.
Useful Watch Tricks in This Section:
When you reach a group of guards, use the watch to make them feel sick from a distance or to distract them with a nearby device. Look for the water barrel in the area. Puncturing it from range triggers an electrical current that takes out any SAS guards standing close to it.
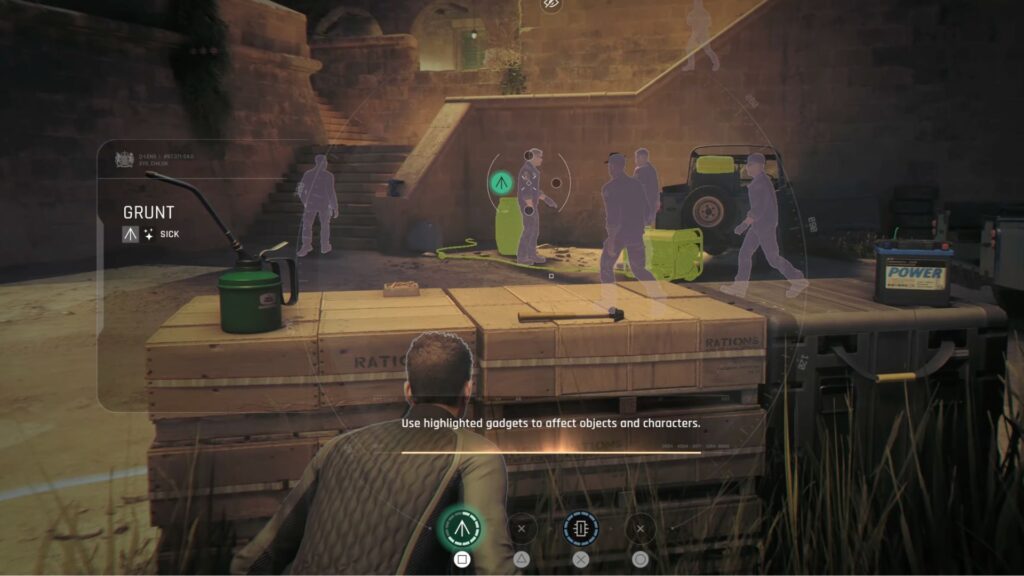
Once the guards around the truck are distracted, move right and stay low in the grass. Two guards are talking on a balcony above — climb up and take them out quietly.
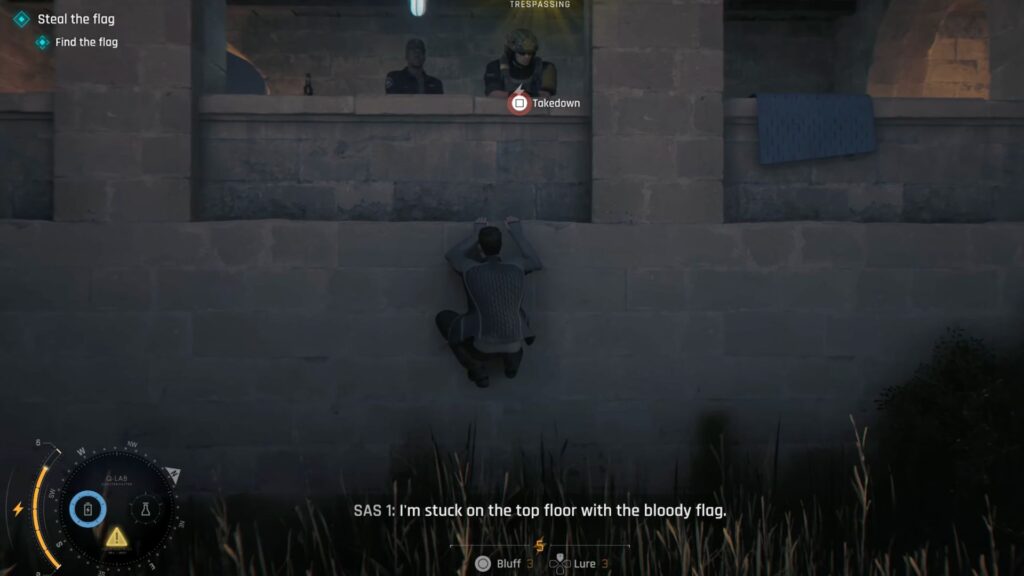
Drop over the railing and head down to the right where you’ll find a blue door leading to the compound basement. However, rather than using the door, find the long pipe running up the wall beside it.
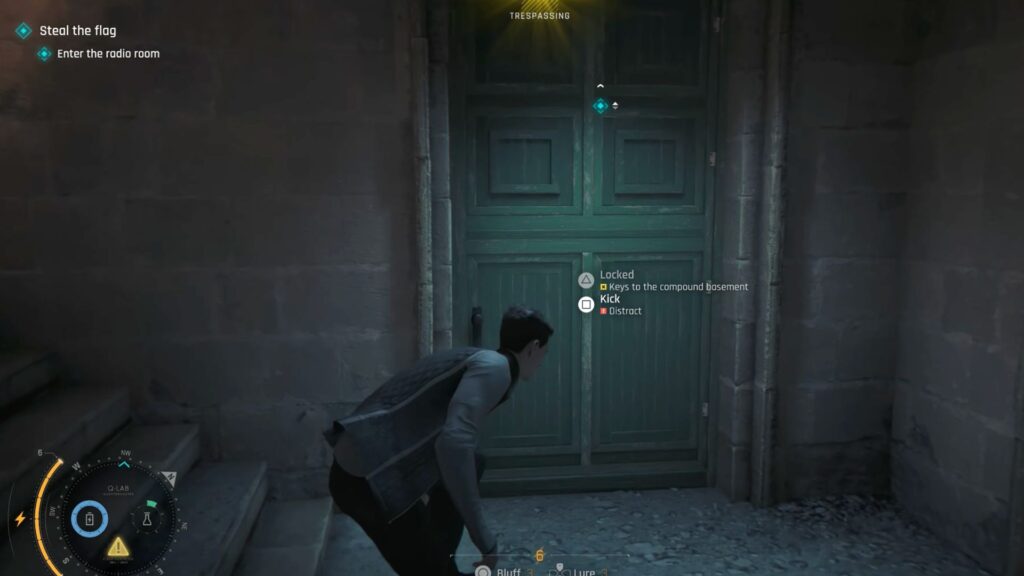
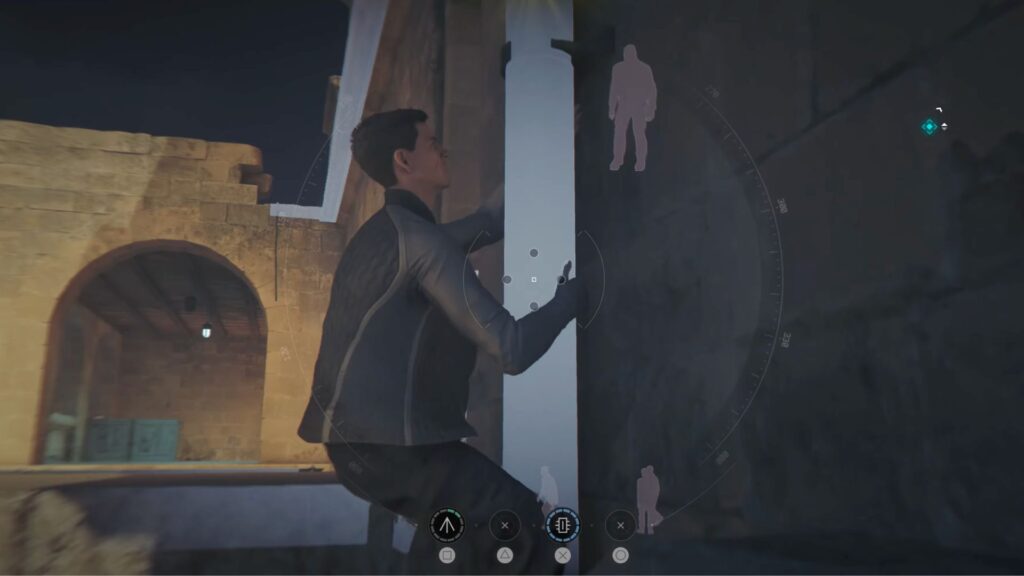
Climb it and vault through the window to enter the second floor. Guards are waiting inside. You can hack any laptops or electronics you find to send out an electrical current and take them out without direct contact.
Once you’ve crossed through the building, exit through the window on the far side and climb another pipe. Moving along the exterior of the building brings you to a new objective: reaching the radio room.
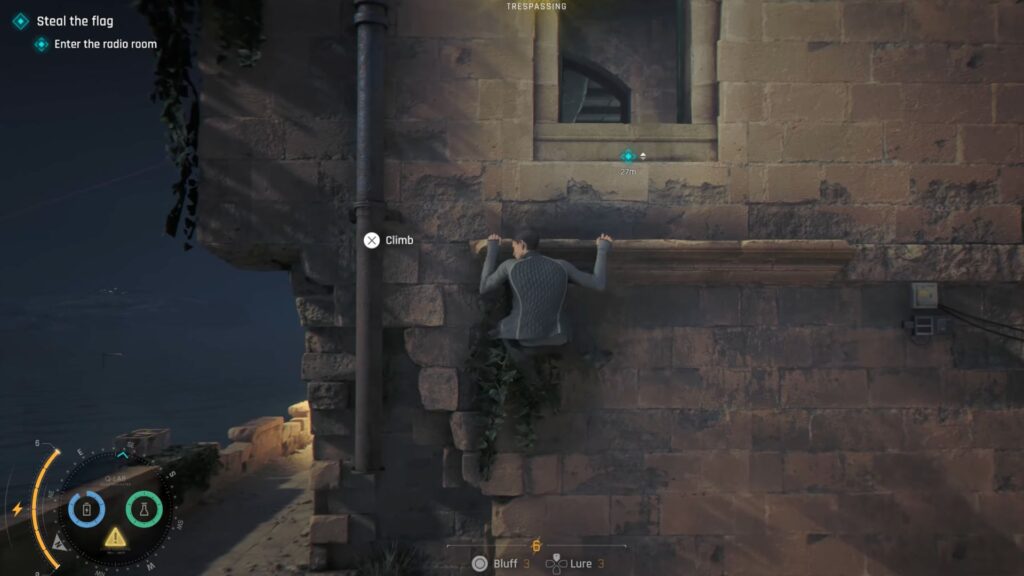
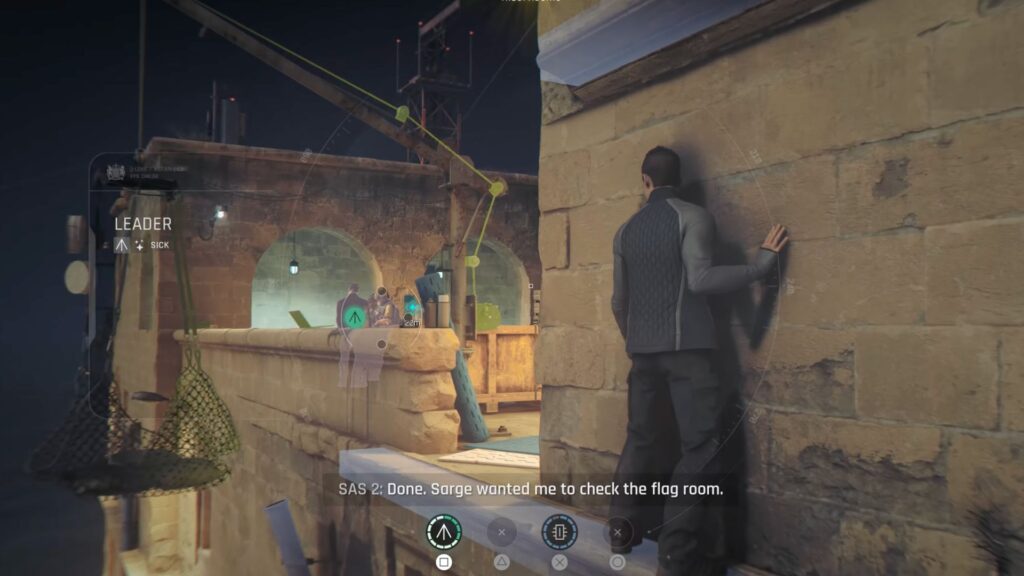
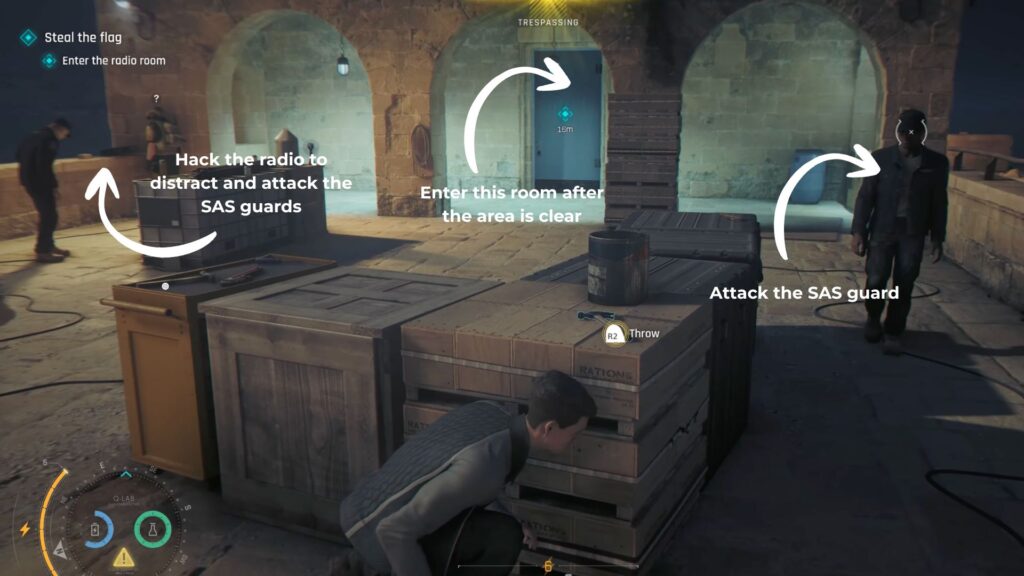
Before going in, hack the SAS radio nearby. It draws a guard toward the sound, giving you a clean opening to attack as they arrive. Stay low behind the containers and work closer to the room. There’s a laptop on the rooftop that you can hack to distract the two guards near the railing. If a guard spots you and moves in, throw something to break their focus and follow up with an immediate strike.
Getting Out
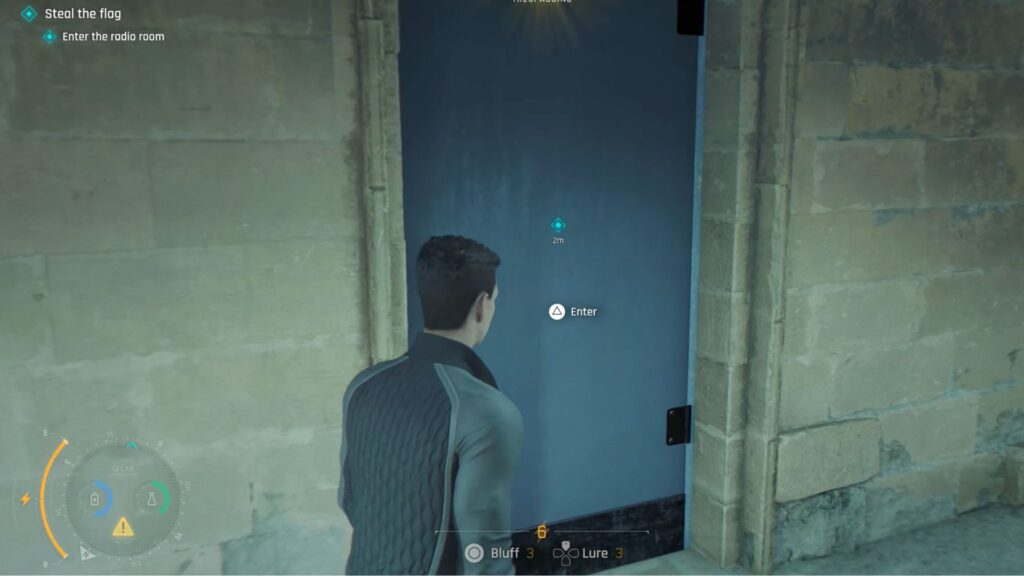
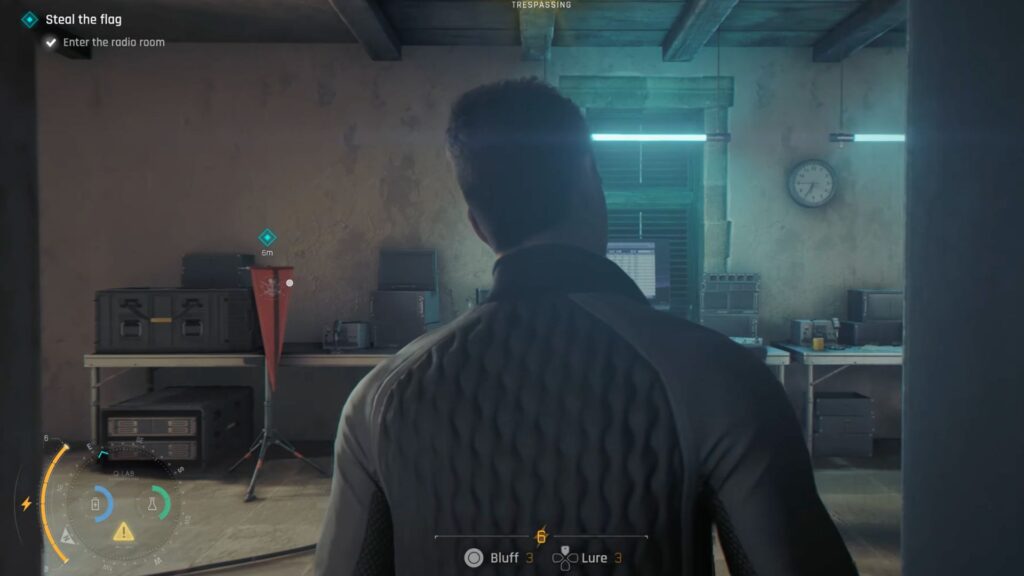
Once the area is clear, enter the radio room and take the red flag. Monroe catches up with you and he will use a wrench as a makeshift flying fox to get down — but Monroe slips and lands right in the middle of a group of SAS guards.
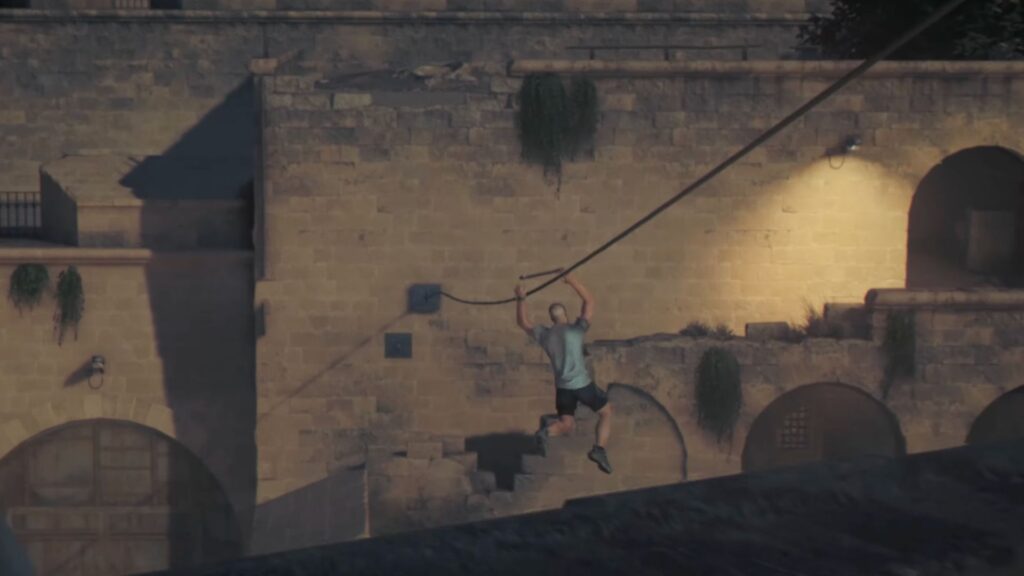
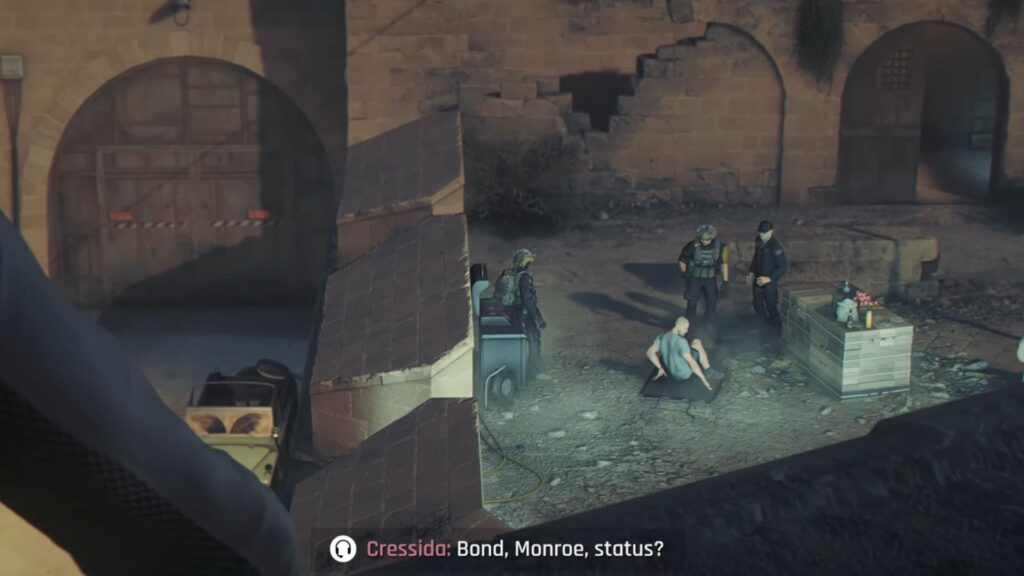
Call out to draw the guards upstairs to buy him a moment, then find another exit since the main entrance is now cut off. Cressida radios in and tells you both to meet at the dock on the far side. Climb the nearby stairs, find the hole in the wall, and use the cable to cross from above.
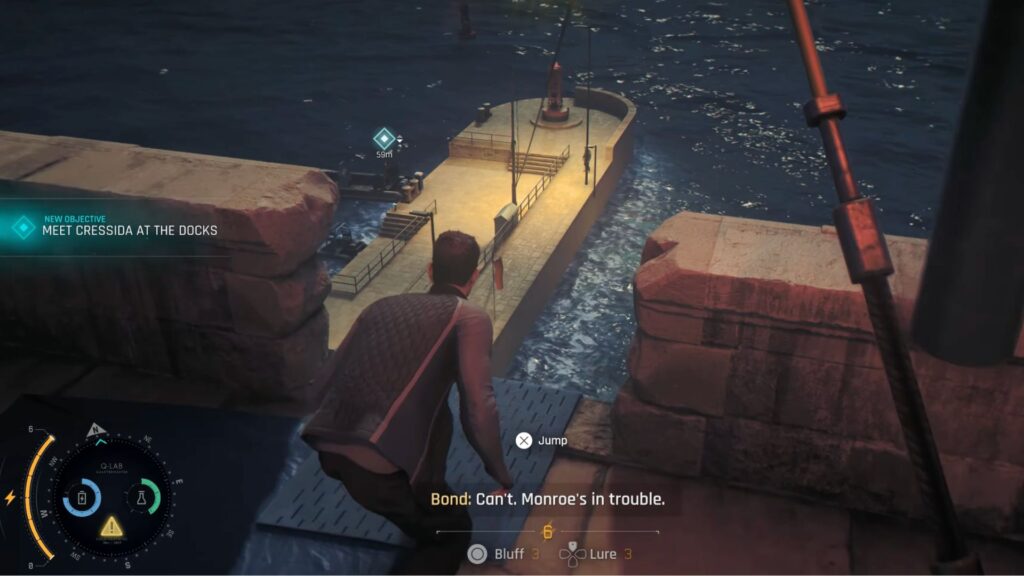
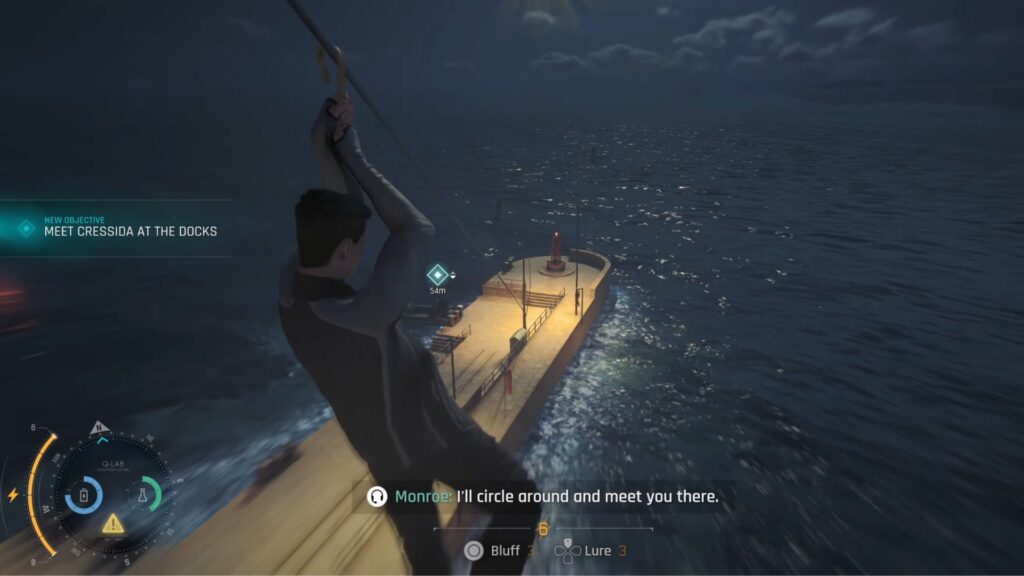
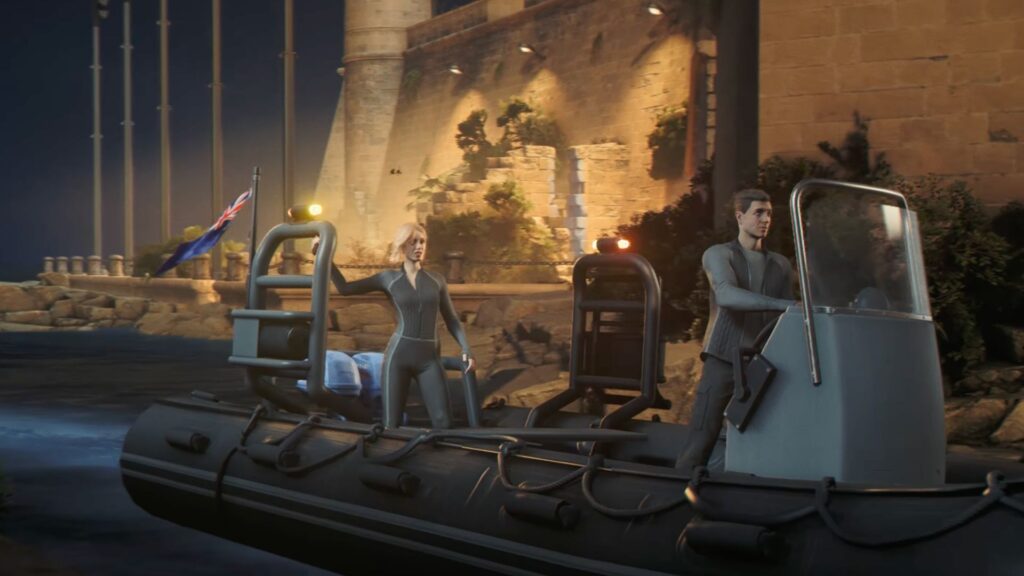
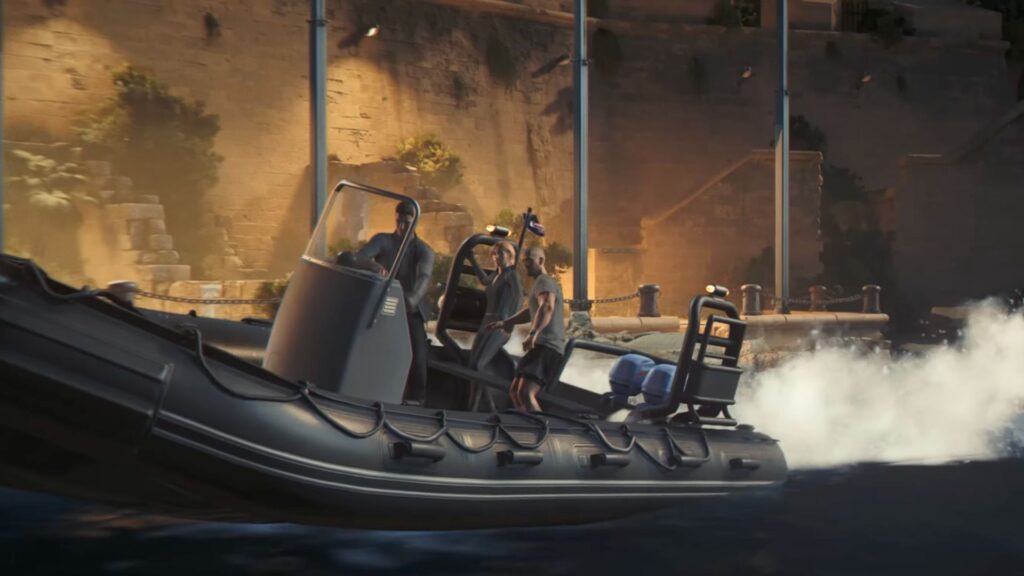
Cressida is already on the boat below. Take the wheel and head out to find Monroe. He’s hanging from a bridge with guards above trying to grab him. Pull up underneath and Monroe drops into the boat, triggering a getaway cutscene as all three of you clear the training zone.
Always Do the Unexpected
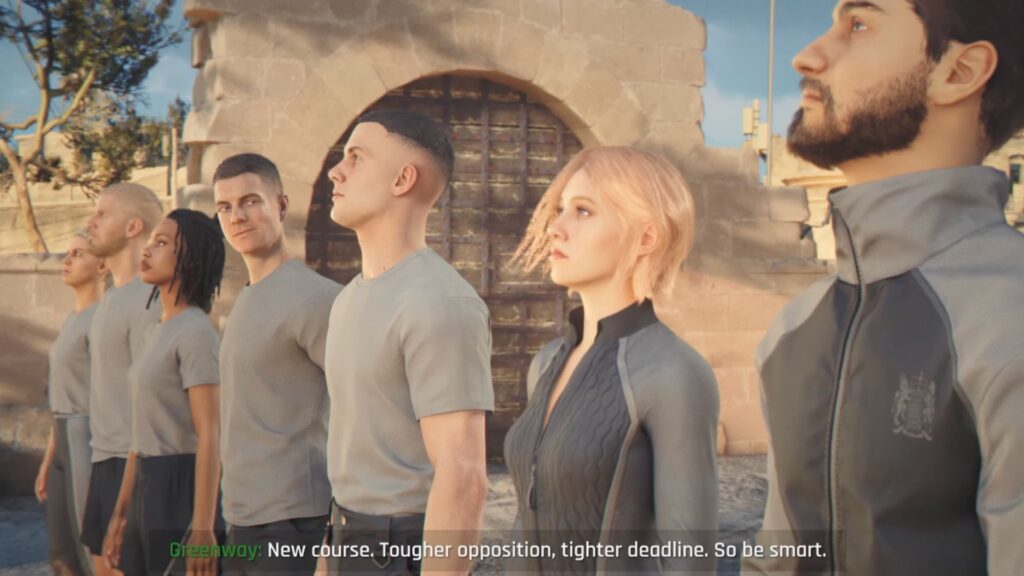
The following Sunday, Monroe gathers everyone to brief them on the next flag mission — only for Bond to show up and reveal he already has it. Everyone is amazed by it, and even Greenway was pretty surprised by what the three of you have done.

The chapter closes in August with Cressida inviting Bond out for the evening, leading directly into Chapter 2: A Night Out.
Throughout all of this, the game blends cutscenes and playable moments so fluidly that it never feels like either one interrupts the other. Malta’s changing weather and scenery across the months give the whole chapter a cinematic quality that carries the story forward naturally.
All Collectibles in Chapter 1
| Category | Item | Location/Notes |
|---|---|---|
| Keys | Bond’s Room Key | On Cressida’s desk — needed to enter your room in the MI6 house |
| Documents | Letter from Greenway | On the dining table in the MI6 house |
| Shopping Receipt | On the bedside table in Cressida’s room | |
| Cressida’s Study Wall | Notes pinned to the wall in Cressida’s room | |
| Today’s Issue of the British Standard | Side table near the window in the kitchen | |
| Photos | Monroe’s Family Photo | On the console table across from Monroe in the living area |
| Misc | Board Games | Beside Monroe’s Family Photo on the console table |
| Gadgets | OMEGA Watch | Selected from Q’s red box during the Q-Lab visit — one of seven options |
| Q-Lens Contact Lenses | Fitted automatically during the Q-Lab intake cutscene | |
| New Phone (Disorientation Device) | Given by Q in June during the advanced training montage |
Chapter 1: The Needle’s Eye is essentially one long, cinematic origin story for Bond’s early days in the programme, covering months of training through a mix of tight gameplay sequences and seamlessly integrated cutscenes.
By the time it ends, you’ll have a solid grasp of the combat, driving, parkour, hacking, and stealth systems that will carry through the rest of the game. Chapter 2: A Night Out picks up immediately after.