
This guide will walk you through all of Chapter 6, but in a way that respects your time. I will be brief on the obvious points of the mission that are hard to miss, but will expand on the more necessary portions. The game divides this chapter into 4 parts, so I will section each portion out in case you need to skip to a certain point. Ensure the mission is actively tracked in your quests so markers display correctly.
Part 1: Blazing Beacon
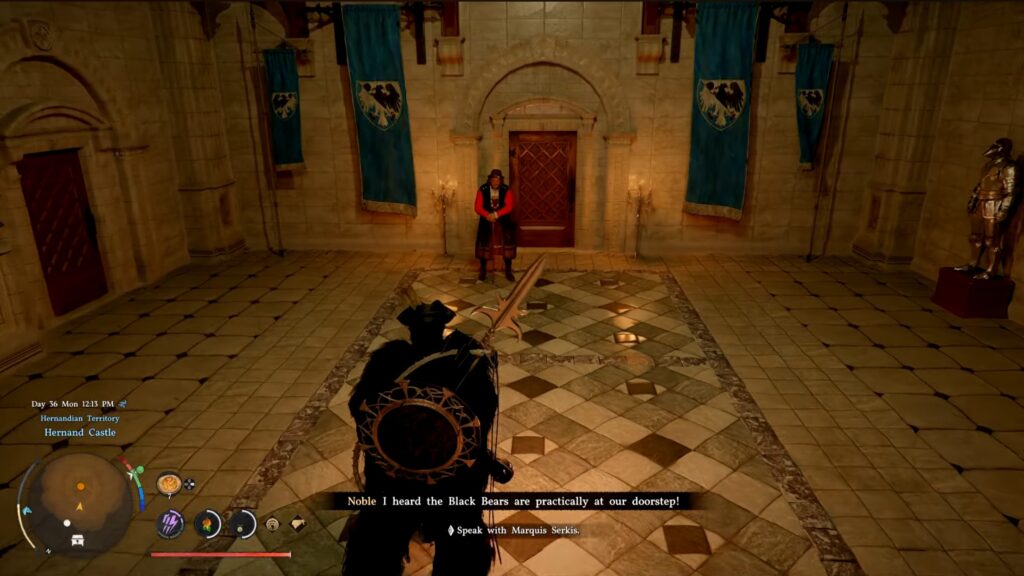
The chapter kicks off with a message at your camp from a Hernand soldier. He sends you to meet the Marquis, who needs your help in a war (and to possibly find Greymanes).
Head into Hernand and visit the Marquis on the upper floor of the castle. There isn’t much you can do here besides steal, so just head in, talk to him, and head out.
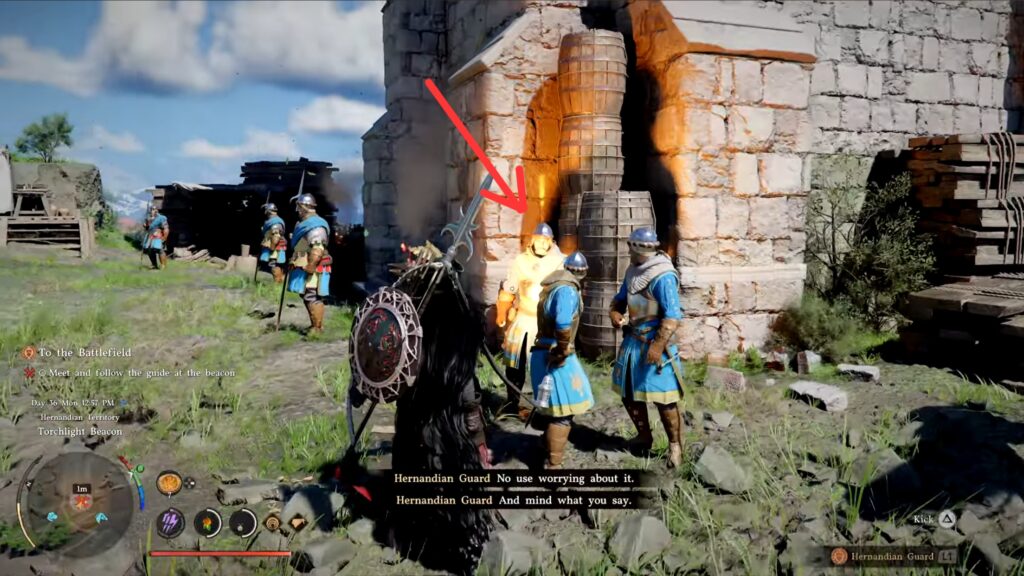
Next up, meet with the soldier who will guide you to the battlefield. Hop on your horse and follow him.
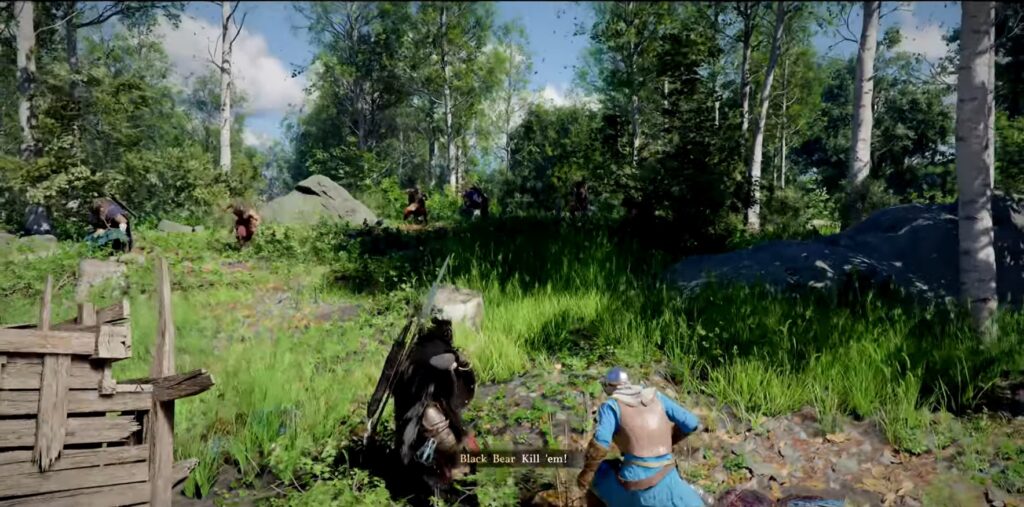
You will stop at an old ambush site, which turns out to still be an active ambush site! You will have to take out the enemies, but your escort can’t die! He can die fairly easily, so try fighting with wide-swing weapons like a spear to attack multiple enemies at once. The soldier wants to be helpful and fight, but it often gets him killed, so keep an eye on him as you fight.
Once defeated, hop back on your horse and follow the soldier to camp at the warzone. Speak to the Marshal to get your next mission.
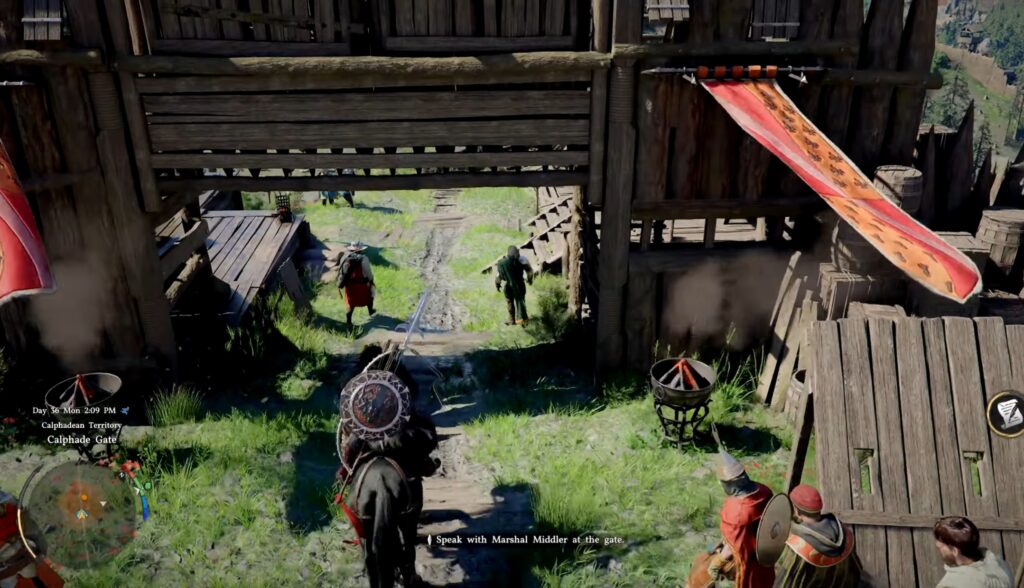
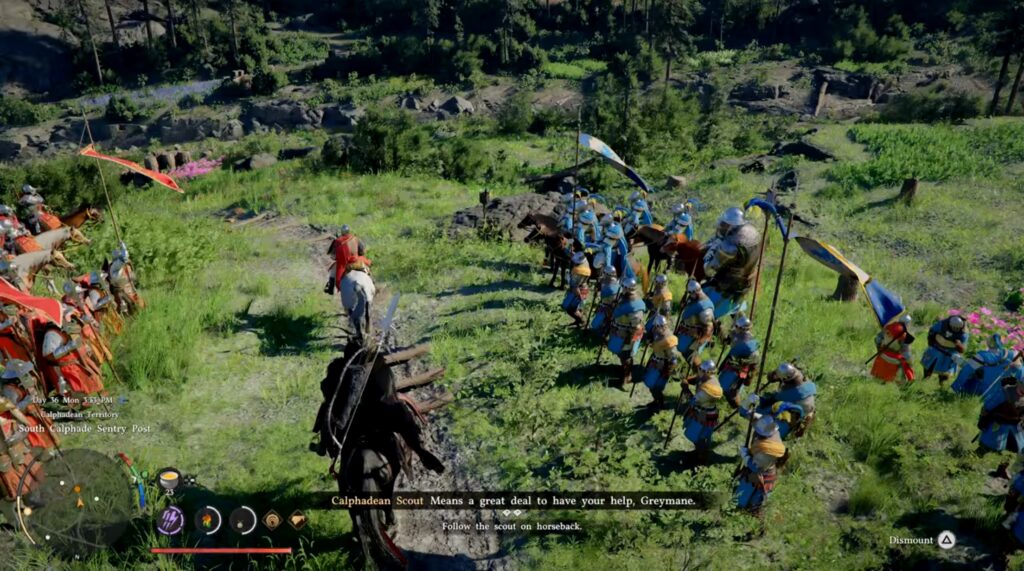
Your next objective is to head into battle and rally the soldiers. Follow the soldier on horseback to the starting point for the battle.
Before heading in, I would highly recommend you do this mission at the beginning of the night. The visuals are much more immersive at night, but it isn’t required at all.
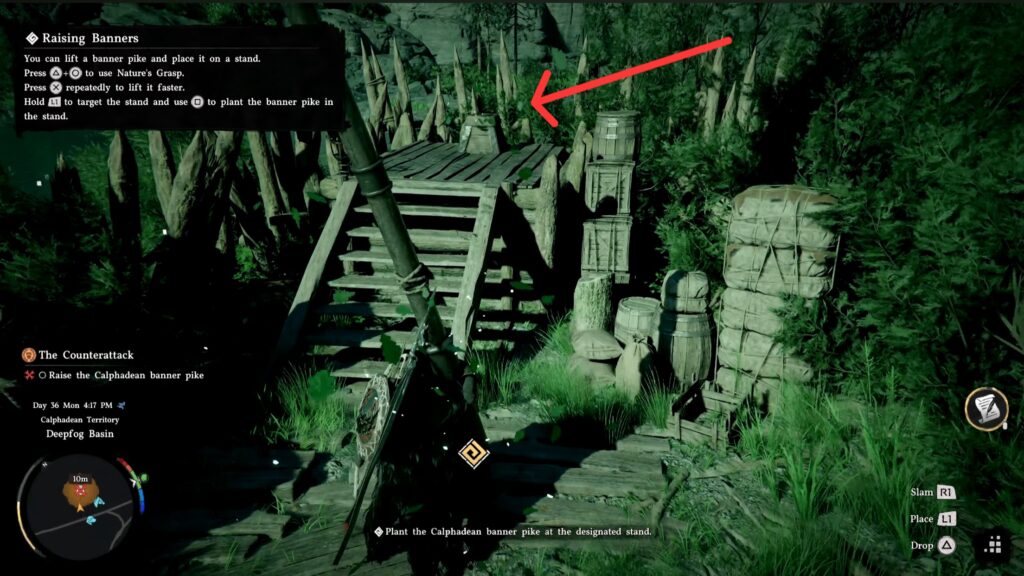
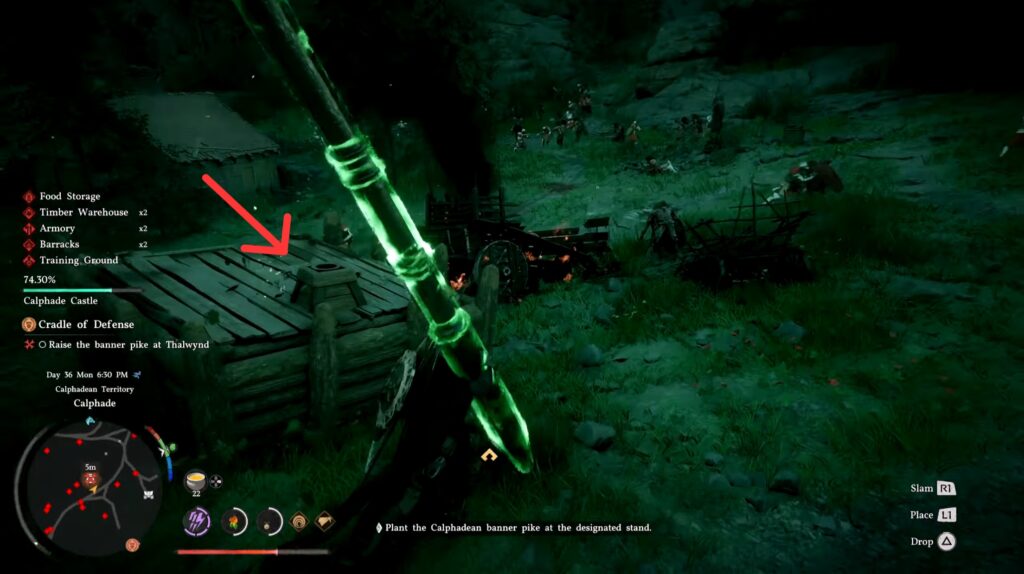
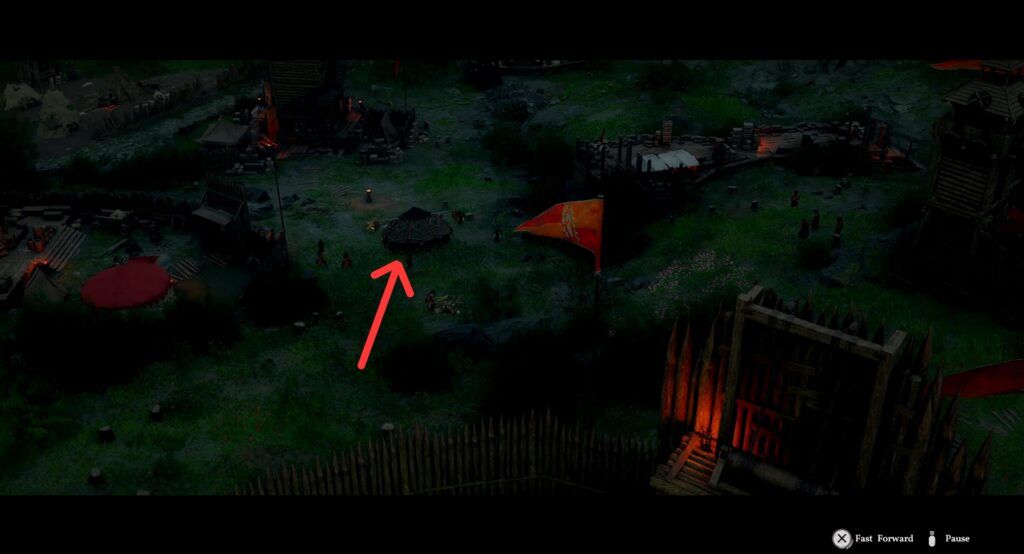
With your preferred time of day, ride down to the objective. You will find a flag on the ground. Use your Nature’s Grasp to pick up the flag and plant it into the post next to it. Doing this will officially kick off the battle (and part 2)!
Part 2: Below the Banners
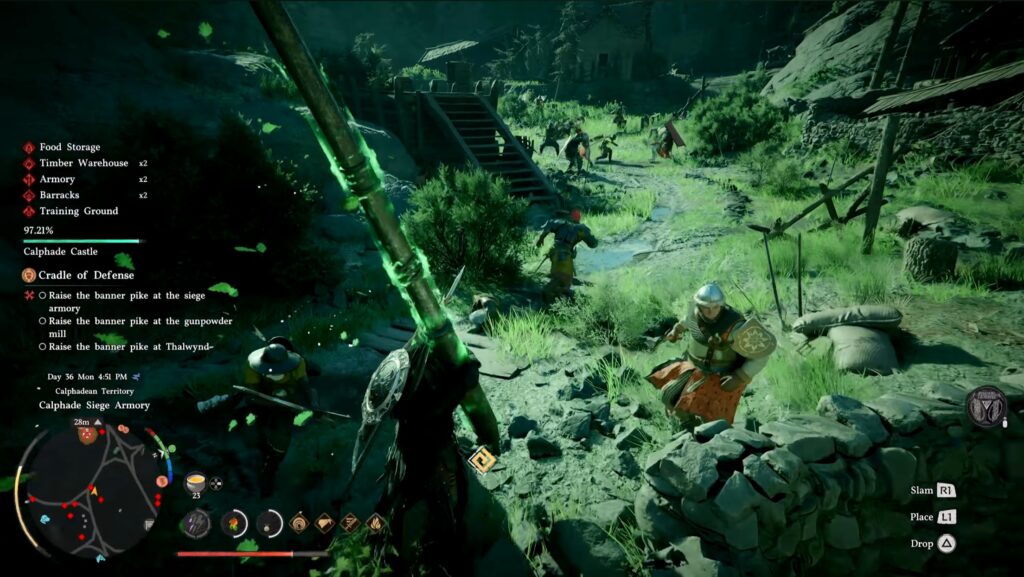
These next few missions of the war can be played a few different ways if you want to. All of them will end with you needing to plant 3 flags into posts at specific areas, so the different options are just to make the war more fun for you.
- You can have fun fighting massive hoards of enemies while pushing through to the flags
- You can skip the majority of the fighting and go directly to the marked areas to raise the flag. No major fighting required
- The entire area is under hostile control, so you can pillage any building without penalty. Feel free to explore a bit while you travel to each objective.
After planting all 3 flags, you will regroup at a nearby camp with other soldiers. There you will be tasked with finding a wounded soldier who needs a ride back to camp.
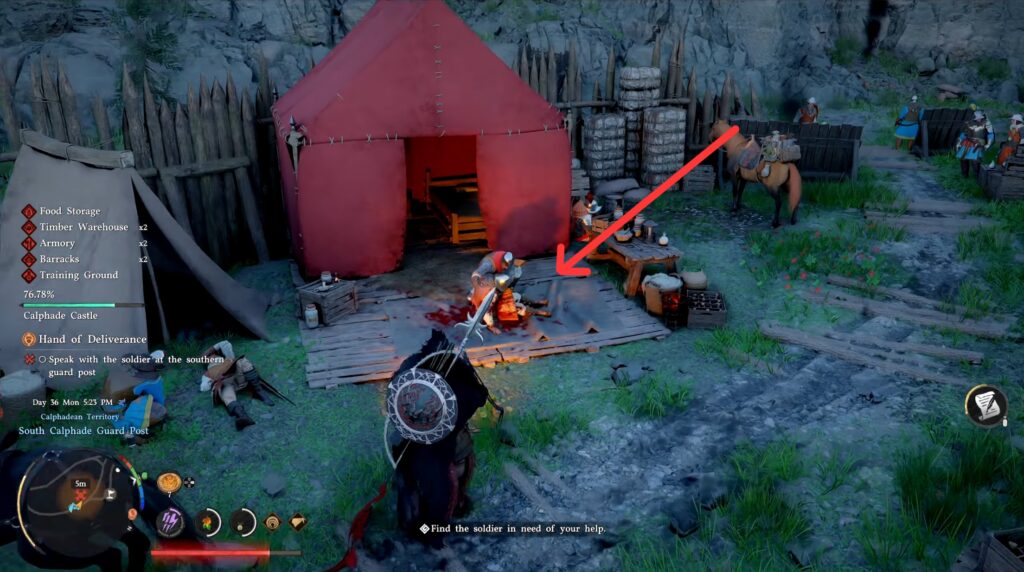
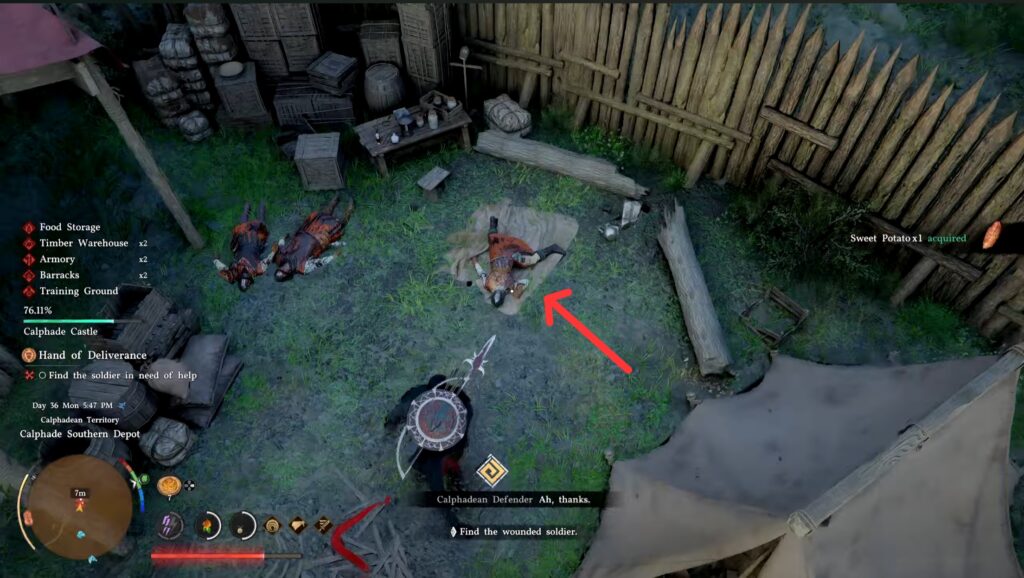
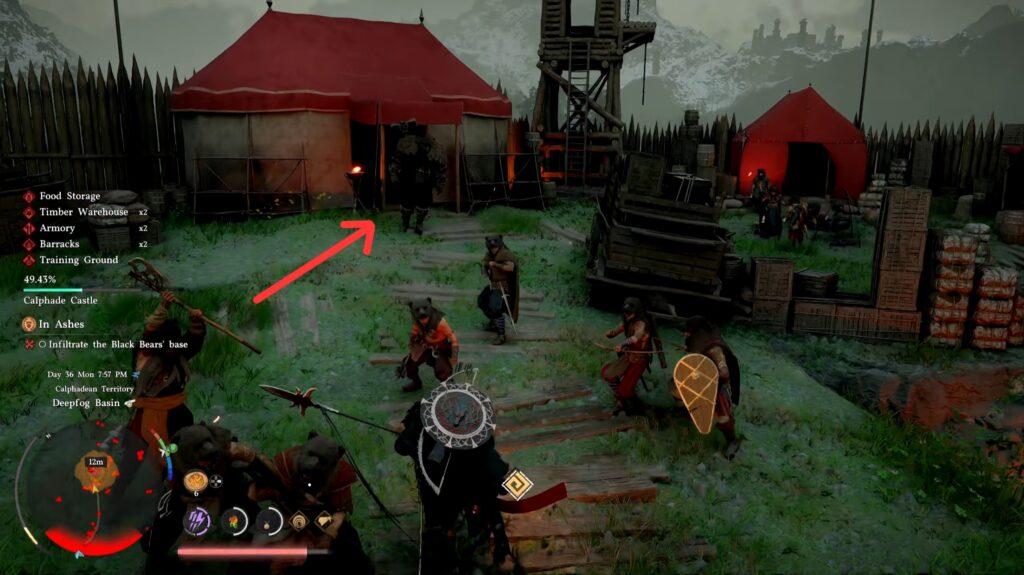
Fight your way to the marked area and defeat the nearby enemies. You can then untie captured soldiers, then pick up the wounded soldier.
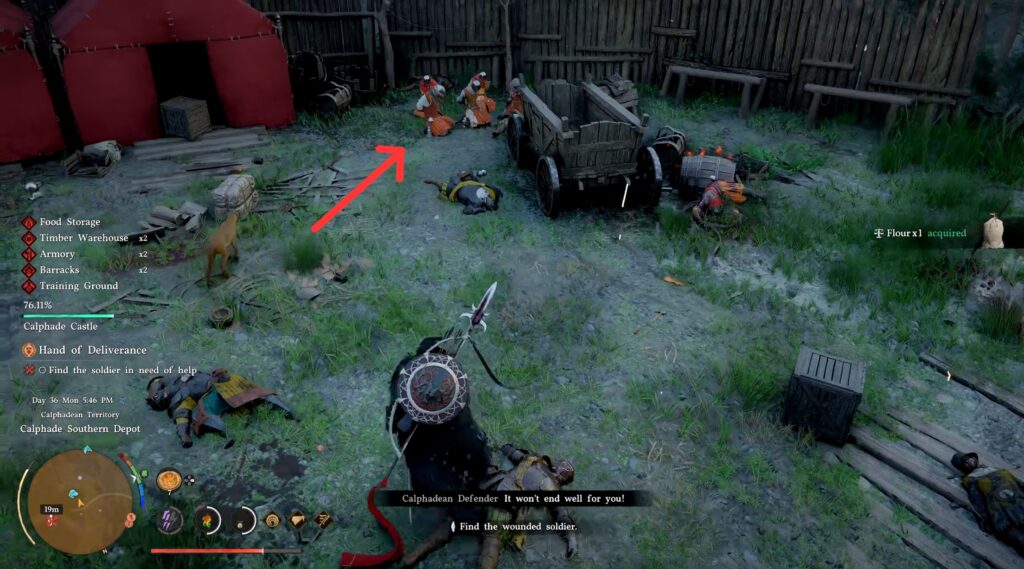
Take him back to the camp where you just were to complete the mission.
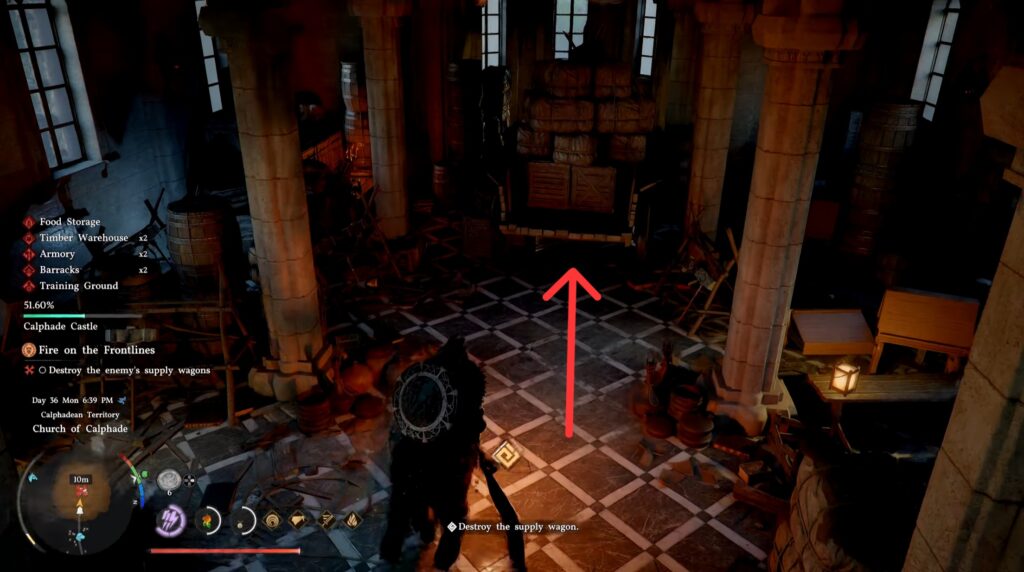
The final mission of this part is to burn the supplies inside a nearby church. First, though, bead to the marked area and plant the flag.
Defeat the enemies surrounding the building, then head inside.

Use R1 + L1 to focus light onto the supplies, which causes a fire. Or, you can just hit it a bunch (but that’s not as cool!) Once the big wagon in the center is on fire, the mission will end (and this is part of the chapter).
Part 3: Turning Tides
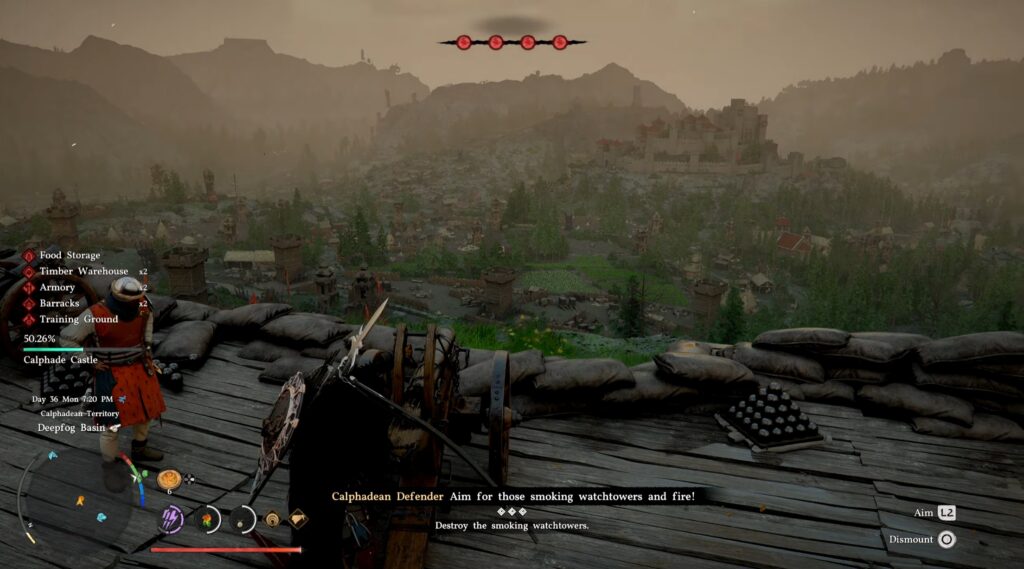
This part kicks off with a fun sort of “mini-game” where you get to blow things up! But first, you have to fix the cannon. Talk to the soldier and help him add the broken wheel.
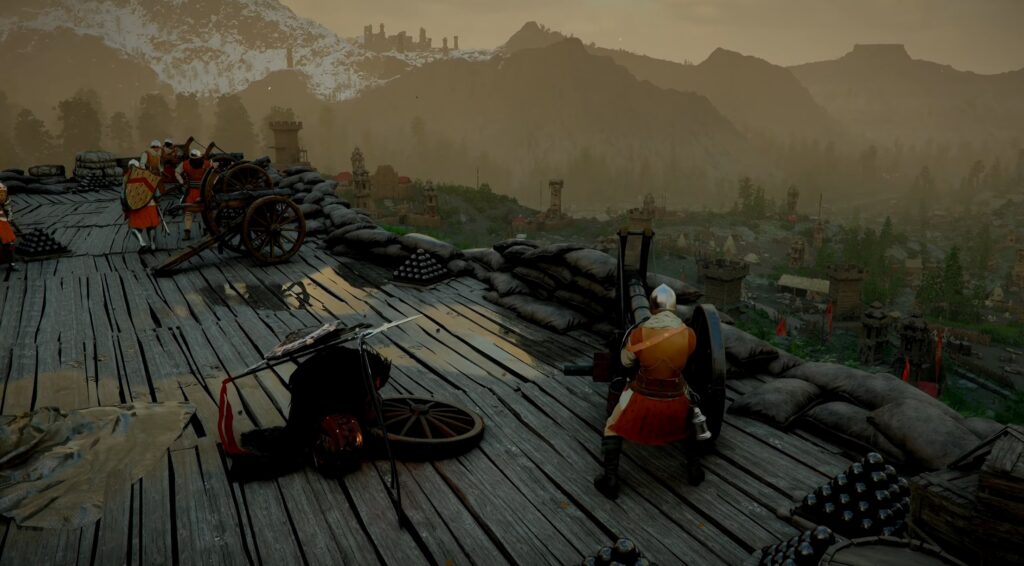
Next, head to the marked cannon and enjoy your time blowing enemy towers down with ease!
Once finished, you will meet up with some soldiers who task you with saving a captured ally. Head to the marked area, fighting here is mostly optional until you reach the objective.
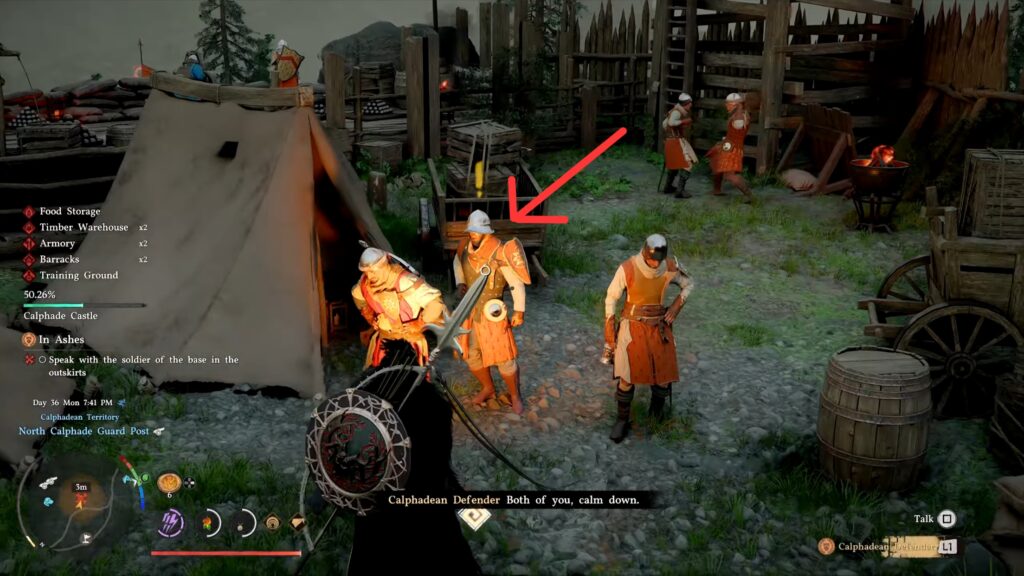
The camp where the prisoners are held is in an enemy camp filled with a ton of hostiles. An important difference here is the bigger soldier, who is basically an unmarked mini-boss. He packs quite the punch, so be strategic about fighting, and use those whistling arrows you were given to even the playing field.
Once defeated, a cutscene will automatically play, which rescues the captured soldiers.
Your final task will be to destroy the siege machines that have stormed the field. While they look scary, they can be destroyed with basic attacks like anything else. There are rotating cannons around them, which do a lot of damage, so be cautious and carry plenty of food before attempting. If you die, you can use a checkpoint nearby to try again (destroyed machines stay destroyed).
Once all the machines are destroyed, a new cutscene plays of the entire enemy force retreating into the castle. This begins the final part of this chapter.
Part 4: The Unyielding Shields
Now it’s time to end this war and storm the Castle. Head inside to reunite with an old friend!
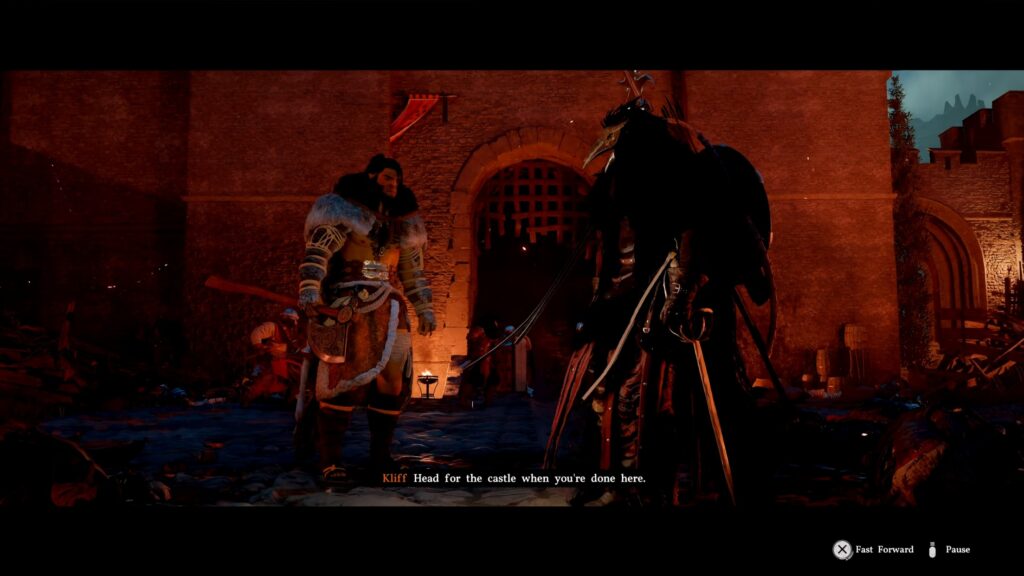
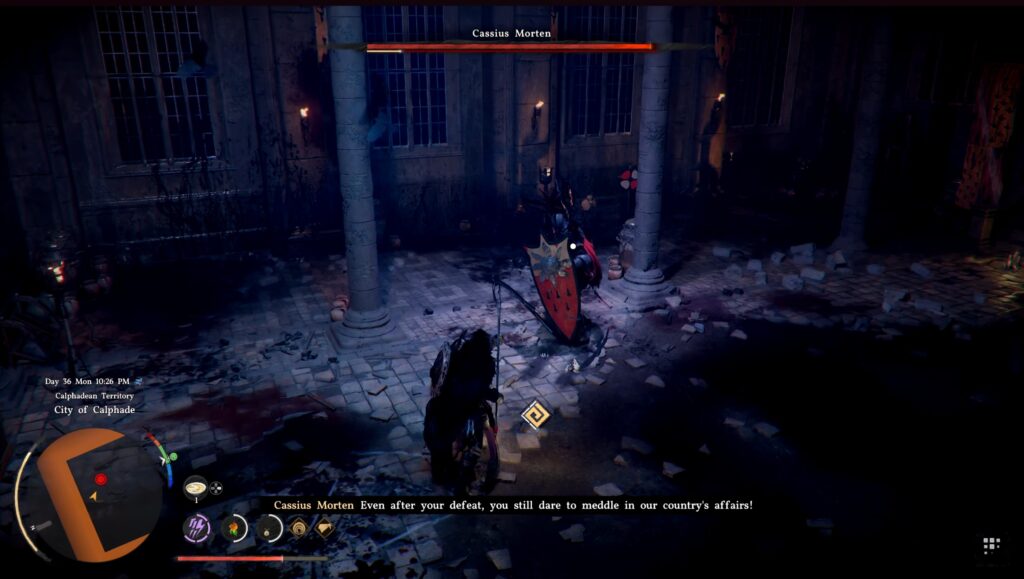
You can fight and loot if you want, but your real goal is to make it to the boss on the far inside of the castle. You will need to “assist” your ally first, though it’s mostly just a cutscene. After it’s over, you can run directly to the boss.
This boss is nothing special and behaves like a regular soldier with some added flair. If you want to make the fight easier, simply slam a couple of pillars down that he breaks loose. Doing so will quickly defeat him.
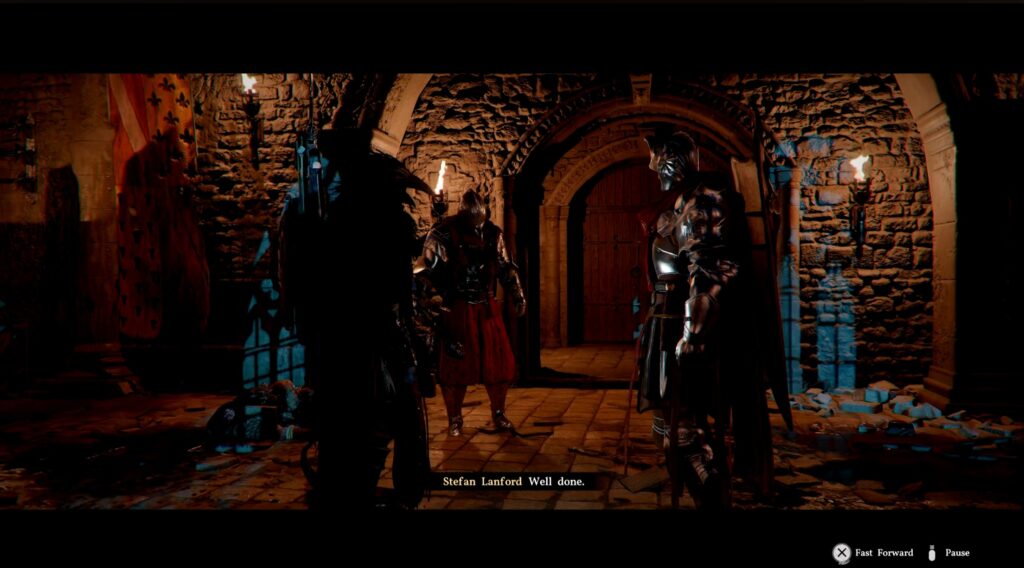
After the fight, inform the Marquis of your victory.
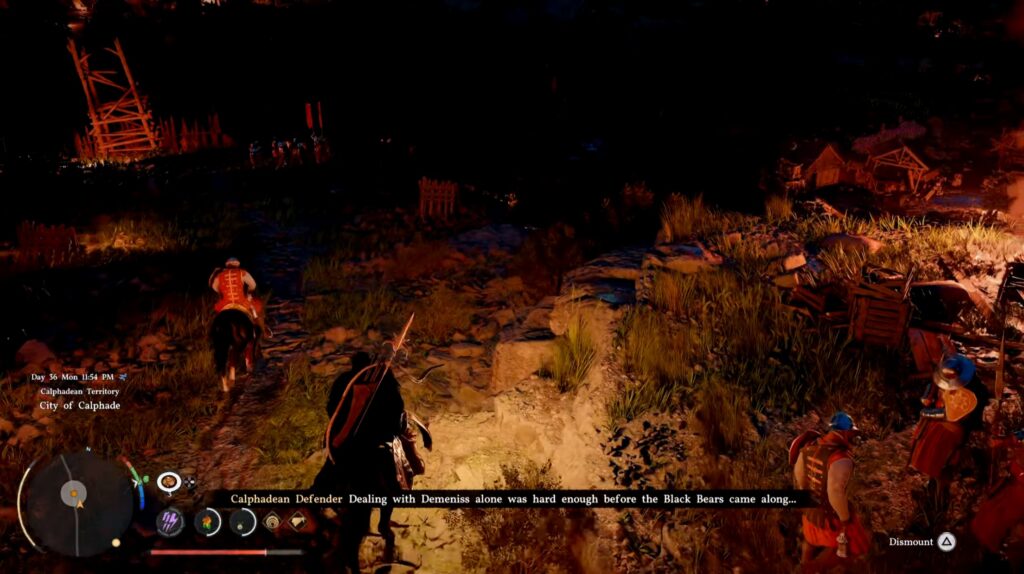
He will then send you with a soldier on horseback to light the victory fire, which then officially ends the war and liberates the town.
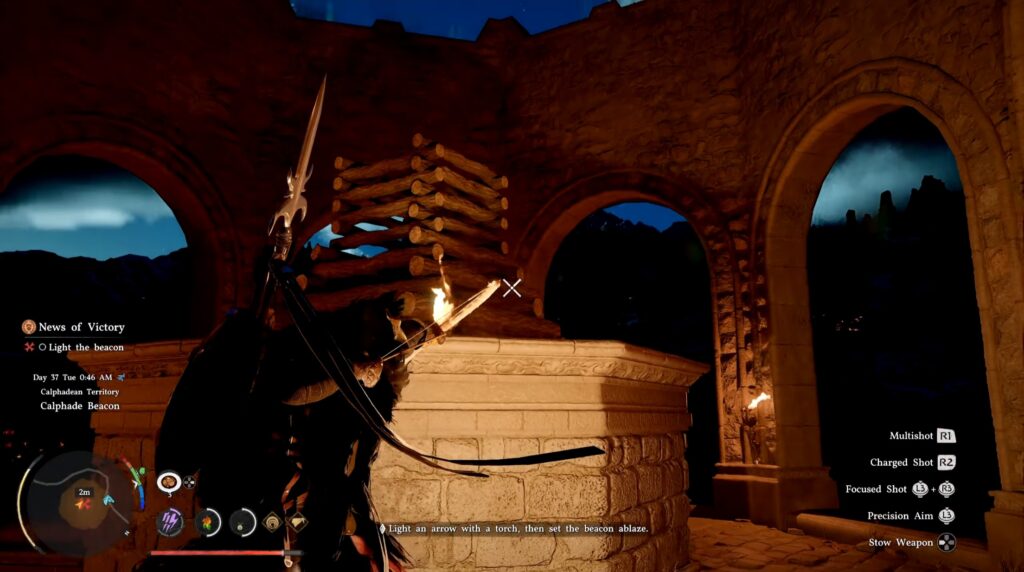
When you get to the tower, climb up to find the prepared wood pile. You can either burn it with your R1 + L1 focus or light an arrow on a torch nearby to ignite the wood pile.
To close out the chapter, head back to camp and chat with your fellow Greymanes.