
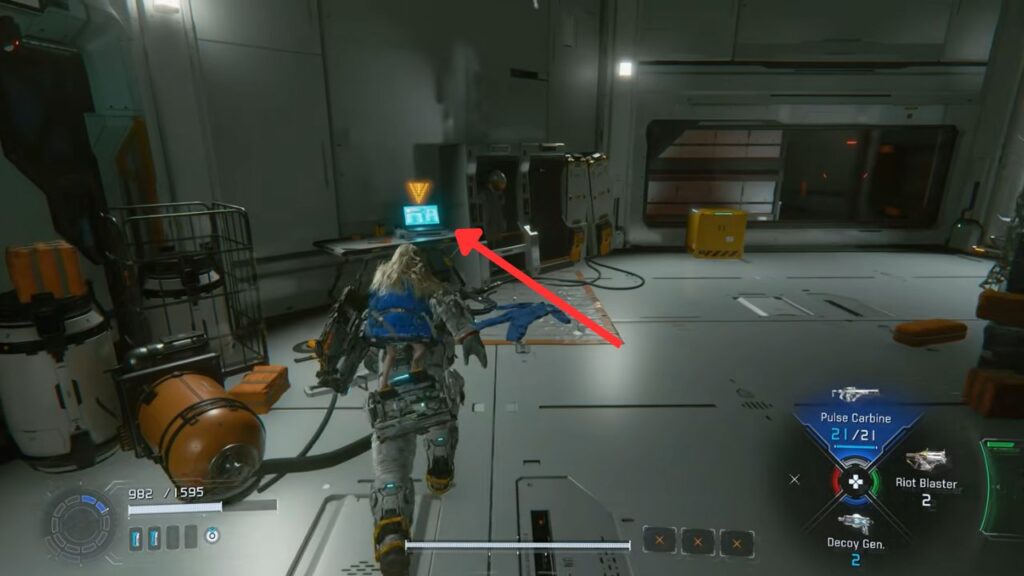
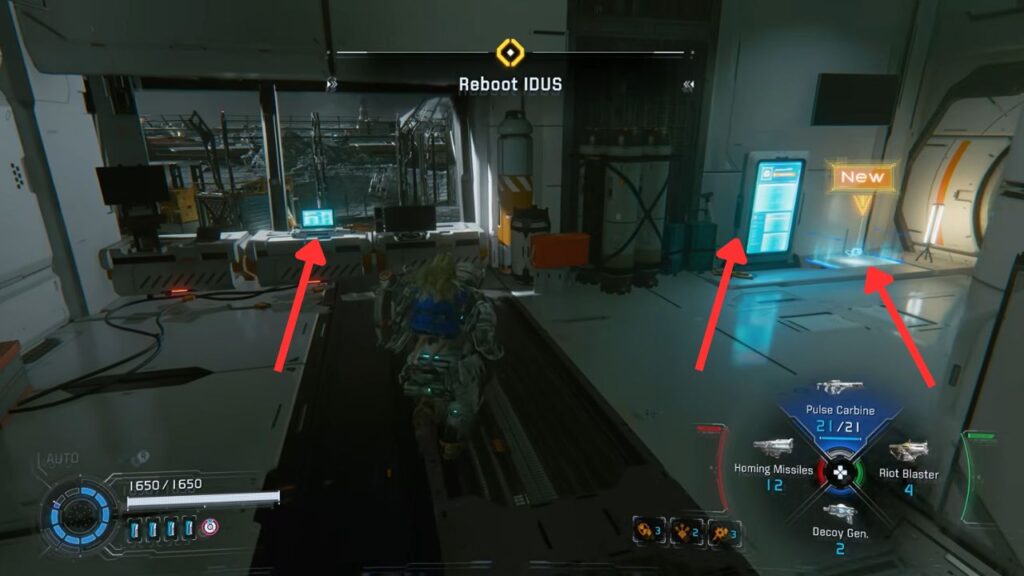
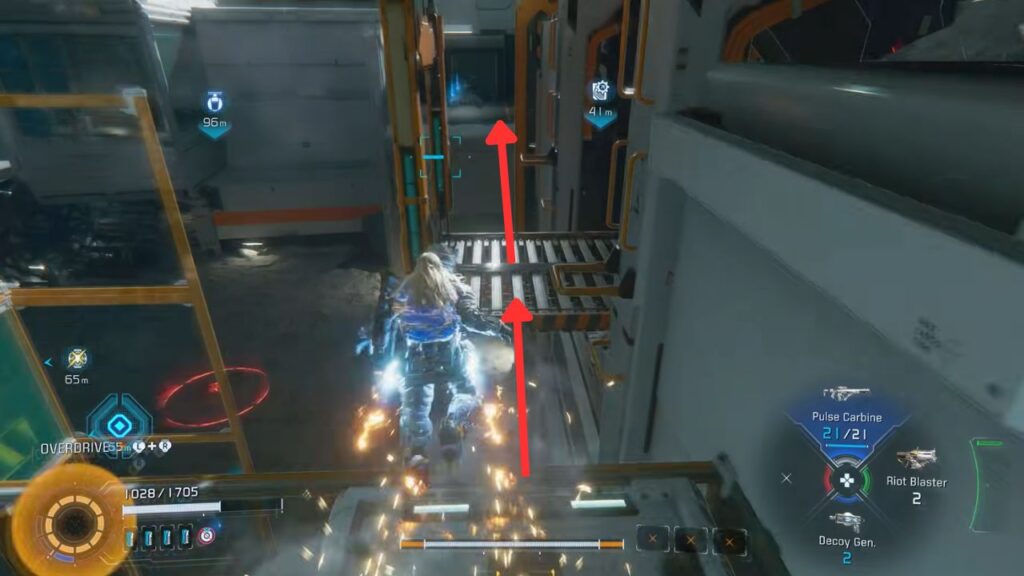
After beating the Garden Keeper in Terra Dome, it’s time to explore the Lunum Mines. First off, check the blue screen by the exit to read the Lunum Mine Excavation Status, then head outside.
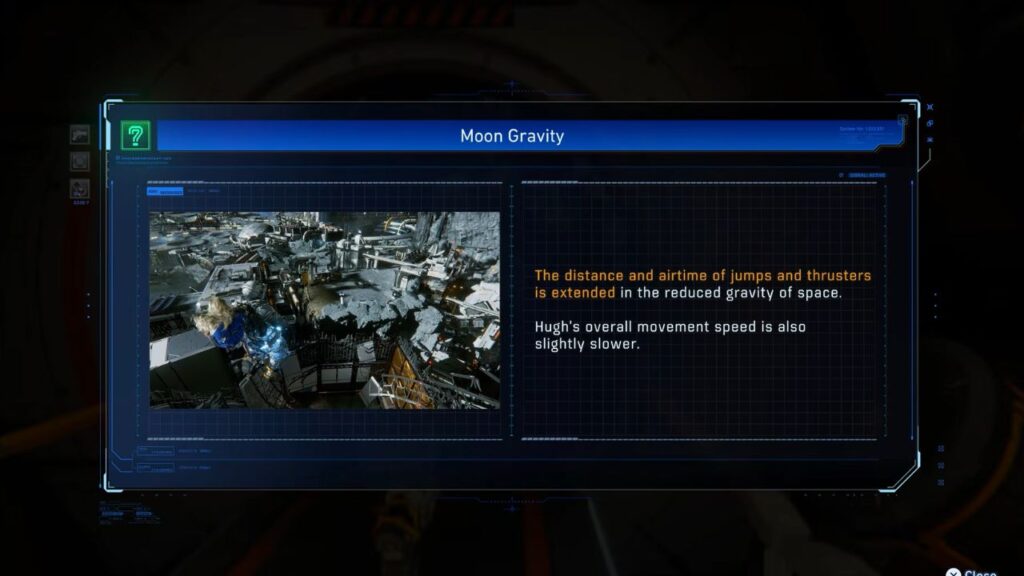
This is your first outdoor area, and things work differently out here. There’s no artificial gravity, so you’re on moon gravity, where Hugh runs slightly slower, but jumps higher, and thrusters carry you further.
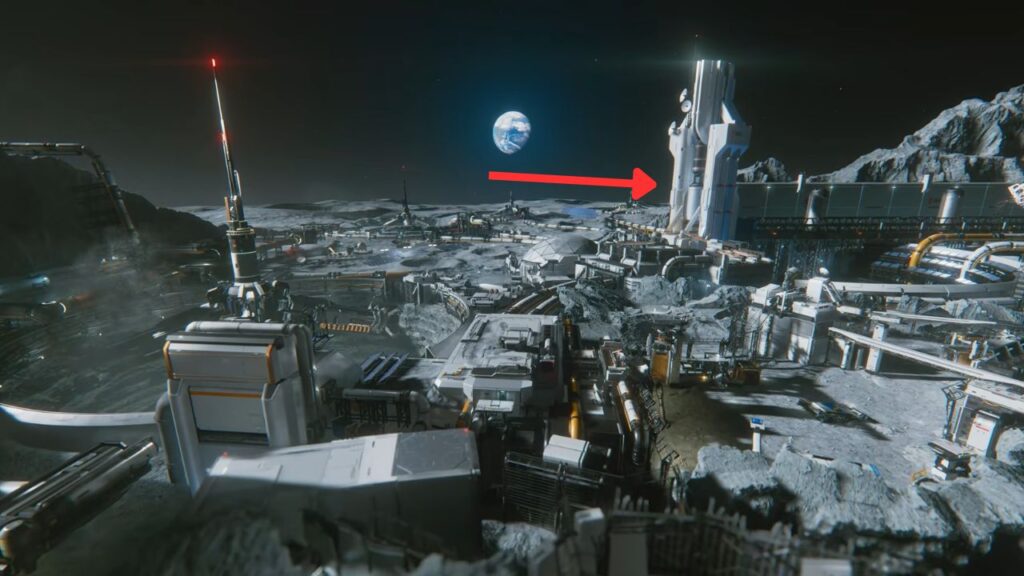
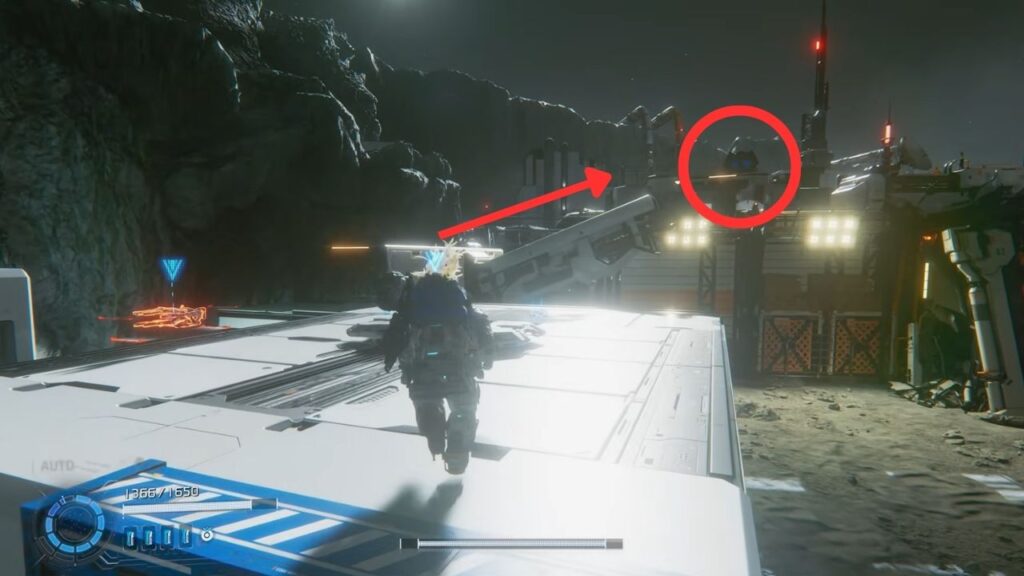
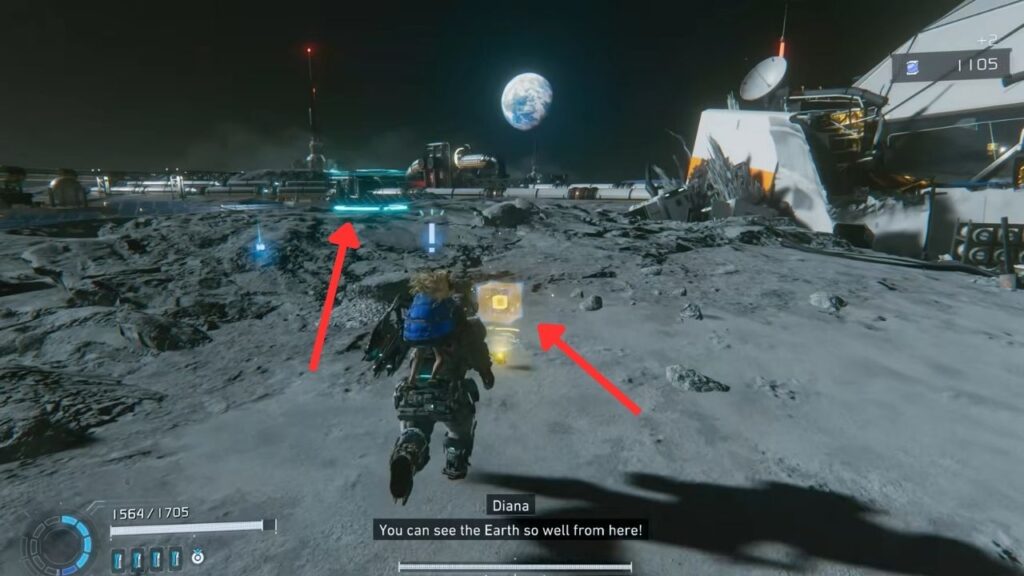
Once outside, Diana points out the Nexus Tower in the distance. That’s your destination.
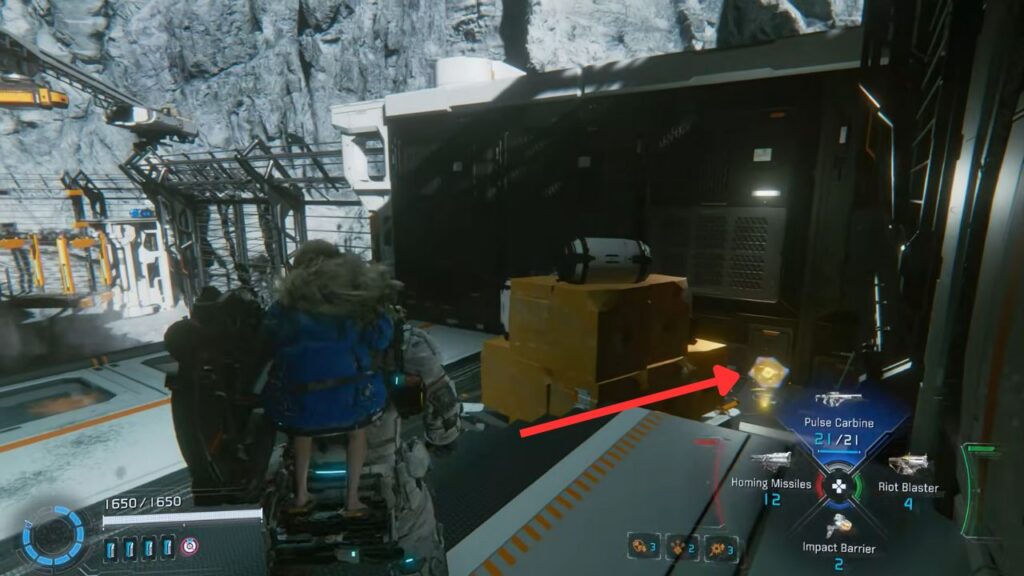
Drop down the platforms to the main walkway below. On the way, jump up to a small platform with an Upgrade Component on the left.
Continue through the door at the end of the path. You’ll be inside briefly, then take the elevator down, and you’re back in moon gravity.
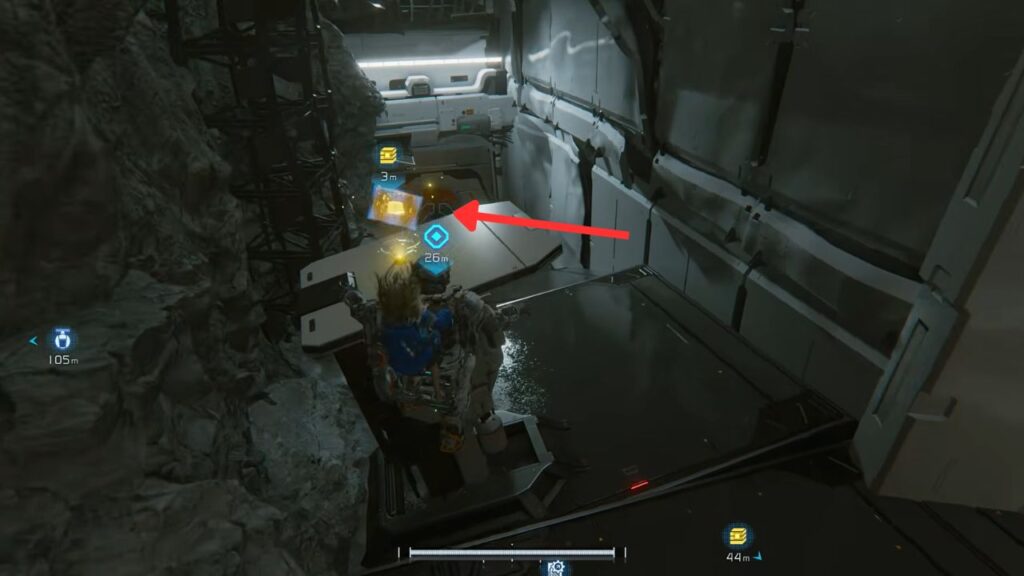
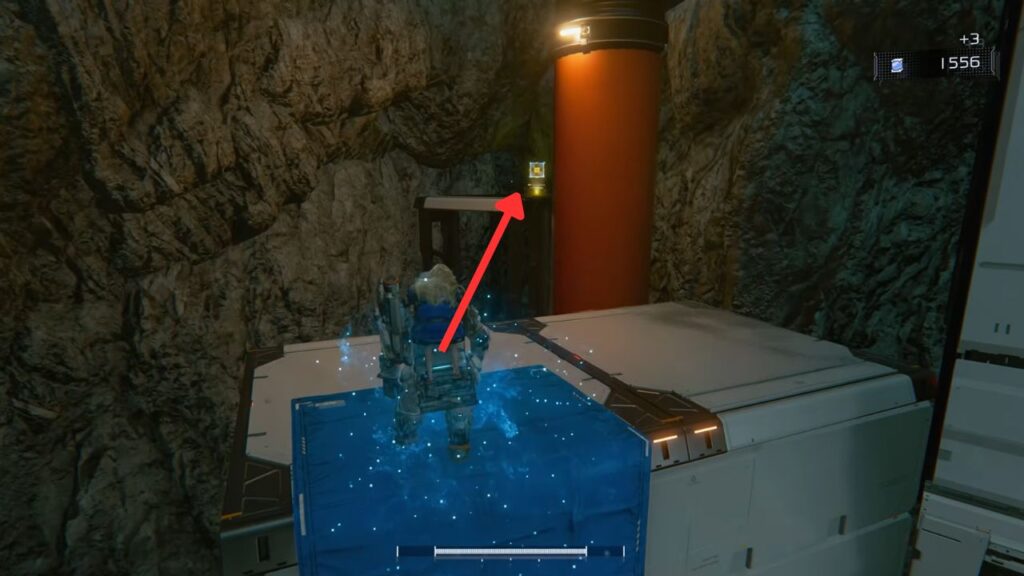
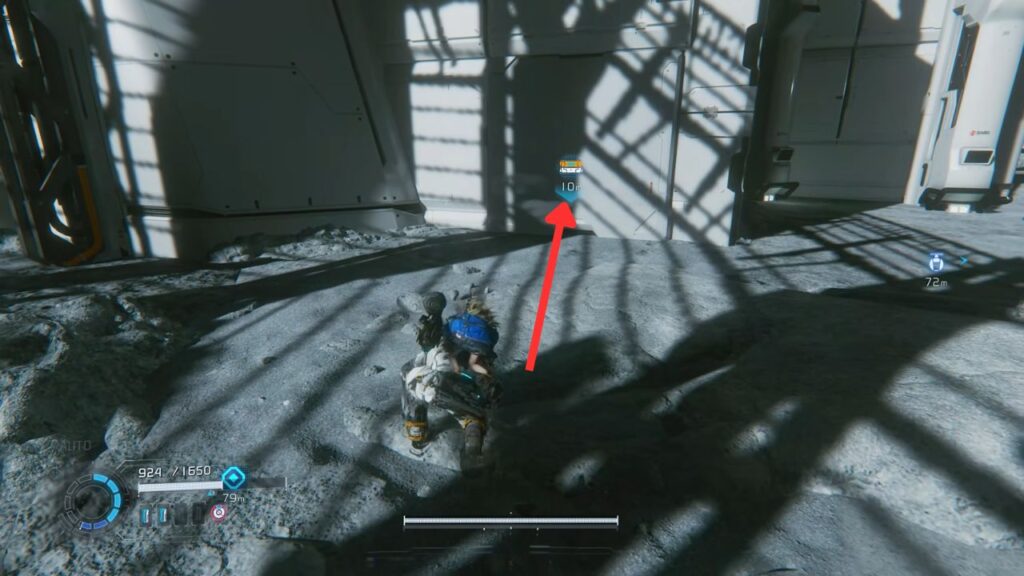
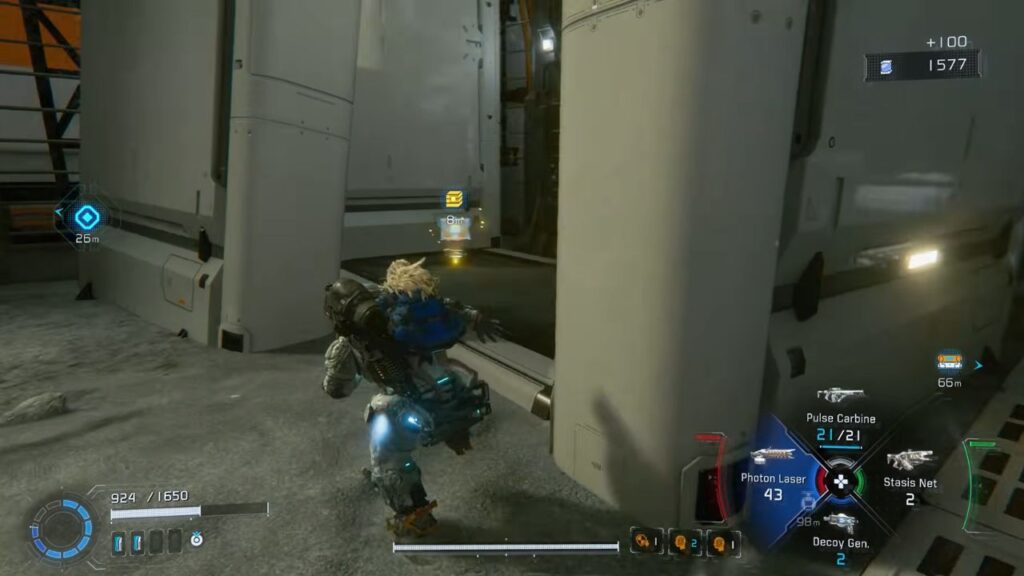
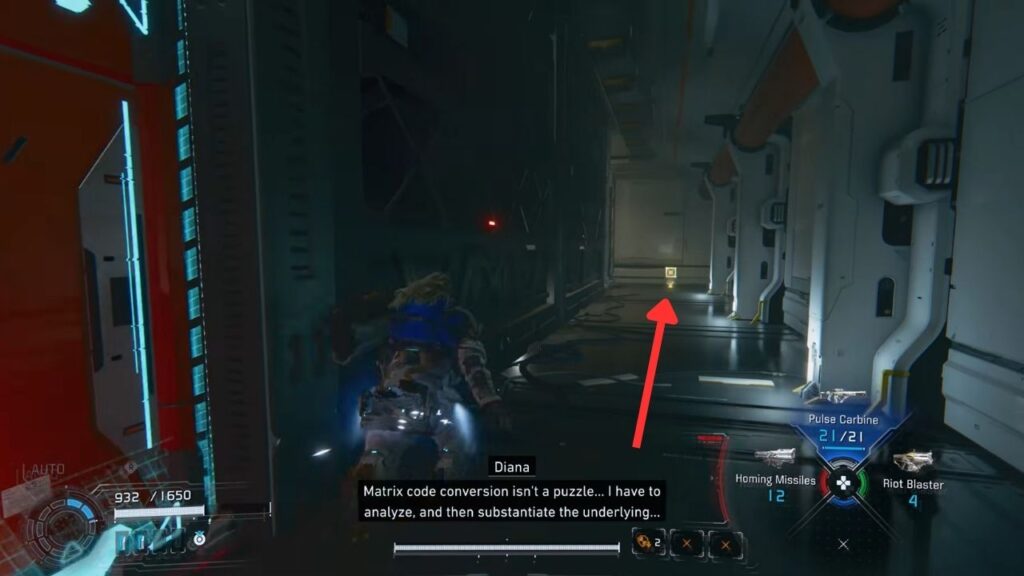
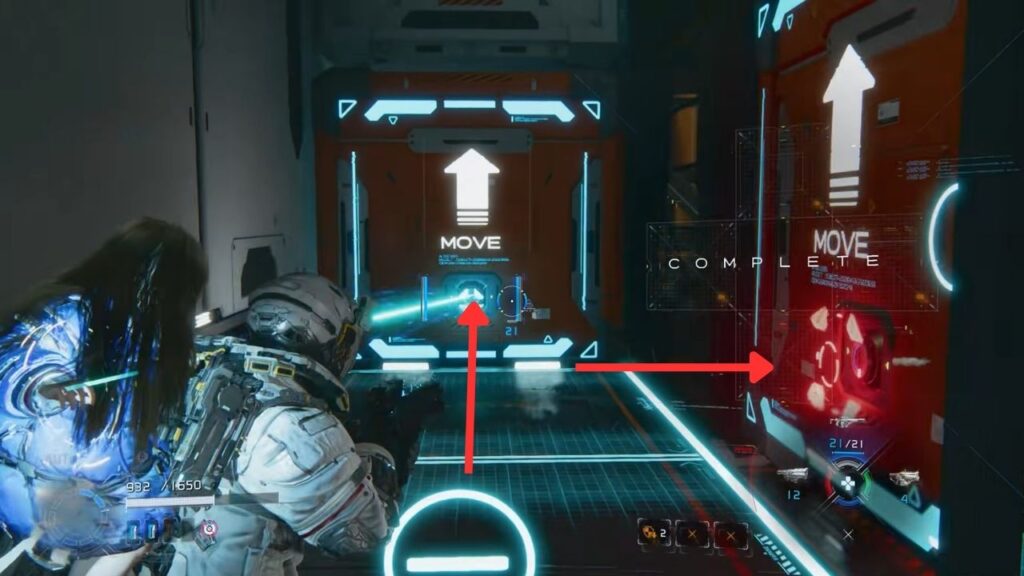
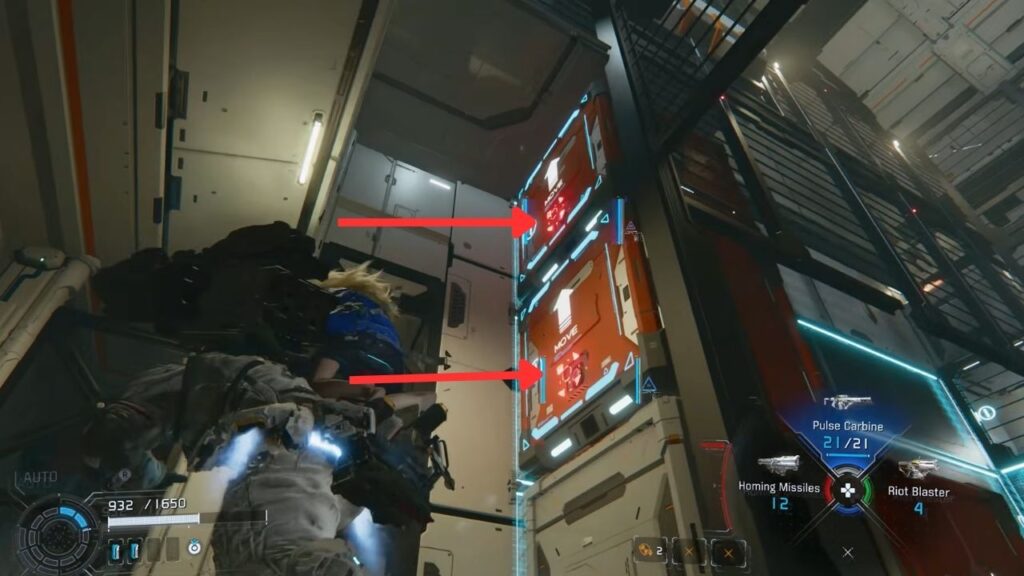
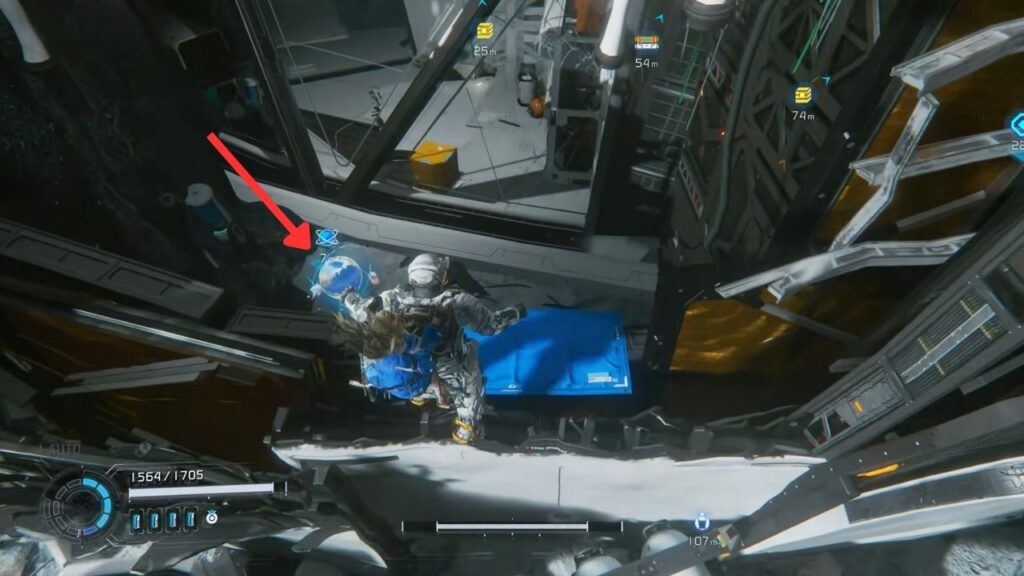
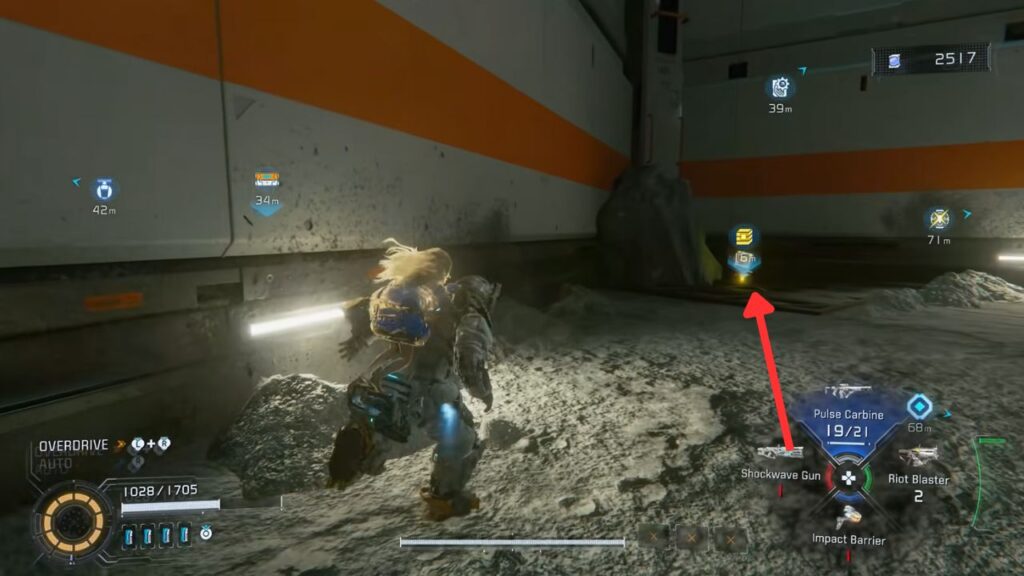
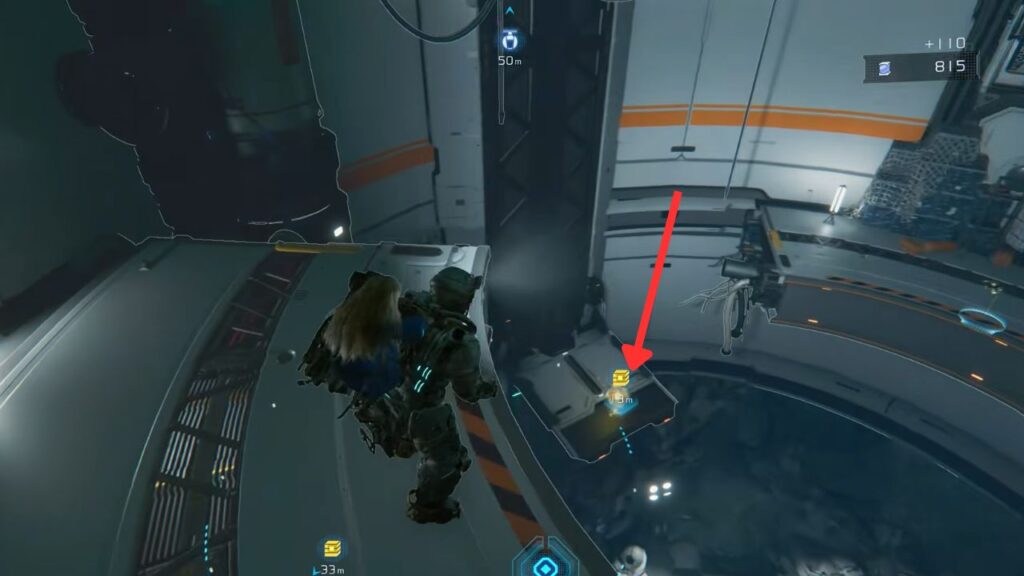
Drop to the lower raised platform and enter the building on the right side by using your thrusters. There is filament mass inside that Diana can erase. Behind it is a safe box with Mod: Equilibrium.
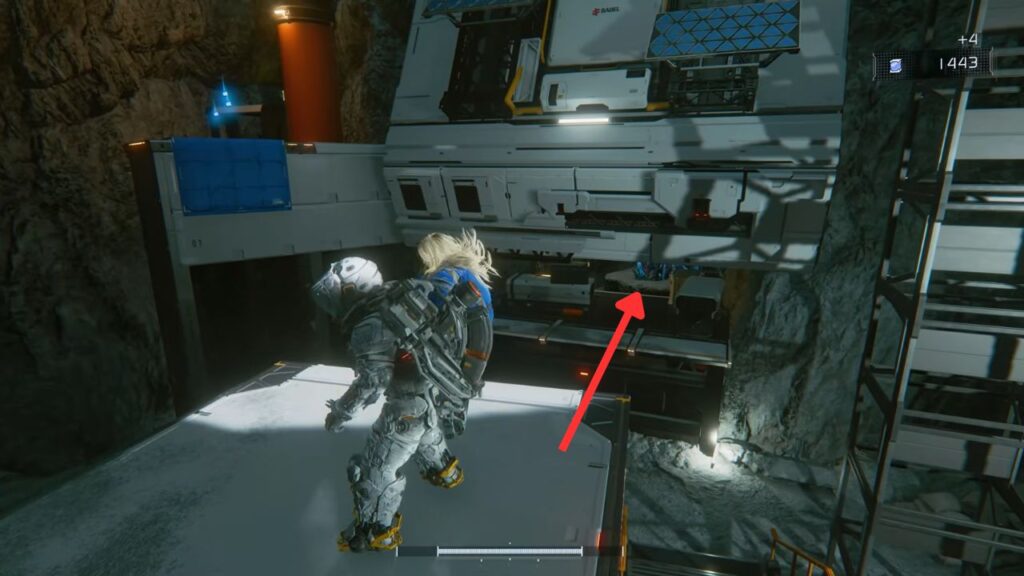
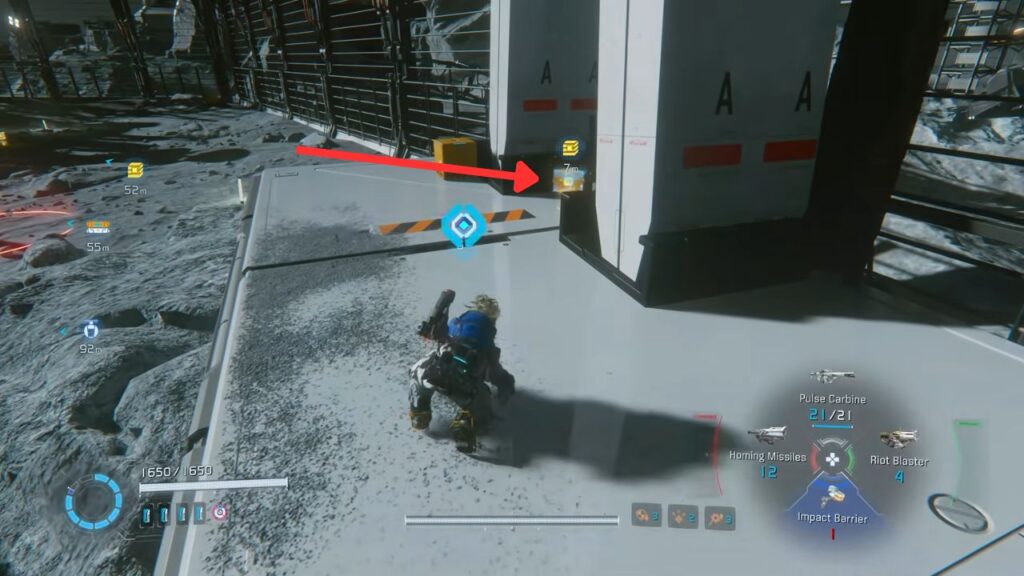
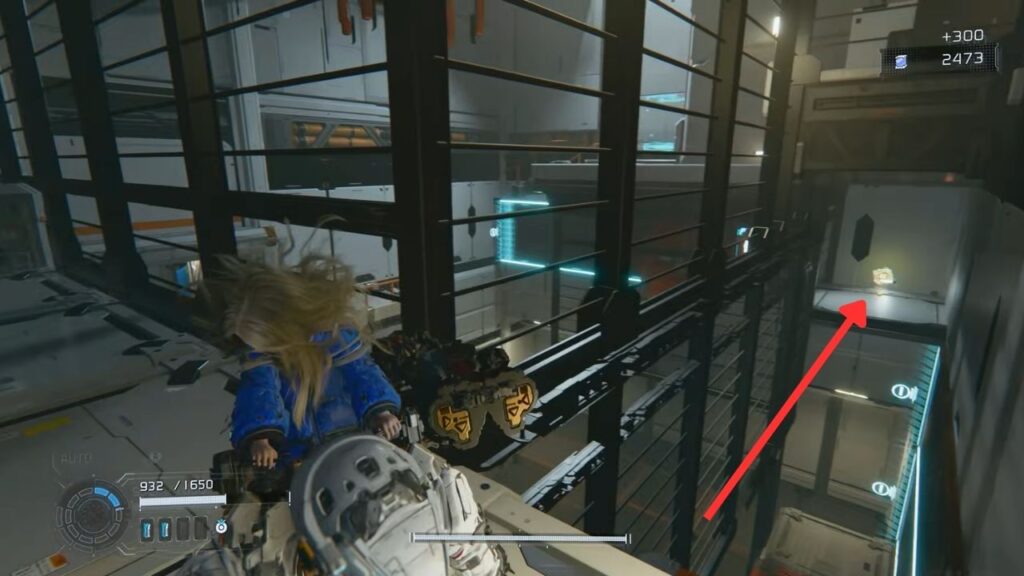
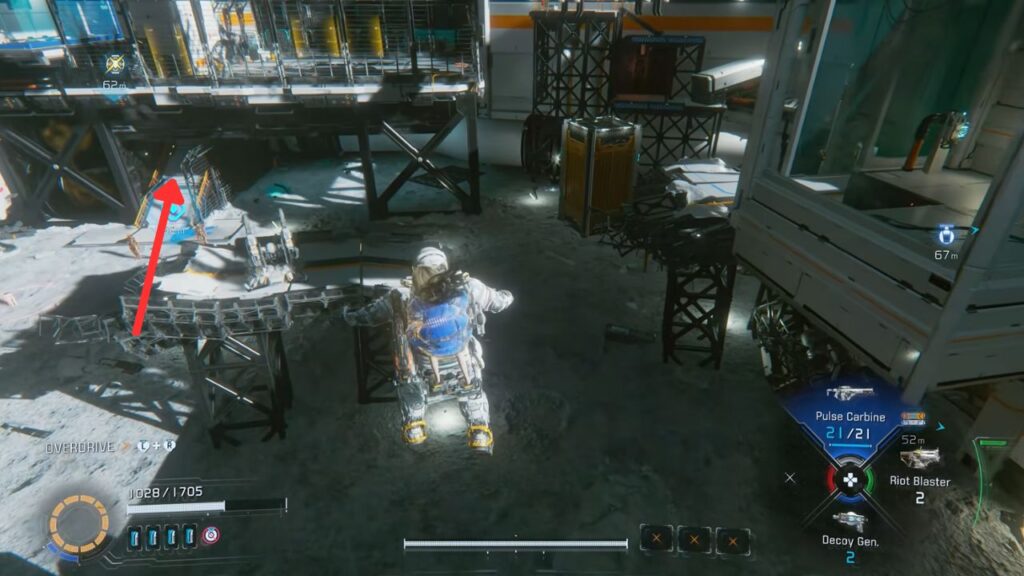
Climb back up the platform where you first landed, then jump and dash toward the higher platform in front. There’s an Upgrade Component on the next platform, grab it.
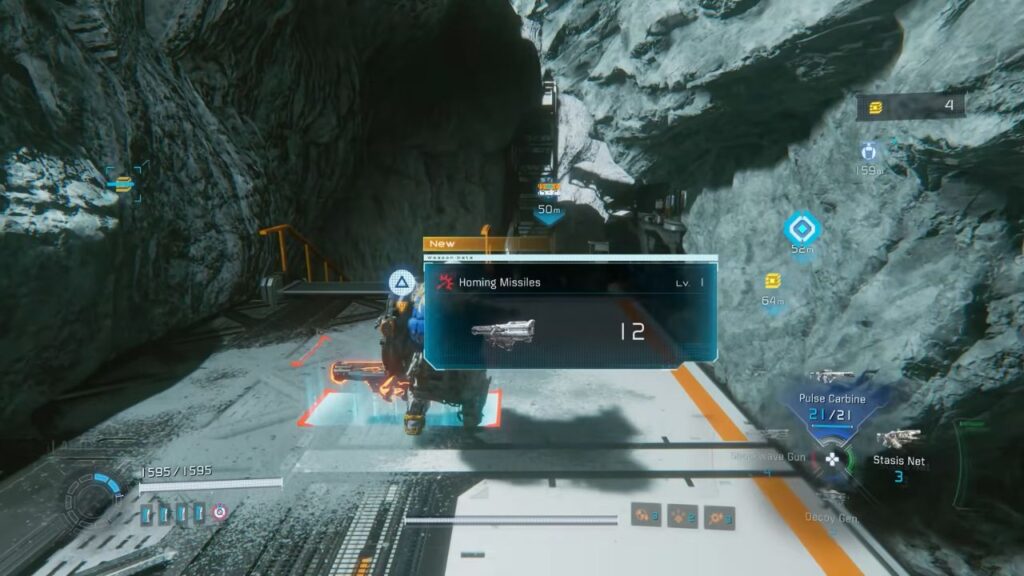
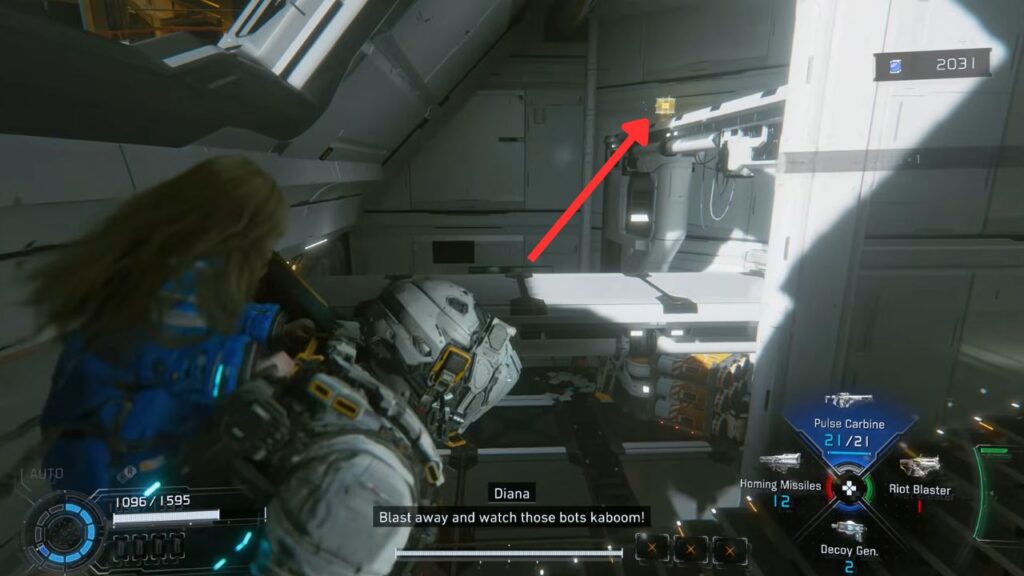
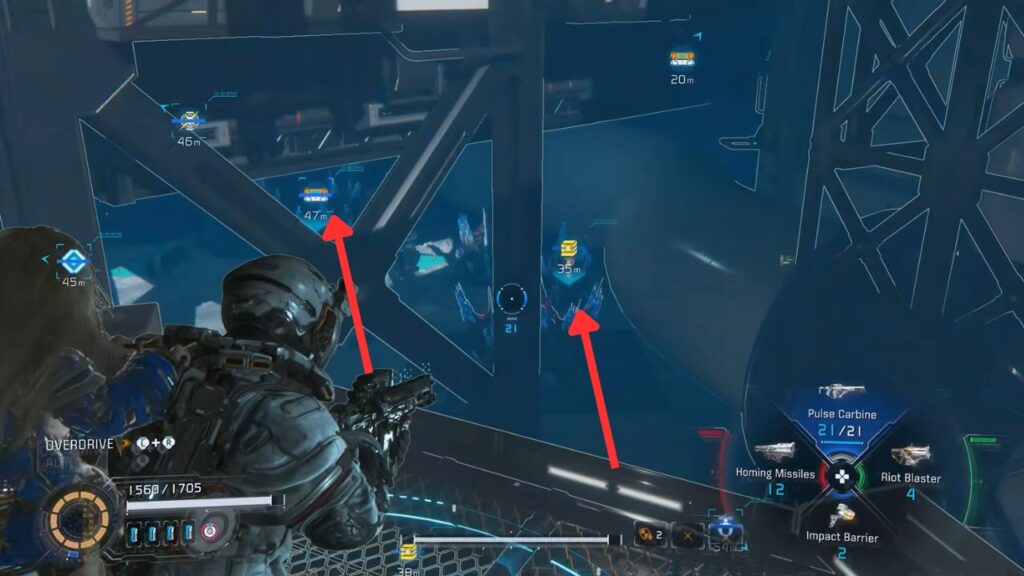
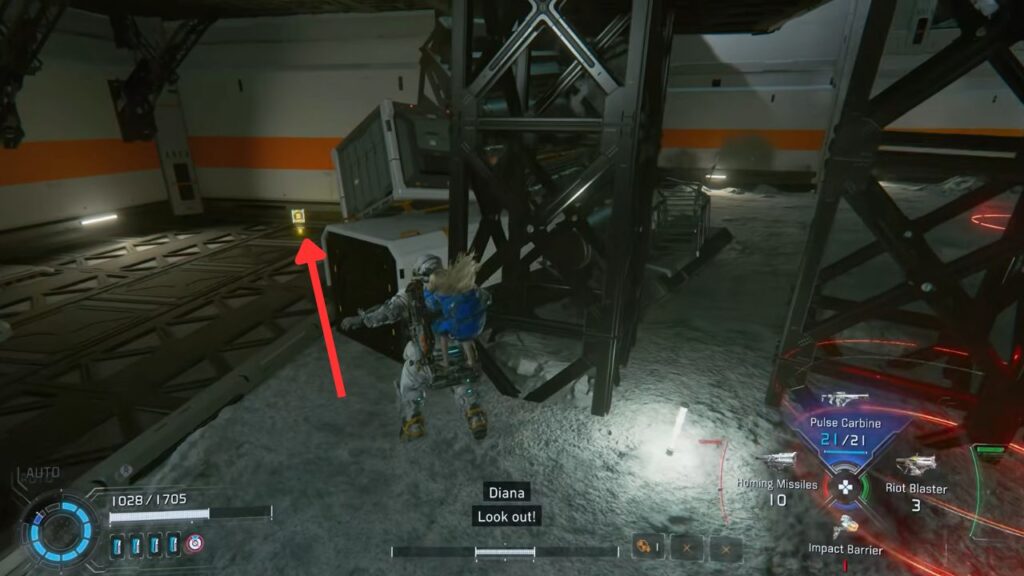
From there, jump over to the next stretch of walkway. A new weapon is sitting here, the Homing Missiles. Hold the fire button to lock onto one or more targets at once, then release to fire.
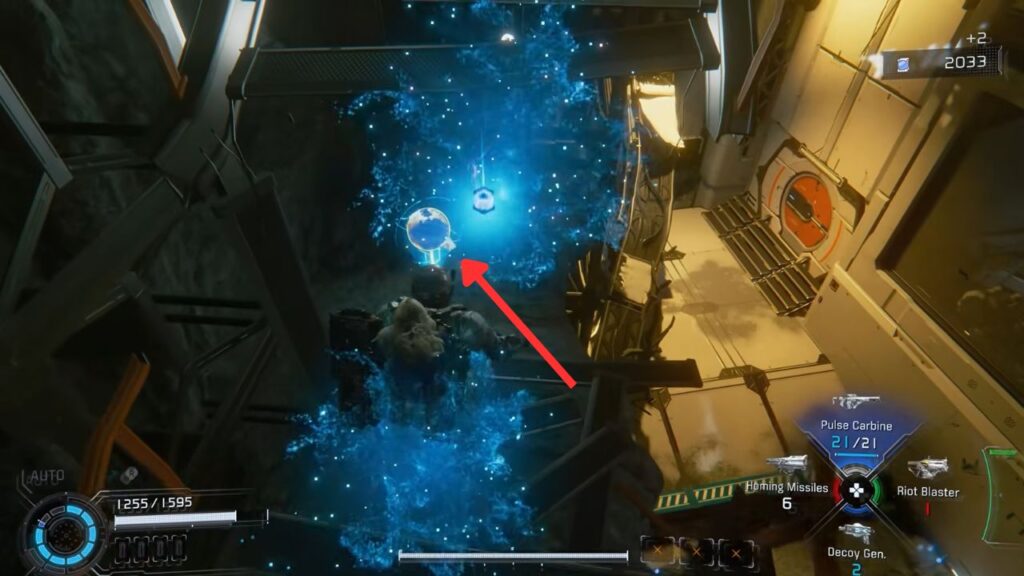
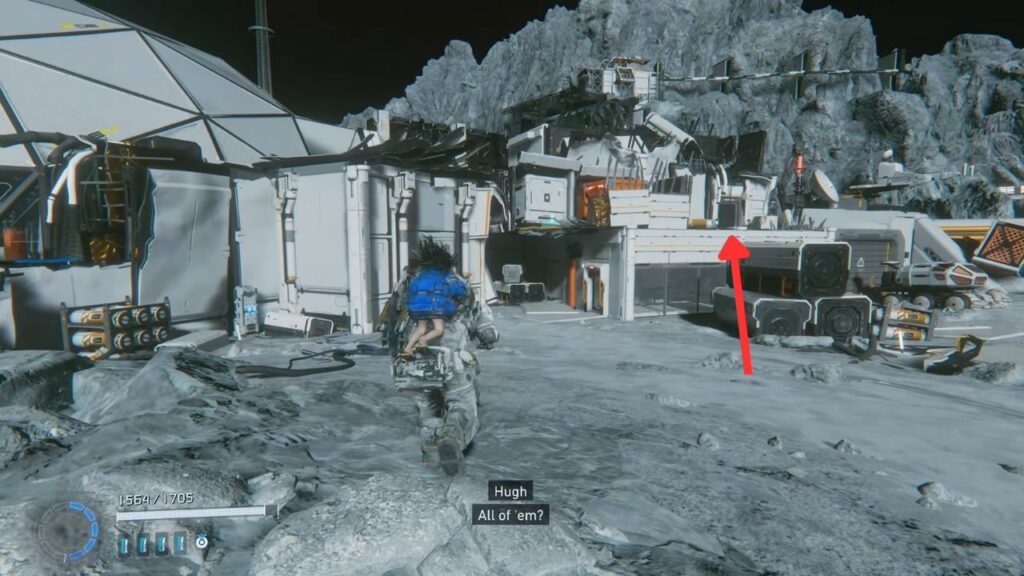
The path leads to another open area. The main building across the way is your destination, but clear the ground floor first. Let’s drop down.
On the ground, take out the three enemies, one Spiderbot and two Spiderbot Mk-IIs. Then go to the end of the area opposite the entrance and have Diana clear the filament mass there. An Upgrade Component is hidden behind them.
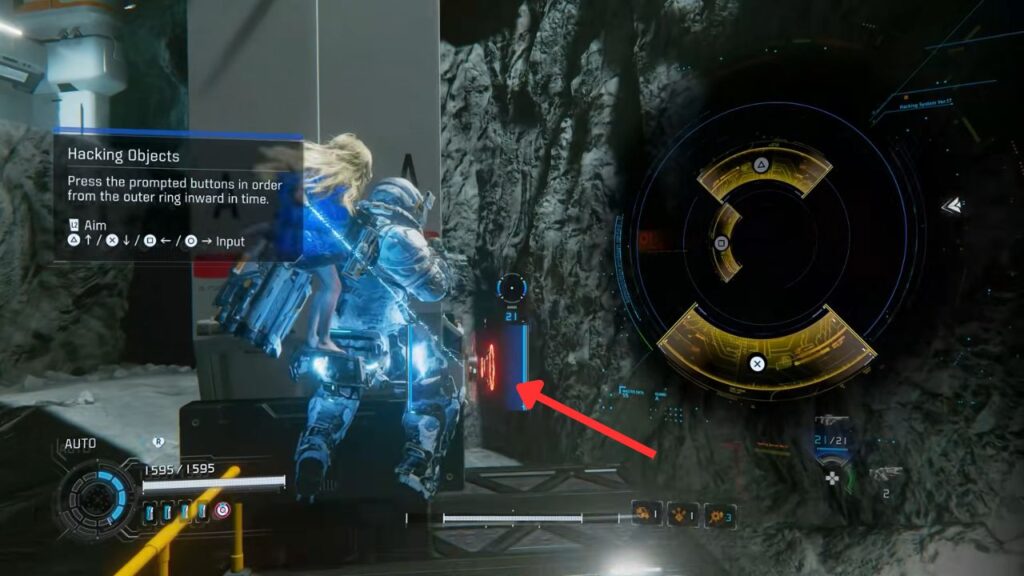
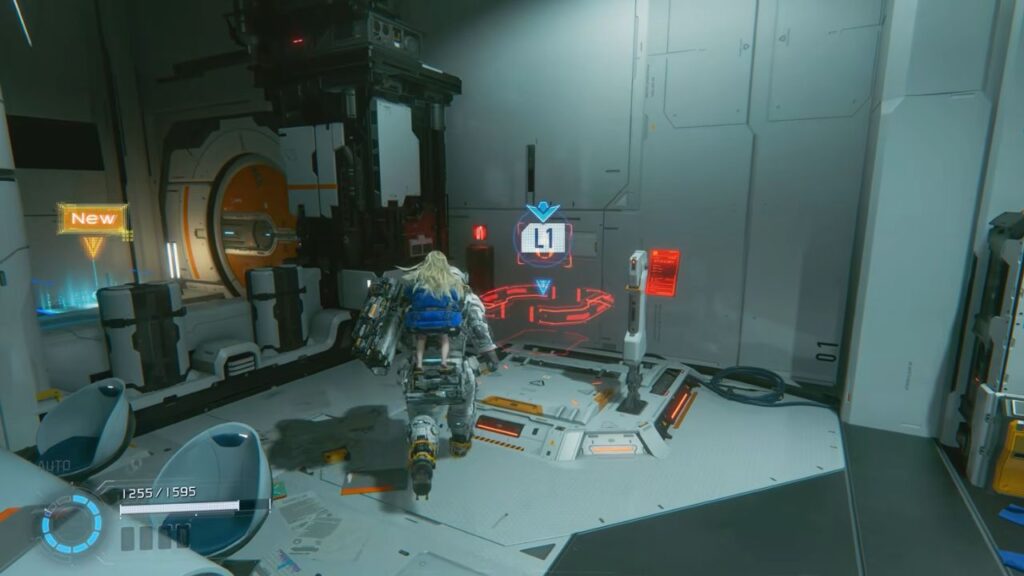
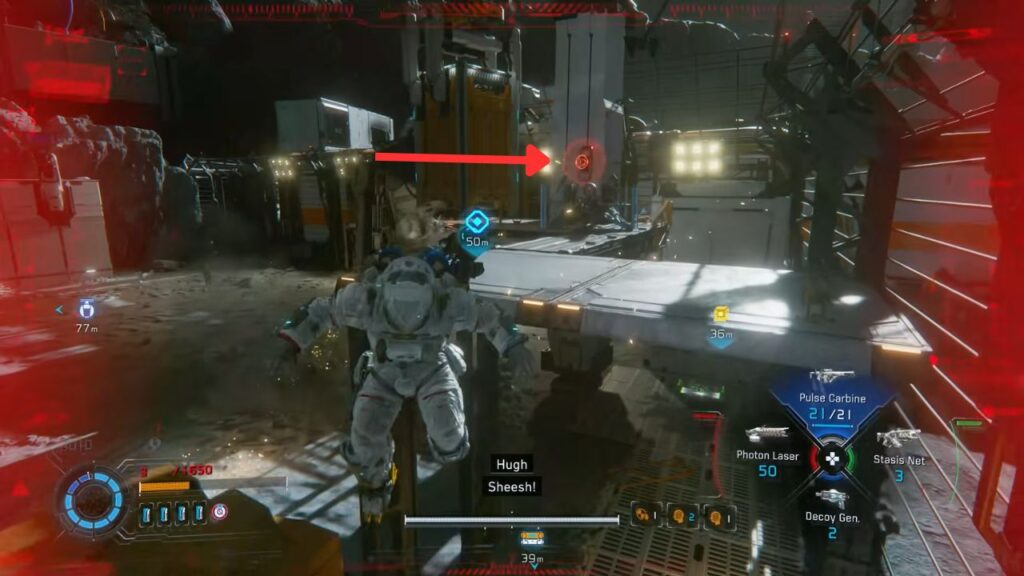
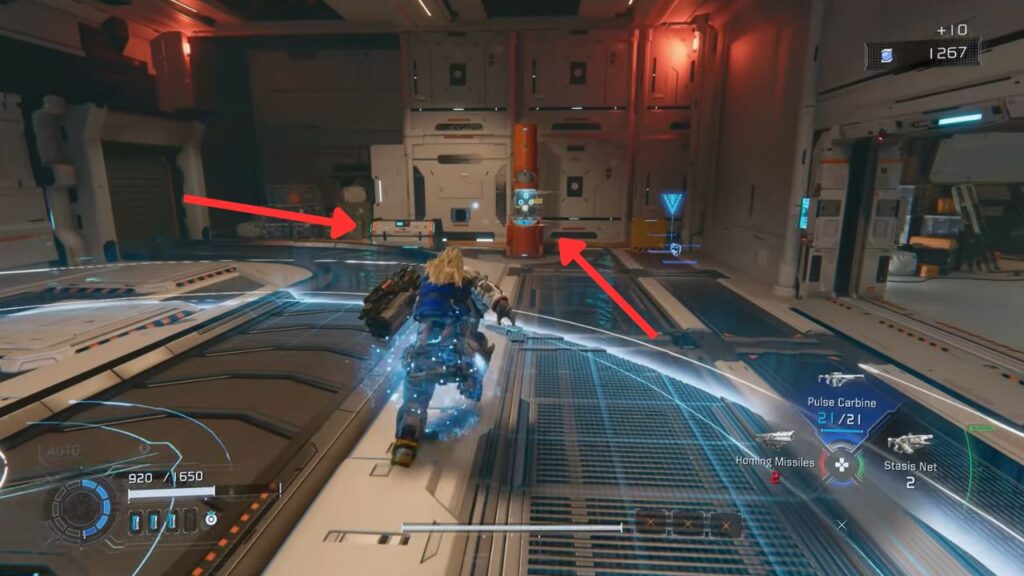
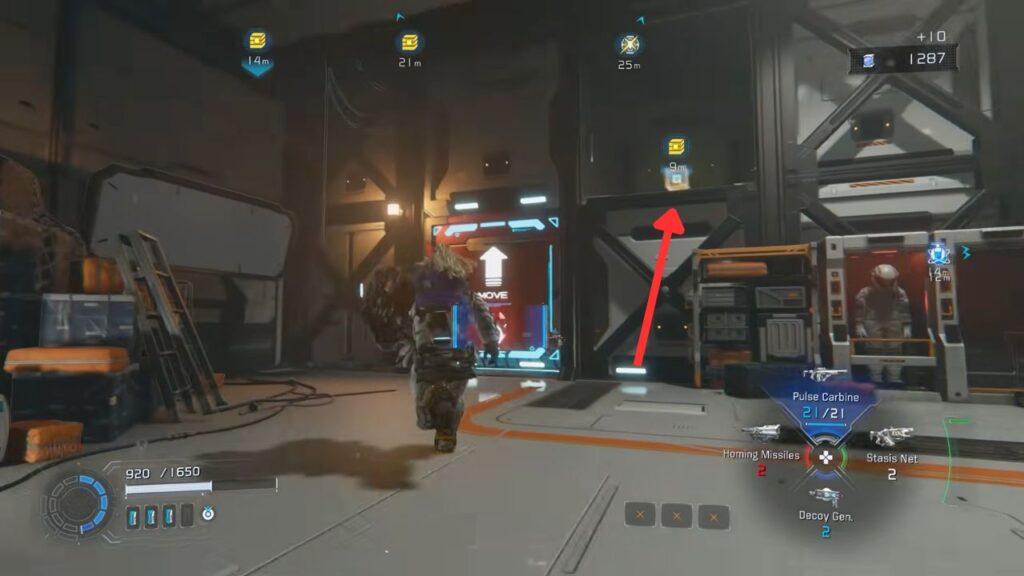
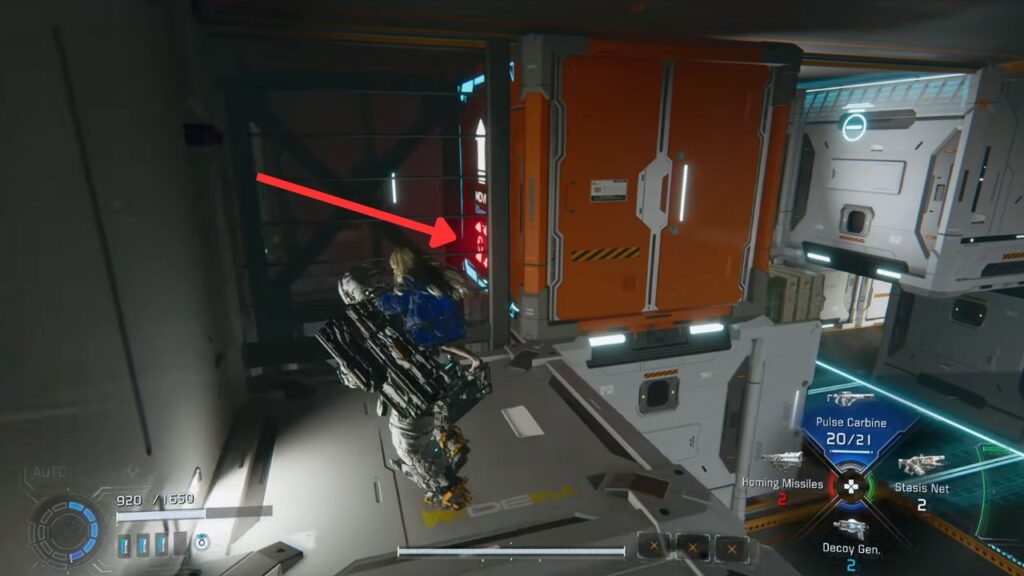
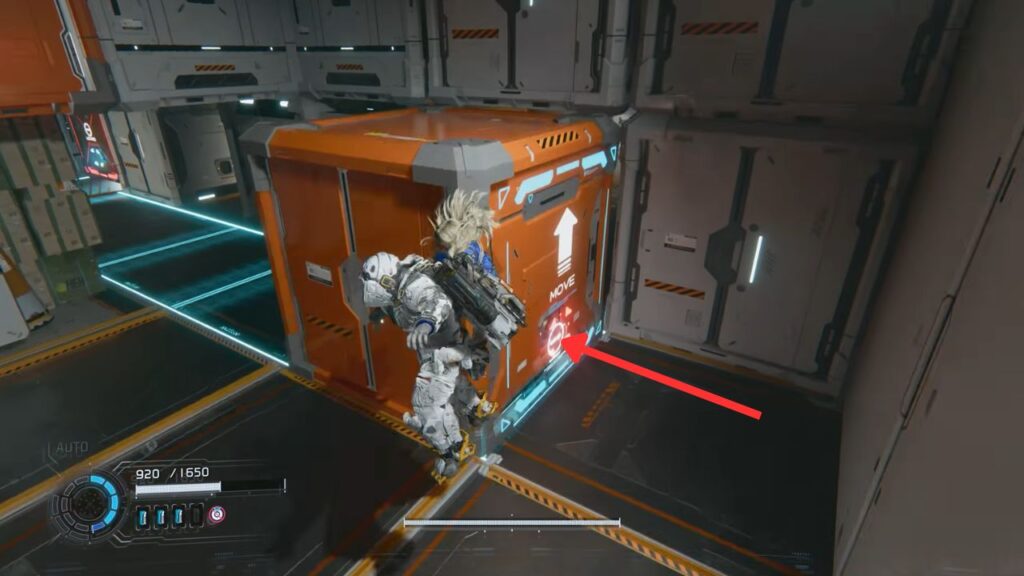
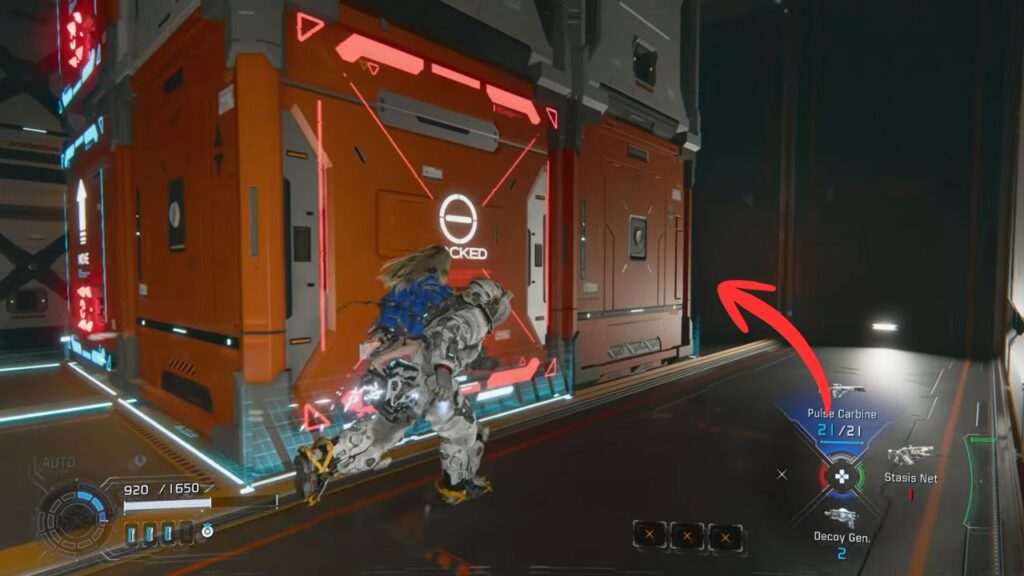
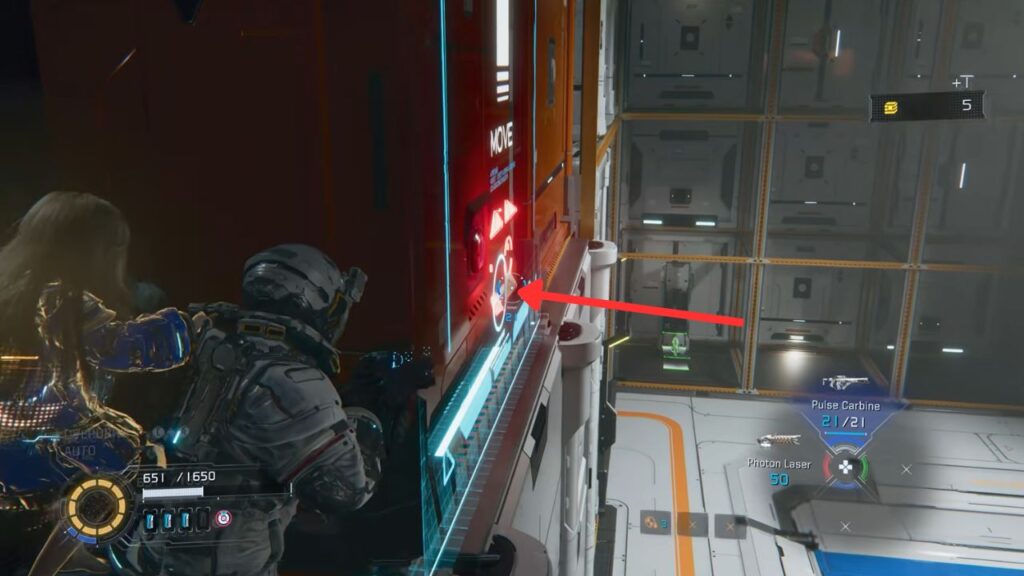
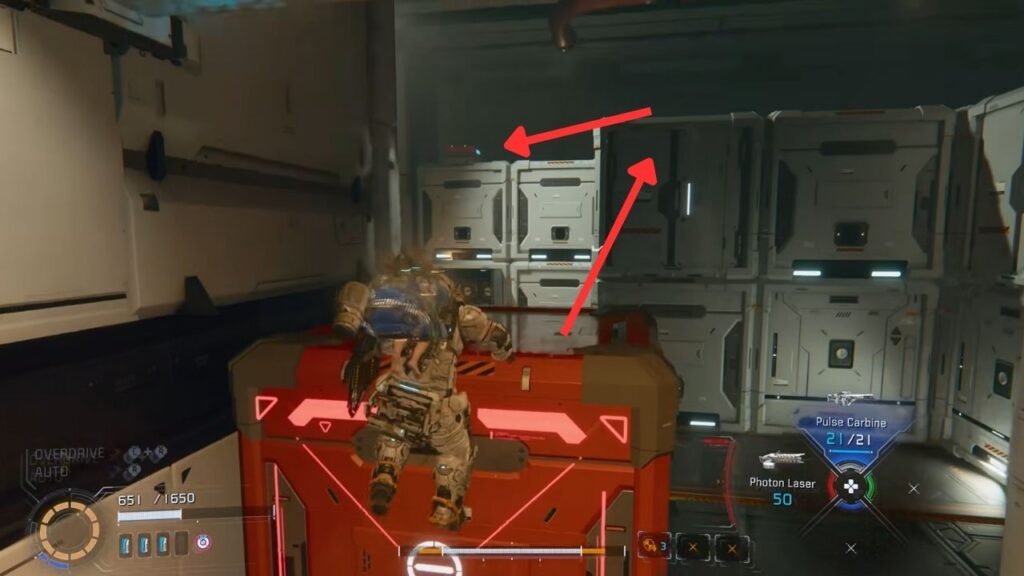
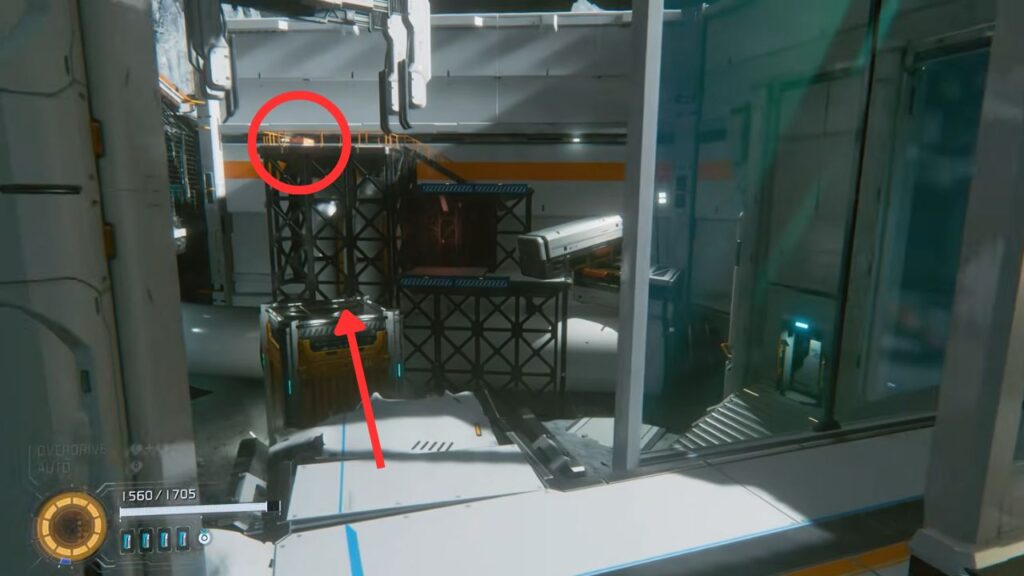
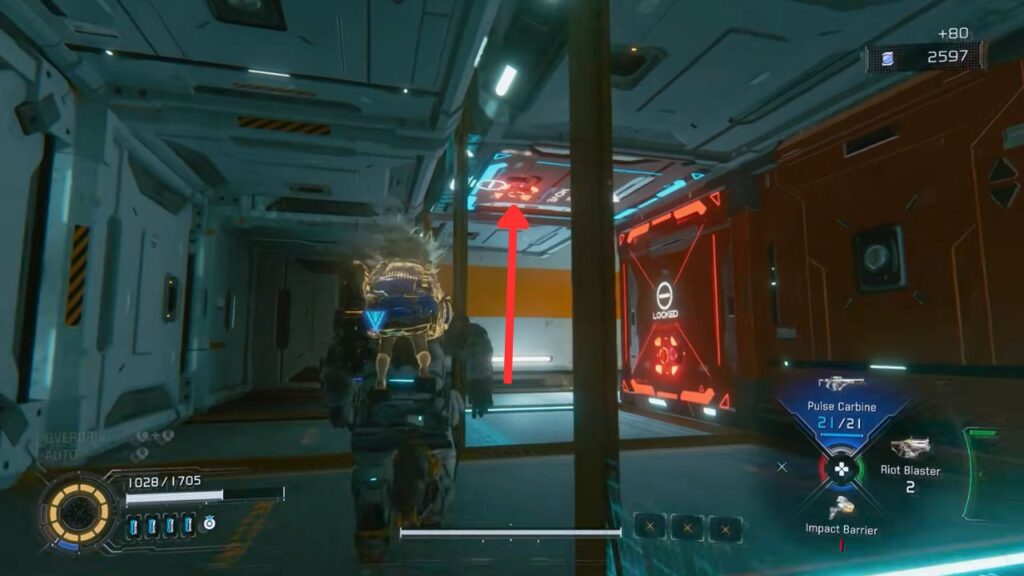
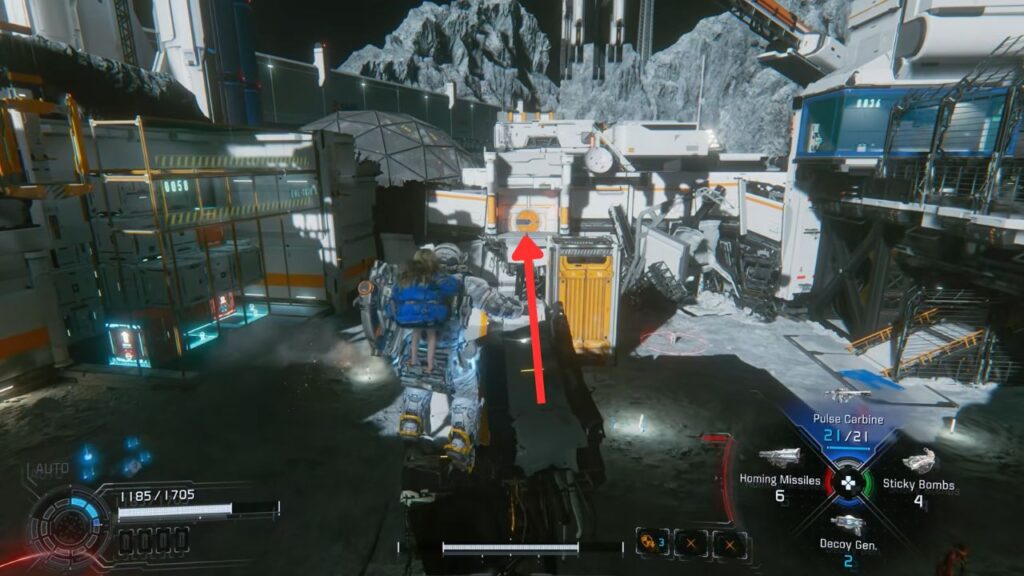
Back toward the entrance, find the red panel mounted on a pillar where the Mk-II was hanging. Hacking it brings down a shipping container and opens up the route to the main building.
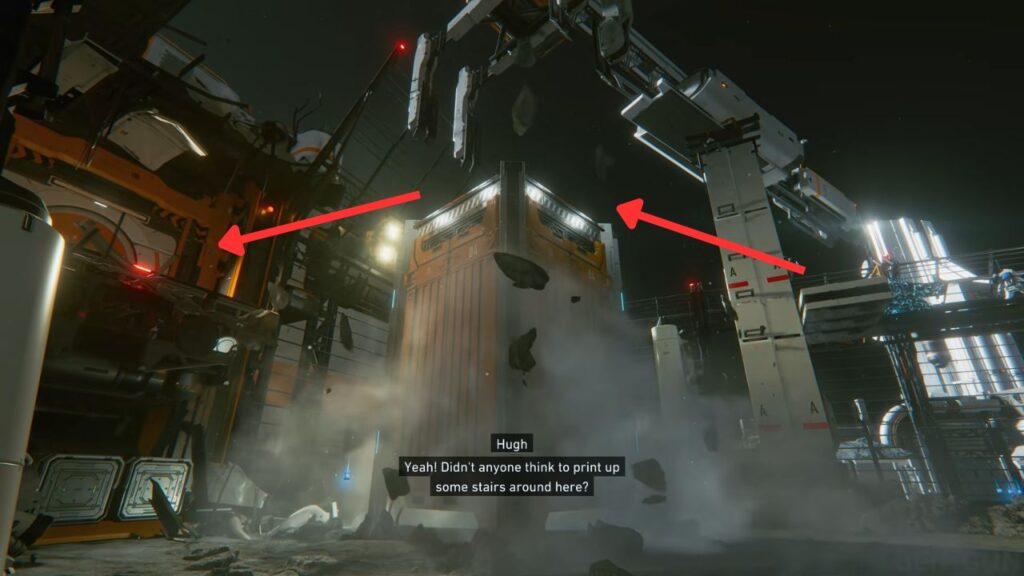
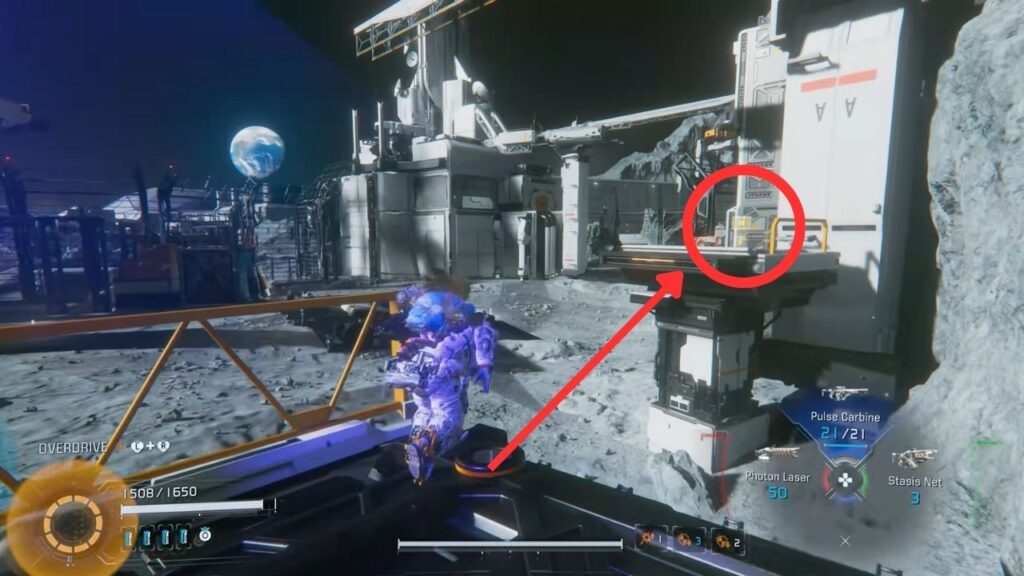
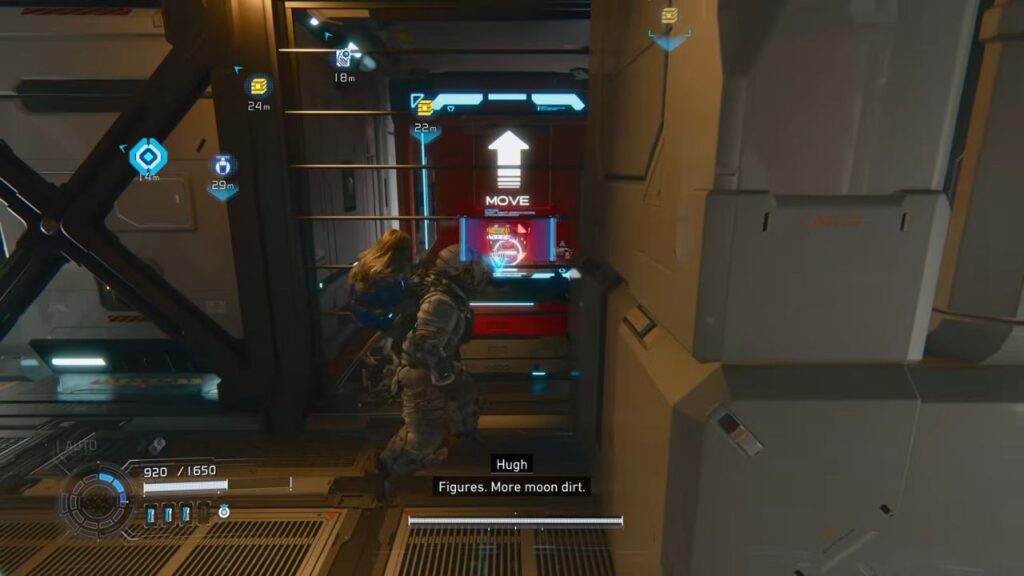
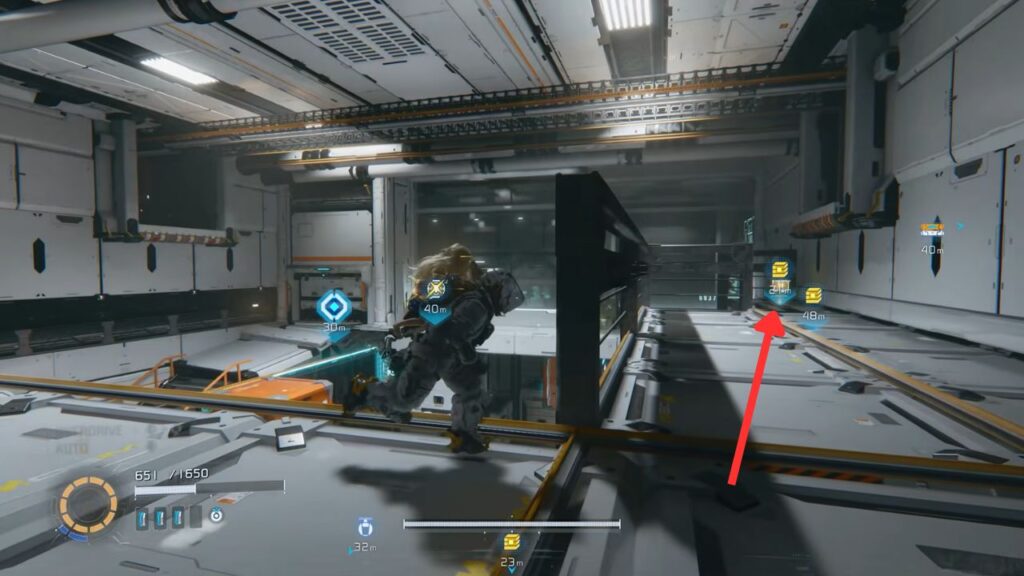
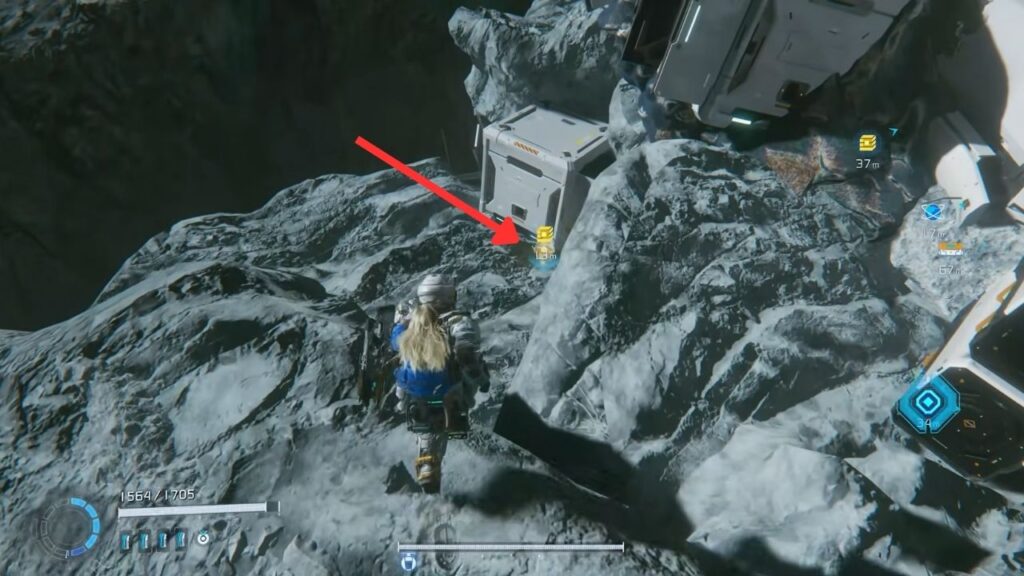
Get up on that container. Before heading inside, look back across the area. There’s a chain of platforms you can jump to from here, leading to a platform with a Safe Box holding Upgrade Component x4.
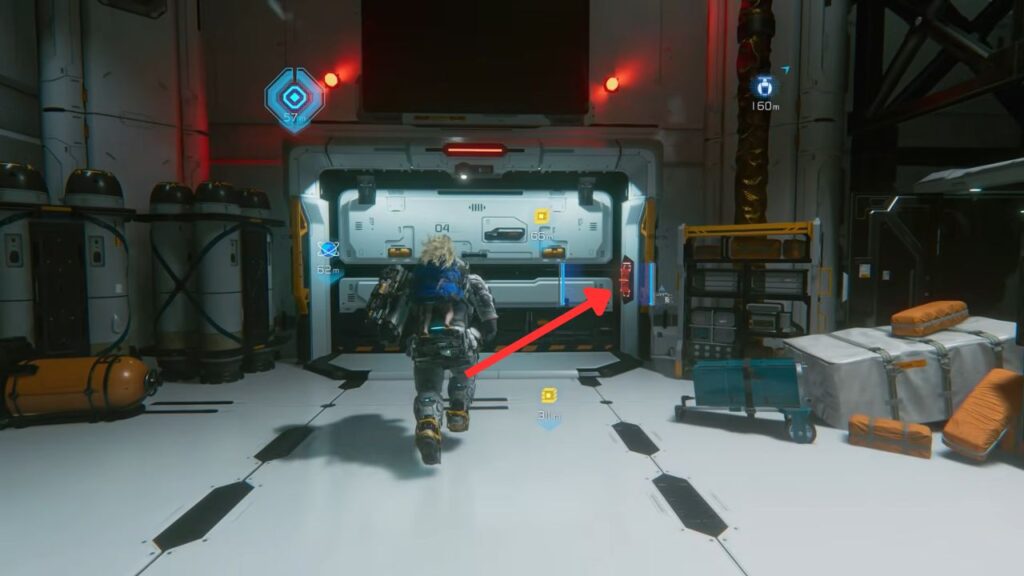
Come back and go through the building. Hack the door on the far side and step out to trigger a cutscene.
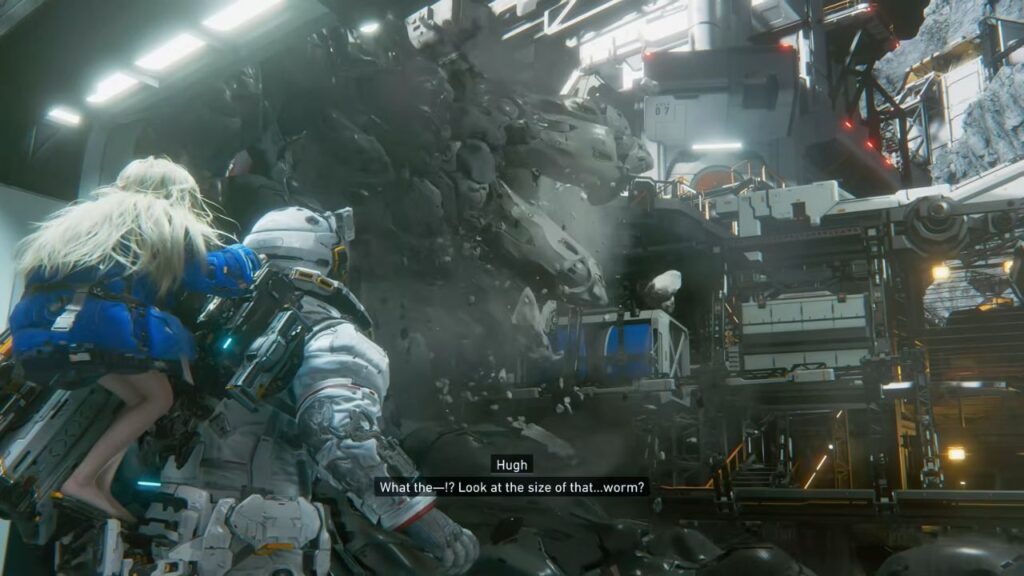
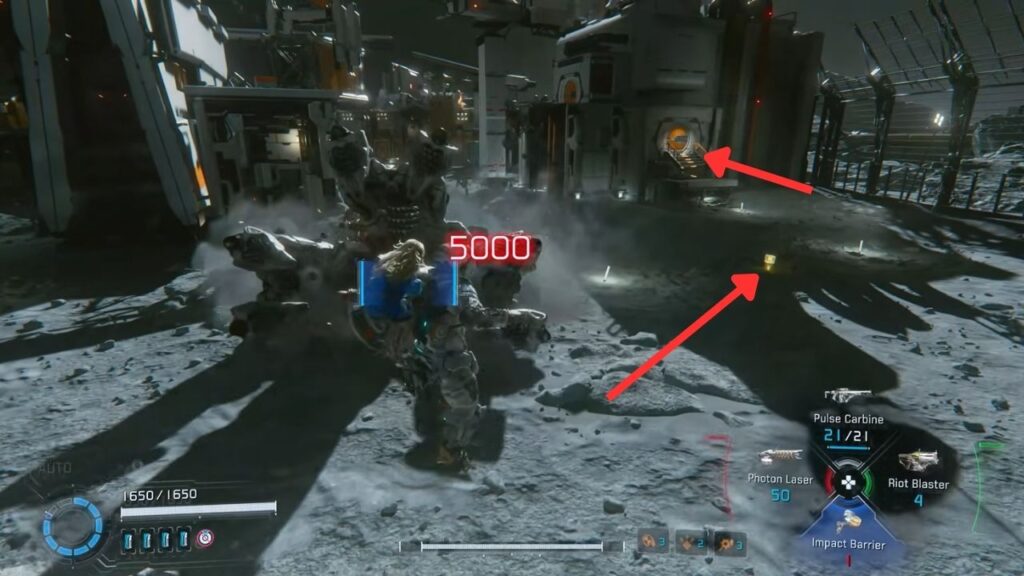
The LunaDigger makes its first appearance as a massive sandworm machine that you’ll be dealing with through every outdoor section of this area. It bites from below or lunges from the surface. The key tell is yellow sparks on the sand marking where it’s moving. Stay alert and be ready to dash, sometimes twice, to get clear of a lunge.
Achievement note: There’s an achievement called Courage in Desperation for driving the LunaDigger away during one of these outdoor sections. It takes a lot of damage to do so. If it’s too much right now, come back with better gear, there are three separate outdoor areas with it.
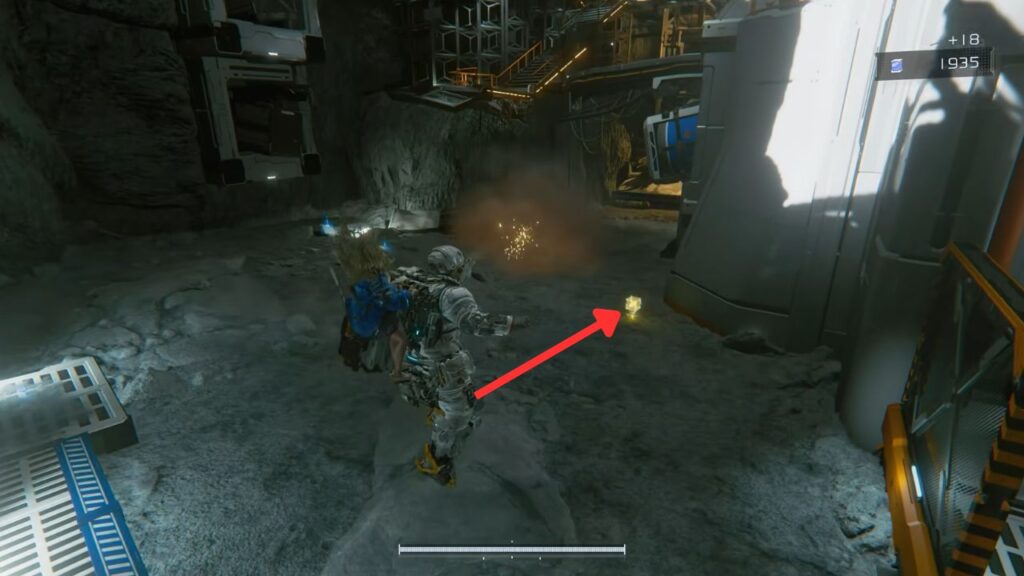
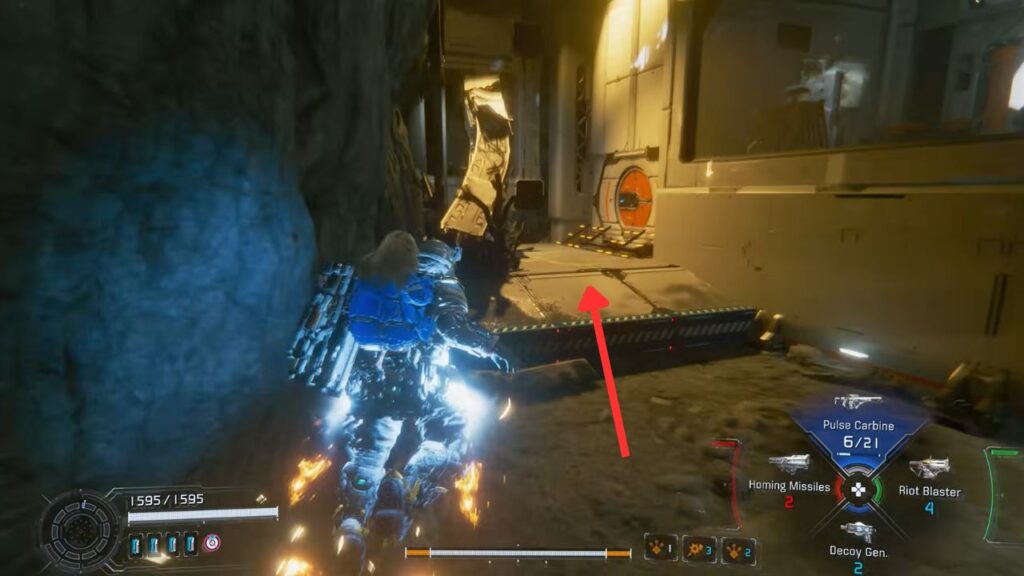
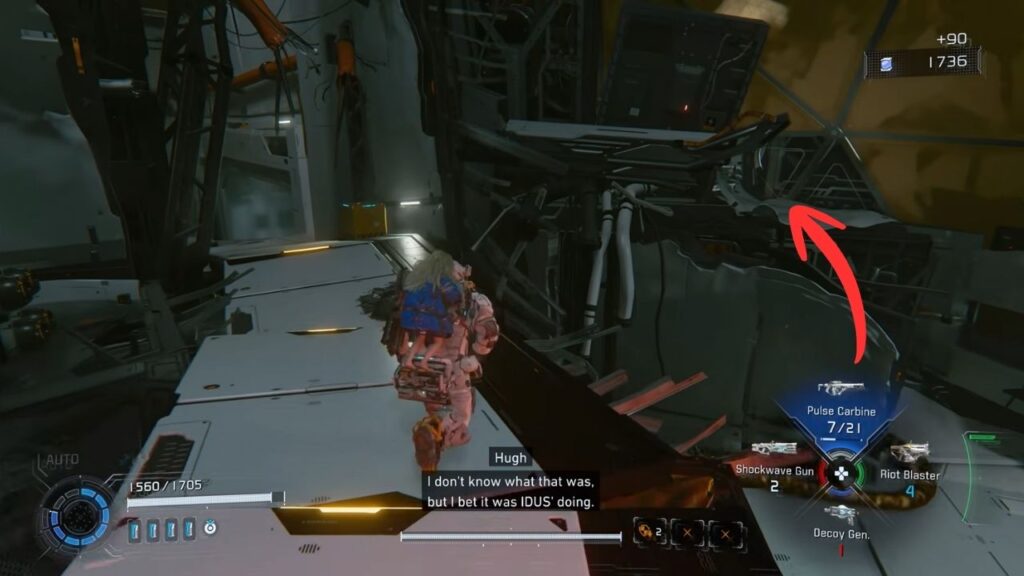
From the exit, drop down, pick up the Upgrade Component in front of you. It’s better to skip this LunaDigger, and reach the ledge on the far side to get back inside.
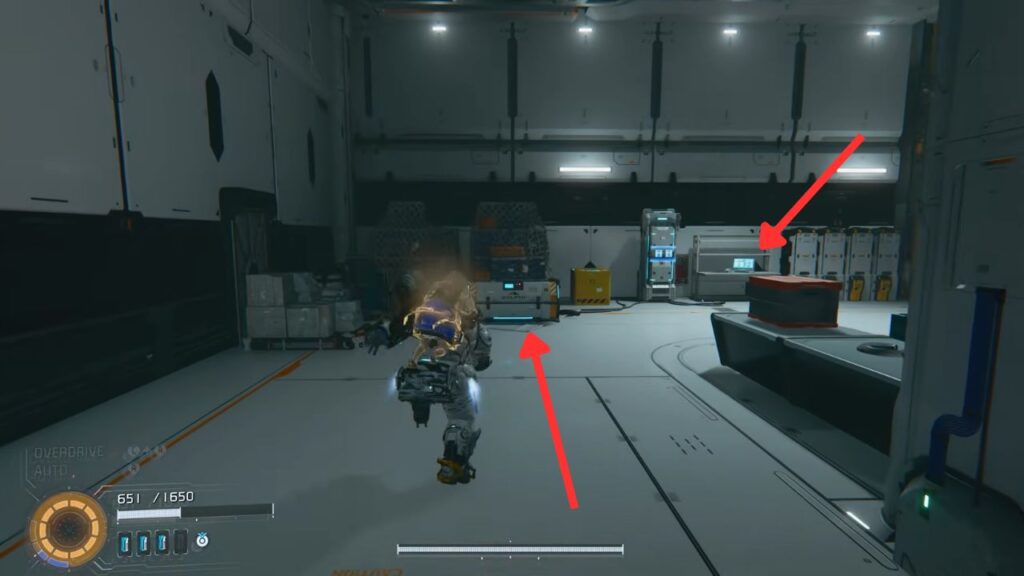
Check the laptop by the entrance for Email: Re: Excavation Bot Malfunction. Go through the next door and eliminate the enemies waiting there, two Walkers and a Watcher Mk-II.
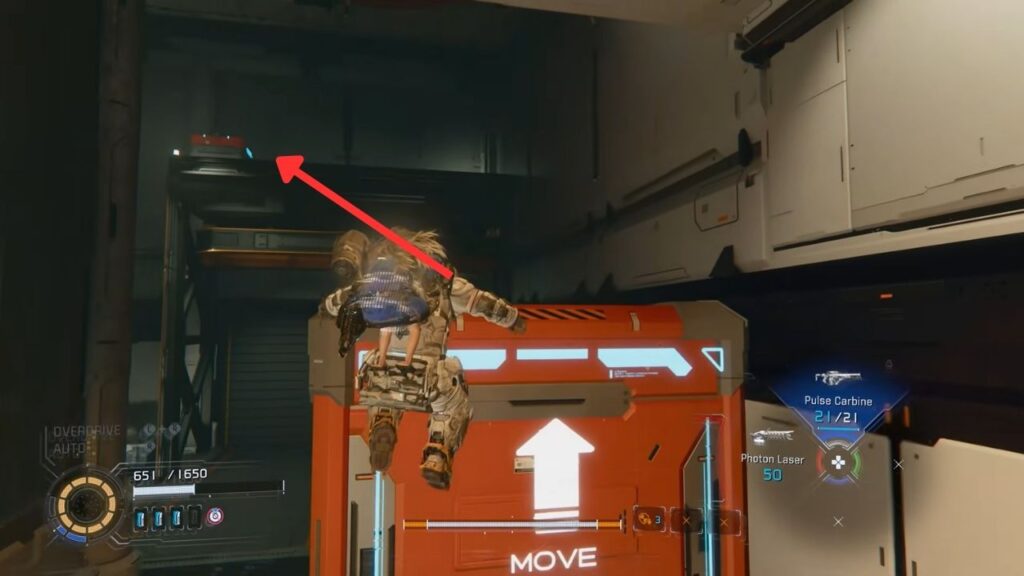
Up the stairs, don’t just follow the main path. Instead, take the narrow platform on the right side that loops back over the stairwell. Jump from there to a beam crossing the room above, there’s an Upgrade Component up here.
Drop back down, climb up the stairs, and push through the hallway to reach the outside again. Your first Missile Watcher Mk-II is waiting out there. It’s tougher and fires two missiles at once, but nothing you haven’t handled.
After the first gap, take the stairs. There’s a break in the middle, drop through it to find REM: Campfire below.
All the way to the top of the stairs is a door back inside. You’ve reached the Crane Operation Yard.
Crane Operation Yard
Activate Escape Hatch: Crane Control Room Station as soon as you arrive. Look around the room, there’s a computer with File: Safe Routes in the Lunum Mines and Email: Re: Re: LunaDigger’s Gone Berserk!, a large screen with Guidance: Always carry an Impact Barrier, and a new weapon, the Impact Barrier.
Step outside, and you’ll encounter the LunaDigger again, roaming freely. The same rules apply, watch for the sand sparks and dash out of the way to avoid its attacks. This is actually the best opportunity to defeat it and earn the achievement.
Use the newly acquired Impact Barrier to protect yourself while standing on the sand, preventing the LunaDigger from grabbing you.
The moment you’re through the door, check right behind some boxes for an Upgrade Component. From the starting platform, drop down and make a straight run to the concrete platform ahead. There’s another Upgrade Component up there, and it’s a safe spot to catch your breath.
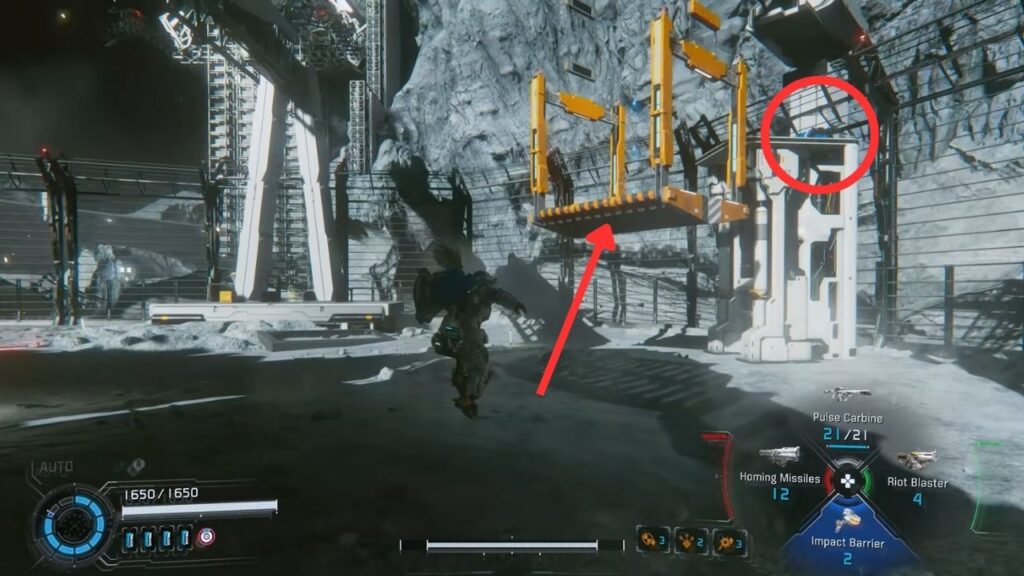
Looking back toward the entrance from this platform, you’ll see a crane on the left. It lifts and lowers on a cycle. Wait for the arm to come down, then sprint to it and ride it up to the ledge above. The chest at the top contains Mod: Analog Aggression.
Return to the concrete platform and make a run for the building on the far side, scooping up the Upgrade Component off the ground on the way. The LunaDigger is still out there, so stay quick. Two Watchers are standing guard at the entrance.
You can try repelling the LunaDigger here, it’s up to you, really. But if you are aiming to complete 100% achievement, then you have to fight it here.
Inside, a Spiderbot Mk-II and a Crusher jump you. Clear them and go upstairs. Cross the indoor bridge, and turn left, and another left to find a Safe Box with Upgrade Component x4. Two Walkers spawn behind you the moment you take it.
By the exit door on the second floor, a terminal has Email: What the hell…, Email: Rumor of a Human-like Android, and Email: Re: Rumor of a Human-like Android.

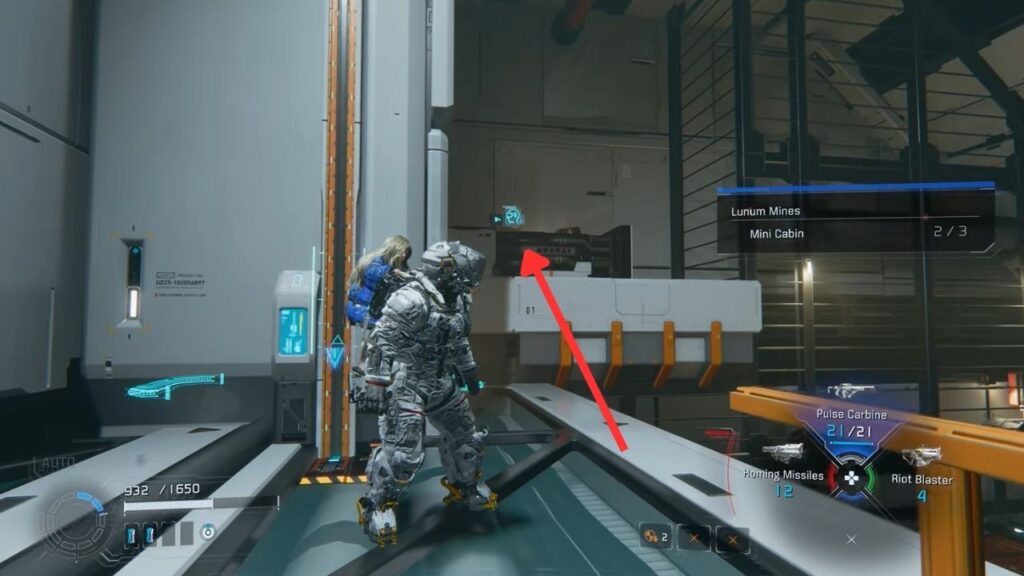
Exit through the door and immediately turn right and peek around the corner. On the right side, you’ll find a Mini Cabin. Shoot it to collect.
Hack the nearby panel to bring down a shipping container. Use it as a stepping stone to reach the ledges on the other side and climb up to a Safe Box with Cabin Coin x1 inside.
Now go around to the back of that building at ground level. There’s a Holo-Wall tucked away here. Step through it to find a Safe Box with Lunafilament and File: Gift Books.
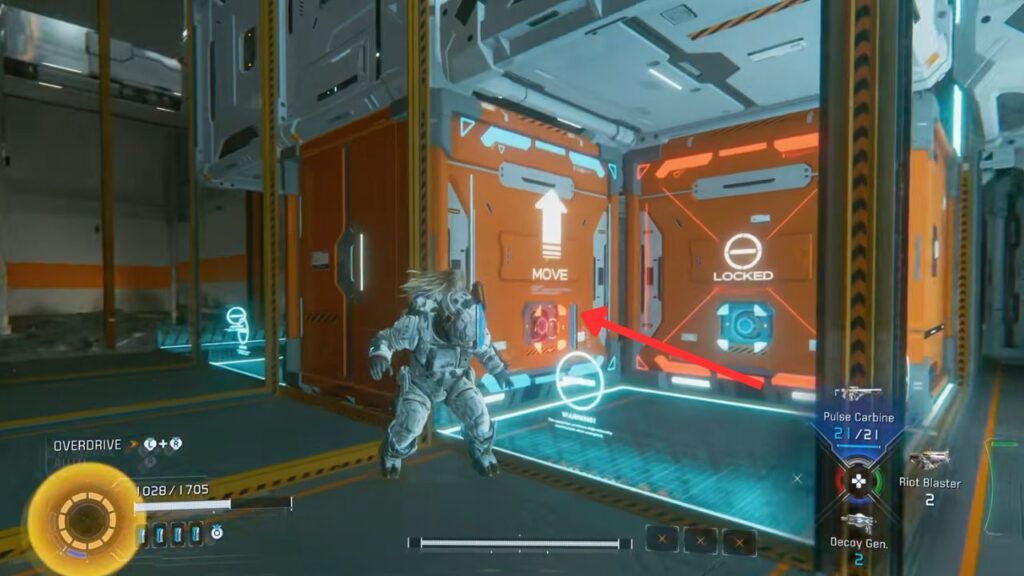
Get up onto the elevated ledge from the Holo-Wall and take out the Gunner up there. Hack the red panel it was guarding to bring down another shipping container that bridges the way to the exit door.
Hold off on using it though. Instead, look across to the far side of the area. Run over and climb the crate with red mesh sides. Shoot down the Missile Watcher Mk-II that opens fire.
From that crate, jump left to a smaller ledge with an Upgrade Component. Alternatively, jump right and climb the crane structure for a chest with Mod: Digital Dominance. a Watcher Mk-II is guarding the crane.
Drop to the ground and sweep both sides of the lowered shipping container. The left side has an Upgrade Component with a Walker Mk-II protecting it. The right side has another Upgrade Component tucked in the corner behind a fence.
With everything collected, climb back up and use the container to reach the exit door. Through it is the Warehouse.
Warehouse
Activate Escape Hatch: Warehouse Entrance Station on entry. Red Zone #5 is right across from it.
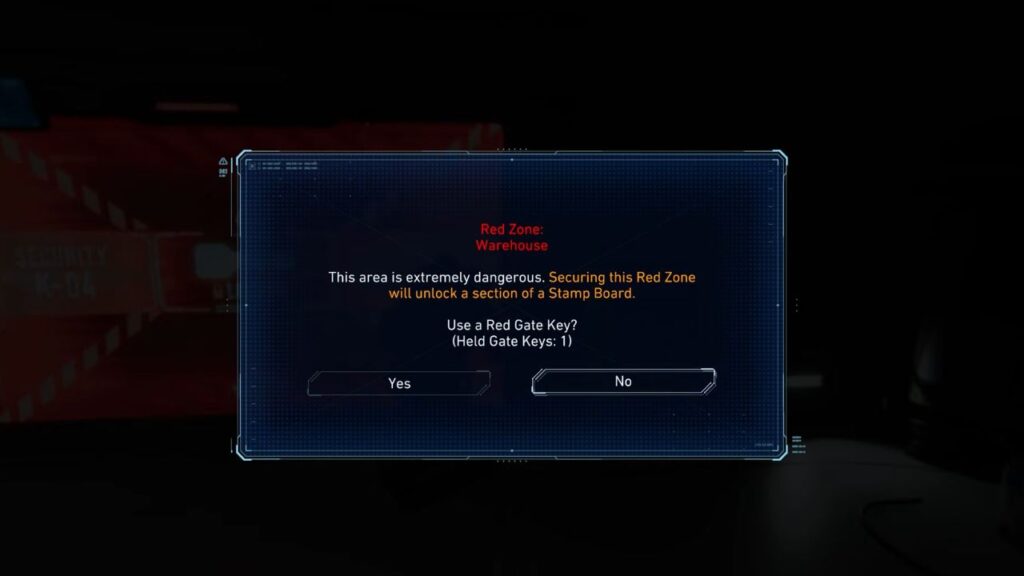
You’ll need a Red Gate Key to enter. Inside, clear multiple enemy waves: Walker Mk-II x1, Walker x2 → Crusher Mk-II x2 → Lancer x3. Once the room is clear, interact with the pedestal for a Storage Expander and open the unlocked chest for Pure Lunum.
Across from the Red Zone entrance, climb up to a small platform with an Upgrade Component.
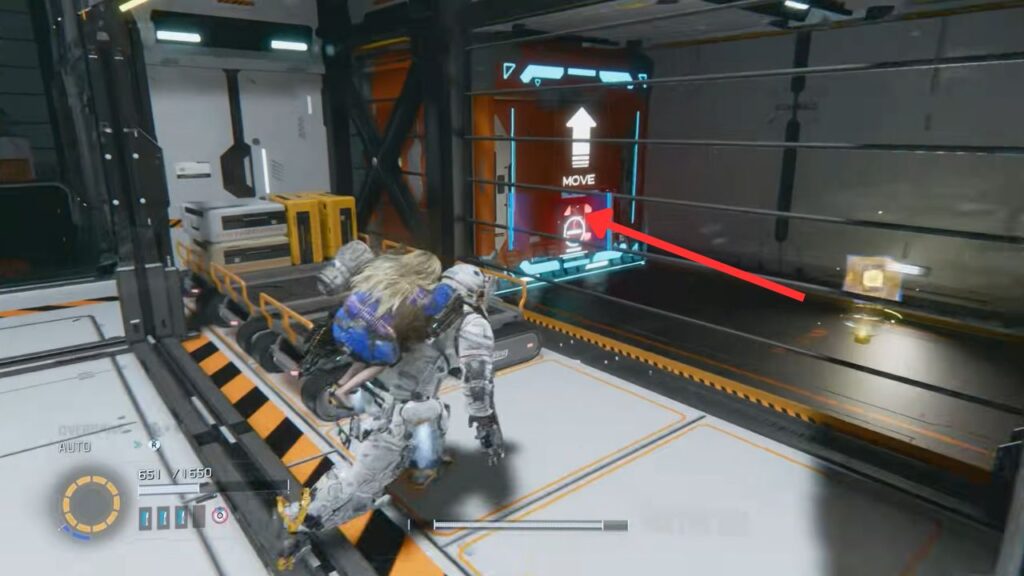
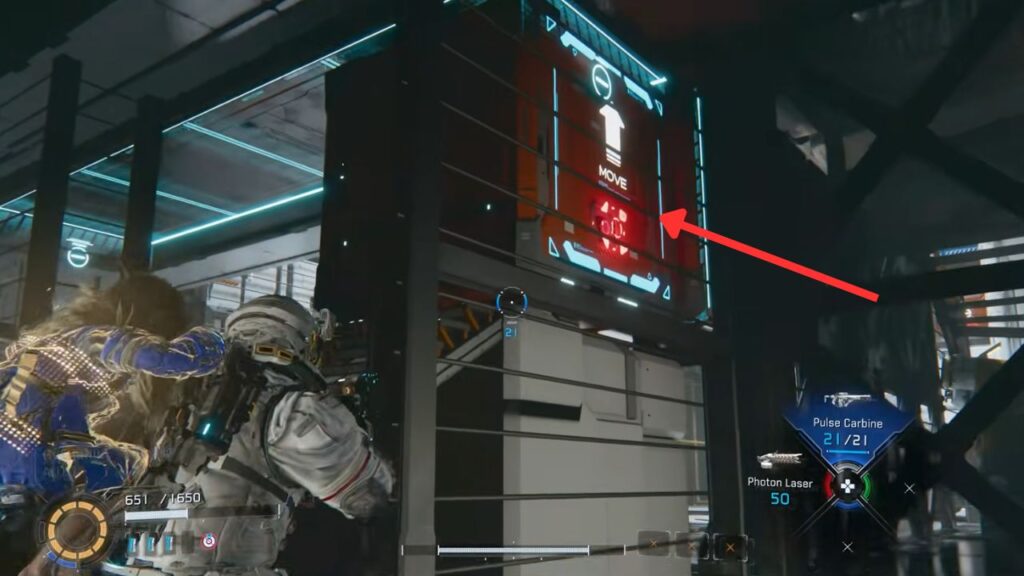
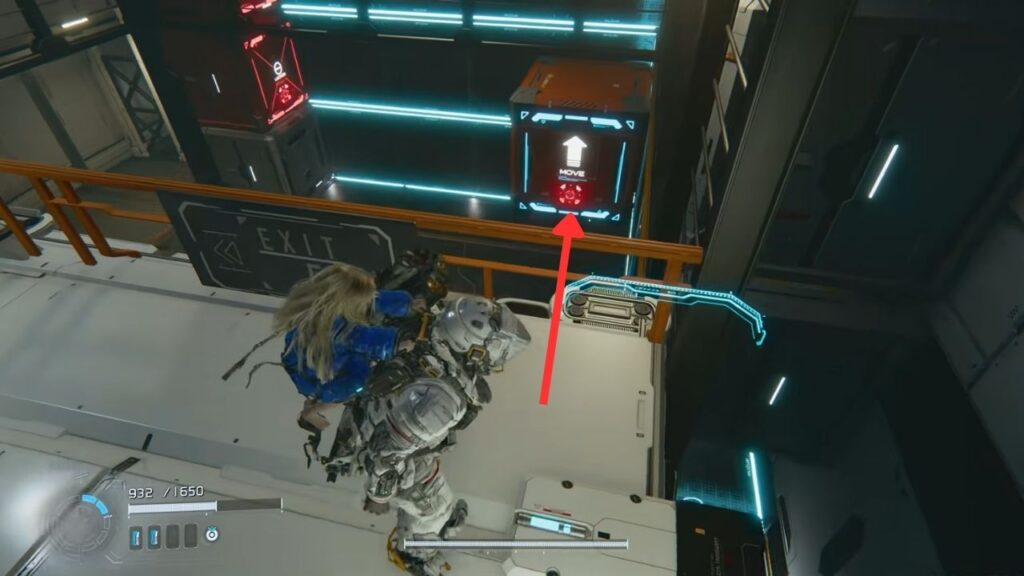
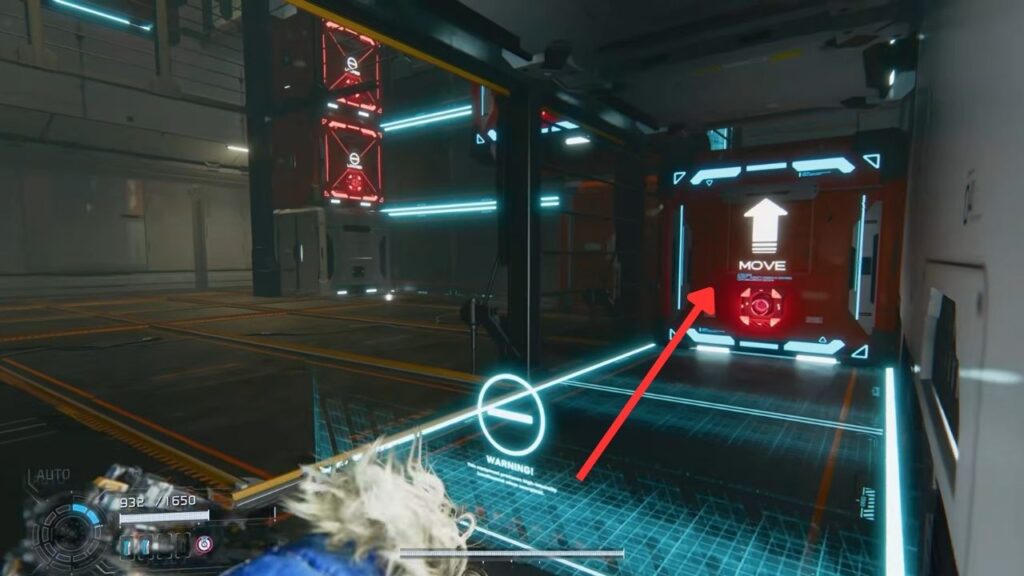
Also, across from the Red Zone is a crate with a red panel on it, hack it to send the crate sliding. The next stretch of the Warehouse is built entirely around these crate puzzles.
Shove the crate forward twice. Turn right and push the next one forward too. Climb up the platform on the right, and look through the fence to spot a panel on the upper crate. Move it, then drop through the gap it was covering to find REM: Bug Net.
Climb back up and drop down, and push the ground-level crate back the other way to clear the path into the next room. Take the Heat node on the way through if you want it.
In the next room, take out a Crusher Mk-II and a Walker, then deal with the crate stack.
Before touching the stack, go down the narrow path on its left side. Push the crate through the fence twice, this sends it all the way back to its original position near the Red Zone. Backtrack through the previous room and pick up the Safe Box with Lunafilament that’s now accessible.
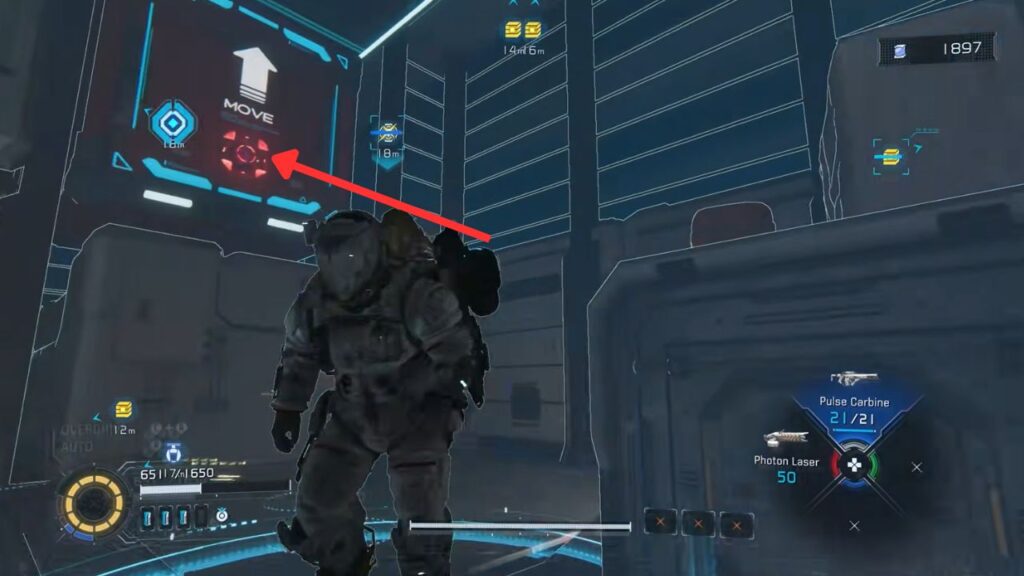
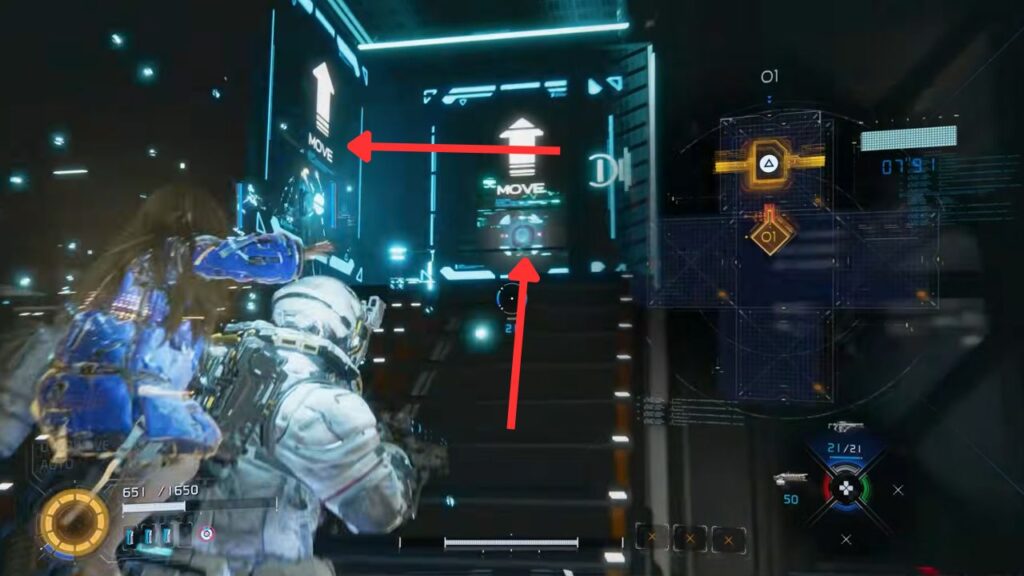
Back at the crate stack: go to the rear and push the crate through the fence. Round the corner and push another crate sideways. Return to the rear and push that crate twice more, it should now sit directly beneath a ceiling opening. Climb on top, hack the opening, and jump through to the floor above.
Check the nearby cubby for Homing Missiles and a Multi-hack. There’s a printer nearby if you need to restock. Then go through the yellow security barrier.

First fight: Walker, Walker Mk-II, and a Spiderbot. Then a new enemy shows up — a Defender with two Watchers.
Defenders carry four energy shields that block both your gunfire and Diana’s hacking. They use the shields offensively too , rushing them outward, slamming them from above, or spinning them horizontally.
Get to the side, or shoot the core of each shield directly to break them. Other enemies will often stay tucked behind a Defender’s shields, so those have to come down first. Once the shields are gone, the Defender is easy to hack and finish.
After the fight, the door opens, but sweep the area first.
Right side of the room from the entrance, push the crate behind the fence. Go to the opposite end and push the crate there, then climb into the opening behind it. At the bottom of those stairs, cut right and climb over the far crate for an Upgrade Component.
Get back to the stairs and go around the corner, and push the crate there. Climb the stairs again and push both crates outward. Return to the main area, go up the stairs, and hop onto the crate you just moved from the wall.
From there, jump across above the staircase you just climbed. Drop into the opening behind the blue ledge and duck into the dark room on the right, and grab the Upgrade Component inside. Climb back up and jump over the highest platform to open a Safe Box containing Cabin Coin.
Drop down to the lower platform again and peer over an open ledge to push a crate. Jump over the crate beside it, get down on the other side, and push the same crate you just jumped over to reveal a box containing Mod: Nice Nodes.
Climb up the crate again and follow the platform all the way right to the end of the walkway, one more Upgrade Component at the end.
Drop back down, take the stairs up from the Defender area, and enter the room at the top. Chest inside holds Pure Lunum. There’s also a weapon printer and a desk with Email: Re: Re: Rumors about Dr. Higgins. Hack the door nearby to move on.
Find the first moveable crate ahead and slide it back toward the entrance. Use it to reach the ledge above with a Safe Box containing Upgrade Component x4. Come back down and shove the crate twice in the other direction. Climb onto it, then up onto the crates ahead to reach a second Safe Box with another Upgrade Component x4.

Get through the Walkers and Defender below, on the crates for safety or on the floor, your choice. Past where the Defender was standing: another Upgrade Component. Climb to the ledge above to enter the next room.
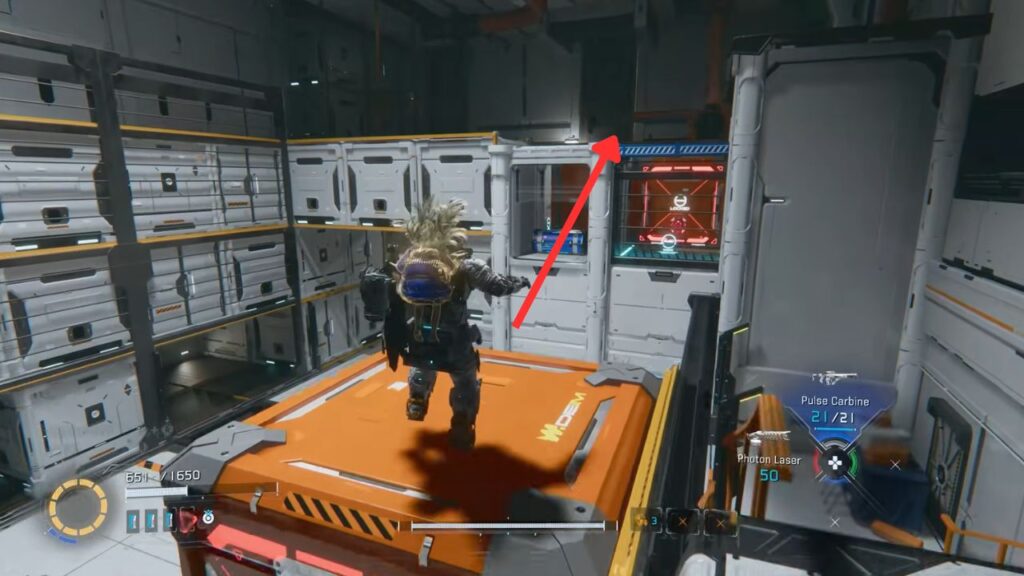
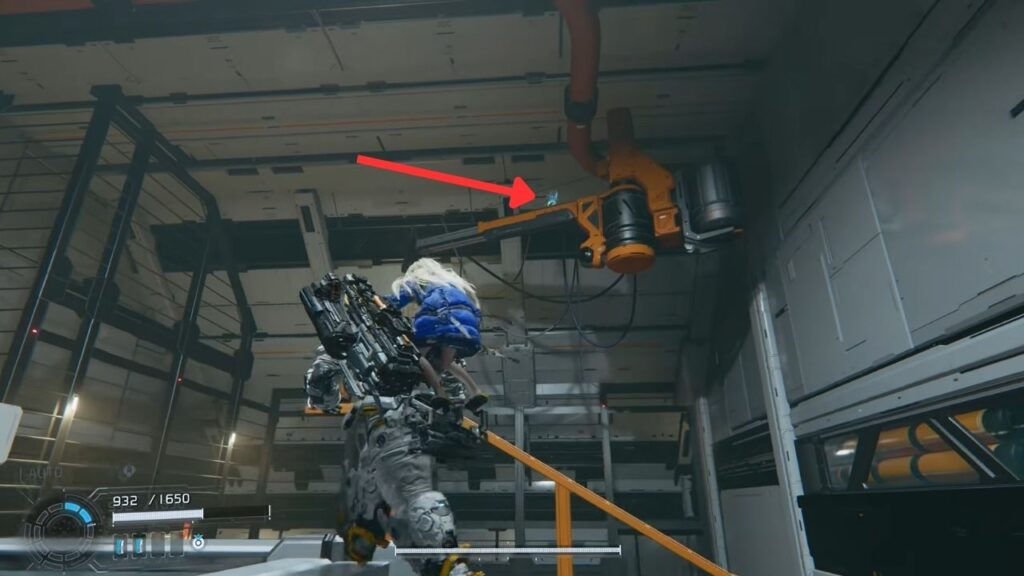
Looking up as you enter, the orange lifting machine is suspended from the ceiling. A Mini Cabin is sitting on top of it. Shoot it down.
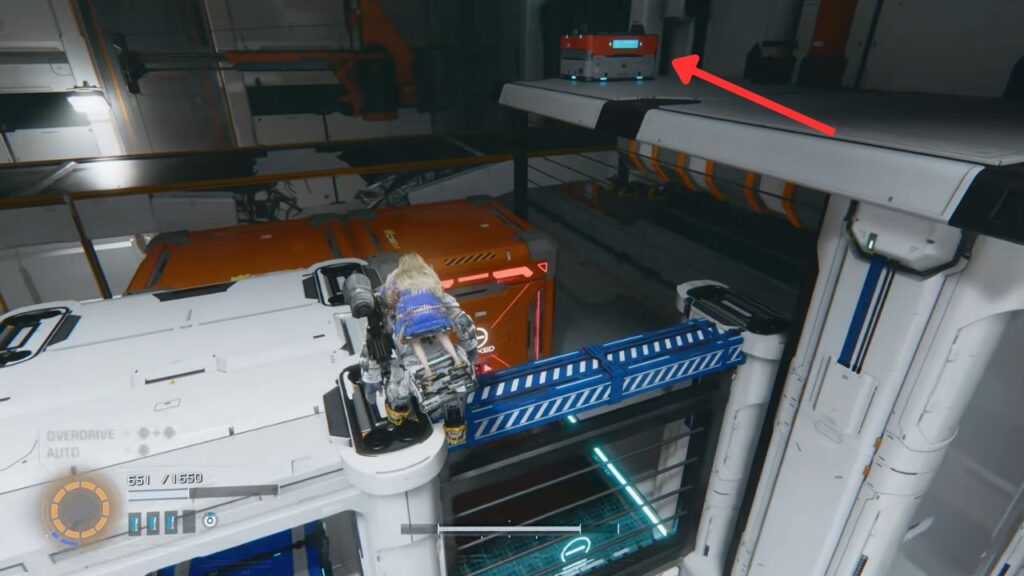
From the top of the zipline on the right, lean over the railing and push the crate below away. Jump down and push the crate directly ahead. Walk it all the way to the end, climb over it, and drop into the space behind for an Upgrade Component.
Turn around and push the crate you climbed over to get here twice, then push the crate on the right side. Move to the back of the crate you just pushed, and push both crates on top to build a climbable stack.
Get to the top and open the Safe Box with Lunafilament and get the Upgrade Component waiting there.
From the red crate below the Safe Box, run and jump across the gap to the far side for yet another Upgrade Component. Spot the crate through the fence and push it out to open the route to the exit.
Take the stairs up and return to the starting platform. Jump to the new crate and climb to the platform above. There’s a zipline here. Before taking it, go past it to the right to grab some Training Data. Then take the zipline up and activate Escape Hatch: Warehouse Exit Station at the top. Through the door is the Main Excavation Site.
Main Excavation Site
Down the stairs is a mining rig. Hit the red panel to get it moving, you’ll ride this platform to the next door while fighting off two waves.
Wave one: two Walker Mk-IIs. Wave two: an Air Raider.

The Air Raider is an airborne attack robot. It pulls back before diving across the platform. It fires missile volleys, red circles on the ground show where they’ll land, so move clear.
It can also drift slowly over the platform with flames firing from underneath, damaging anything it passes over. Finally, it can trigger horizontal laser beams across the platform that you’ll need to jump over or duck under as they appear.
Once the Air Raider is down, the rig finishes its route and drops you at the door.
Inside, activate Escape Hatch: Mining Control Room Station, then head back out. No LunaDigger in this section.
Go to the building on the right side of the area and use the black and white containers to get onto the roof. Find the crate up there and push it, then go through the doorway and push the interior crate to open a floor hatch. Drop in for a Safe Box with Lunafilament and a chest with Mod: Eagle Eye.
Hack the door. Outside again, skip the building directly ahead and go left instead. There’s an Upgrade Component out there, plus a Holo: The Blue Earth just behind it.
Drop off the edge near the Holo to land on a lower ledge with another Upgrade Component.
To the left of the main building’s entrance, there’s a storage rack full of metal cylinders. Climb on top, then through the gap in the wall above. Drop down inside for REM: Tent.
Back outside, use the proper entrance to the main building. The computer inside has Email: Lab Incident and Cause.
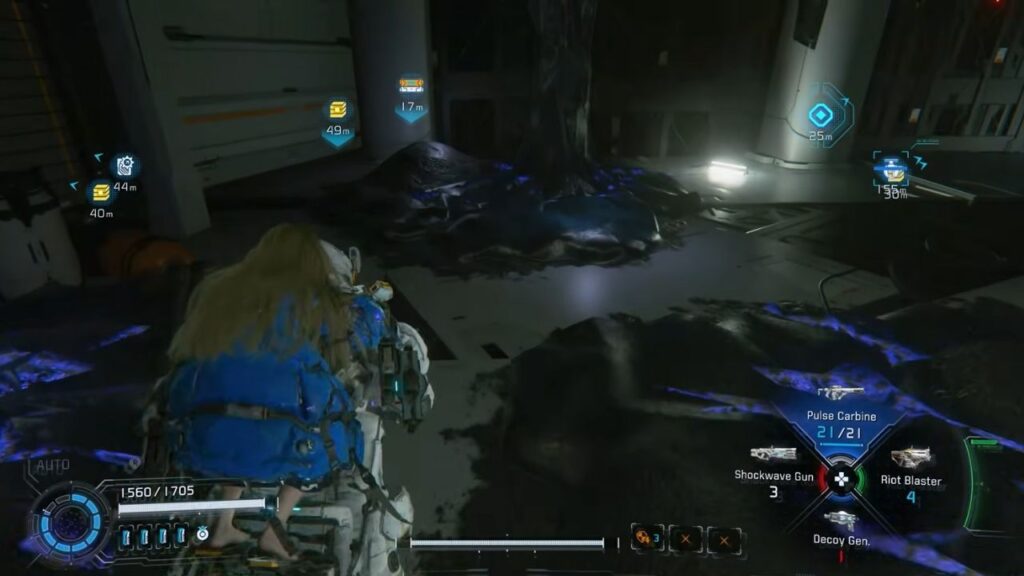
Move forward until the door locks and two Spiderbots drop in. Take them out. The next room has purple goop on the ground, that’s Dead Filament.
Walking through it chips away at Hugh’s health and corrupts Diana’s hacking grid with purple nodes. Stepping on a purple node during a hack briefly stuns her. Steer clear wherever you can.

Climb up to the next platform and meet a new type of enemy, Anomalous Walkers, corrupted by Dead Filament. They’re quicker than regular Walkers and have an additional close-range attack where they inflate their upper body and blast out sharp spikes in all directions. It hits hard and knocks you back, so keep your distance when they’re up close.

Before the door ahead, look right for a small ledge reachable with a jump and hover. A well-hidden Upgrade Component is tucked away there.
Get back on the main path. At the pair of doors ahead, take the left one first, there’s a computer inside with Email: Today’s Work Schedule and Email: Fw:Fw:Fw:Fw: Return to Earth Request. Come back out and take the right door into Area 3.
Inside: Holo: A Deadly Secret dead ahead, a Red Gate Key on the bench beside it, and Escape Hatch: Logistics Management Station to activate. Through the next door, a cutscene shows the door you need to get to.
The LunaDigger is back and patrolling at ground level, alongside a number of other enemies. If you tag the LunaDigger with a Confuse node, it’ll turn on the other enemies and do your dirty work for you. Check on it occasionally and reapply when it wears off.
The walkway ends, and a Gunner on a distant platform opens fire. Drop it, then take the stairs on the left. Hack the red panel at the top to lower a shipping crate. Hop across to it and then over to the platform across. Climb to the top to open a Safe Box with Lunafilament.
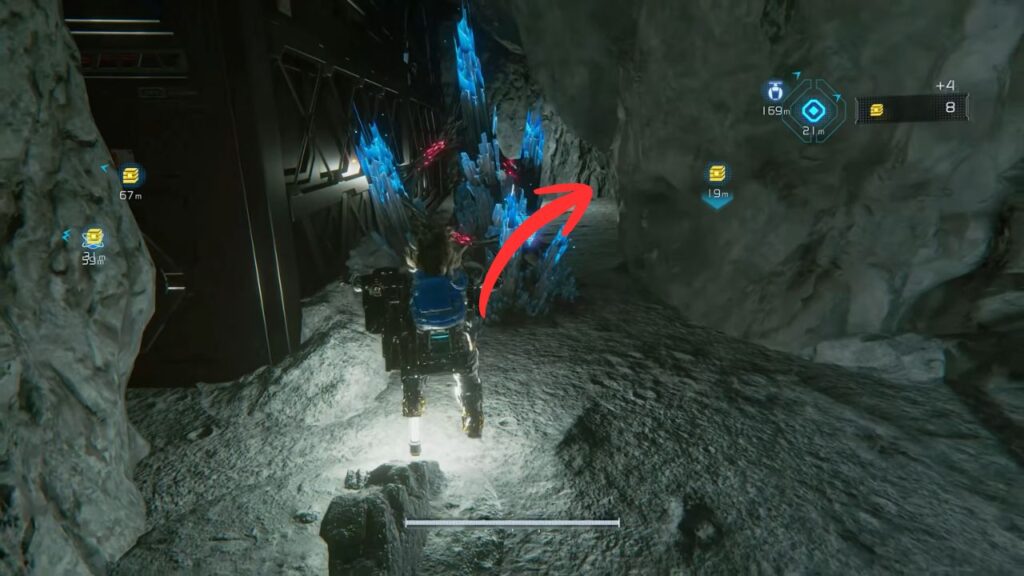
Drop to the area below and clear the blue crystals. There’s a Lancer mixed in, so be careful. Inside the crystals, you can find an Upgrade Component and a Safe Box with Cabin Coin x1.
In the far left corner is a crate stack with a couple of moveable ones. Get behind the right crate and look up, there’s a crate above it, push it upward. Come back to the front and shove both crates backward. Then move the remaining crate to the left side twice.
With the stack arranged correctly, climb to the very top. From up here, hop between the two crane platforms and make your way to a distant ledge with a Gunner on it, it fires the whole time, so stay moving. The platform has a chest with Mod: Synaptic Response.
Land on the ground below and sweep the nearby corner for another Upgrade Component.
On the other side of the area from the crate stack, a ramp leads upward. It’s guarded by an Executor and a couple of Walker Mk-IIs. At the top, Diana can clear a crystal blockage. Past it is a weapon printer and a combat zone with waves to clear: Executor x1, Walker Mk-II x2 → Defender x1, Gunner x1, Lancer x1.
After clearing everything, go through the door. Loot the Pure Lunum from the chest and hack the red panel at the top of the stairs to drop the shipping container for the exit route.
Red Zone #6 is at the base of the ramp leading up to this building.
Red Zone #6
Three waves: Watcher Mk-II x2, Missile Watcher Mk-II x2, Lancer x3 → Defender x1, Lancer x2 → Lancer x3. The unlocked chests after give you Pure Lunum and Mod: Economize.
After the Red Zone, head toward the far stairs. Before going up, check right and underneath the platform you came from to find an Upgrade Component and a Crusher Mk-II there.
Up the stairs, hack the second door to get it open, and loop back to the area entrance. The shipping container is down now. Jump and glide across to the exit. Through the main door is the Nexus Tower.
Nexus Tower
Training Data is sitting by the railing right at the entrance. Grab it, then activate Escape Hatch: Tower Access Point Station at the bottom of the stairs.
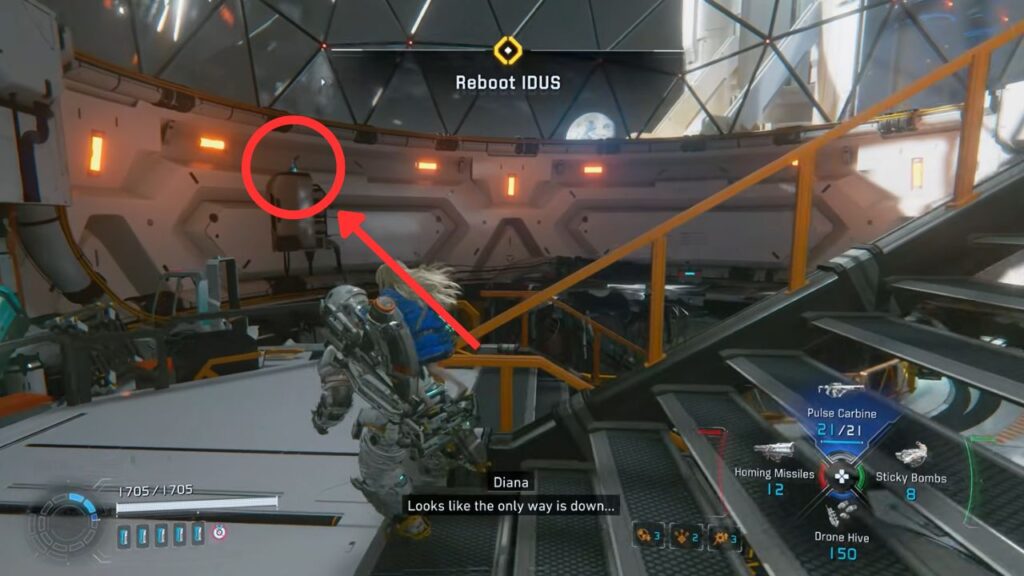
Go through the door and head downstairs. At the first landing, look across the central hole toward the far wall, there’s a Mini Cabin over there. Shoot it from here.
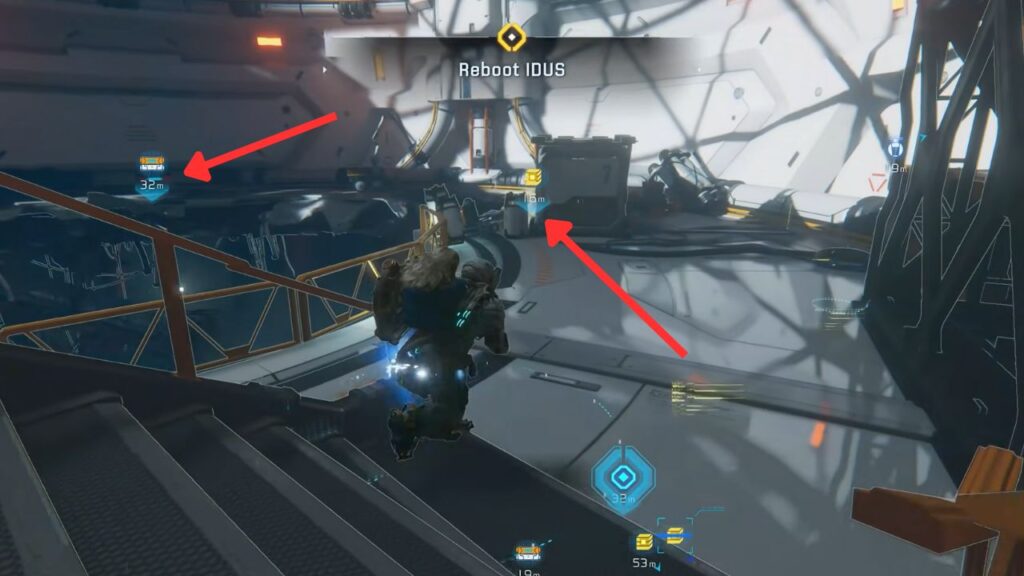
At the bottom of the stairs, follow the walkway and check behind the crate at the far end for an Upgrade Component. Jump the gap and open the Safe Box containing Cabin Coin x1.
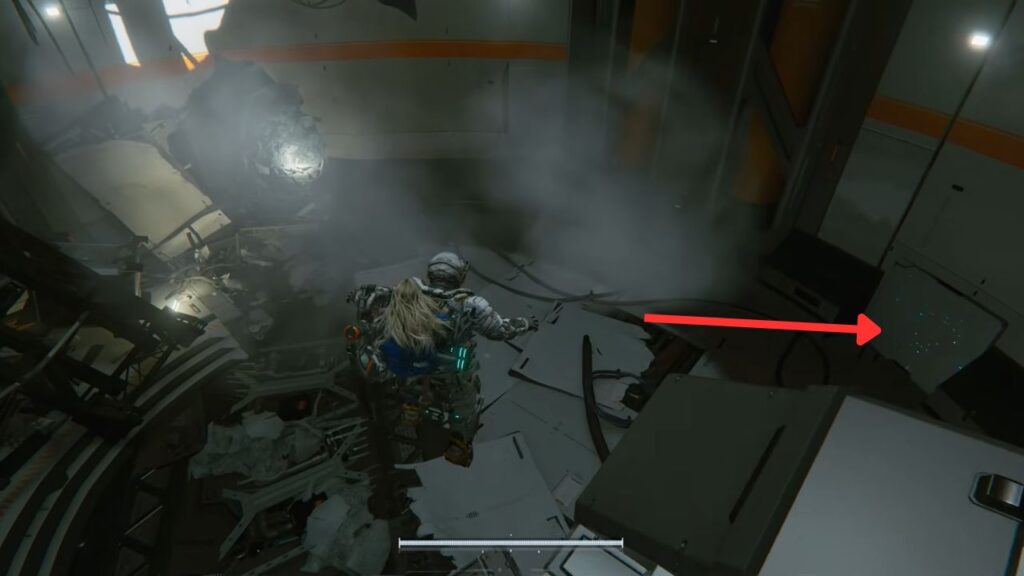
Work your way down the platforms to the floor below. At the bottom, find the tunnel entrance and check the right-hand wall, there’s a Holo-Wall there. Inside is a nice little garden with a Safe Box with Lunafilament and File: Growing Trees.
Don’t rush into the tunnel, a LunaDigger tears across the path just inside. Let it go by, then follow. Have Diana clear blue crystals as you walk. At the tunnel’s end, a Walker and a Creeper are waiting. Take them both out.
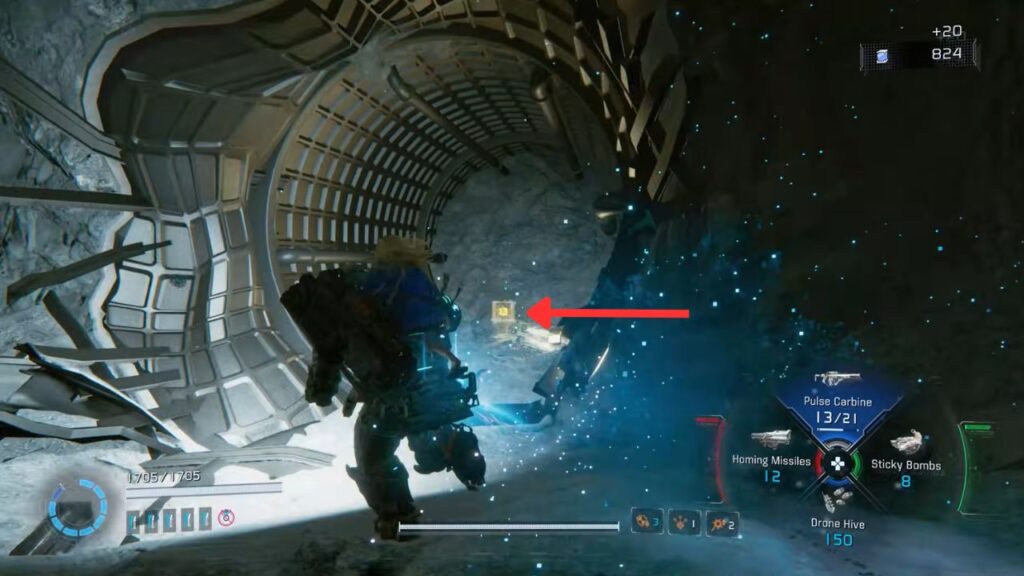
The following room is a large circular shaft. Drop down the platforms and pick up the Upgrade Component on the way down. In the tunnel below, a Walker bursts out of a side passage on the right. Clear it and check that side passage for another Upgrade Component.

A little further ahead, two Walker Mk-IIs are blocking the path. Just past them, a LunaDigger suddenly appears in the tunnel heading straight toward you. Don’t try to fight it here, immediately turn around and sprint back, then duck into the side passage from earlier and wait for it to roll past.
Once it’s clear, keep moving. In the wider cavern section, check out the Holo: Sparkling Lunum on the wall. The end of the cavern opens into a constructed area. Activate Escape Hatch: Mainframe Access Station.
Go in the opposite direction from the door to find a blue screen with Guidance: LunaDigger Sensor Adjustments and a desk with Holo: The Doctor Is Out.
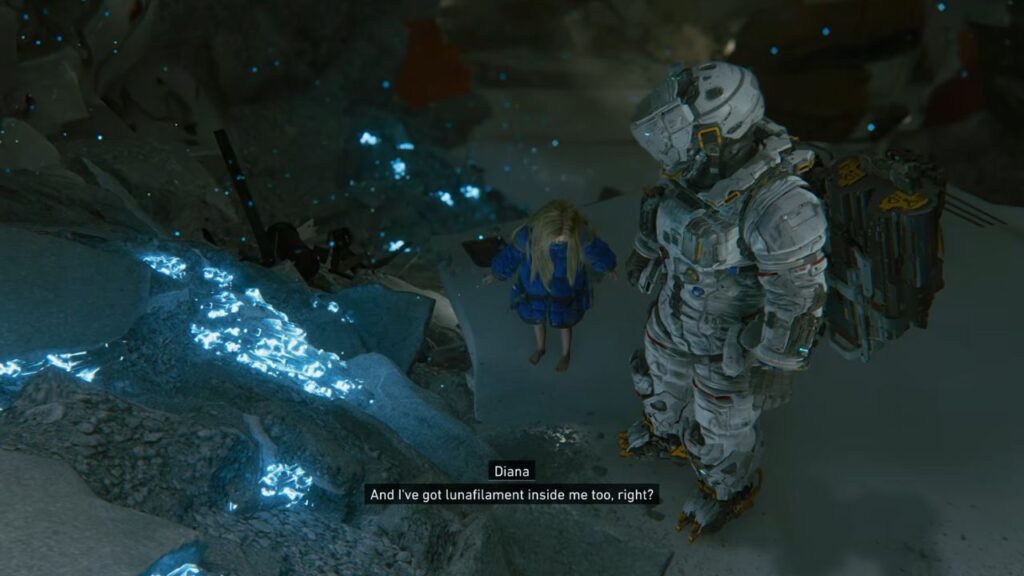
Step through the door beside the Escape Hatch into the wide sandy arena. A cutscene plays.
Boss: LunaDigger

After spending the whole area dodging it, now you fight it. Once you’ve hacked the LunaDigger, the weak point inside its open mouth takes the most damage, always aim for that.
The arena has tall crate structures with ziplines on the sides. Getting on top of them makes it easier to target the mouth. Just know the boss can tear through or topple them with most of its attacks, so keep an eye out and move when needed.

When submerged, the boss glides beneath the sand between attacks. Track it by the yellow sparks on the surface. It tends to surface close to where you’re standing, so never stay still for too long.
Attacks when rising head-first from the sand:
- Laser Sweep — fires a red beam from its mouth along the ground and drags it upward. Can also reverse this, starting up high and sweeping down.
- Bite Lunge — locks onto your position and launches itself forward with its mouth wide open.
Attacks when fully above the surface:
- Missile Barrage — rolls in place and fires missiles straight up that scatter down across the arena. Step out of the red warning circles before they land. Watch out! The boss can also rear up and use the Laser Sweep simultaneously during this.
- DigBits — surfaces and spins, flinging small bladed robots off its body. After a roar, those robots launch themselves at you. Hack one or two per wave to send them back at the boss, you won’t get all of them, so dodge the rest. They build the boss’s Overdrive meter fast, opening up Critical Hit windows.
Keep circling, avoid the red markers, hack the DigBits when you can manage it, and keep shooting the mouth. The patterns become readable after a few passes.
After the boss falls, collect the Lunafilament that drops along with a brand new Shelter License Key. Head through the door that opens.
Follow the corridor to the end and open the door. A sequence of cutscenes wraps up the area. You wake up back at The Shelter.
The Shelter — Fifth Visit
Cabin points you toward a previously locked door with a second tram behind it. Make your way through and interact with the panel. Select Pragmatics Site Platform to ride out to the next area, Experimental Pragmatics.