
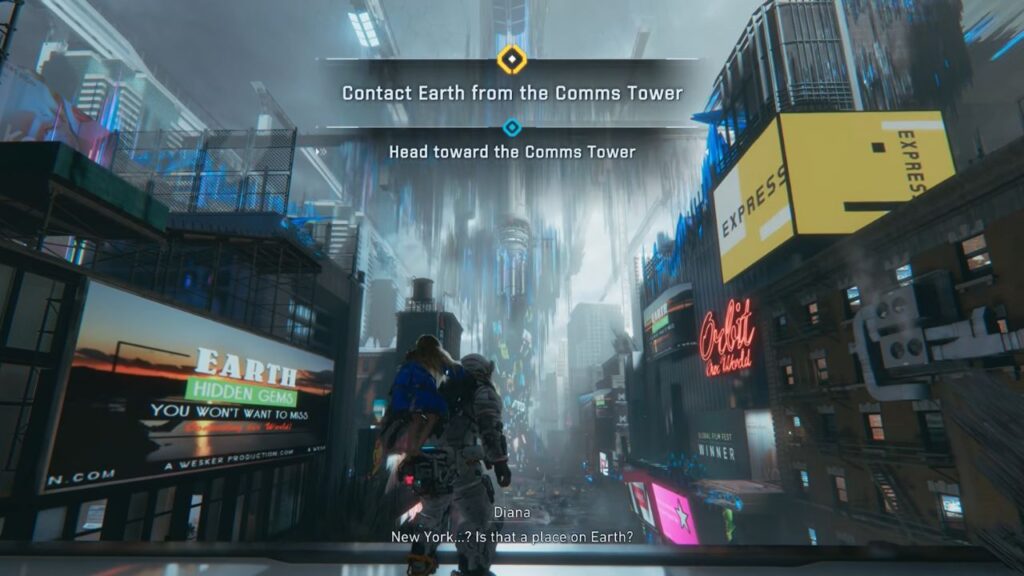
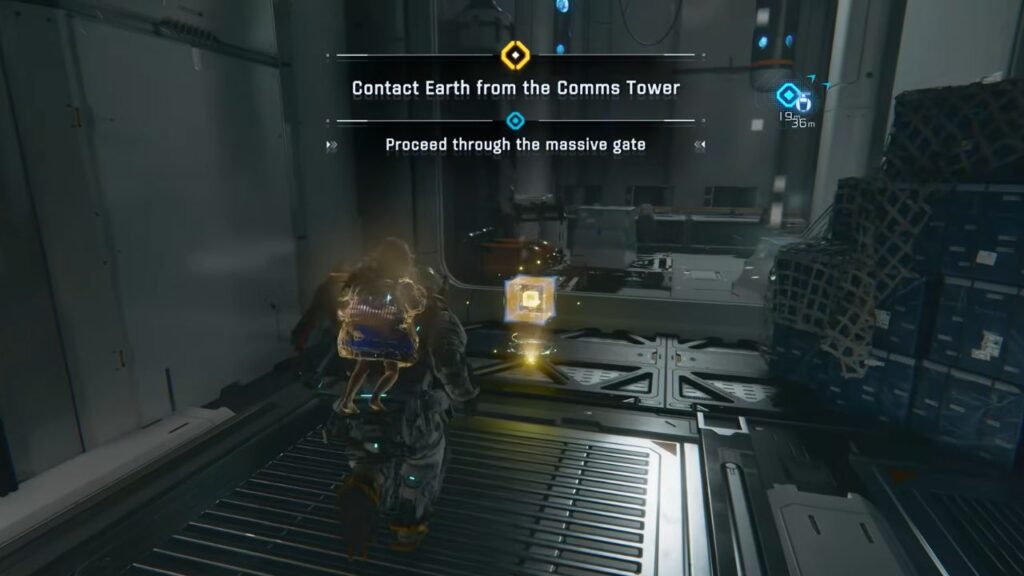
After clearing Sector 01, you’re now pushing through a recreation of New York City toward the Comms Tower. The sector is split into six Blocks. Check your map after unlocking each Escape Hatch to see what’s nearby.
Shelter Level 1 — New Features
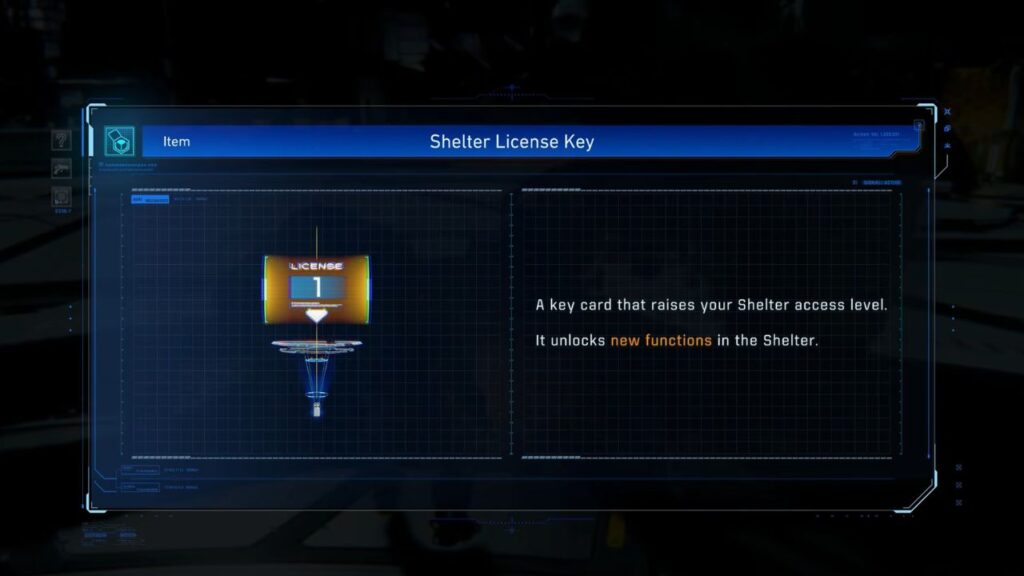

Finishing a sector gives you a Shelter License Key. Head back to the Shelter and walk past the healing point to trigger a cutscene. Hugh and Diana meet Cabin, a small talking robot, who upgrades the Shelter from Level 0 to Level 1.
This unlocks several things:
- The REM Replicator Beta lets you display Read Earth Memory items you’ve collected. Talk to Diana when you see the REM icon above her head, choose Give Present, and hand one over. The Replicator prints it and puts it on display. Diana will visit it on her own, and each one you unlock earns you a Cabin Coin.
- Cabin’s Stamp Club opens as a mini-game. Spend Cabin Coins on squares to win prizes like mods, Red Gate Keys, and outfits. It works like bingo, and completing rows earns lunafilament. The first board is the Trainee Board, and finishing it gives Diana an outfit.
- You can also use the Jukebox by talking to Cabin.
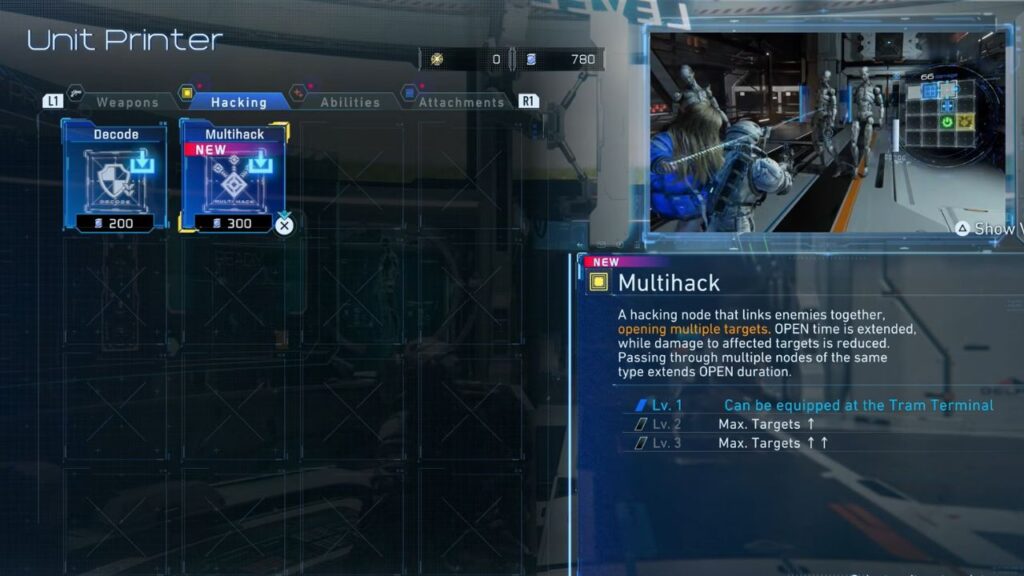
- Unit Printer and Firmware Updater now have more options.
Now, go to the tram and open the Tram Terminal Menu. Equip your weapons and any Mods or Hacking Nodes. Buy weapon blueprints and unlock Mods at the Unit Printer first. Then choose Ride the Tram → Mass Production Array → Test Site Entrance Block.
Block 01
Hugh and Diana arrive at the Mass Production Array. Hugh identifies a Comms Tower that might be able to send a signal to Earth.
Right after stepping off the tram, check the path going right around the corner. The first Upgrade Component is at the end of it.
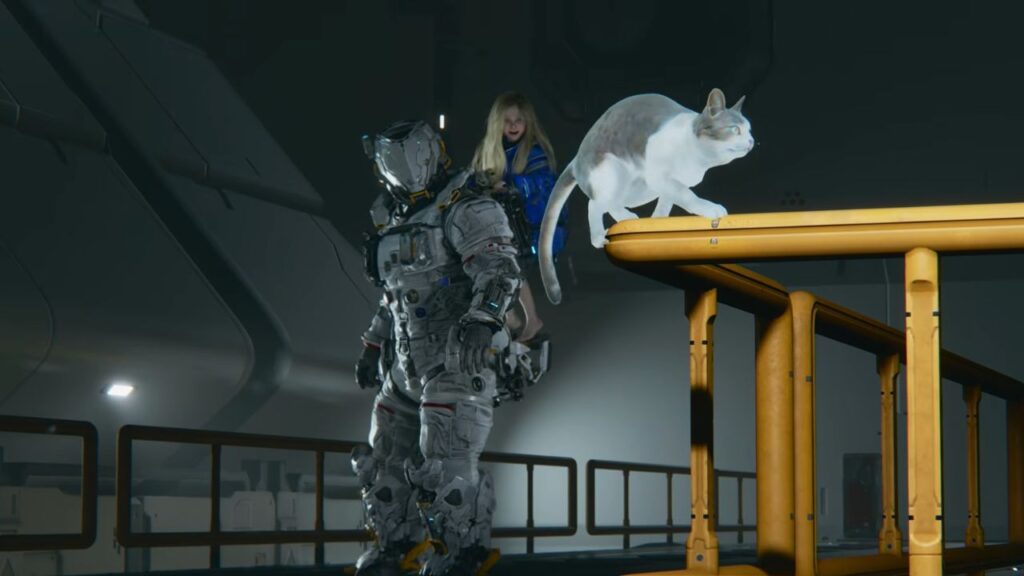
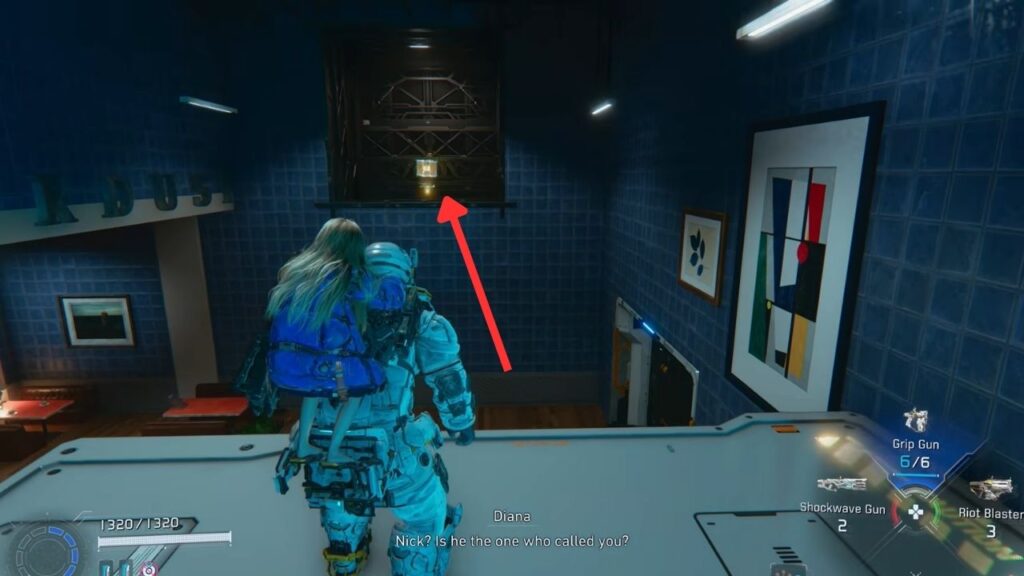
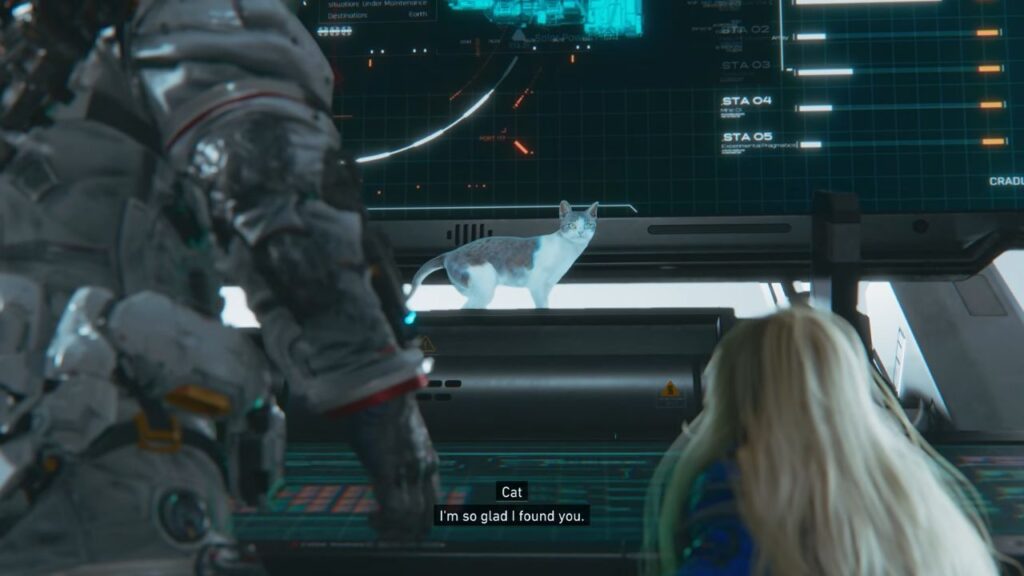
Move forward to the top of a long staircase and open the chest on the right for Decode x3. A cutscene plays, Diana spots a cat and tries to catch it. Things go sideways, but everyone’s fine, just a little bit of a life lesson for Diana.
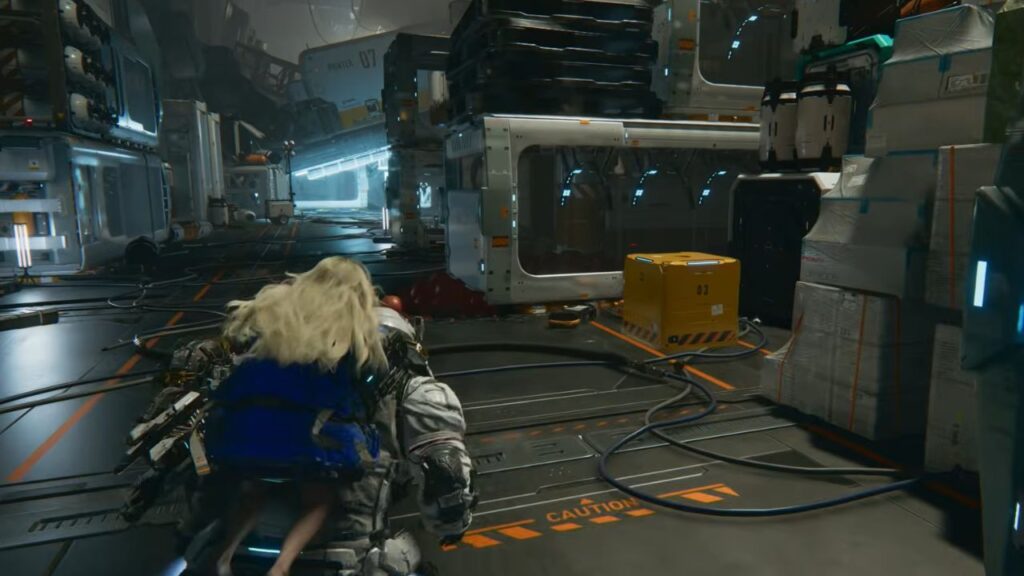
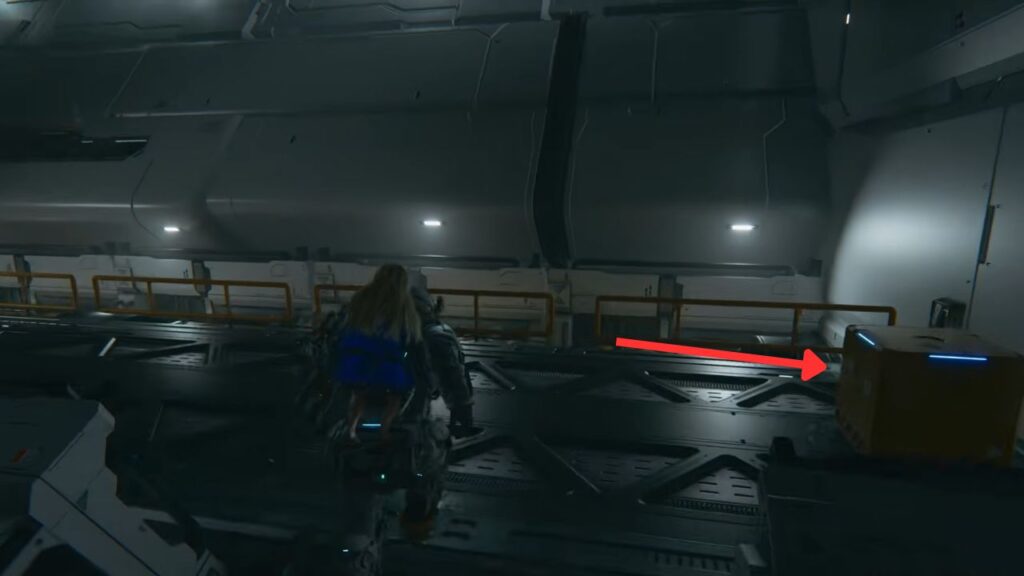
Continue into the large room full of partly printed cars. Open the yellow box on the right for Data Shard x1.
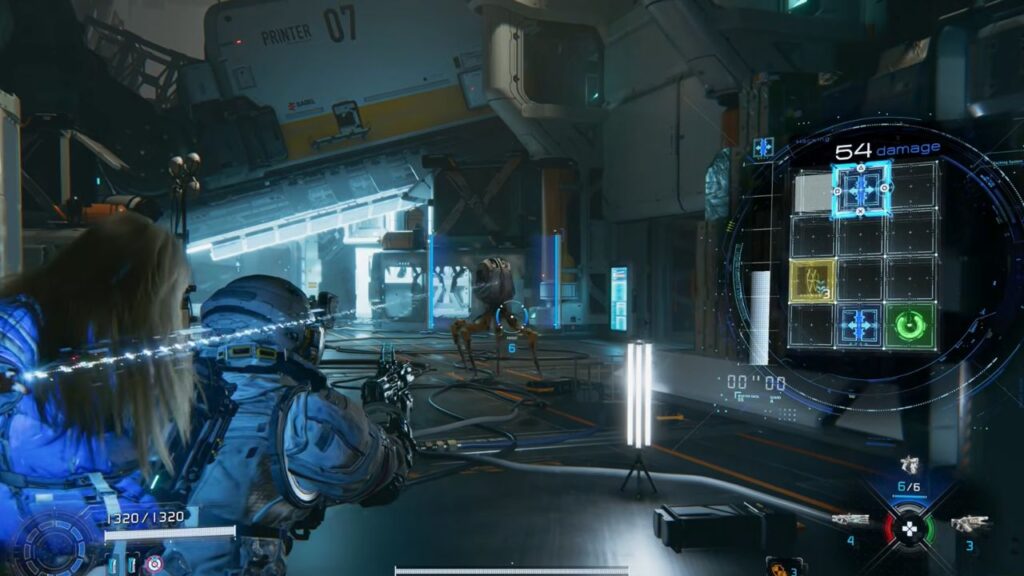
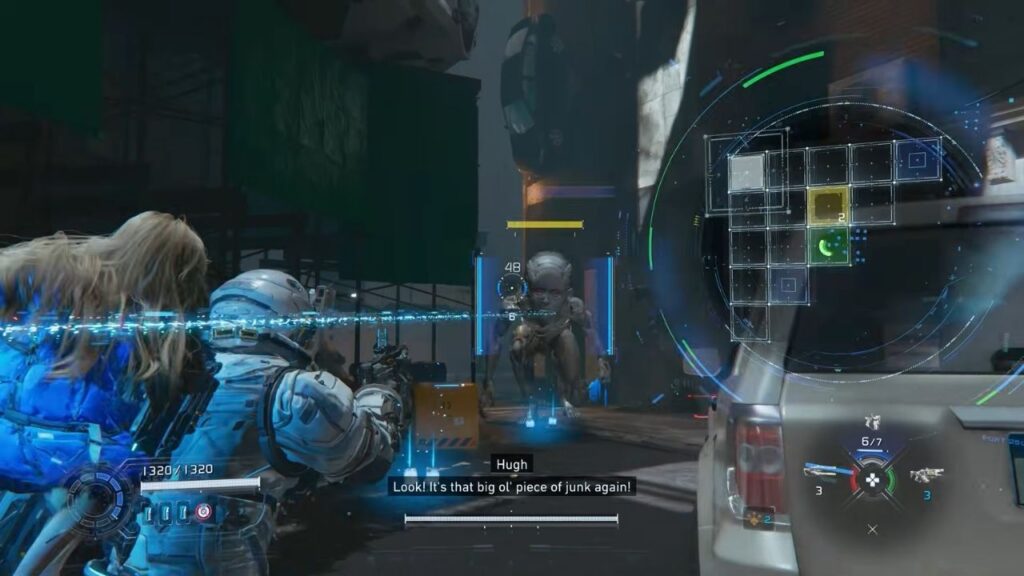
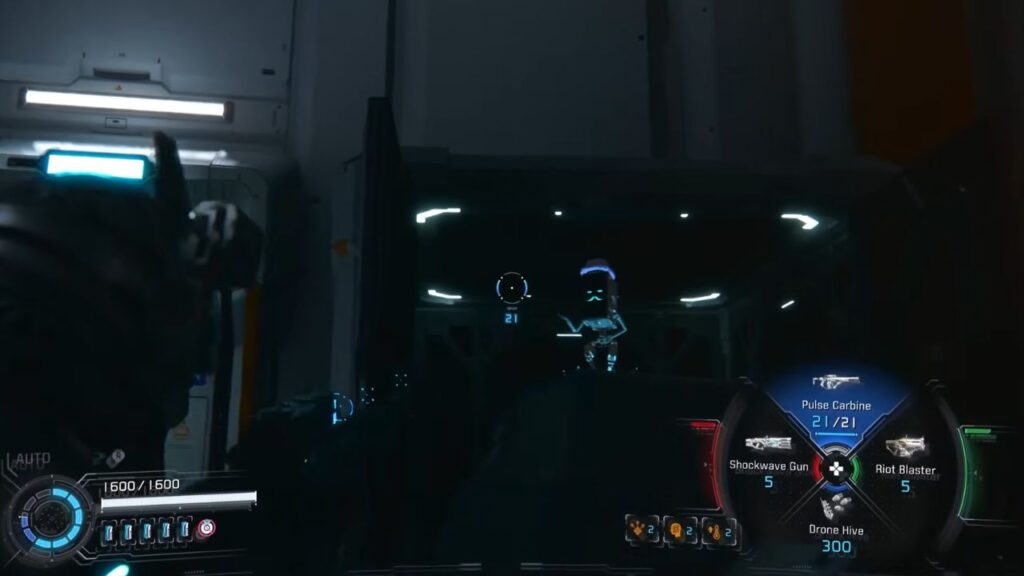
A new enemy type, the Spider, attacks at the far end. It rolls like a wheel and charges at speed, hack it to expose the weak point at the center of its round body.
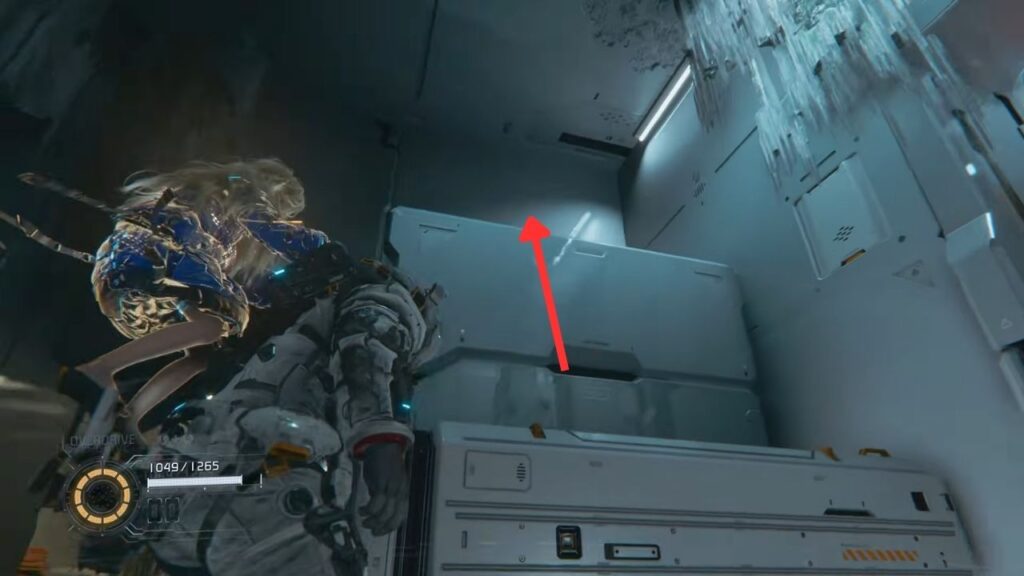
After the fight, look toward the bright area under a printer at the far end. The second Upgrade Component is in the dark back corner underneath it.
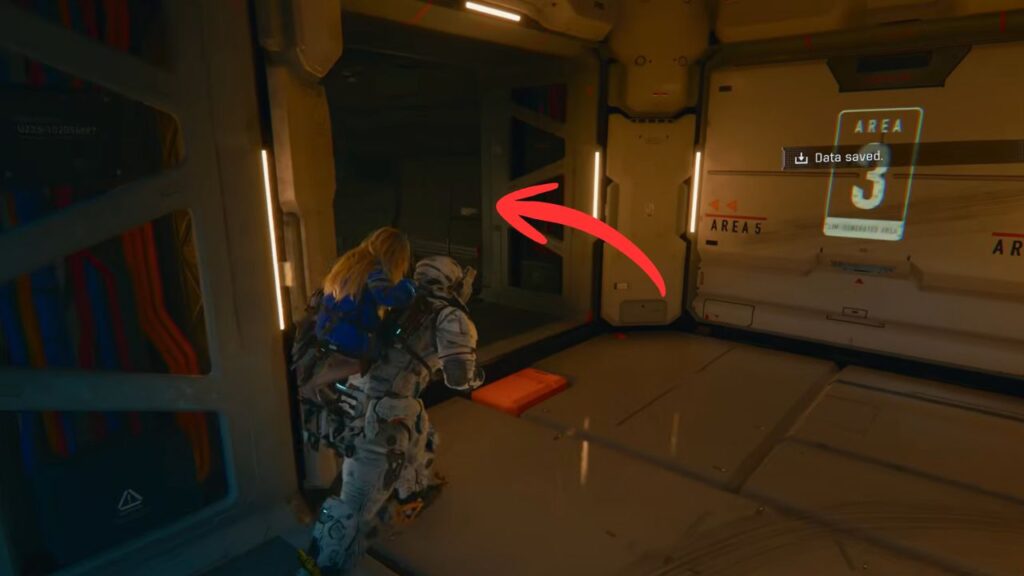
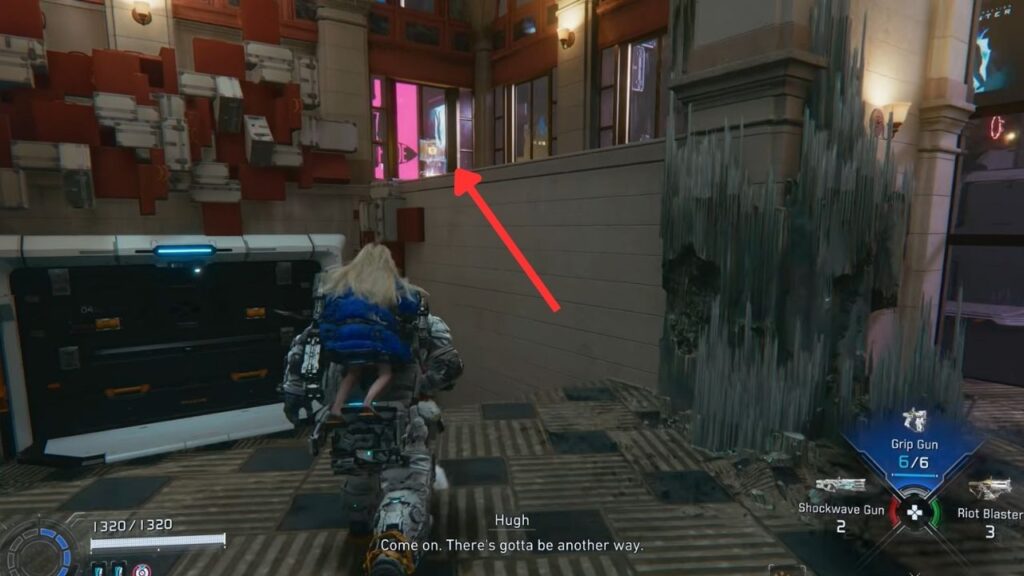
Go through the entrance marked Area 3 when you’re ready, but the door is locked, so turn left and head down the corridor toward Area 5 instead. The path to the right toward Area 4 has a tablet and a conversation, but it’s a dead end for now.
Partway down the hall, a Walker bursts out of a room on the right. Take it out. The room it came from has a tablet on the desk. Get inside and take the Upgrade Component on the left, and the tablet on the right.
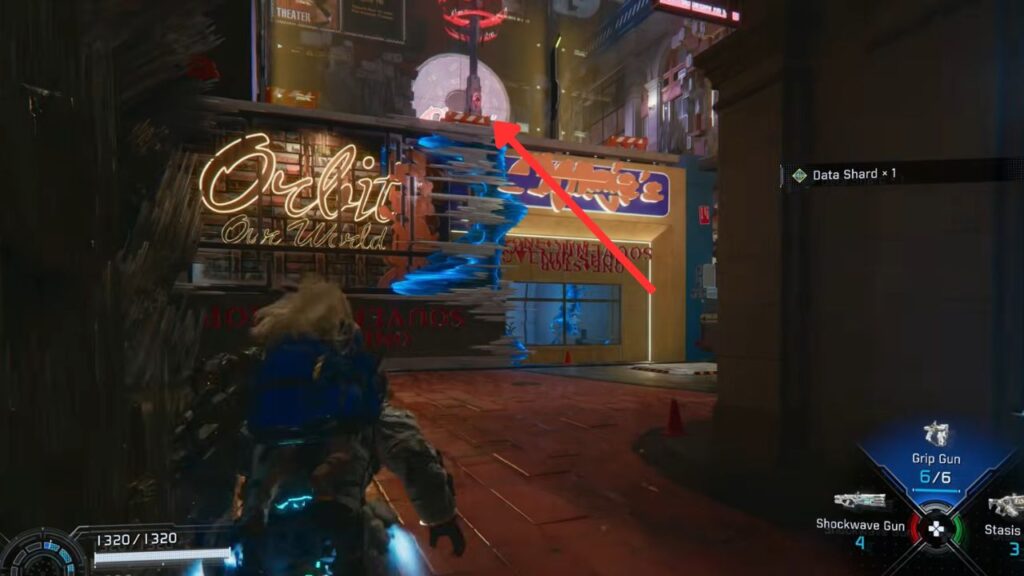
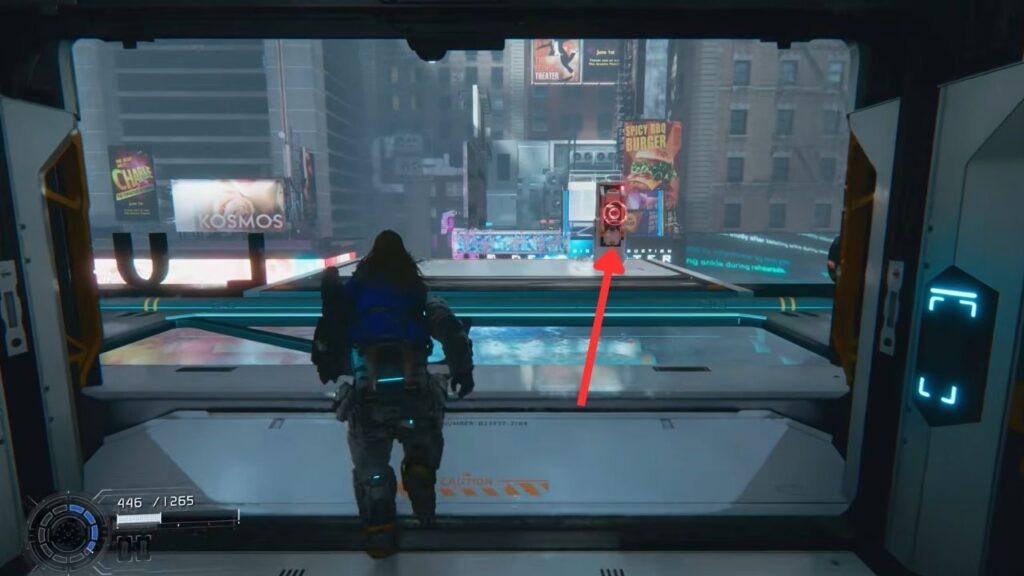
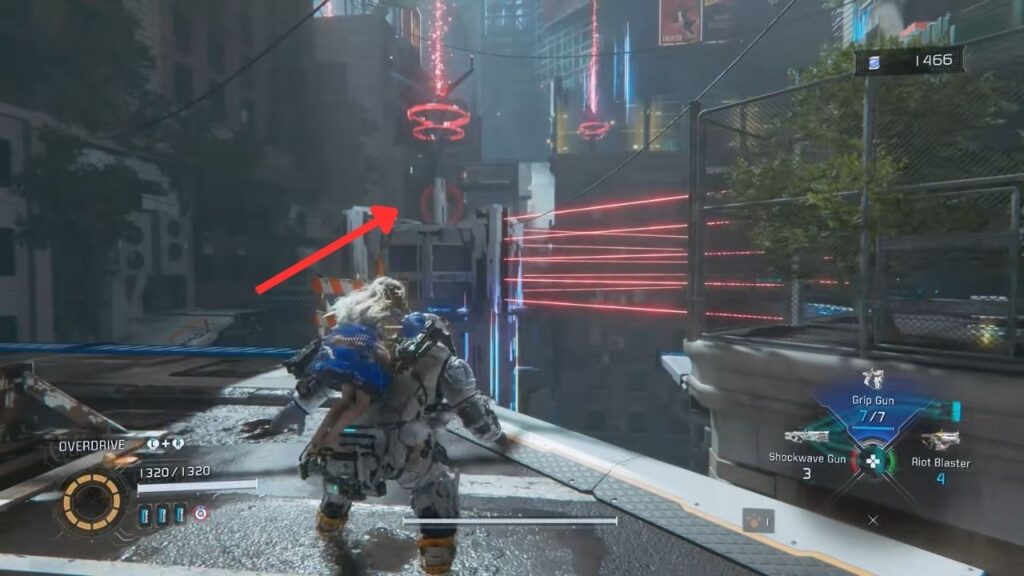
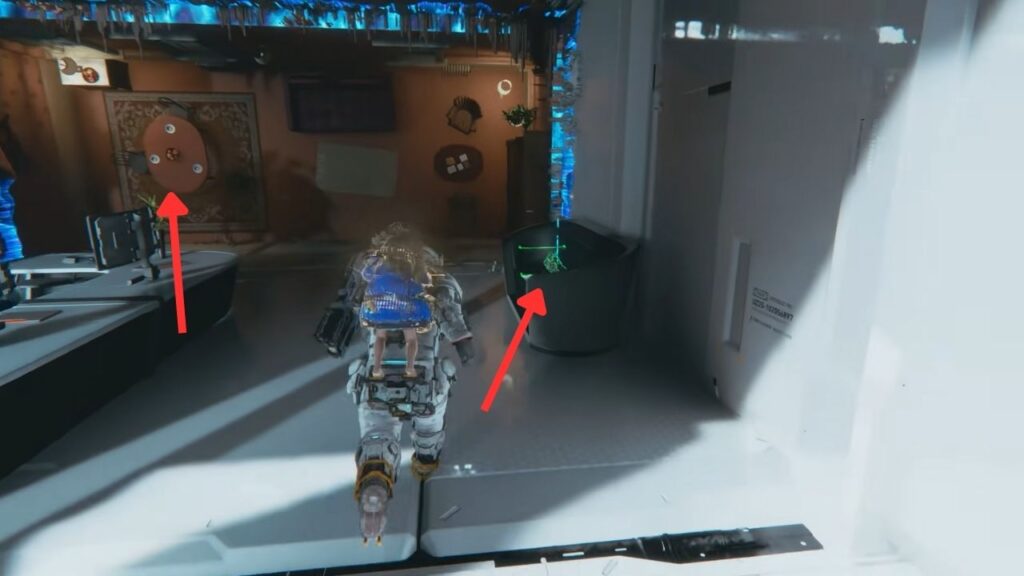
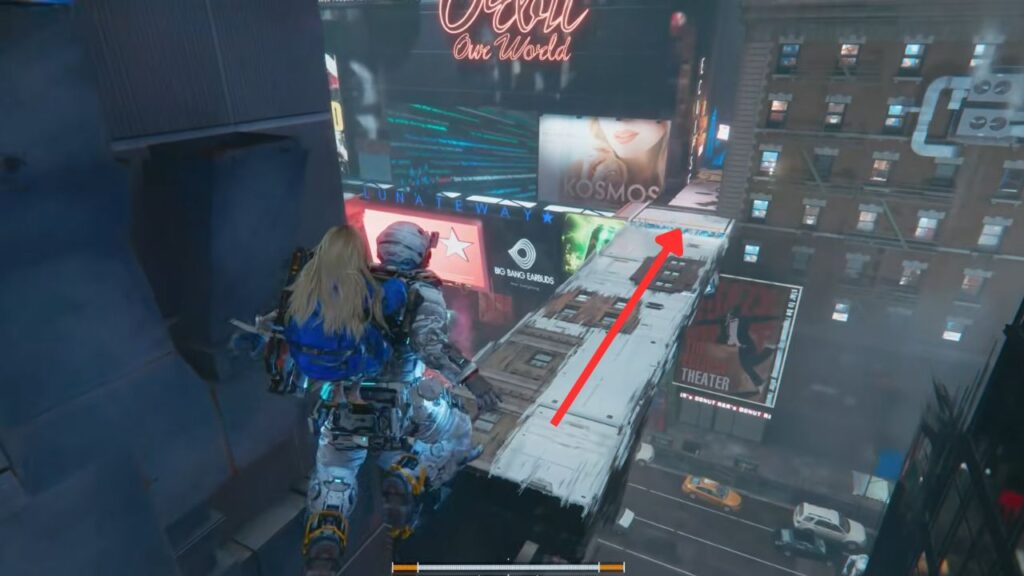
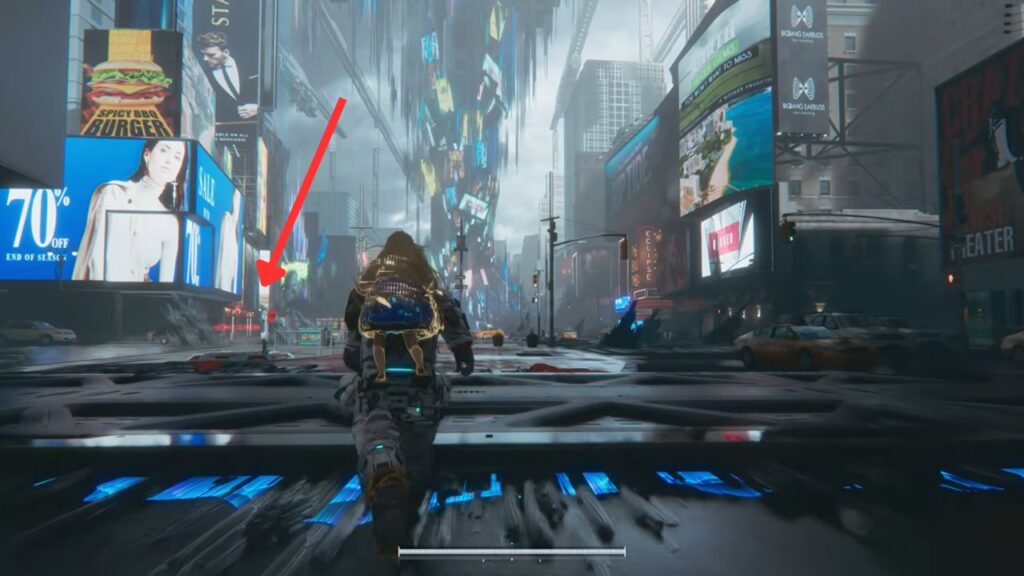
Keep going forward and open the box before going right for Data Shard x1. Turn right and move along until you come out into a wide open area with a printed Times Square below you.
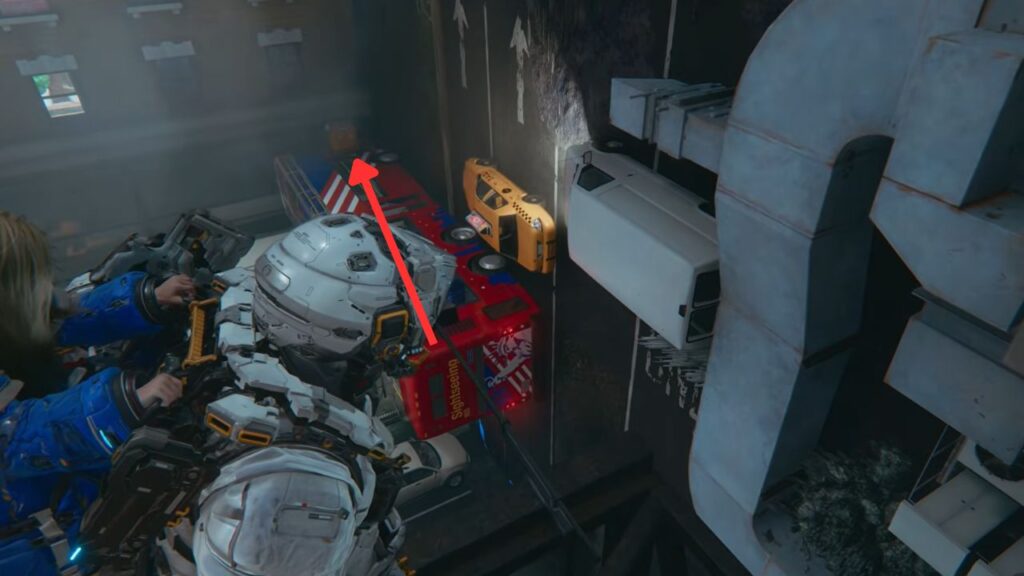
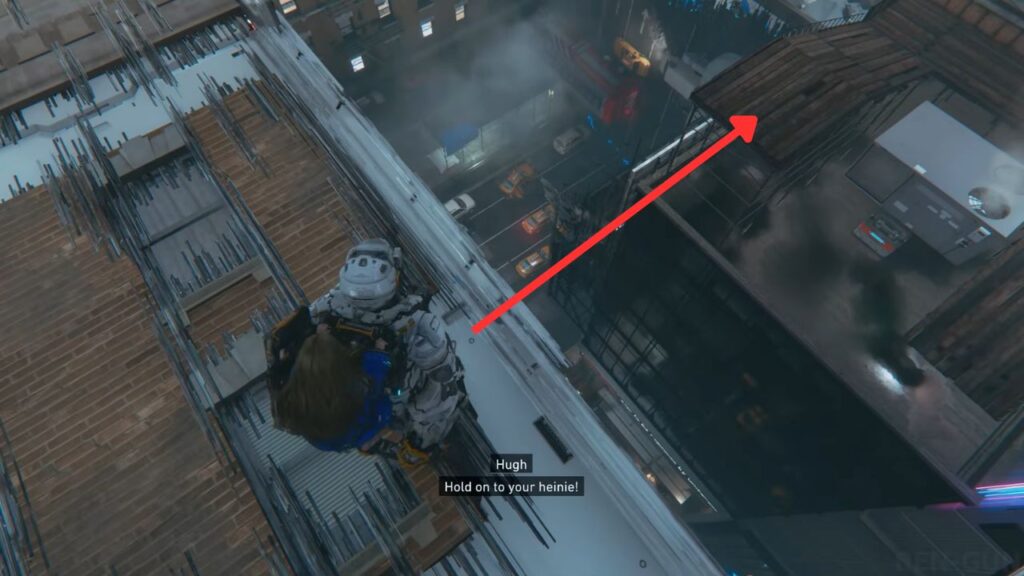
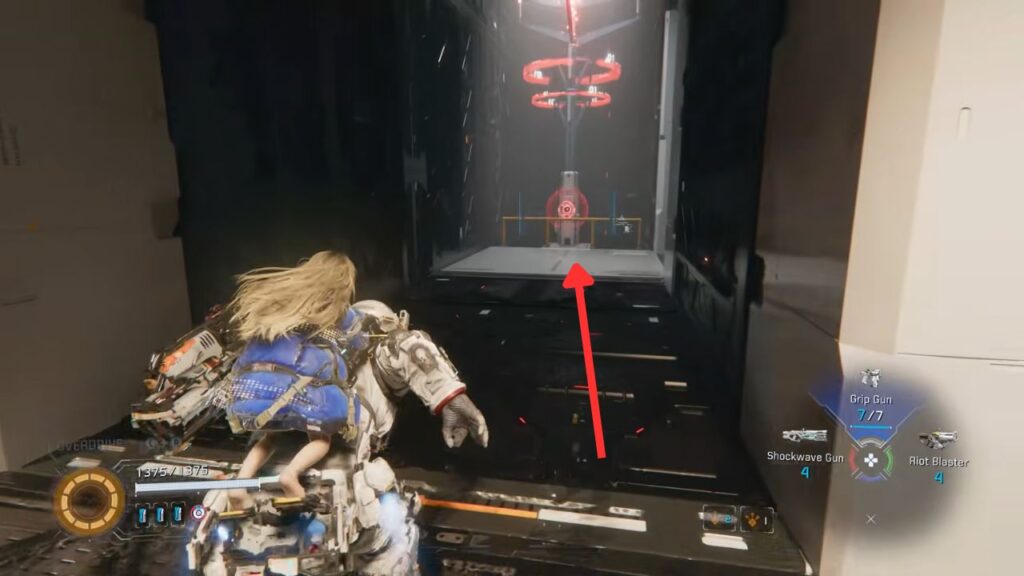
Hugh spots the Comms Tower. Take the ramp on the left and hover onto the hanging red on the right side. Open the box at the end for the Shockwave Gun.
Under the same bus, the fourth Upgrade Component sits beneath the scaffolding on the left. Drop down to grab it, then a Walker spawns right behind you.
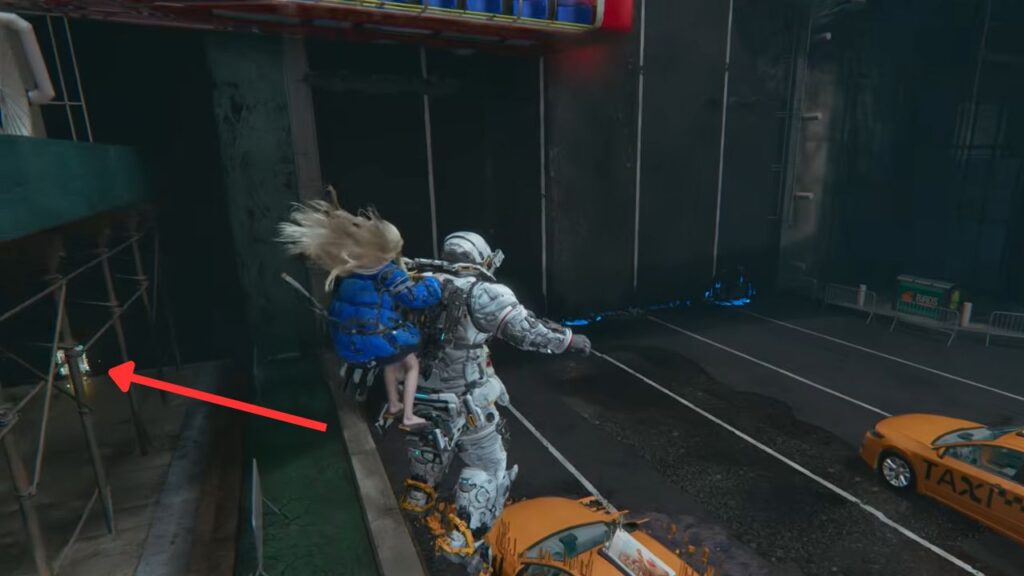
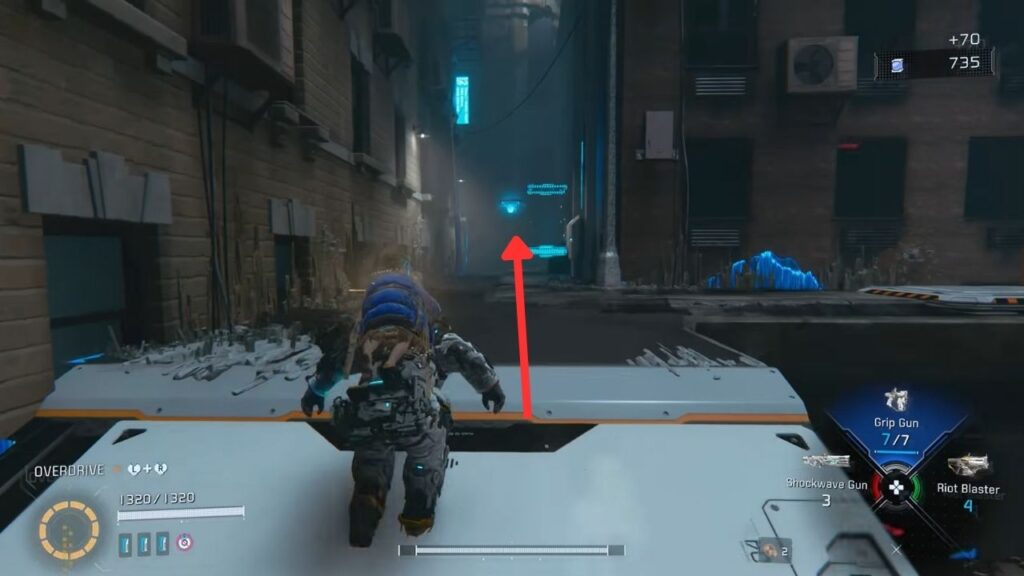
Once on the street, look left for an alley with some half-printed taxis. Get the Upgrade Component in the left corner, then defeat the two Walkers spawned behind.
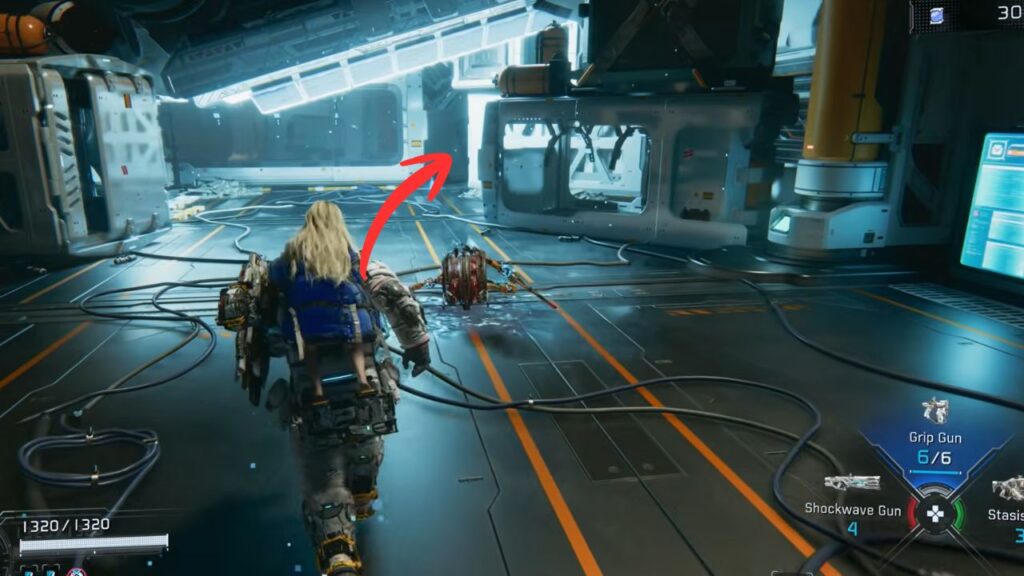
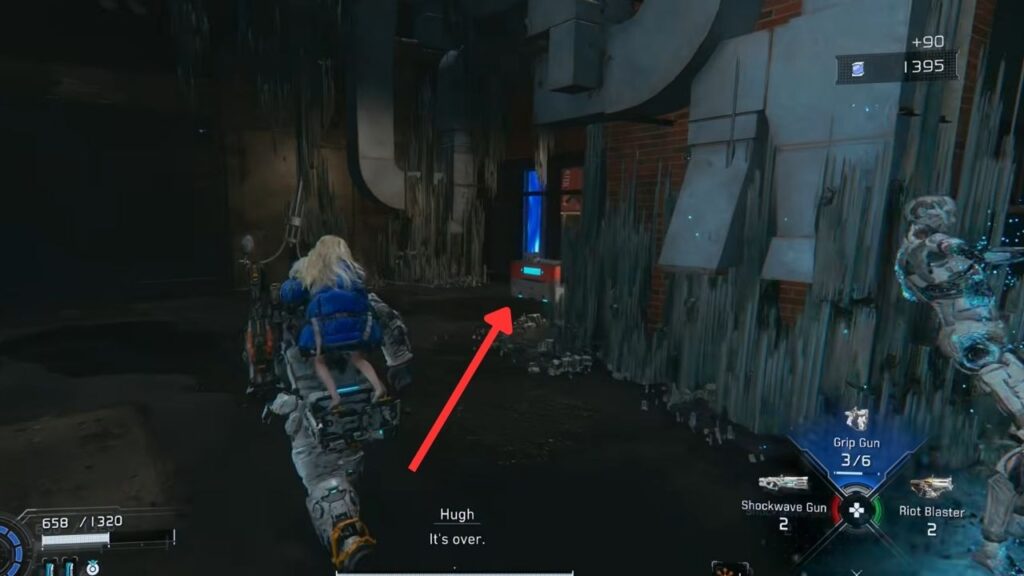
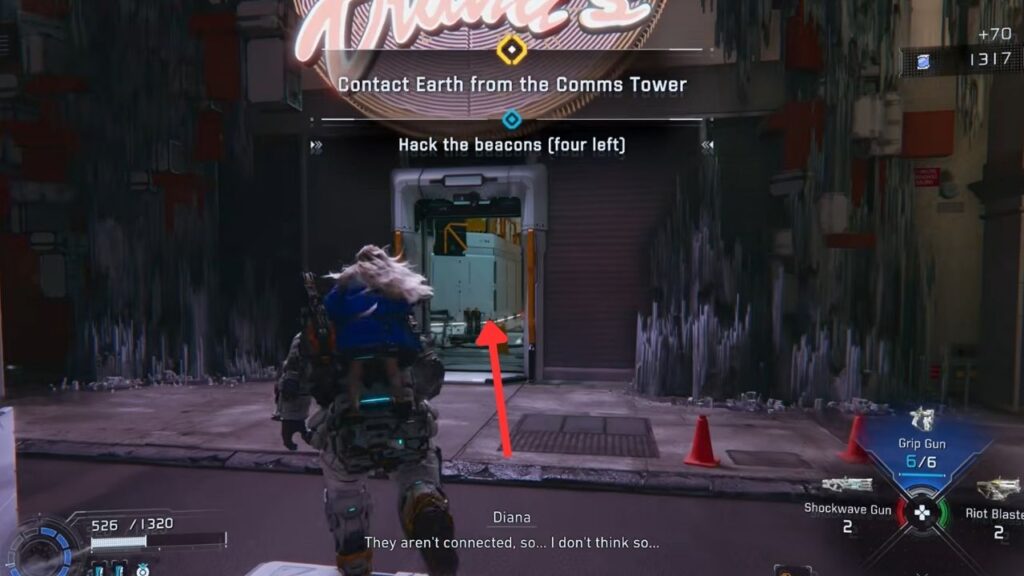
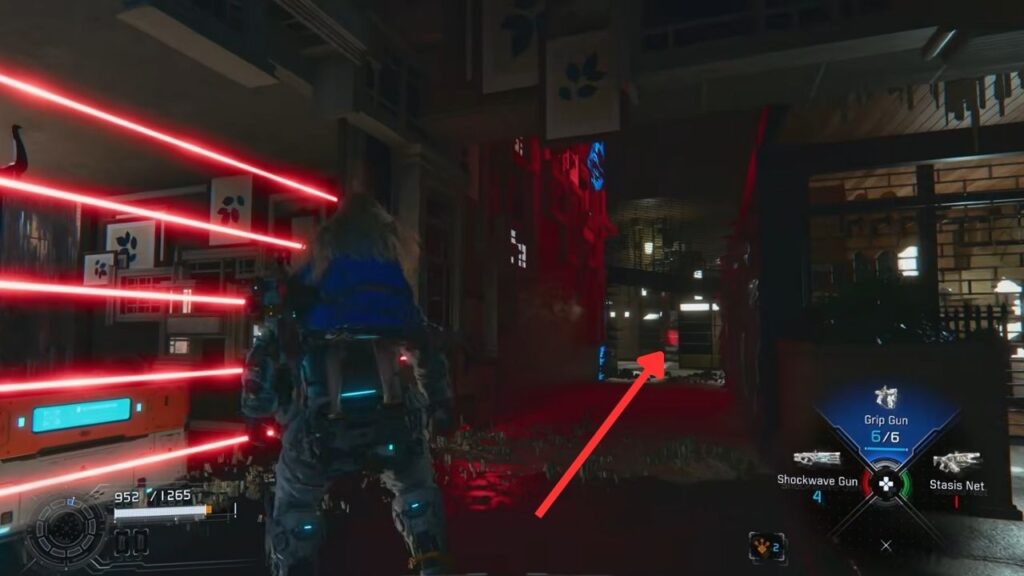
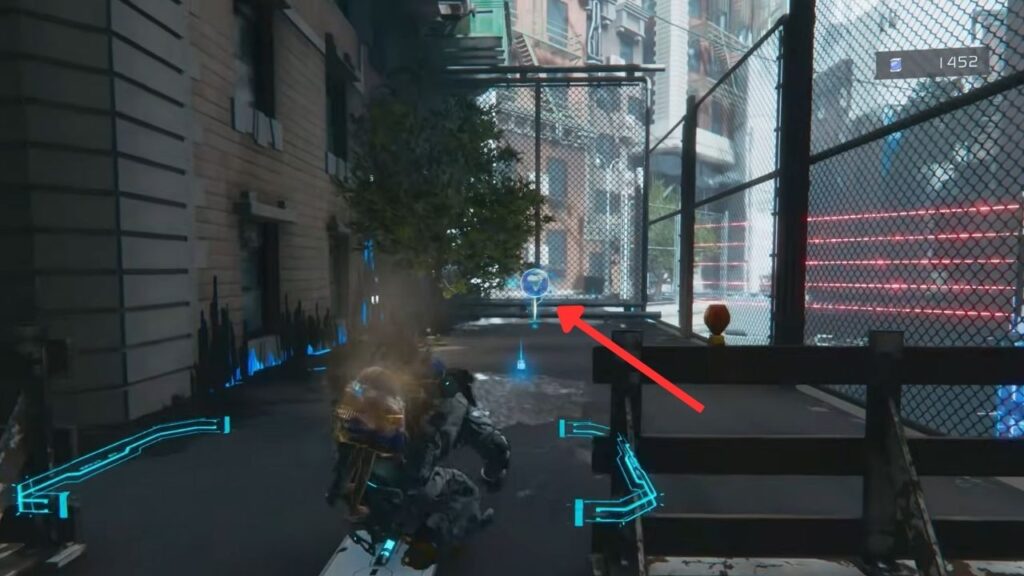
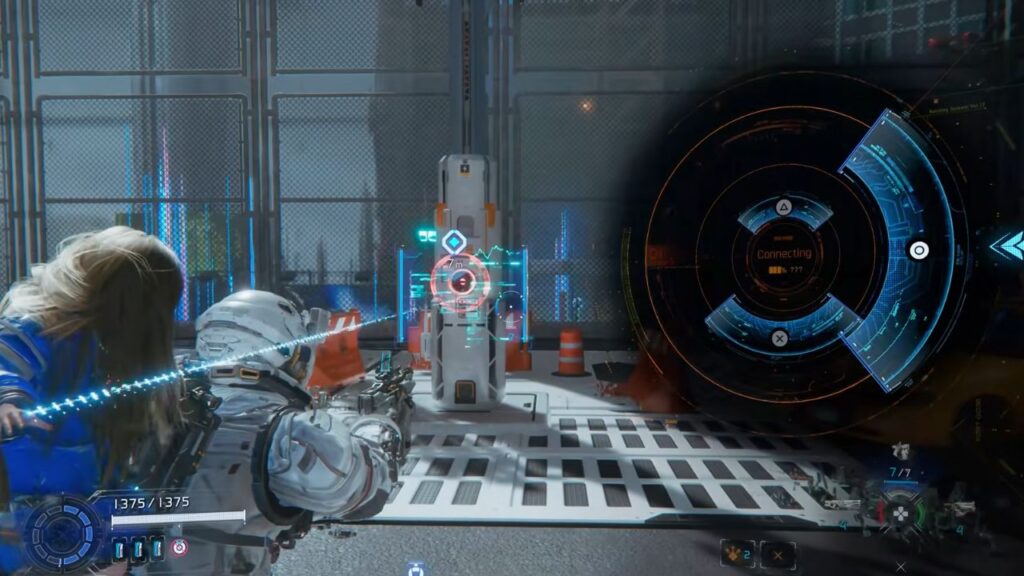
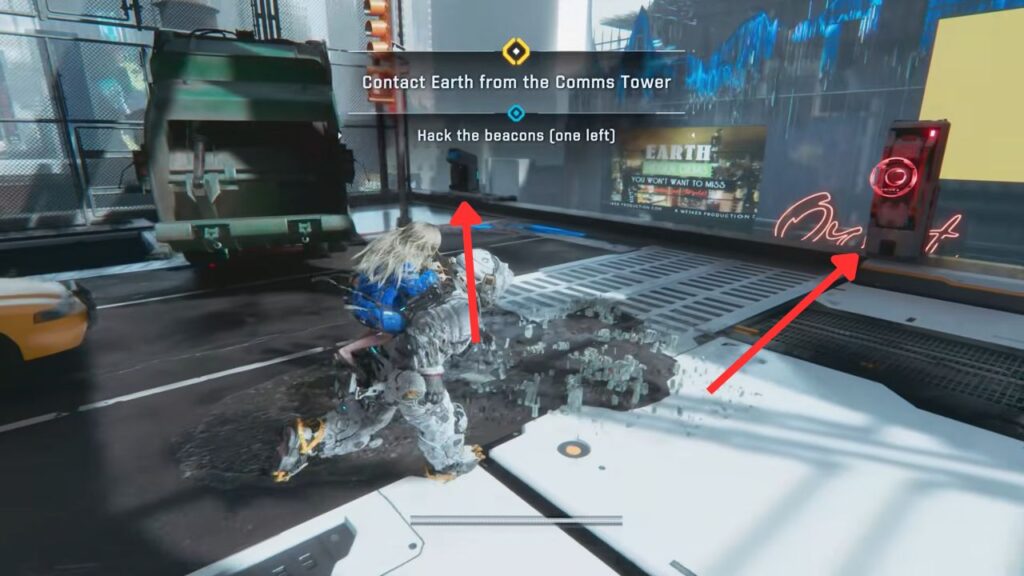
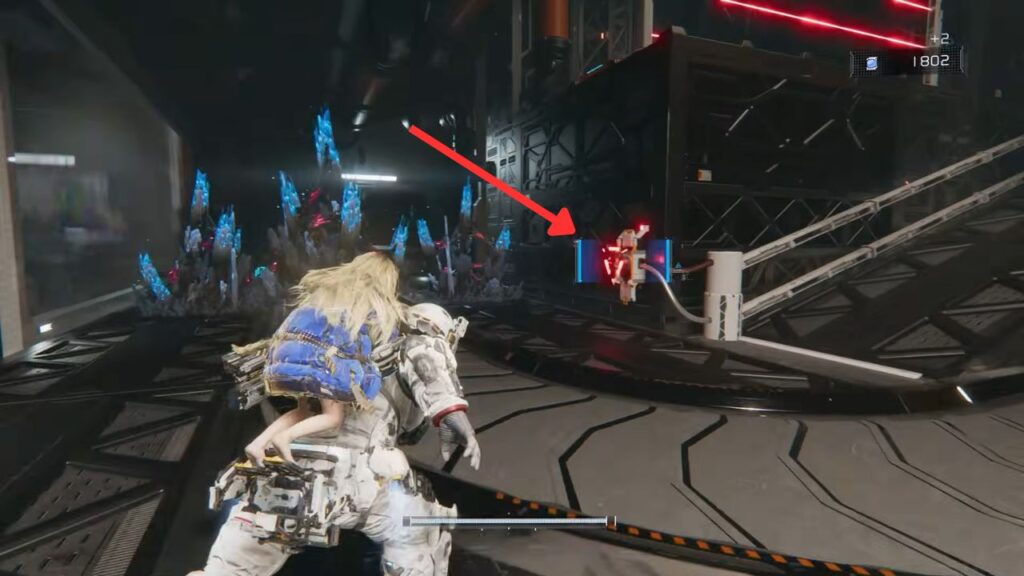
As you walk toward the center of Times Square, a massive gate slams shut, locked by six beacons spread across the array. You need to hack all six to open it.
You can scan to see where to go.
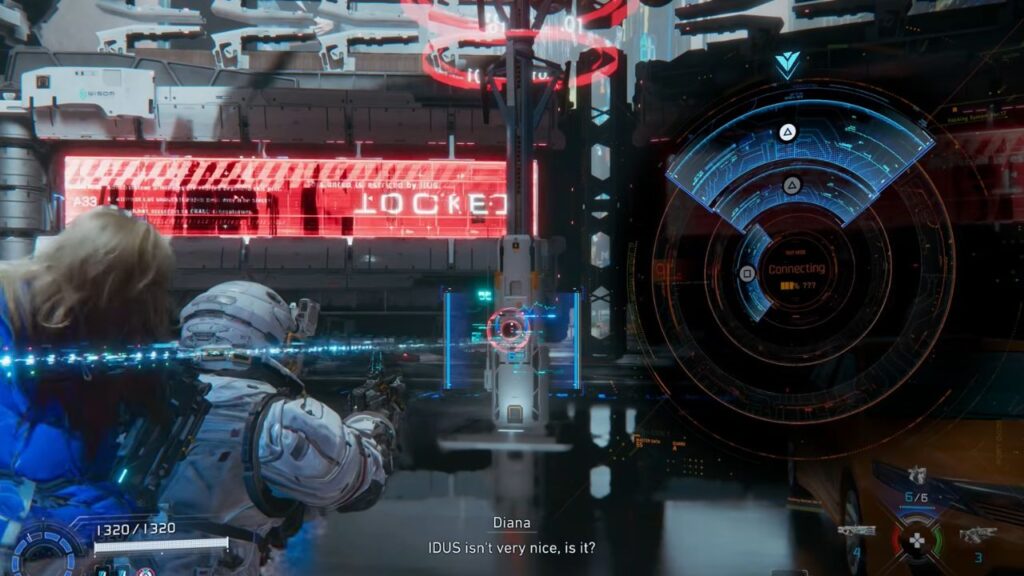
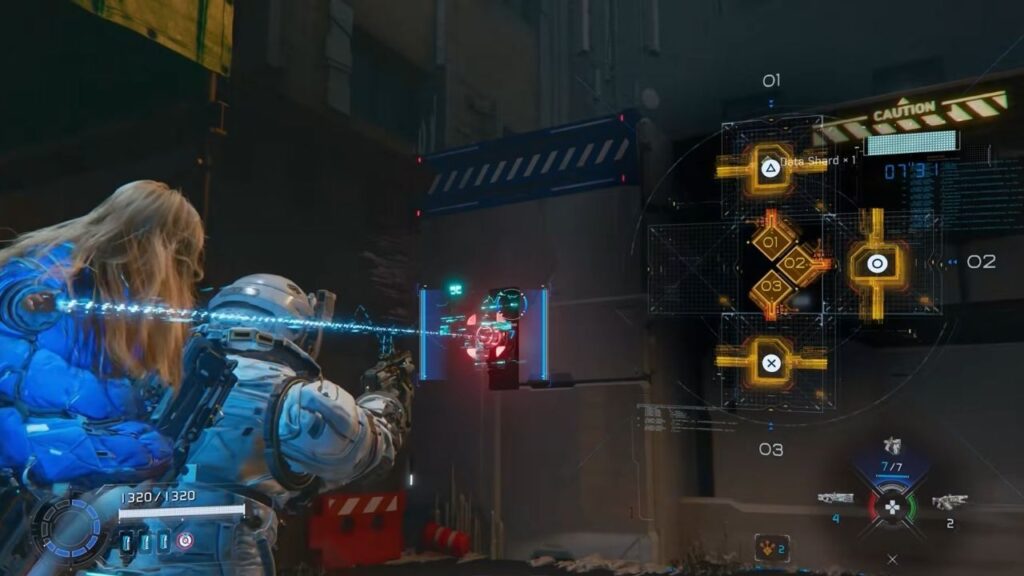
The first beacon you need to hack spawns literally in front of the gate, showing you what kind of beacons you are looking for. To hack a beacon, hold the left trigger to open the hacking window, then press the button shown in the outer ring when it lines up with the inner ring. Buttons are random each attempt and get harder later.
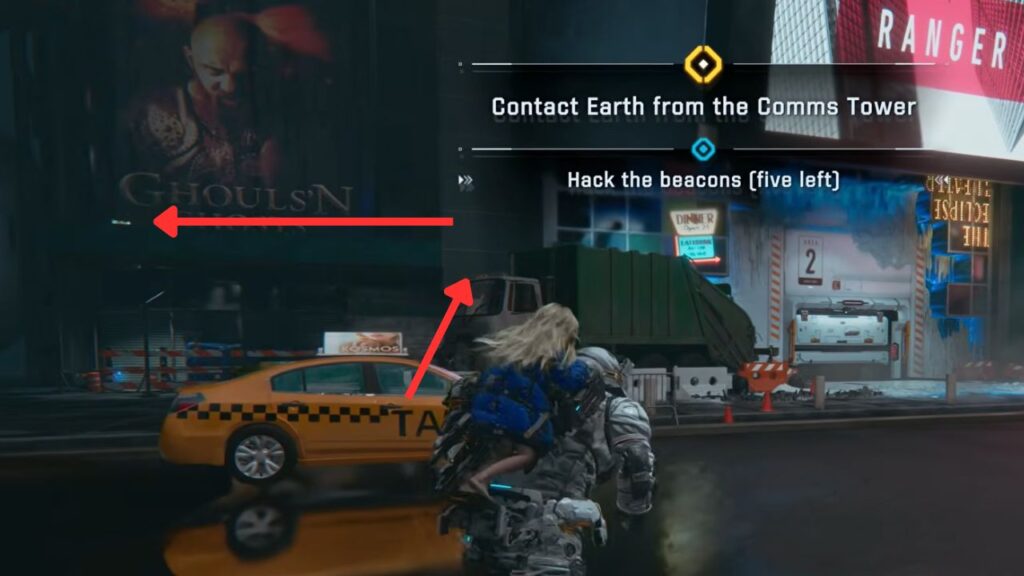
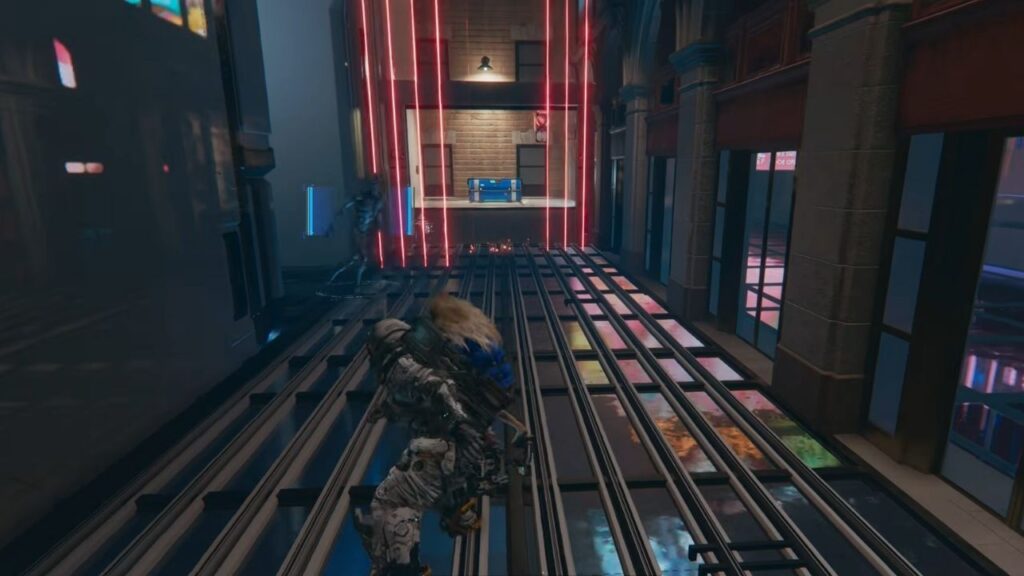
With Beacon 1 done, turn right and look for the large door marked Area 2. However, before moving on, look for the Ghouls’N Ghosts billboard on the right. Climb up the garbage truck and grab a hidden Upgrade Component on the canopy.
Next, hack the lock on the Area 2 door to open it. A cutscene plays, large and creepy humanoid machines chase Hugh and Diana through the door. Diana seals it behind them.
Block 02: Shopping District
Activate the Escape Hatch just past the door to create a fast-travel point. Head down the alley and hop over the trucks to the platform above.
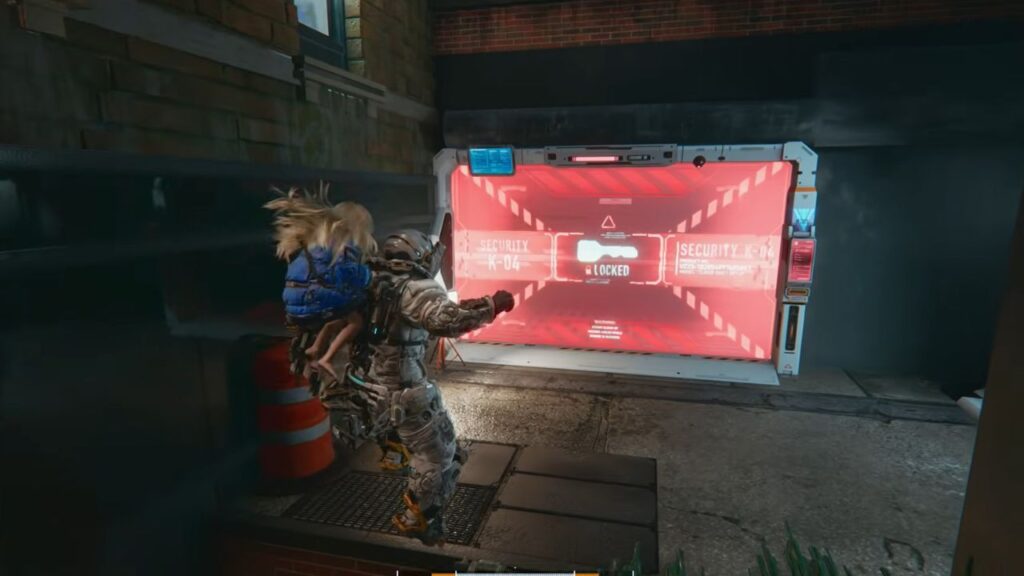
You’ll spot a locked Red Zone, a challenge room that gives rewards when cleared. These require a Red Zone Key to enter, which is nearby. There is one key located in the Shopping District.
Most sectors from here on have at least one Red Zone, usually involving combat or platforming, and some unlock a section of a Stamp Board.
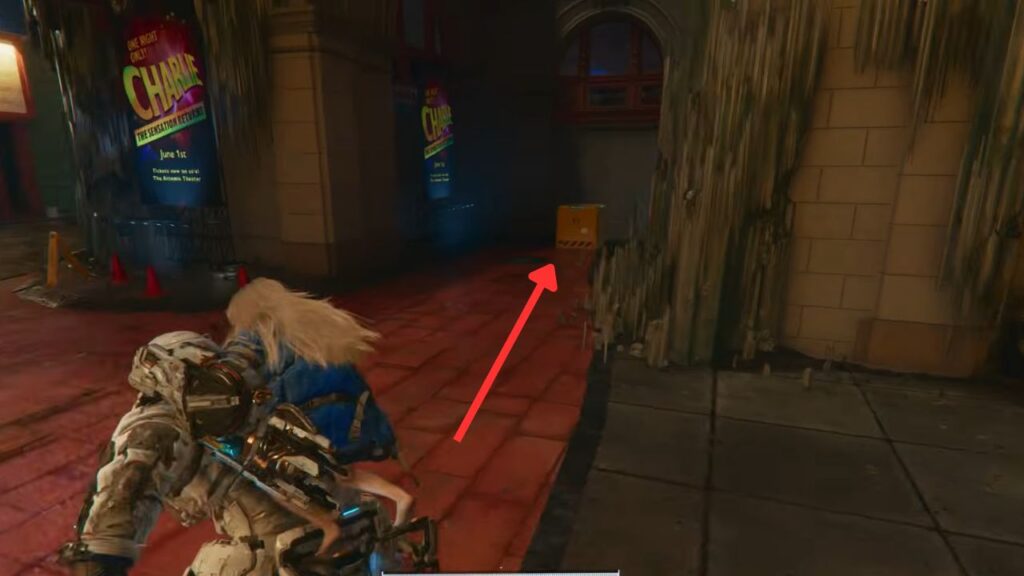
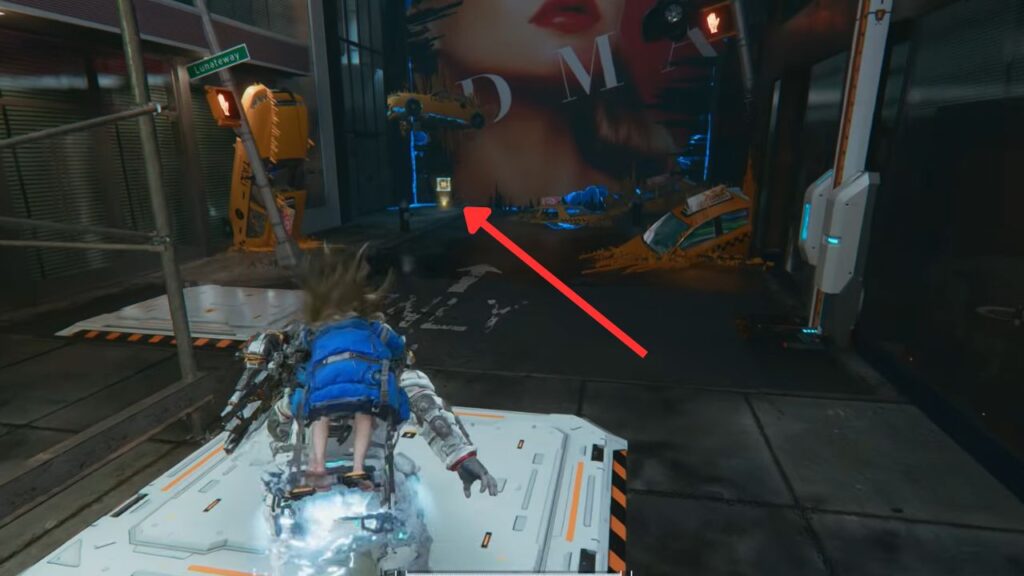
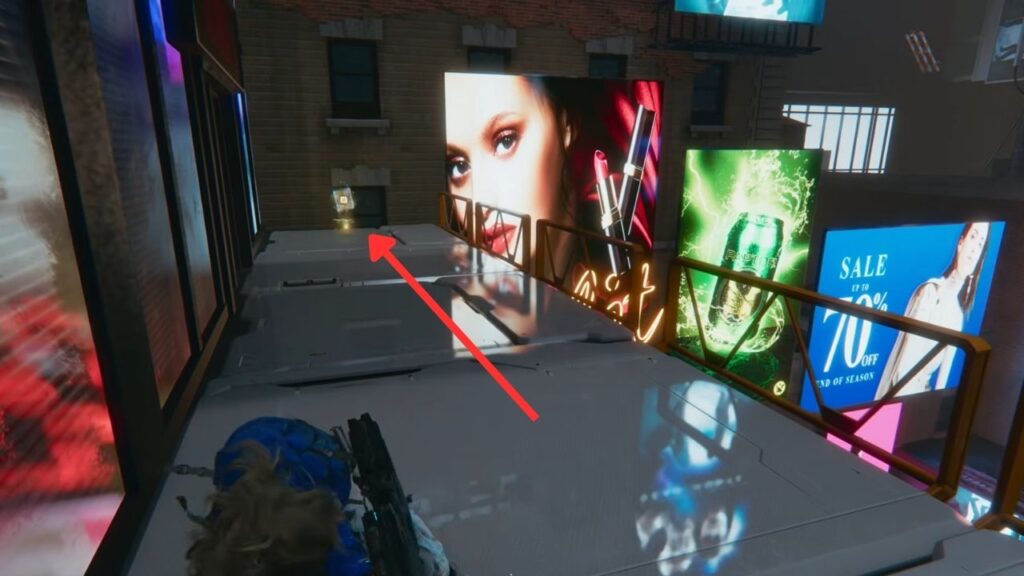
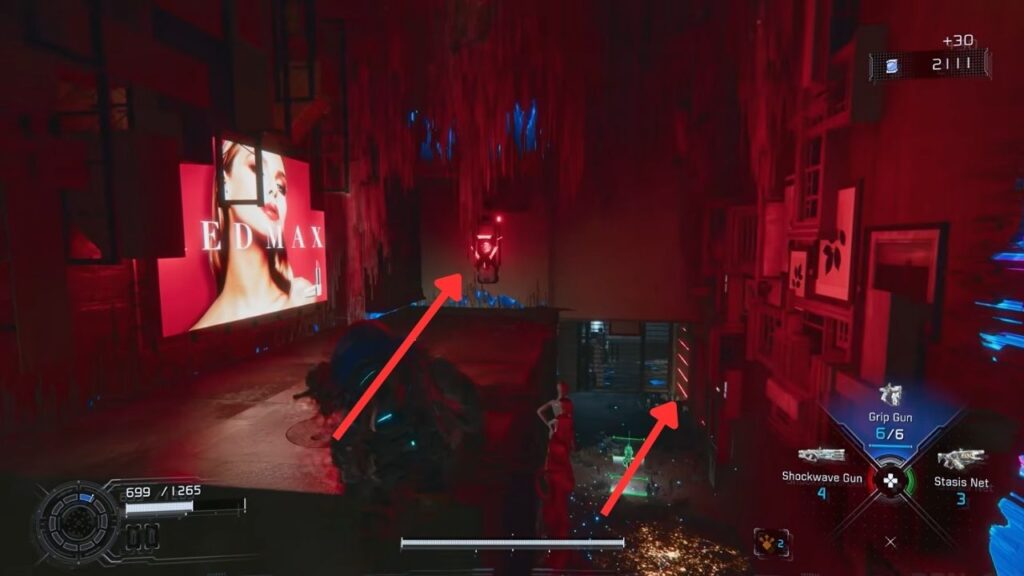
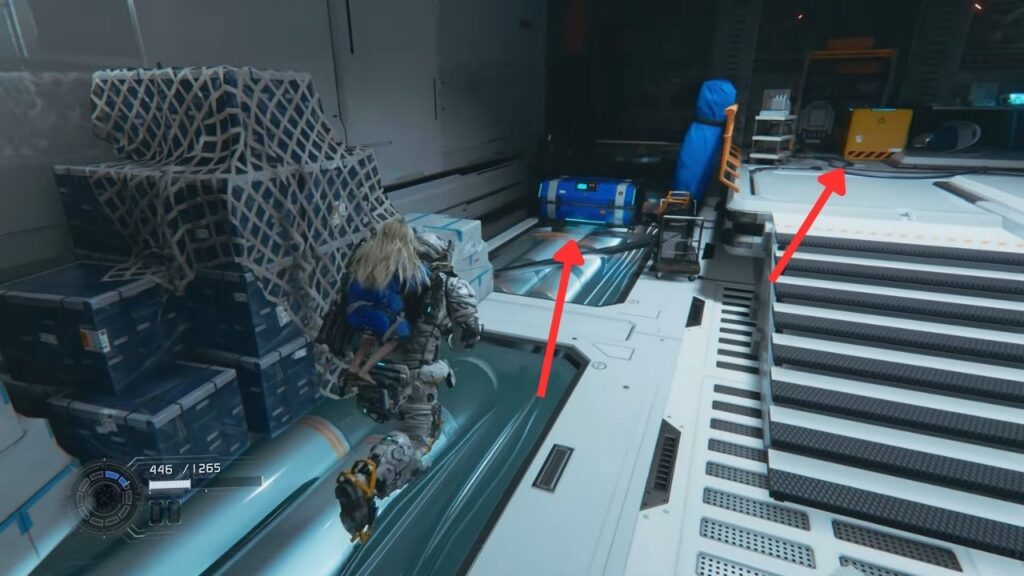
Go through the door to the right of the Red Zone. Once outside, check the right side for a yellow box containing a Data Shard. Look up at the building on the left, the thin beam of red light up there is where Beacon 2 is.
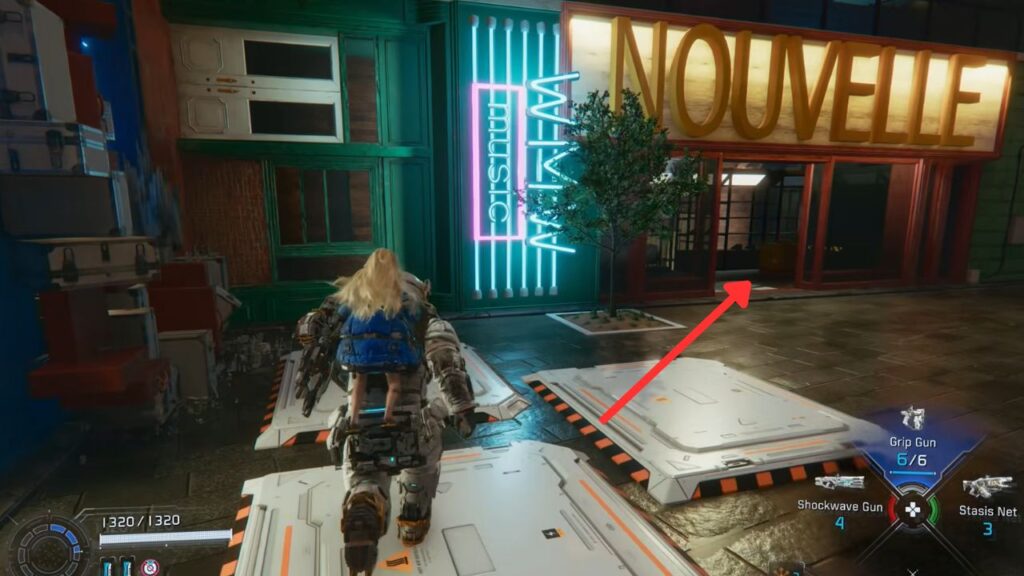
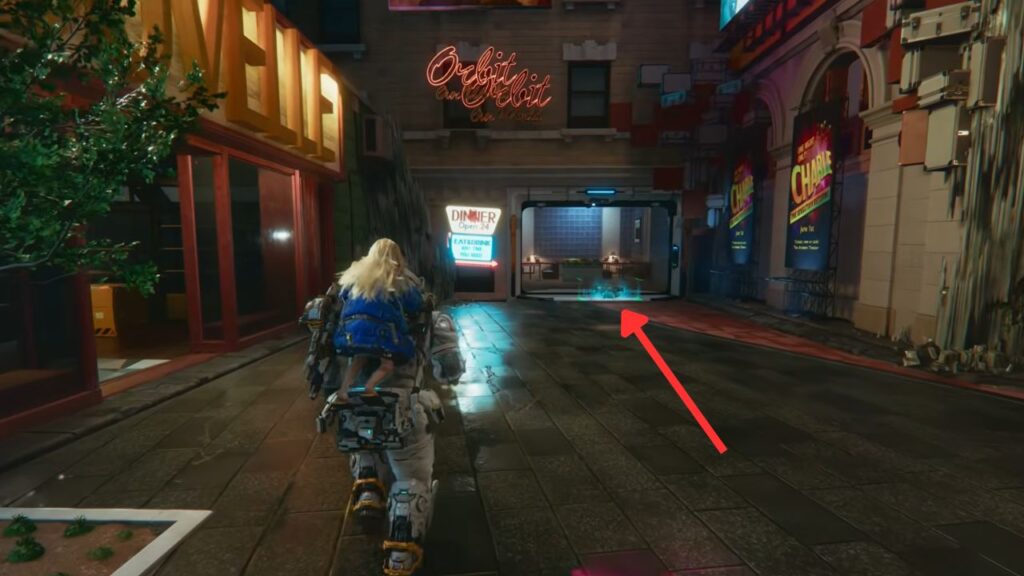
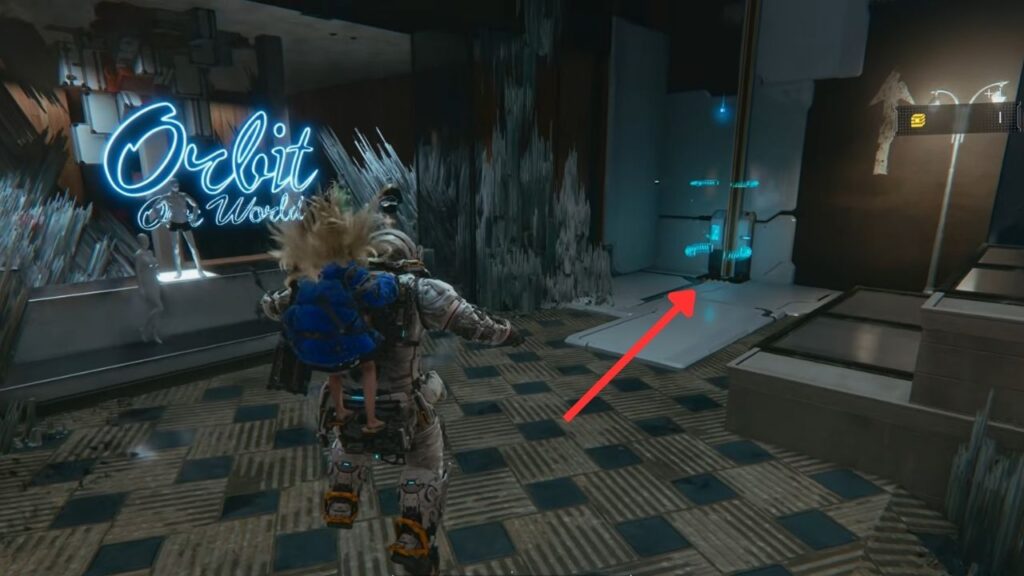
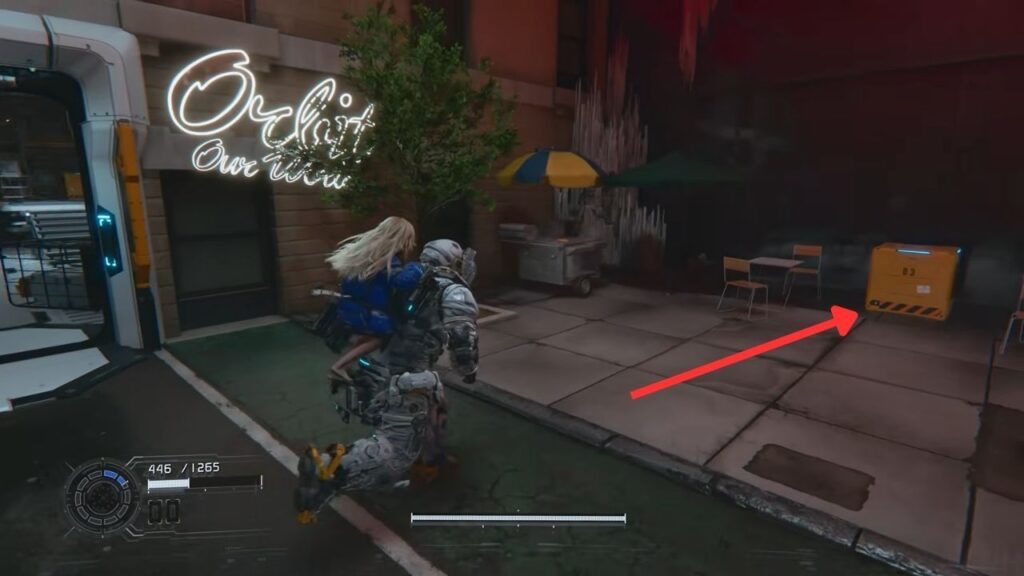
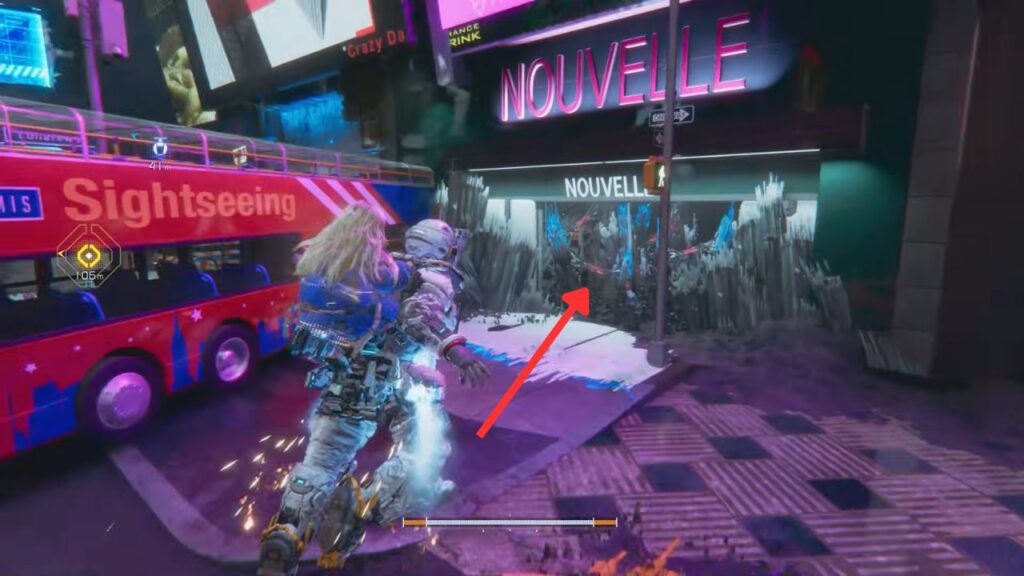
Continue toward the Nouvelle store, which has a loot box inside. Near the Orbit Diner, you’ll spot a new item on the ground, the Riot Blaster. As you approach, the diner door slams shut.
Pick it up and use it against the spawned enemies. It fires concussive grenades that knock enemies back and stun them briefly. Hold the left trigger to aim and see the arc and blast radius. Damage is low, but the knockdown gives you time to heal, hack, or reposition. Clear the enemies and head inside.
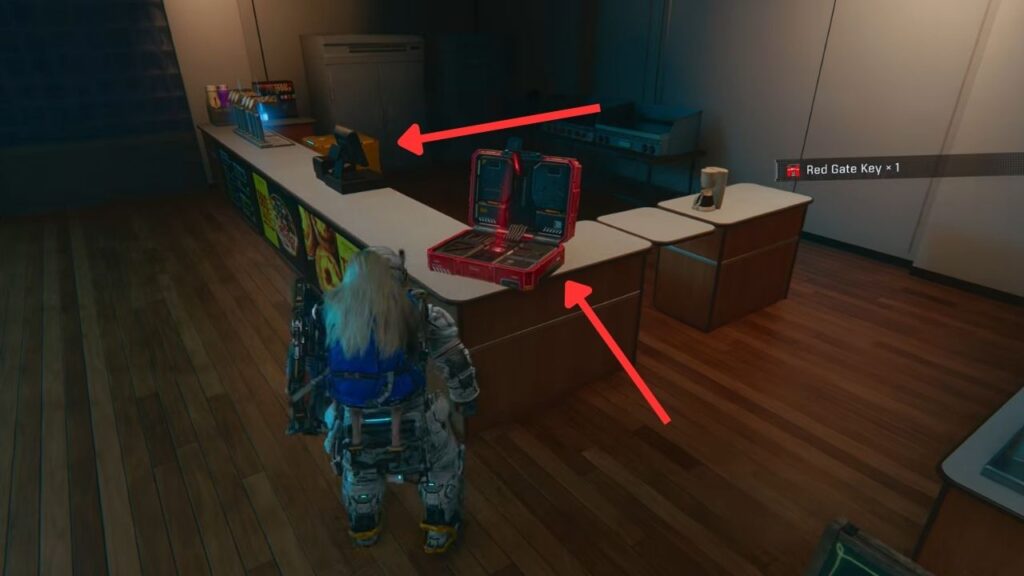
After clearing the enemies, head inside the Orbit Diner and check the bar on the left. The Red Zone Key is on the counter next to a poster. Check around the tables and behind the counter for a loot box.
Across the bar, step on the white-colored floor platform, and hack the terminal to raise it up. Across on the left, you’ll see the seventh Upgrade Component. Hover over there to collect it.
Hack the terminal again while standing on the right block to ride it up to the next floor. A Crusher drops and locks the door, beat it to move on.

Past the door is an Orbit store with mannequins on display. There’s a loot box to the left of them. Turn around and look above the door from where you came in, the eighth Upgrade Component is on the ledge up there.
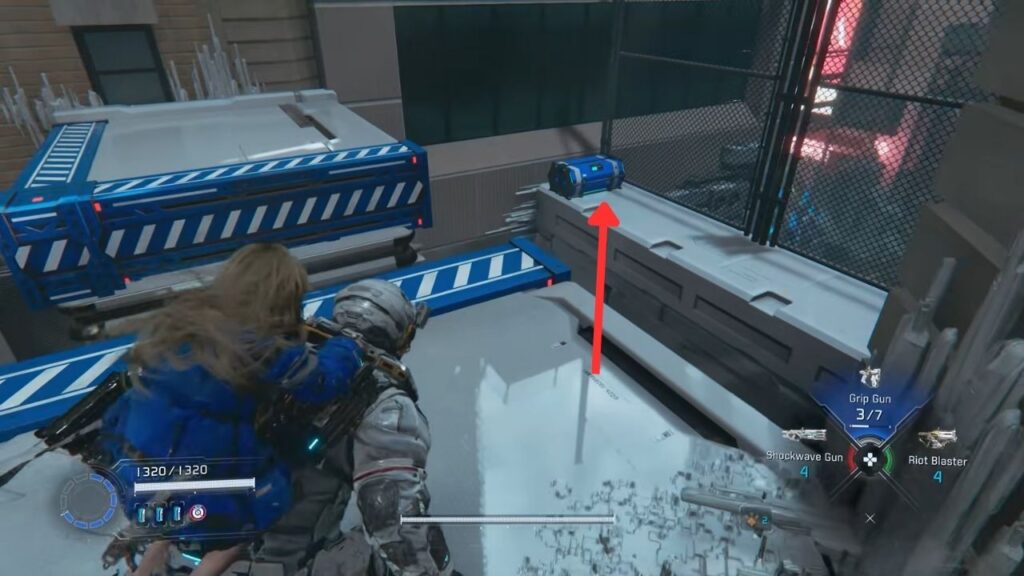
Before taking the zipline up, look to the right to spot a hallway with a blue storage box at the end. As you approach it, lasers will start moving toward you, and a Walker will appear. Take out the Walker while avoiding the lasers. Then, use the zipline on the left side to get over the block and drop down to open the box.
The box contains Mod: Extended Breach. After collecting it, hack the nearby terminal, hover over the glass panel, and return to the store.

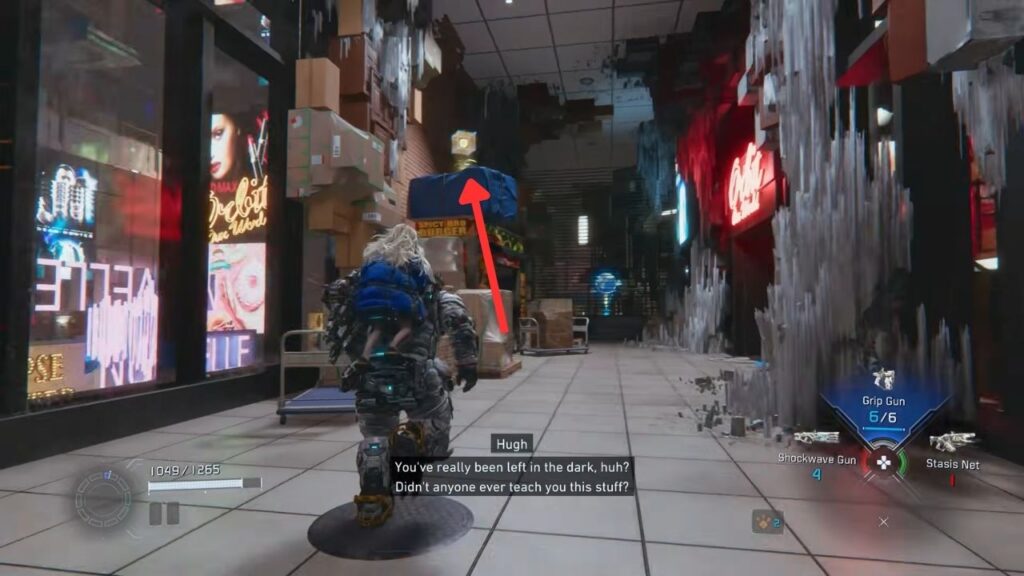
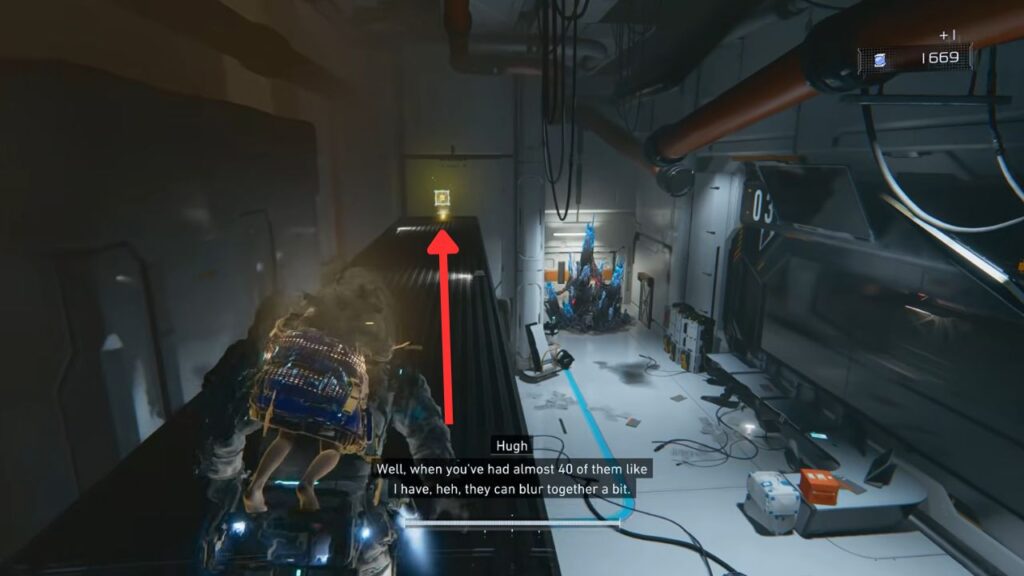
Next, take the zipline on the right side of the room. At the top, climb the first ledge and turn around. A Mini Cabin is on top of a building in the corner, beside the Dead Hunter billboard.

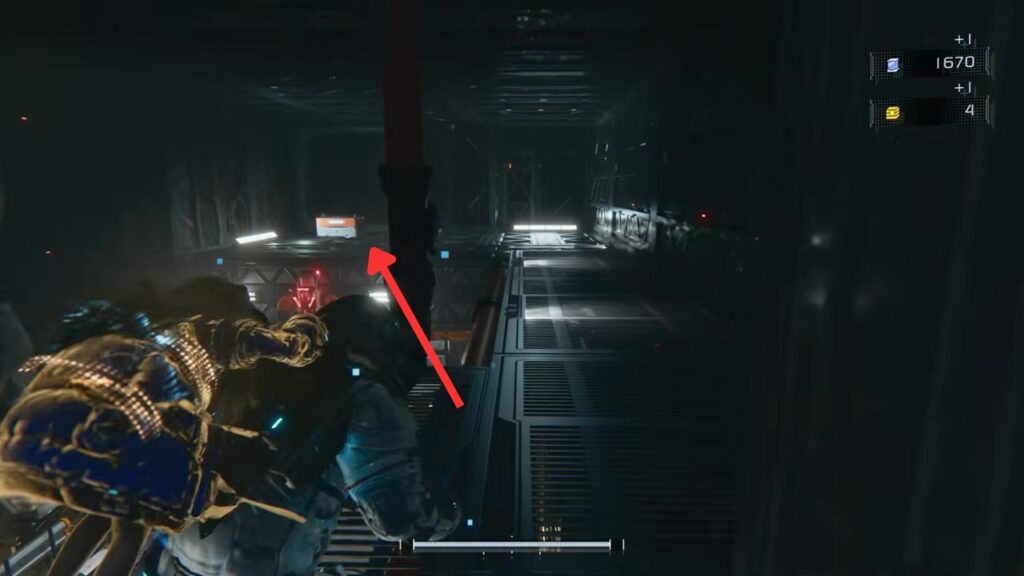
Head down the path and keep straight for a secret room. Near some bookshelves past a Multihack node, look for a hidden path between the shelves. Climb up and take out three Walkers guarding a storage box, 200 lunafilament inside.
Head back and follow the path toward the beacon. After dropping to the first platform, immediately turn around and get the ninth Upgrade Component. There’s another Riot Blaster and a Multihack node on the lower platforms, too.
After getting all the loot, drop down to the beacon’s platform, and two Spider bots with two Watchers will attack you. Clear them, then hack Beacon 2. This opens the door under Diana’s sign.
Beacon 3 — Shopping District
Once inside, interact with the tablet on the desk on the left side to read the ‘New York, Back Then’ entry. Next to the base of the stairs, open the orange box to get two Upgrade Components. Open the box next to it to get Pure Lunum.
Head upstairs to a locked door. But before going in, look to your left and up the platform, there is a holo-wall there. Climb up and open. On the table by the entrance is a tablet and a Stasis Net on the floor.
Further inside, defeat three Walkers and a Crusher to unlock the Safe Box for 300 lunafilament. Hack the terminal near the box to remove the laser barrier, then hack the locked door panel to open it. Head back to the locked door outside.
You step into a neon-lit area with storefronts. Climb the boxes on the left for the tenth Upgrade Component.
Enter the Orbit Our World store and hover over a couple of barriers here. After the second barrier, there is an Upgrade Component in the corner.
Go through the dark hallway on the right and be ready for a Walker jumpscare. After defeating the Walker, past the hallway, look right and climb the trash can onto the platform. Hack the terminal to turn off the laser that was protecting a Safe Box, which stores Cabin Coin inside.
Leaving the red hallway, hop over the short cardboard wall on the left. Behind the boxes against a shutter is the Read Earth Memory: Basketball. Continue to a safe room past two Walkers. Before heading inside, look to the right for a loot box containing some Lunafilaments.
Inside the corner is a blue chest with the Close Quarters Mod, boosts attack power by 10% when within 10 meters of an enemy. Climb up the higher platform to open a loot box and read a tablet on the table beside it.
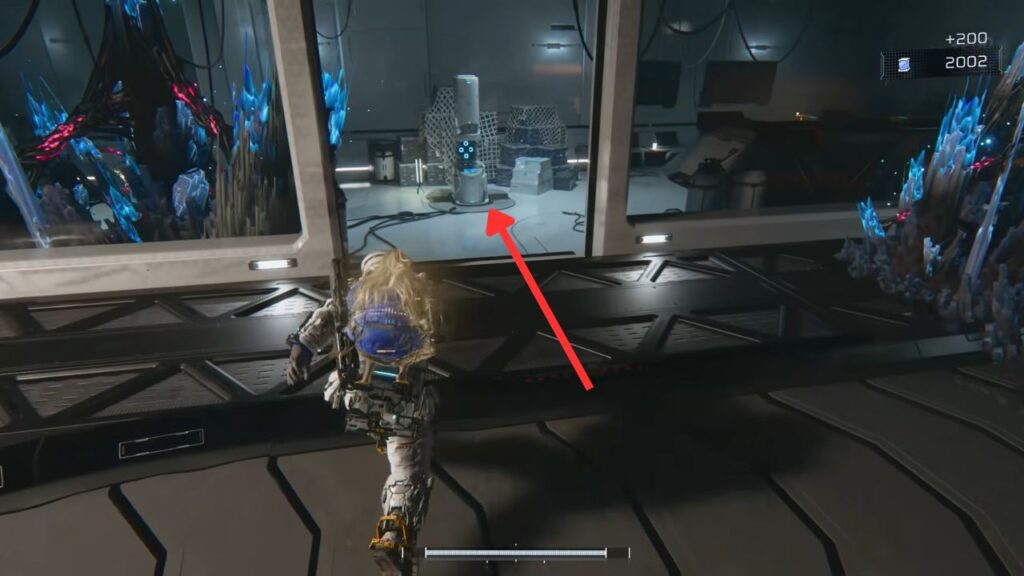
Next, head outside through the other door and hack the terminal up front to build a bridge. Cross it and activate the Escape Hatch: Side Alley Block. Take your time back in the Shelter and talk with Diana before going back out.
Block 03: Side Alley
Drop from the building to the street below and head through the white door. Beside it is a new weapon: the Charge Piercer. It fires a powerful laser beam, slow to shoot but high damage. Best used at long range on weak points, and the beam passes through targets, so you can hit multiple enemies in a line.
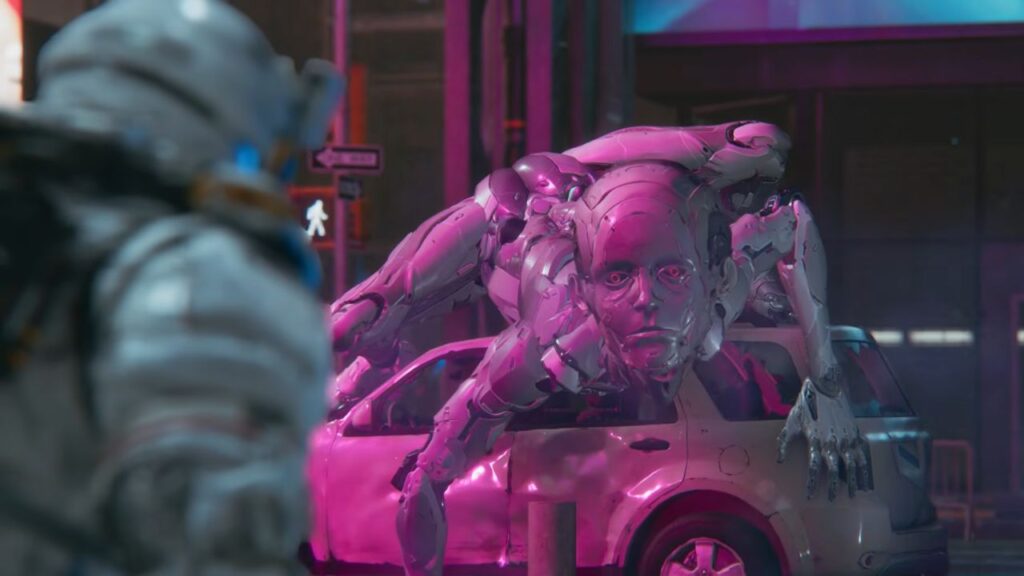
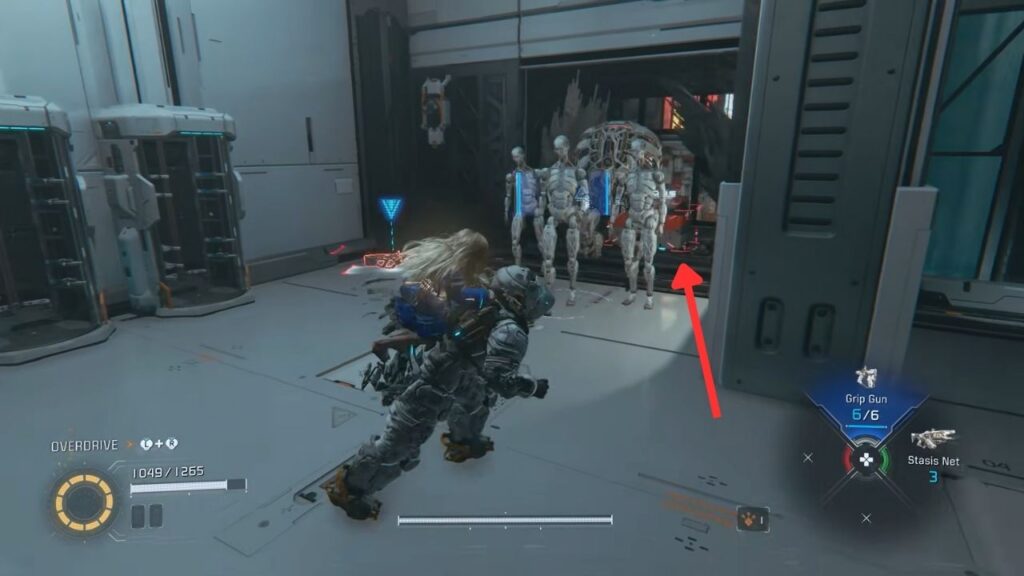
Go through the white door, and two Watchers will attack. After grounding them, an Executor comes around the corner. Executors are big and fast, they swipe up close, leap at you, slam their hands down, or charge on all fours with their mouth open.
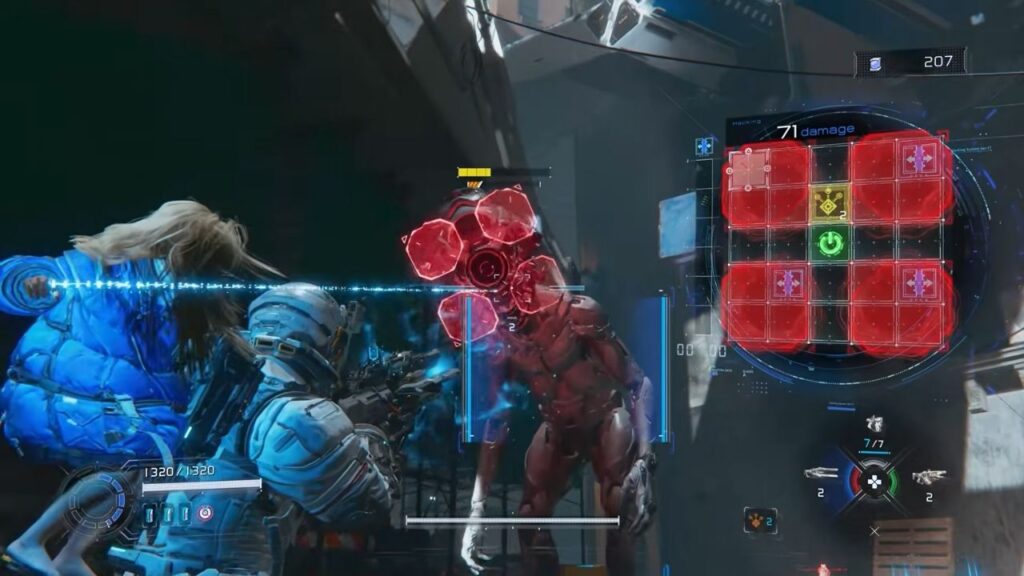
When a charging Executor hits a wall, it’s briefly stunned, use that window to hack it. The weak point is the chest, but the cooling rods on the back take more damage. When health gets low, four antennas grow from its face, very much like a Demogorgon, which blocks your hacks. Shoot them off first.
After killing the Executor, loot the boxes and hack the wall terminal. Climb the ledges along the building walls. Near a tall mesh fence, you’ll see a blue box. Hover and dash across to reach it and collect the Relay Amplifier Mod, which increases hacking range by 30%.
Keep climbing to a large open area with Beacon 3 on the roof of a central structure. Laser grids and floating platforms fill the area. Make your way around the structure using the wall-mounted platforms, keep a lookout for Watchers. Jump and hover across the last gap, go up the ramp, and hack Beacon 3.

Drop to the street below, clear the enemies, and unlock a blue box with the Long-range Targeting Mod, 10% attack power against enemies more than 20 meters away. Go up the small ramp and towards the alley in front of you to encounter a Sweeper Bot. Hack it quickly for a large lunafilament reward before it leaves. You can shoot it to stun it for a bit, so you have time to hack.
From the same alley, head up the zipline and get the Read Earth Memory: Slide in front.
Hacking Beacon 3 removes the laser grids from the central structure. Look left from the beacon for a blue ledge across the gap. Cross over and grab the twelfth Upgrade Component near the tree on the right.

Go up the zipline into an open room. There is a Riot Blaster on the couch, and interact with the dinner table for a conversation with Diana.
Head out to the ledge above an open rooftop, that’s a combat arena below, and Beacon 4 is on it. Look for hacking nodes and weapons before approaching the beacon.
Two waves of enemies here.
- First wave: two Walkers and missile-launching Watchers. Hack incoming missiles to send them back.
- Second wave: more Watchers, more Walkers, and an Executor. Use your Overdrive Protocol to knock several enemies down at once.
Once both waves are done, hack Beacon 4. Before leaving, look over the edge near the pile of boxes closest to the ledge and peer down, the thirteenth Upgrade Component is on a platform against the wall below.

Cross the bridge behind the beacon and go through the door. Inside: Safe Box, Escape Hatch, tablet, and hologram projector.
Block 04: Business District
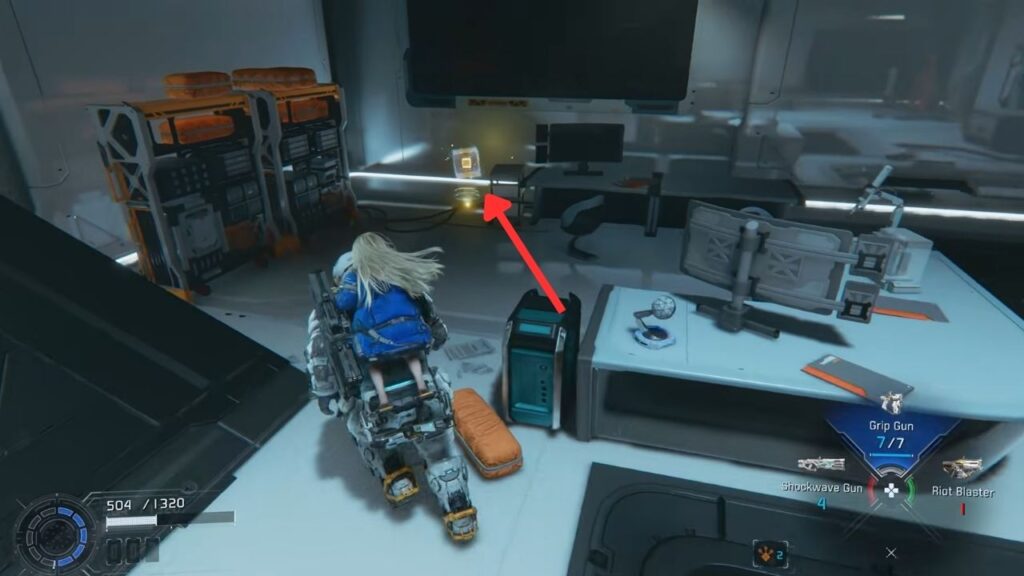
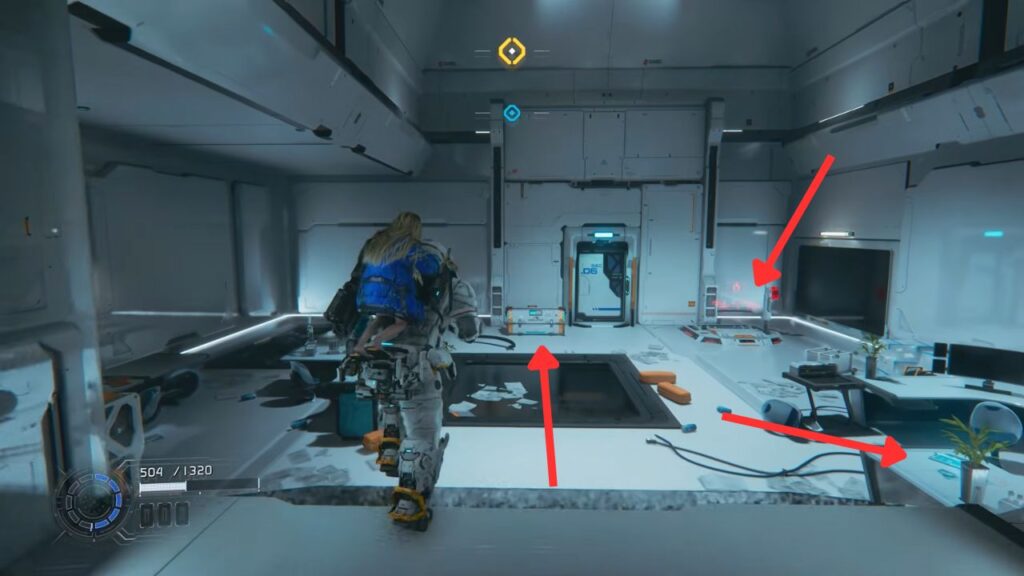
Enter the room and immediately look left from the ramp for an Upgrade Component in the corner. Interact with the tablet to the right of the ramp and grab the Pure Lunum from the Safe Box to the left of the door. Activate the Escape Hatch: Business District Block.
Enter the next door, and the hallway splits. Right leads to a bridge blocked by Filament Mass, can’t go that way yet. Go left and take the two ziplines to the rooftop to find Beacon 5. Hack it to clear the fifth lock and remove a nearby laser grid.
Hack the terminal on the ledge to build two bridge chunks across the gap. There’s also a shortcut device to the left of the terminal that drops you to the streets below.
Cross the bridge. Before going all the way, stop at the start and look right at the nearby rooftop. Wooden ramps lead to a Safe Box in the center. Hover across the gap and thrust to make the full distance. The box contains two Upgrade Components.
Hover back to the bridge and continue. The bridge ends short of the other side, so drop to the lower bridge and keep going into the next room.
Block 05: Lim Recycling Facility
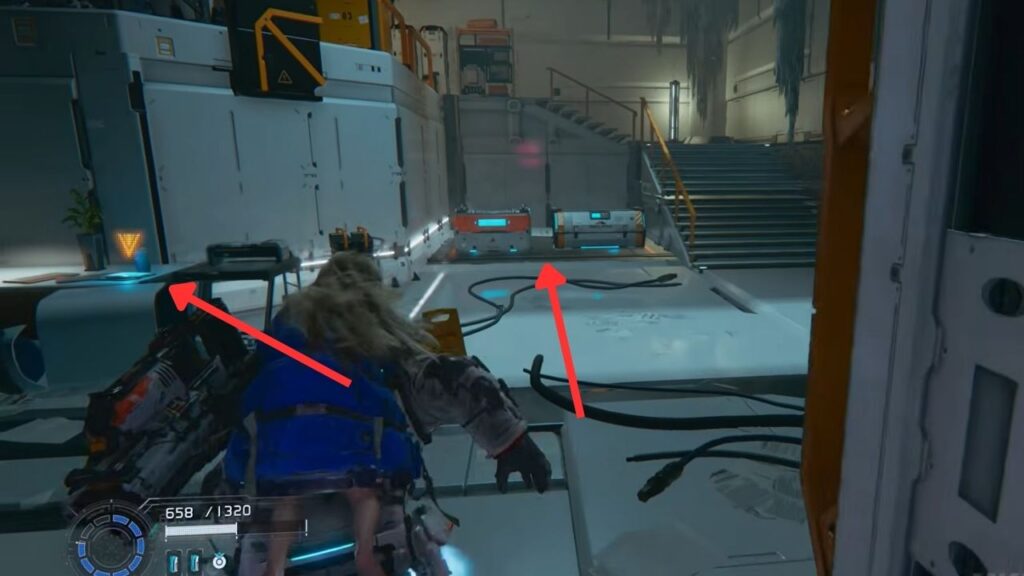
The room at the start has partly printed taxis, a strange machine, and a wall of Filament Mass. Hack the terminal to activate the recycler, destroying the mass and a Walker trapped inside. Walk over what’s left and drop into the hole below.
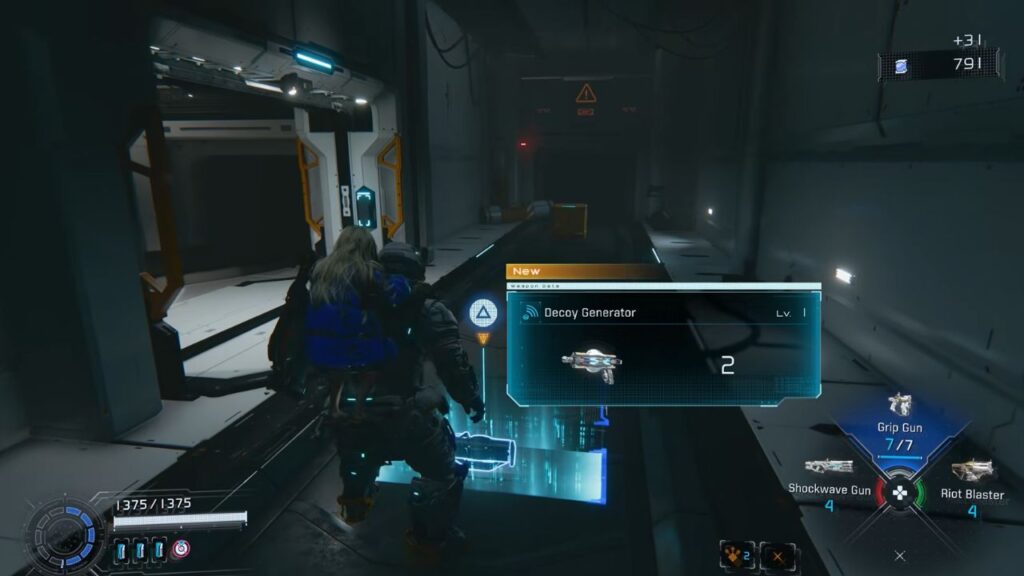
In the dark corridor, you find the Decoy Generator. It creates decoys that pull nearby enemies toward them. Aim where you want the decoy, fire, and most enemies in range will be distracted long enough to hack or heal. Each decoy disappears after a short time, and you only get two, so use them wisely.
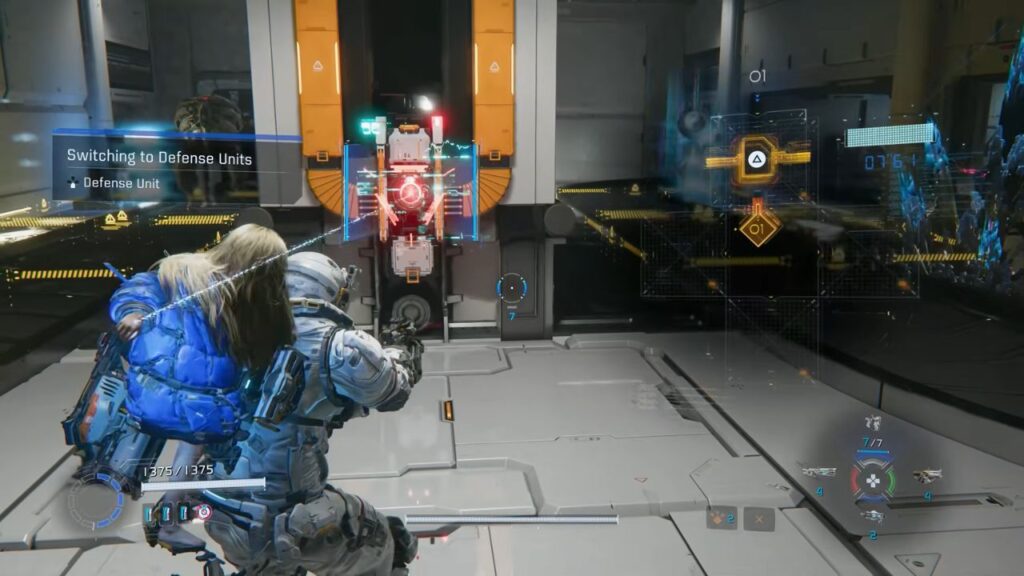
Move into the next room. Two paths run along either side with recyclers above them. Head towards the back to find the terminal. When you cross to the other side, the door closes, and enemies pour from spawners.
Use the Decoy Generator to pull them under the recyclers, then hack the terminal to wipe them out. Go through the now-open door into a room with two storage boxes.

In the corner of the following dark room, next to a partly printed taxi on the far side, there is a Holo-Wall. Inside, you can find a tablet and a Safe Box with 300 lim.
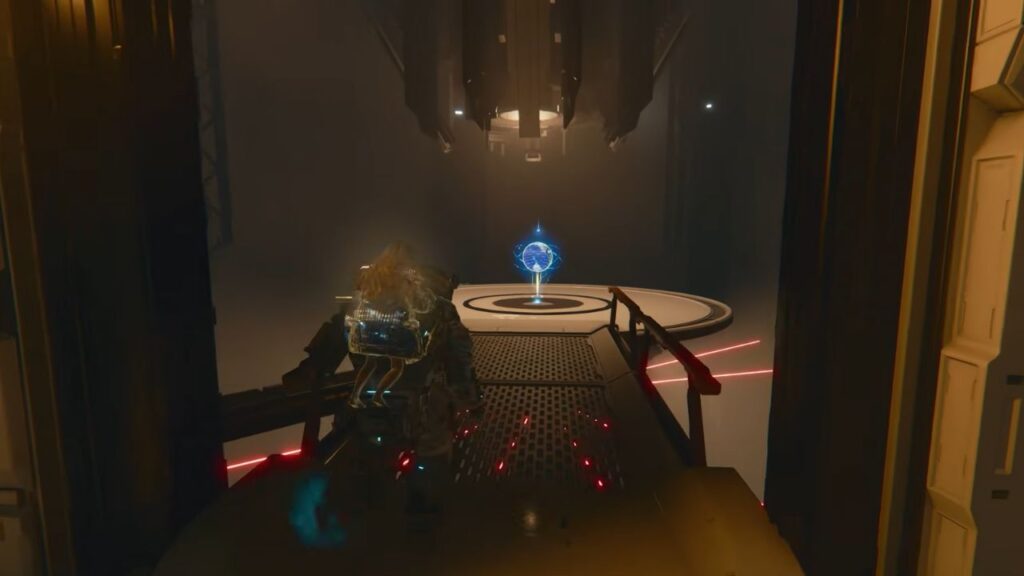

Keep going to a large room with a circular platform in the middle. On top of it is the Read Earth Memory: CRT TV. You need to go below the platform, but a ring of rotating lasers surrounds the outer edge. Wait for the gap and drop through.
An Executor joins you on the floor. Use the Decoy Generator to keep it busy and pull off a hack. Once it’s down, go through the next door into a safe room and activate the Escape Hatch.
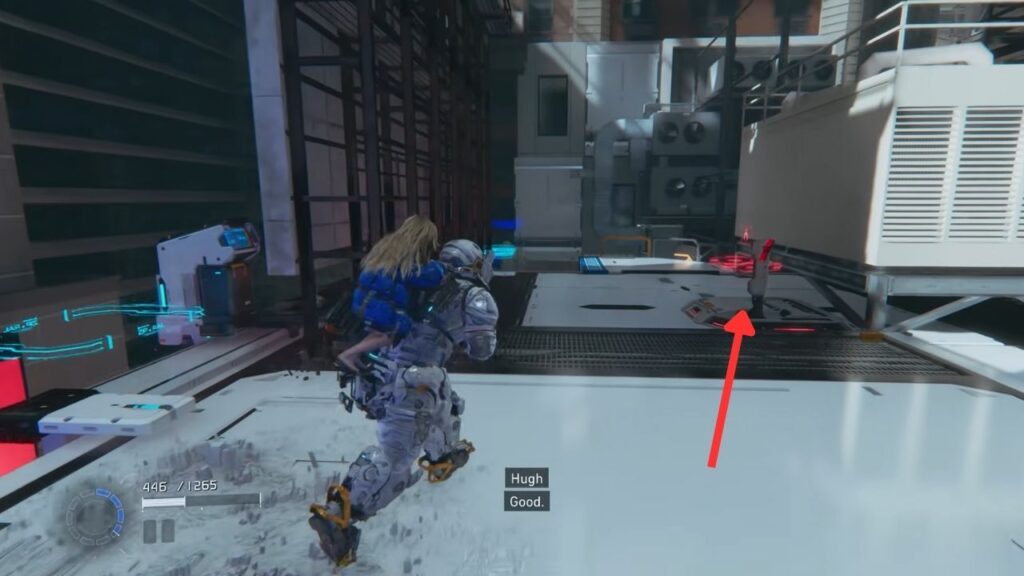
Standing next to the Escape Hatch, look across for an open container. There is a Mini Cabin figure inside, shoot it to collect. Now hop onto the container and up to the orange pipes above.
Follow the pipes to where they end above a door. Climb the boxes to the right of the door and jump up to reach the catwalk. An Upgrade Component is at the end.
Hop into the room connected to the catwalk and follow it around for another Safe Box with a Cabin Coin inside. Jump down to get a Decoy Generator, and some enemies will fight you here.
Go down the ramp past a laser grid. At the bottom, turn around and hack the terminal to shut off the lasers, which also clears a laser wall higher up on the ramp where a Safe Box containing 200 Lunafilament sits.
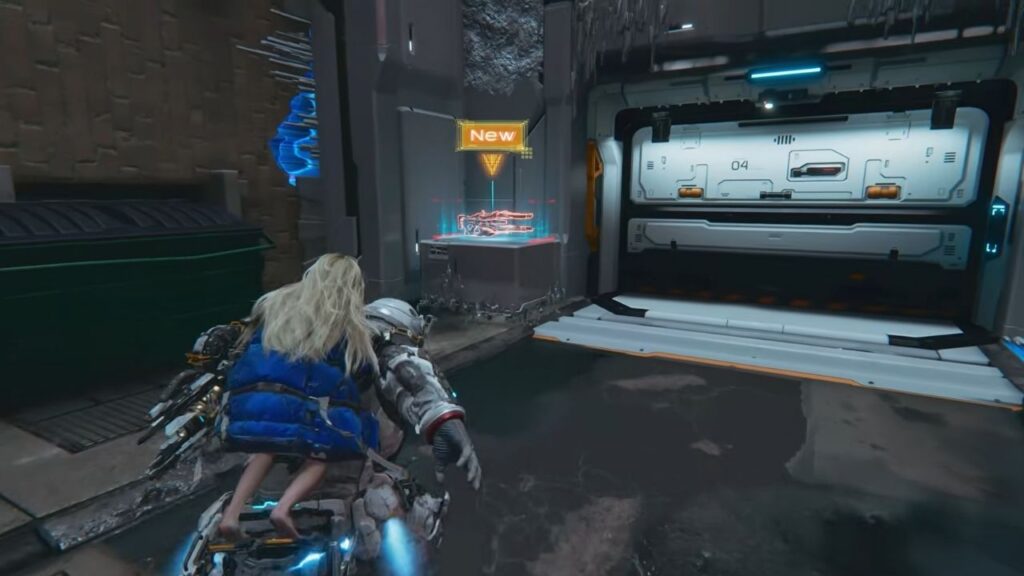
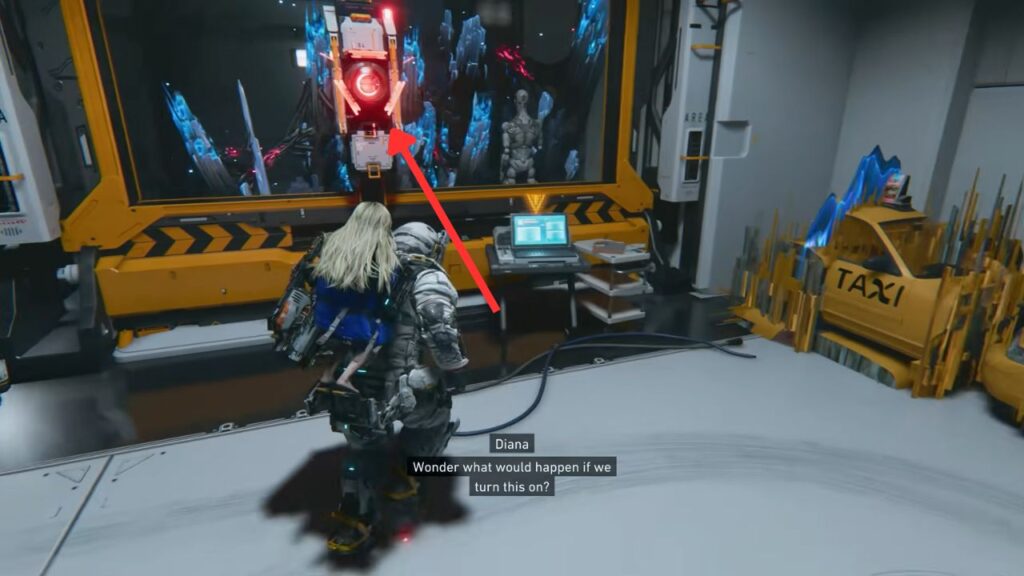
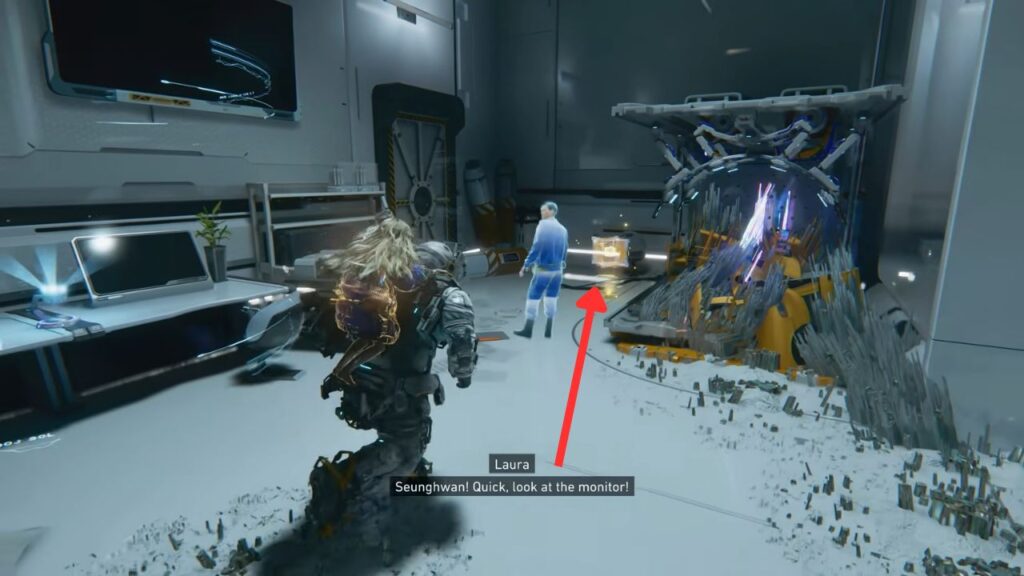
Getting the Lim Eraser

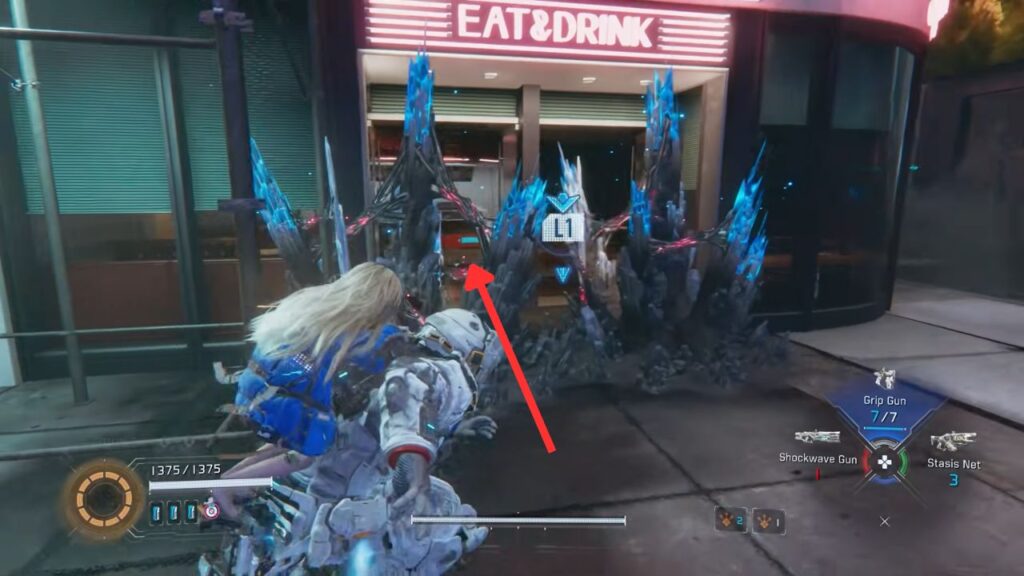
Jump back down and go into the nearby room with a device in the center near some Lunafilament Mass. Activate the device. In the cutscene, Diana absorbs the Lim Eraser data and immediately uses it to destroy the Filament Mass blocking the exit.
You can now remove Filament Mass anywhere by getting close and holding the L1 button when prompted.
Right after the cutscene, go around the wall where the mass was and look right for an Upgrade Component. There’s also a hologram projector on the desk. Leave the room, destroy the Filament Mass just outside on the left, and keep going to a room with a conveyor belt and recyclers above it.
Step into the warning markers on the floor to open a door, Walkers march through. Throw a Decoy Generator under the recyclers, then hack the terminal on the left to clear them. DO NOT stand under the beam when you hack.
Finish the remaining waves; they end with another Executor. Go through the center door, hack the last Beacon, then grab an Upgrade Component to the left of the door. Next, head upstairs using the zipline.
You’re back at the Escape Hatch room. With the Lim Eraser, destroy the Filament Mass blocking the large door and head through. Clear the Filament Mass in the alley to come back out to the Test Site Entrance streets. Two Executors are patrolling, try to pull them apart and handle one at a time.
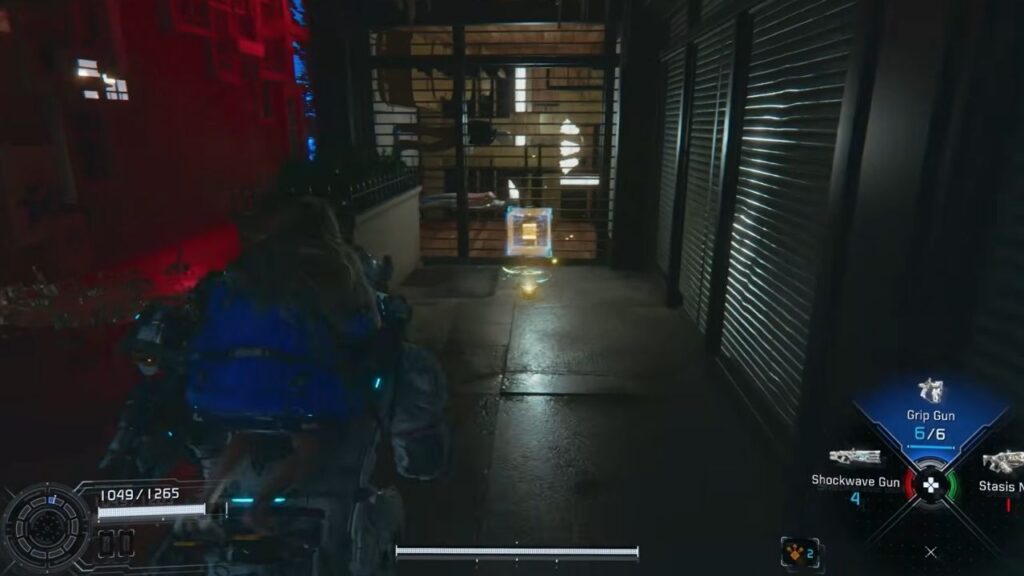
Once they’re down, use the Lim Eraser on the Nouvelle store entrance for a Safe Box with 200 Lunafilament. Do the same at R&R’s Donut diner for another Safe Box with a Cabin Coin.
You can also destroy the Filament Mass beside the diner to create a shortcut back to the Side Alley Block. This is a good time to return to the Shelter before the final block. Note that going back respawns the Executors.
Block 06: Comms Tower

Head back to the now-open gate and activate the Escape Hatch just past it. This creates a fast-travel point between the Shelter and the Comms Tower. Head back to the Shelter to take a rest, upgrade your gear, and talk with Diana.
Boss: Creator

When you come back, move onward. IDUS comes on and promises “controlled violence.” That comes in the form of the Creator.
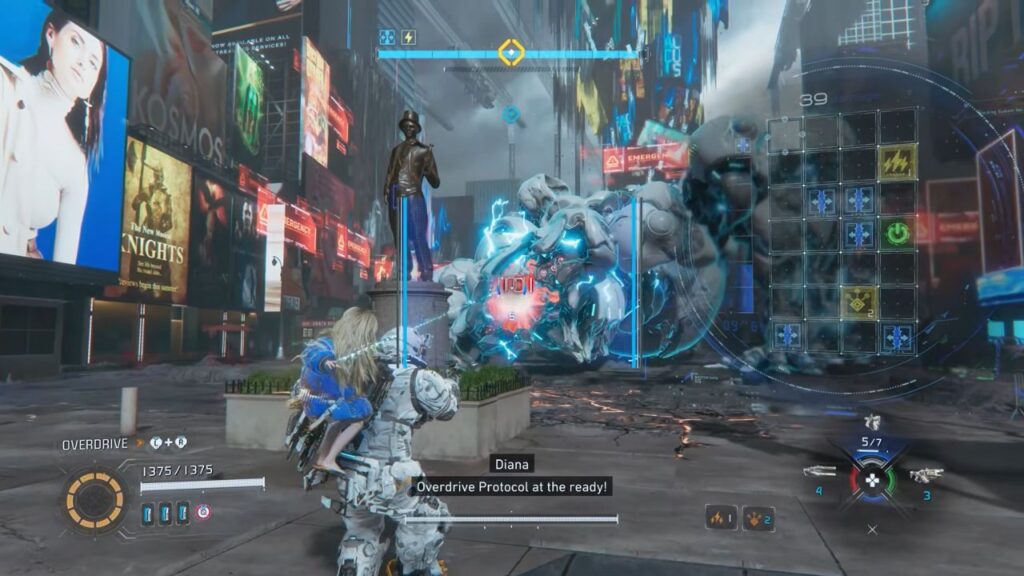
The Creator’s main weak points are on its face when exposed. Focus fire on the cooling rods on its head for the most damage. The Charge Piercer is the best weapon for this fight. There are also two more cooling rod spots under its belly.
When the Creator takes enough damage, it enters an Overheated state, dash toward it and press the attack prompt to deal a heavy burst.
Phase 1 attacks:
- Laser Fall — lurches forward and sends lasers raining down from its neck area. Dodge sideways and get under its body to avoid them.
- Swipe — reaches out with one hand when you’re close. The windup is slow, so dash away early.
- Hand Slam — raises one hand high and brings it straight down. Slow enough to dodge if you’re watching.
After taking enough damage, the Creator grows two antennas, which block hacking. Shoot the center of each to destroy them. Once both are gone, the Creator is briefly stunned, hack it immediately.
Phase 2 (below 50% health):
Four antennas now appear instead of two, on its shoulders and back legs. Lim Creation stands on its back legs, pushes its belly forward, armor on the stomach opens and charges energy, then circles appear on the ground and lim erupts from them. Keep running and watch the circles.
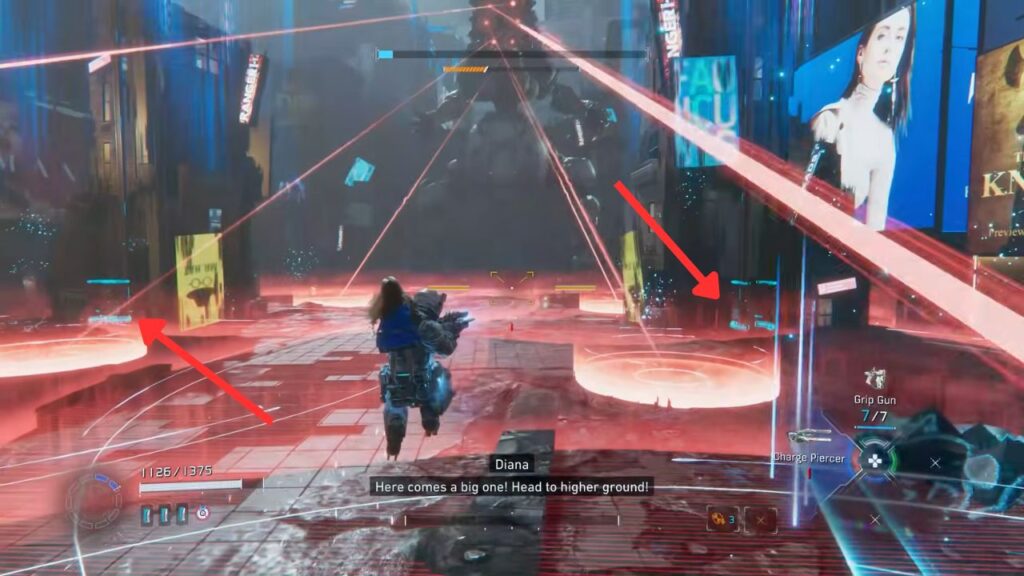
Phase 3 (below 50% health, continued):
- Lim Wave — leaps to the far end of the arena, stands fully upright, fires upward, and a wave of lim crashes down the entire length of the street toward you. Run away from it. If a blue square appears under you, dash out before impact.
- Catch a Cab — picks up a taxi and throws it. Watch for the throwing motion and dash clear.
- Laser Overkill — the most dangerous move. The Creator jumps to the far end and stands straight up. Its neck armor peels open, and red circles form on the ground that expand outward. There’s no surviving this at ground level. Find a zipline on one of the buildings and get to the rooftop before the blast goes off. This attack also destroys all previously created buildings.
After the Lim Wave, the Creator builds eight new partially printed buildings along the street with hand lifts on them. Use them to reach the antennas on top of the Creator’s body. One antenna on top may be too high to hit from street level. Go up a building and shoot it from above. Be careful, the Creator will walk into the buildings and knock them down.

When the Creator’s health runs out, it grabs both Hugh and Diana for one final move. Complete the hacking puzzle that appears to finish it off. Walk up to the body and collect 450 Lunafilament and the Shelter License Key.
In the cutscene, Hugh and Diana reach the Comms Tower, but IDUS blocks their signal to Earth. Hugh learns about a place called the Terra Dome that might help. The cat from earlier reappears, it’s being controlled by someone named Eight, who is trapped in the Terra Dome and asking for help. Your next destination is Sector 3: Terra Dome.