
After stepping in and stopping Murto from burning Lorca alive in the first part of our guide, this second part takes you to the start of their battle.
The Quarry
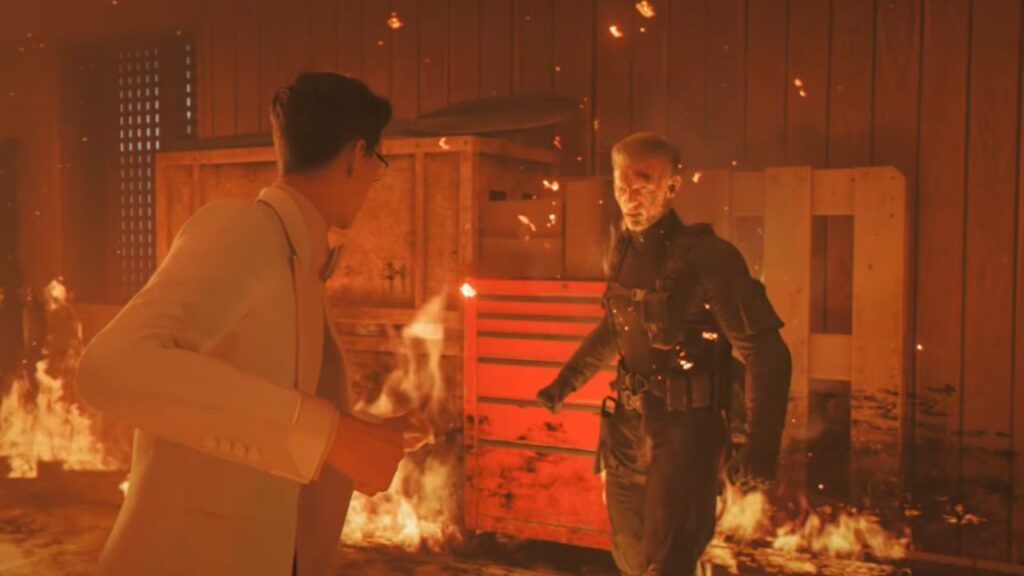
After defeating him in this epic fiery battle, you help Lorca escape through the window. But Murto is not finished yet. Now engulfed in flames and raging like a demon, he comes after you again. Keep beating him down and escape through the window as well.
However, you wake up in a difficult situation. Watch the cutscene.
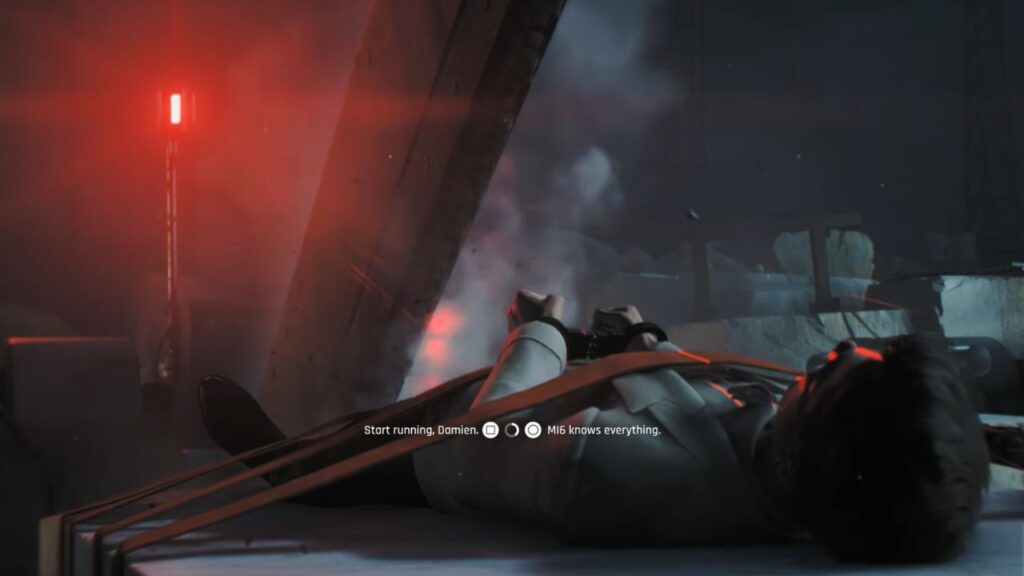
First, tell him that MI6 knows everything. Then tell him that all of this is his father’s fault, and finally pick the only remaining dialogue option. Just before the saw can split you in half, your savior arrives at the last second.
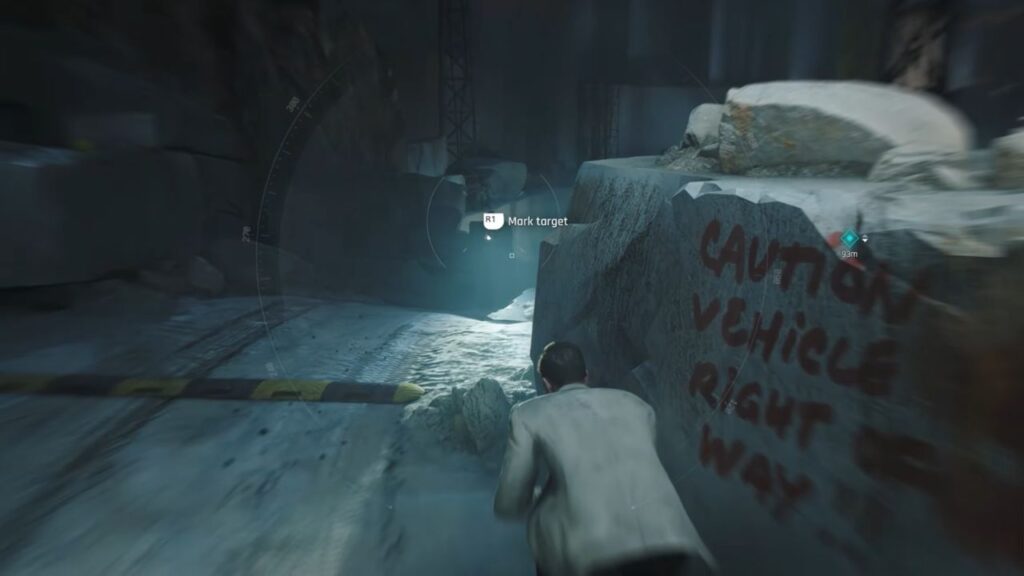
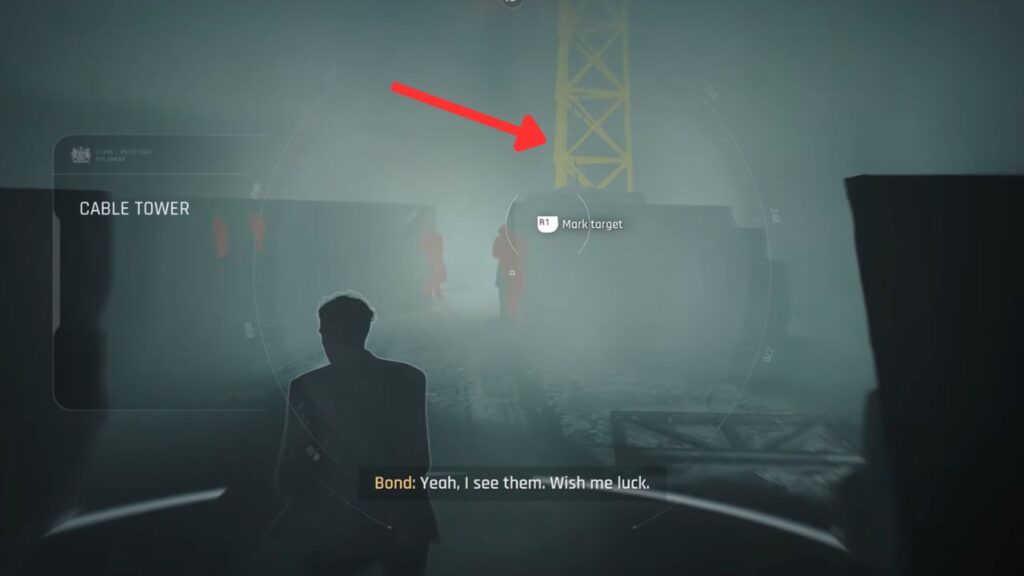
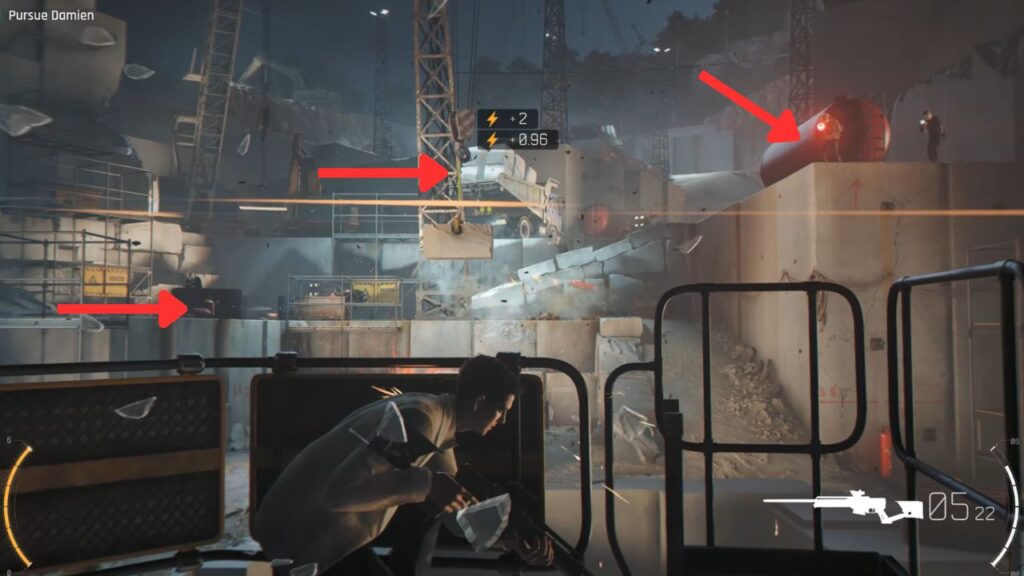
Now comes the fun part. You can mark enemies and command Greenway to snipe them on your signal. Keep calling out targets as you move forward. Follow the path and take cover behind the large rock with writing carved into it.
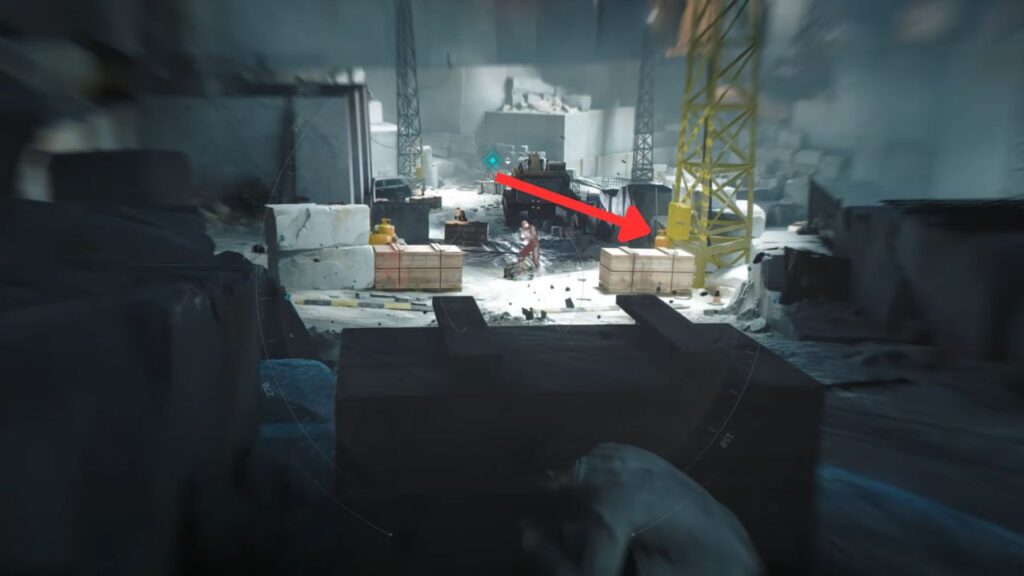
After taking out the first two guards, move forward slowly and target the gas tank on the right. Next, mark the yellow electrical tower to eliminate everyone standing beneath it. Clean up any remaining guards afterward.
Continue forward and take cover behind the rock on the right. You do not need to do anything here, Greenway puts his own plan into action, and it’s awesome. Once the area is clear, move forward and target another yellow electrical tower. Then proceed to the objective area.
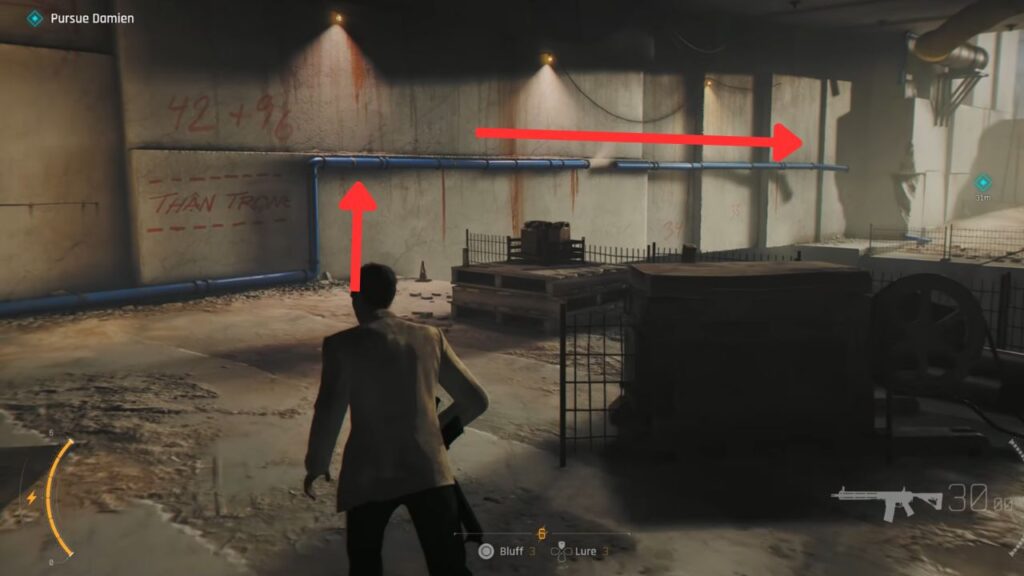
Now that you are free from the handcuffs, you can finally shoot as well. Follow the path and, at the end, grab onto the blue pipe and shimmy across the gap.
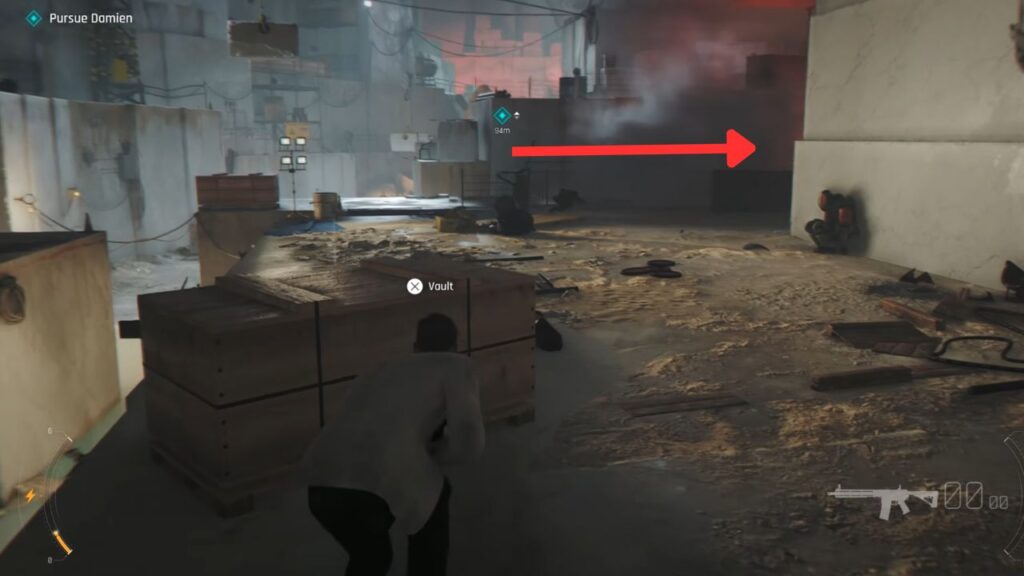
When the next battle begins, start by shooting the gas tank on the right. Remember to make use of both your firearm and Greenway’s sniper support. Prioritize destroying gas tanks whenever possible to take out multiple enemies at once. Move toward the right side for better cover. Enemies will approach from the lower path, making for easy targets.
Push forward and take cover behind the excavator. Greenway will make short work of many of the enemies here.
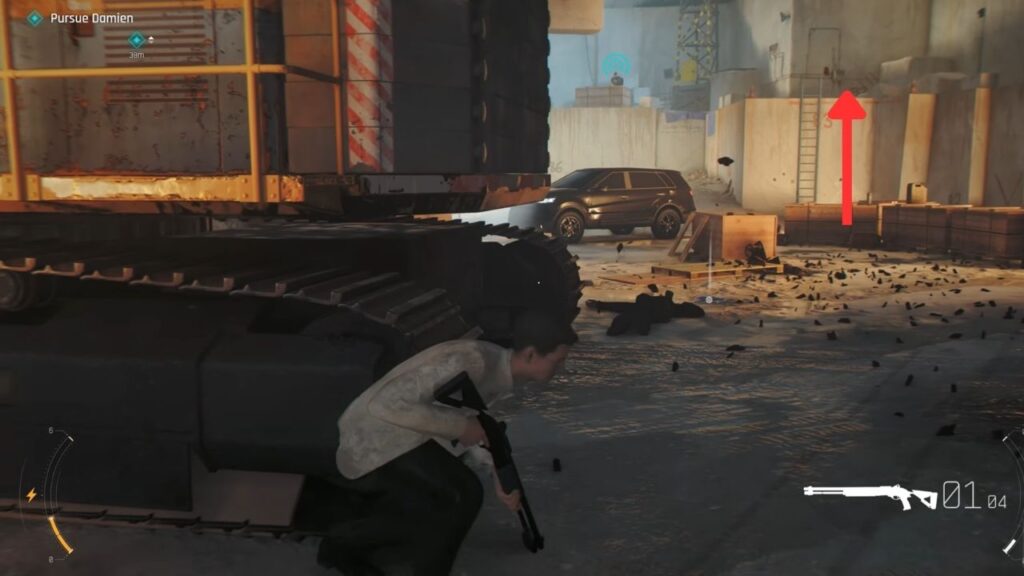
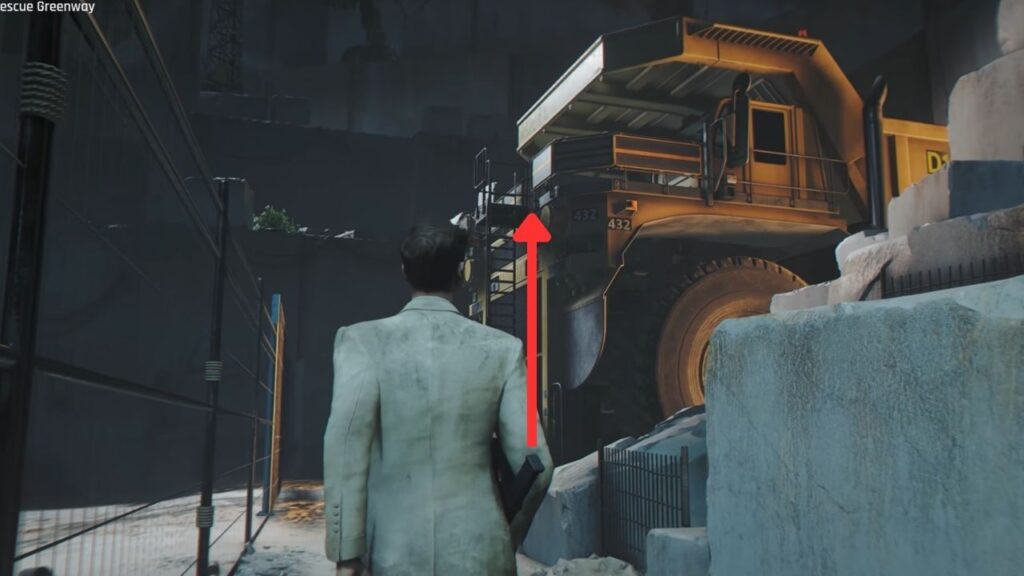
Climb the ladder on the right side and jump across the stone gap. Eliminate the remaining enemies in the area, then prepare to take a detour to rescue Greenway first.
After locating Greenway, it’s finally time to drive the humongous dump truck, every boy’s dream, really.
Ram through the electrical towers and crush your enemies as if you’re stepping on bugs. Stop beside Greenway so he can climb in. Then keep driving and smashing through any obstacles in your way. Your objective here is simple: keep ramming forward.
However, the truck soon runs into a bit of trouble, forcing you to defend yourself. Once again, prioritize shooting gas tanks and other destructible objects to deal with enemies more efficiently.
After the area is secure, get back behind the wheel. Continue driving and follow the main path on the right to trigger the next cutscene.
Finding Damien
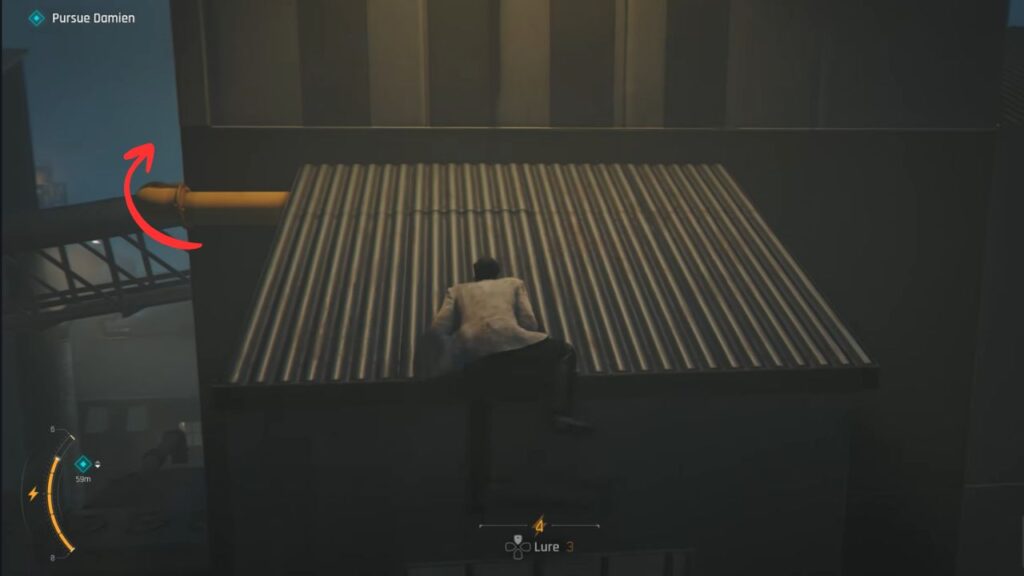
Drop onto the lower platforms and run toward the end of the path. Jump across the gap onto the entry roof, then shimmy along the yellow pipe. Drop down from the pipe onto the lower platforms.
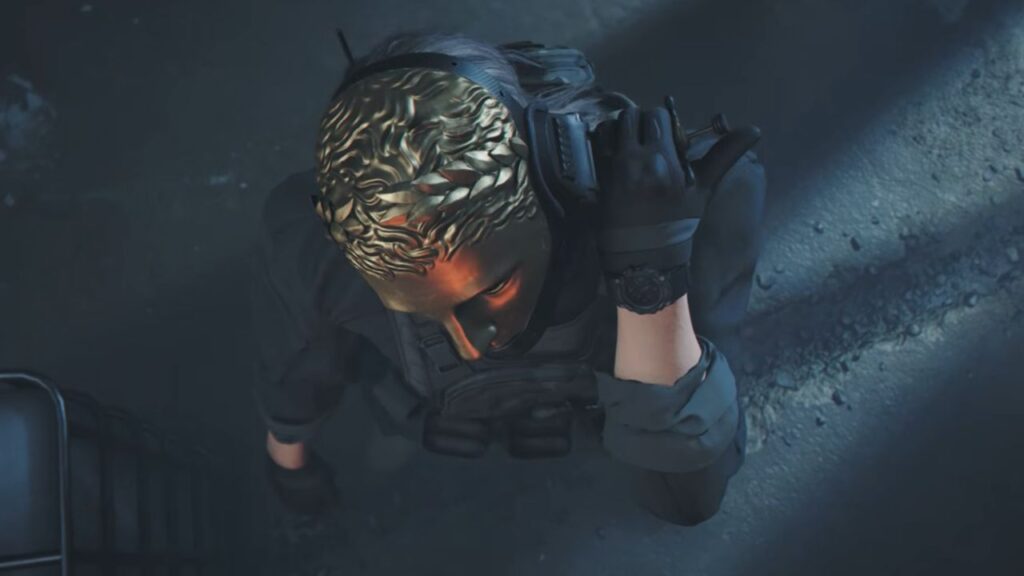
You’ll be ambushed by Damien, who has a serum that seemingly makes him faster, stronger, and better. You’ll need to be clever to win this fight.
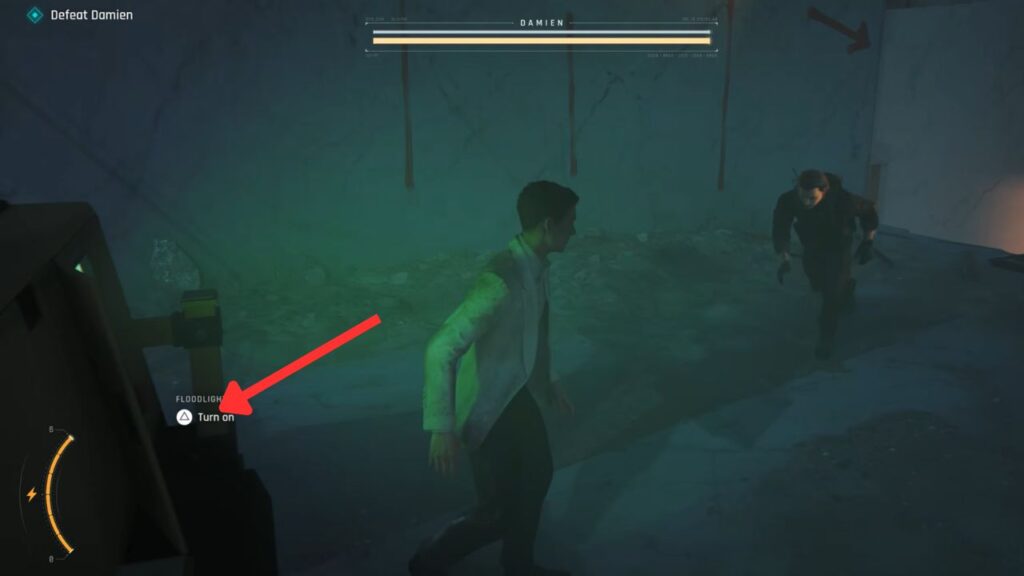
Use the floodlights whenever he gets close to you. The bright light will blind him, giving you a chance to land several free hits.
After the second phase, he’ll start using a gun, so you can no longer run around freely. However, the strategy remains the same. Stay behind cover and use the floodlights whenever possible.
It seems the serum did not improve his intelligence enough to recognize this rather obvious weakness. As a result, this ends up being one of the easiest boss fights in gaming history.
Enjoy the cutscene as Bond finally finishes off Damien. However, the cutscene continues, and this time the outcome is not satisfying.
Going Rogue
After the cutscene, head upstairs and meet Moneypenny in the briefing room. Follow her. Since you are about to go rogue and find Hyperion yourself, you’ll want to bring as many tools as possible.
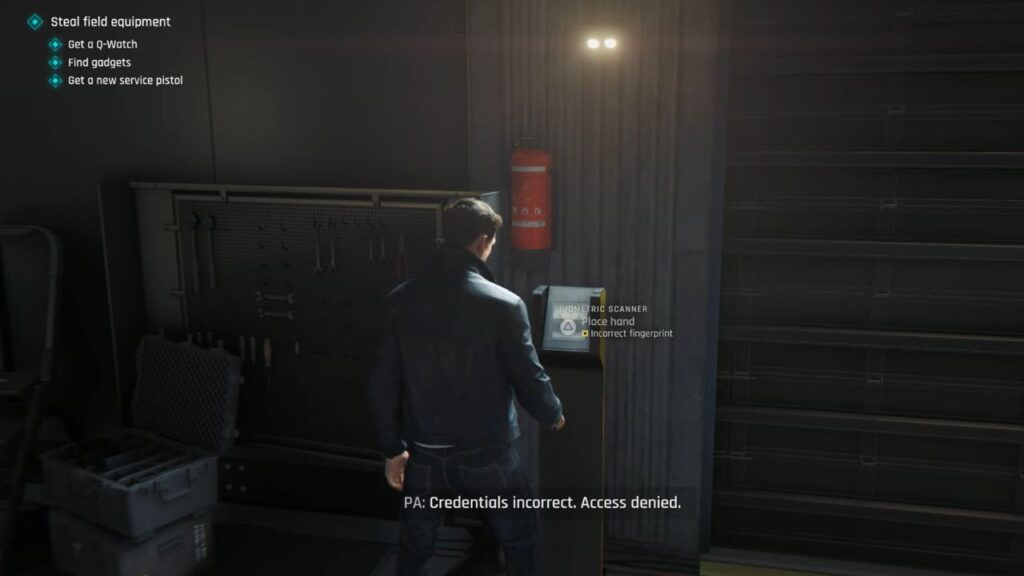
Inside Q’s lab, head over to the locked stress test chamber door in the left corner of the room. Interact with the sensor, and it will tell you that you need Q’s fingerprints.
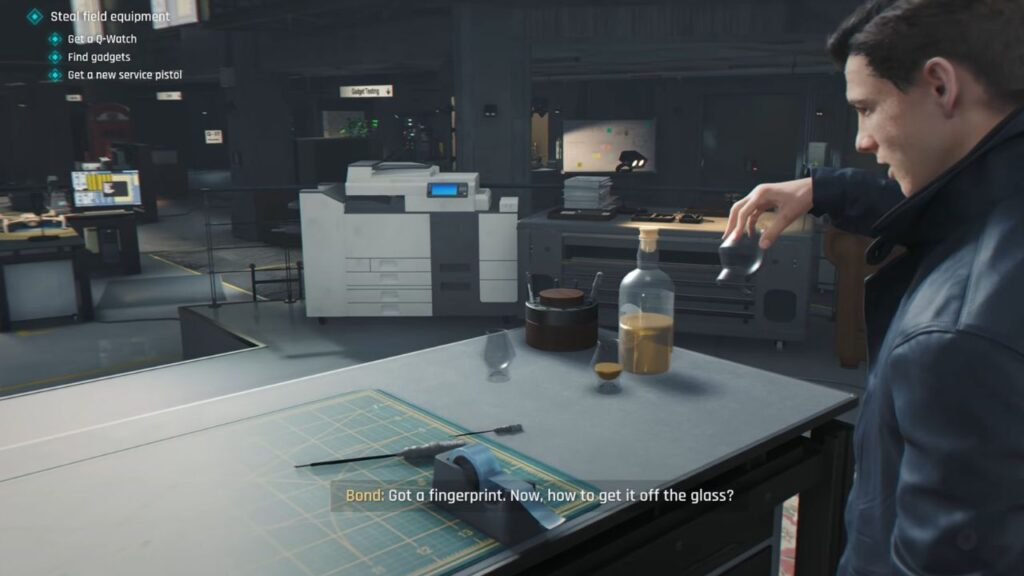
Go to the middle platform and inspect the glass he drank from earlier. However, it only provides a partial fingerprint, so you’ll need more.
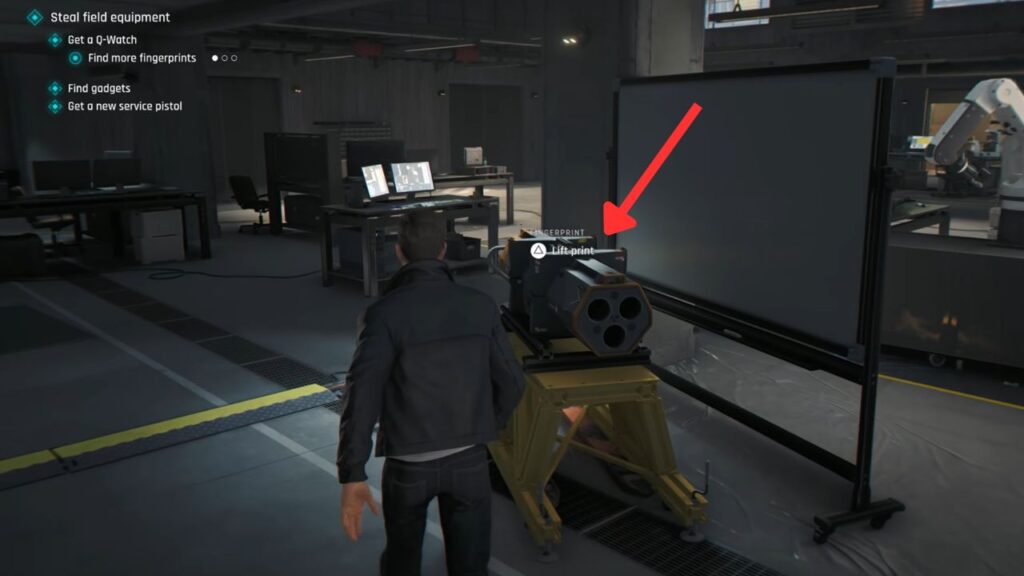
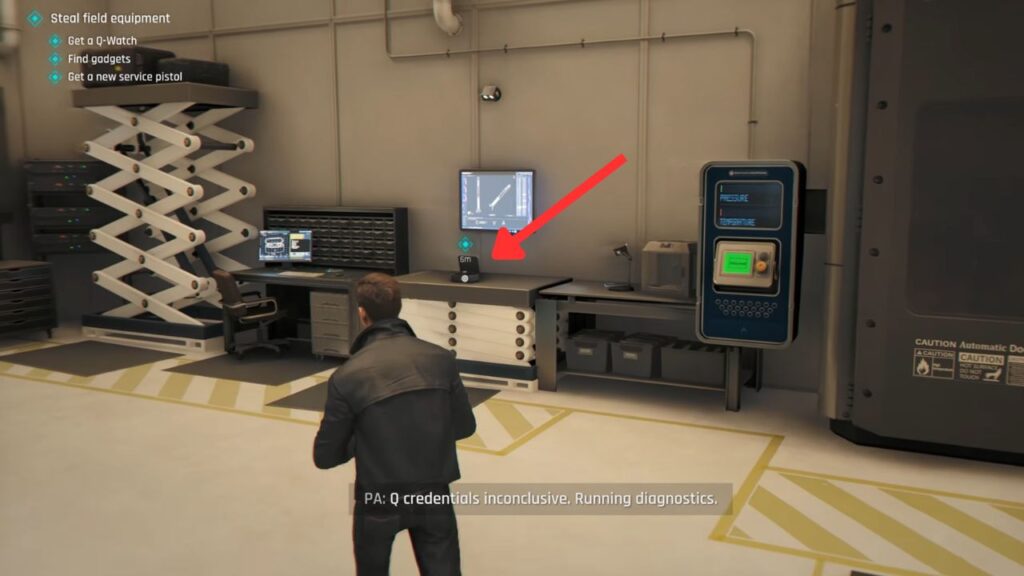
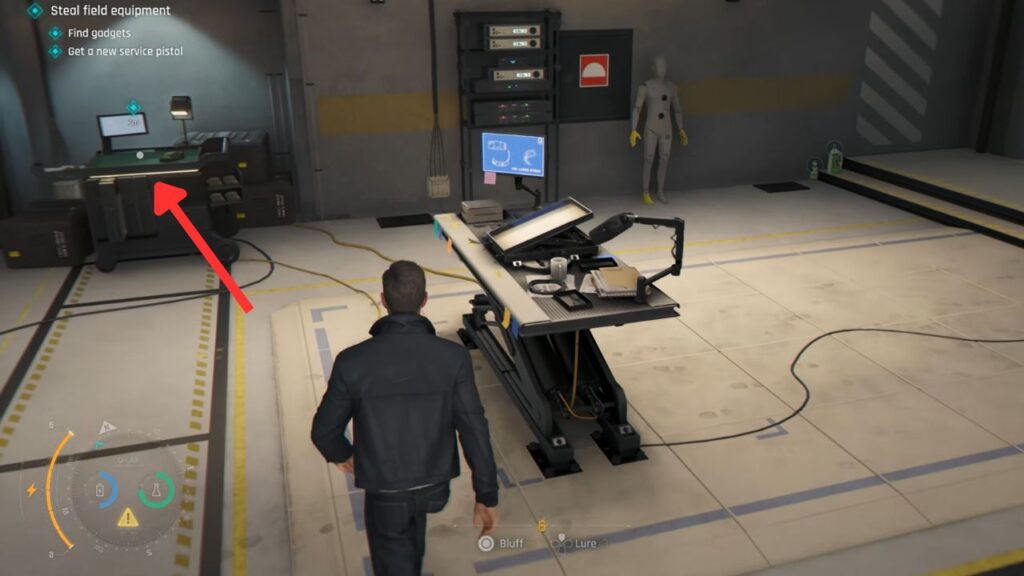
Head to the other side of the room and inspect the large cannon sitting on the yellow metal table. This will give you another partial fingerprint.
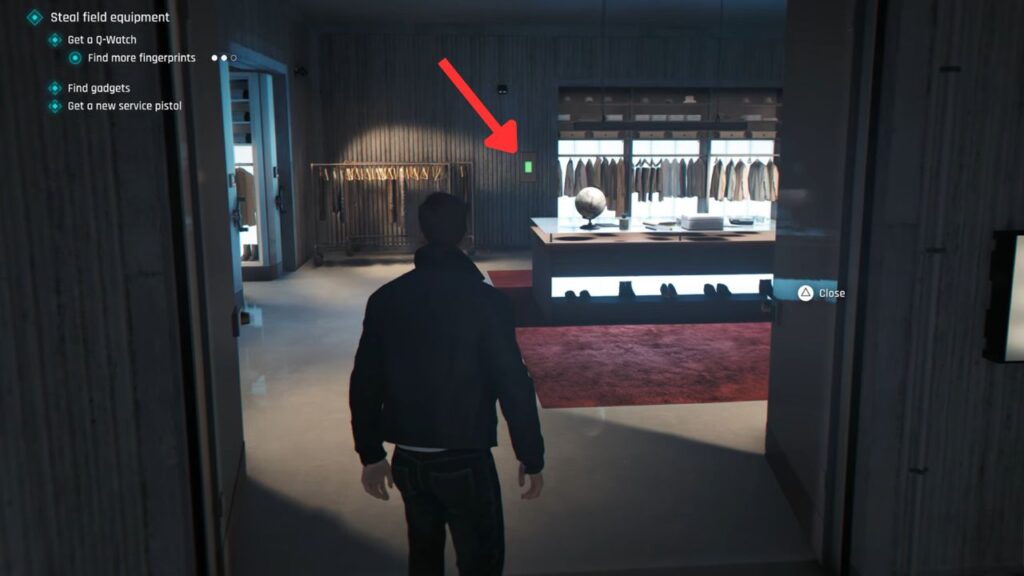
Next, head to Wearables and inspect the green-lit panel across from the entrance door to obtain the final part of the fingerprint.
Return to the stress test room and interact with the fingerprint sensor to unlock the door.

Grab the Q-Watch from the right side of the room. Suddenly, the door closes and the lockdown system activates.
Read the note in front of the entrance to learn about the cabinet code. The code is the same as the test subject inside the room, which in this case is a car. Check the license plate, and you’ll find the code is 4397.
Enter the code into the cabinet beside the note and collect the resources inside.
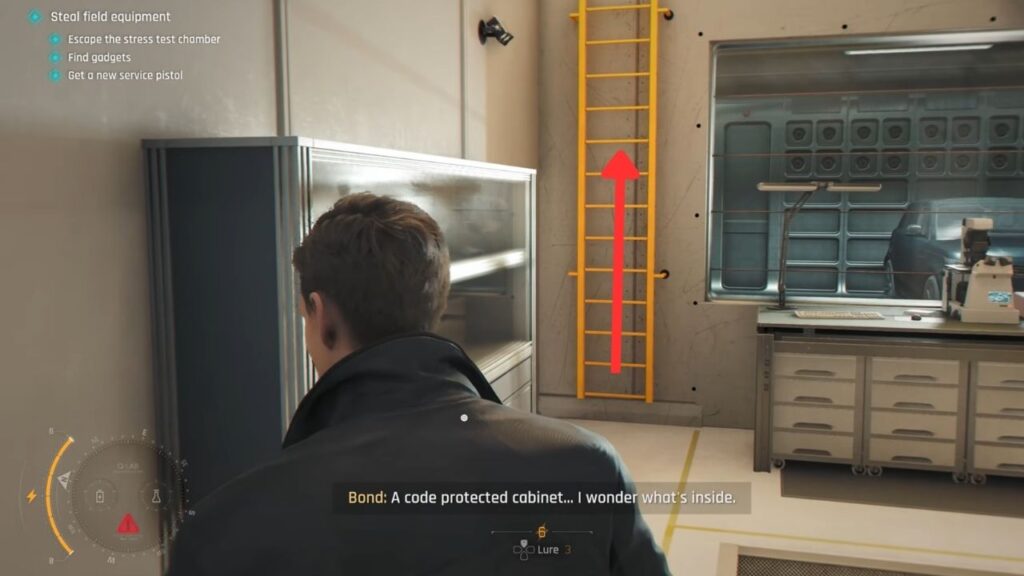
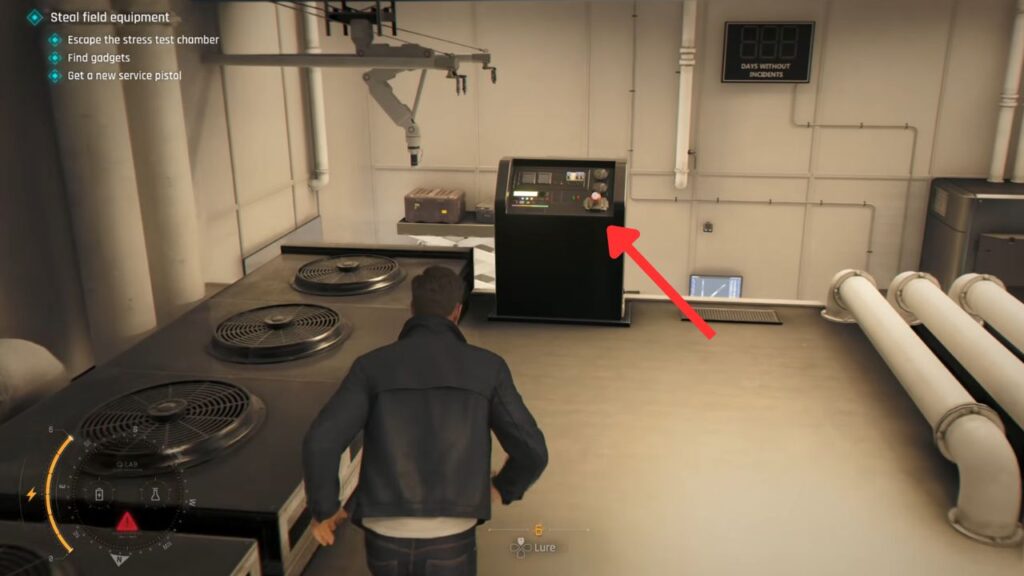
Then climb the ladder and interact with the control panel to disengage the explosion chamber lockdown, the room directly below you. Open the chamber containing the car. Inside, follow these steps:

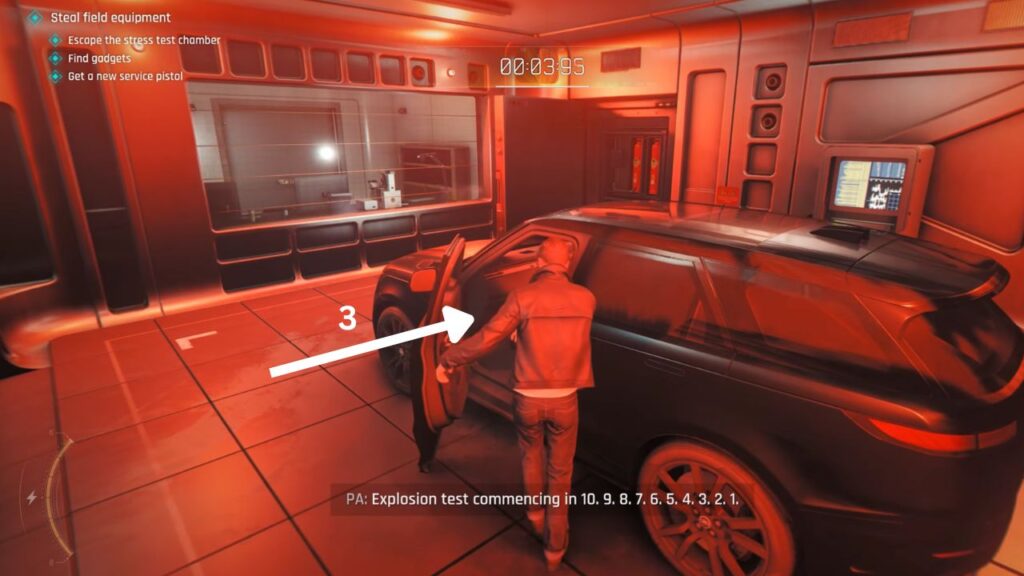
- Press the blast sequence button on the right side.
- Quickly open the door beside it.
- Immediately run over and get into the car from the left side.
Doing this creates an opening to the next room. Squeeze through it.
Interact with the gadget cart to equip additional gadgets. Now all that’s left is to grab a pistol.
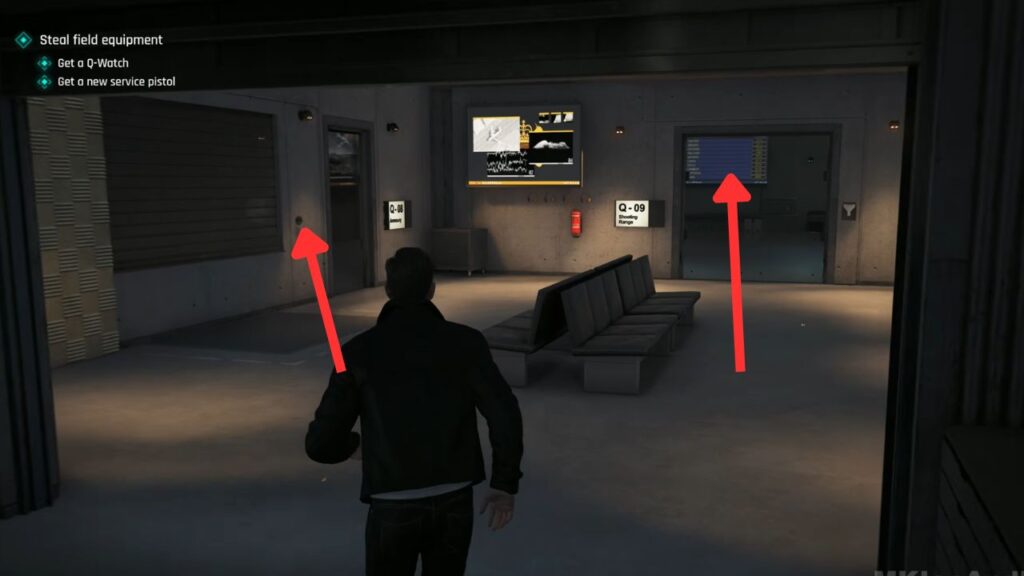
Head outside and turn right. Follow the hallway to the end and enter the armory. You’ll need another passcode here. Go through the nearby glass door and check the high-score board. That gives you the code. The passcode is 1324.
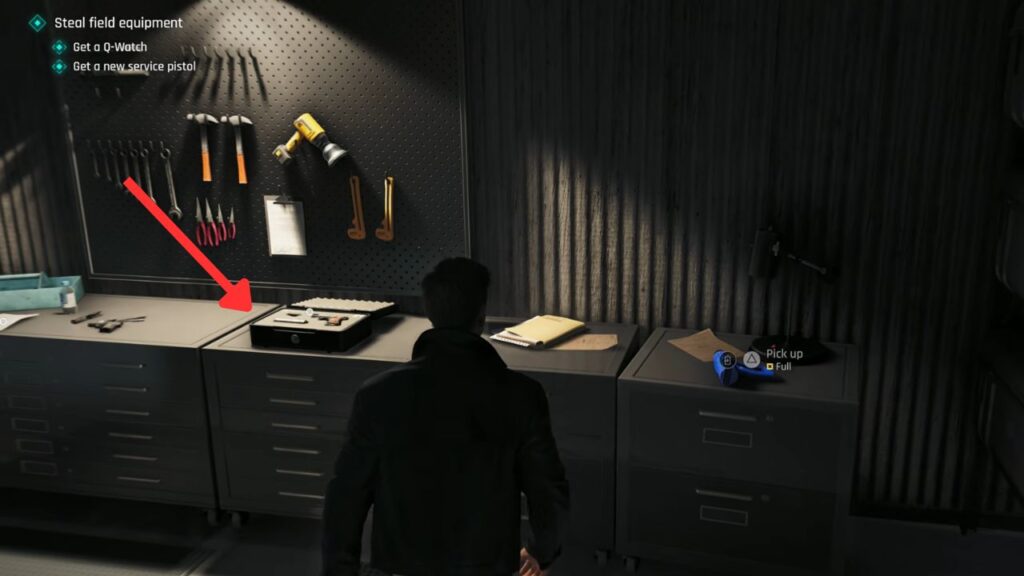
Once inside, continue deeper into the room and turn left to find the pistol.
Now that you have everything you need, it’s time to leave. Leave the lab by taking the elevator, then exit the office through the main lobby.
To Antarctica

Next, a cutscene takes place aboard a boat with Isola. She offers Bond a glass of Martini, shaken, not stirred. This appears to be the moment that inspires him to order his Martini that way for the rest of his career.
Here, you can ask Isola who she really is. Her answer includes an interesting line: “We are what we do, and what we wear.” It is a seemingly simple statement, but it may explain why Bond adopts his signature classy suits in the years to come. Isola appears to have a significant influence on the man Bond eventually becomes.
The two then put on camouflage diving suits and swim toward the frozen shores of Antarctica, leading directly into Chapter 9: Wave of the Future.