After uncovering the truth behind the assassination in Chapter 6, Chapter 7: Knightfall takes you deeper into the mystery surrounding Webb Industries. Bond and Greenway infiltrate Webb Industries HQ to discover who is behind everything that has happened and uncover the truth behind the entire operation.
Webb Industries
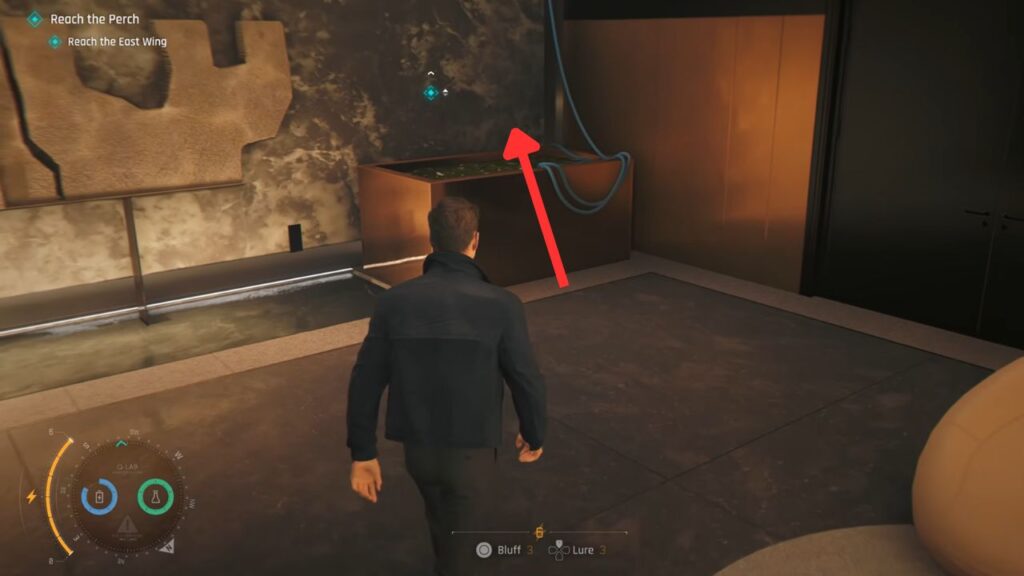
Starting off, follow Greenway to reach the Perch. Walk to the end of the corridor and read the manual on the board to the right. It explains that the Cleaning Robots have access to every room, you just need to control them.
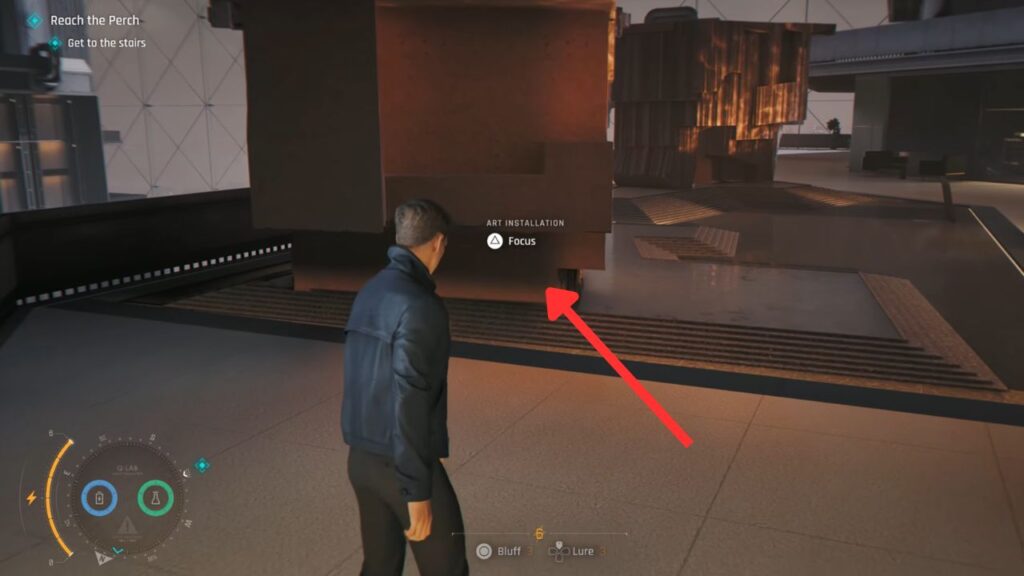
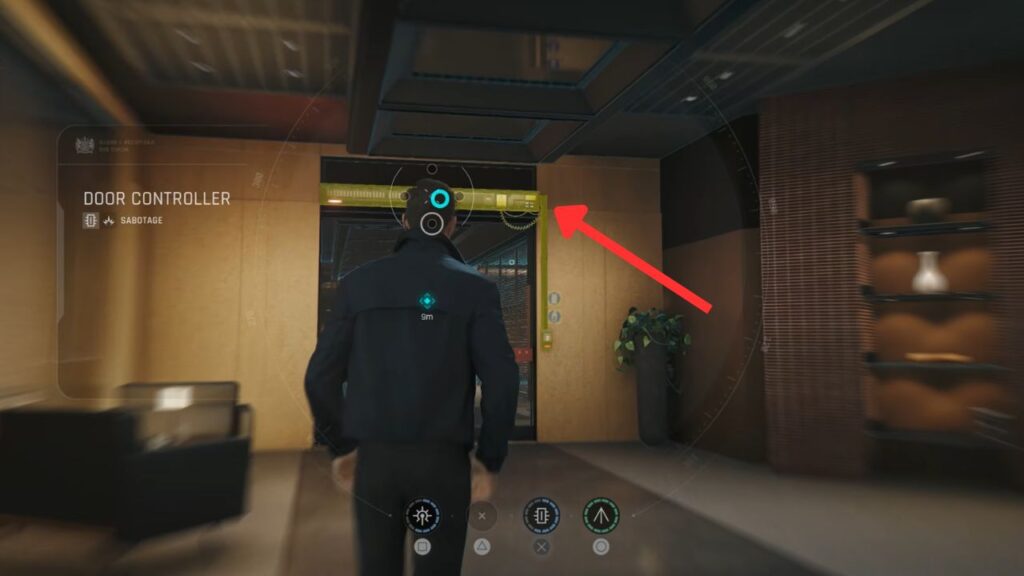
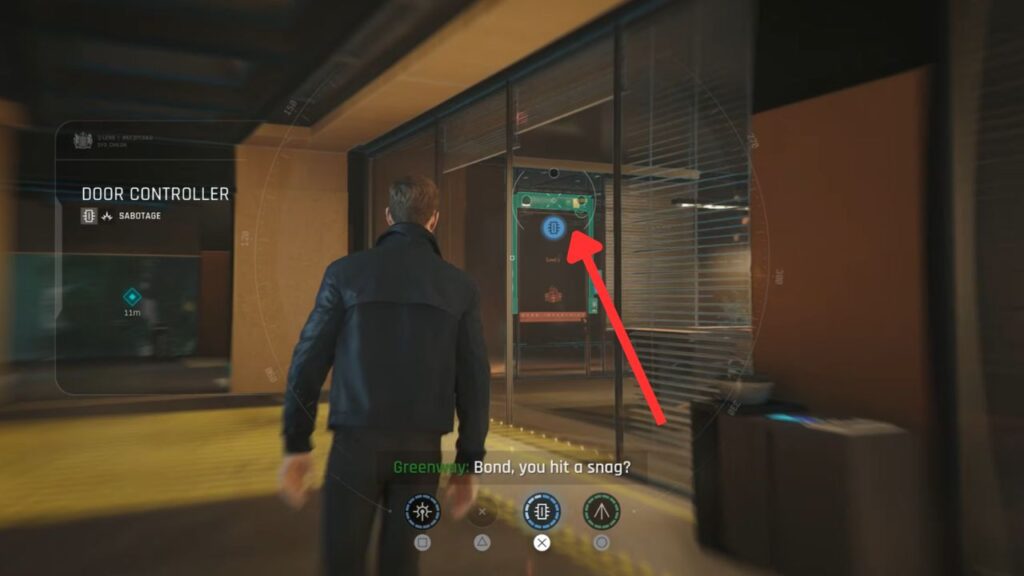
Get through the door across from the board by sabotaging the door controller. Move to the side of the large art installation behind Greenway and look for an interaction point. Climb the installation and jump over to the balcony on the other side.
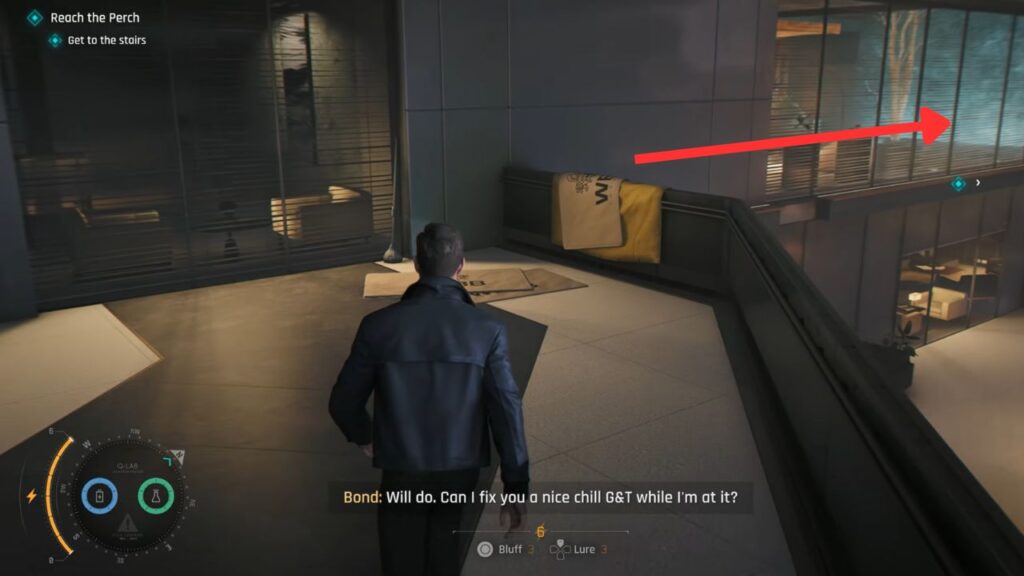
Turn right and look for a yellow tarp hanging by the railing. Climb it and hang on the opposite side. Move toward the narrow platform directly above the door you hacked, climb up, and make your way to the other side of the balcony.
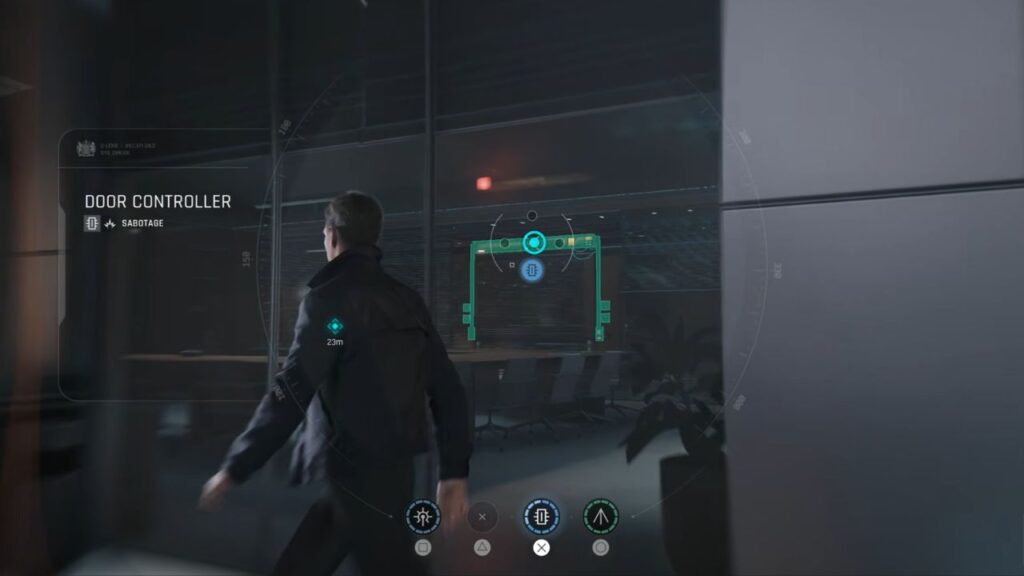
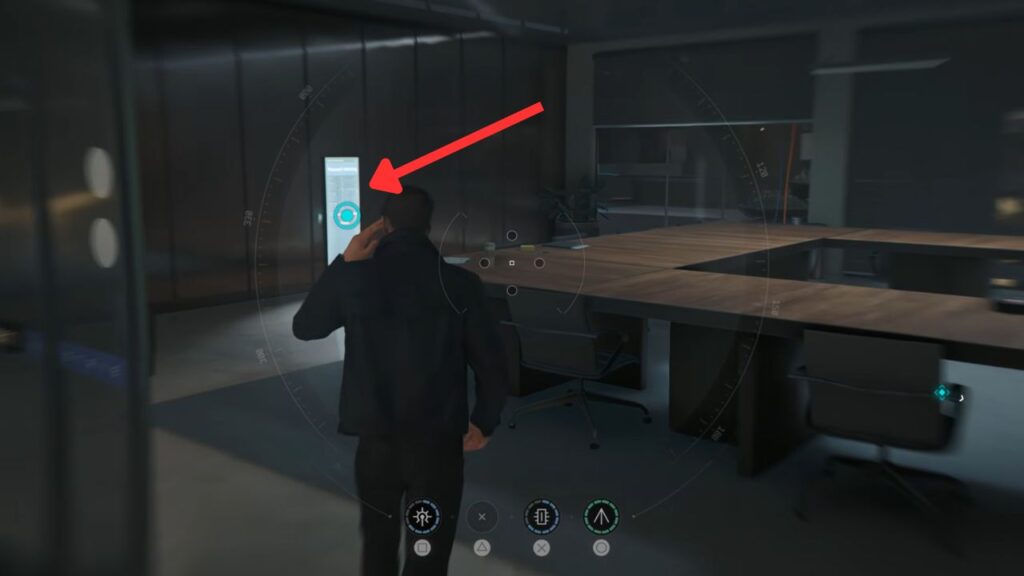
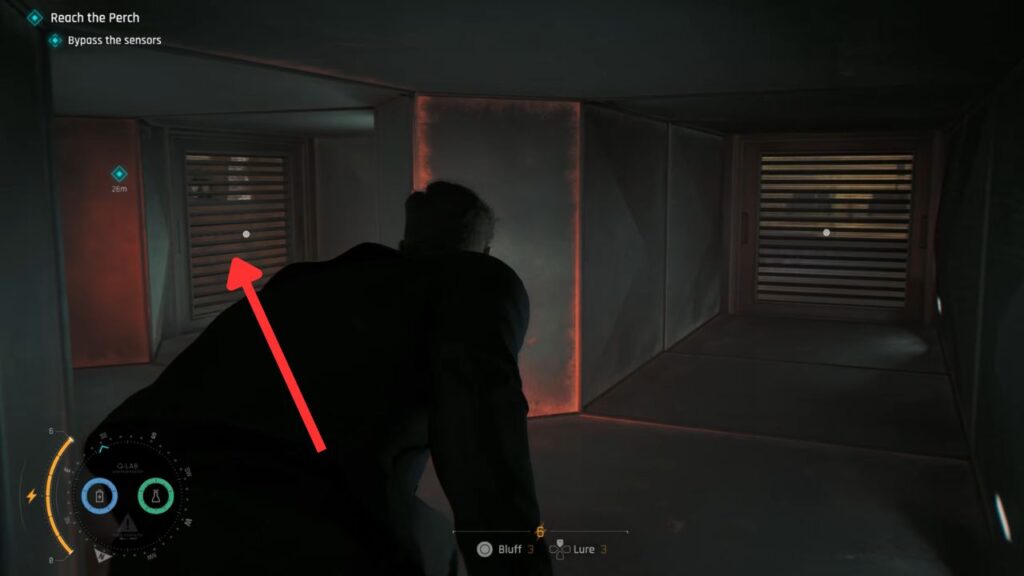
Again, marked by a yellow tarp, climb over the railings and drop down. Immediately look to the left and sabotage the door controller through the glass. Turn left, then left again, and enter the room.
Once inside, activate the Cleaning Robot panel on the left to call one over. The robot will arrive and open the locked door, allowing Greenway to get through. Follow Greenway up the stairs.
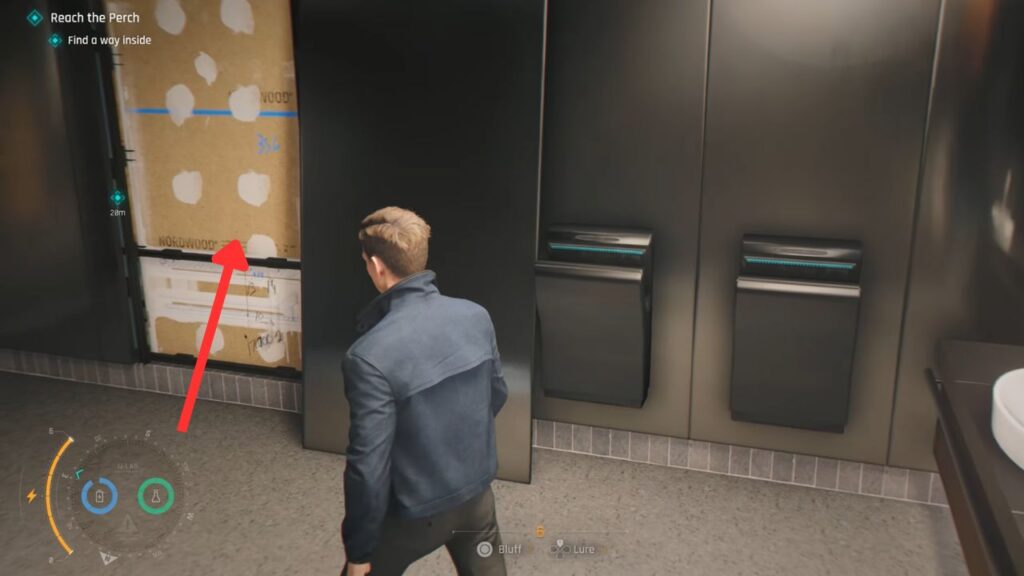
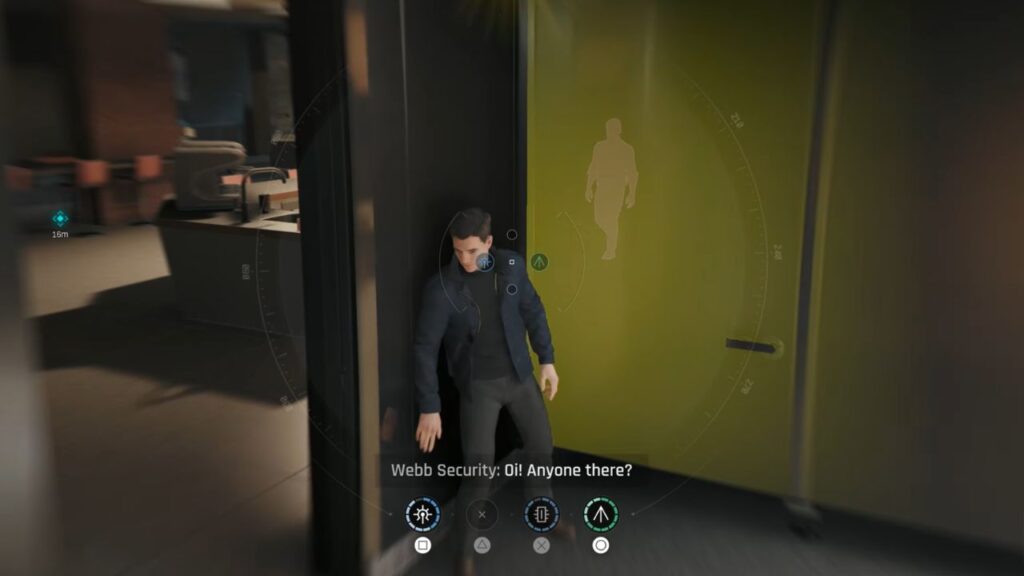
Enter the glass door and continue following Greenway. In the washroom, look at the missing wall panel on the left side, kick it open, and crawl through to the other side. Immediately take cover beside the door and wait for the guard to enter, then take him down.
Sabotage the entry door to let Greenway in. Continue following him and talk to him by the railings for a heart-to-heart conversation.
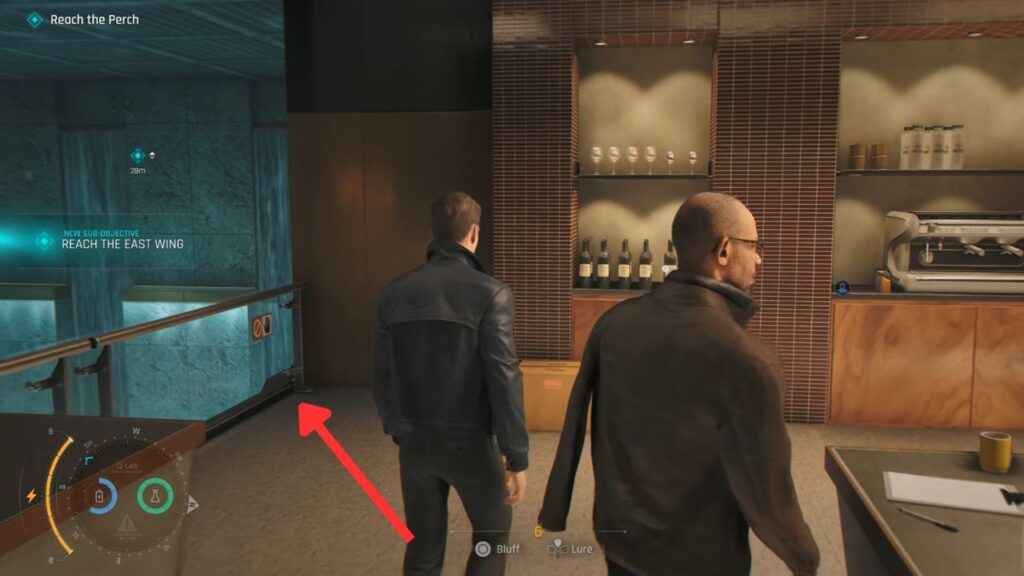
Head over to the bar and look for the wine rack. Climb over the railings nearest to it and move to the other side of the balcony. Climb onto the platform on the right and vault over the half wall. As soon as you land, immediately bluff the guard there and take him down.
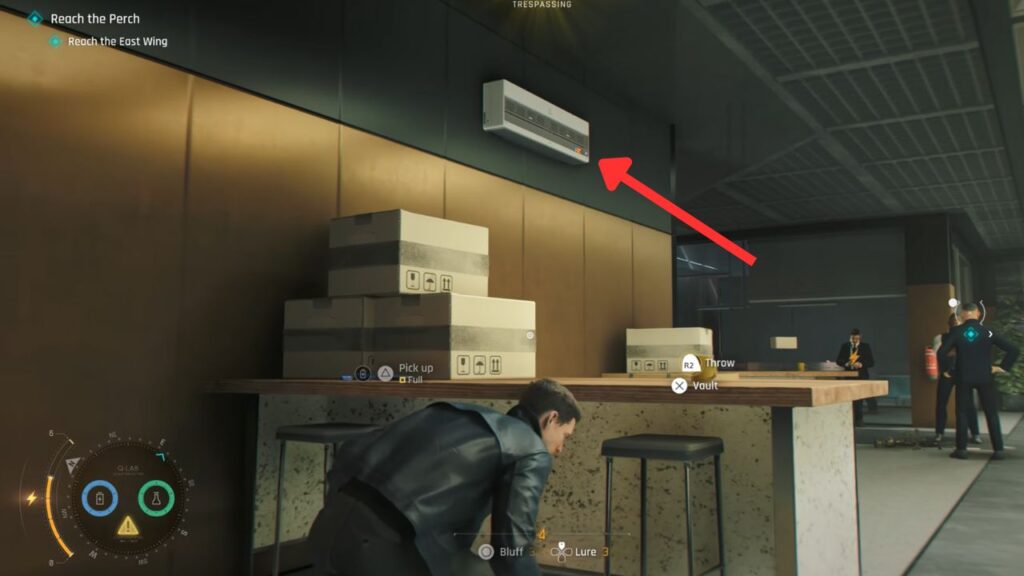
Enter the door behind him and begin sneaking. Sabotage the air conditioner on the left to release smoke. After taking down one guard, head into the room on the right and sabotage the air conditioner there as well. Take down the guard in that room.
Enter the vent in the same room to get across. Once again, sabotage the air conditioner, smoke is your friend here. Wait for a guard to investigate and take him down. Cross through the vents again and take down the guard closest to you.
The rest should be easy prey.
After clearing the area, go through the door marked by the blue objective marker. Turn left and sabotage the door controller. Follow Greenway again.
In the next room, there is a yellow line on the floor. If you step on it, a system lockdown will begin. Turn right and move the furniture to create a path forward. Enter the vent on the left and take the first left at the intersection, then exit the vent. You are now inside Isola’s office.
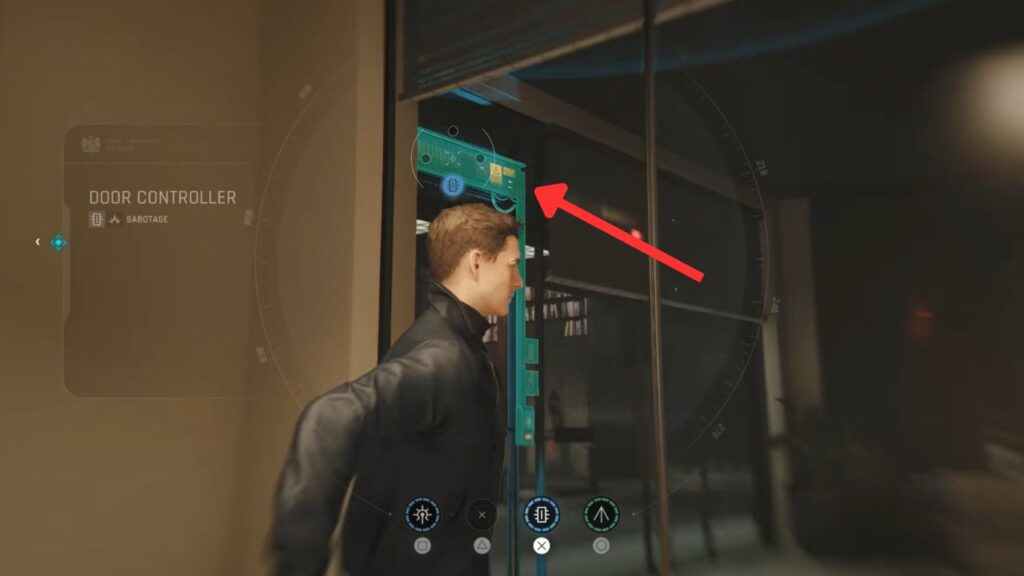
After examining all the interactable objects in the room, head out into the hallway and peer through the glass door of the next room to sabotage the door controller inside. Return to the vent and take a left. You are now in Damien’s office. Interact with Damien’s stuff to learn more about him.
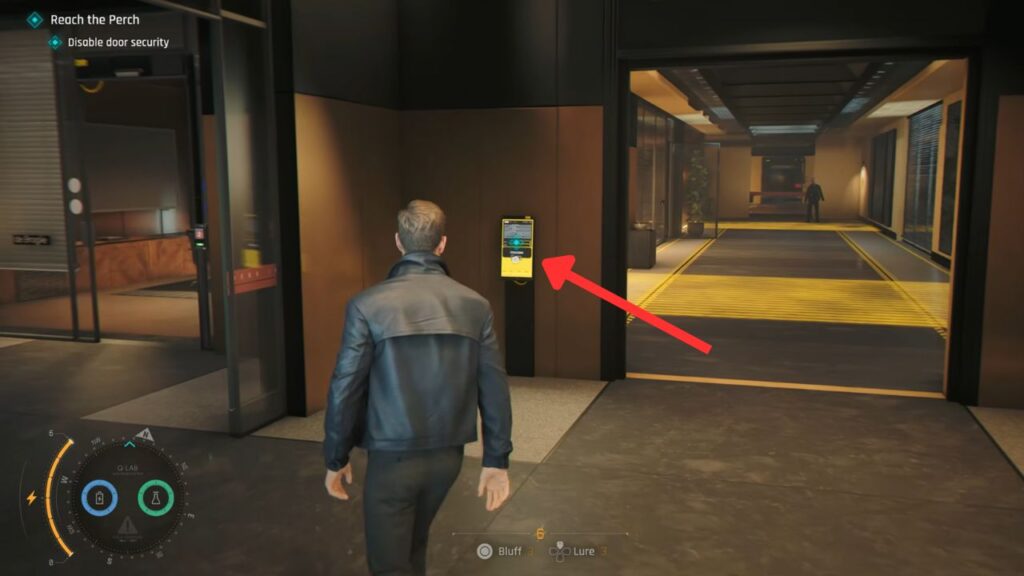
Leave the room and turn left, then enter the door you hacked earlier. Call a Cleaning Robot so it opens the hallway door. Go through the doorway and immediately look left, then interact with the panel to disable the yellow laser barriers. Continue following Greenway.
Penthouse
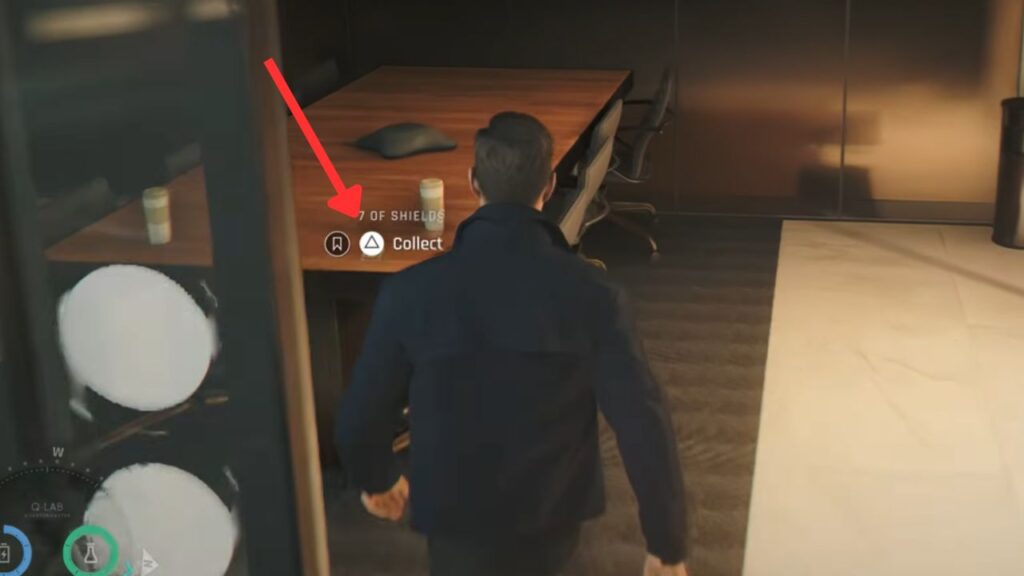
When you reach the locked door, surprise, you’re not the only intruder here. Enter the Bohr meeting room and peer through the glass door on the left to sabotage the door controller in the next room, allowing you to grab a collectible.
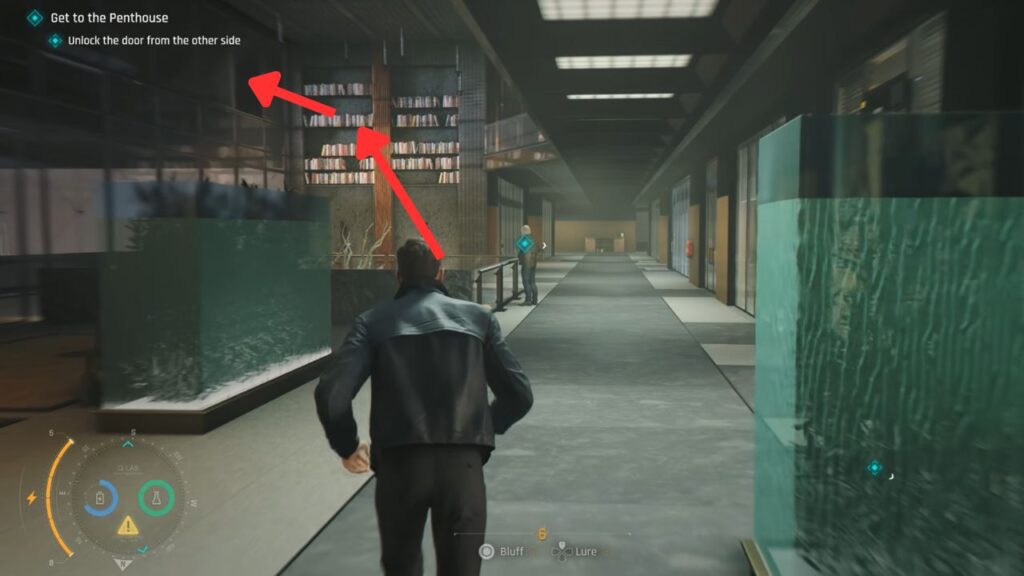
Greenway will eventually spot a way up. After getting a boost from him, climb the bookshelf and make your way through the open window. Move to the yellow tarp on the left side and climb over it. On the other side, pick up the keycard and open the door. Follow the trail of unconscious guards to the door at the end to trigger a cutscene.
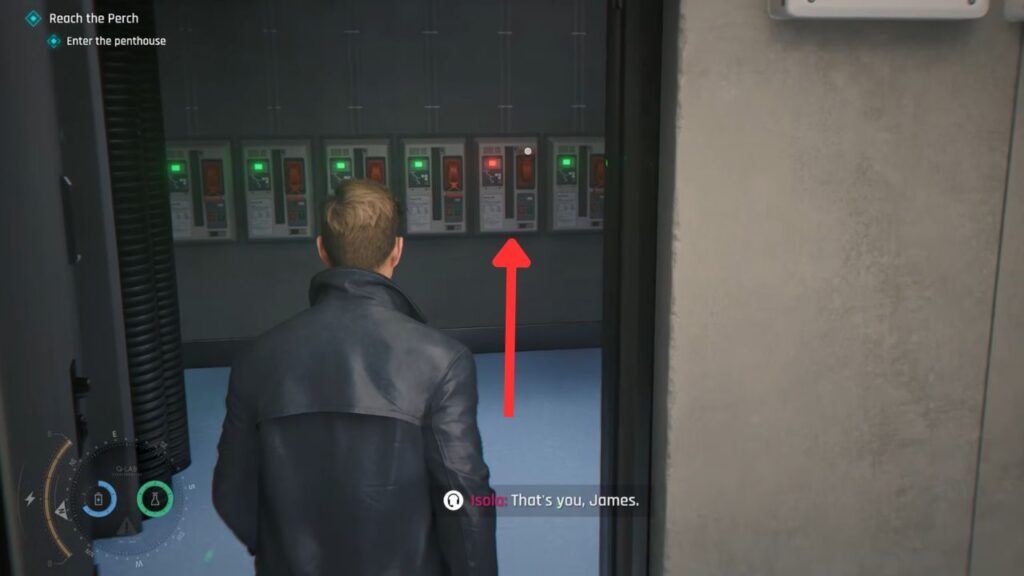
You are now on your way to the penthouse. Kick open the door on the right and flip the red electrical switch. Then interact with the panel to activate the fancy rotating staircase.
Inside the penthouse, your task is to find and open the safe. Note that your Q-gadgets are disabled here, so you’ll need to do everything manually. Be sure to examine every interactable object in the room to learn more about the story and lore.
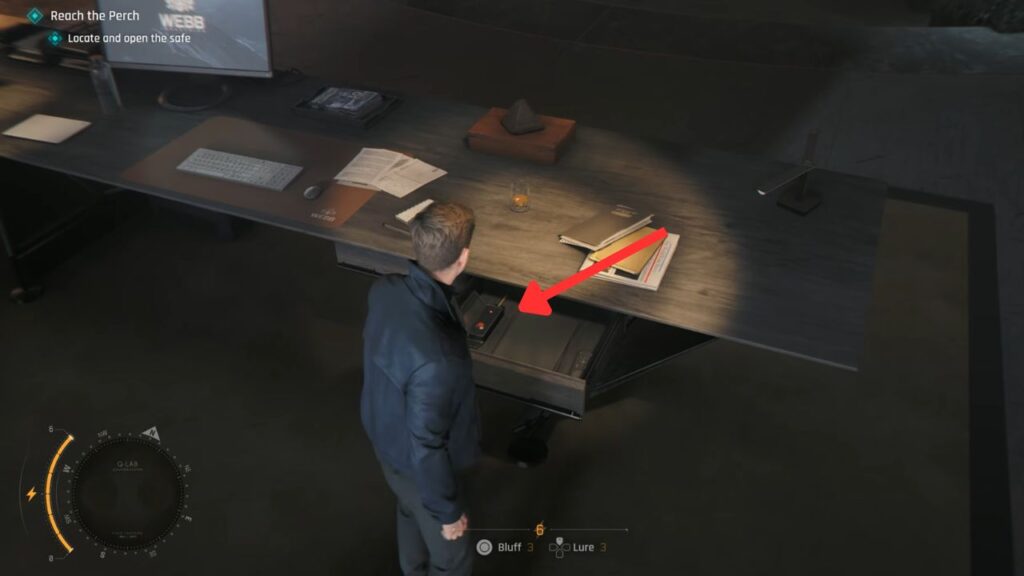
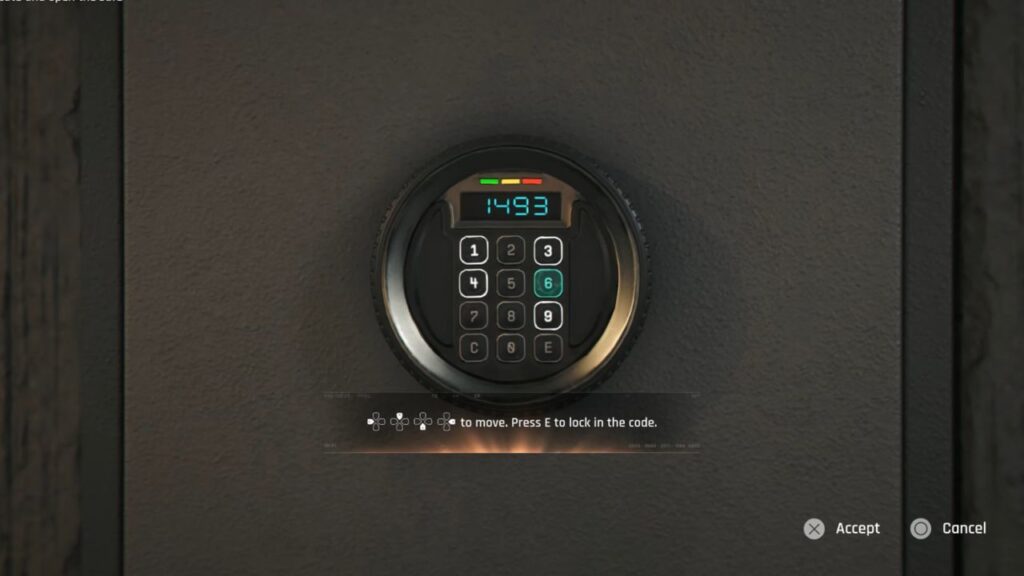
Once you have gathered all the information you need, head to the main desk and press the button hidden inside the drawer. This reveals a secret safe on the right side of the room. To open it, check Isola’s note. TLDR, the code is 1493.
Close the drawer to cover your tracks. Moments later, Sir Nicholas and his troubled son enter the room. You need to remain hidden while staying close enough to record their conversation.
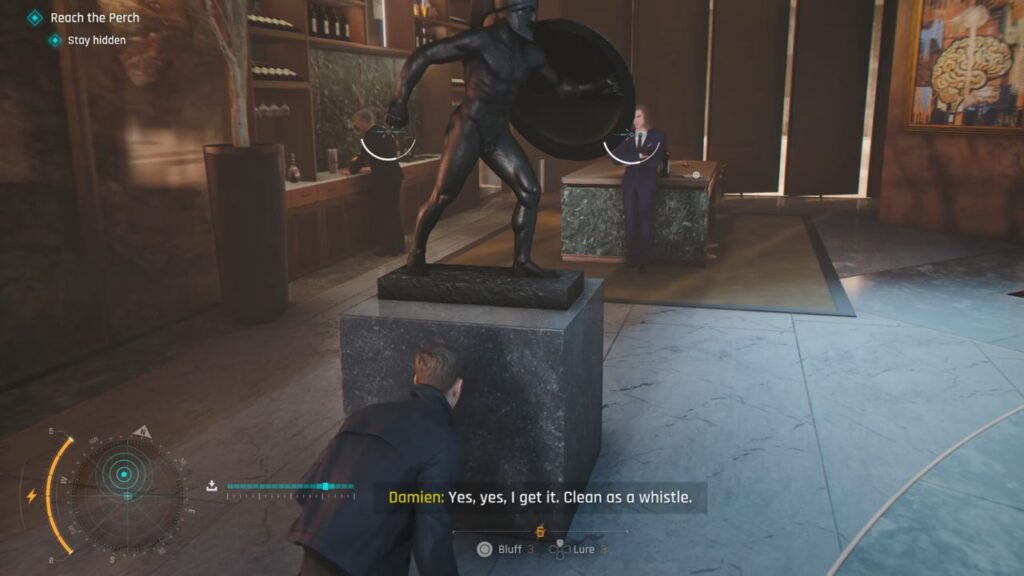
Wait until both of them move away. Follow them closely and hide behind the Roman statue. Continue tailing them until they leave the room.
To the Perch
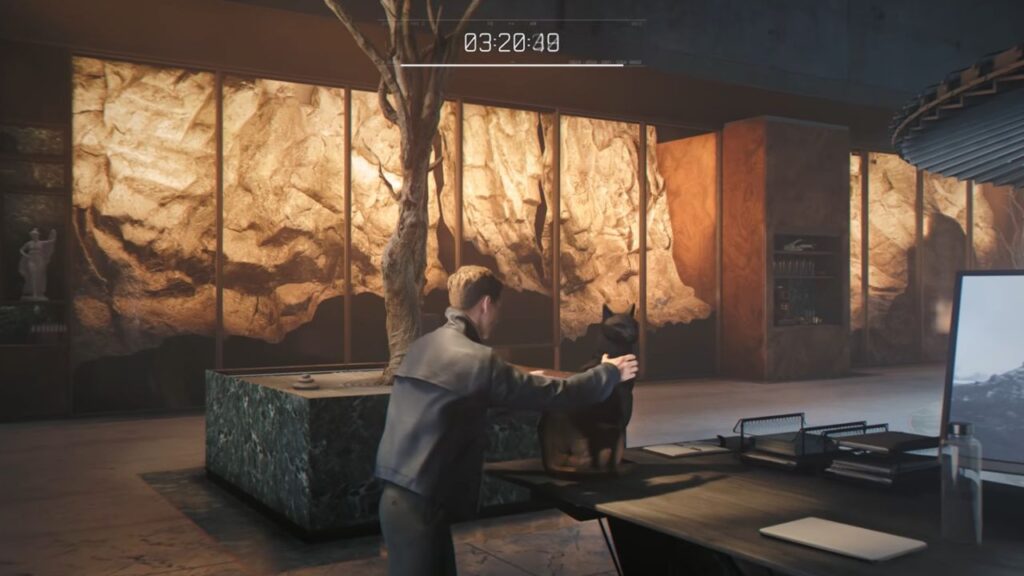
Now here’s the heart-clenching part: you only have four minutes to get to the perch. Quickly head to the cat statue on Webb’s desk to open a secret panel door. Go inside and keep following Isola’s instructions.
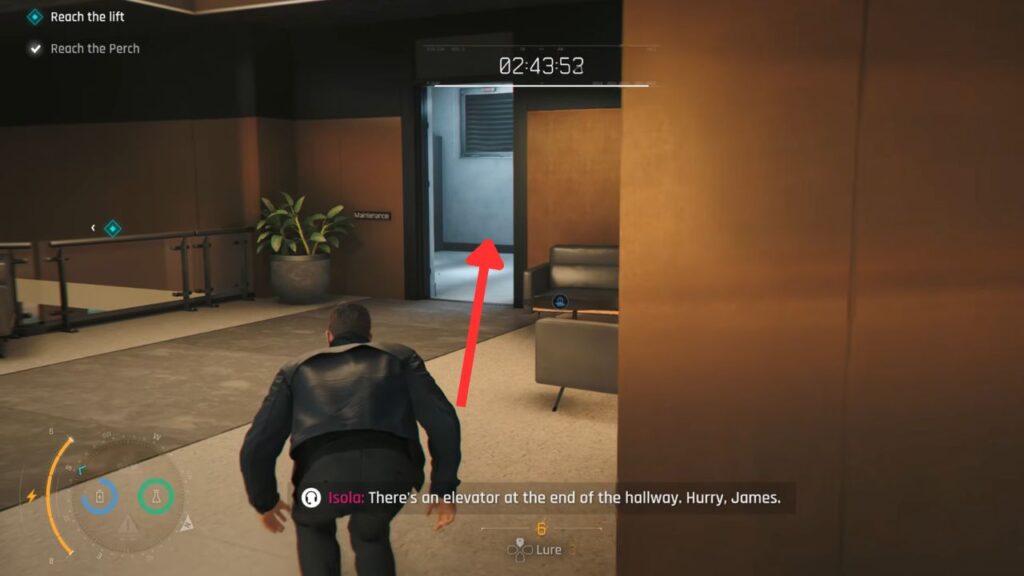
Once you exit the vent, quickly take down the guard in front of the door. Jump down and run toward the elevator. It’s offline, so quickly sneak into the maintenance room behind it, use the laser on the vent, and climb through.
After exiting the vent, swiftly grab the batteries on the desk. Take down the guard in front of you. Make sure you use stealth takedowns to avoid wasting time in fights.
Run straight ahead, turn left, and kick open the wooden panel on the right side.
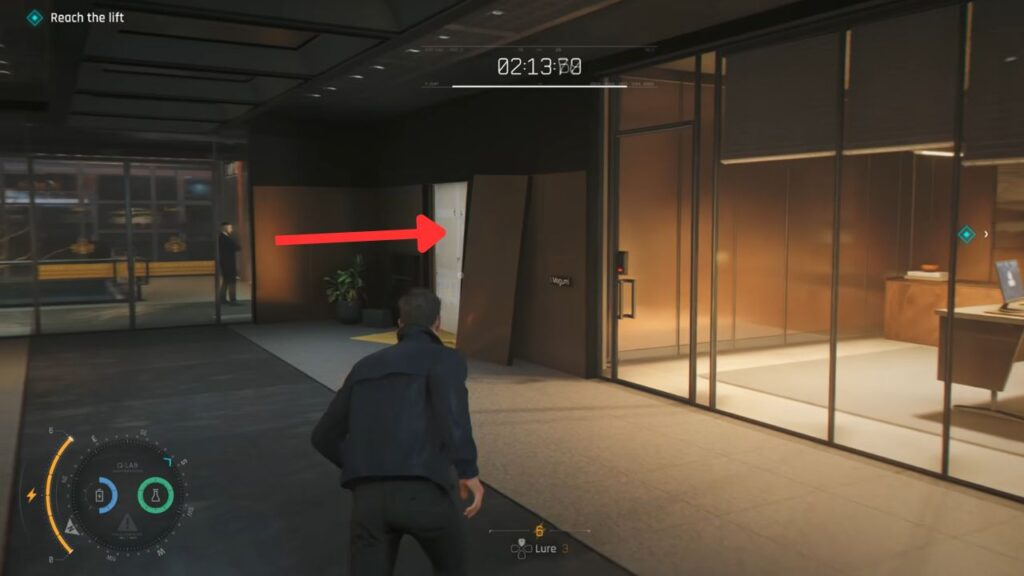
Leave the room, continue sneaking quickly, and turn right. Take down the guard in front of the elevator and immediately call the lift.
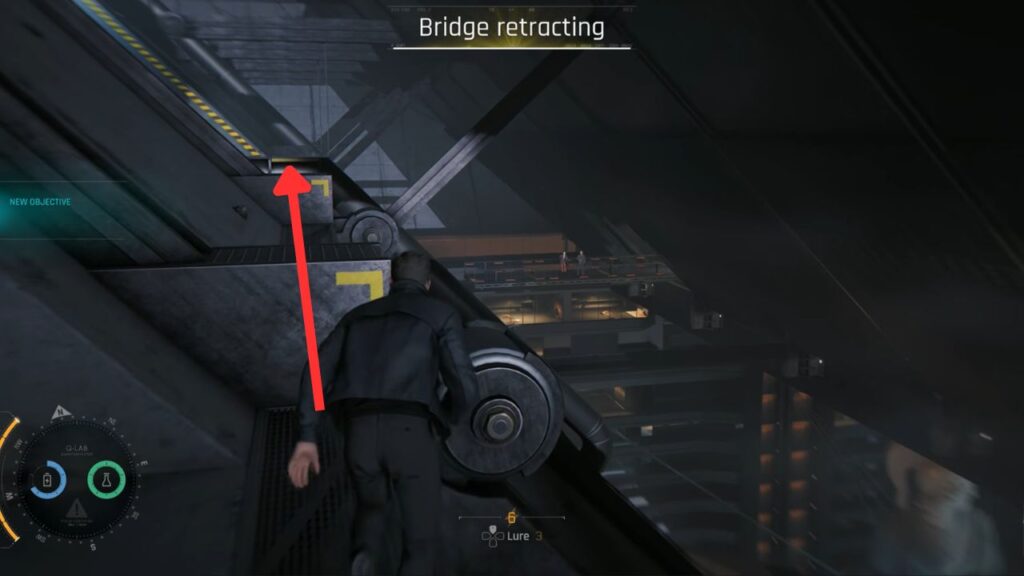
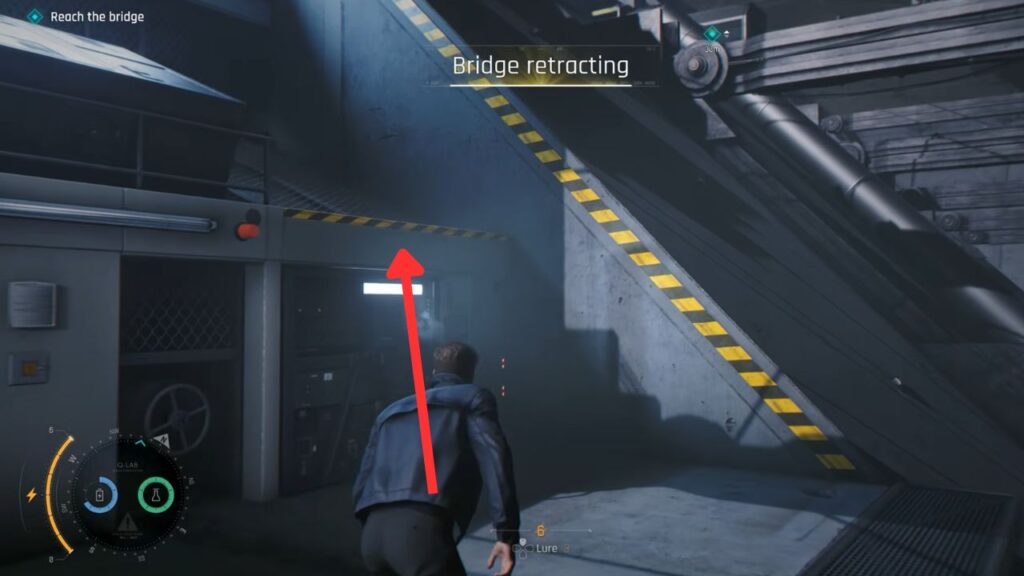
When the elevator gets stuck, rapidly press the X button to force the door open. Climb through, crawl through the vent, and run across the platform on your left. When Isola tells you about the zipline, quickly climb to the higher platform on the left, marked by the black-and-yellow stripes.
Keep climbing upward and to the right, then take the zipline without hesitation. You’ll soon reunite with Greenway and Isola.
The Perch
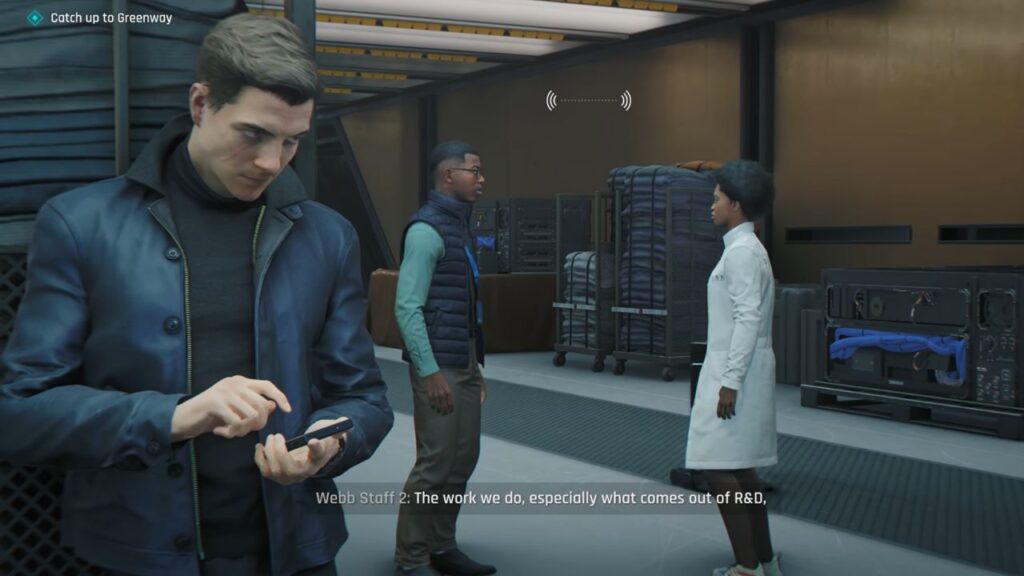
You’ll need a lab coat to get in. Backtrack to the hallway and eavesdrop on the scientist talking behind the laundry cart.
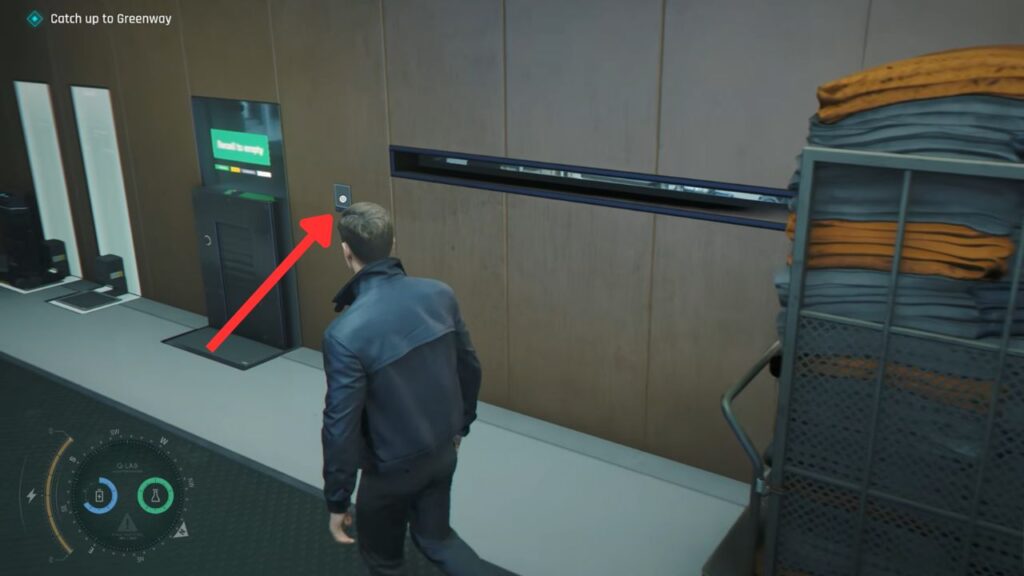
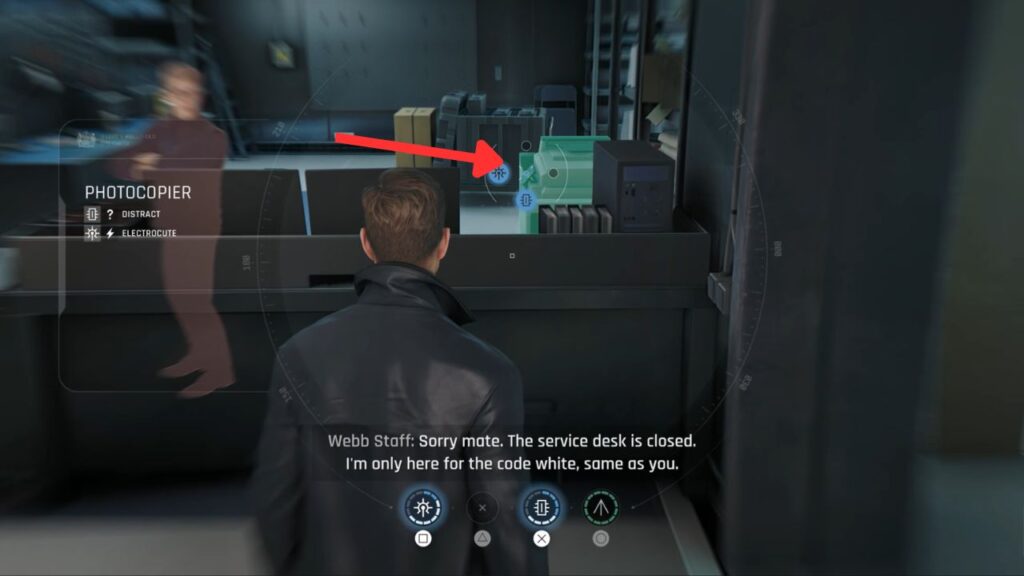
Call a Cleaning Robot by pressing the button right next to the laundry cart. Once the robot reaches the disposal unit, head into the room in front of you. Bluff the receptionist, then hack the printer to distract him.
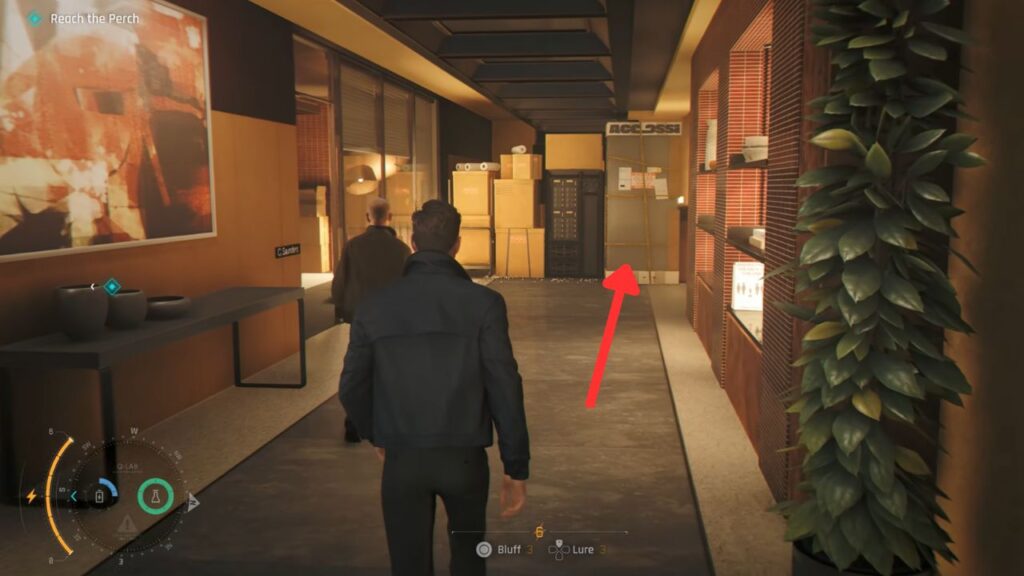
While he’s distracted, quickly sneak toward the back area. Wait until he turns back toward his desk, then squeeze through the narrow passage blocked by boxes.
Once you’re through, use your Dart Phone on the guy guarding the disposal unit. After he walks away, quickly snatch the locker key from the disposal. Backtrack and hack the printer again to create a safe path out.
Once outside, head to the locker room directly across from you. Make sure to resupply your batteries and chemicals here. Open locker number 6 and put on the lab coat. Now that you look like a scientist, head back to where Greenway went.
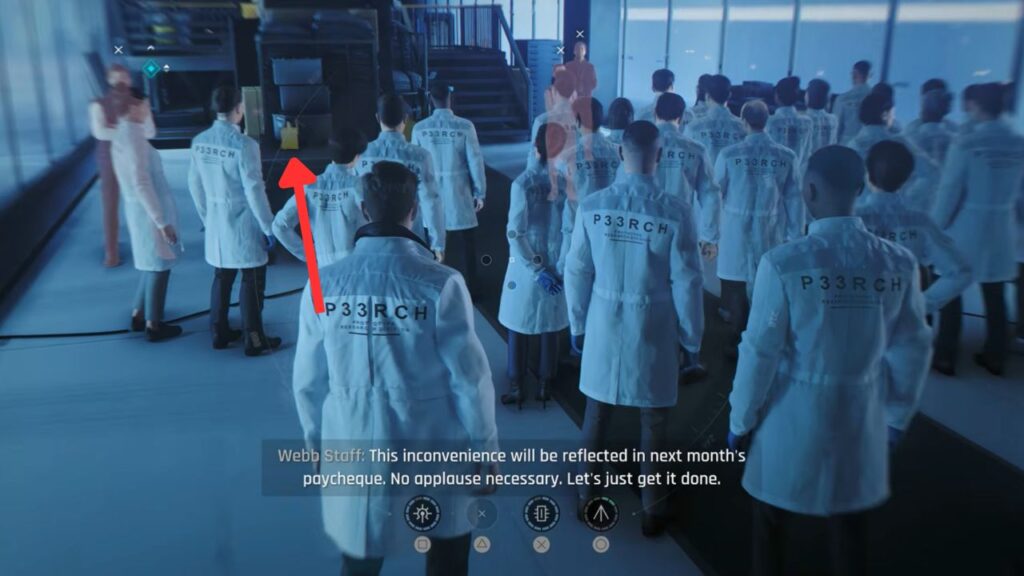
In the crowd, make your way to the left side. There is a radio you can hack to distract the guard stationed there. Once he is distracted, walk behind him and move underneath the stairway. Make your way to the other side of the room. You can resupply your resources here.
Server Room
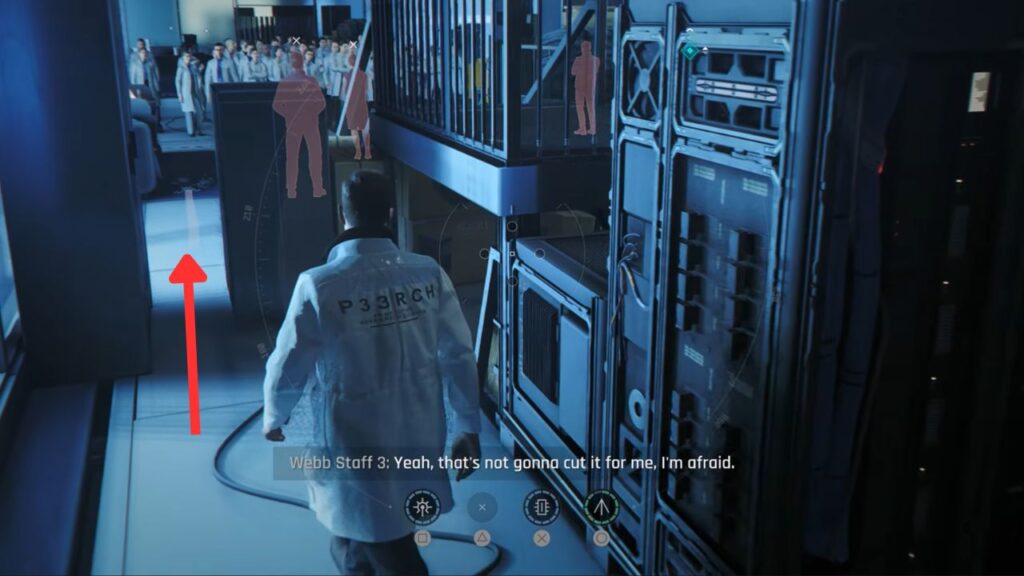
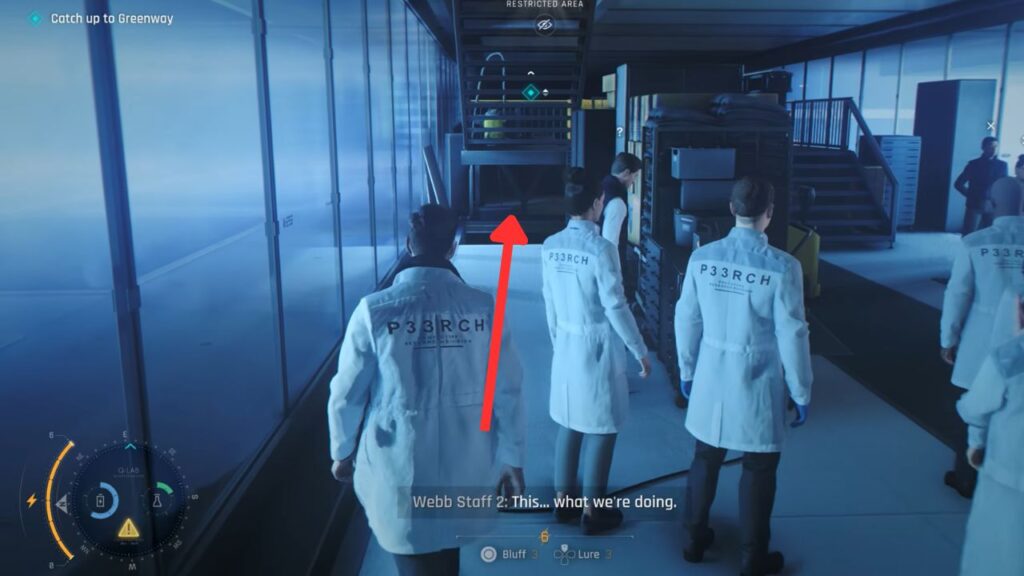
From here, move to the left side of the room and squeeze through the cabinets. Somehow, the crowd will not notice you. Head upstairs calmly and enter the room to meet Greenway.
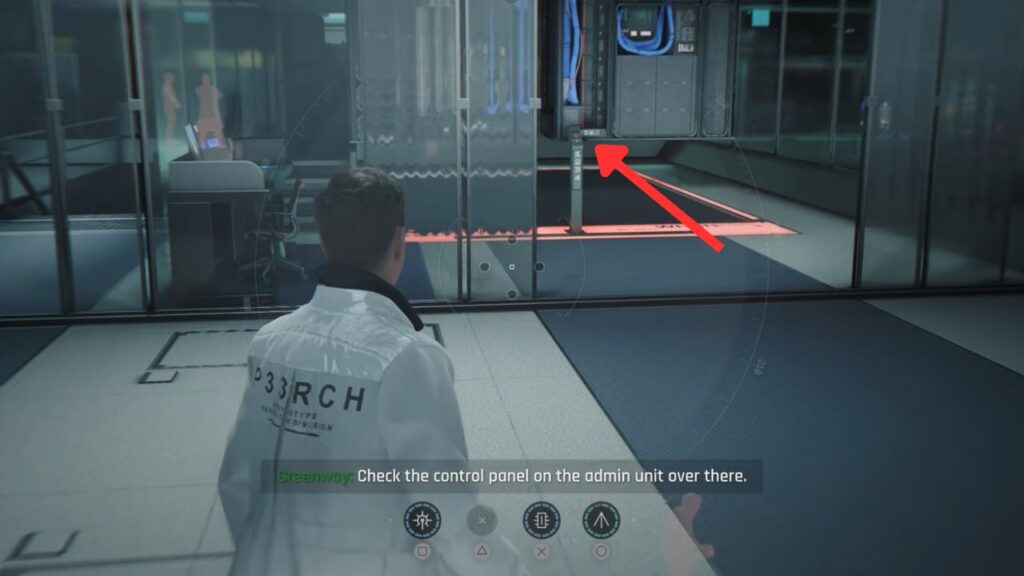
Press the panel inside the glass room behind Greenway to activate the servers. Press the panel again, then climb the stairs on the left and pull the override switch. After that, press the panel once more.
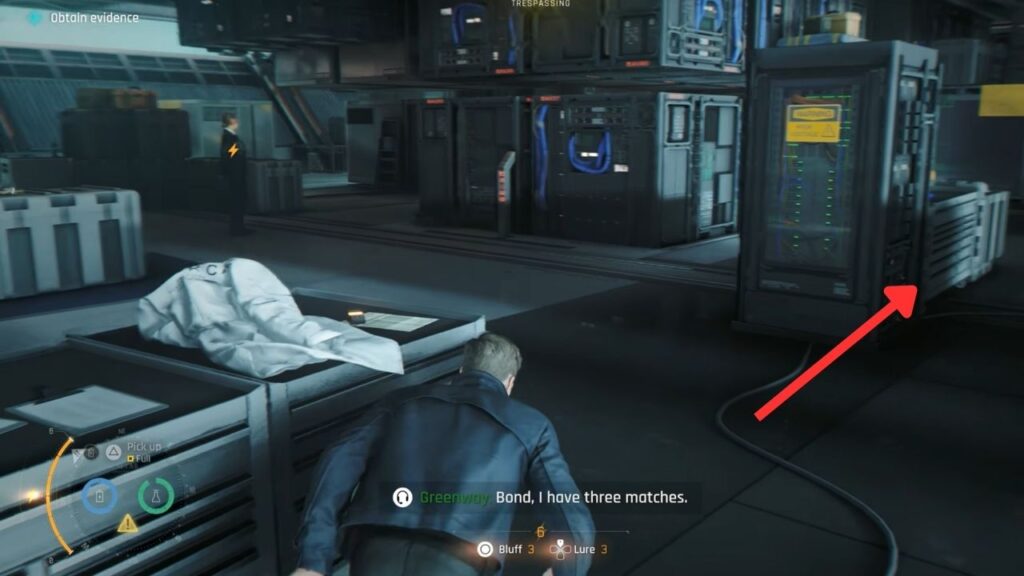
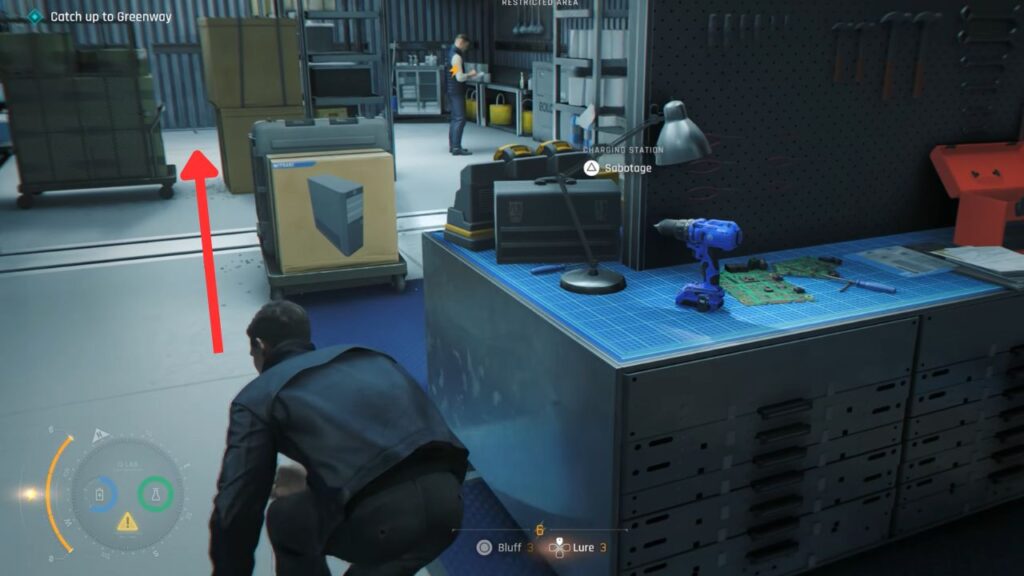
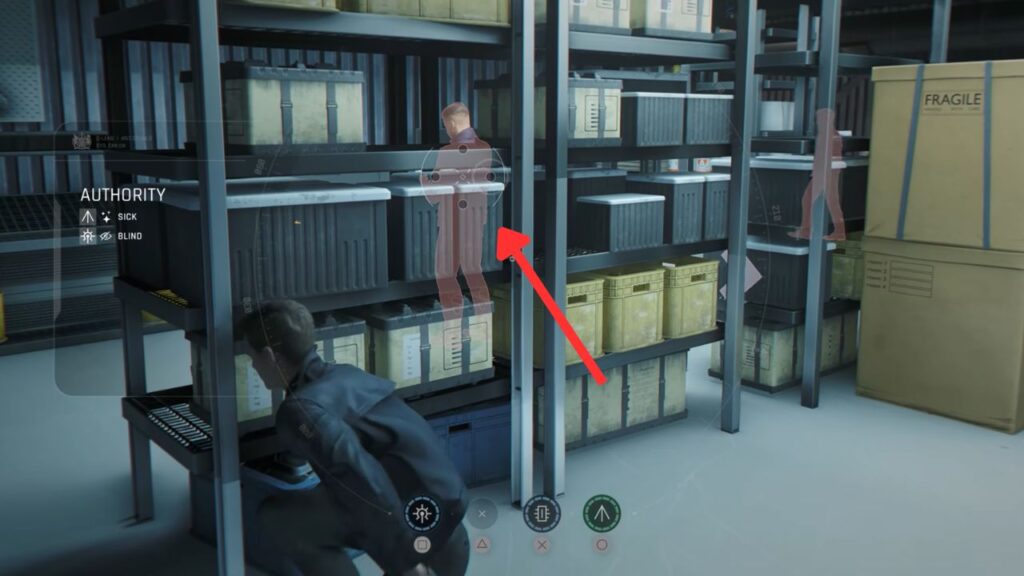
While Greenway is conducting research, go through the door on the right to gather the evidence. Sneak along the right side and lure the guard closest to you, then take him down swiftly. You can use the hammer and throw it at him if needed.
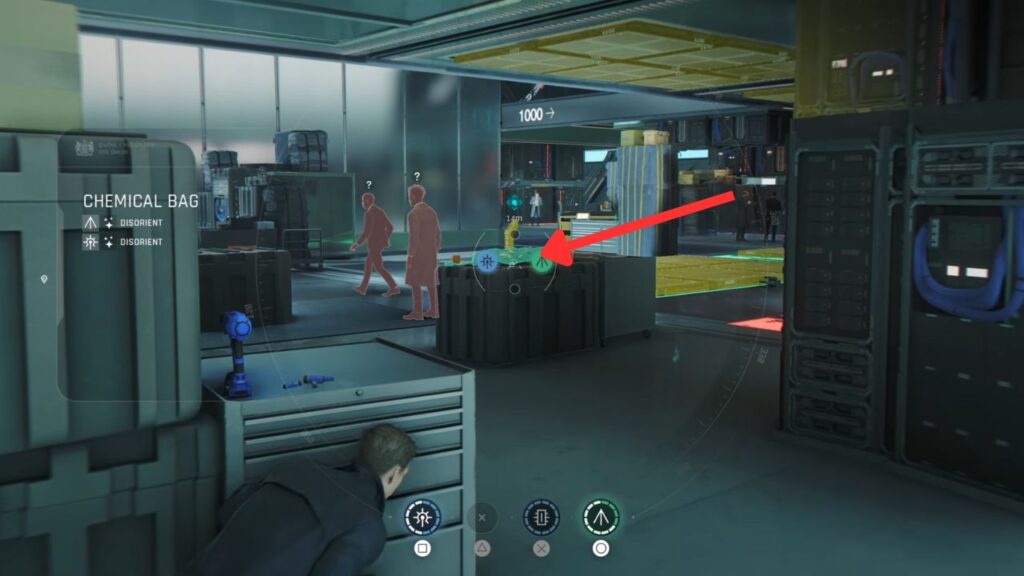
Circle around the room from the right side. On the opposite side from where you entered, sabotage the chemical bag to create a smoke screen, making it easier to take down nearby guards.
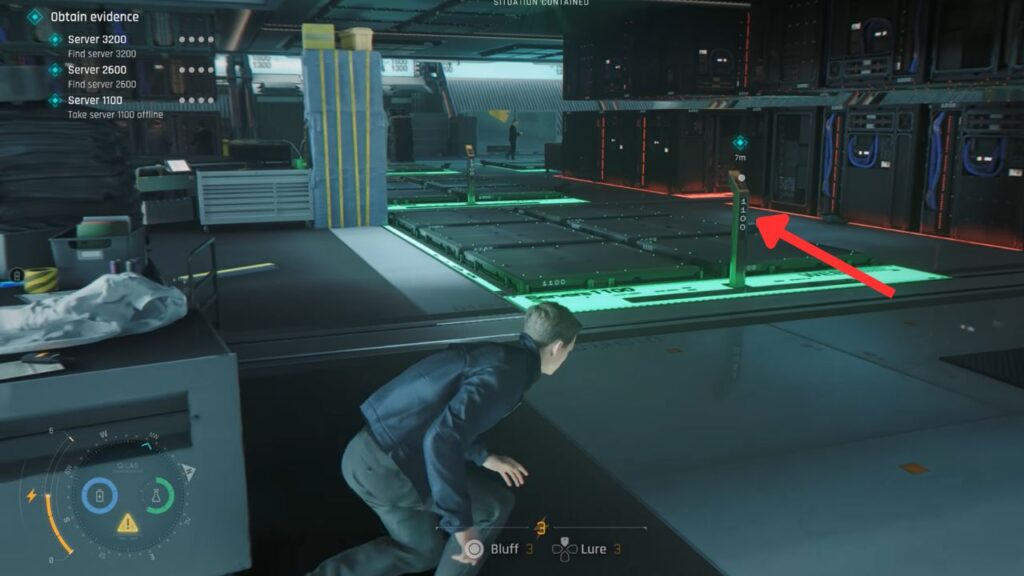
Once they are out of the way, activate the 1100 server panel, the one closest to you, and manually override it just as you did before. Then press the panel again to bring it online.
Next, focus on clearing out the remaining guards on the other side of the room. Take them down one by one. There are plenty of environmental objects you can sabotage here, so it should be fairly easy. You can play it sneakily or all-out combat, it’s up to you, really.
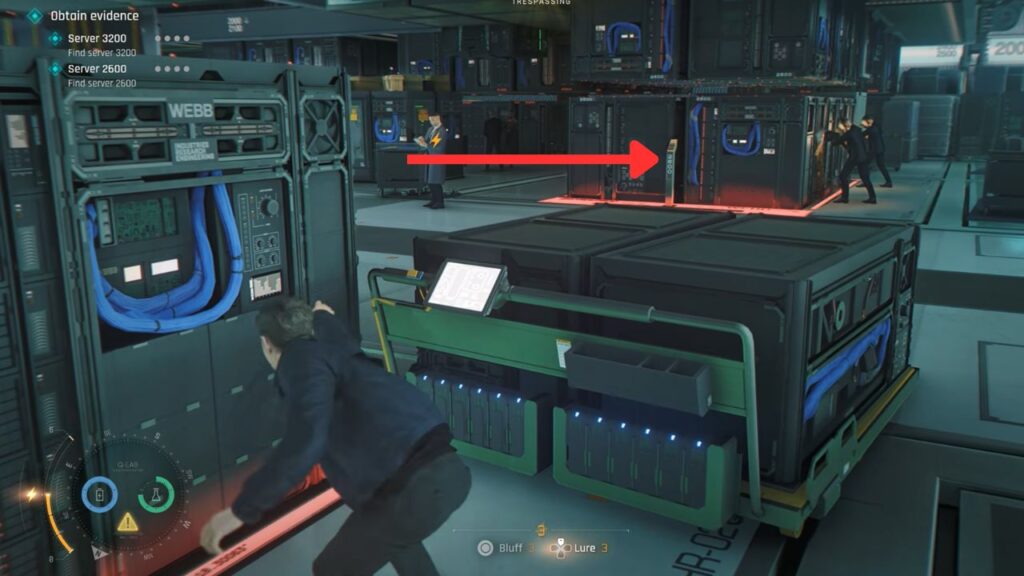
Now look for the 2600 server panel, the one with two guards working on it. After taking down the guards, manually override the server and then activate the panel.
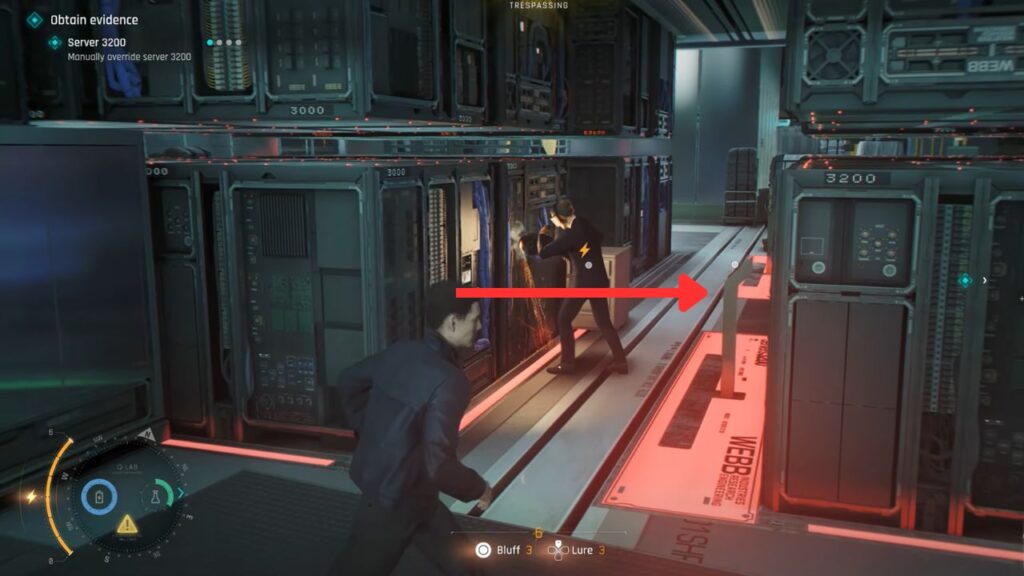
The final server you need is the 3200 server panel, located at the far left end of the room. Repeat the same process you used for the previous servers, and the task will be complete.
Once everything is done, return to Greenway. Here, a shocking cutscene will play.
Escaping Data Center
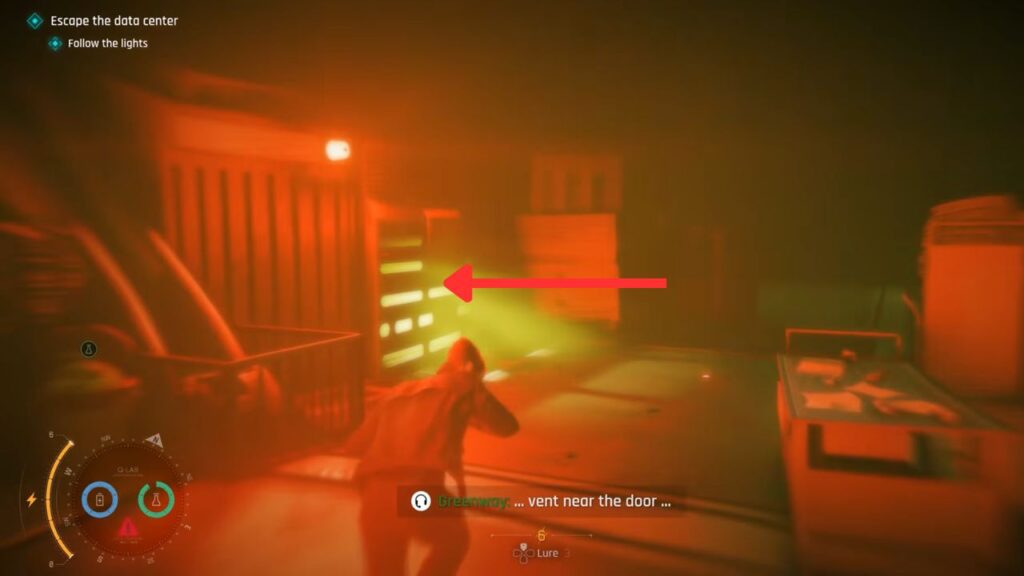
After the cutscene, you receive a new gadget: the Missile Pen. Follow the red line on the floor. Once you reach the locked door, turn right and use your newly acquired gadget to destroy the vent cover on the left side.
Crawl through the vent. Once you’re out, squeeze through the cabinet on the left and open the door. From here on, you are in a license-to-kill situation.
This is a great opportunity to test your Missile Pen. Use it on the heavily armored guards, and a single missile will take them out instantly. Neat. The Missile Pen consumes chemical resources, so make sure to keep them stocked up.
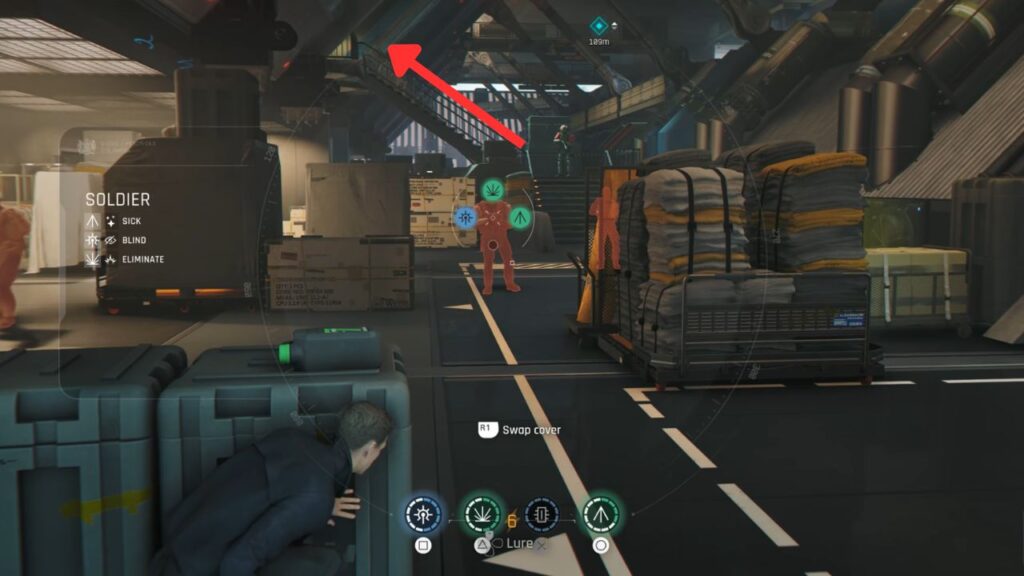
Take out the remaining enemies using either your firearms or the Missile Pen, it’s entirely up to you. Head upstairs and take cover, as enemies will be firing at you from above.
At the top of the stairs, three more armored enemies will spawn on the opposite side of the balcony, so stay behind cover and pick your shots carefully.
Make your way through the only available path while clearing out all enemies. Be sure to take advantage of your Missile Pen, gas pipes, gas tanks, and any other environmental hazards that can help you win the fight.
At the end of the platform, head down the stairs and enter the room. Gather all the resources you can find and clear out the remaining enemy waves.
Once the area is secure, head upstairs and hack the control panel beside the computers to bring the crane platform closer. Climb the boxes behind you and get onto the crane. After you drop down, take out the two guards waiting below.
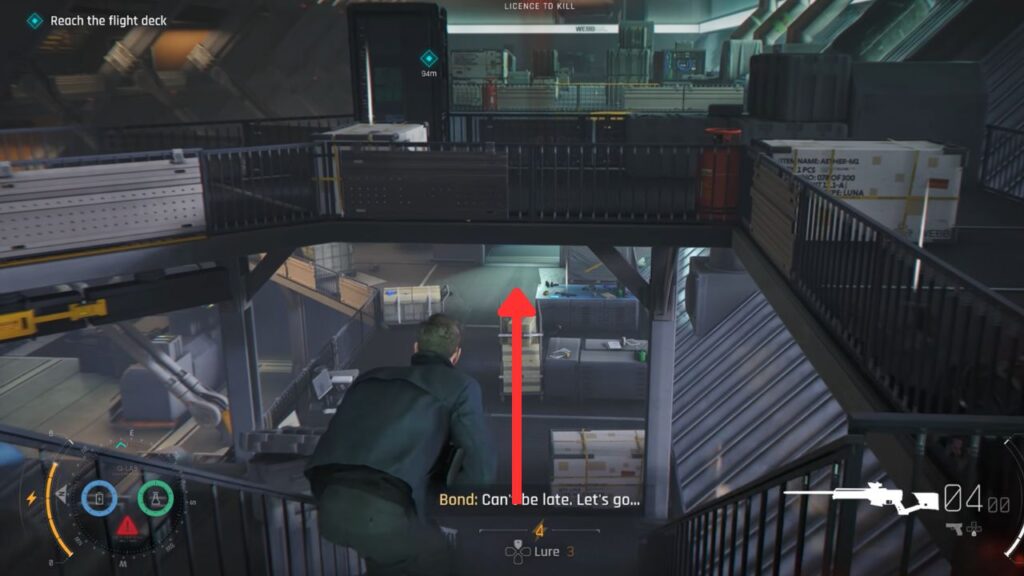
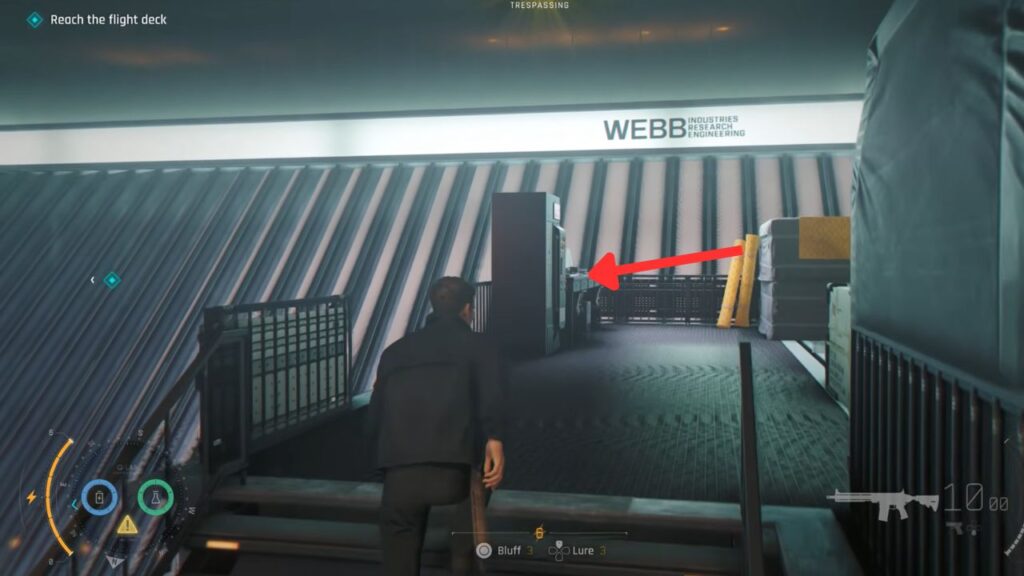
Exit through the only door behind them and take the stairs on the right to reach the flight deck.
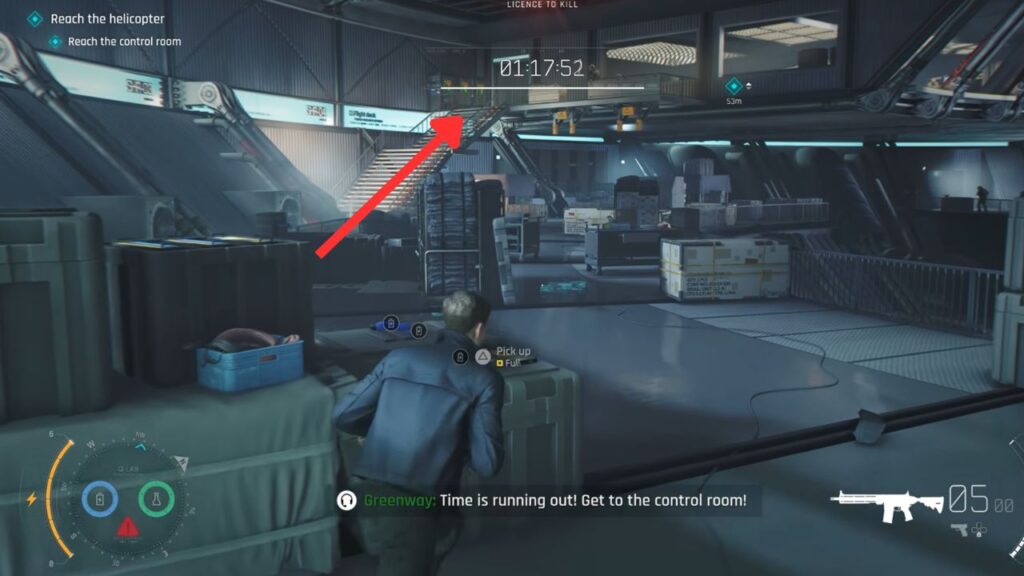
This section is an all-out firefight. You need to reach the control room on the left side as quickly as possible. Use your Missile Pen, shoot gas pipes and fuel tanks, and take advantage of anything that helps you clear enemies faster.
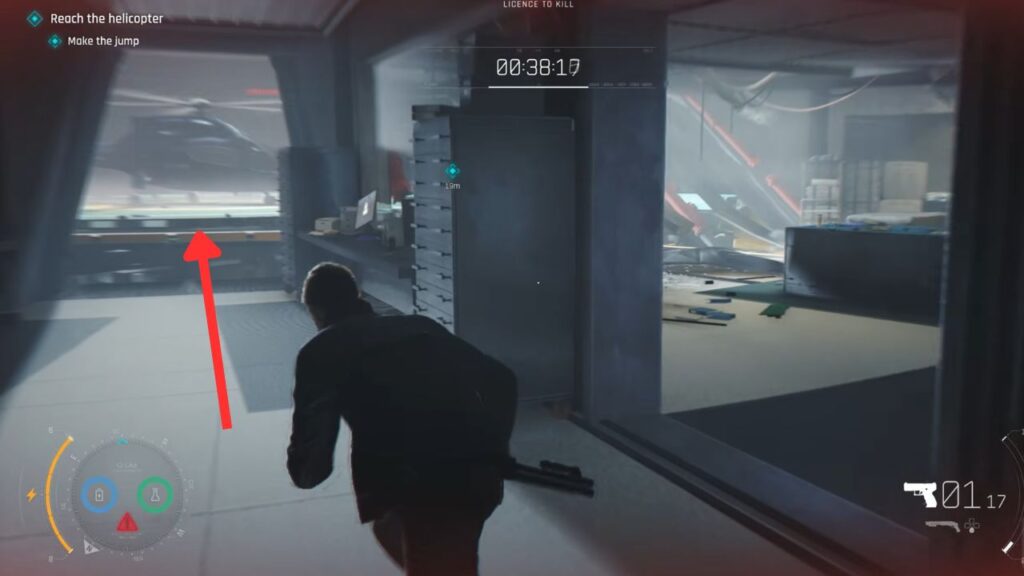
Head up the stairs and try to eliminate as many enemies as possible. If the pressure becomes too much, simply push through the room and jump toward the helicopter pad.
To Vietnam!
After the cutscene, you are back at HQ with Moneypenny. Follow her.
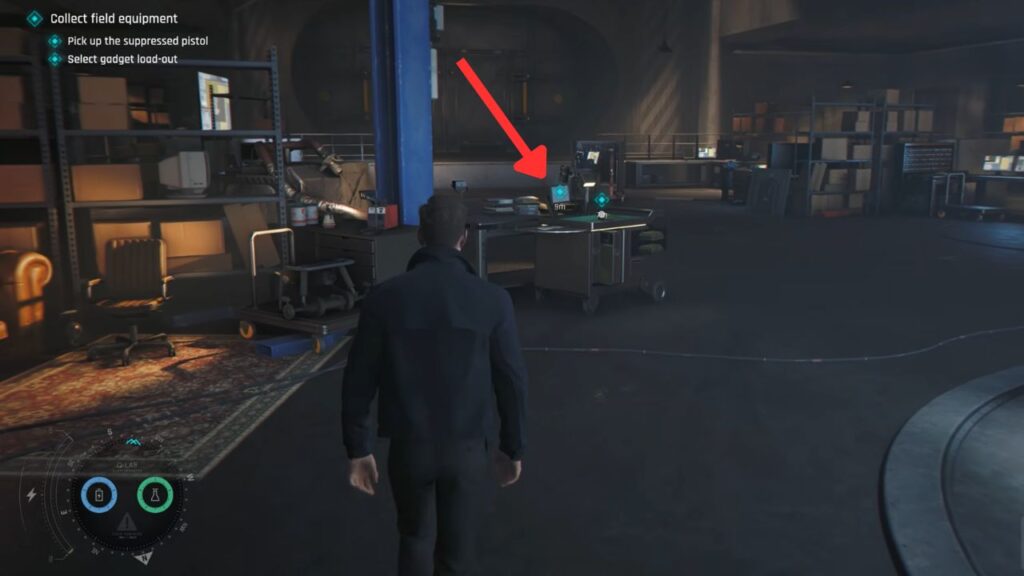
Once in the basement, head over to the Q Lab and talk to Q. You’ll notice a modified Aston Martin behind him, but unfortunately, you won’t be driving it anytime soon. However, you do receive a new weapon. Pick up the Suppressor Pistol behind the gadget cart.
Talk to Q again and ask any questions you want. When you’re ready, proceed toward the huge fan and exit through the sewers.
Once the cutscene ends, you find yourself riding a boat through the beautiful tropical waters of Vietnam. Follow the objective markers to reach the Pearl and dock there. This scenic journey marks the beginning of Chapter 8: Time to Die.