This guide will walk you through all of Chapter 7, but in a way that respects your time. I will be brief on the obvious points of the mission that are hard to miss, but will expand on the more necessary portions. The game divides this chapter into 4 parts, so I will section each portion out in case you need to skip to a certain point. Ensure the mission is actively tracked in your quests so markers display correctly.
Part 1: Morning Mist
As soon as you finish the war of chapter 6, things kick off quickly in the next mission. Head to the burned shrine to investigate to begin the chapter.
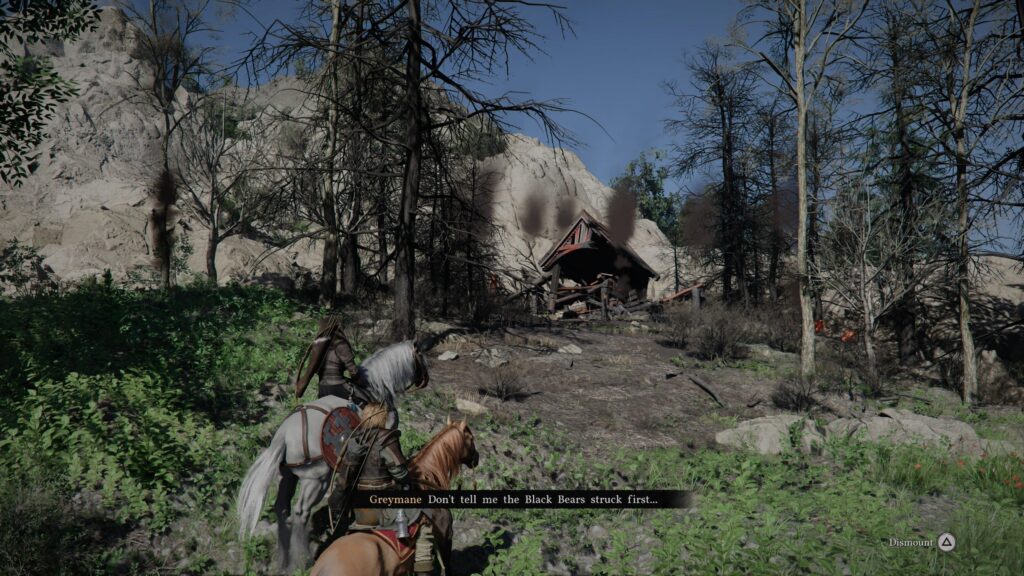
Upon arrival, you are rudely interrupted by a Black Bear assault. Take them out to continue.
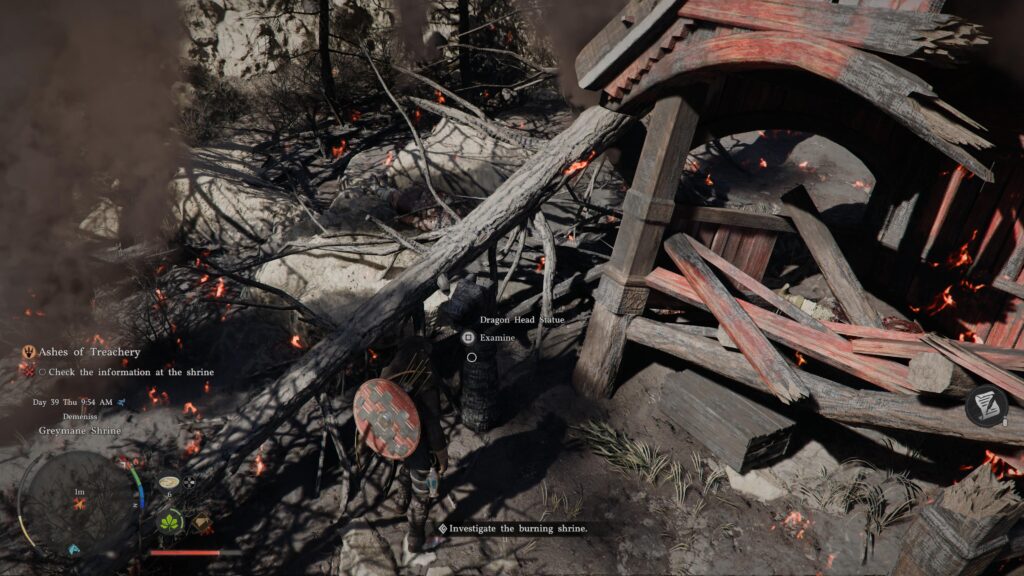
Next, check out the dragon statue at the burnt shrine to receive your next mission: head to Beighten.
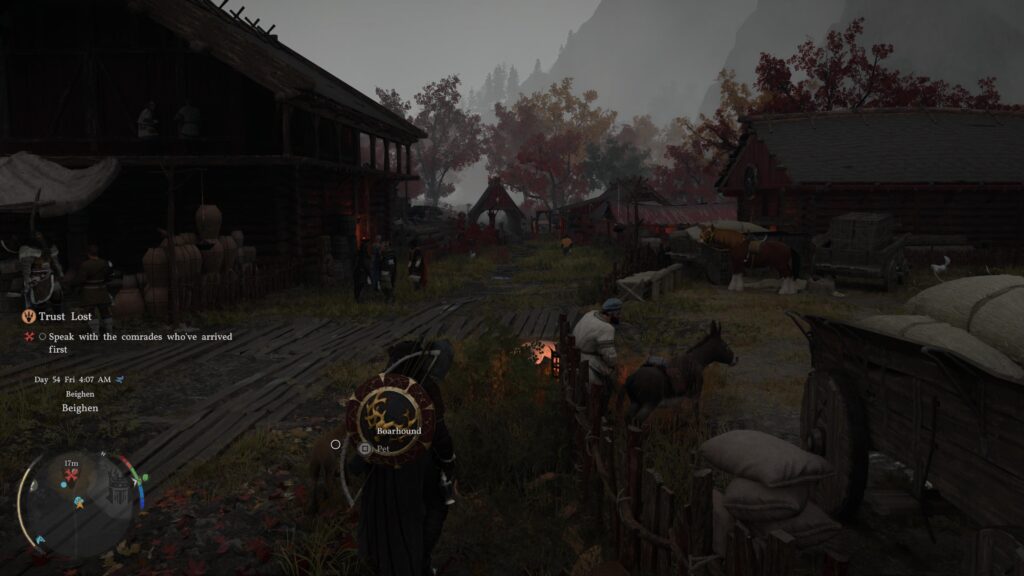
Meet up with your fellow Greymanes there (who are in the middle of an argument).
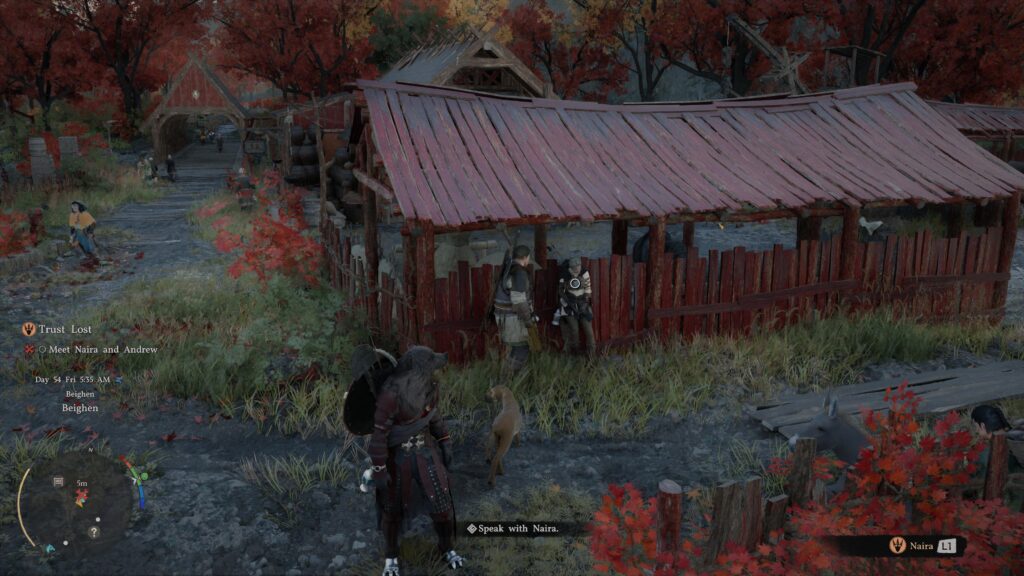
Once finished, talk to the other nearby, marked Graymanes.
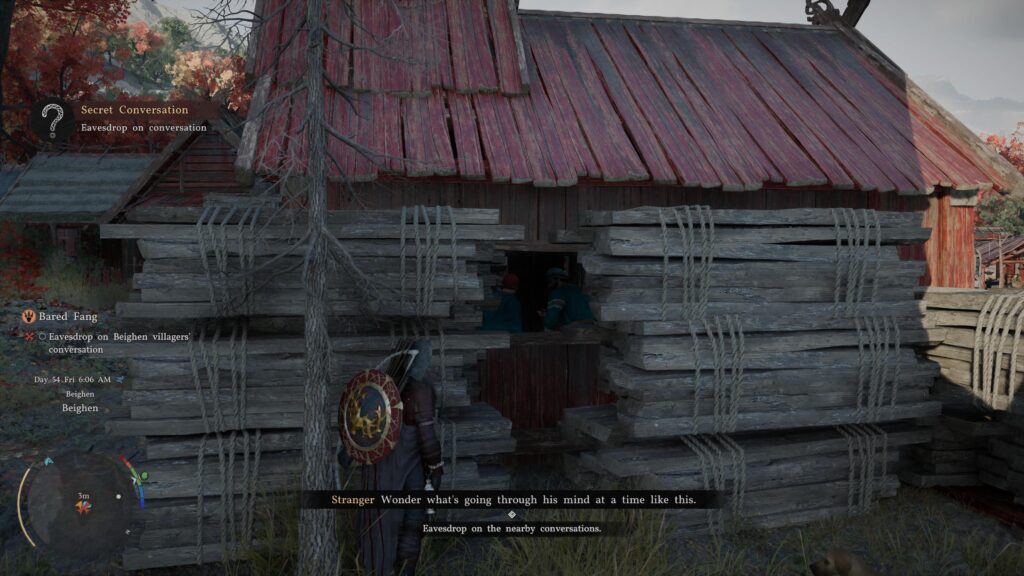
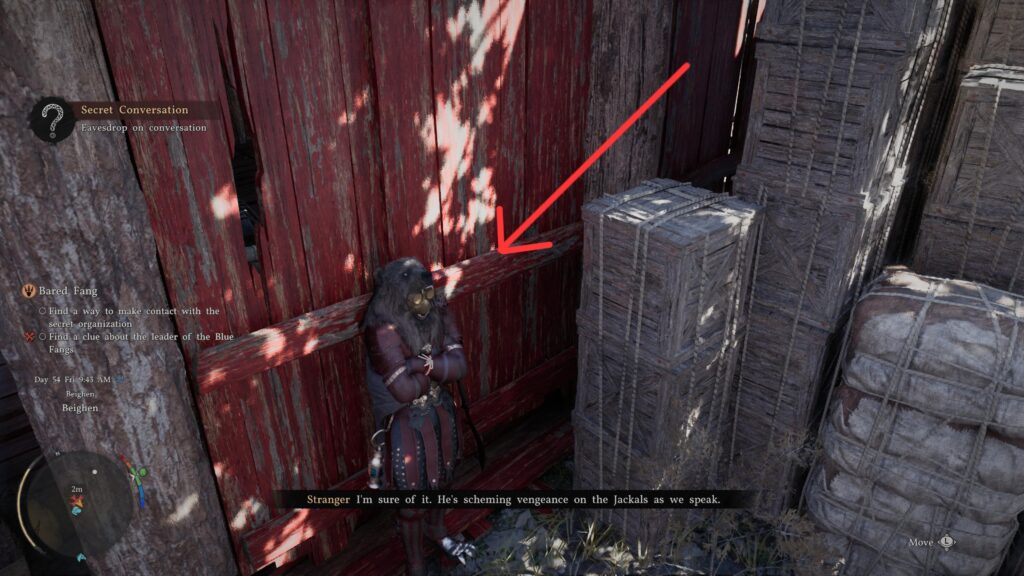
Now for the most annoying mission in the game: “stealthy” eavesdropping. To make things easy, here’s all you have to do:
Head to this building and stand in this spot. A prompt will appear to eavesdrop. Doing so will play out NPC conversations, leading you to the next area.
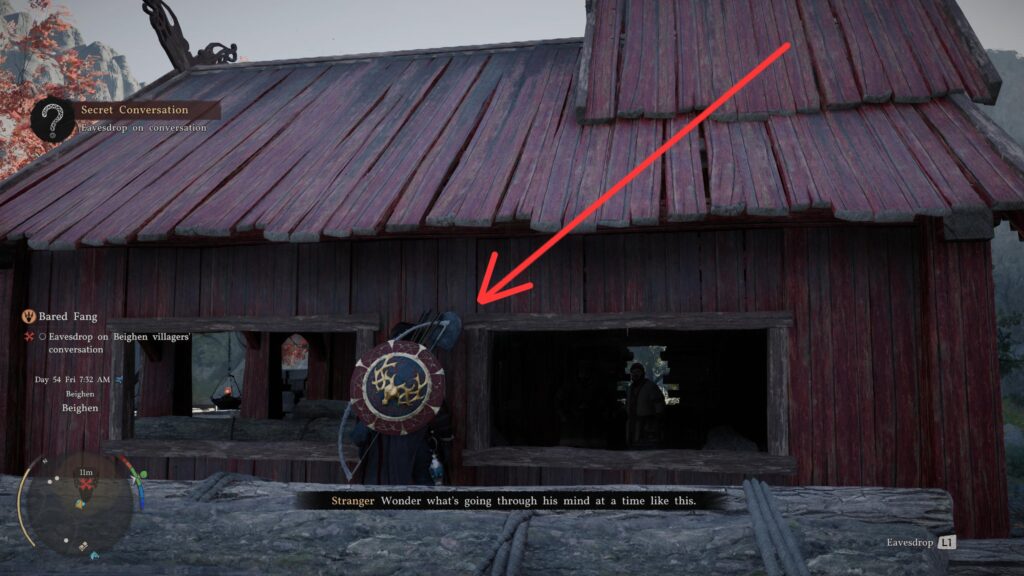
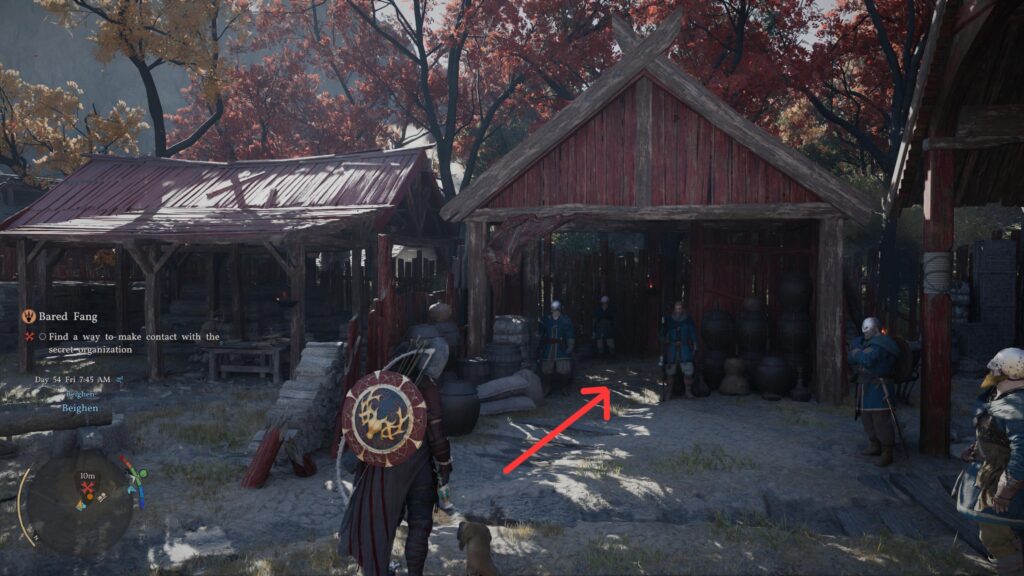
At the marked area, stand in this spot and repeat the process.

Same for this area.
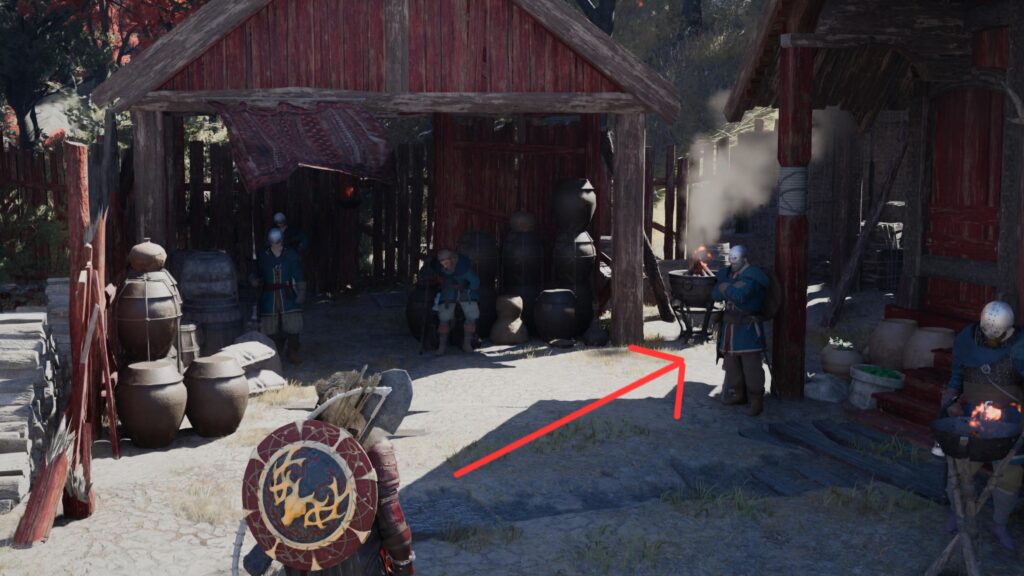
Now it’s time to use this information. Talk to this guard:
He will prompt you with questions you have to answer correctly, so here’s what you say to each question. And as a side note, these options won’t appear unless you have completed the eavesdropping already.
1- Truth about storage
– Lie
2- Mysterious Faction
– Lie (blue fangs)
3- Leader of Fangs
– Lie (Torstein)
This will give you access to the Blue Fangs hideout.
Head down the door on the floor and talk with Torstein, who will then send you back outside after a brief conversation.
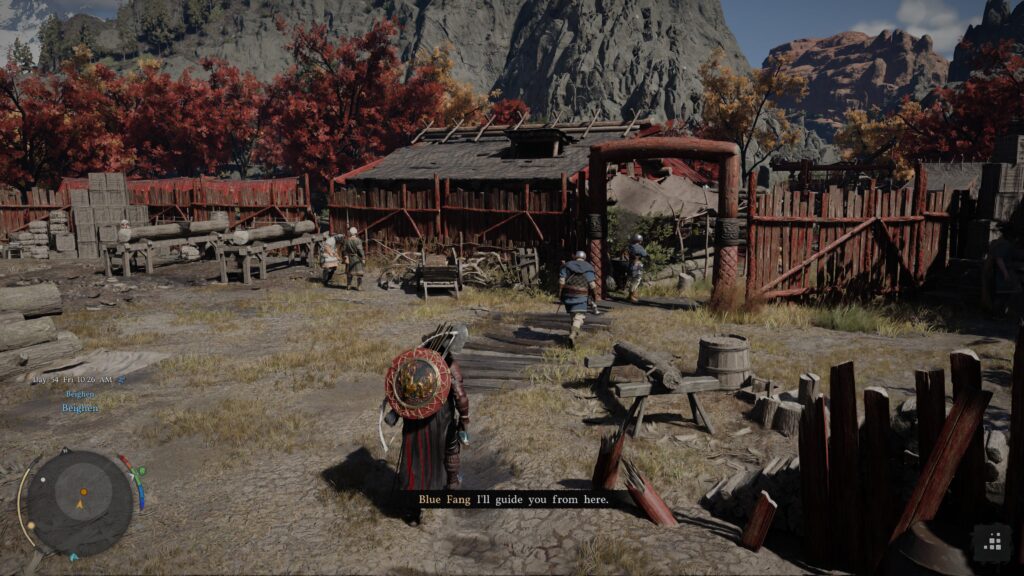
Topside, a soldier will guide you to the edge of their safe territory, leaving you to do the harder work.

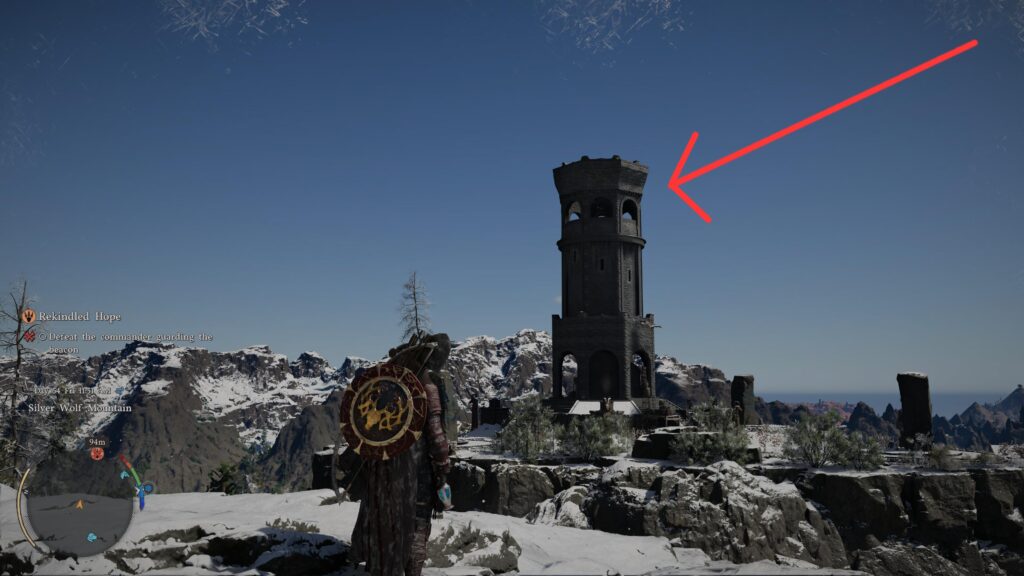
You’ll have to climb a mountain, defeat some enemies, and light the fire at the top of the tower. If you already have fast travel points close to the tower, you can use them freely.
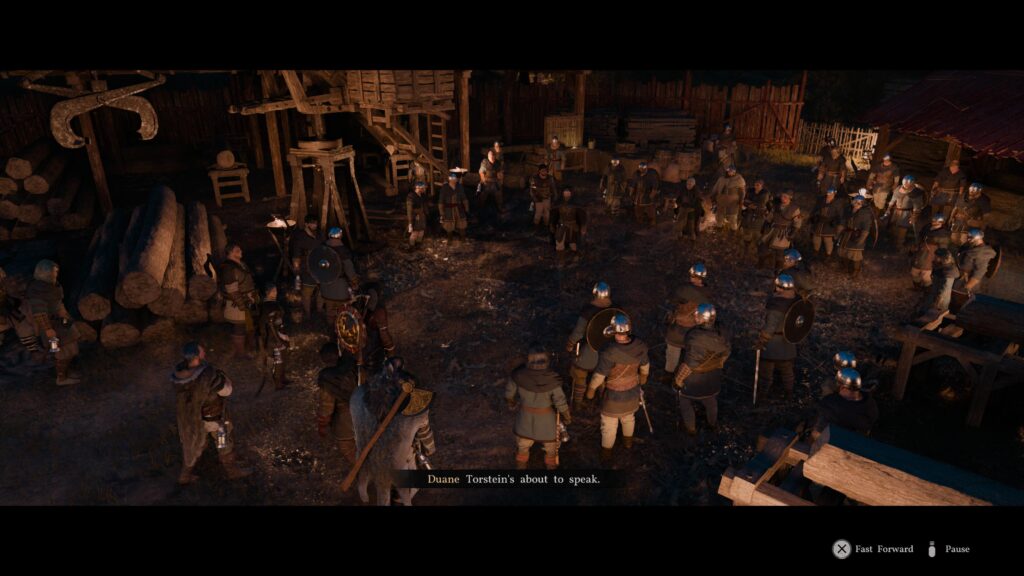
Now the hard work of this part is over. Head back to town and listen to Torstein give a speech.
He then meets you outside to offer you a little gift… Return to the Blue Fangs hideout, where you can enter a locked door and find a new weapon for yourself.
While you’re there, all of the Blue Fang weapons lying around are available for you to collect. This isn’t considered stealing, so load your pockets to sell or donate your loot haul!
Part 2: Dawn
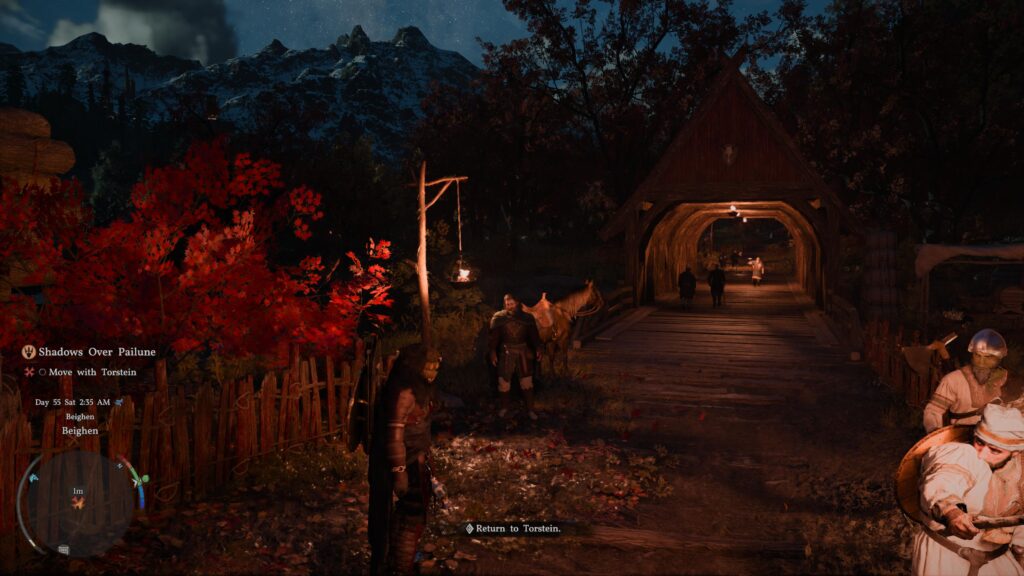
With your new loot acquired, its time to head deep into enemy territory. Follow Torstein on horseback to the next objective.
You’ll need to make your way to the marked building deep in Pailune. How you get there is ultimately up to you, so feel free to fight, sneak, or teleport nearby to the building and head inside.
After a quick cutscene, your plan shifts to find a missing Greymane.
You will get a set of Jackal gear as a disguise. All this really does is give you more reaction time on being spotted by enemies you get a close to. They won’t become hostile as quickly if they think you are an ally.
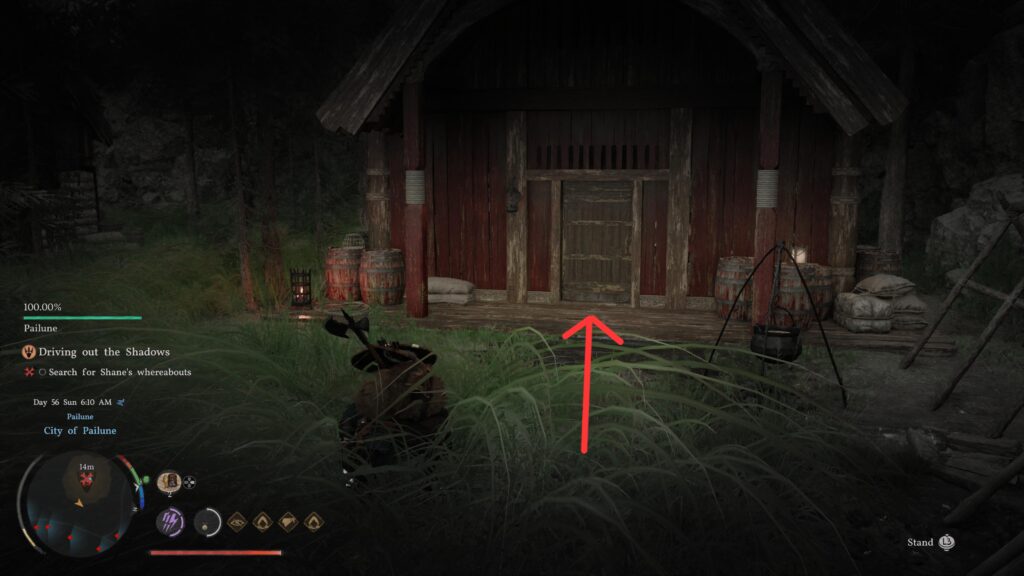
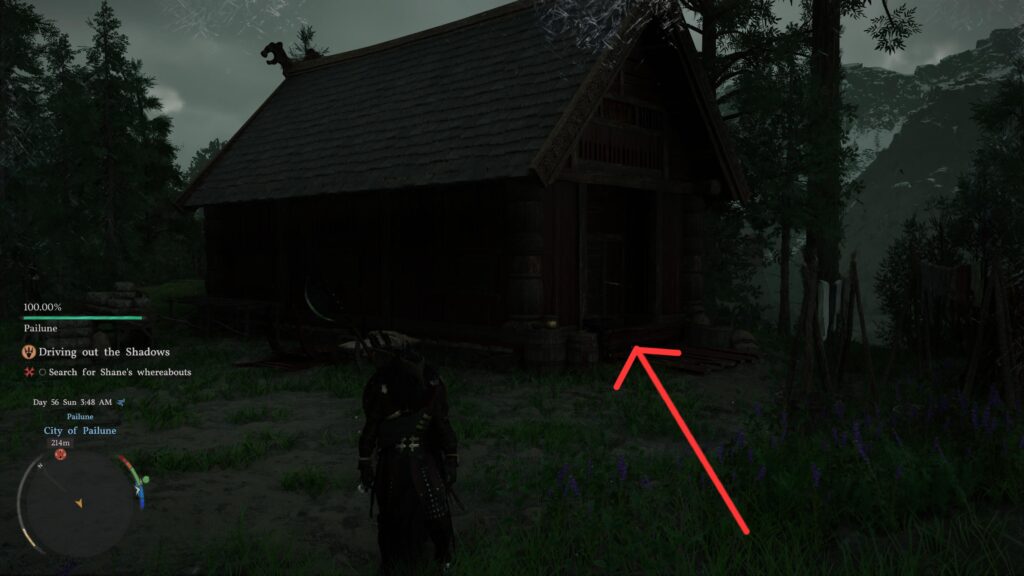
Make your way to the next marked building to find your missing Graymane.
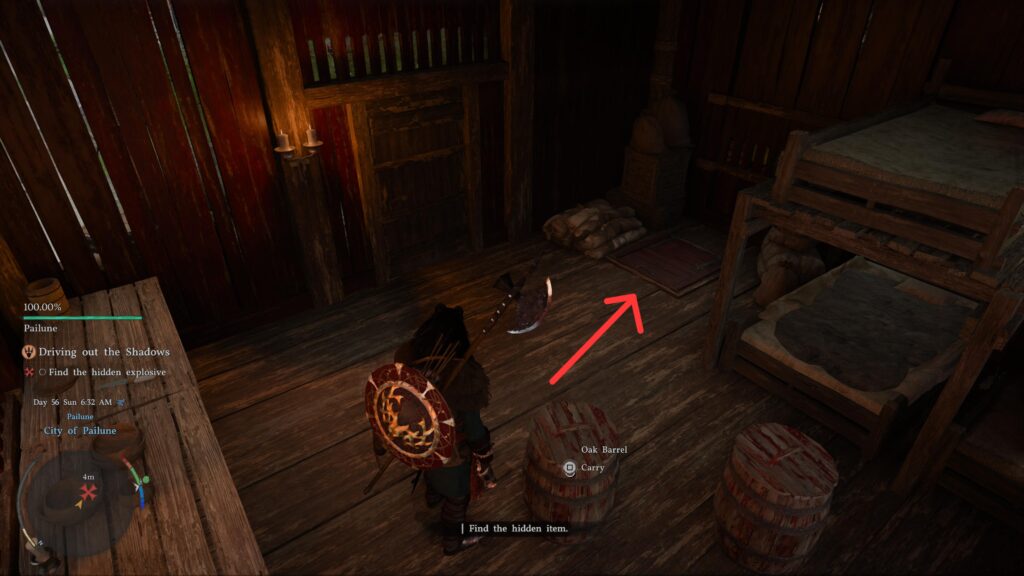
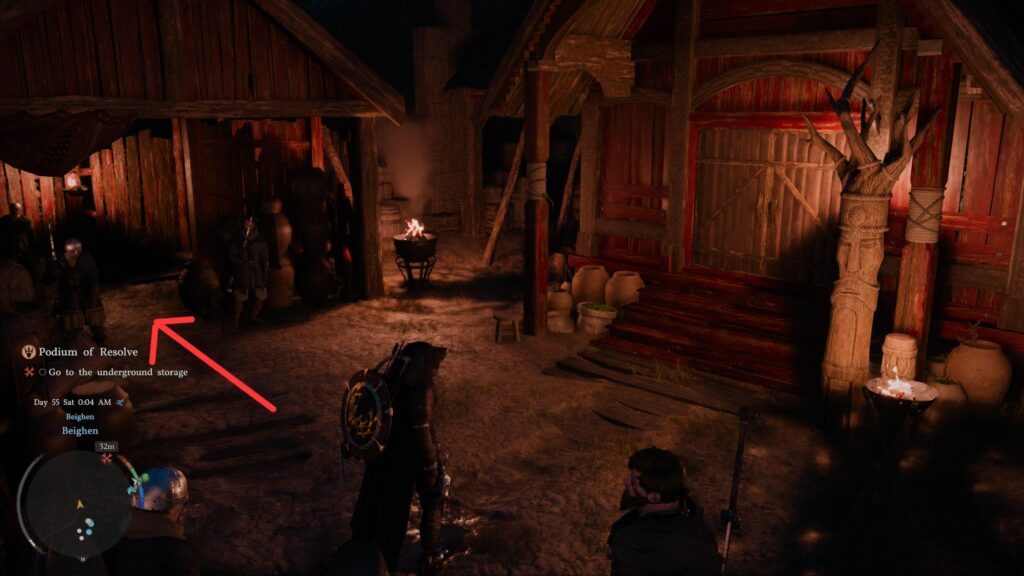
After a cutscene, you need to find a stashed bomb. It’s sitting under some barrels in a hatch that looks like the door to the Blue Fangs’ hideout. Open the hatch, grab the bomb, and head outside.
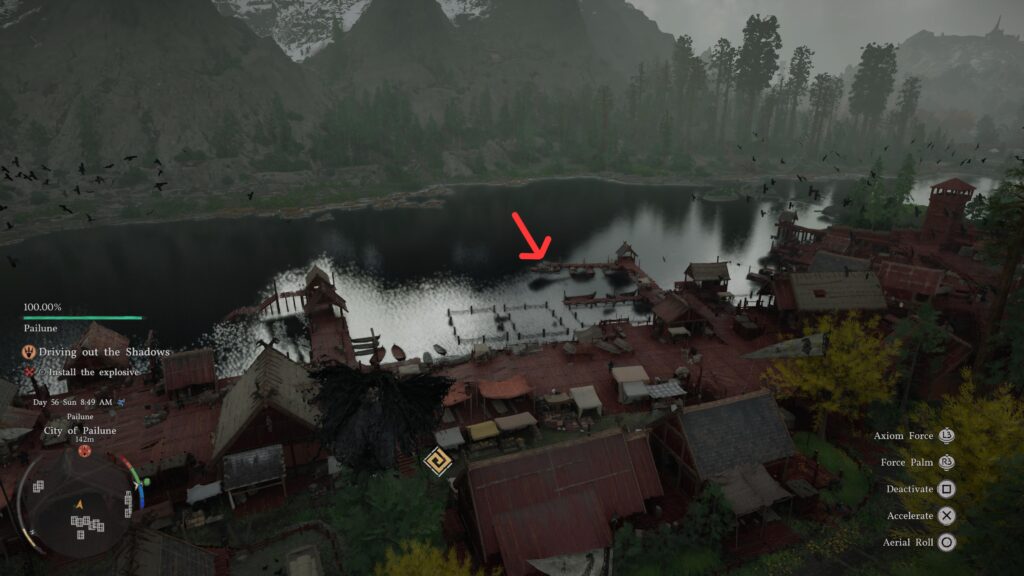
You now have to get to the boat docks to plant your explosive. How you do so is up to you entirely. For the easiest route, though, simply glide over everything and glide directly to the docks.
Then, plant your bomb where the prompt appears in the image here.

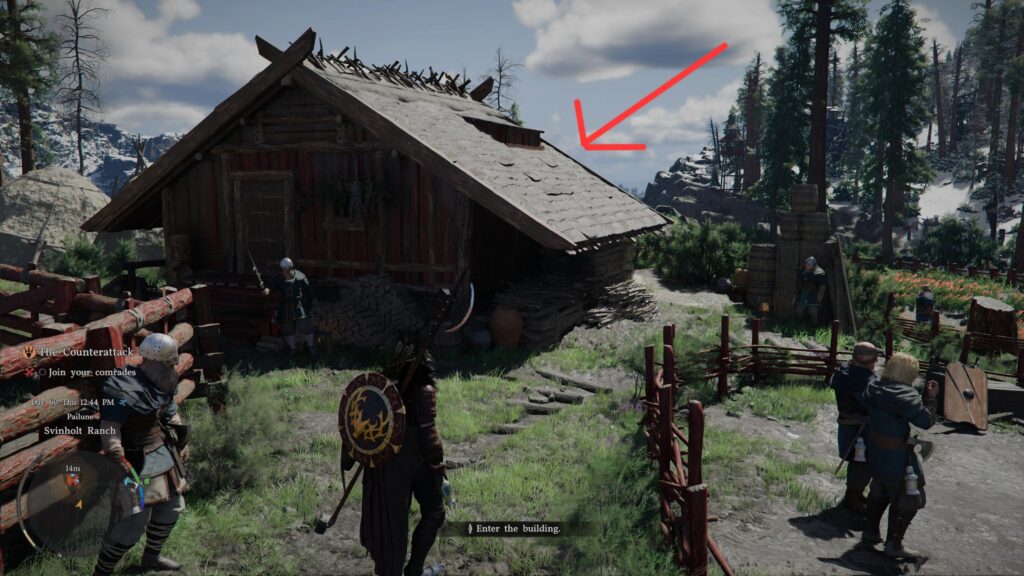
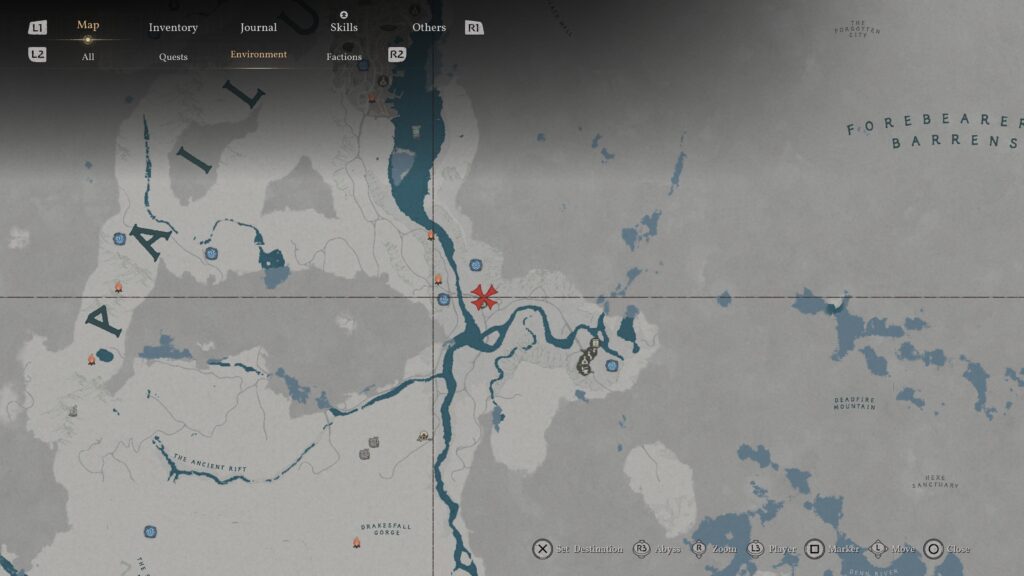
Now it’s time to let the plan commence. Head to the marked building to prepare for battle (marked with the X).
As a side note, the market stands nearby are loaded with food supplies that you can take very easily (where the arrow points). Load up on any goods you want while they are free of any costs.
Once inside the building, a cutscene plays out, and the battle begins!
Nothing special is needed here, just kill bad guys until the percentage tracker hits zero!
Now to the final portion of this part: the boss fight. This boss is easy in the first half, very annoying in the second half. Make sure your gear is upgraded, and bring lots of cooked food.
Beating the boss will trigger a cutscene, sending you outside. Turn around and go back inside and talk with your comrades to begin the next part.
Part 3: Decisive Battle
This next section is pretty self-explanatory, so I’ll make things simple. Head to the meeting area to prepare for battle.
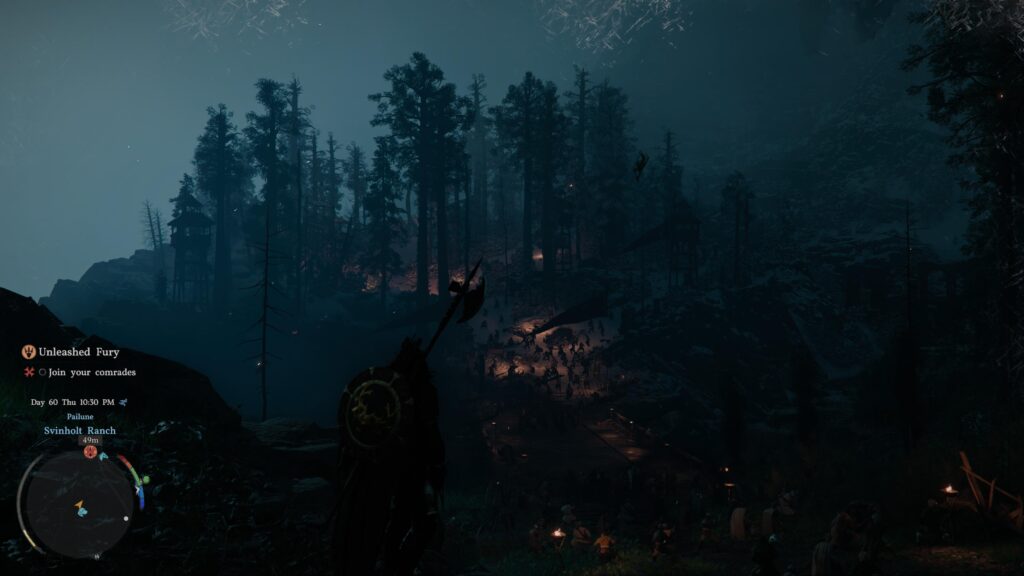
Once you rally at the bridge, a long fight will start, taking you all the way up the mountain.

Along the way, your quests will be to meet up with various Greymanes and aid their fight. You don’t have to stay long, though, so don’t fight off every enemy unless you want to.

The only checkpoints the game cares about are you meeting up with every character, so feel free to skip past all the enemies if you want to hurry things along.
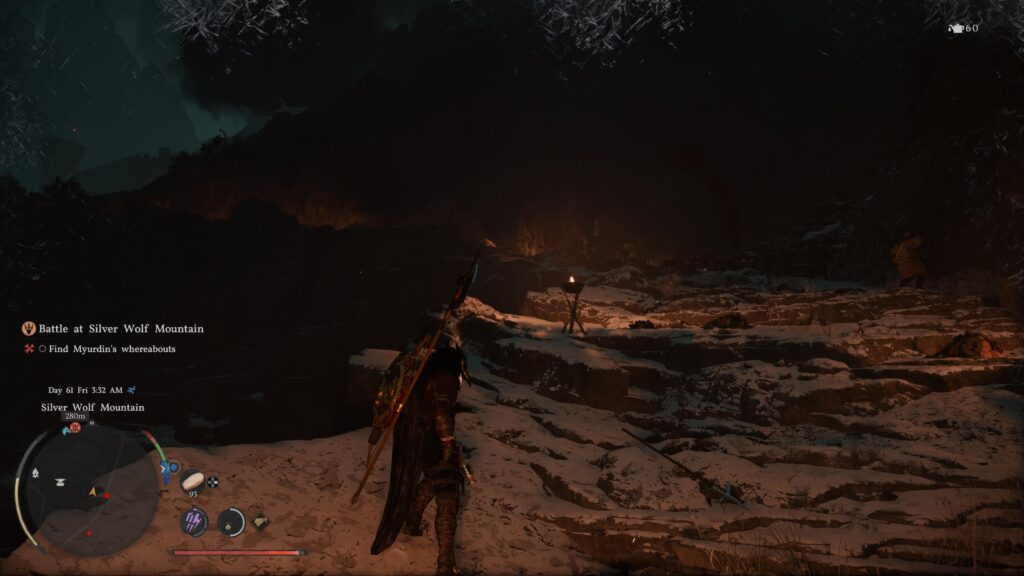
Once you have assisted everyone, it will be time to find and fight Myurdin at the end of the path.
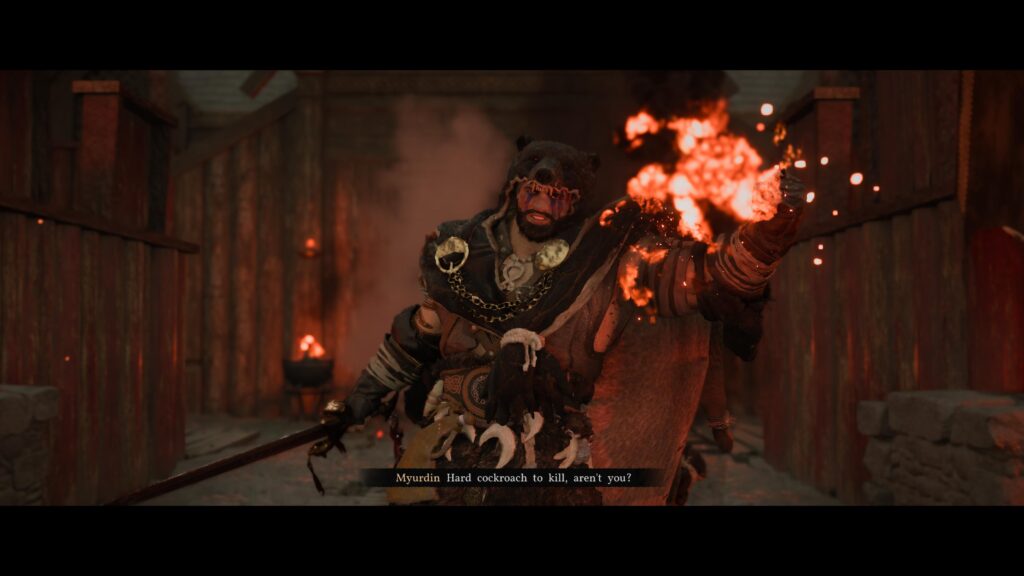
This fight isn’t too difficult, nothing like Ludvig was. Beating this boss will immediately begin the final part of this chapter.
Part 4: Twisted Fate

Surprise! You have to play as Oonka now for a bit. This mission isn’t long, so you can speed through it if you don’t want to be trapped playing as Oonka.
Return to the town where the Blue Fangs are and meet with Shane and Duane.
Before setting off on your next quest, a slight spoiler: you are about to have another boss fight. If you used up your healing, get some more before continuing on to make your life easier.
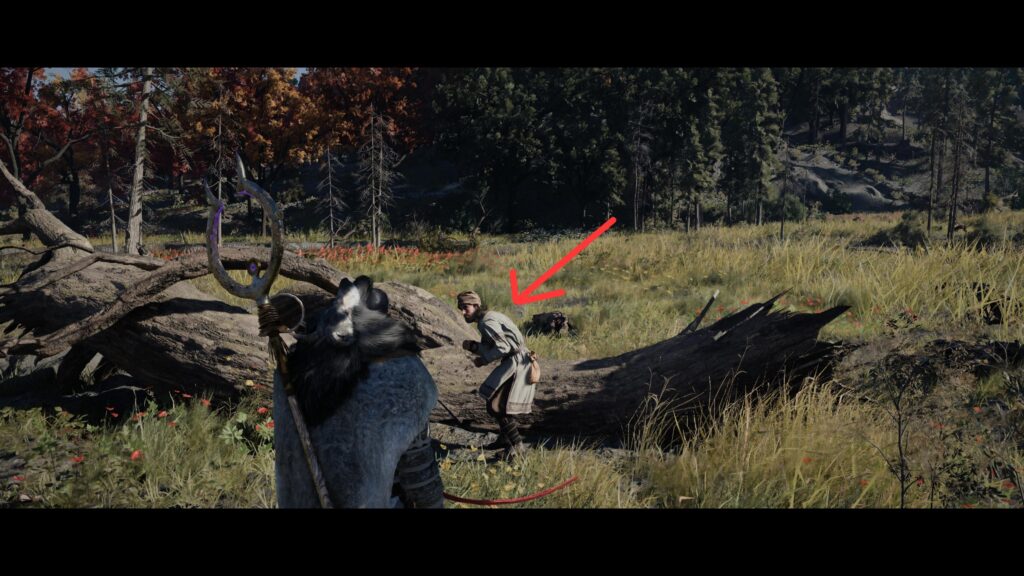
When you’re ready, head to the marked area and speak to the man there.
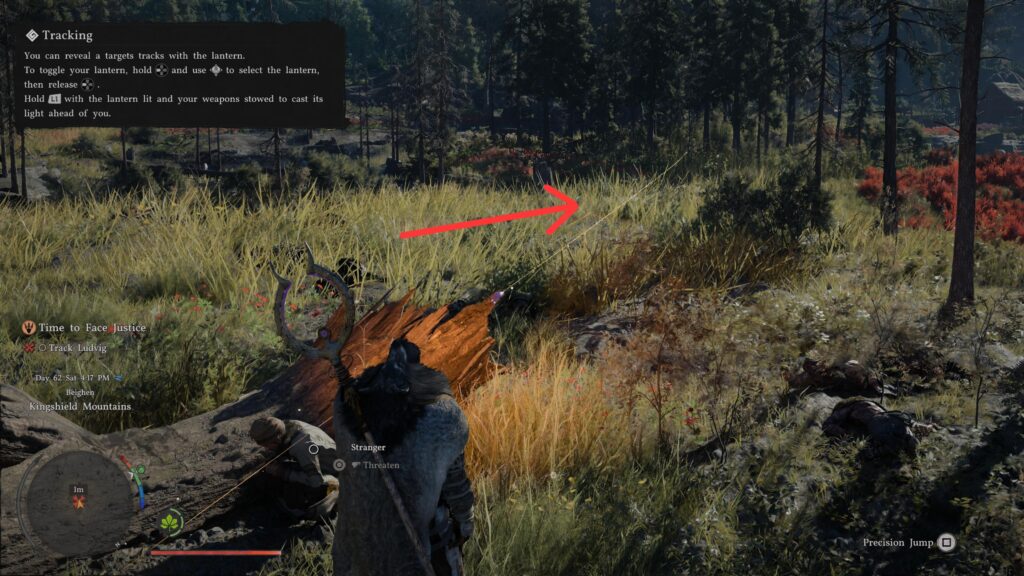
You will then have to track Ludvig. Use your lantern and follow the winding path. It will lead you directly to the next fight.
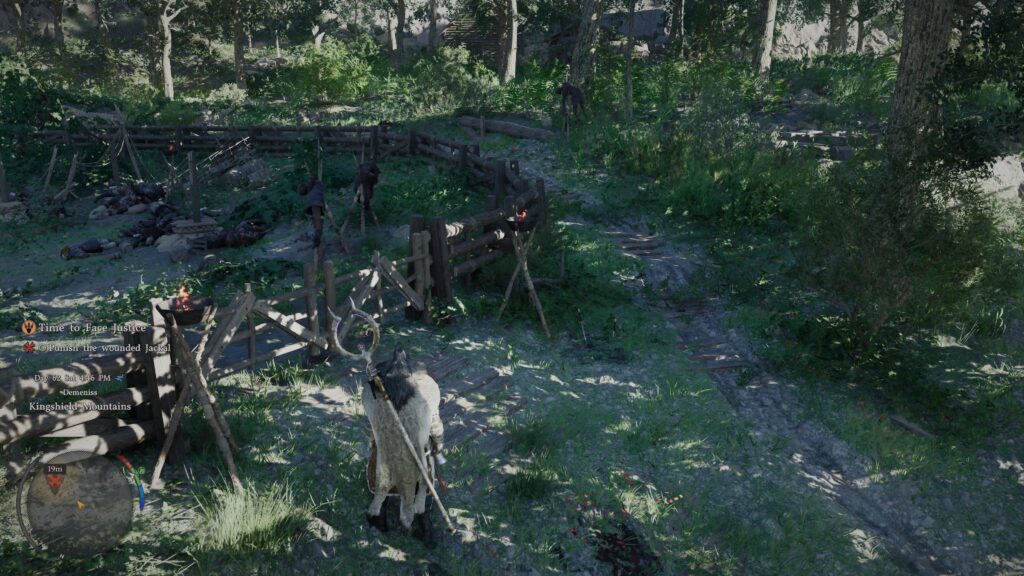
The end of the path leads to this fenced in animal pen.
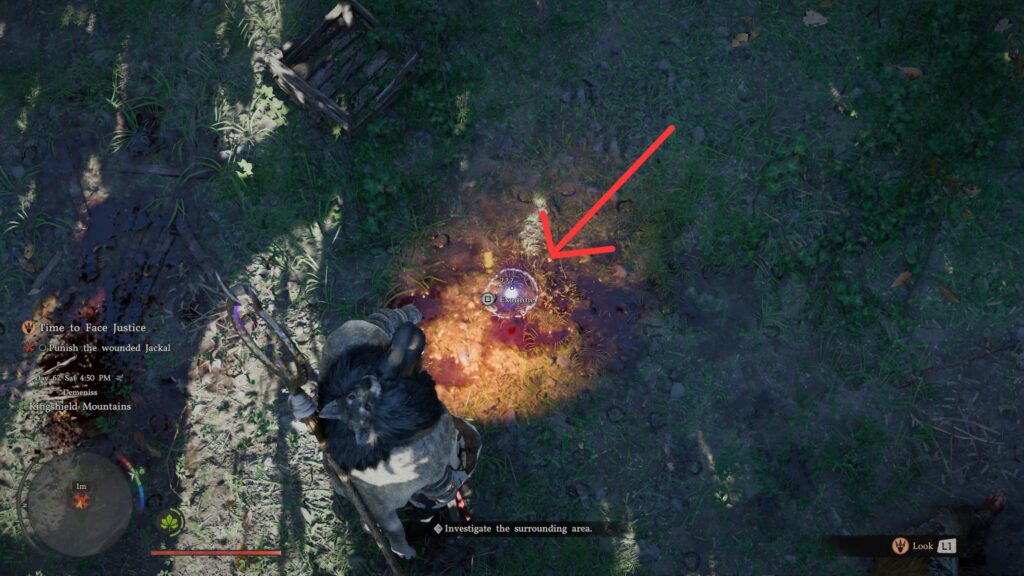
When you enter the fence, interact with this area on the ground to start the fight.
This fight is very similar to your first encounter with Ludvig, but he’s wounded now. While you won’t be familiar with playing as Oonka yet, that food prep I mentioned earlier will carry you through this fight.
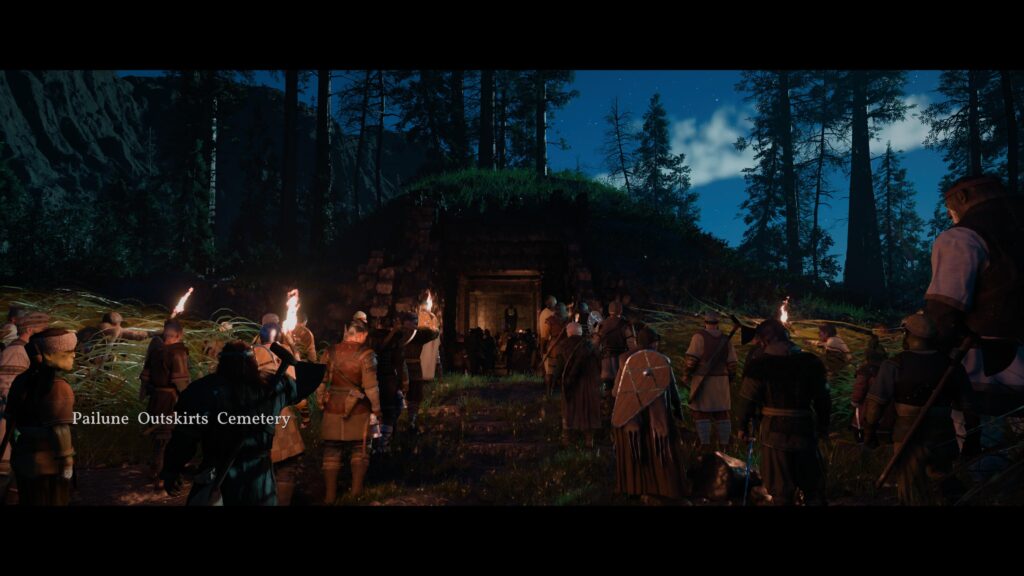
After finishing the job, you can return to Pailune to reunite with your comrades for the final mission of this chapter.