This guide will walk you through all of Chapter 4, but in a way that respects your time. I will be brief on the obvious points of the mission that are hard to miss, but will expand on the more necessary portions. The game divides this chapter into 3 parts, so I will section each portion out in case you need to skip to a certain point. Ensure the mission is actively tracked in your quests so markers display correctly.
Part 1: Mysterious Pot
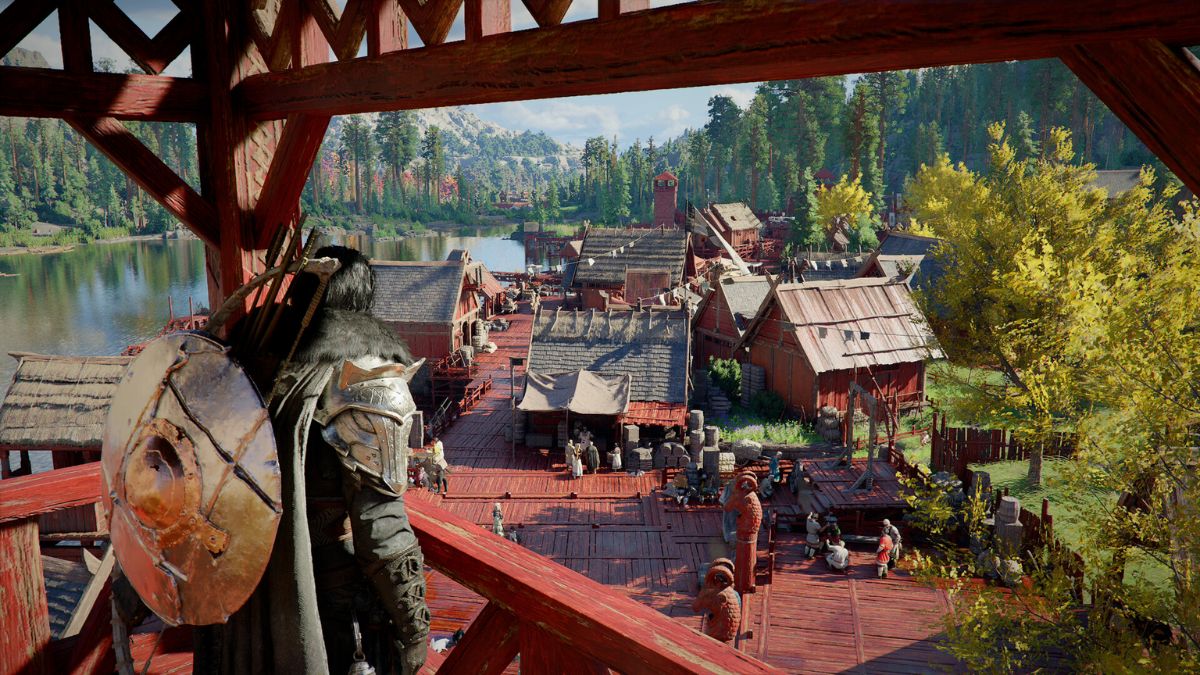
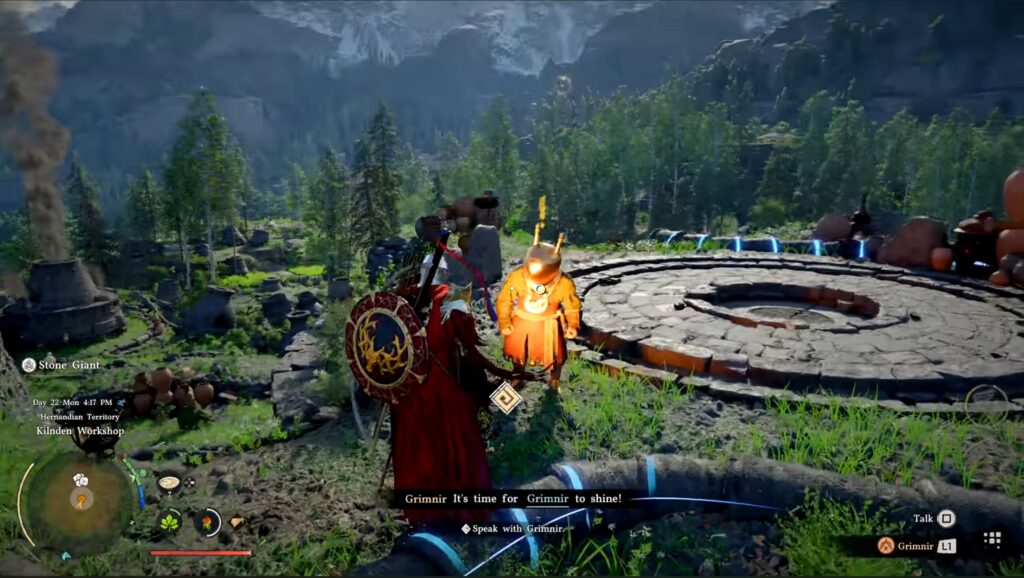
The chapter abruptly starts with an explosion to the north of the camp. Head to the marked area on your map to find a small village, and look for Grimnir. He will let you know that the explosion was just his kiln, and requests that you help get it back and running again.
Do get things working again, you will need to fix 4 problems:
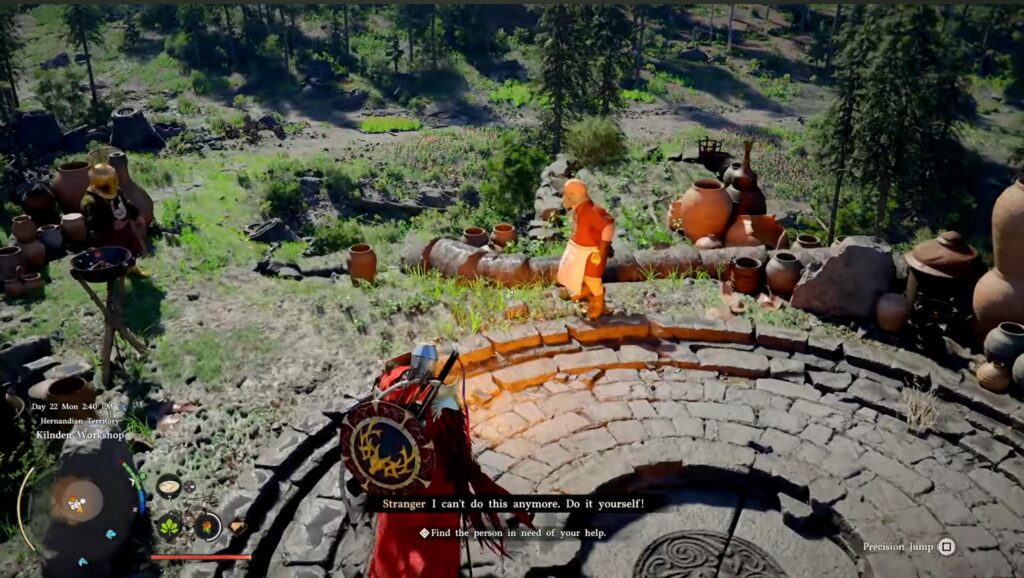
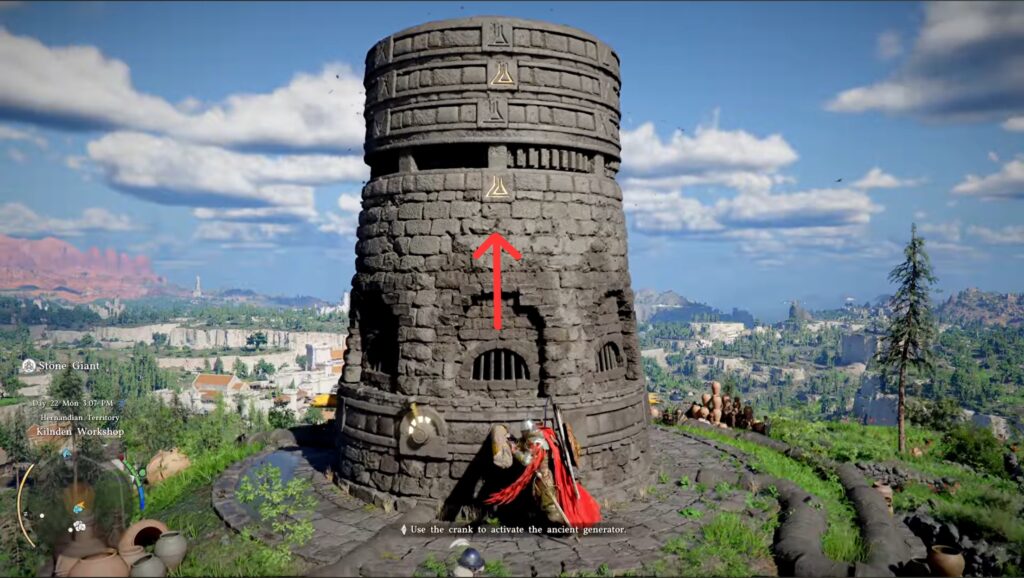
– The Generator: This is the big spire right next to you when you finish talking to Grimnir. At the bottom, you will notice some wooden stakes sticking out. Pushing them will rotate the ring it is attached to. Each ring will have 1 spot on it with a triangle-shaped symbol.
Your goal is to rotate each ring to line up the triangle with the immovable triangle (it’s above the power switch). Once all 3 rings are properly aligned, the tower will glow and let you turn the generator on.
Next are the 3 kilns that need repairs. You can do them in any order:
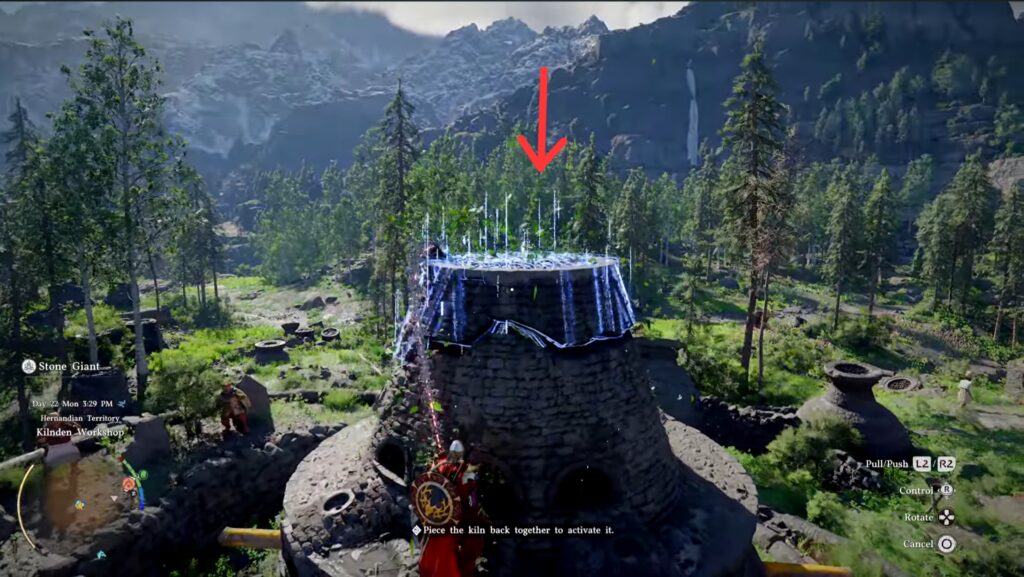
– The Broken Kiln: You will find a handful of broken Kiln pieces on the ground. You can pick up the pieces with your grapple (L3) and move them to the base. There are only 2 pieces to assemble, and they will match the cutout of the base. You can bind them together by jumping and using “force palm” under you to lock them in (if you have the upgrade that lets you use force push on your grapple, that works significantly easier). Afterwards, you can push the wooden rod at the base to Kickstart the kiln.
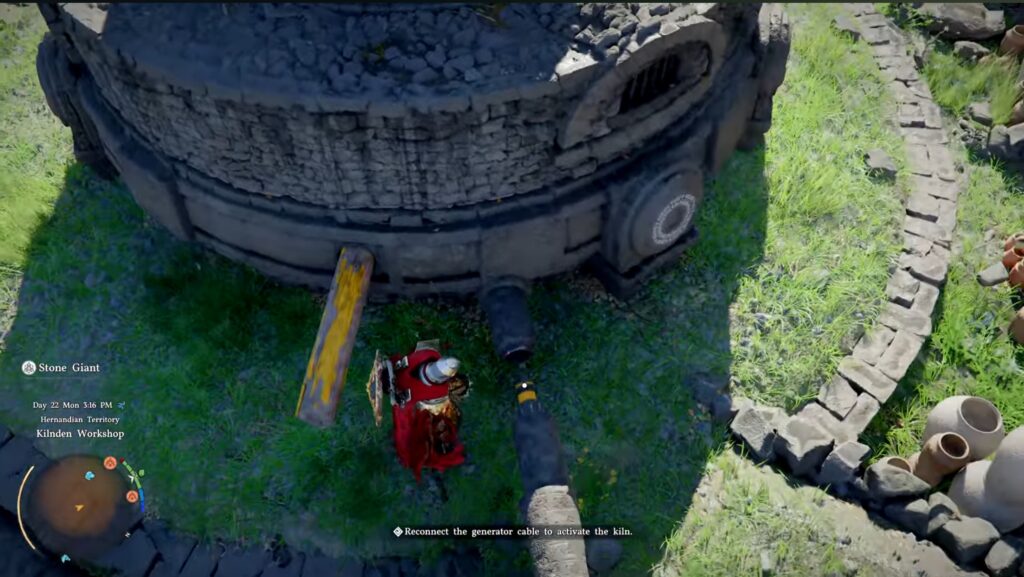
– The Unhooked Kiln: This one’s much simpler to do. Follow the cables leading to the Kiln and push the wires together. If you can’t find which wires to follow, use your lantern and follow the ones that don’t glow blue. When you’re finished, kickstart the Kiln with the wooden rod like the last one.
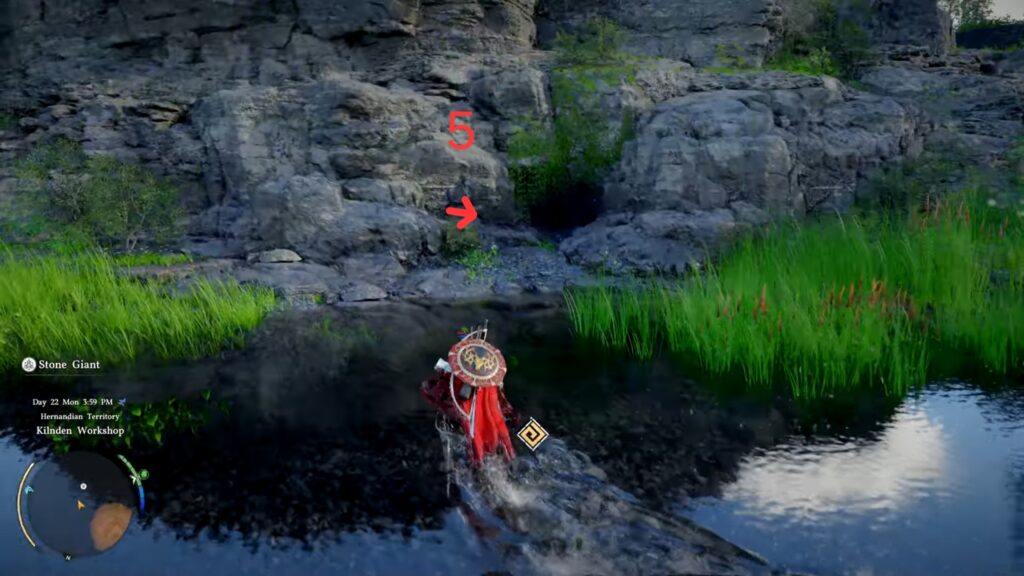
– The Empty Kiln: The final Kiln is a bit tedious. You have to locate 5 fuel orbs and slot them into the kiln using your grapple. The first 2 are at the base of the kiln (easy enough). The 3rd is sitting in the grass at the bottom of the hill. The 4th is hidden inside the statue in the water in front of the kiln, which you can pull out by attaching the grapple and pulling back.
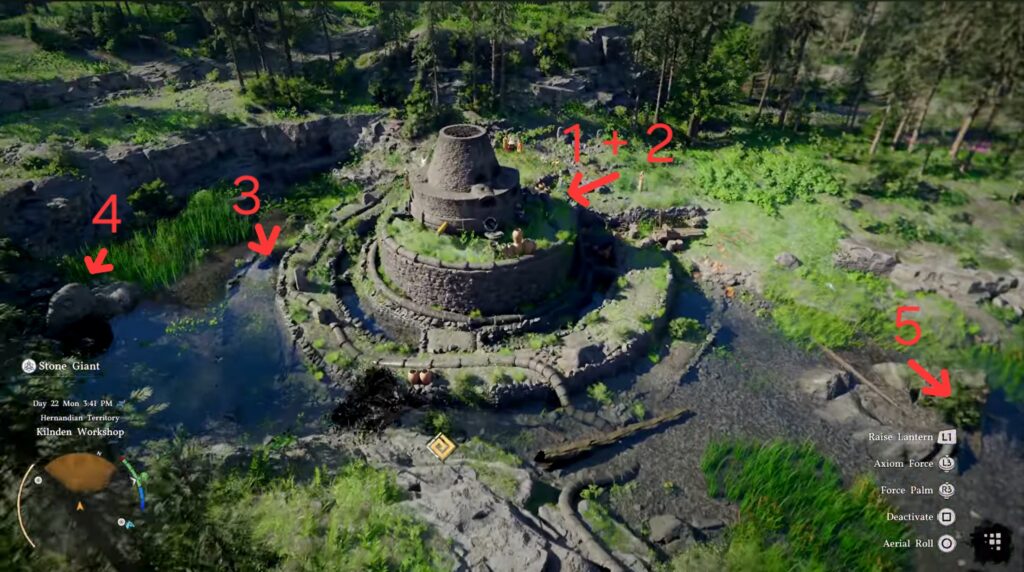
The 5th orb is sitting nested in a small “cave” nearby. After all 5 have been inserted, you can kickstart the kiln.
With everything in working order, return to Grimnir to see the fruits of your labor. He offers to make you a gift, but needs time to build it. If you don’t want to explore and use up some time, the game should offer you a prompt to pass the time until it’s ready.
When he’s done, push the wooden bar to open the “device” and retrieve your reward.
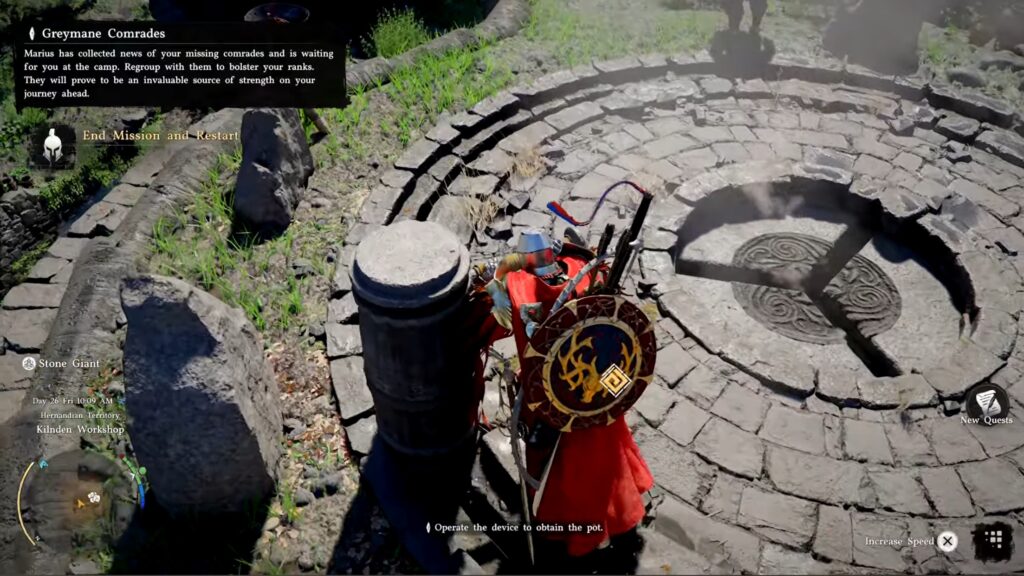
Before wrapping up here, head to the next marked area for a quick tutorial on how to use the new pot.
In short, the pot is used to store special “items” (avoiding potential spoilers). You will know if something fits in the pot if grabbing it prompts the “store” at the bottom right of the screen. You won’t really be using this frequently, so it’s more of a tool for future adventures.
Part 2: Daily Life
Time for some forced side quests! This part of the chapter is quite simple since part 3 is much more involved, so this section will be brief.
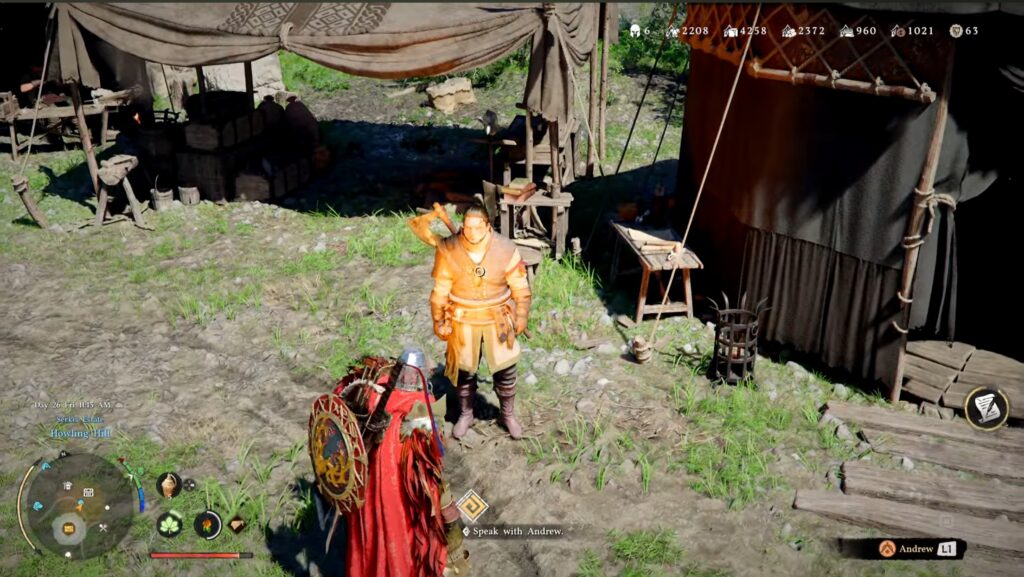
Speak to Andrew at your camp to start the quest.
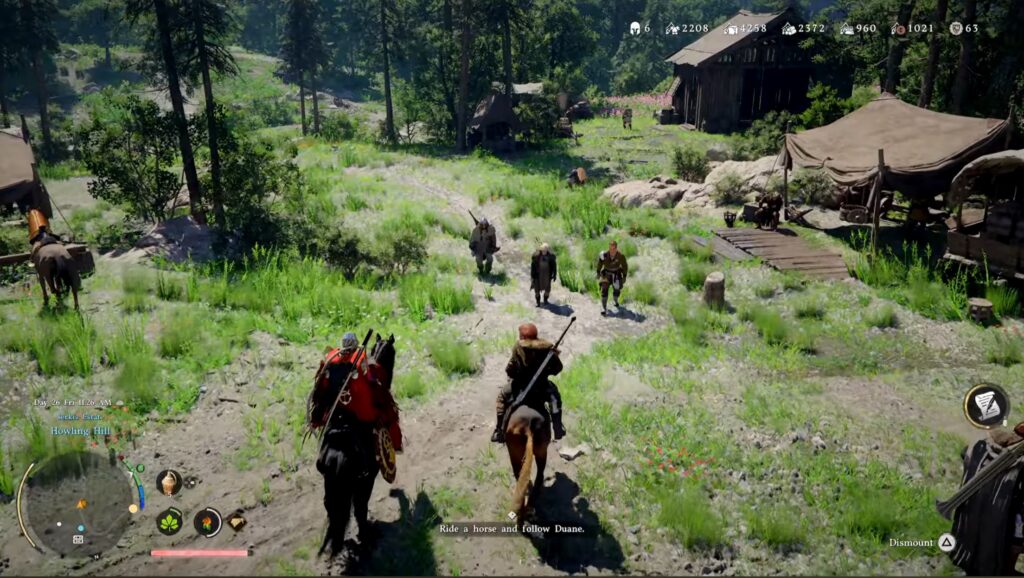
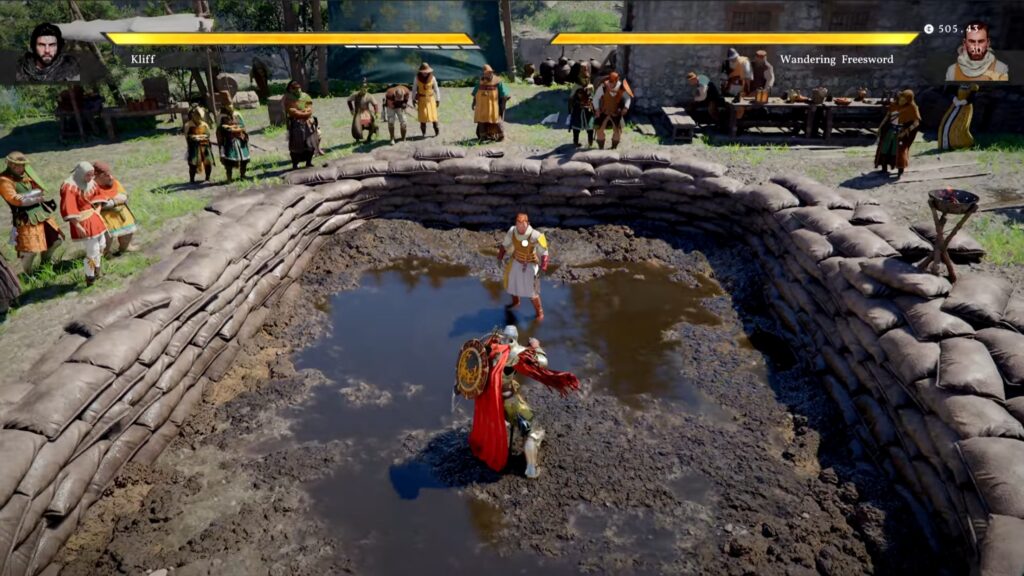
Duane will lead you on horseback to the fighting pits to save your fellow Greymane.
After getting there and watching a quick cutscene, you have to win 3 unarmed duels in a row.
Here’s a few quick and easy tips to let you blow through this challenge with ease:
- You can’t use ANY special moves. Just punching and blocking allowed here.
- Your opponents aren’t very smart. You don’t have to be strategic. All you really need to do is:
- Hold R2 and let your auto chain attack do the work for you. If they block you, just start another chain. It won’t take very long for you to win every round this way.
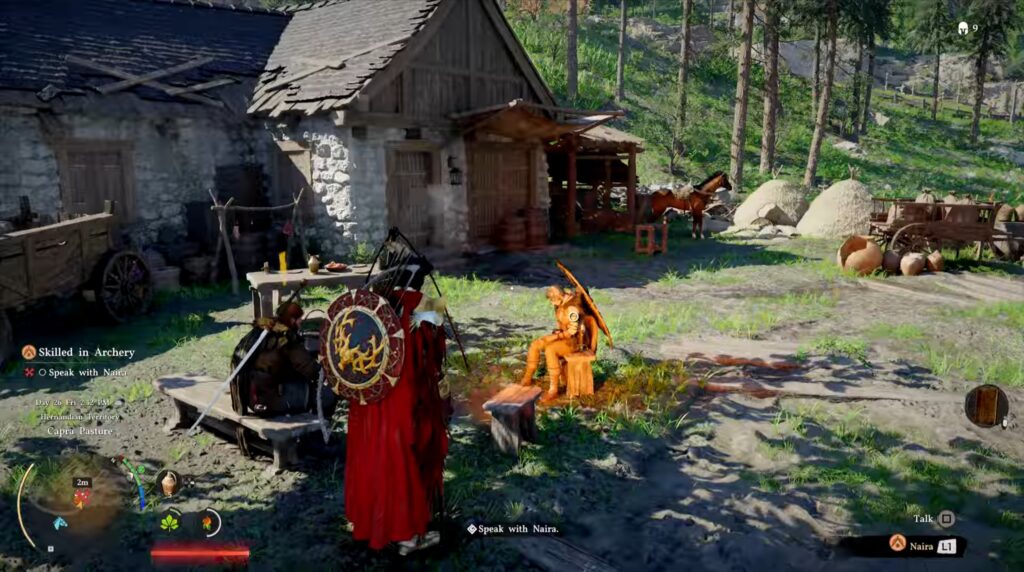
With your comrade saved, bring him back to camp. Then meet up with Naira at the marked area.
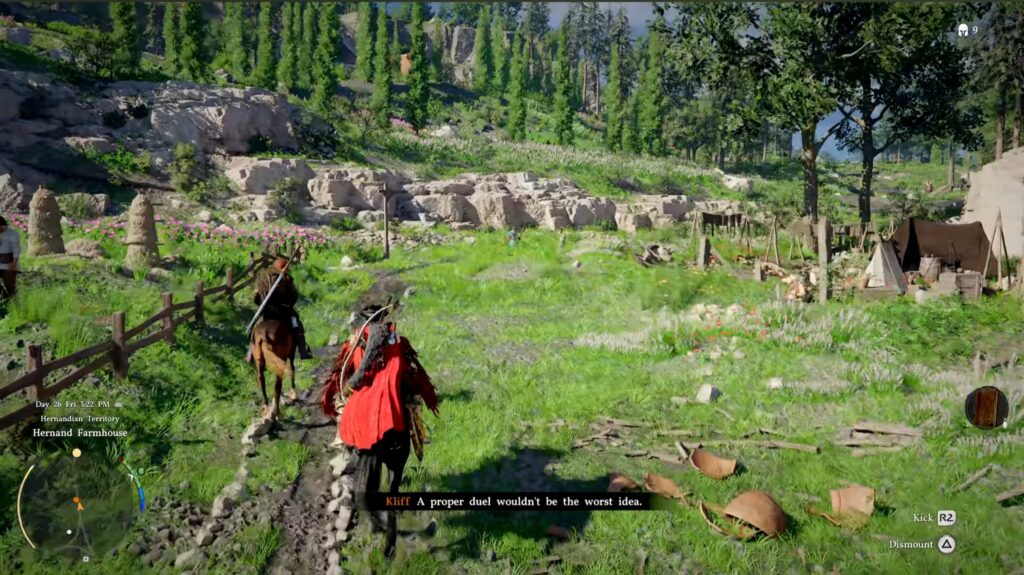
You will learn of an archery contest you need to compete in, so follow Duane on horseback to the contest.
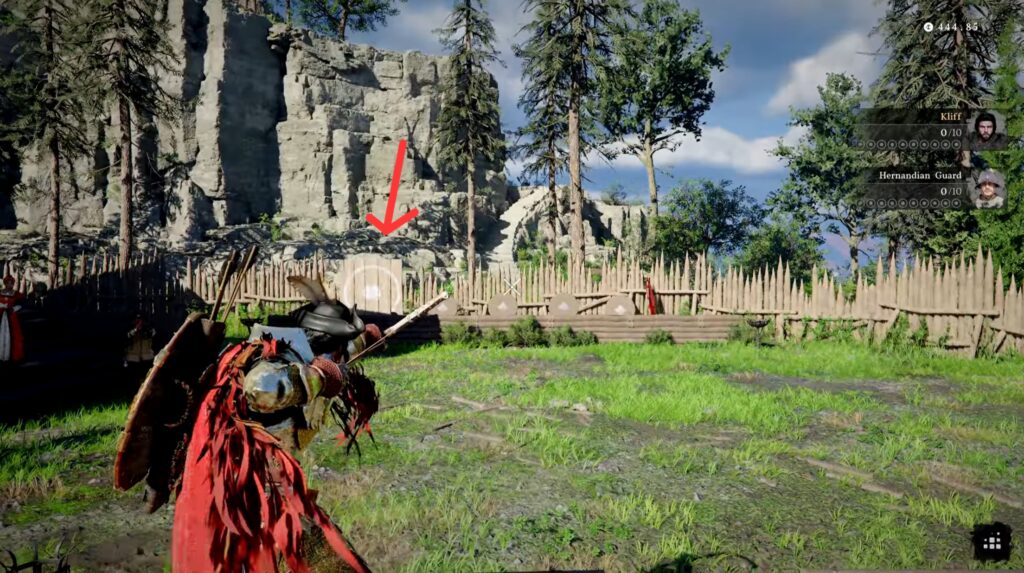
Thankfully, you don’t have to win multiple rounds of archery. Just beat the first opponent and call it quits (unless you enjoy it and want to test your skills for a prize). Like the brawl, you can’t use any powers here. Just focus your aim at the center of the range to make it easier to move to targets wherever they appear.
After your victory, speak to Duane again, and this part of the chapter is already over!
Part 3: Forbidden Knowledge
Head back to town, where a stranger will hand you a random note at the marked area.
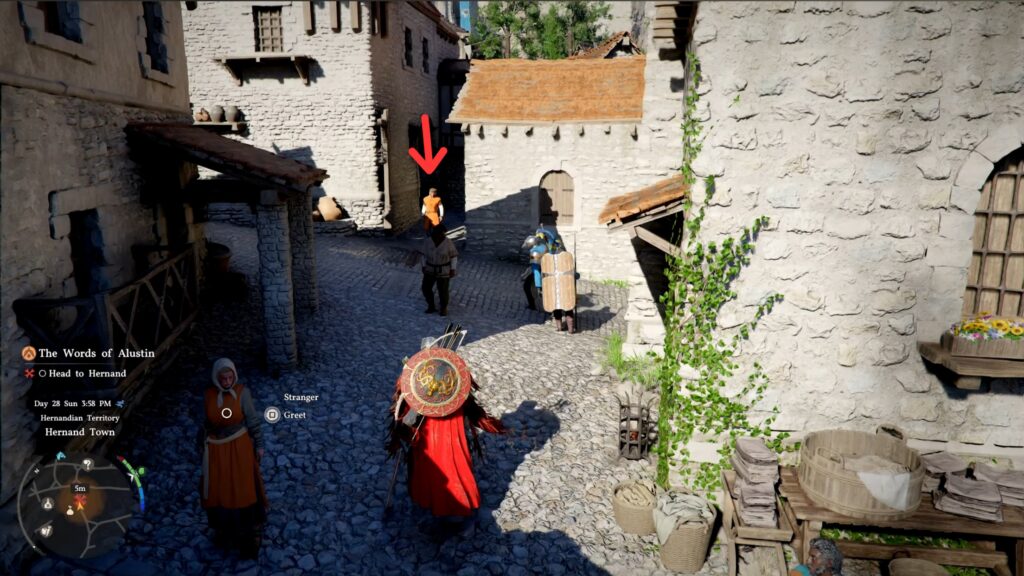
Alustin will instruct you to head to the Scholastone, but you need a disguise first. There will be a man marked in a building on the 2nd floor. Head inside to see a quick cutscene and receive your new disguise.
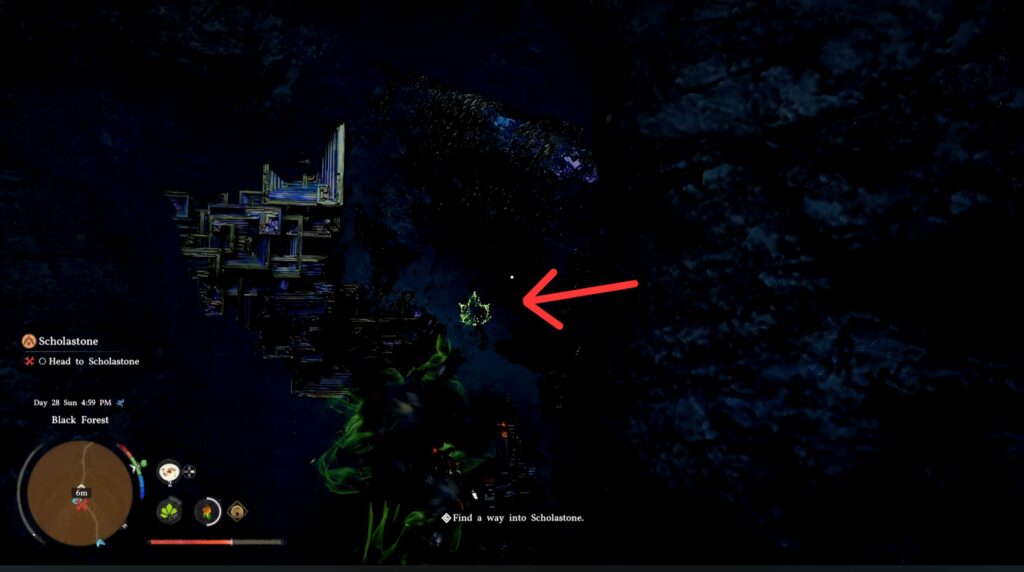
Next, head to the marked area on your map to find the entrance to Scholastone. This is a more hidden path, but following it will lead you to a dead end. Study the ghostly figure to learn a new ability: Focused Palm Strike. Use it to break open the wall and on to Scholastone.
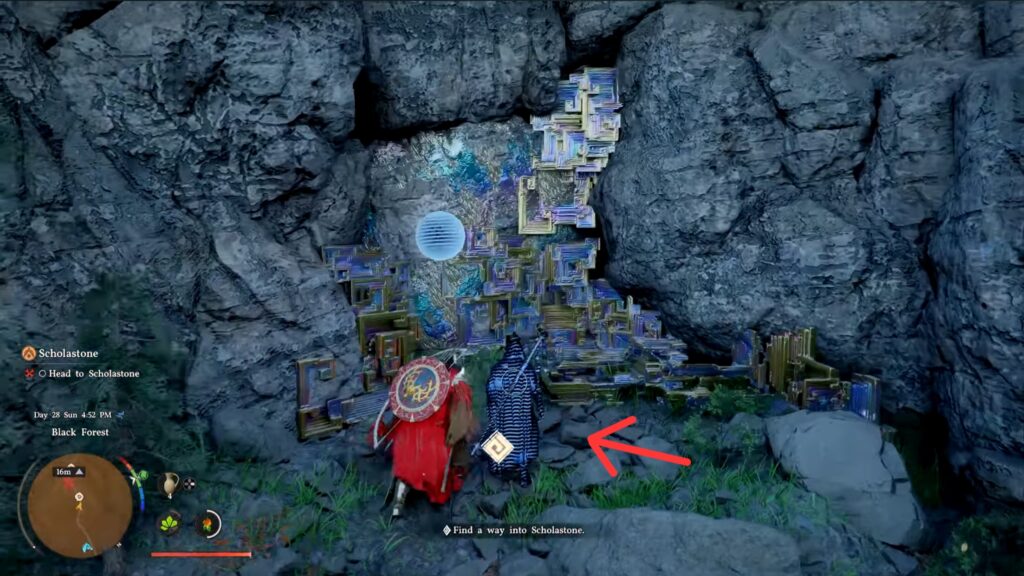
– If the new ability doesn’t make sense to you, here’s how it works: When you enter the focused state, a long “wind up” will charge, then you will see a small leaf icon appear. We will call this your “key”. As you continue to hold focus, the leaf (key) will slowly move forward. While it’s hard to see what’s actually going on, you are looking for a sphere to appear in the wall. When your key enters the sphere, it will glow, which means you should end your focus. This basically lets your key break the lock, lowering the wall for you to pass through.
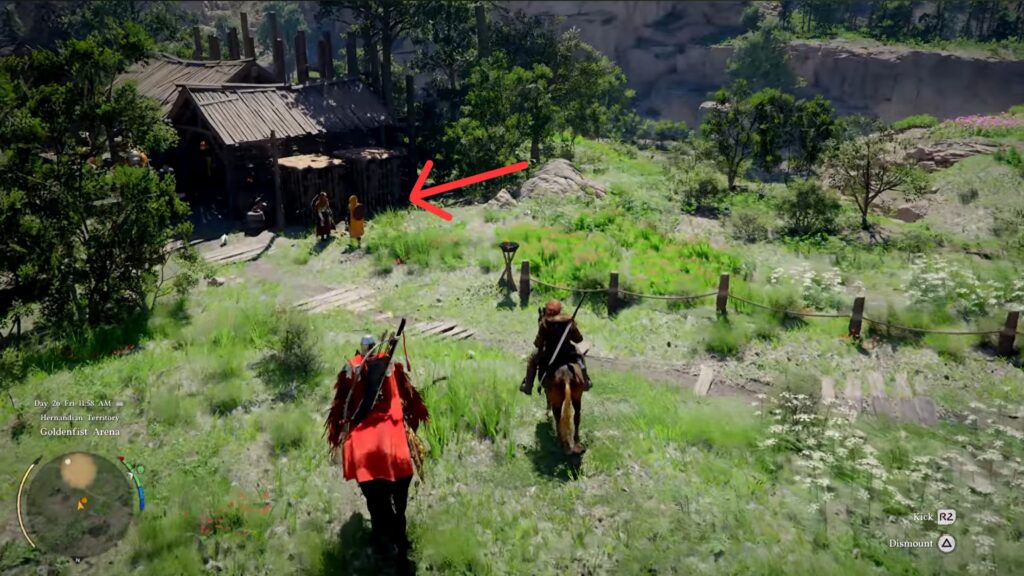
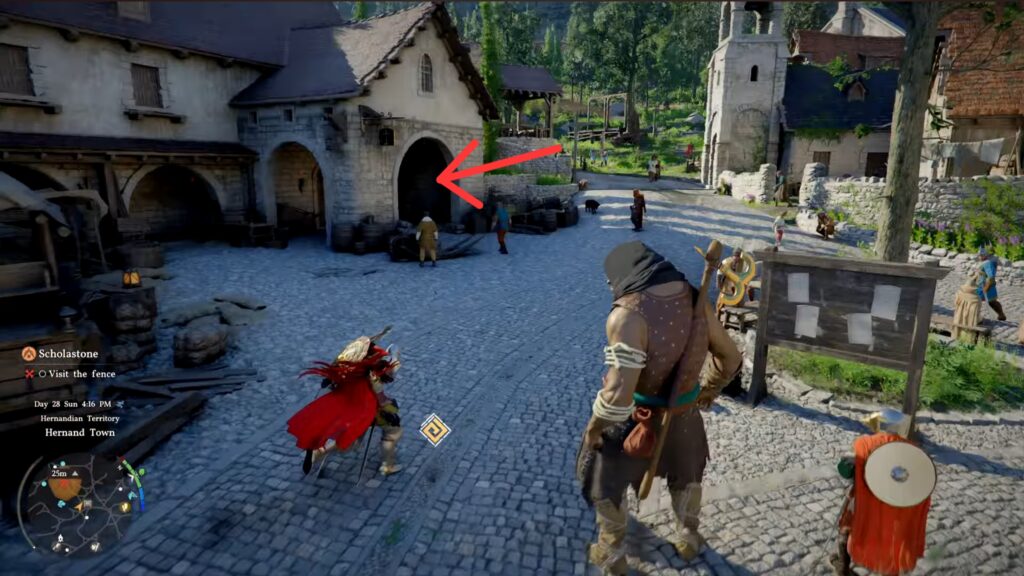
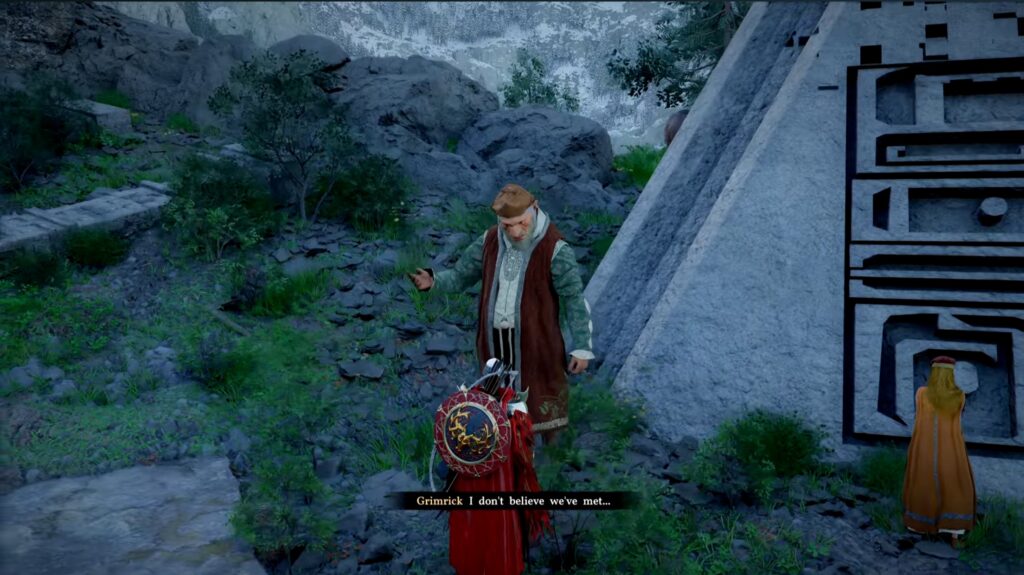
Once inside, you can equip your disguise and head up the mountain. You will find a strange pyramid-like structure and a man named Grimrick. Follow him, and he will guide you into town.
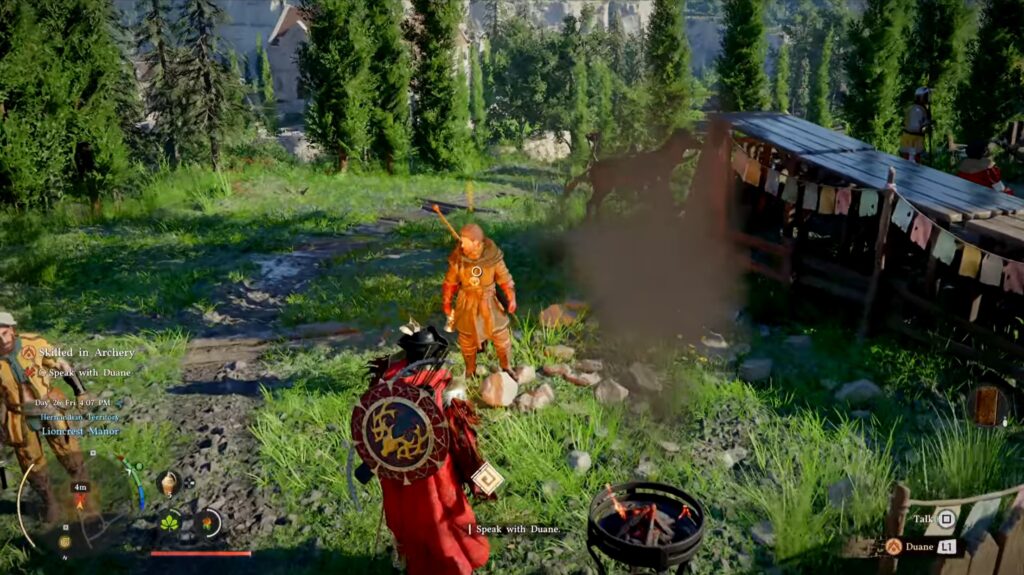
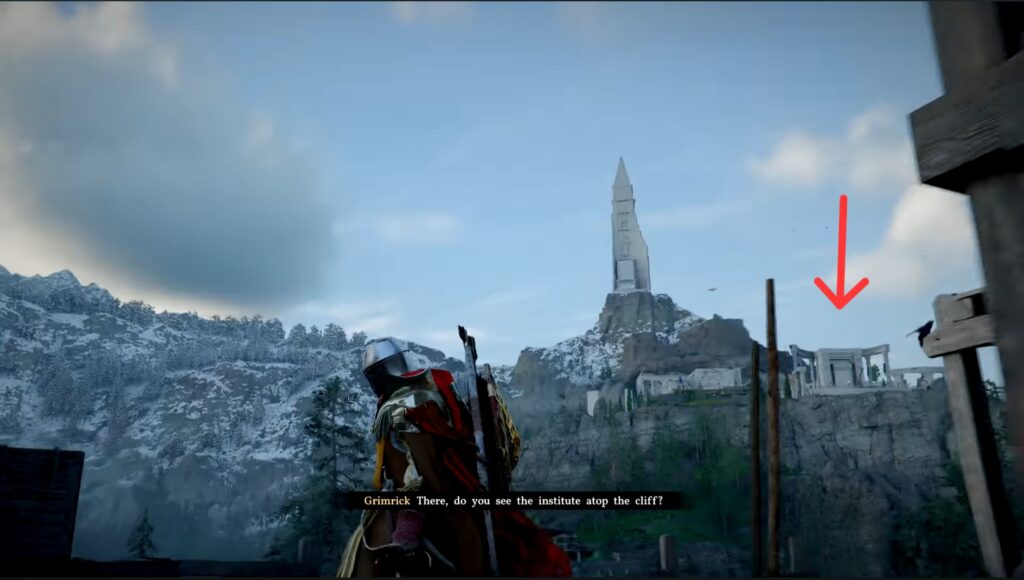
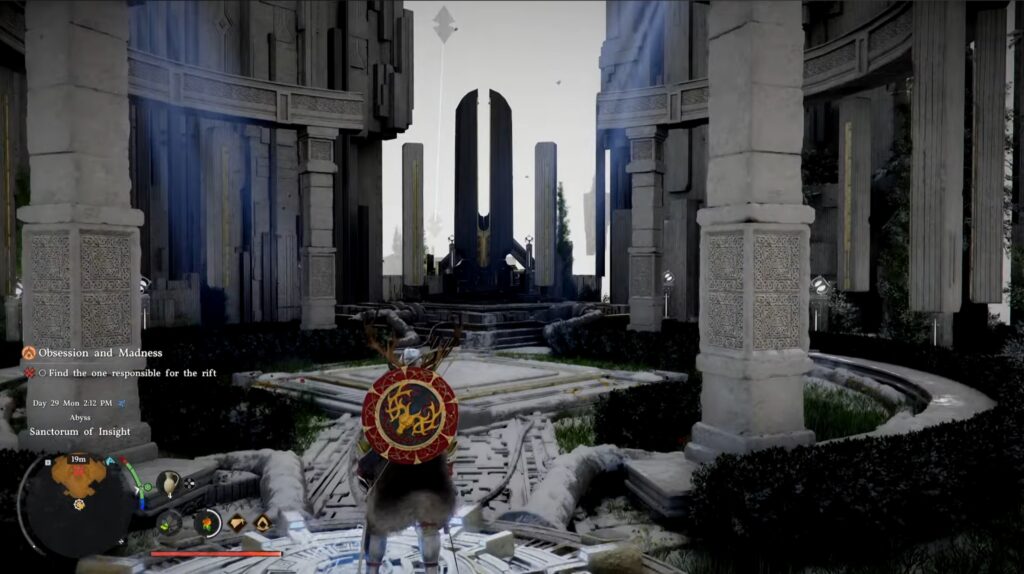
Now’s the fun part: getting to the institute Grimrick just showed you. While you can try to scale the cliff, your best bet is to go around the mountain by following the path through town. The road itself is a direct path to the institute, so feel free to sprint through on your horse if you don’t feel like exploring the town.
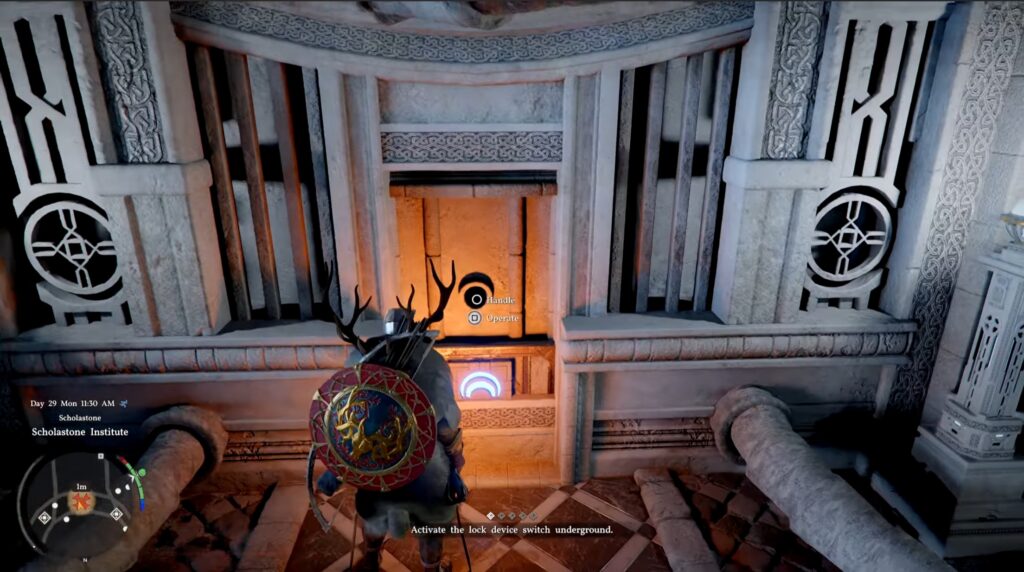
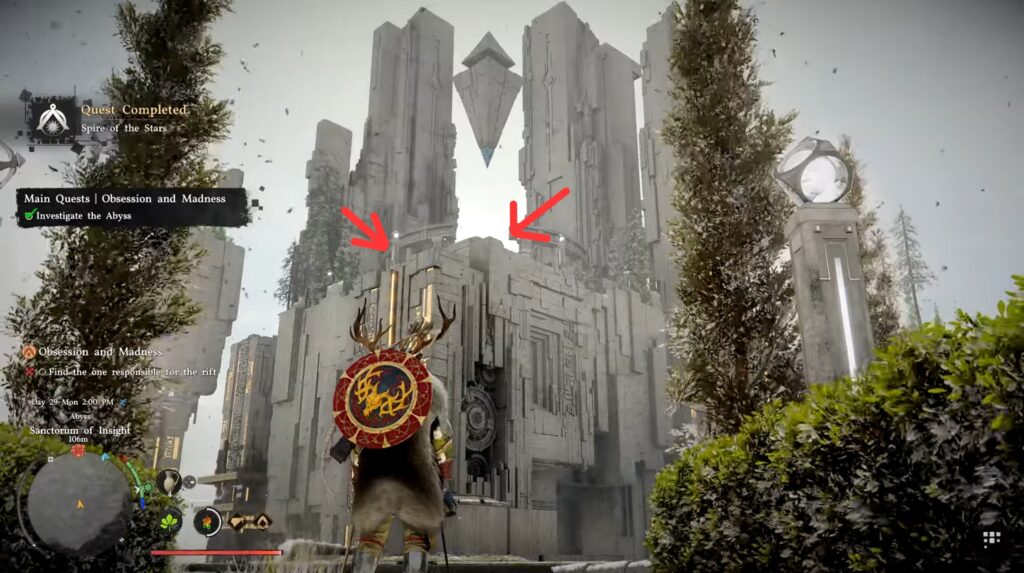
Just so it’s clear, your goal isn’t the tall spire (yet). You want to visit the institute right below the spire (see the image below).
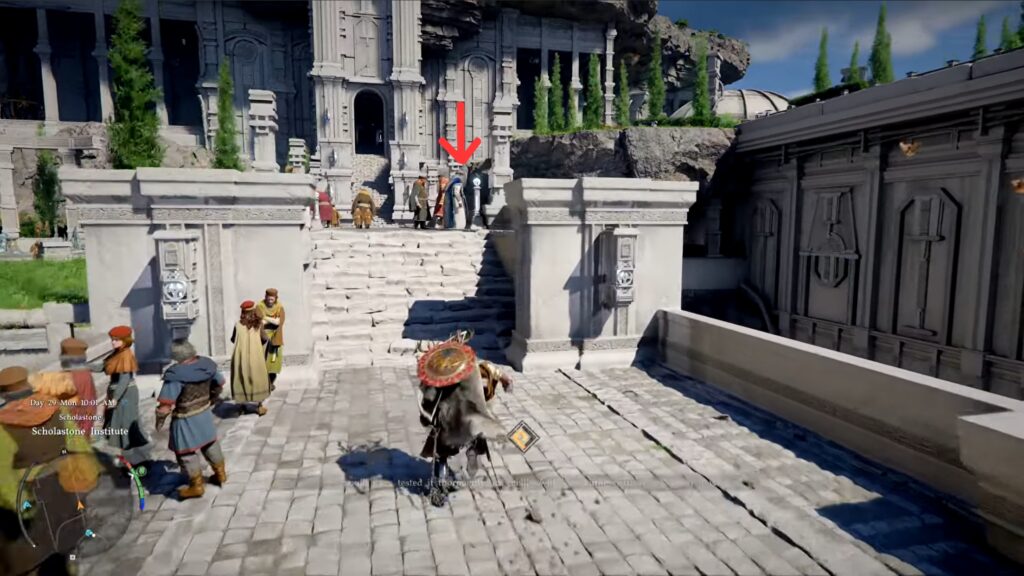
At the institute, you will find the dean. He will invite you in (if you are in your disguise) and take you to Octavius. He is conducting research on the Abyss, and you are the lucky one who can help prepare his presentation.
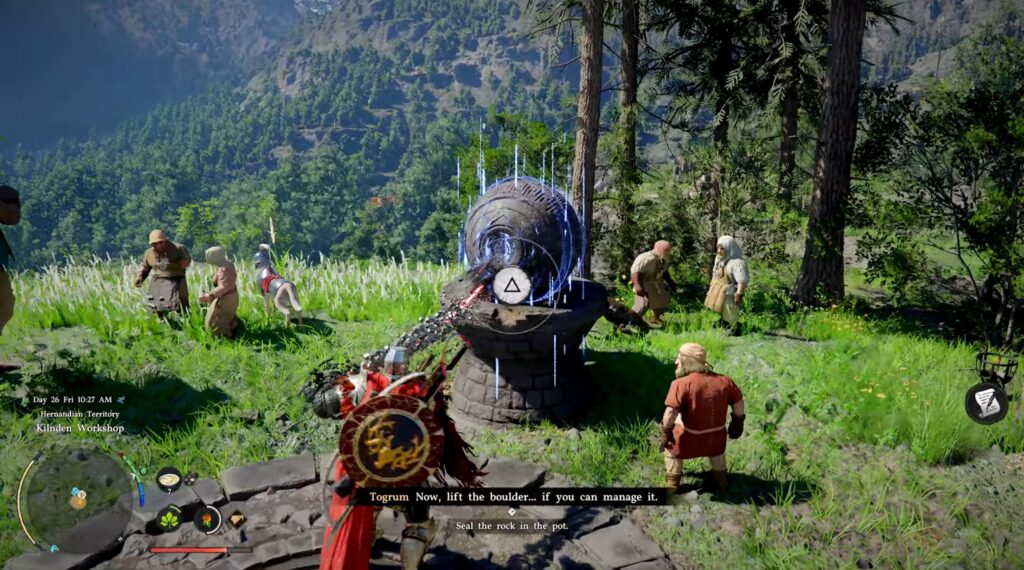
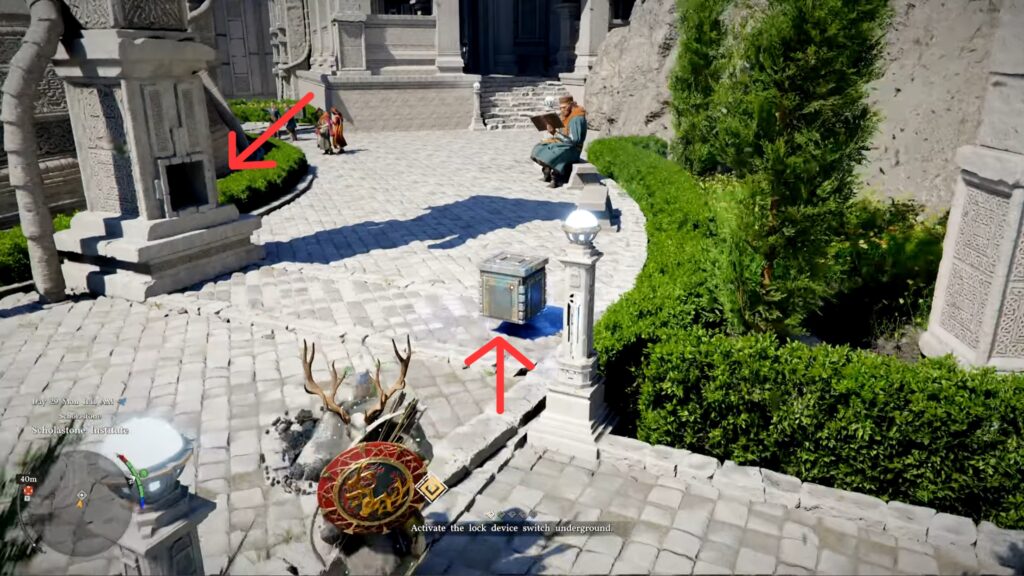
Around the dome, there are 4 pillars with a peculiar box-shaped hole in them. And what do you know? Some floating batteries next to them can be grabbed with your grapple and slotted inside. Use your force palm to lock them in place. Do this for all 4 pillars.
Once finished, head under the dome to flip the breaker on and start the experiment. It’s a simple puzzle where pressing in a button makes all adjacent buttons invert positions. If you don’t like puzzles, below you will find the solution (spoiler alert):
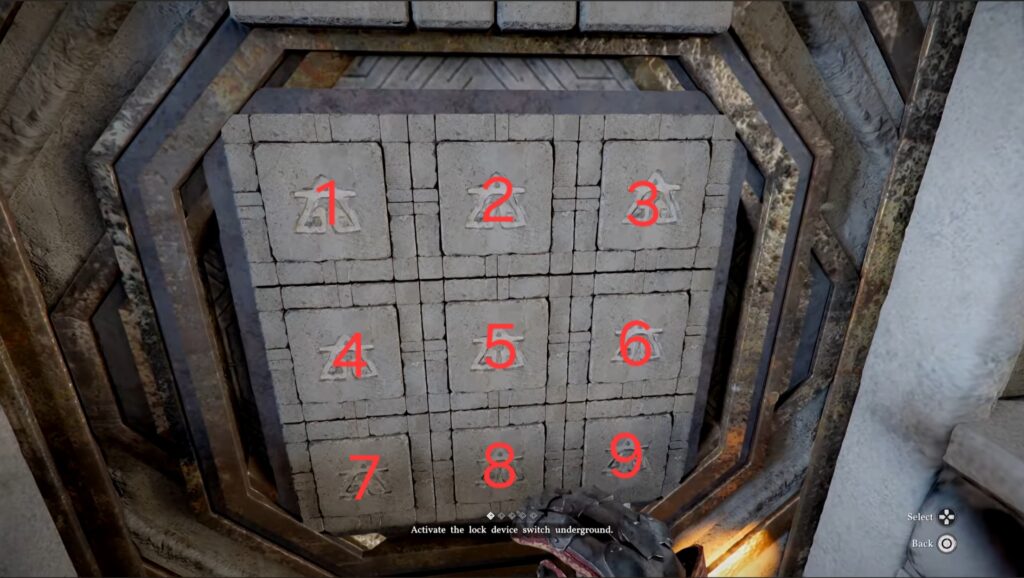
Press the following buttons in this order: top-middle, left-middle, top-left, bottom-right, middle. This should allow you to flip the power on!
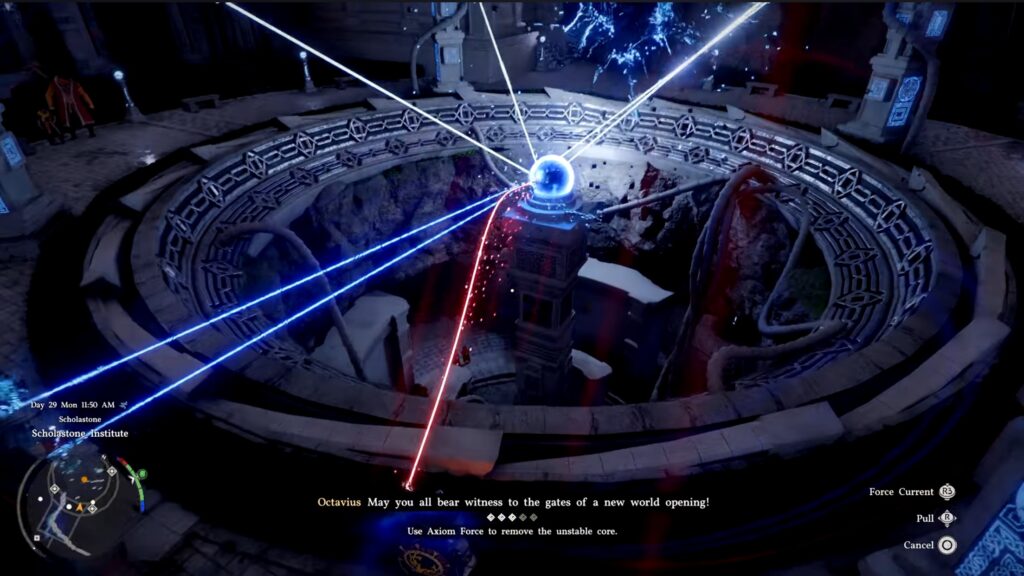
After the experiment begins, it quickly goes wrong (who could have guessed). Use your grapple to attach to the orb in an attempt to remove it. Doing so will trigger the next phase… boss fight!
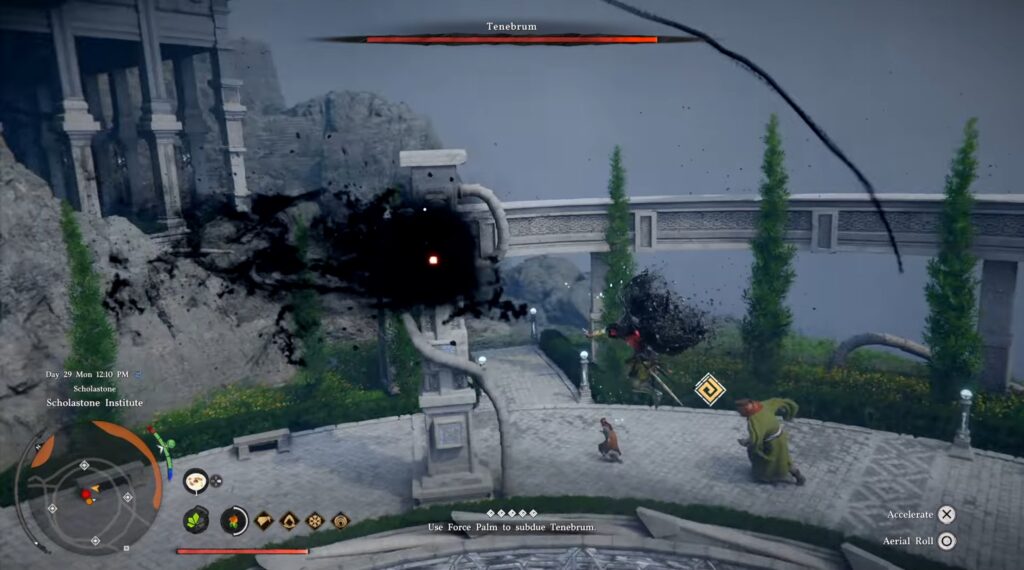
This isn’t a normal fight. You can only damage it by using your force palm up close. Thankfully, the constant updraft lets you constantly float in the air. Glide right to the boss and smack it 3 times with a force palm to win the fight.
After the fight, you will be given a key to the “Spire of the Stars” at the top of the mountain. Head up the mountain by the staircase. It’s a bit cold, but nothing too concerning at this point. You can purchase warmer clothes at the nearby merchants if you want to be warmer.
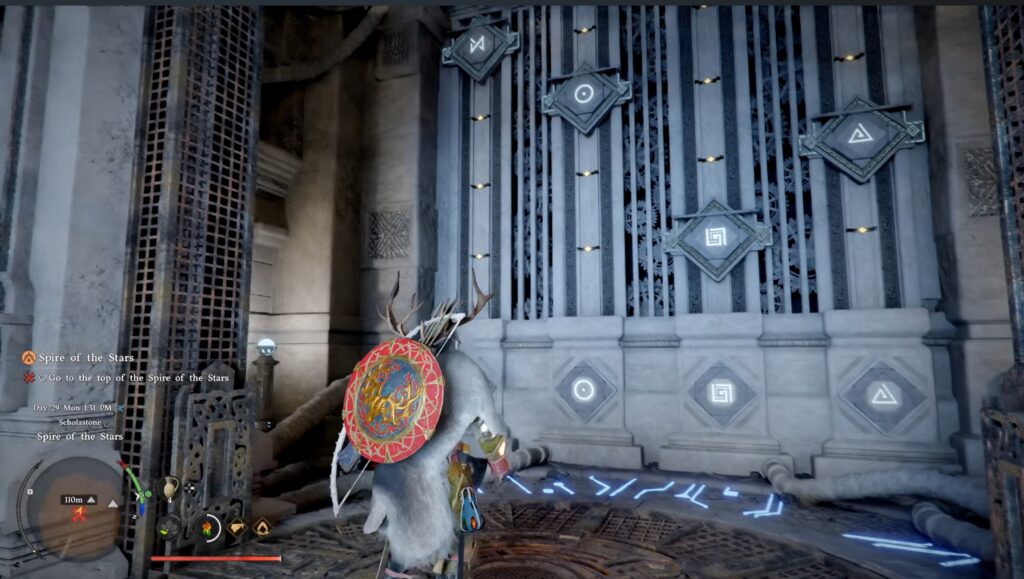
At the spire, it’s puzzle time! You need to raise the elevator by shifting the symbols in the correct position. You can raise them by using a force palm on the button at the bottom, and lower them by jumping up and holding onto a bar under each symbol. If you want the solution to the symbol ordering, see below. If not, stop here and come back afterwards (spoiler alert):
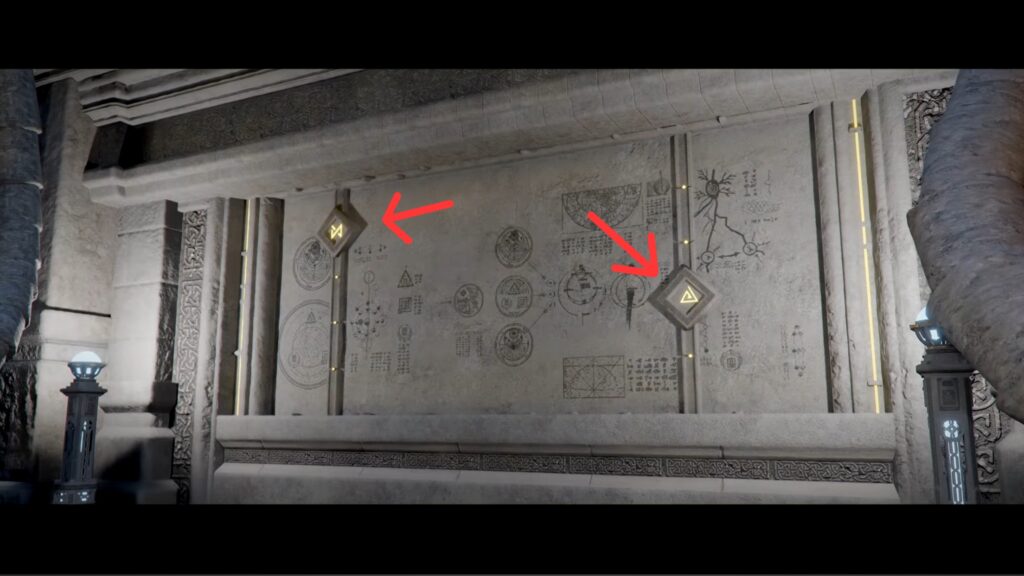
– The right and left side of the room has murals with matching symbols to the elevator ones.
There are also buttons on each wall that you can force palm to receive items needed to power the elevator.

Match the elevator symbols to the positions found on the murals.
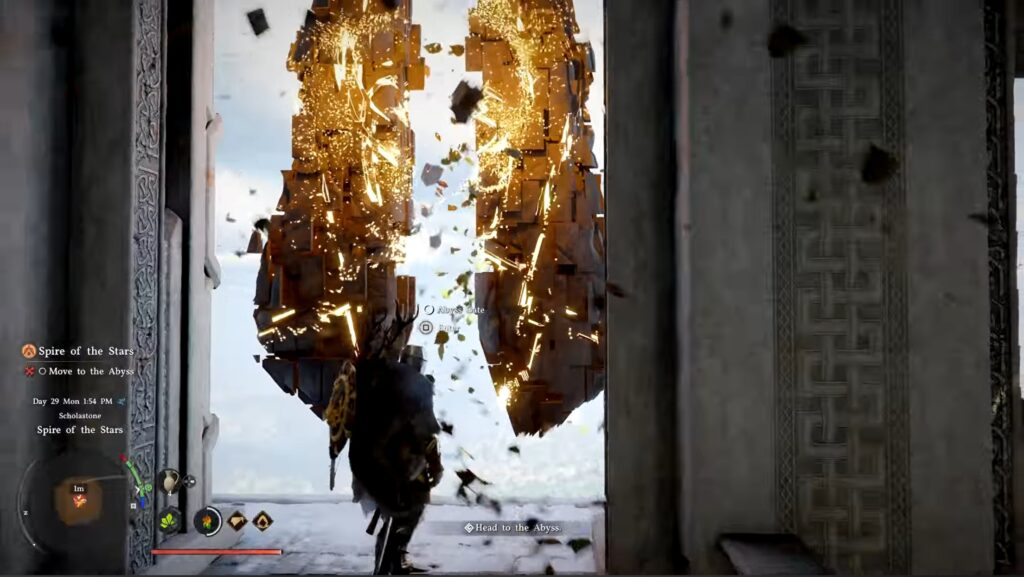
Once the elevator is ready, ride it to the top of the spire and climb the stairs. At the top, you can enter the Abyss portal.
In typical Abyss fashion, more puzzles await you! Use your grapple on the base of the towers. This will let you shift their positions and progress. When you move a platform, you can immediately disconnect, move to the next platform, grapple, and move it again. Repeat until you reach the top!
Alternatively, you can just use your force palm jump 3 times, glide to this center pillar, jump again, then glide to the end of the puzzle. No solving needed!
You can use your force palm on the big button (like you did in chapter 1). This triggers a cutscene.
Once finished, you can teleport back to camp and regroup with the others. Congratulations! You have now finished Chapter 4!