Crimson Desert is absolutely packed with content and features that aren’t really explained. This guide is intended to be an organized way to understand the game better to fully enjoy it like you should. I’ll separate tips into different sections:
- Spoiler free tips: Tips for players who want a better gameplay experience, but still want to discover everything about the game on their own
- Content Spoilers: Tips that teach you how to use features the game has to offer, but may be considered a spoiler if you didn’t know the game offered it
- Mild Spoilers: Tips that will only be useful if you have done certain spoiler-related tasks. No major story spoilers though!
Spoiler Free Crimson Desert Tips
Crime and Theft Tips:
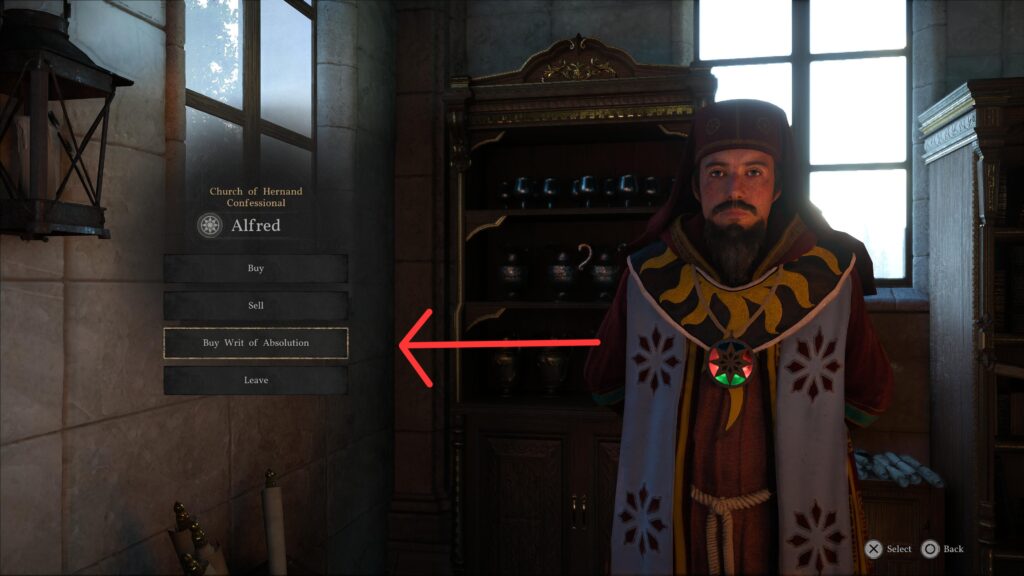
- You can visit churches to remove the Bounties you have put on yourself. Simply go inside and talk to the merchant, then buy the “writ of absolution” to clear your debts.
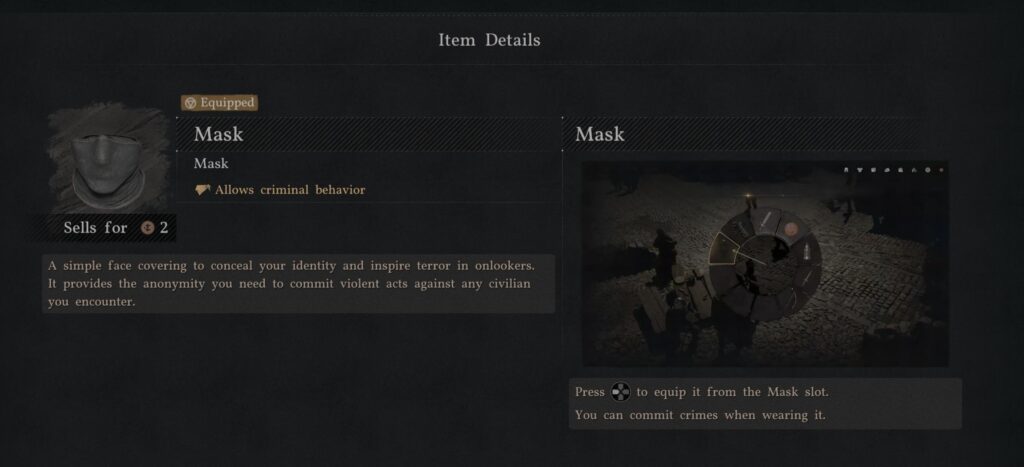
- Theft is only available once you acquire a “face mask”. You get these quite often by defeating bandits, and a few side quests give them as rewards.
- Stealing with no witness gives no bounty, but you have to go unseen for the duration of the crime’s displayed timer. Getting spotted in that timer will make you guilty, even if they didn’t witness the act itself.
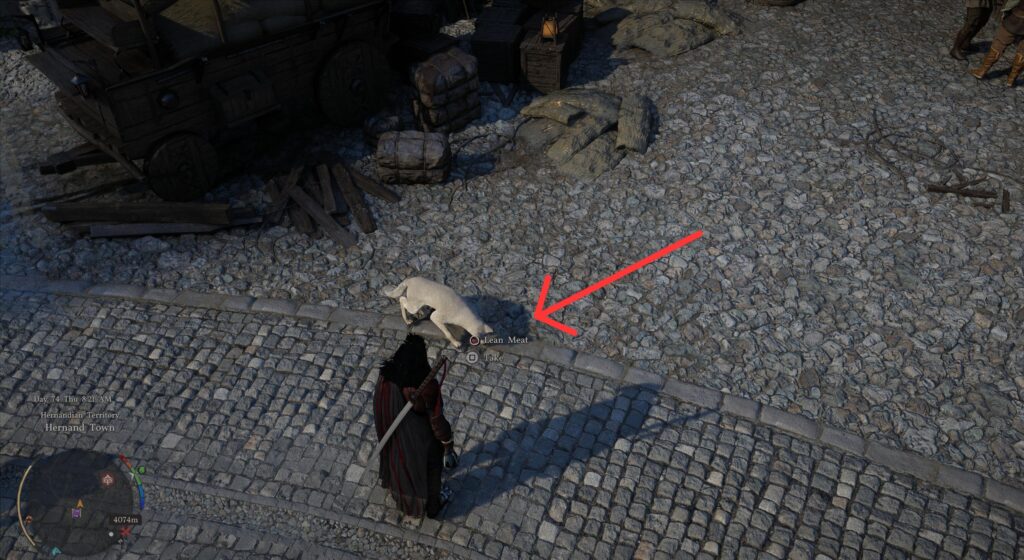
- Seeing “Take” on an item means you can pick it up without consequence. “Steal”, on the other hand, will put a bounty on you if the crime is seen by anyone around.
- NPCs are quite realistic when it comes to witnessing crimes. If you notice them falling asleep, they may actually not see you steal something right in front of them! Just be cautious, they could always wake up…
- If you are attacking hostiles in a town or building, you can take items before liberating a town! This makes anything you grab not a theft. You can do this on story missions to loot towns and merchant shops before the civilians move into the newly-liberated town.
Exploration Tips
- Small question mark icons on the map are shops of any kind
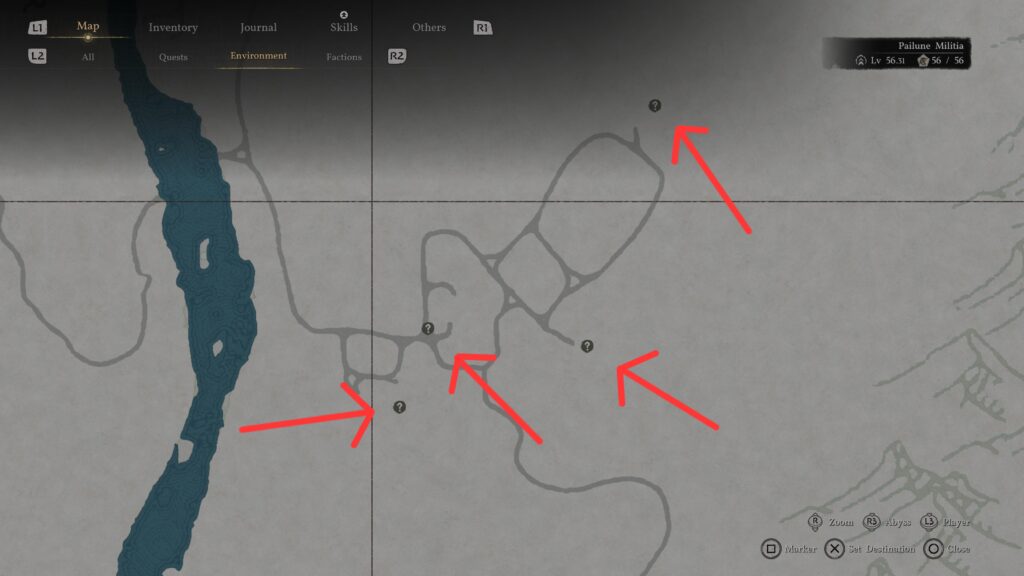
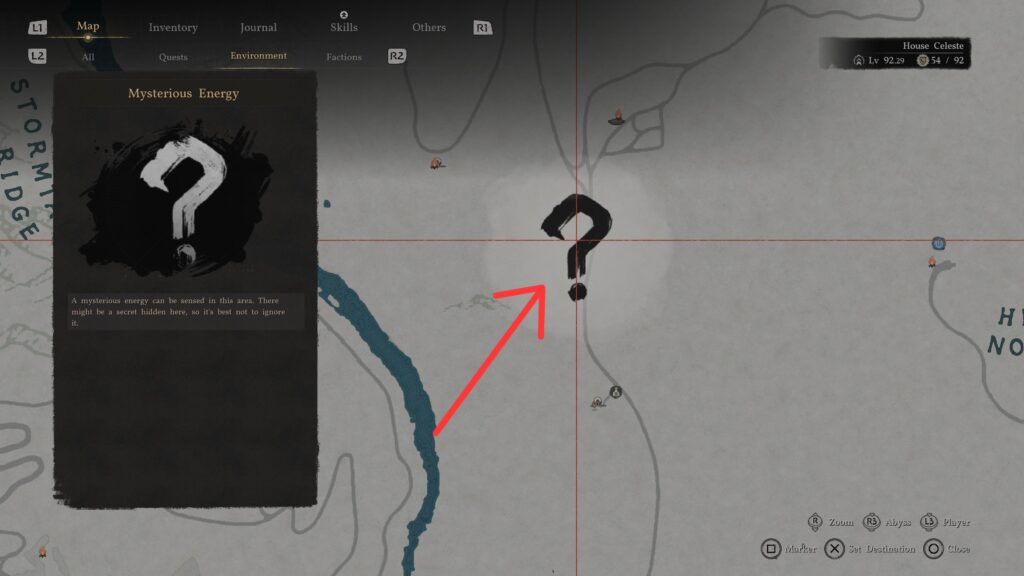
- Large question mark icons are secret areas or teleport pads
- While the game appears to be open-world, a significant portion of the game is actually hidden by main quests and side quests. You can venture out and explore, but you will often find empty buildings or ruins. These will be filled with content later, but you have to trigger the mission first! You will have a better time exploring the world if you venture to new lands when a mission sends you there.
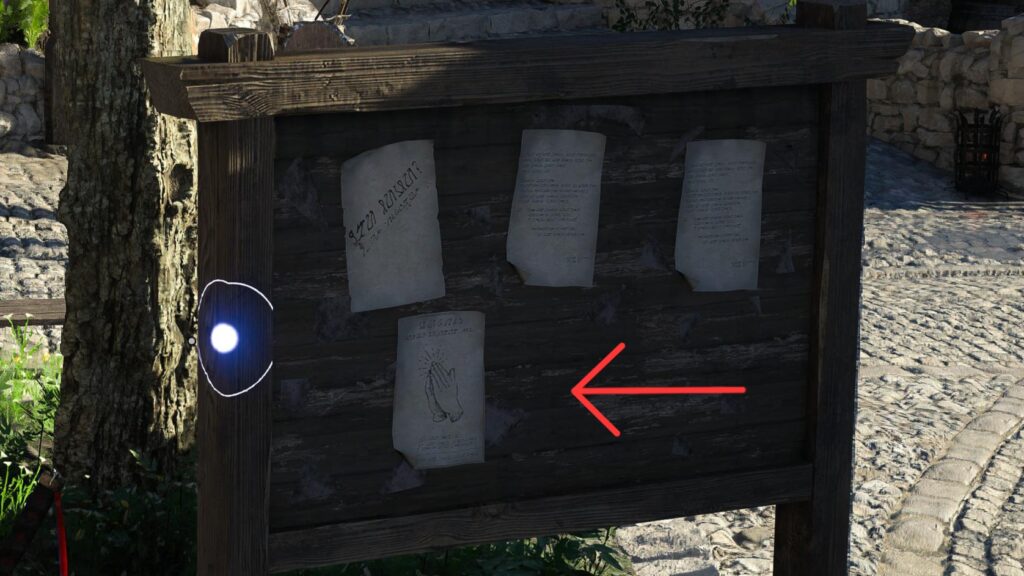
- Check mission boards in towns! Many major side quests are only discoverable by seeing a poster on that board.
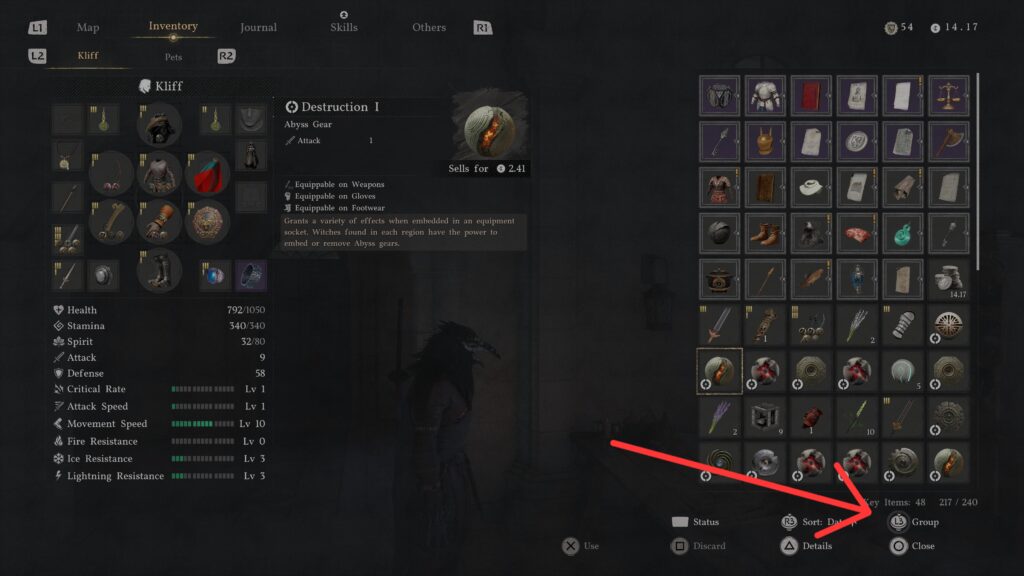
- Your inventory has an option to “merge” items. Pressing this will collapse all items matching the selected item onto a single tile. It doesn’t make more space in your inventory, but it does clean it up and make it easier to navigate. For example, you can press merge on cooked food to instantly sort all food items into a single slot for convenience.
- If you jump and use force palm, you can launch yourself into the airm you can actually do this 3 times in a row to launch even higher! This makes for a great way to set up a glide without using stamina.
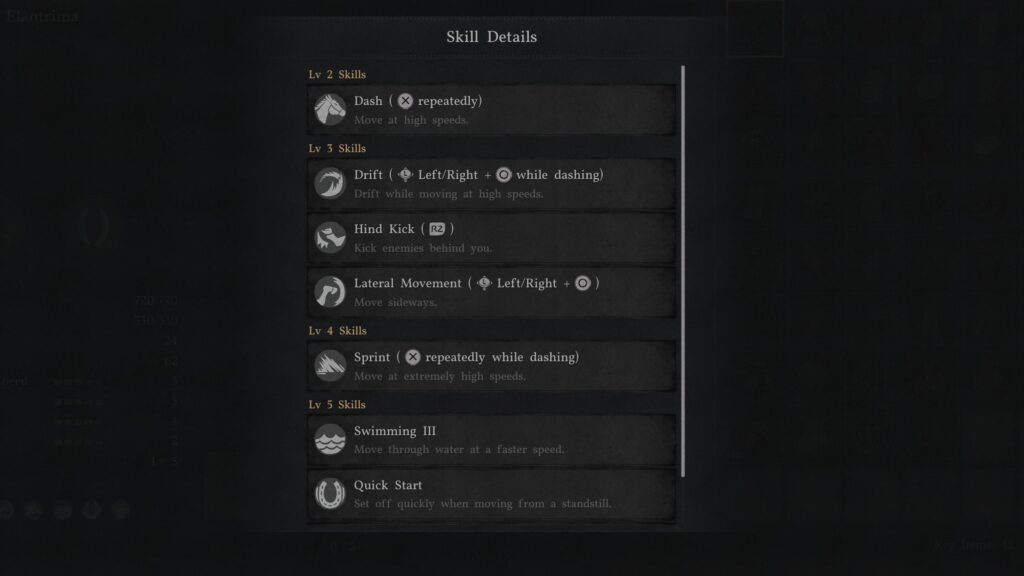
- Your horse gets better as you use them, so don’t ignore them! If you want to increase their performance faster, visit a stable and purchase horseshoes, a saddle, and tonics!
Combat Tips
- A lot of bosses can be beaten in 1 or 2 hits if you use “nature’s grasp” to pick up a tree (or large object) and slam it down on the boss. Many bosses will knock down objects for you to pick up, so they are kind of asking for it…
- In most cases, if your mission objective is to reach a location and there are enemies in your way, you don’t actually have to fight them. You can go around, run past, or even just teleport to the next objective without needing to do any fighting.
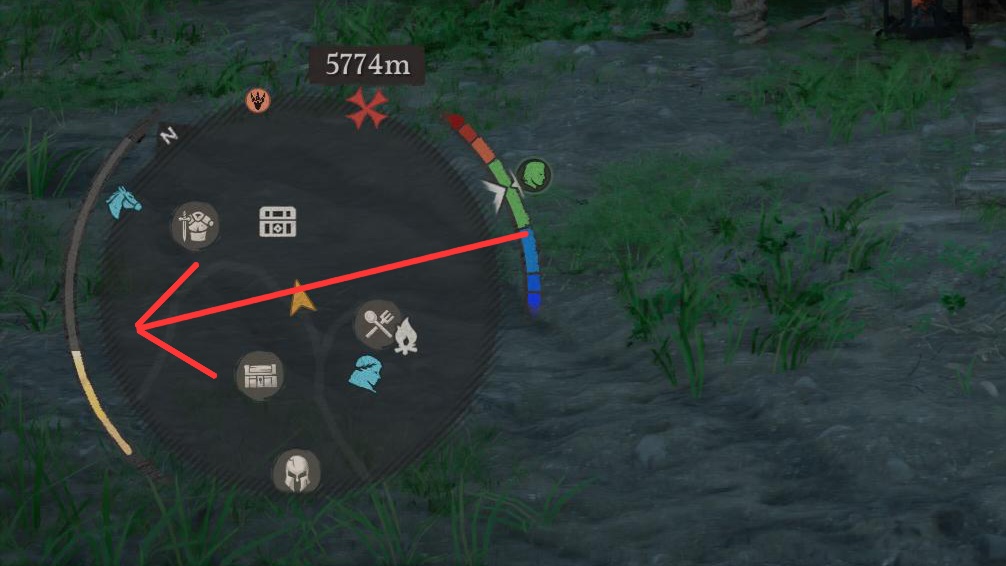
- There is a small yellow bar wrapping around the right side of your mini-map. This meter grows each time you defeat any enemy. When it fills up, it awards you an Abyss Fragment every time! This is the main reward for fighting enemies instead of skipping them
Upgrading Tips
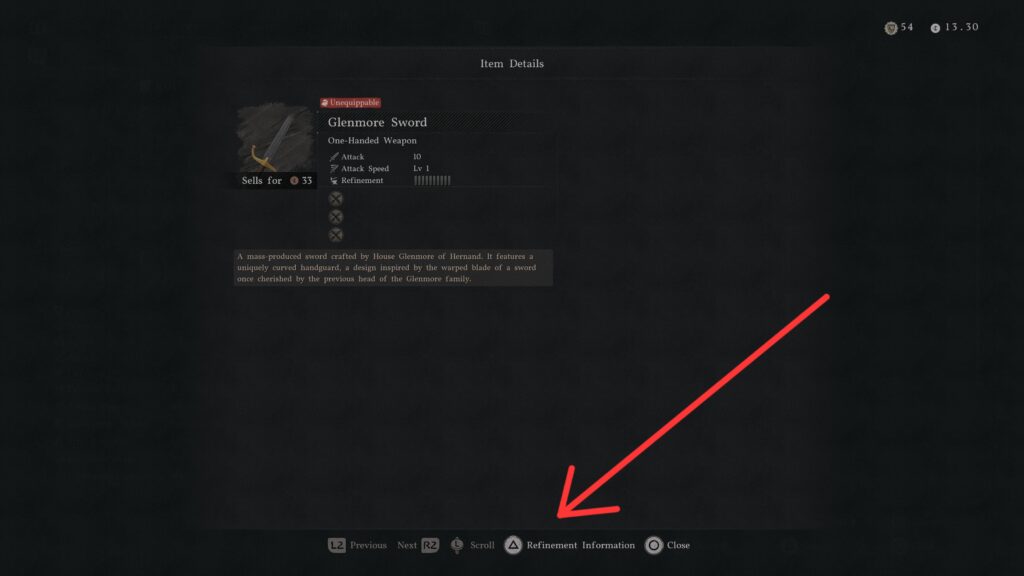
- You can inspect any weapon or armor to preview upgrades! You can see upgrade costs, stats after each upgrade, and the value it will have afterwards! Use this to compare if the gear is worth swapping and investing in
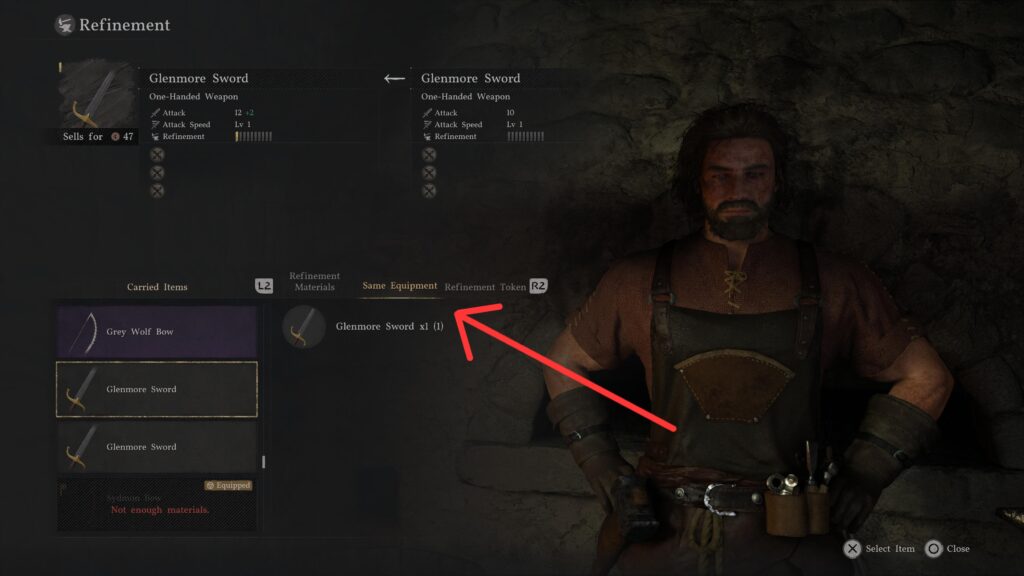
- If you collect multiple of the same weapon, you don’t have to sell them! Take them all to the smithy, and you can use duplicate weapons as a replacement for crafting materials! (They have to be matching in upgrade status, though)
- Most weapons seem to have the same stats across all others of the same class. In other words, pick a weapon you enjoy looking at and like the feel of combat. Don’t expect to find an “epic” or “legendary” weapon that makes the starting gear useless.
- Dyes are unique to each dye vendor. Only your camp can utilize all colors, but you have to discover each vendor first
Content Spoilers
Learn double jump as soon as possible (chapter 3)
- Confused why the double jump doesn’t work sometimes? It only triggers if you have ground very close to your feet. So jumping off a cliff puts you too far away from the ground to allow a second jump, making you glide instead.
You can get pets at any point you want to! Simply find creatures that let you pet them and gain respect. Once they reach 100 respect, you get a prompt to adopt them. Pets will auto-loot for you and deposit into your inventory!
- Towns and cities typically hold the most options
- You can pet animals up to 5 times per day to get 25 respect. You can also discard 1 fine meat in front of them, which they will eat and give an extra 10 respect (max of 30 per day). Use both techniques to adopt any pet in 2 days!
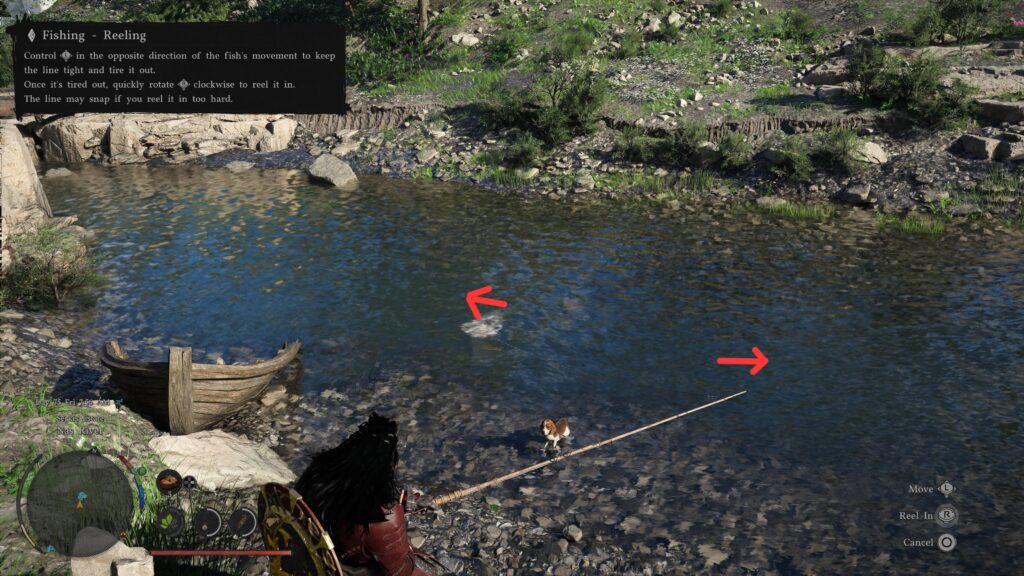
Fishing can be a bit confusing, so here’s a simplified guide: cast your line and wait for a fish to bite. When one bites, you can press R2 to set the hook. Don’t reel right away! Move your pole in the opposite direction the fish is moving in to tire it. Once it isn’t running, reel it in until it starts moving again. Repeat this until the fish is caught. The line will break if you reel while fighting against the fish.
If you find a waterfall, you will get knocked away if you get too close. However, you can hold R1 + Triangle to do a stab/thrust with your weapon into the waterfall. Many waterfalls hide caves behind them (check your map under the factions tab), and the only way to enter is using this method.
Some unique items are tied to surprising tasks! Stealing items in lockboxes can hold special jewelry with special abilities, for example. Not everything is unlocked by quests.

- You can find special chests marked on your mini-map. They are marked as a treasure chest icon and are typically located at manors.
Make sure to constantly greet shopkeepers! Reaching 100 respect unlocks a few new items, and more…
Mild Spoilers
Greymane Camp
- You can still complete quests with Greymanes who are dispatched on missions! If you know where they are working, you can actually travel there and find them working. Speak to them like normal, and they will continue quests just like they would at camp!
- Farming is locked behind camp quests, so just store any seeds you find until you learn farming by upgrading your camp.

- Want a good use for all those bugs and critters you pick up? Donate them to camp! For some reason, the game considers them food for your camp, despite you not being able to cook them yourself.
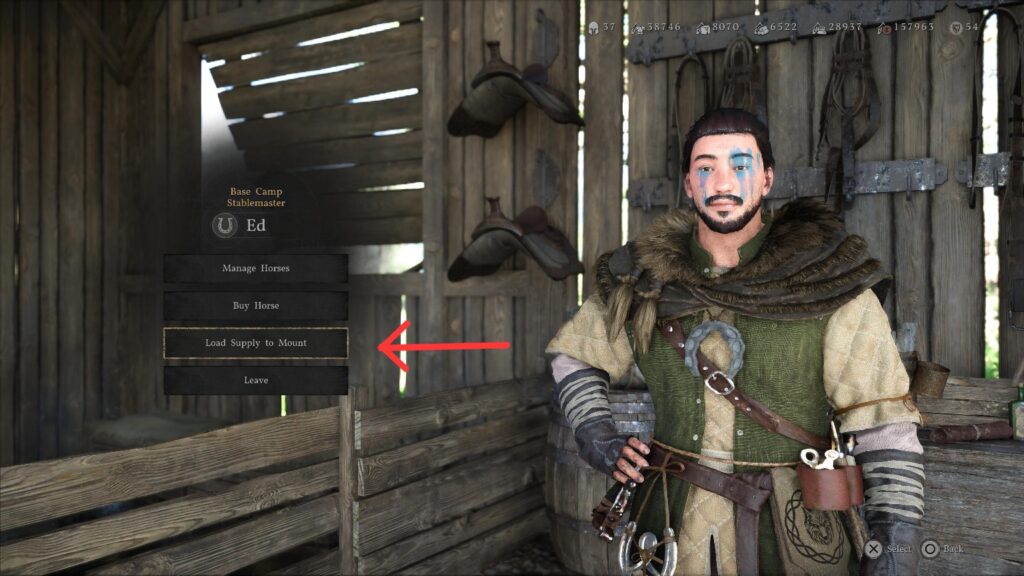
- If you want to sell trade exports without using a wagon, you can actually load 1 or 2 items onto your horse! Visit a stable and speak to the vendor there, who will give you a prompt to pack your horse. If you need goods packed up, visit your camp donation area, and he will package them for you (for a camp fee)
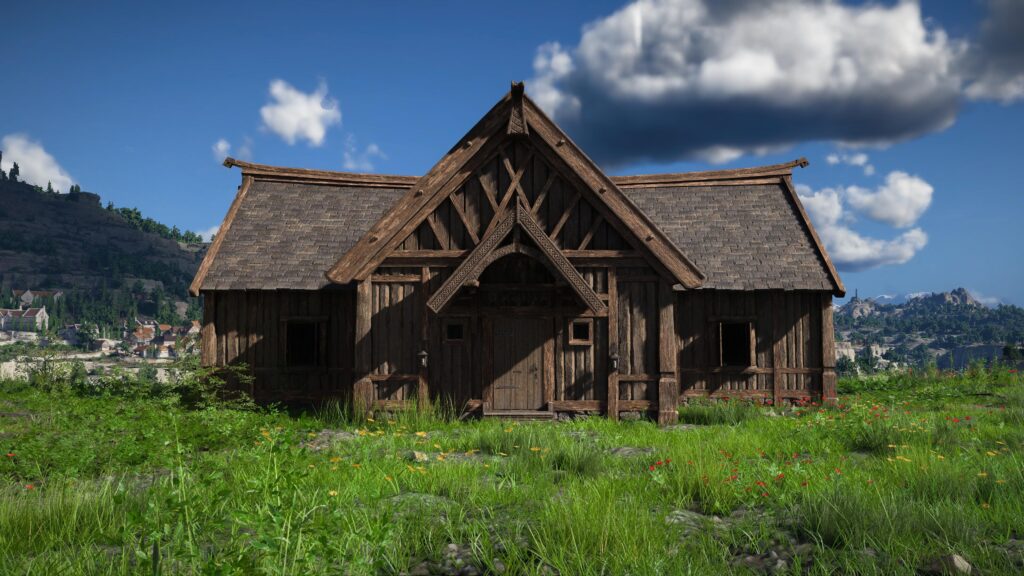
- Your house is available right after you finish building camp! To the south-east of the camp is an abandoned log cabin that you are free to decorate.
- Gaining 100 respect with vendors like Rhett can offer a contract you can purchase. This lets you buy their inventory from your camp-equivalent vendor permanently! To use it after buying, simply open your inventory and press “use” on the contract
Abyss Gears
- Need Abyss gears? Revisit the abyss, and you can continue past the areas the story leads you to. Lots of hidden chests are scattered throughout the Abyss, loaded with gears!
- When merging Abyss gears, there is a 4% chance you can craft a “Greater Abyss” with powerful stats! However, it can actually break with use, and it breaks quite quickly. If you manage to get these, store them for a specific boss you struggle with (or for the game to update them to be better, hopefully)
- You can attach, unattach, and reattach Abyss gears as much as you want without any cost! Feel free to experiment with different pairings without needing to hold out for later in the game.
- You can detach lower-class Abyss gears and combine them into a higher tier! This lets you keep the benefits of the higher stats without taking up as many slots
The Other Playable Characters
- When you unlock Damiane in chapter 3, play her right away if you want to try her out. For some reason, the game makes her unplayable from chapter 4 to chapter 8 for “story reasons”, so she gets locked out once you start chapter 4.
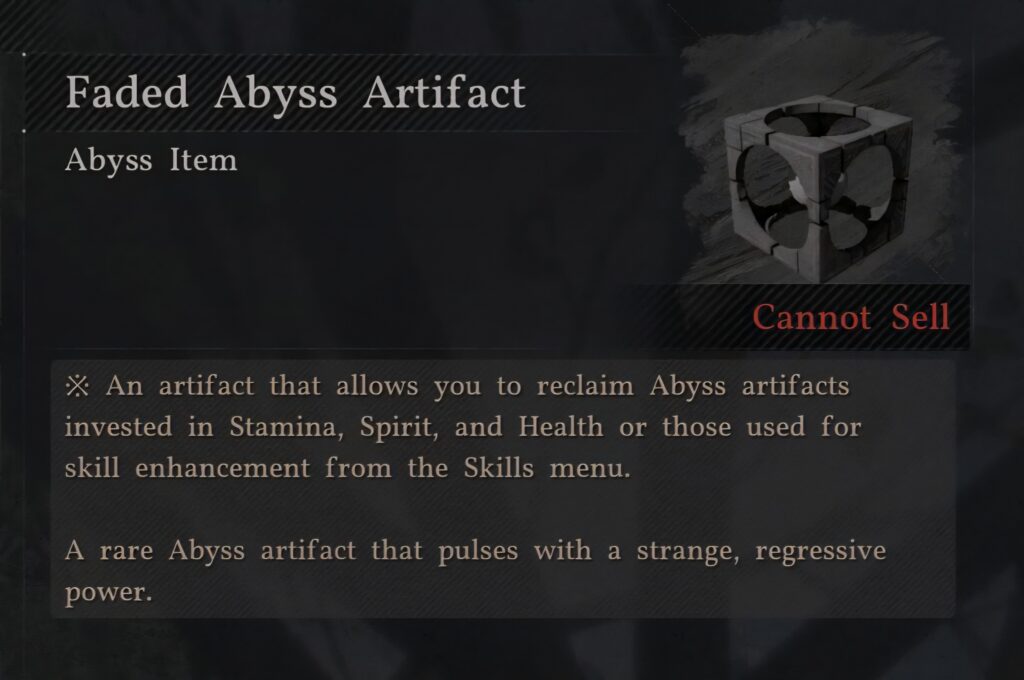
- You share Abyss Artifacts with the other characters. You should avoid any upgrades to Damiane until after she becomes playable again after her lockout.
- If you want to make use of those Faded Artifacts, use them to move your Abyss Artifacts from Kliff to another character. Use another one to swap them back to Kliff when you’re done using them!
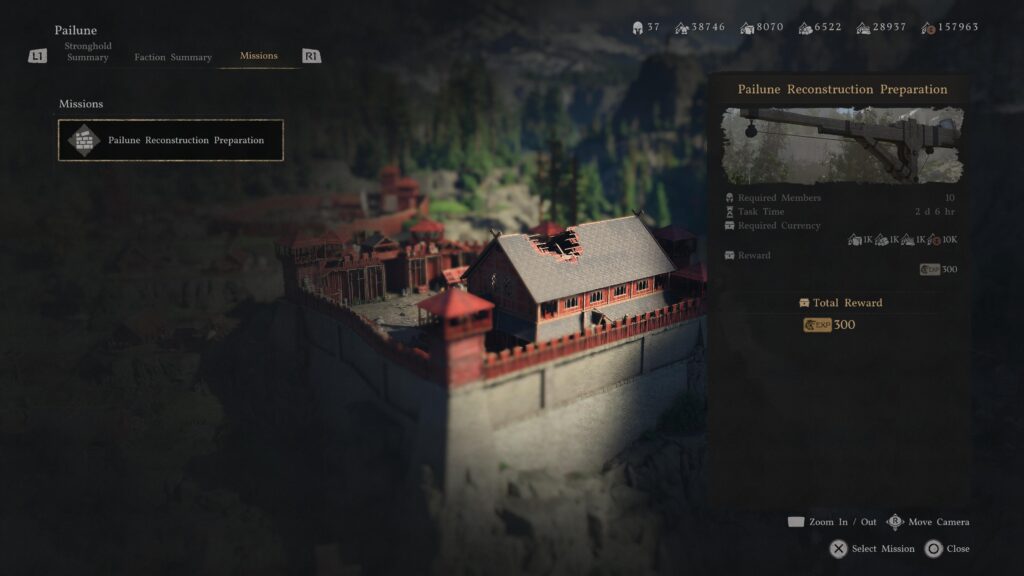
Pailune Spoilers (Chapter 7/8)
Once you finish Chapter 7, you can begin the “reconstructing Pailune” mission. If you complete it, your campsite will be relocated to Pailune, and the camp will be gone. Your fellow Greymanes will still be available, but they will be scattered around the town.
If you enjoy the convenience of all the vendors in camp being so close to each other, DO NOT complete the mission! It’s a cool way to see the lore progress and see your camp/town evolve, but gameplay-wise, it’s much more inconvenient.