This guide will walk you through all of Crimson Desert Chapter 2, but in a way that respects your time. I will be brief on the obvious points of the mission that are hard to miss, but will expand on the more necessary portions. The game divides this chapter into 3 parts, so I will section each portion out in case you need to skip to a certain point. Ensure the mission is actively tracked in your quests so markers display correctly.
Golden Greed Walkthrough
Part 1: The Unexpected Gift
Make your way to the Lioncrest Watchtower, located on your map with the X. Defeat the goblins inside to secure the area. Then climb up the tower (and grab some quick loot).
In the top of the tower, you will notice a unique helmet on the ground. Pick it up and equip it. This part can be a little confusing, so here is how you can check the memory with the helmet:
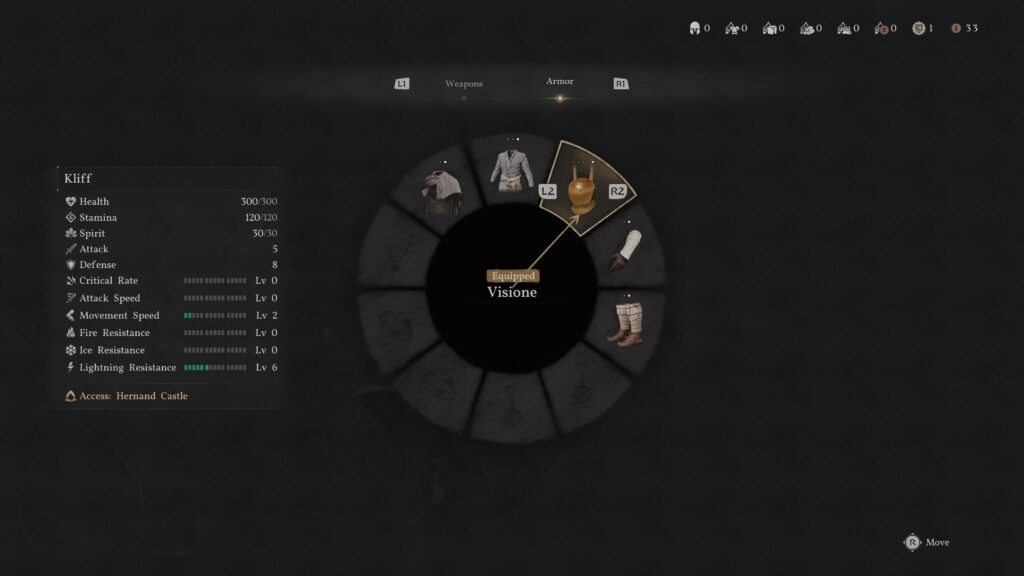
1: Open your weapon/armor quick menu (left on D-Pad with controller)
2: Select the new helmet as your active headgear
3: press pause/options to pull up a menu with a list of memories
4: Scroll all the way to the bottom and pick the only unlocked option to play the memory
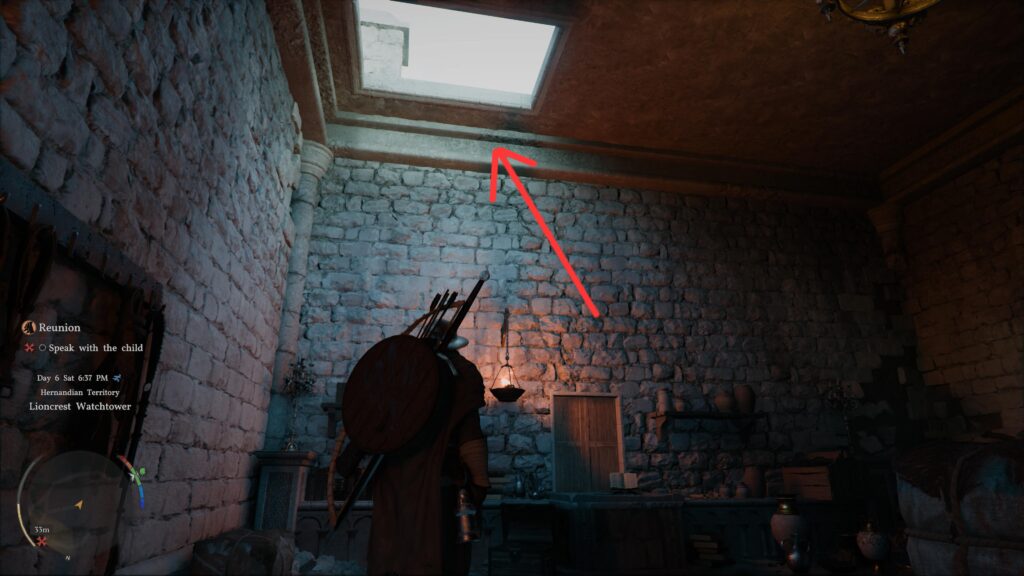
Once the memory is over, you can head back out of the tower. Before you go, though, look up at the ceiling. There is a hole you can climb through and find some treasure chests on the roof. If the hole is covered, light an arrow and fire it to burn any remaining moss off the ceiling.
At the bottom of the tower, if you notice your lantern is pulsing blue, you can ignore it. The game is alerting you to a nearby memory, but it’s the one you just watched… However, you will be seeing this quite a bit throughout the game, so it’s worth highlighting now.
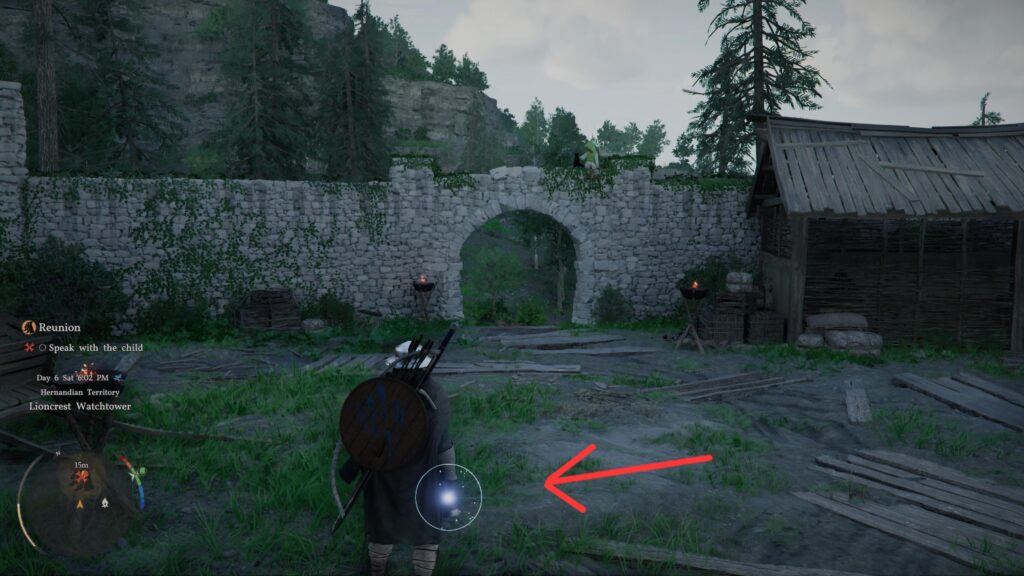
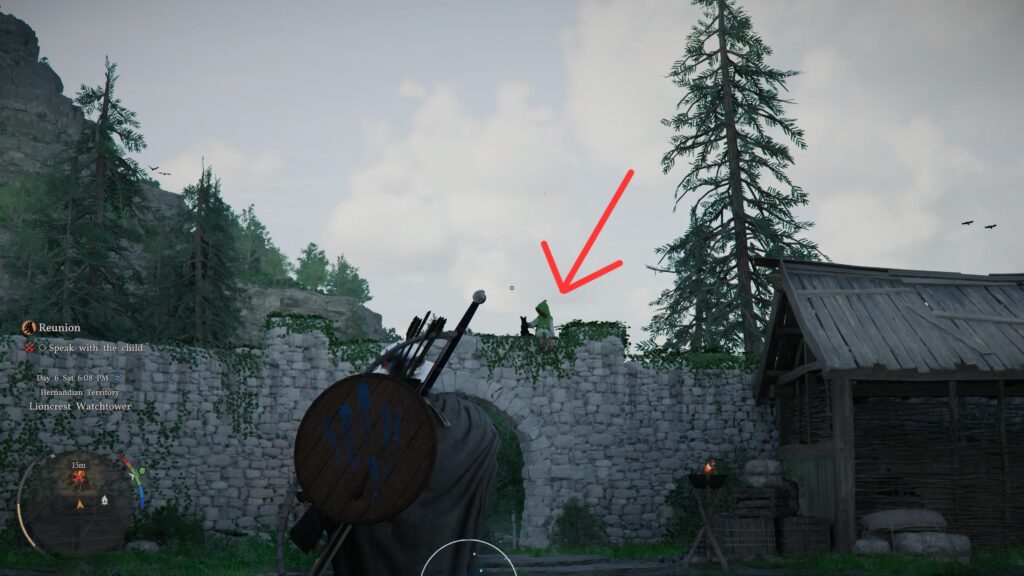
Head to the archway in front of you and talk to the child. Next, follow the cat to the ruins.
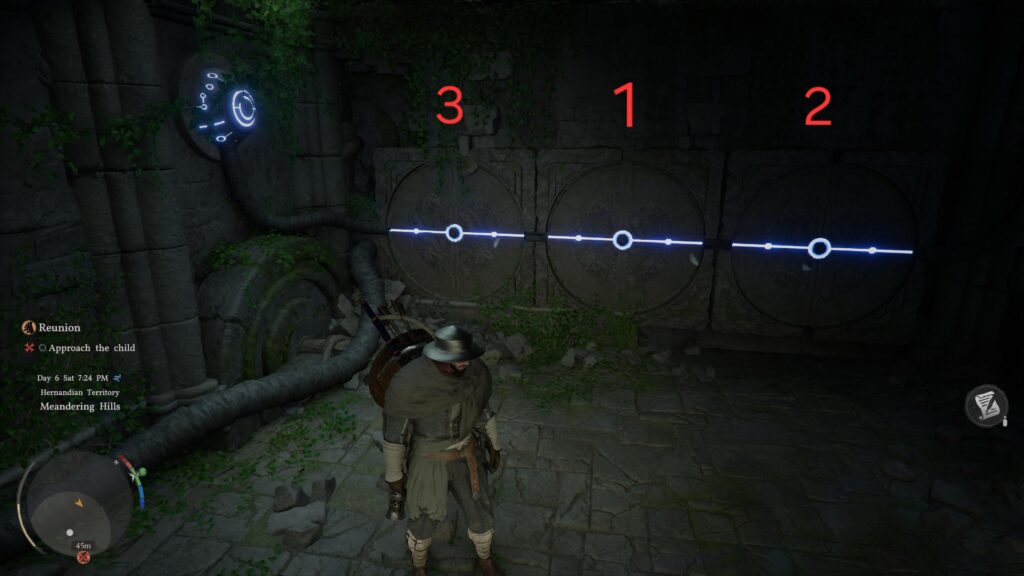
There, you can observe a ghostly figure that will teach you “nature’s grasp” to lift objects. A second figure will be inside to teach you “focus”. Now, to solve the puzzle, use your Force Palm (R3) to punch the circular rocks in. Hit them in the order of middle, right, then left, then head back outside to the marked area to find the child again.
Part 2: Hernand in Chaos
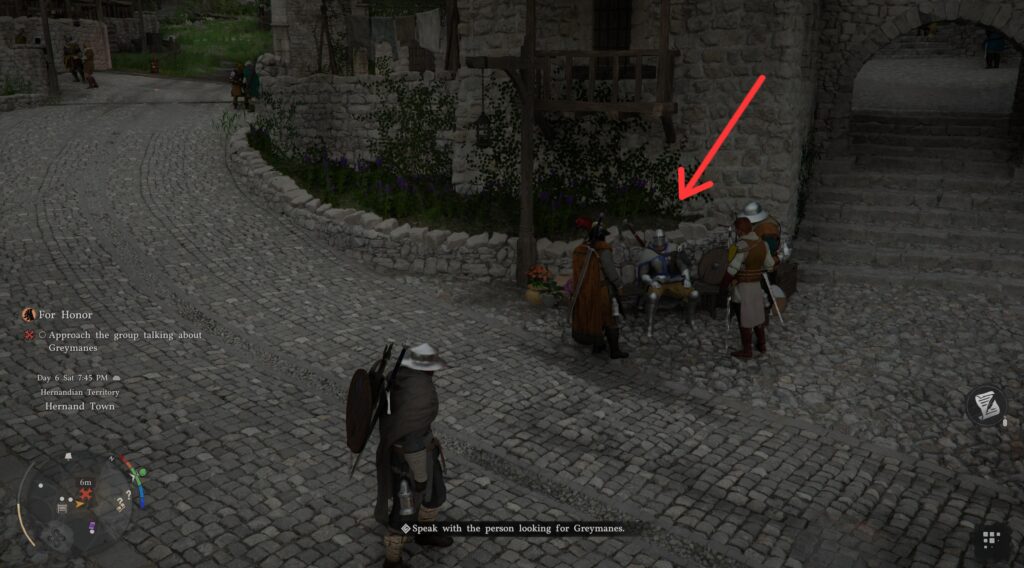
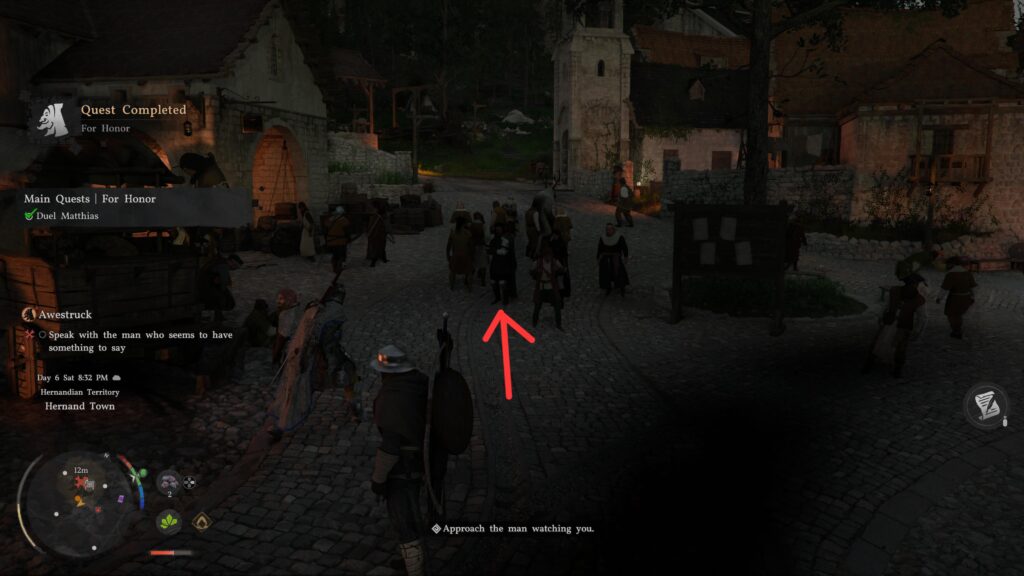
Run or teleport back to Hernand Square. You will find a cocky knight, whom you will then duel. As soon as the fight ends, there will be a man dressed in greed staring at you. He is right at the fight scene, so you don’t need to run far.
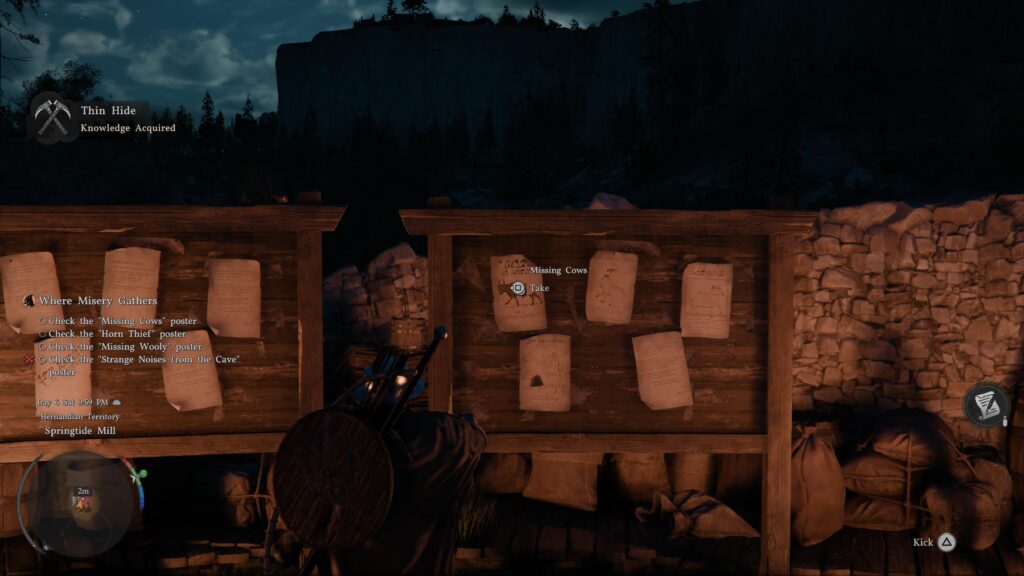
You then want to head to the marked Springtide Mill and defeat the group of bandits. Immediately after, you can visit the marked notice board to introduce you to the side quest mechanics. Pick up and inspect each poster to gain the side quests. You can do these 4 quests in any order, but you have to complete them all. If any mission says “wait for the right time”, you can press pause/options to pass the time.
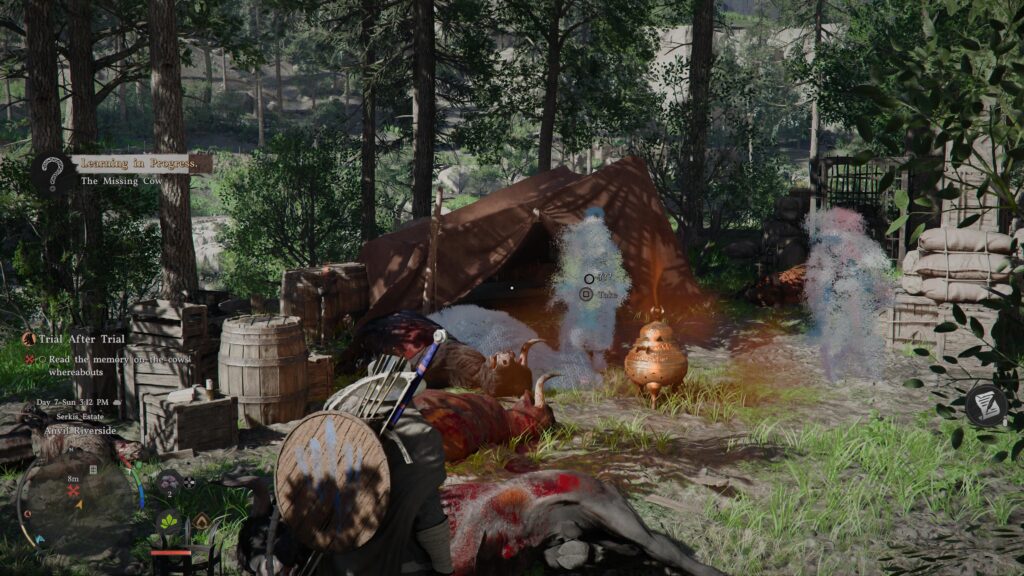
Missing Cows
Head to the “despairing man” to learn about his destroyed home and stolen cows. Next, go and speak to the marked citizens to hear where the cows have gone. One will lead you to a bandit camp, which you can then clear out and get some quick loot.
Next, you will need to watch the memory using the helmet you got from Part 1. This time, with an added step. Hold out your lantern by selecting it on your quick weapon menu, then hold L1. Rotate until you see a blurry figure, which will let you discover the memory. Finally, use the helmet again using the same method as the tower. Now you can return to the man once more to inform him of the news.
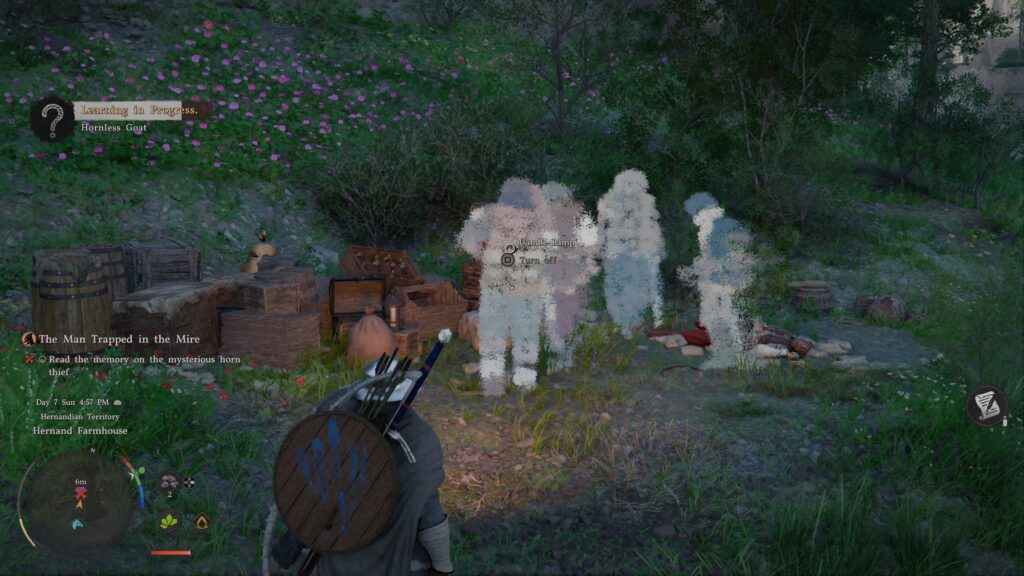
Horn Thief
Head to the marked “enraged” man and learn of his stolen horn. Head to the marked area and kill the bandits. Next, use your lantern to discover and watch the memory. This will lead you to the stolen item, which happens to be on the pile in front of you marked as “mysterious elixer”. Grab it and then return to the man.
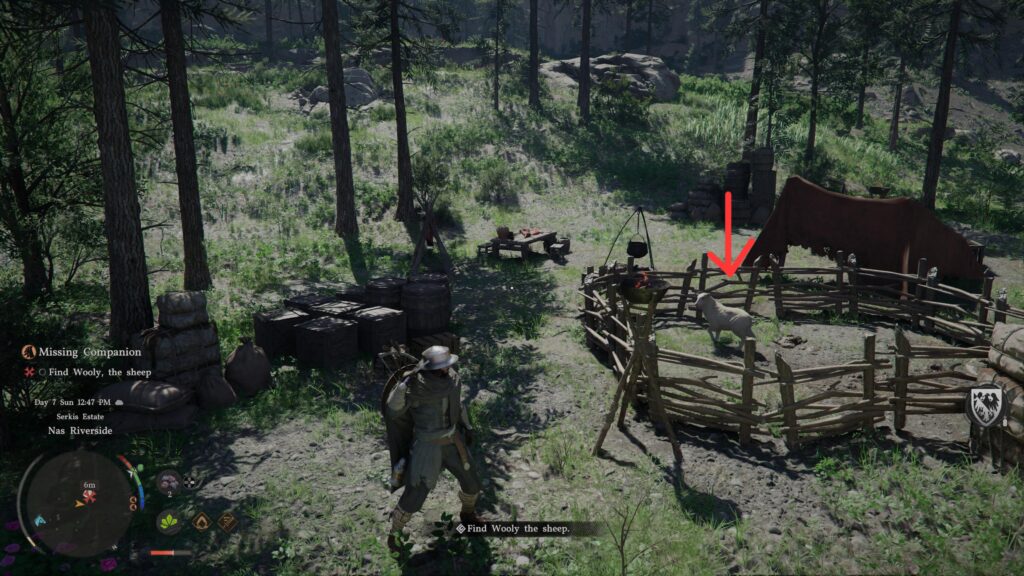
Missing Wooly
Head to the marked area and speak to the distraught child about their missing sheep. Next, speak to the marked man and children nearby to gather clues about the sheep’s whereabouts. This should mark a small bandit camp on your map to travel to. After defeating the enemies there, pick up the sheep from the pen and deliver it back to the child.
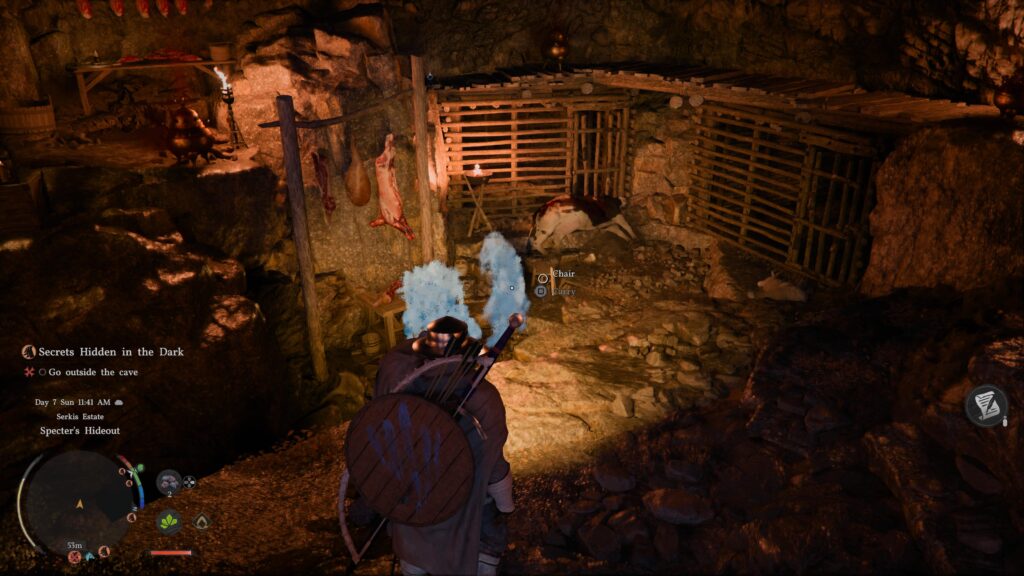
Strange Noises from the Cave
Yet again, head to the marked “Greymane” and listen to his ramblings while following on horseback. He leads you to the cave, which is guarded by bandits. Defeat the bandits and enter the cave. You’re looking for, you guessed it, a memory. Collect it (plus any loot you may find), then head back outside and talk to the guards to finish the quest.
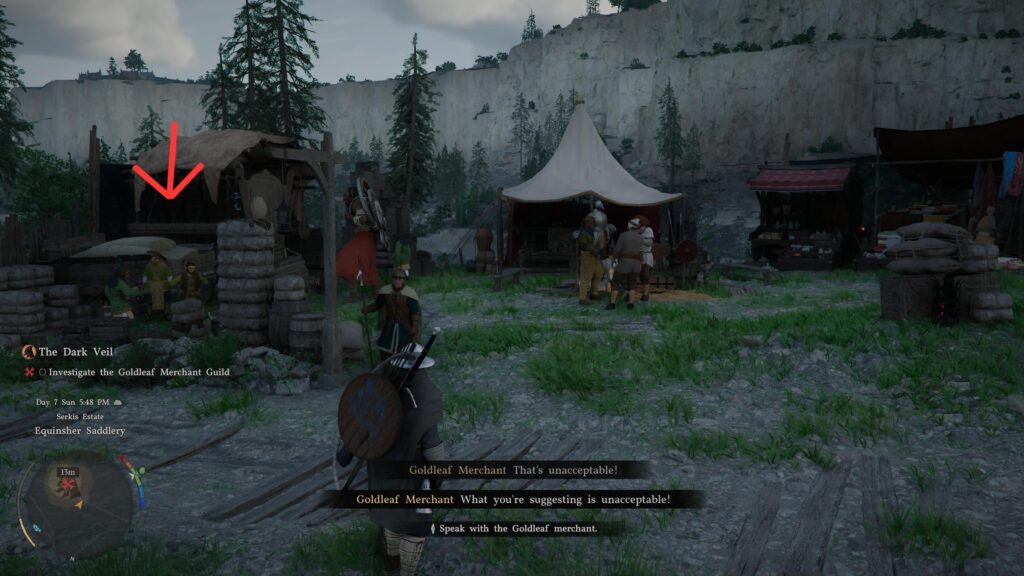
Part 3: The Dark Veil
The game now sends you to a small market with the merchant guild. Speak to Shakutu, who immediately dismisses you with a promise that you will see each other again.
Turn around and speak to the crying nun, then make your way to the marked burning house. Use your new ability to lift and remove the blocked door. Run into the burning house, pick up the man lying on the ground, and deliver him to the citizens outside.

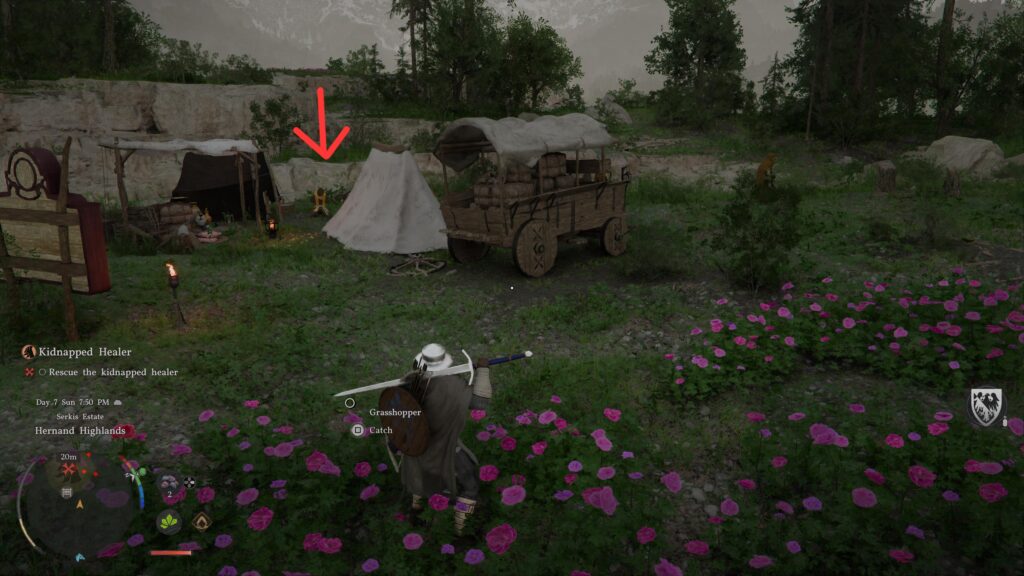
You will then be tasked with retrieving the kidnapped healer. He is located at the next mark on your map, guarded by a couple of bandits.
After freeing him, go to the nearby camp and speak to Shakatu again. Take out the guards who decided to fight you until Shakatu breaks up the fight. He then reveals his plot and asks you to defeat the leader of the guild, Hornsplitter.
This is the final boss of this chapter. If fighting him feels too difficult, here are some things you can do to beat him:
1: Make sure you have plenty of cooked food to heal your wounds in combat
2: Explore a bit and come back to the fight later. You can earn better weapons, armor, and skills to aid your fight
3: In the actual fight, most of his attacks can be simply blocked. Take your time, and push in for attacks only when he pauses for a moment. This can stagger him a bit, so you can get in a bunch of hits. Immediately retreat a little so you can better defend yourself. Rinse and repeat (while eating for health when needed), and you will beat him in no time.
Congratulations! You have finished Chapter 2!