

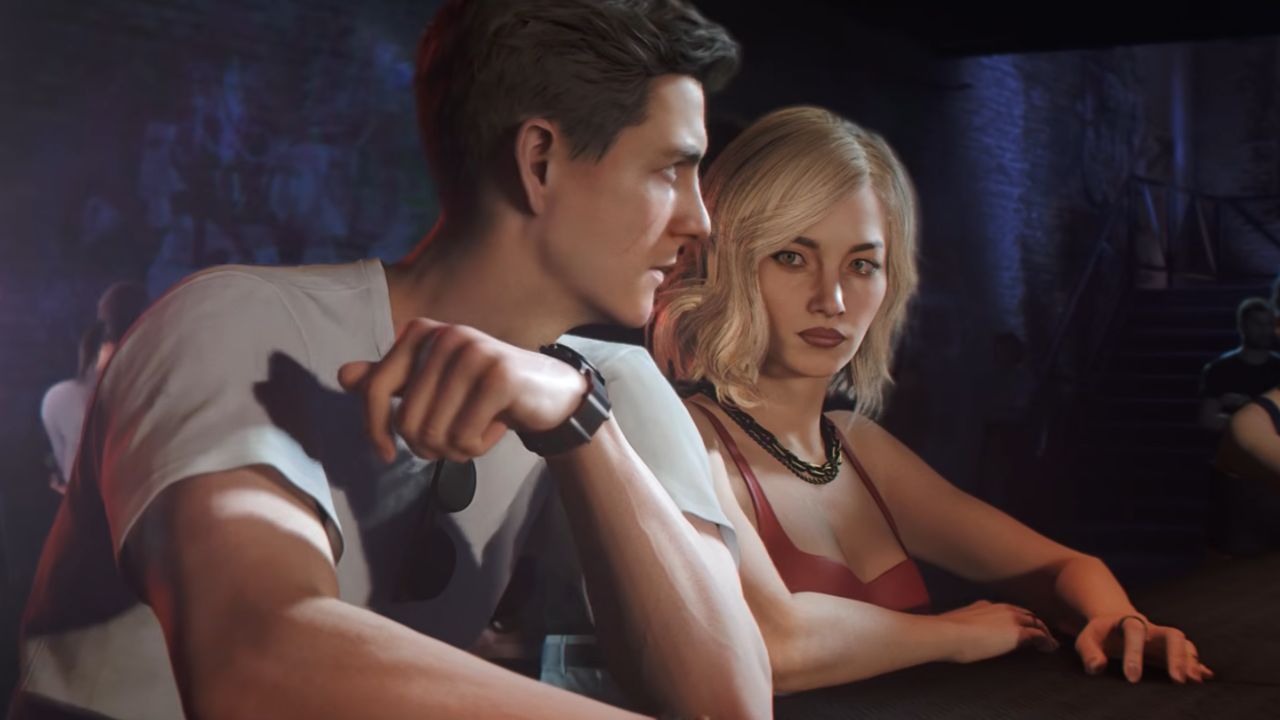
Chapter two of 007 First Light jumps to August, where Bond and Cressida go out to a club with all the other spies. All of a sudden, all their phones chime and show that the MI6 Field Test is active, with a message saying, “The Epiphyllum Oxypetalum only blossoms at night. Contact in red at bar.” The “A Night Out” chapter then starts.
Finding the Leak Culprit
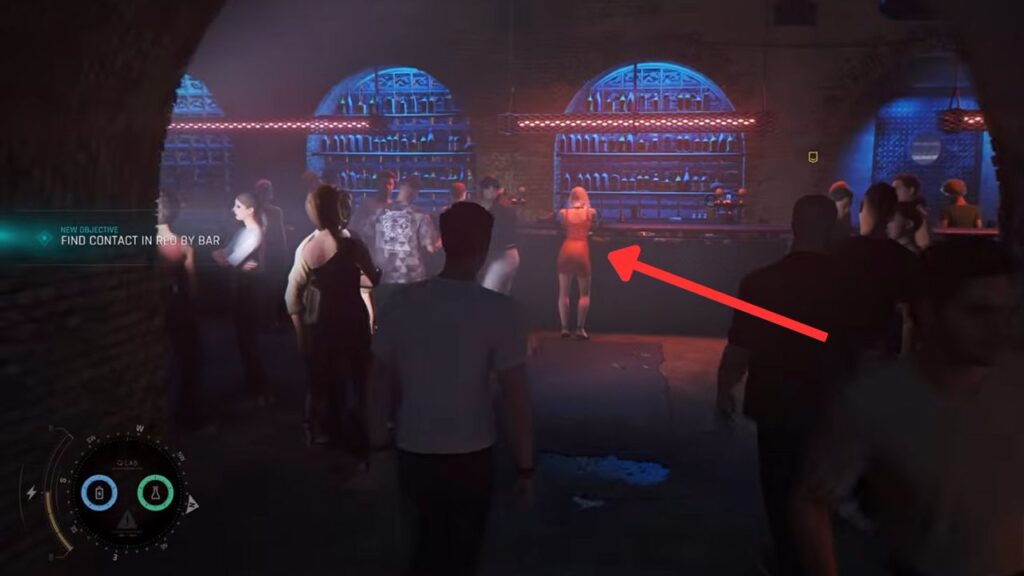
After the cutscene, you take control of Bond inside the crowded nightclub. Head over to the bar with blue lights and approach the blonde lady in a red dress, then a cutscene starts. Turns out, she is not the one you are looking for.
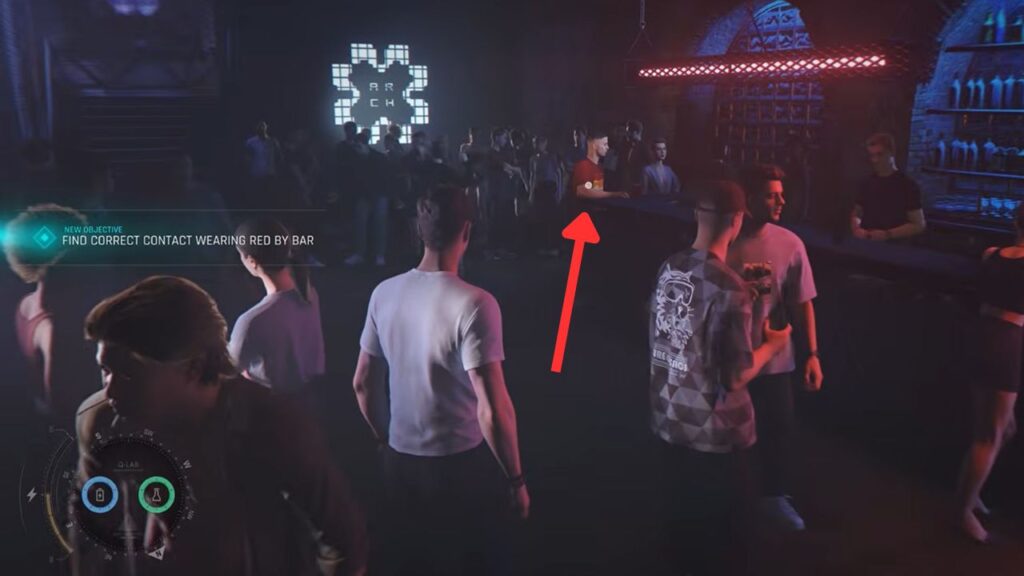
Proceed and approach a guy in a red t-shirt on the left side of the bar and talk to him. He then says there is a package waiting in the gents and tells you to watch it in private.
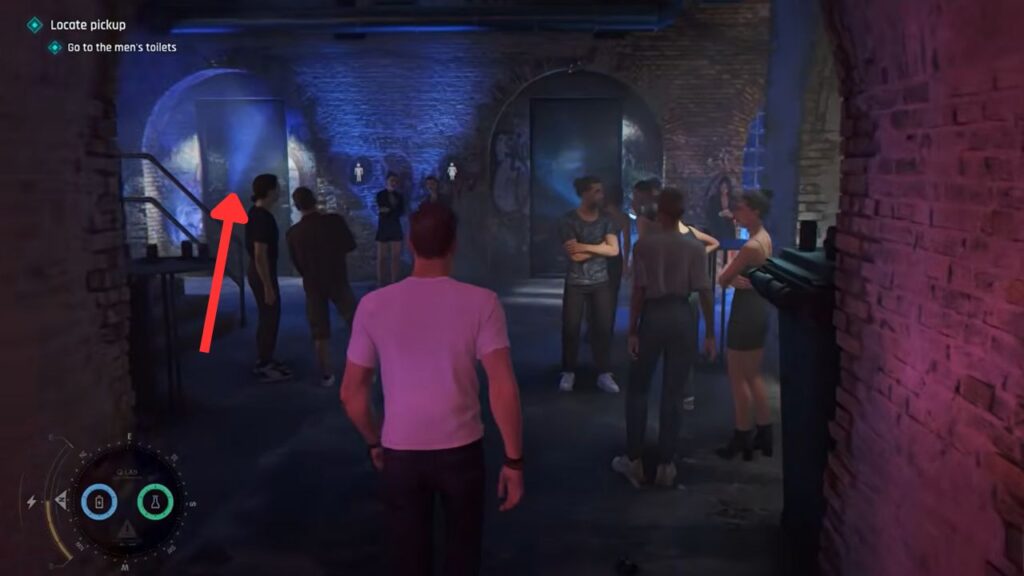
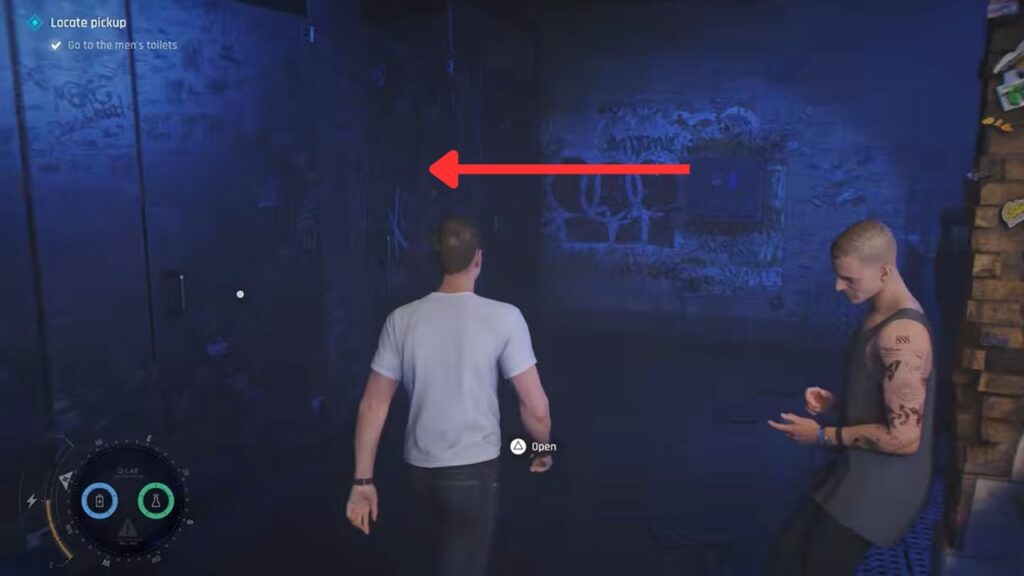
Now walk over to the archway across from you with bright yellow lighting and then turn right. Keep going forward, and you will reach the club’s bathroom. Head inside the men’s bathroom and walk over to the second stall from the far side, with an X marked on the door.
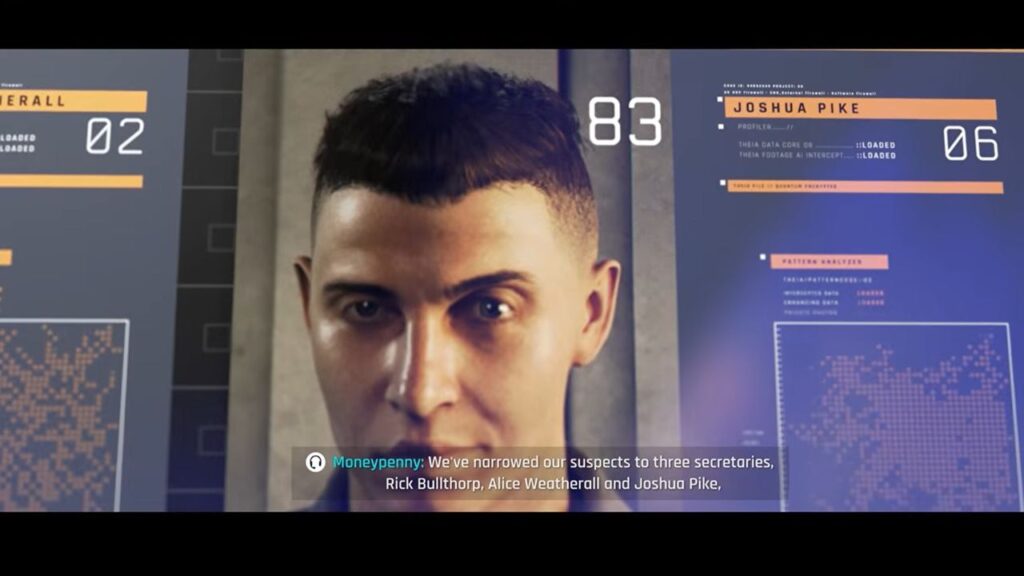
Open the door and open the cabinet inside to find a tablet with MI6 information about a leak. You then find out the three suspects: Rick Bullthrop, Alice Weatherall, and Joshua Pike. Your job is to find the correct culprit. You will be focusing on Pike.
Your job is to get close to Pike without alerting him. However, as you leave the stall, the jealous boyfriend comes looking for trouble. How unlucky for him.
After beating him, you’ll find Nash and receive information that Pike is on the second floor. You have two choices to get there: through the lounge balconies or the backstairs behind the bar. However, you can explore more ways as you play through.
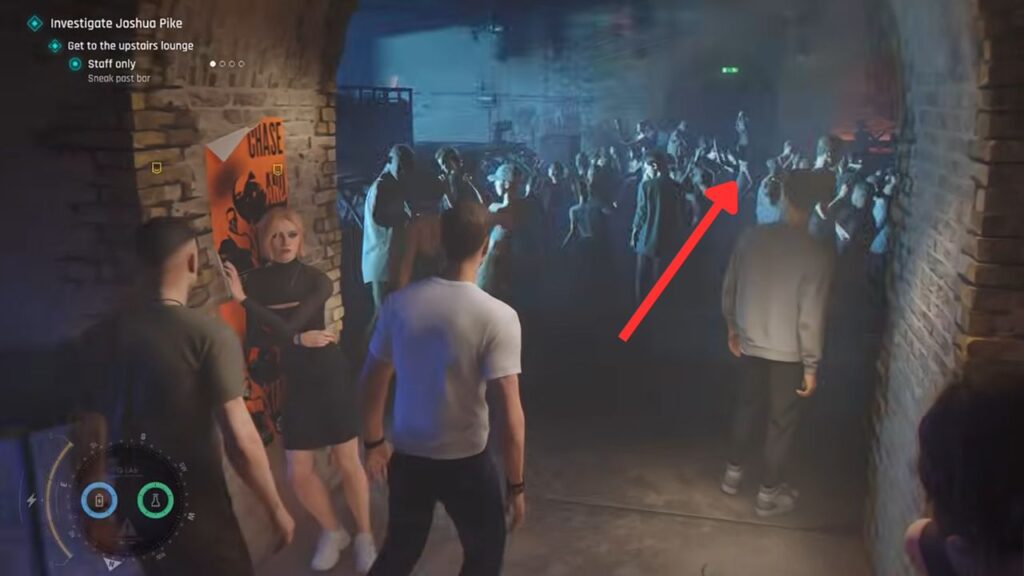
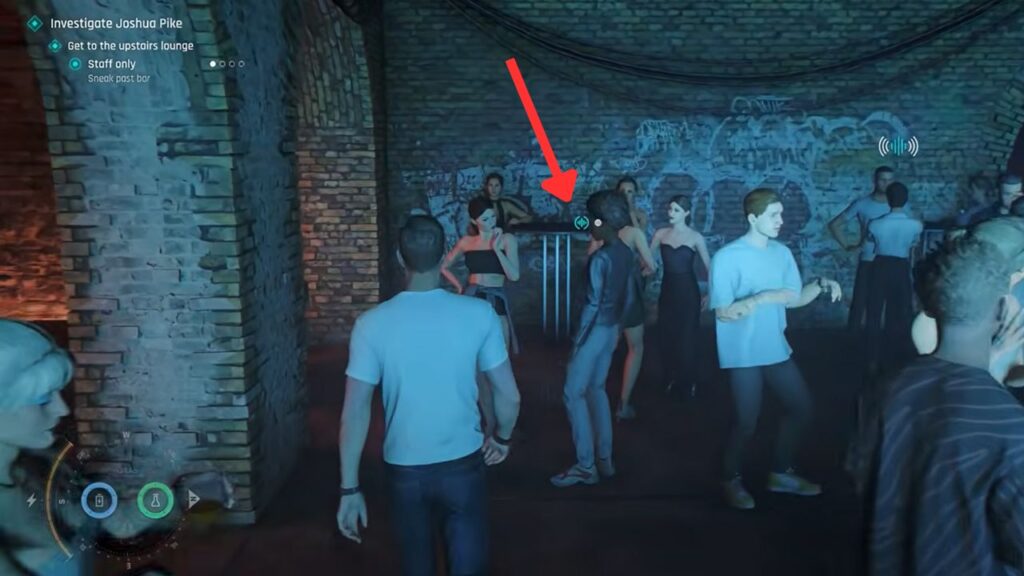
Let’s move on. Proceed to the dance floor, passing Cressida in the archway. Cross through the crowd and turn right. On the table at the far end, there is a spot to eavesdrop on a conversation. Do that, and it is revealed that the lighting rig backstage can be climbed to reach the upstairs bar.
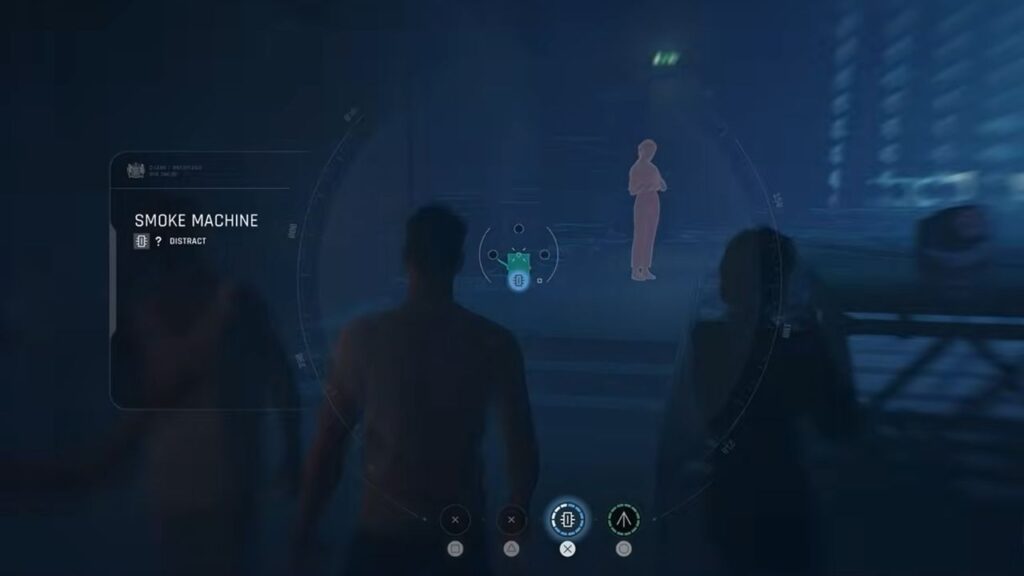
Head back toward where Cressida was, and before the archway, look to the right beside the main stage. Use your Q-Watch to disrupt the smoke machine and distract the club staff there. Walk past her and head backstage.
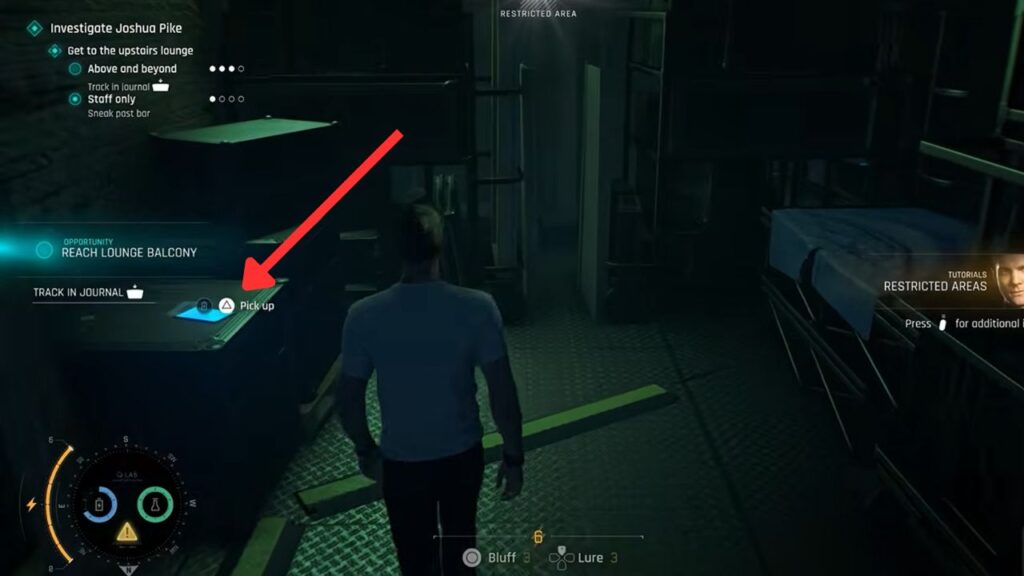
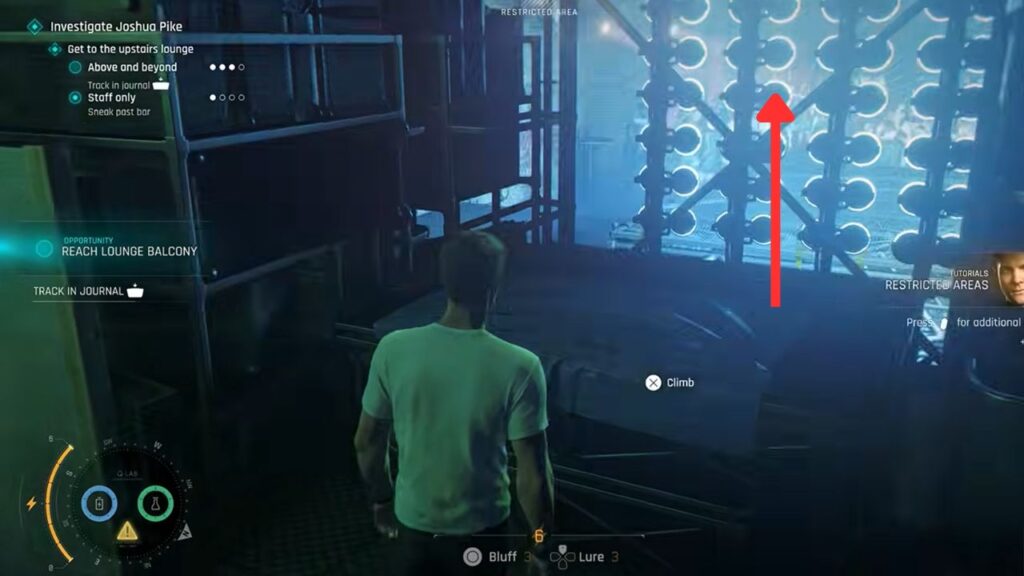
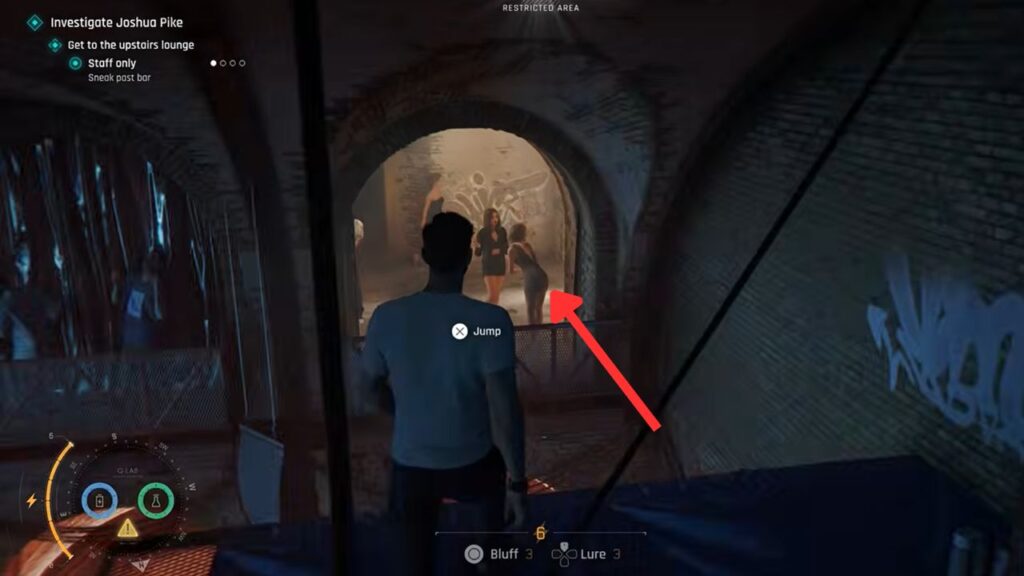
Behind the stage, pick up the battery on top of the box on the left side. Next, jump over the platforms right behind the lighting rig and climb to the top. Jump over the vents and follow the narrow path carefully. At the end, jump over to the balcony.
Upper Floor Bar
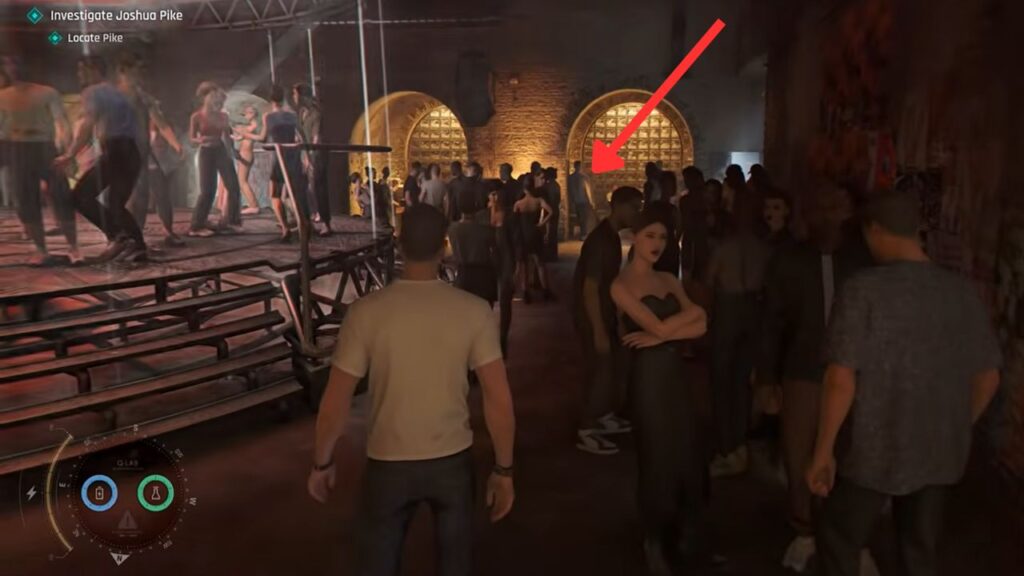
Look to the right side of the dance floor and use your Q-Lens to find Pike. He is leaning over in the rightmost table area. Wait for him to start moving and follow him closely.
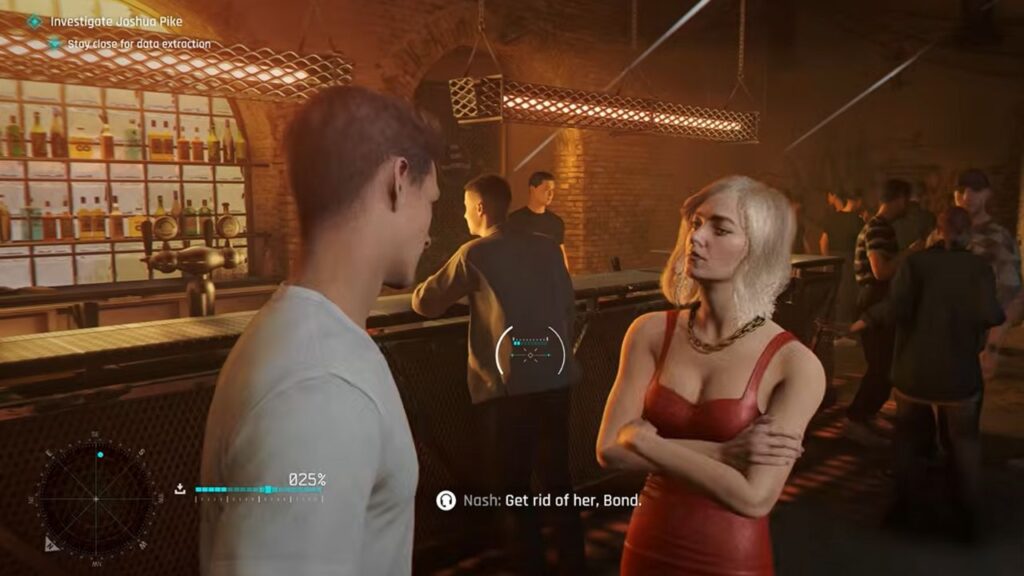
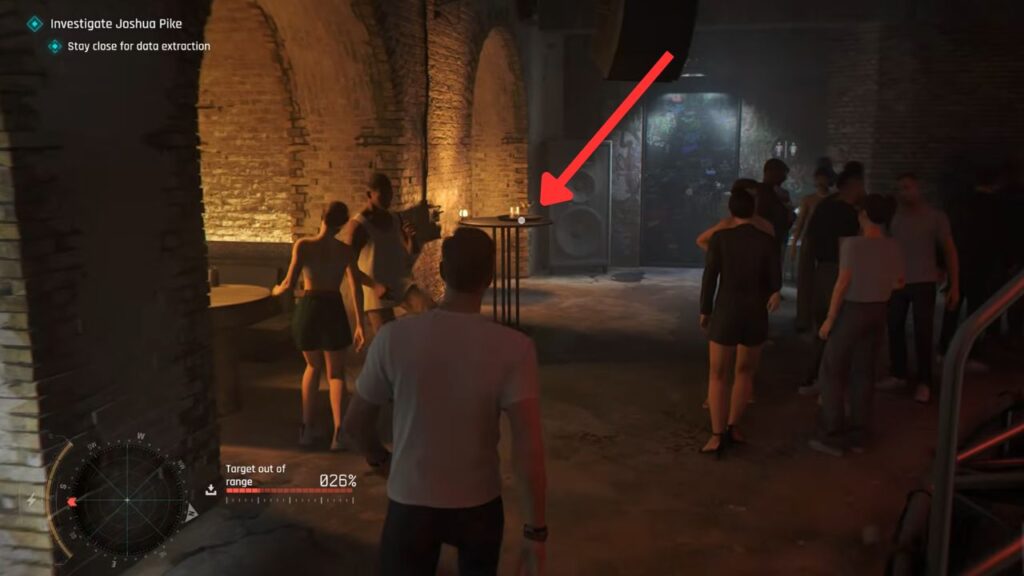
Keep following him and you’ll eventually reach the bar, where the girl in the red dress appears again to stop you. She flirts with you, but do not get tempted. Focus on your mission. Turn her down, but Pike is already far inside the exclusive area now.
You need to disguise yourself to get in, so take the tray from the table in front of the bathroom and naturally walk into the exclusive area.
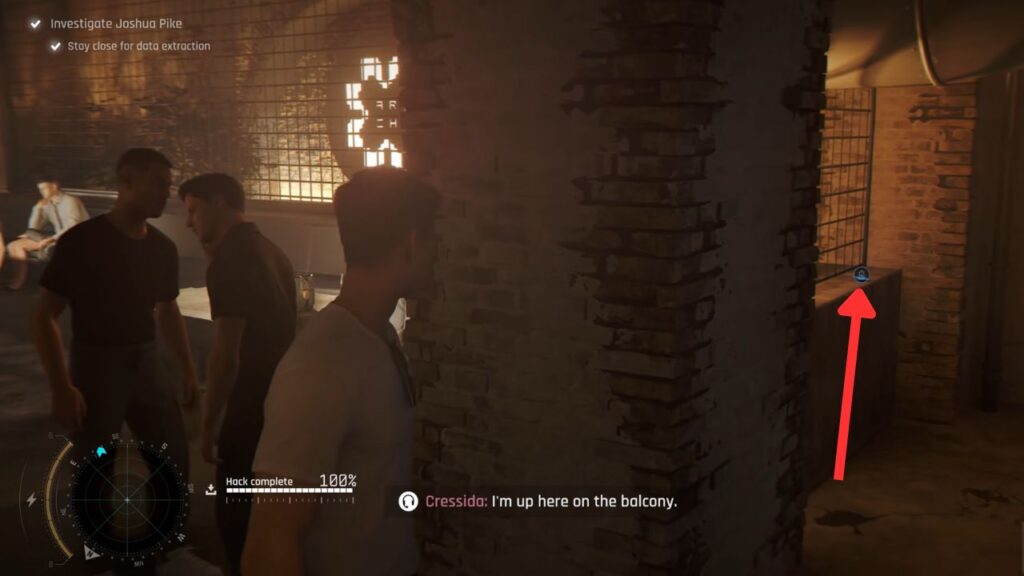
After Crispin is done being rude, the extraction should be completed. Before you head out, turn right toward the game room and look to the left to find a phone to refill your battery.
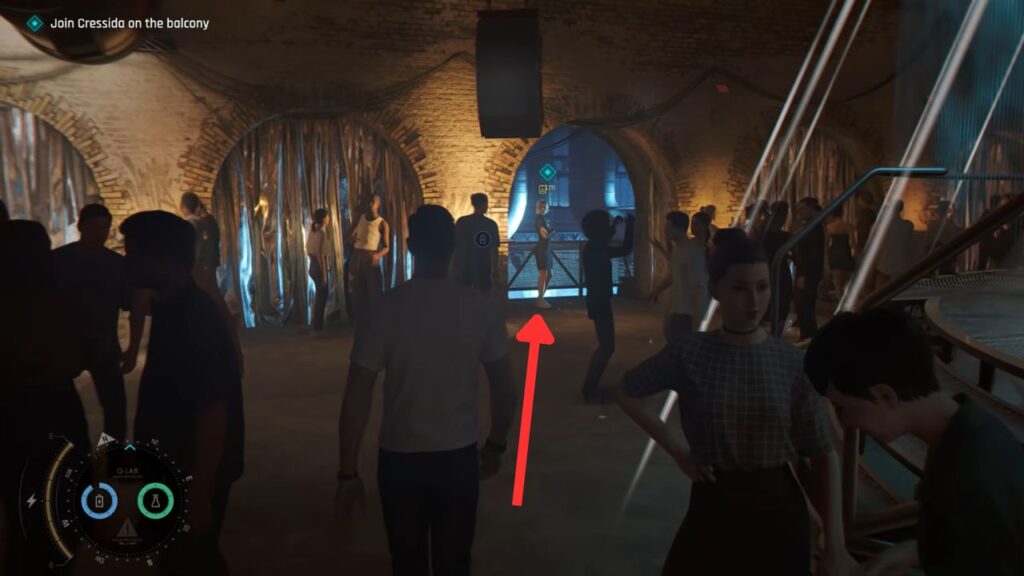
Head out toward the dance floor and approach Cressida on the balcony up front. Your next task now is to make sure Pike does not miss the meeting.
Meeting the Contact
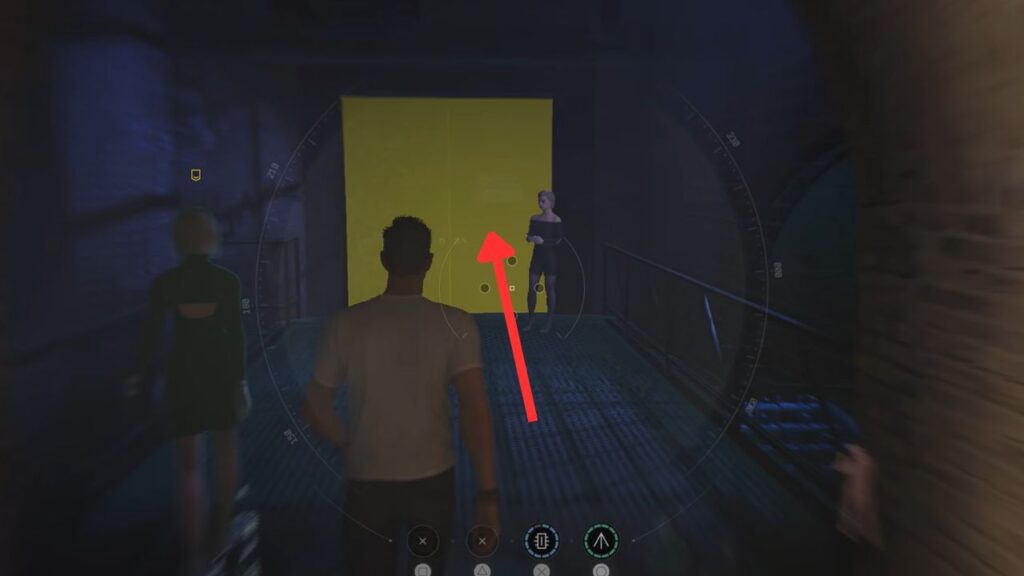
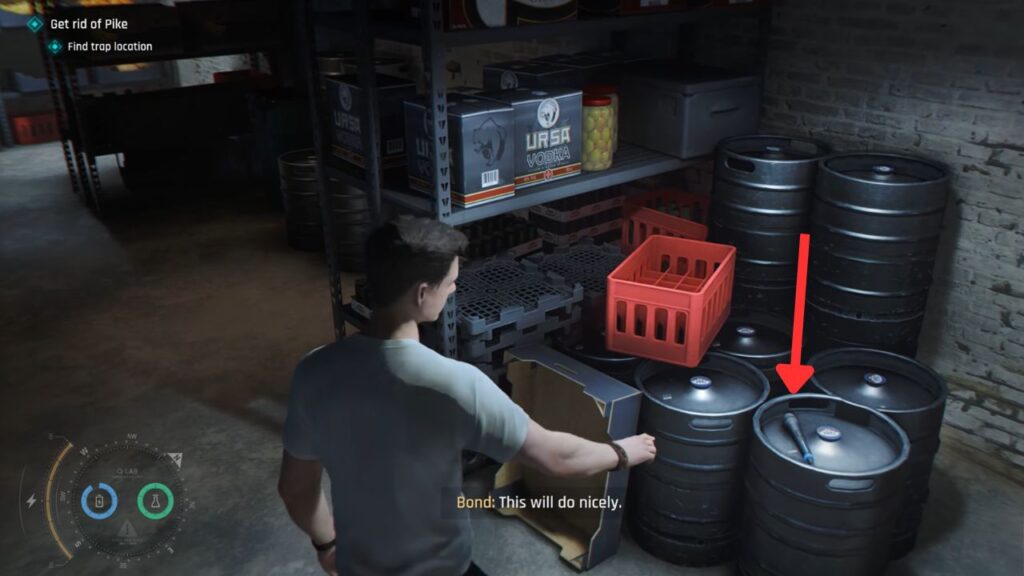
Follow Cressida and enter the staff-only door in front of you. After going through the second door, immediately look to the right and pick up the microphone on the keg to charge your battery.
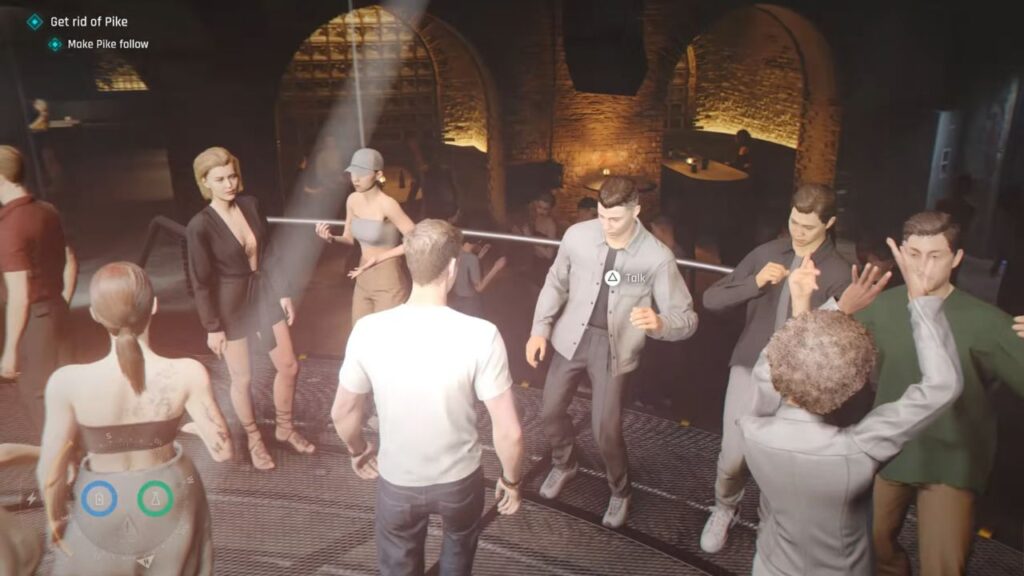
Head back outside and go up to the dance floor. Look for Pike dancing at the edge and talk to him. He will follow you, so head back toward the staff-only room and sabotage the door.
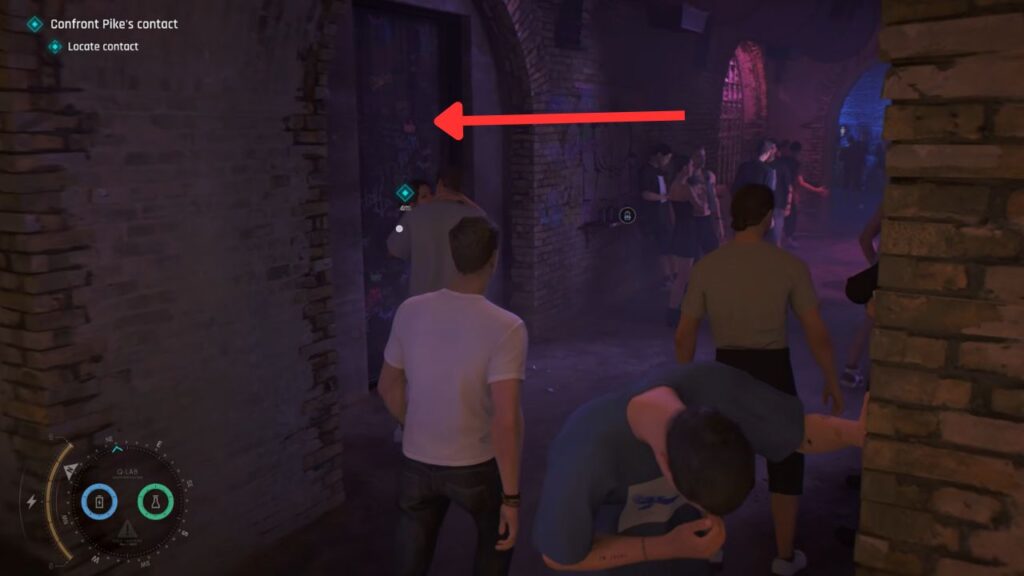
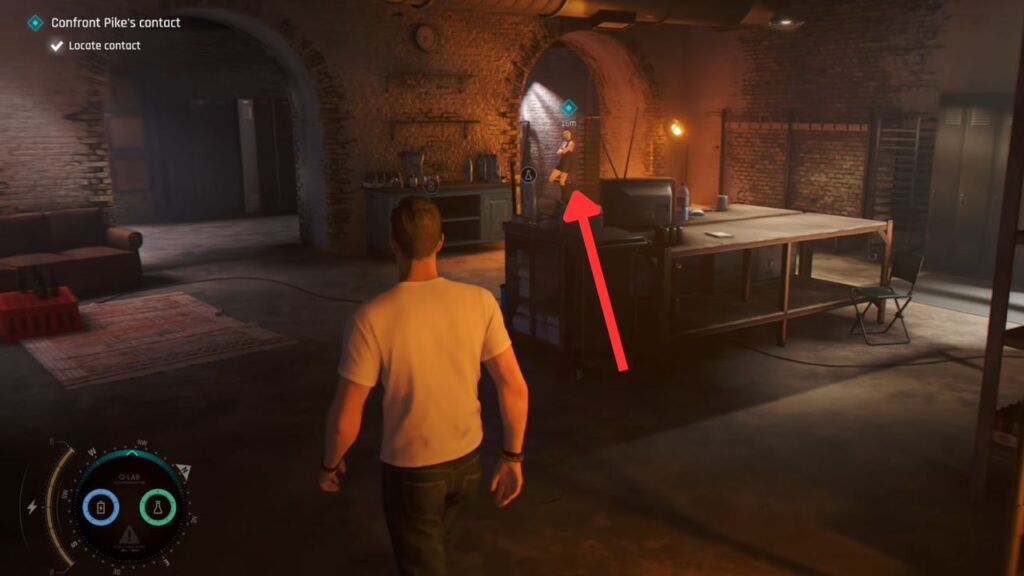
Next, follow Cressida to the ground floor, where your next task is to locate the contact. Head over to the room with bright yellow lighting across the stairs, turn right, and immediately enter the door on the left behind the kissy couple. Your contact is wearing a black dress on the far side of the room.
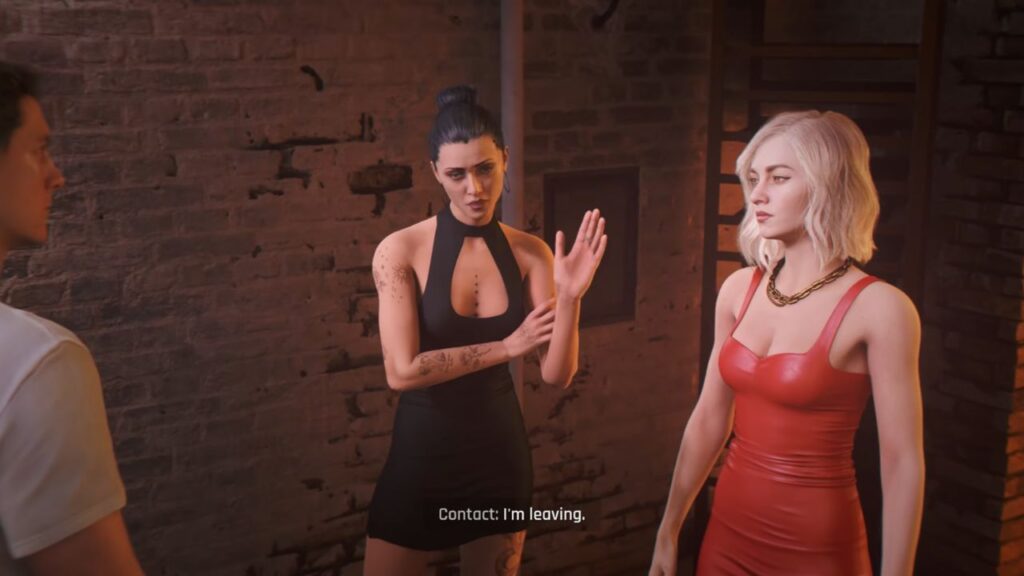
Your job is to scare her. Pick the “The price is up” option first, then pressure her even more. Surprise, surprise, the woman in red walks in on you again. The contact then cancels the deal, but quickly convince her again. She then makes a call to her boss.
After getting a call from Moneypenny, head outside and follow the marker toward the extraction point. But once again, you’ll get distracted by the jealous boyfriend, who still does not seem to know when enough is enough. Proceed to beat him up again and extract.
TacSim
After the cutscene about 009, you are now back at headquarters. Open the door and turn right into the walkway, then follow Monroe.
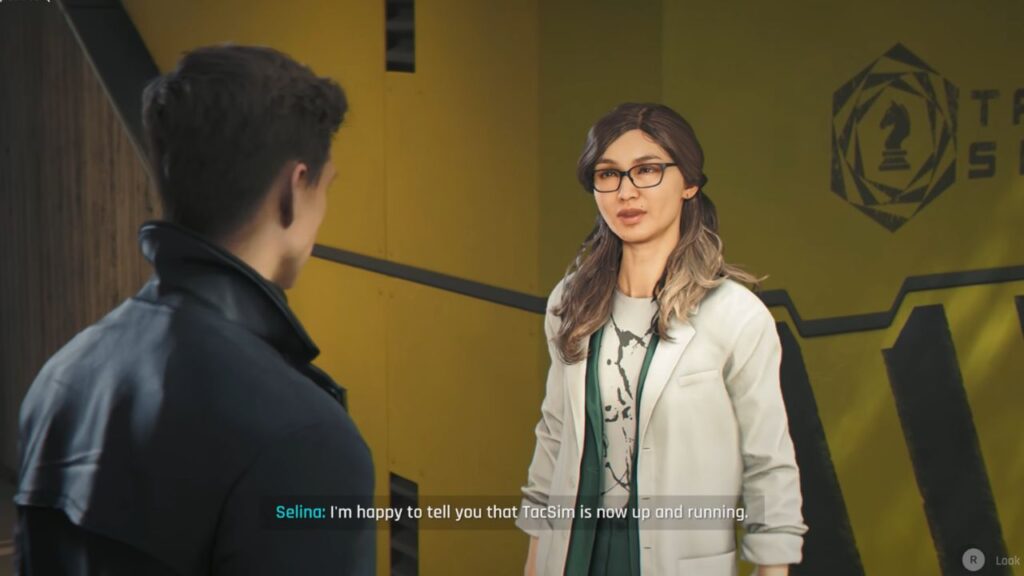
Inside the lab, walk to the left side and talk to Gemma Chan, I mean... Dr. Selina. She will talk to you about TacSim. Basically, it is a training simulator for stealth and combat challenges, where you can unlock more gadgets, weapons, and outfits.
Accept the TacSim invitation, and it will take you to the simulator tutorial. Here, you’ll learn how to enter TacSim and pick missions:
- Escalation: A tactical trial with a new tier of difficulty after each successful playthrough.
- Operation: Tests your lateral thinking and requires you to use tools creatively to solve challenges.
For the tutorial, you’ll need to do an Escalation mission. Follow Selina to get started.
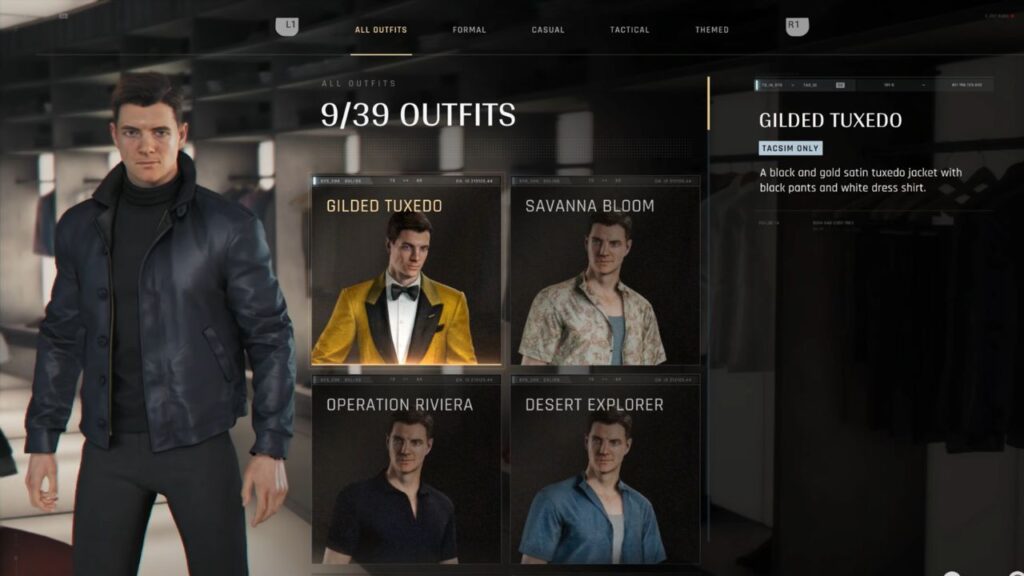
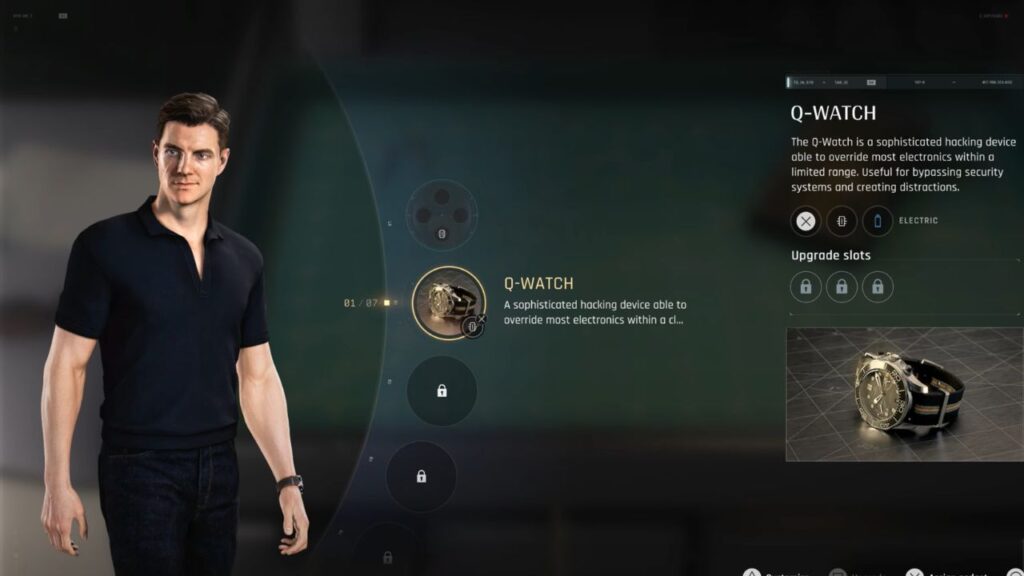
On the right is the wardrobe section, where you can handpick Bond outfits for missions. On the left is the gadget cart, letting you choose what gadgets to bring on your next mission. Behind it is the firearm section, where you can choose weapons for your next mission.
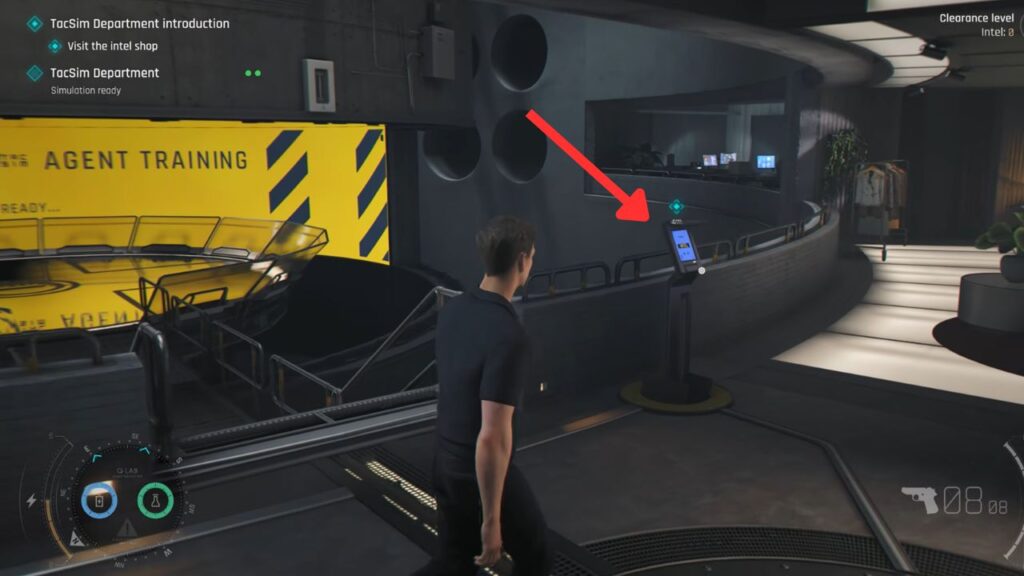
In front of the bridge, you can access the Intel Shop, where you can buy various outfits, weapons, weapon skins, gadgets, gadget upgrades, and skins. You will need Intel to buy them.
Now, let’s try the simulator. Proceed and follow the directions for the training, then complete it.
New Gadgets and Mission Briefing
Q is in Wearables. From the elevator, turn right and enter the first door on the right. Talk to Q, and a cutscene starts.
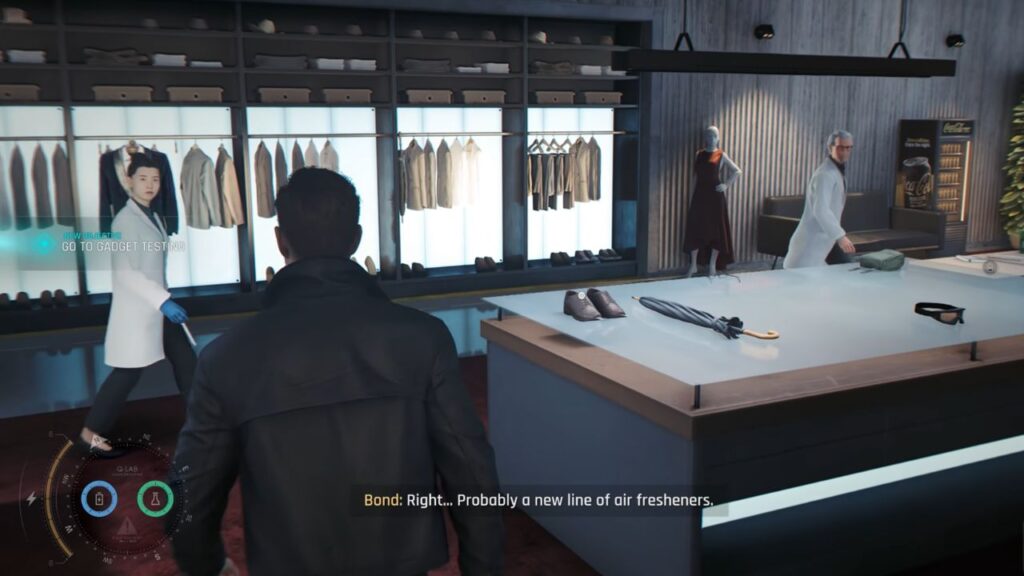
Before heading out, check the table in the middle and interact with the brown shoe. That is the Dagger Shoe, your new gadget. Leave the room and follow the marker to begin the gadget testing.
Here, you’ll get the Shockwave Camera. Deploy it, and a blinding flash with a shockwave goes out, making it very handy. On the next table, you’ll get the Smoke Pod. Deploy it, and it works exactly like a smoke grenade.
It is good to bring the Dart Phone, Shockwave Camera, Q-Watch, and Smoke Pod for the next mission.
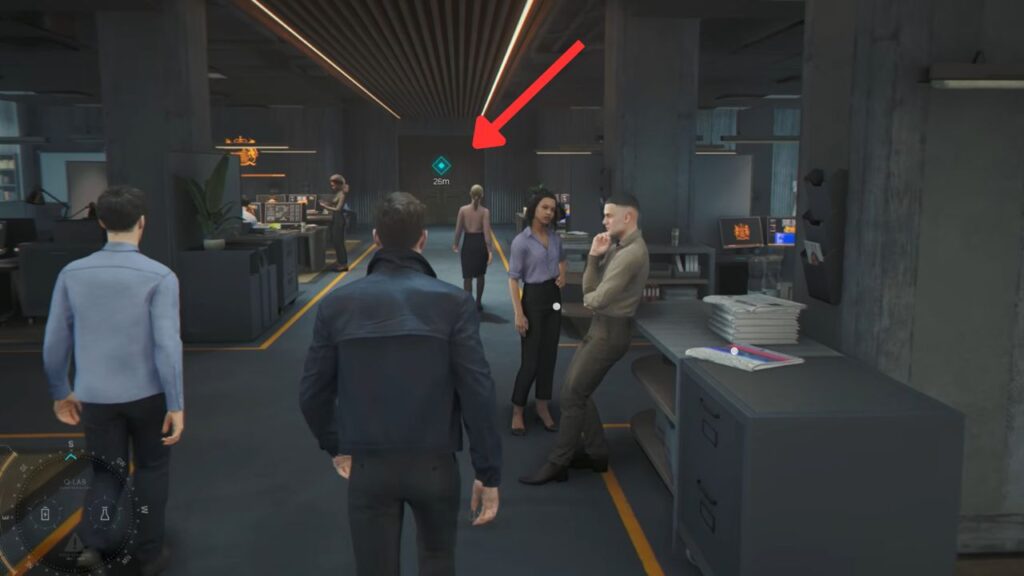
Head to the elevator and go to Operations. Go through the door at the end to find Moneypenny.
You can talk to Moneypenny about 009 before heading out for the mission. As the driver, you head out with your team to the Grand Carpathian Hotel in Slovakia to locate 009 and capture him.
The Hotel
After the cutscene, you’ll be driving toward the hotel. Park the car after dropping off Monroe and Cressida.
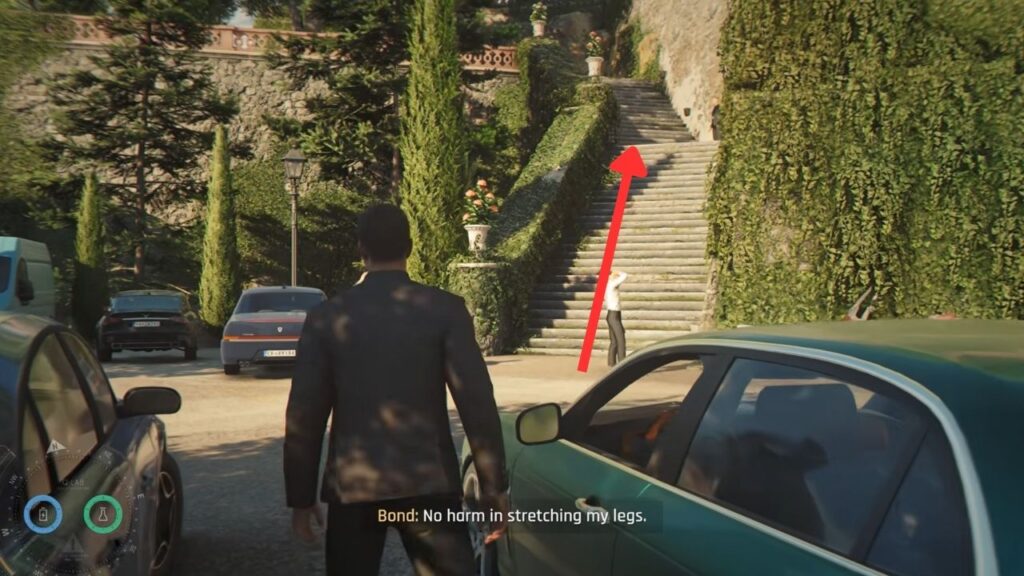
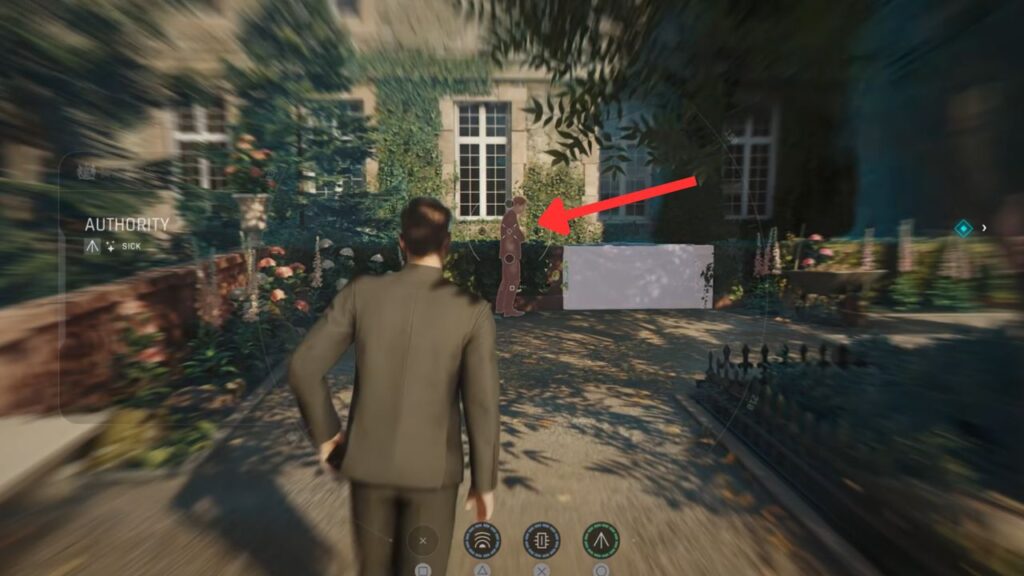
After a brief cutscene, you’ll encounter a staff member throwing away a piece of luggage, and Bond becomes curious enough to investigate it. Go up the stairs and follow the blonde staff member. When he crosses the garden, go to the left side instead. Using your Q-Lens, look for a guard leaning on the railing and hit him with your dart.
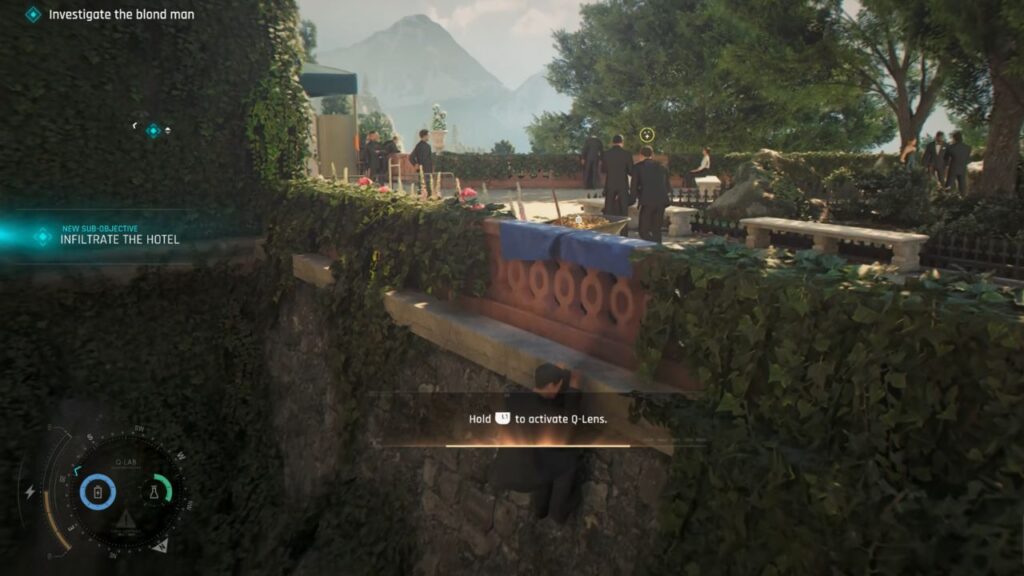
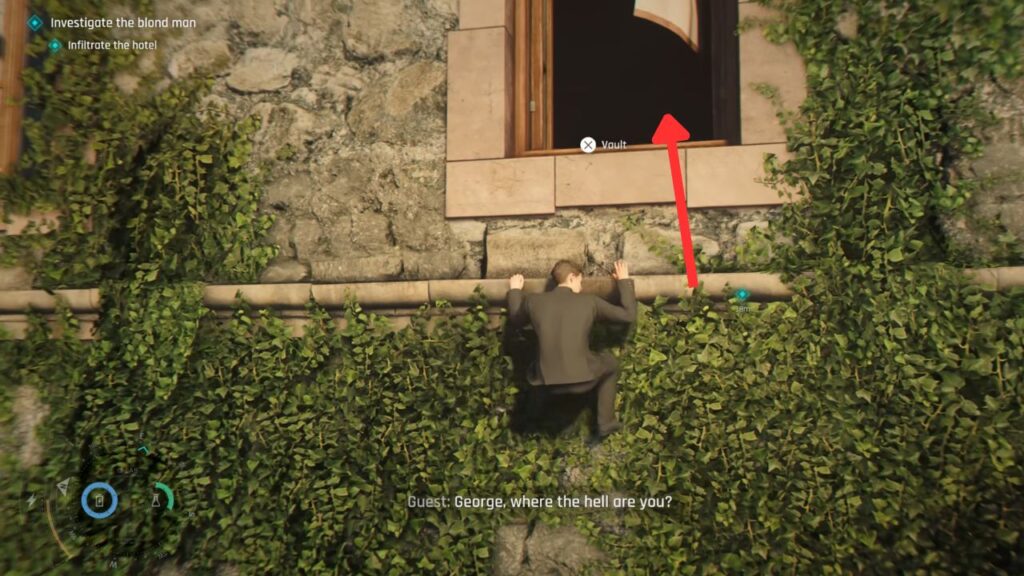
After he walks away, climb the fence marked by a blue tarp and make your way to the left. Climb the pipe upstairs and keep moving along the upper ledge until you find an open window. Climb through it to get inside the hotel.
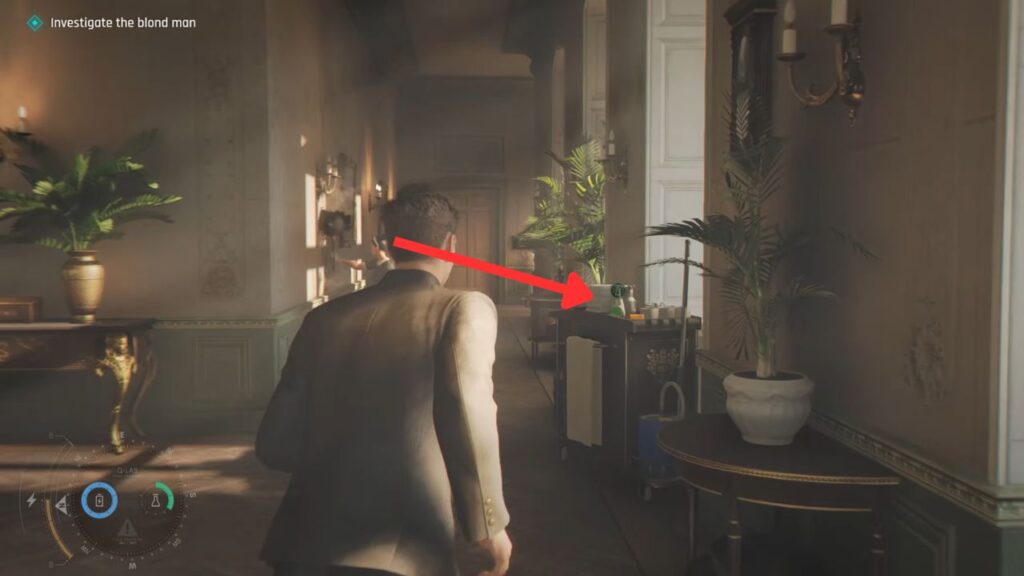
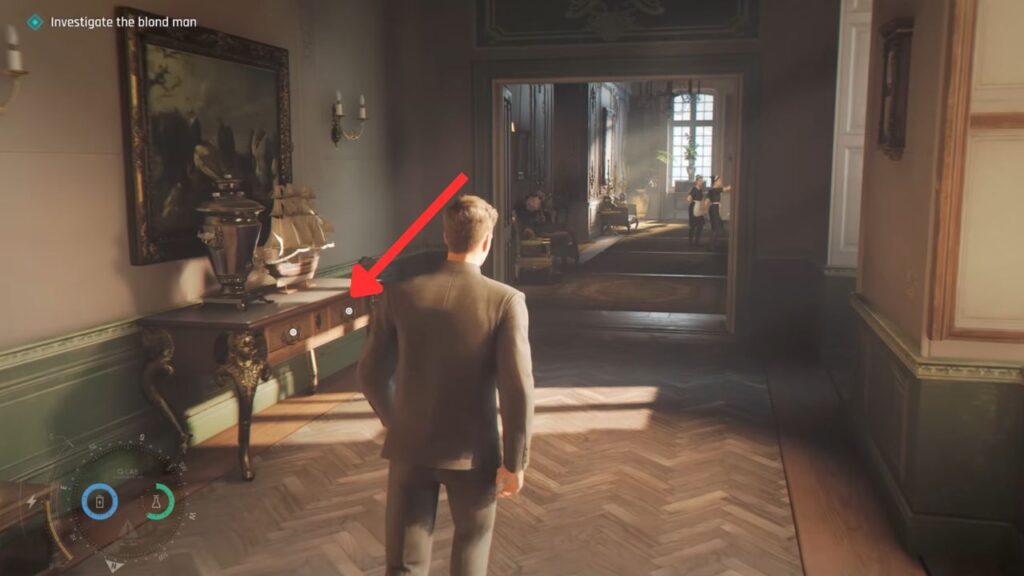
In the hallway, check the cart on the right side to refill your chemicals. Follow the pathway and, after turning right, check inside the drawer on the left for more chemicals.
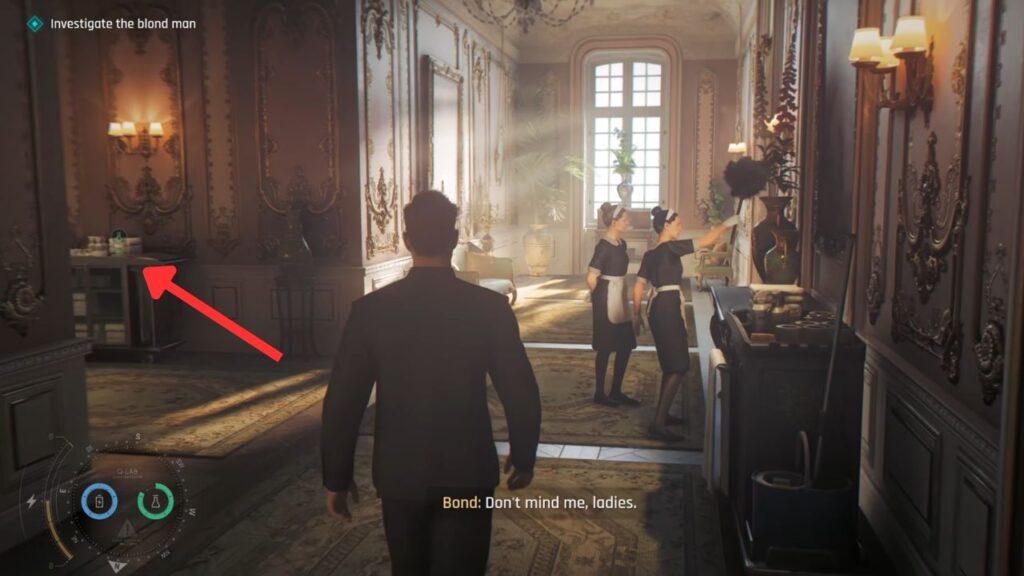
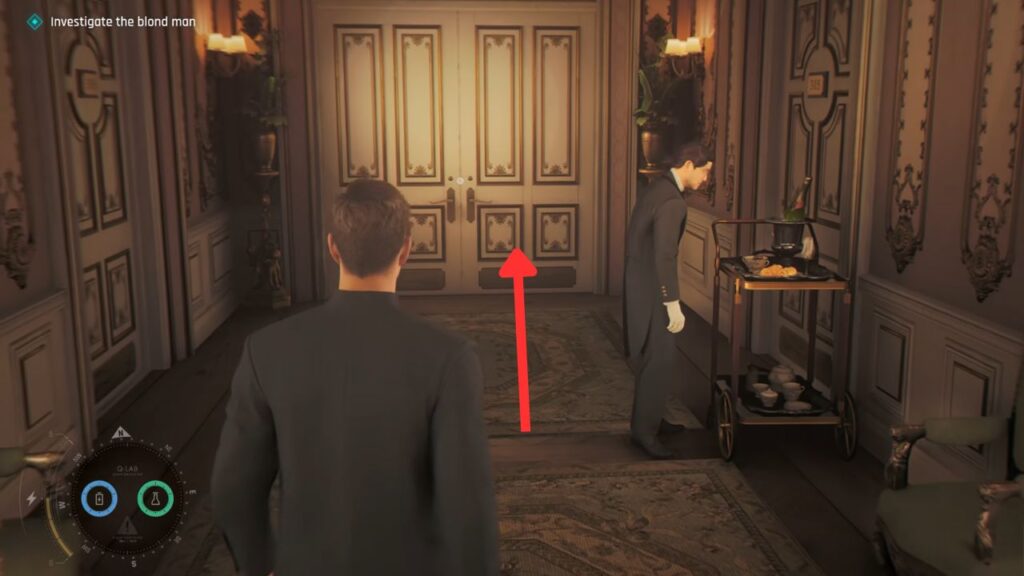
Turn left behind the cleaning ladies and take more chemicals from the cart on the right side. Turn left again and open the big door.
Head over to the balcony to see what is happening inside the hotel. This marks the start of Chapter 3: All the Time in the World.