

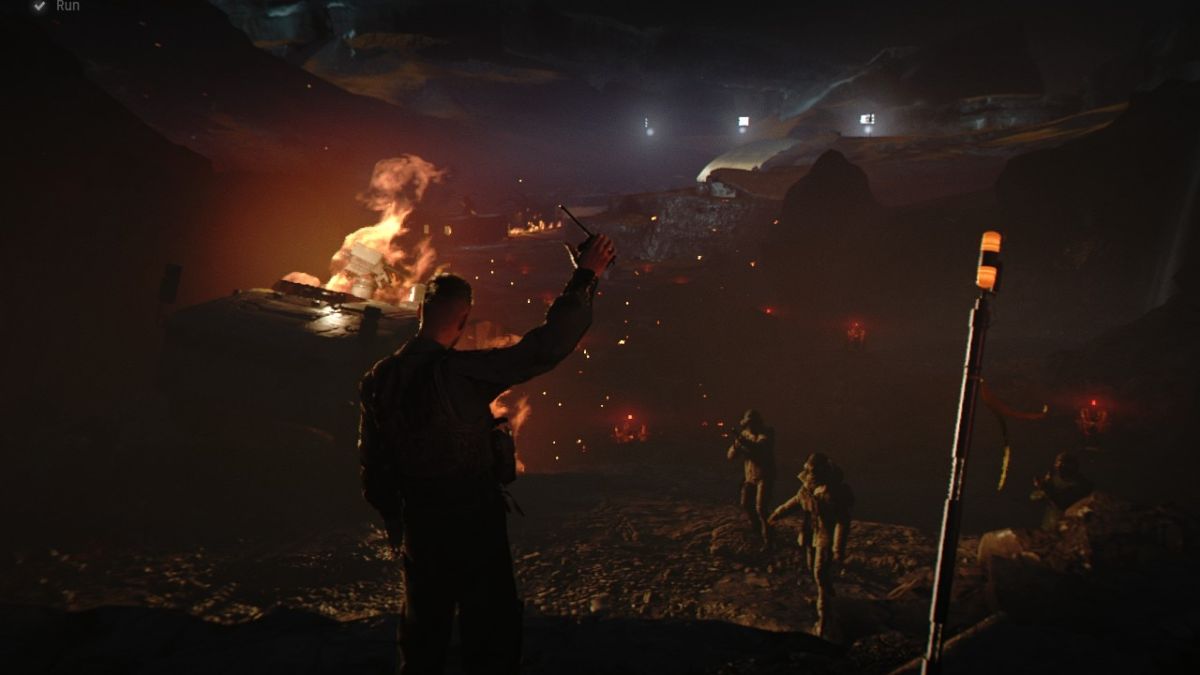
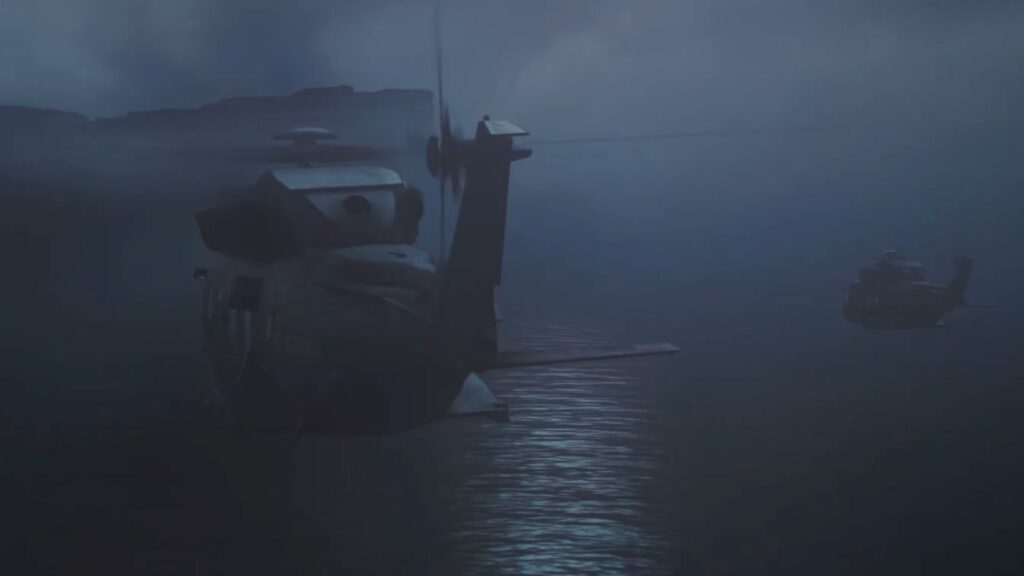
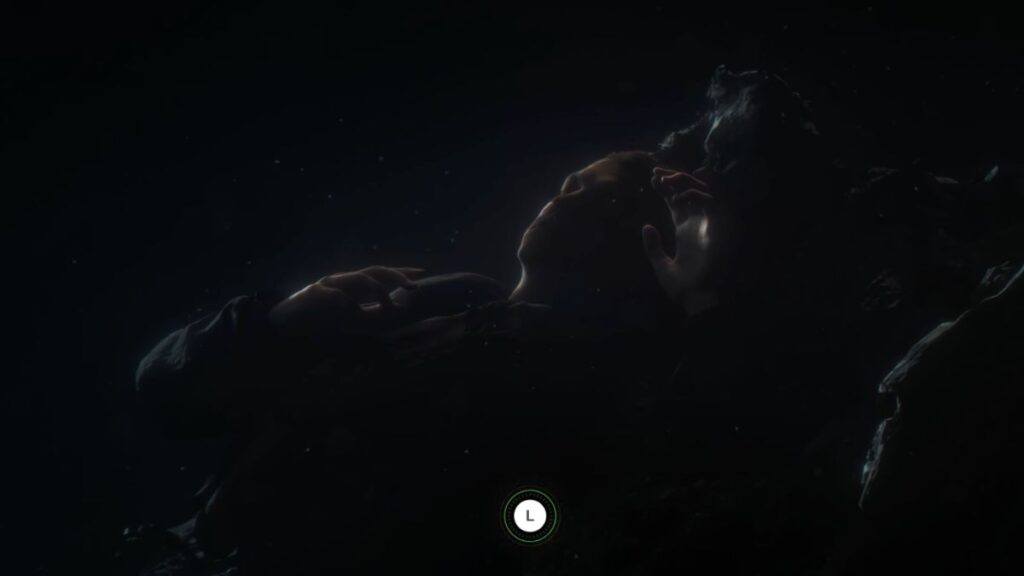
007 First Light opens with two helicopters under attack. You are in one of them as Bond. The other chopper goes down and yours takes a missile hit just as Bond forces the door open, sending him out. The screen cuts to black and you come to face-down in shallow water on a beach. Press the Left Stick to regain consciousness. A short cutscene plays as Bond pulls himself to the surface.
The Beach
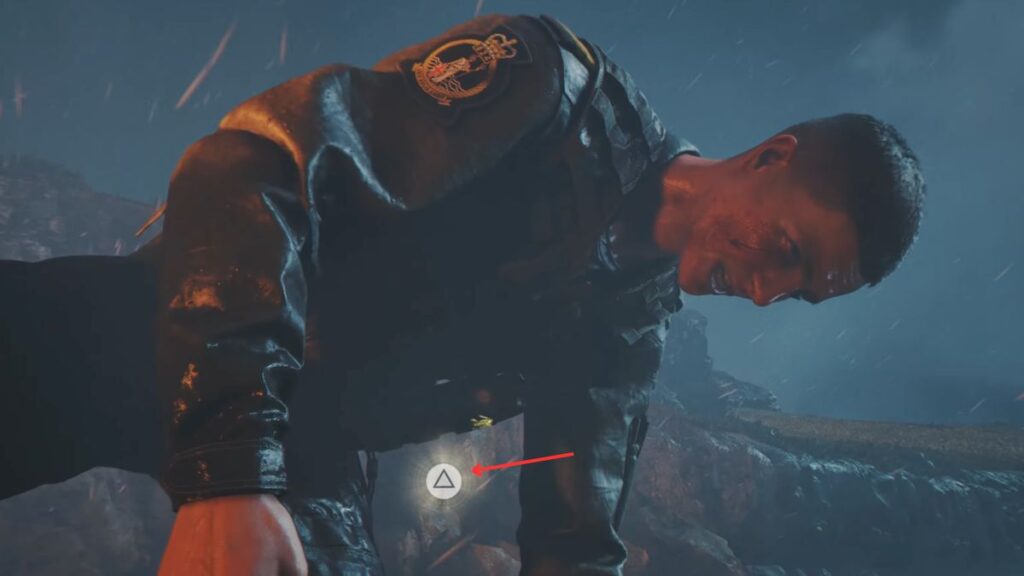
You are now in control of a younger Bond. This opening stretch is the tutorial and introduces the core mechanics one at a time. Start moving forward and you will soon hear a static from your device. Bond drops to his knees and a Triangle prompt appears on screen. Press it to get back up. In the distance, another person is crawling out of the water. Head toward them, but by the time you arrive, they are already dead.
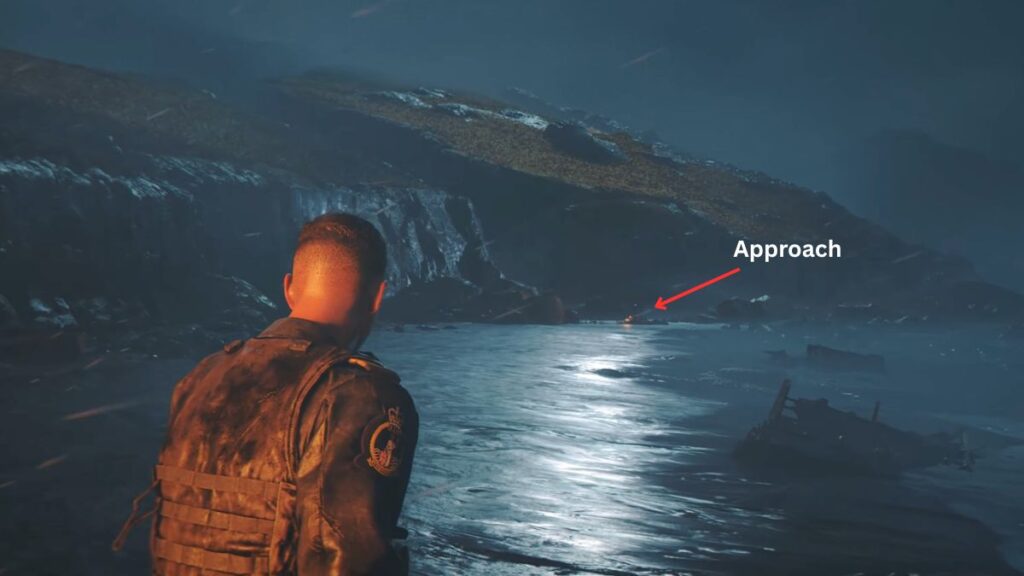
Guards move into the area shortly after. The game introduces the Dash mechanic here. Dash to the right and get behind the rock while they investigate. Once they move on, go through the gap in the cliffs directly ahead.
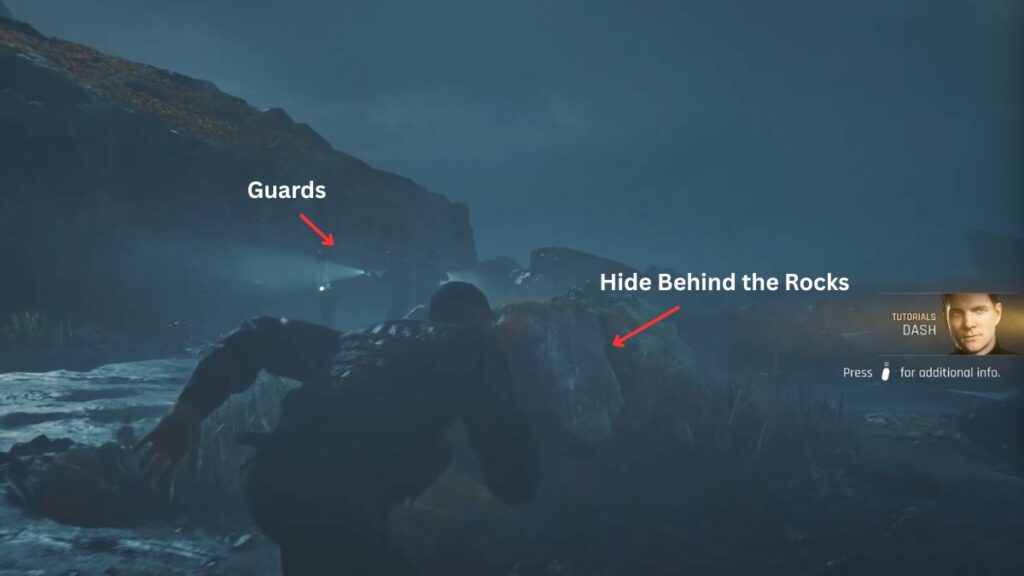
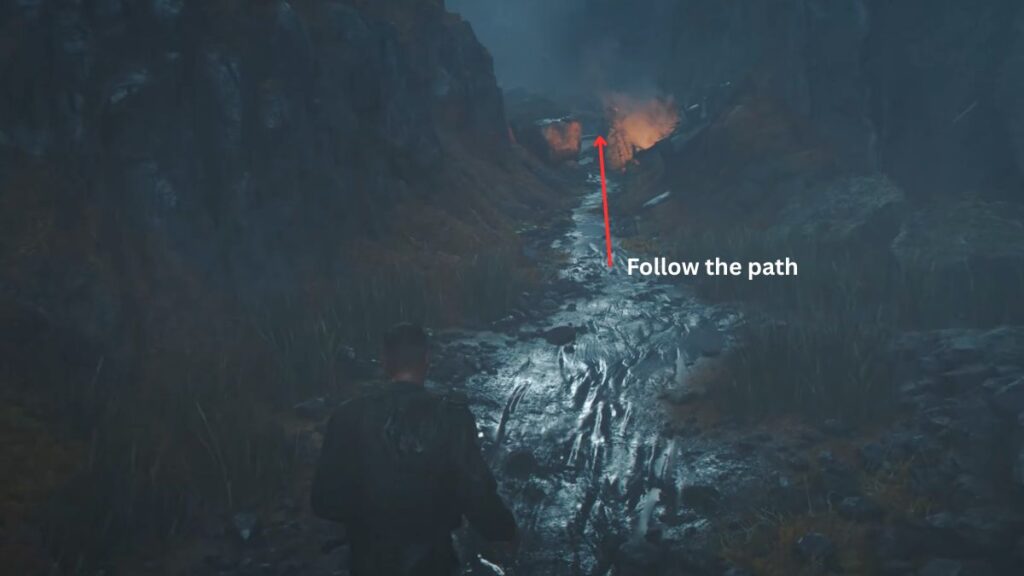
The path stays linear from here. Keep moving until you spot a second group of guards on a ledge to the left. The game will now teach you to Crouch. Stay low and move forward without drawing their attention.
The path opens into a wider area with around seven or eight guards on patrol. Take a slight right into the tall grass to stay out of sight. As you enter, Bond’s condition gets worse again and you will need to spam Triangle to push through it.
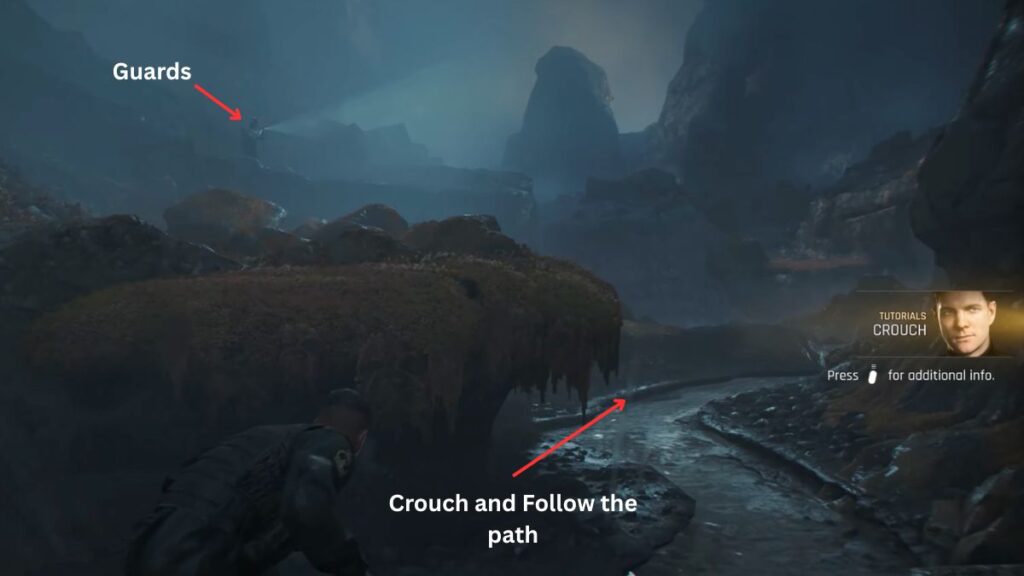
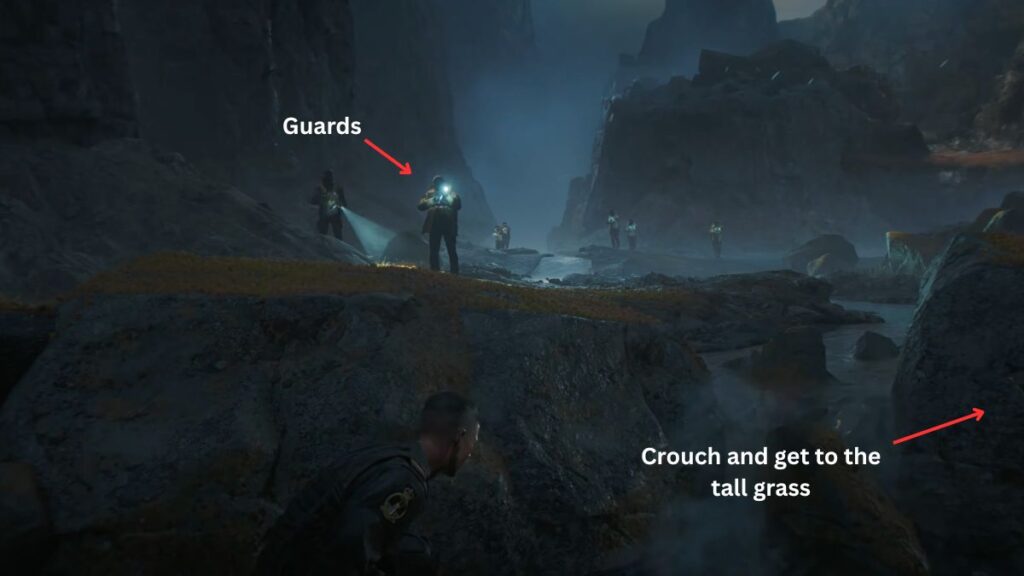
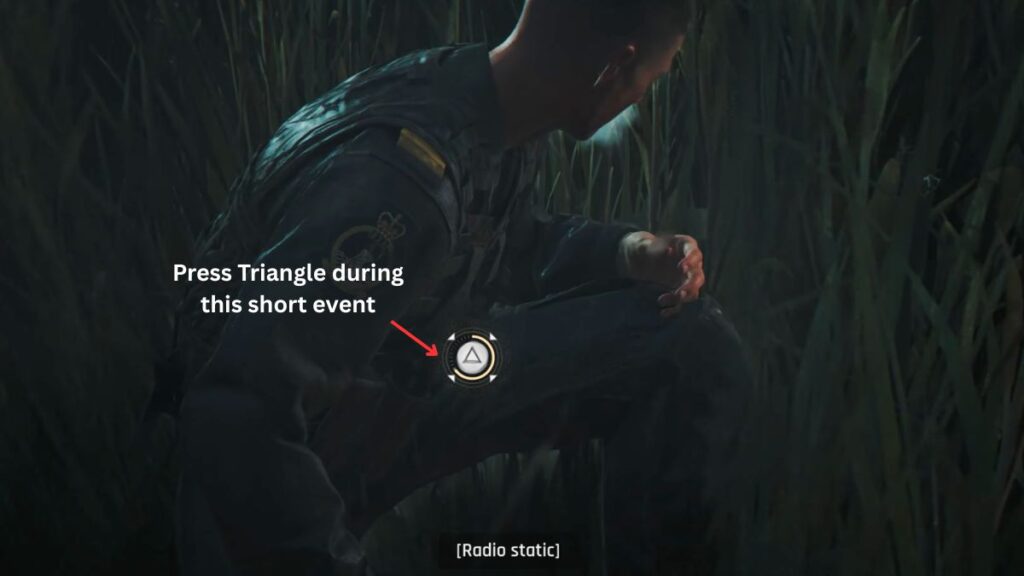
Keep moving through the grass along the base of the cliff on the right until you find a way up. The game introduces Climbing here. Hold the Left Stick and press X to scale the cliff. Once at the top, a cutscene plays.
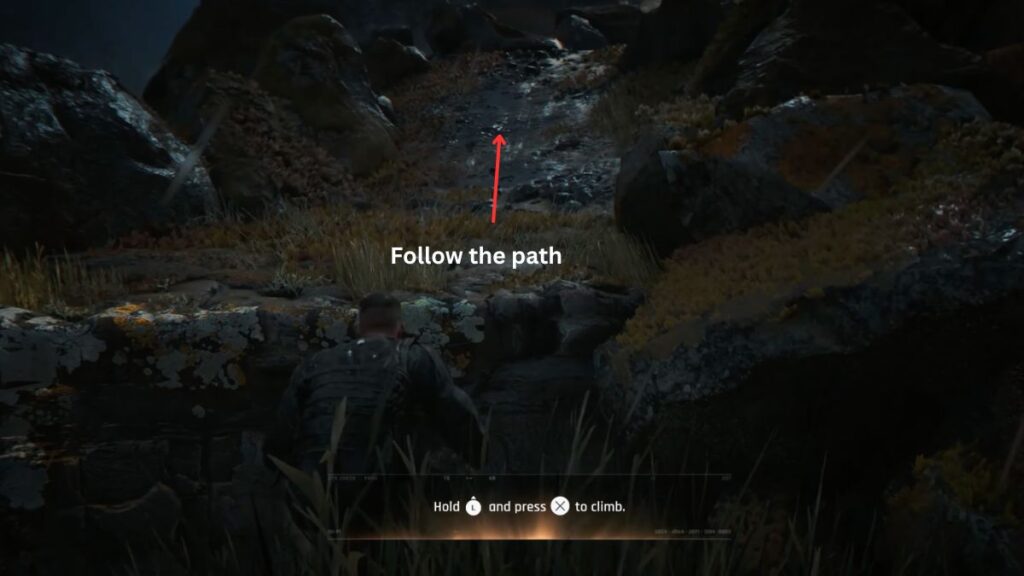
Objective: Locate the Camp
After the cutscene, your first objective is to find the camp. Move forward and the game will show you how to Hang from Ledges. Press X to grab on and use the Left Stick to move side to side. Dismount when you reach the other side and drop back to the ground.
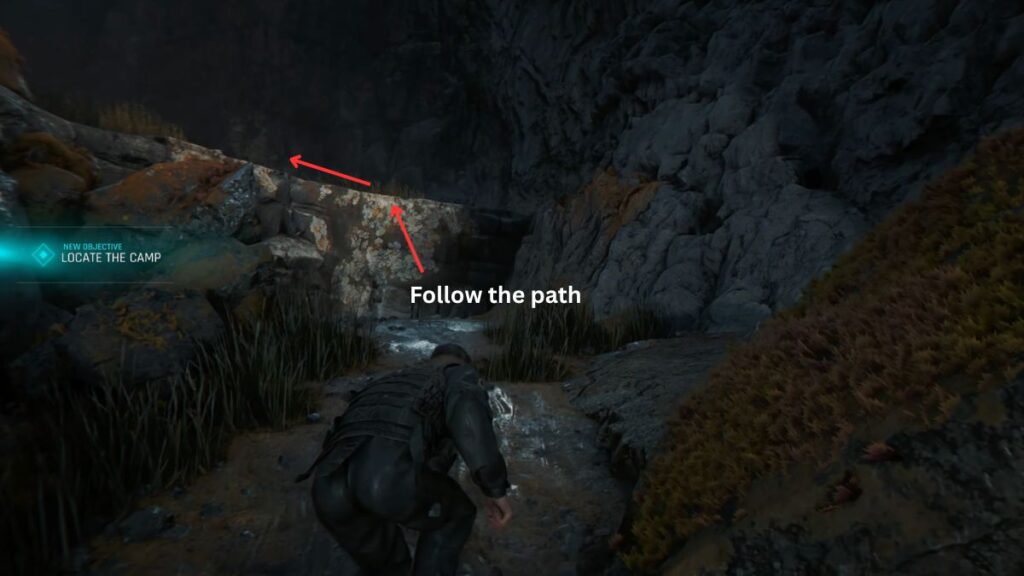
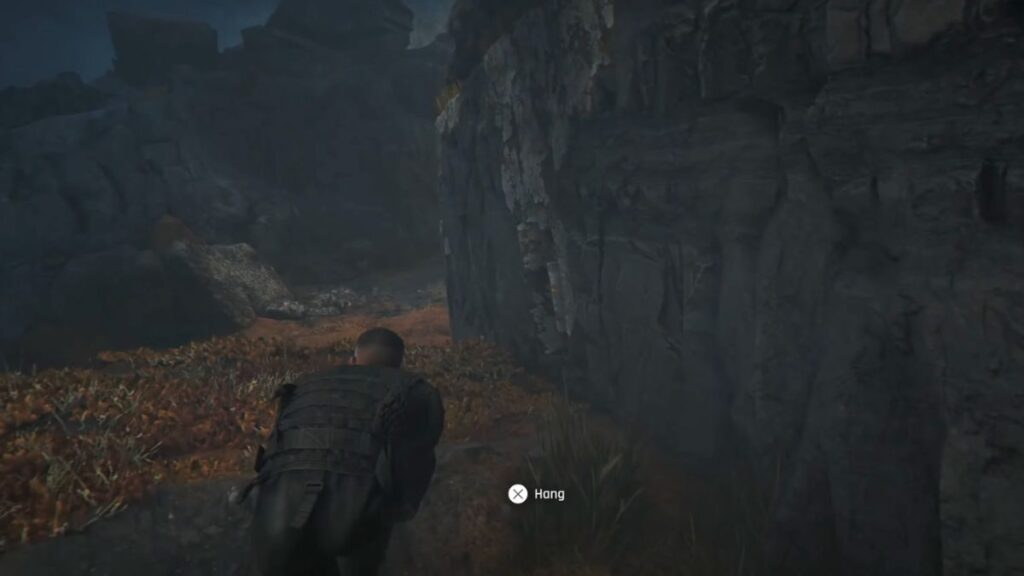
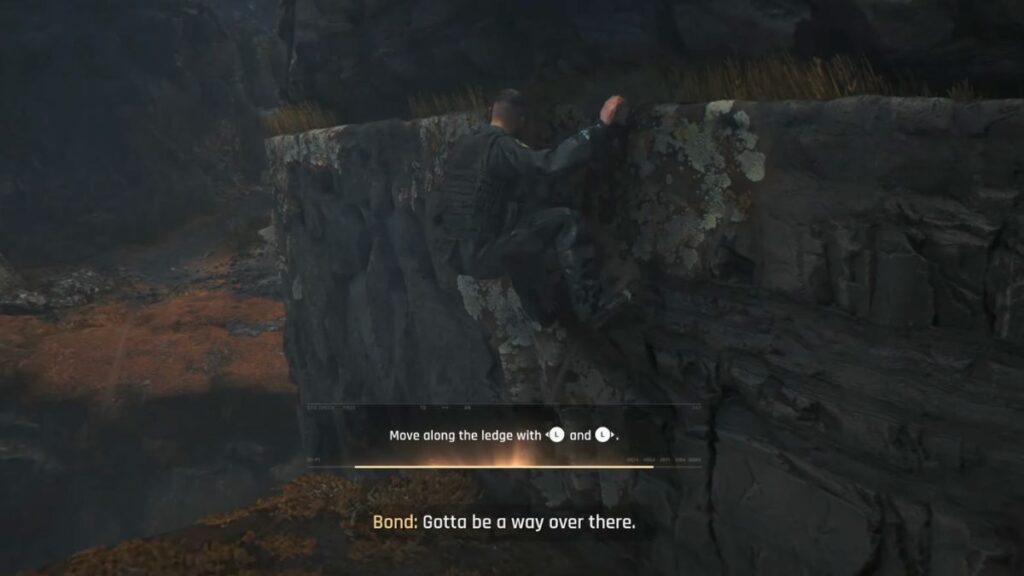
As soon as you land, the Sprint mechanic is introduced. Press RT to run. The path ahead is straightforward so keep moving along the right side, sidling and jumping where the terrain requires it. The camp comes into view from a ledge in the distance, completing the Locate the Camp objective and triggering a short cutscene that introduces your first challenge, 00: Against The Odds.
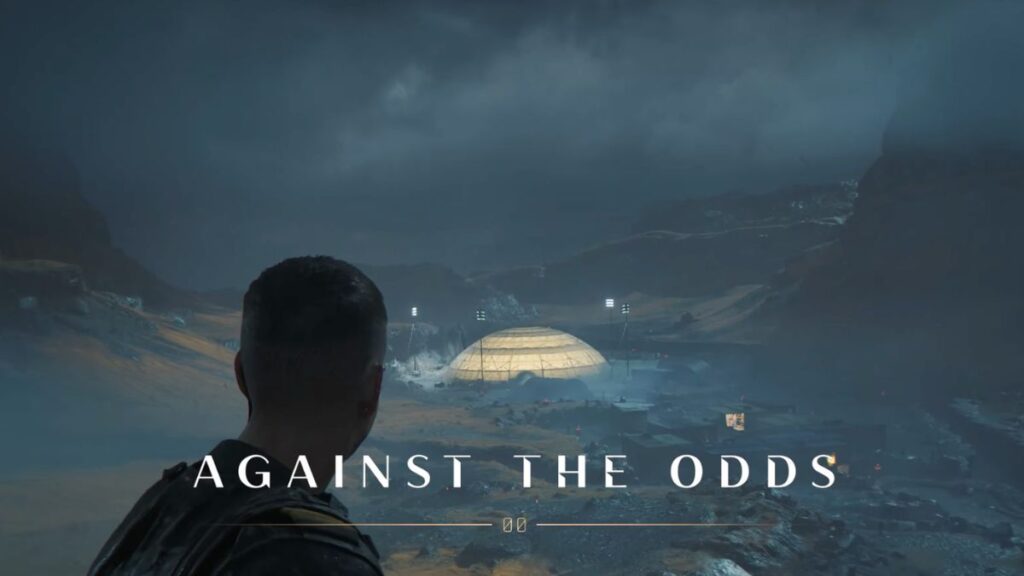
Objective: Reach the Camp
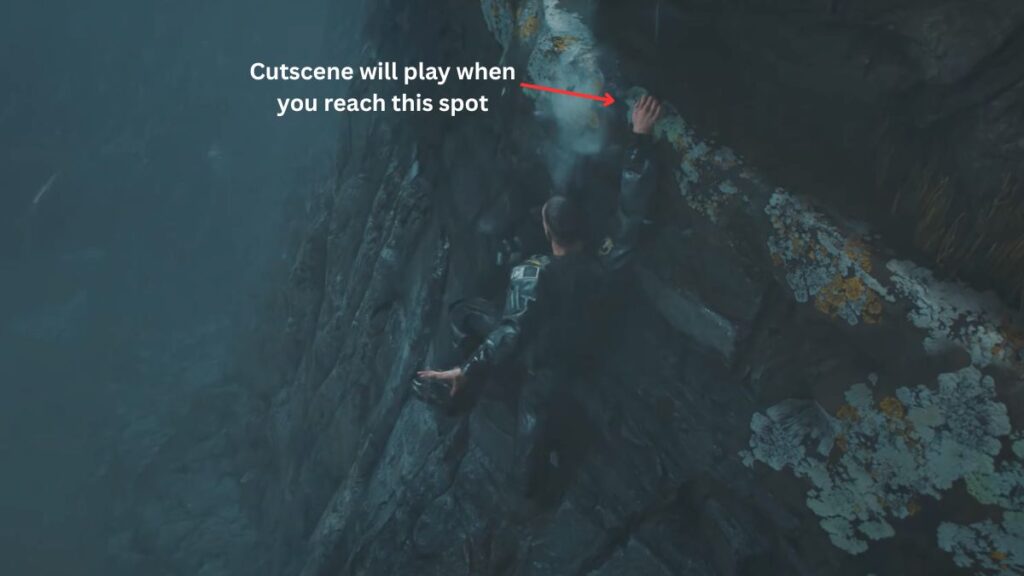
Take the right from the ledge and follow the path down the right side, sidling and jumping as needed. A cutscene interrupts while you are moving along a ledge and Bond loses his grip, sliding down into water below.
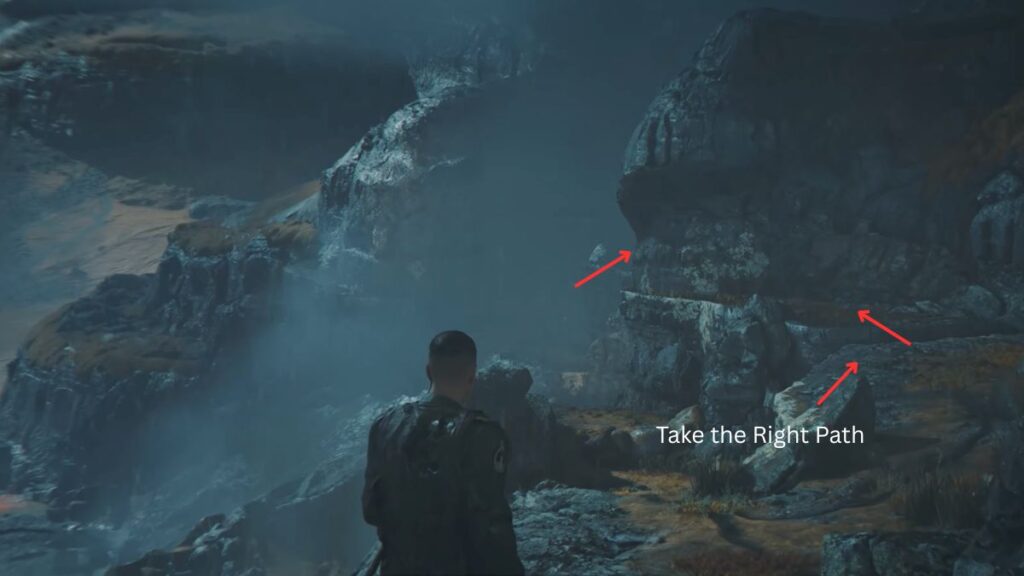
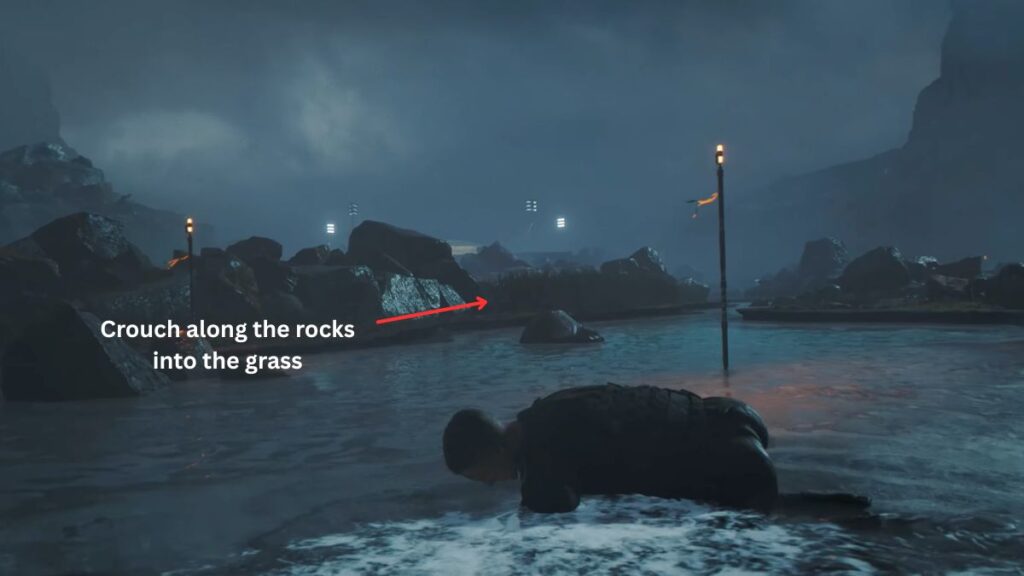
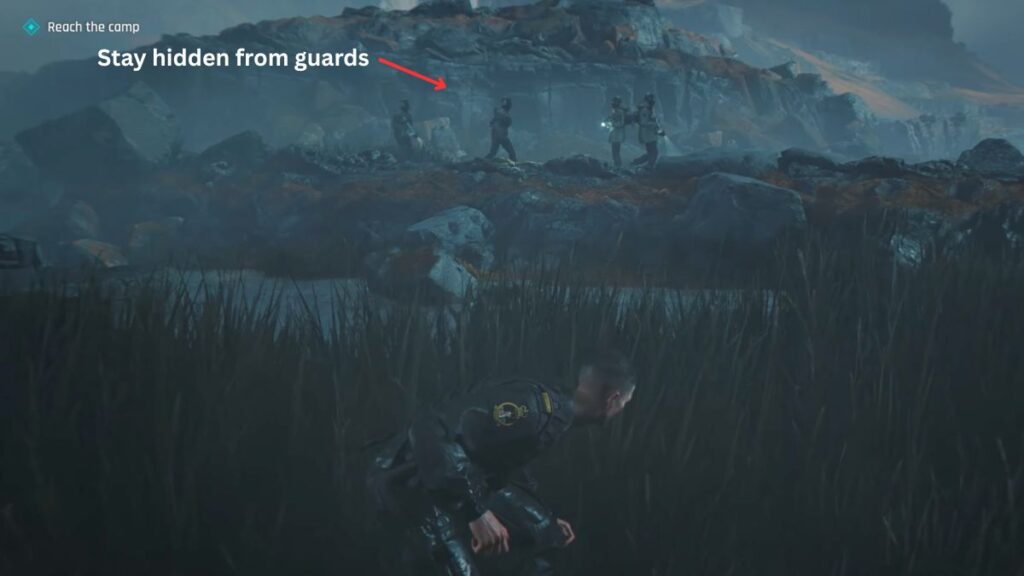
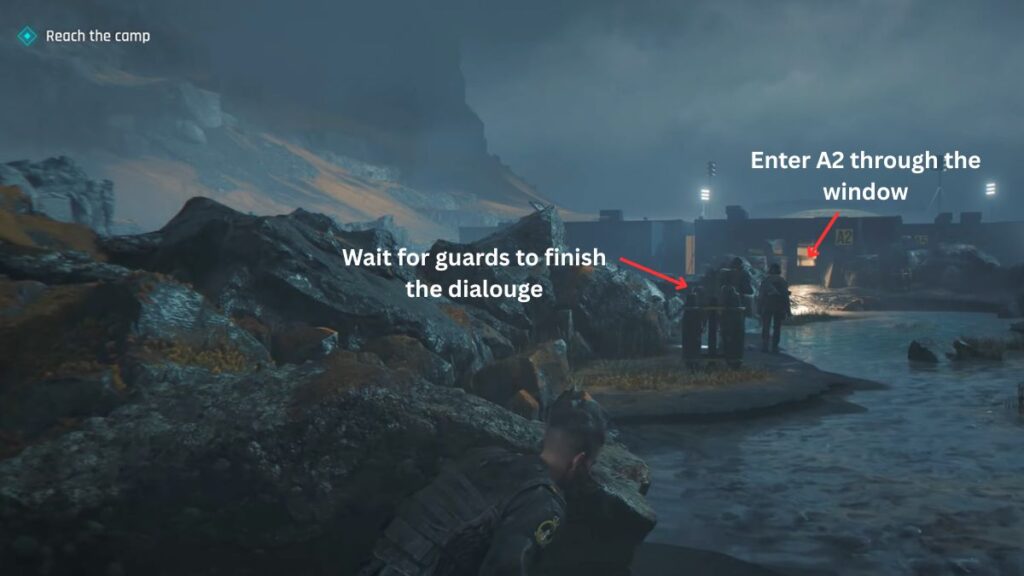
Guards are visible ahead. The game now teaches Dash to Cover. Press Left Stick and R1 together. Use the tall grass to stay hidden as you move forward. Two guards are having a conversation in your path. Wait for them to finish and move on, then head toward the building marked with an A2 sign.
Inside Building A2
Climb through the window to enter. A cutscene plays where Bond grabs a parka from inside and a guard walks in but cannot see his face. After it ends, Bond pulls a receipt from the parka pocket. You will now be prompted to Search the Room.
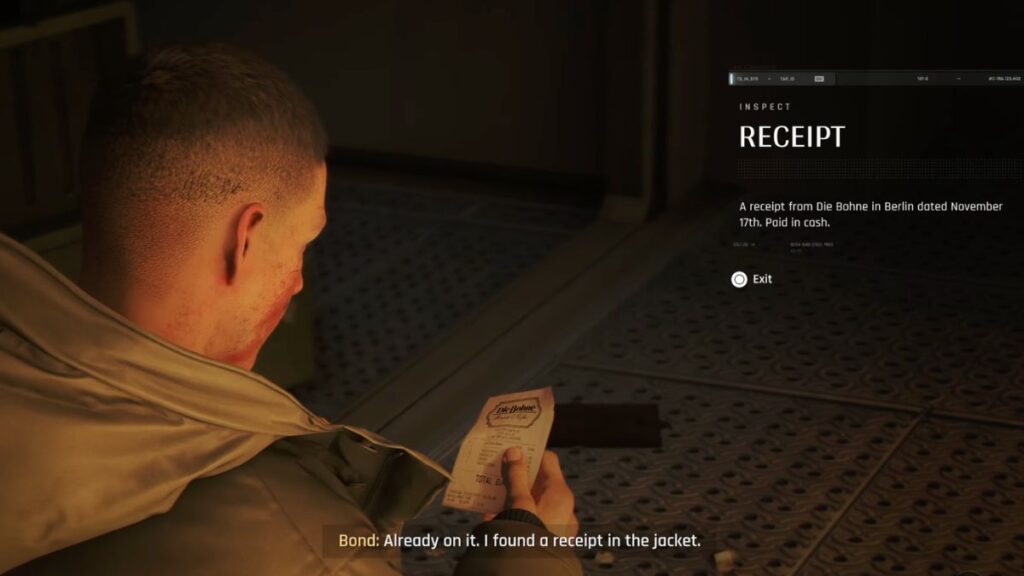
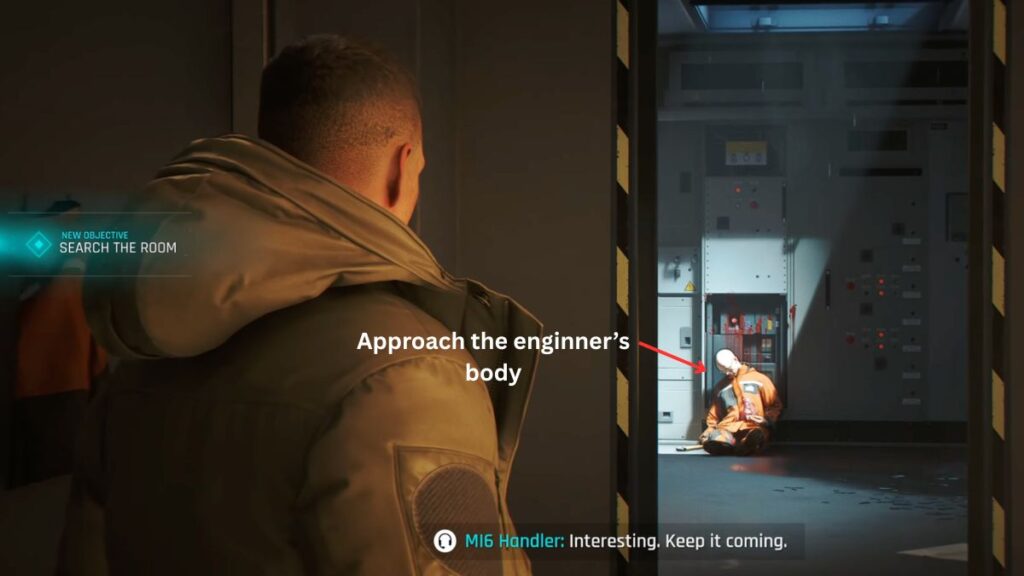
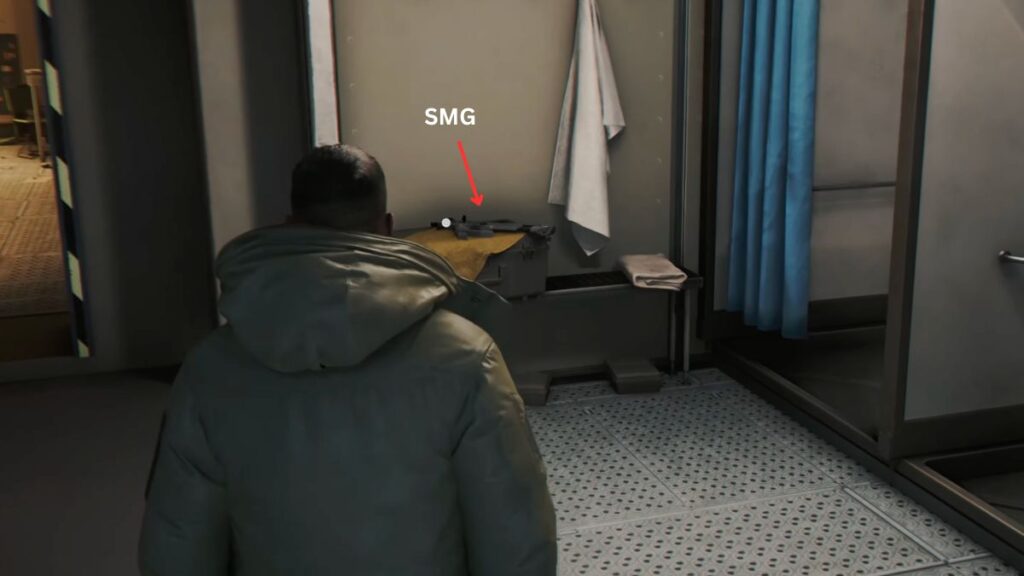
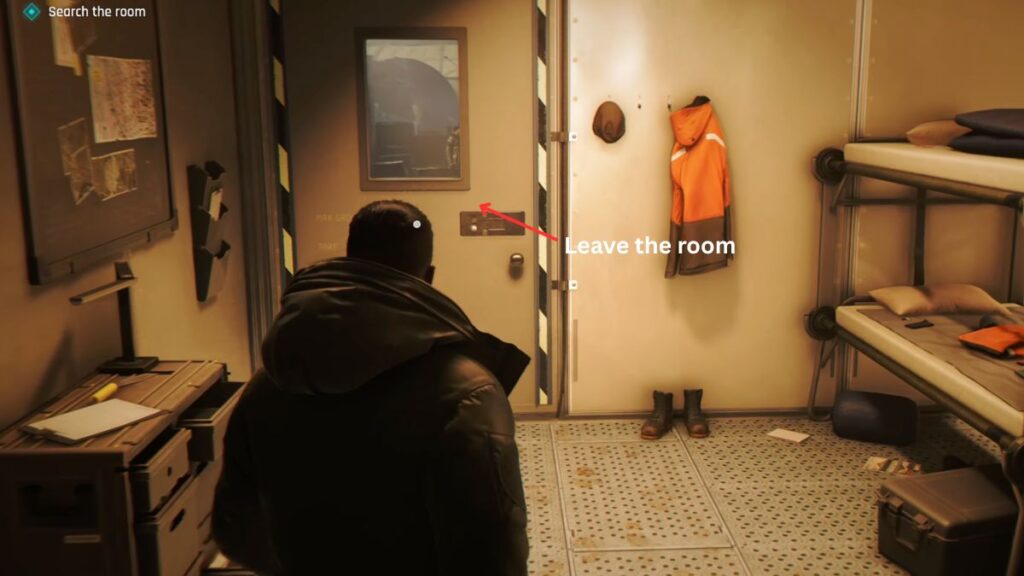
A door and an engineer’s body are in front of you. Investigate the body. In the same room near the door you entered from on the left, there is an SMG but it is biometrically locked, leaving you still unarmed. Head back to the first room and exit through the door on the left into the camp.
The Camp
Guards are visible outside and a building sits to the left. Go inside. Several items worth noting are inside:
- A lighter inscribed with “S. Popovic”
- A radio on the cases next to the beds
- A bag with a chequered patch on the bunk in the left corner
- A torn page on the right side
- A rocket launcher on the table in the far left corner
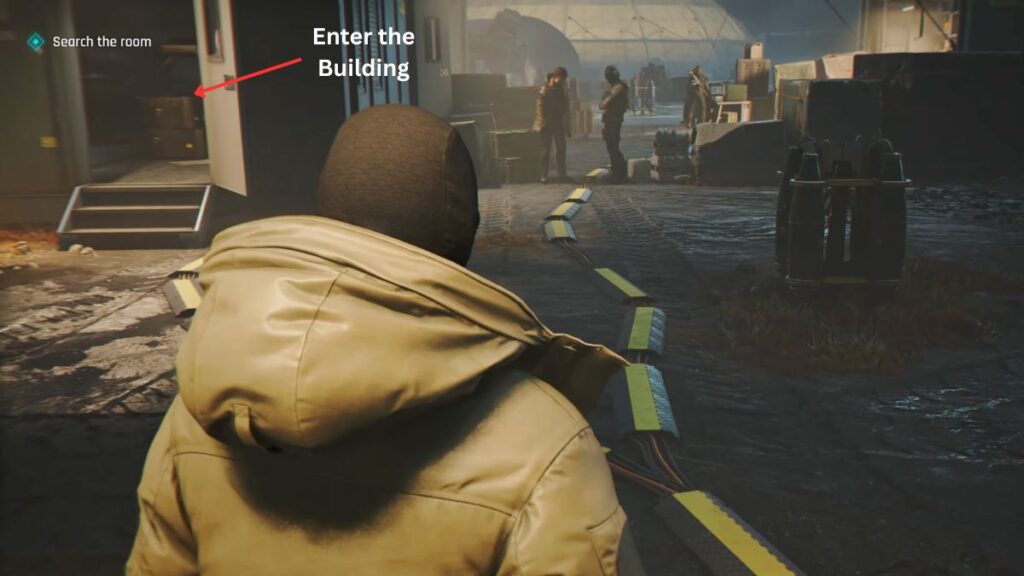
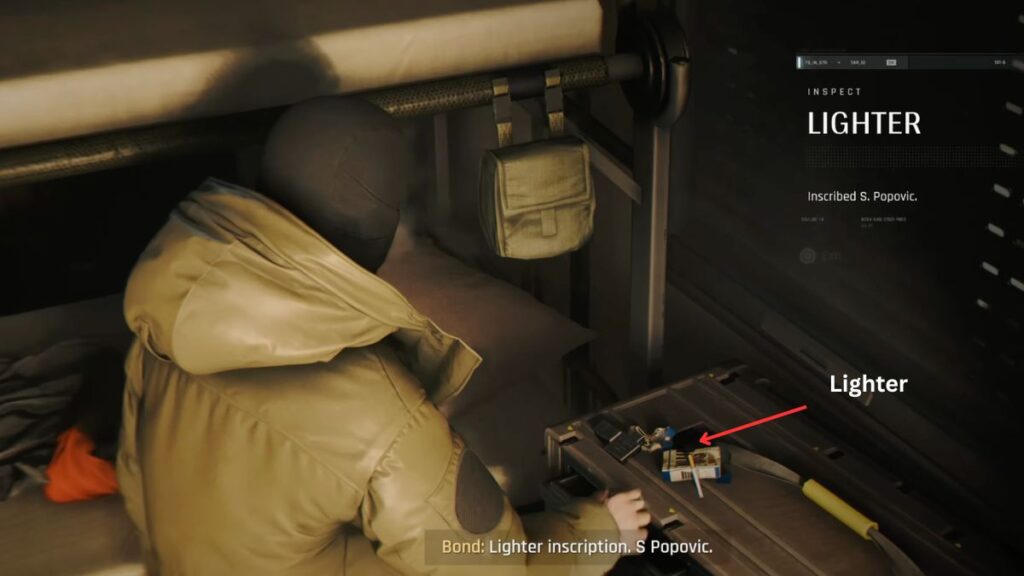
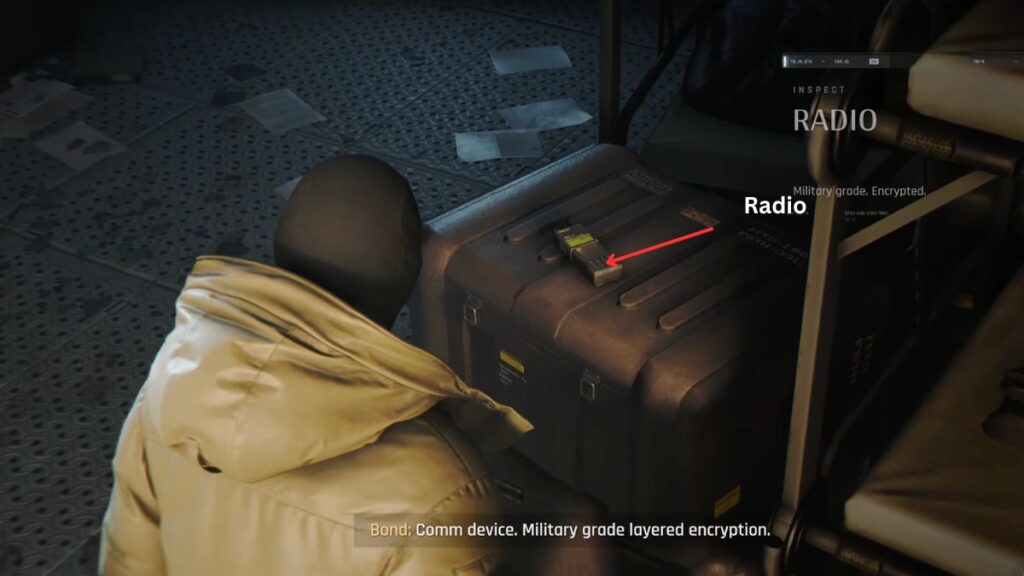
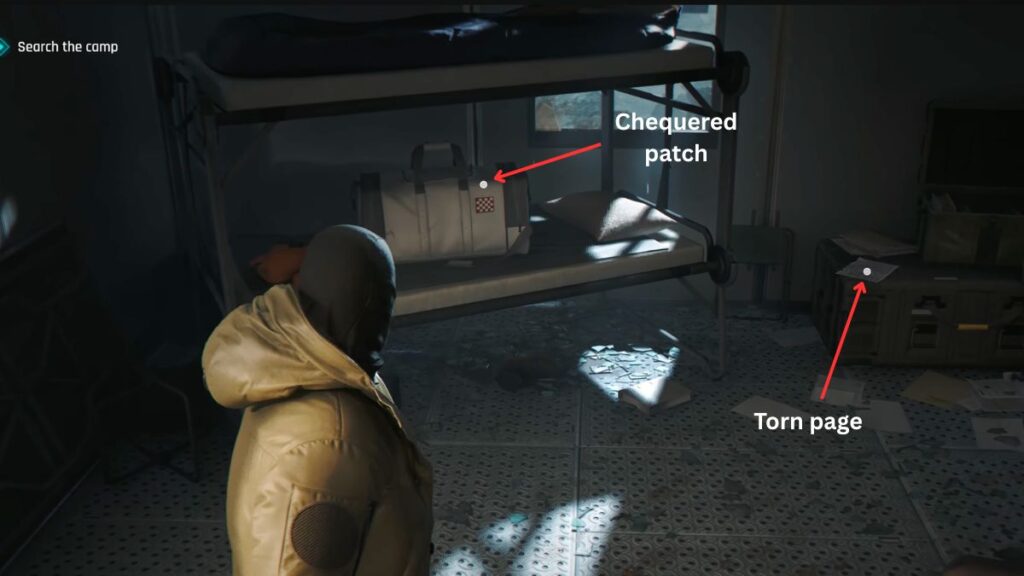
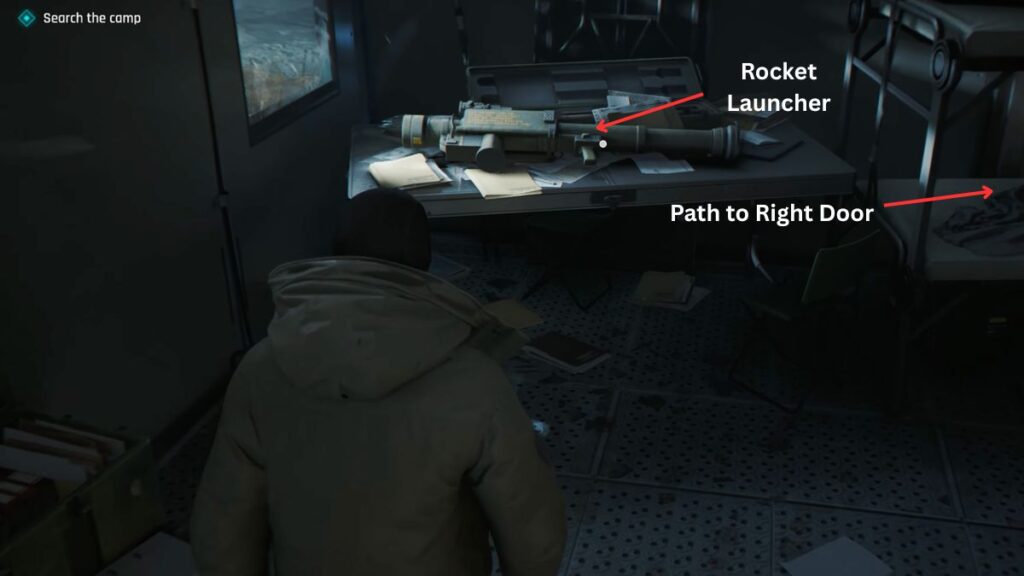
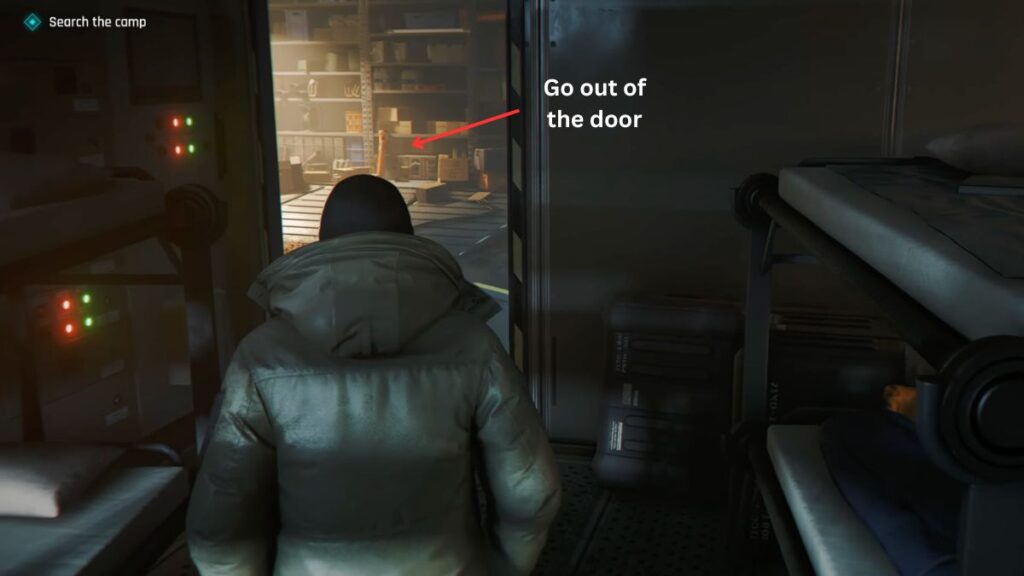
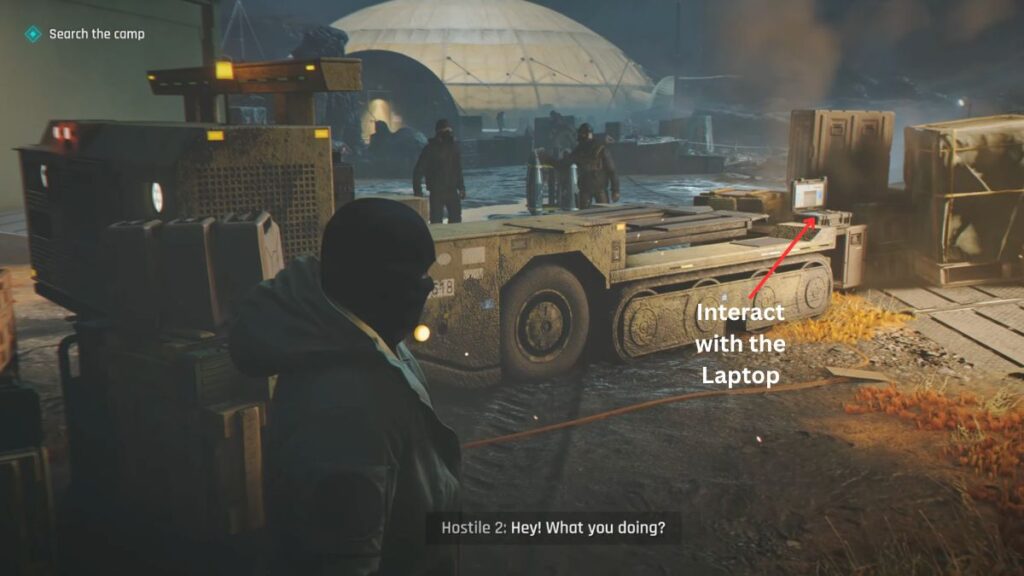
Exit through the door on the right. As soon as you step out, a vehicle crashes into some supply boxes. Your first sub-objective appears — Move the BT65. Interact with the laptop nearby to move the truck out of the way.
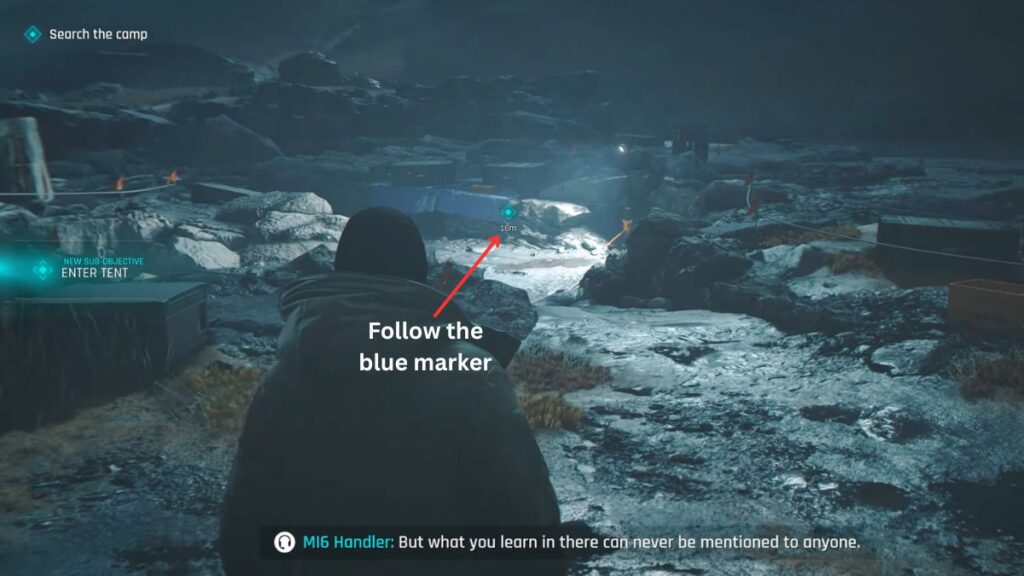
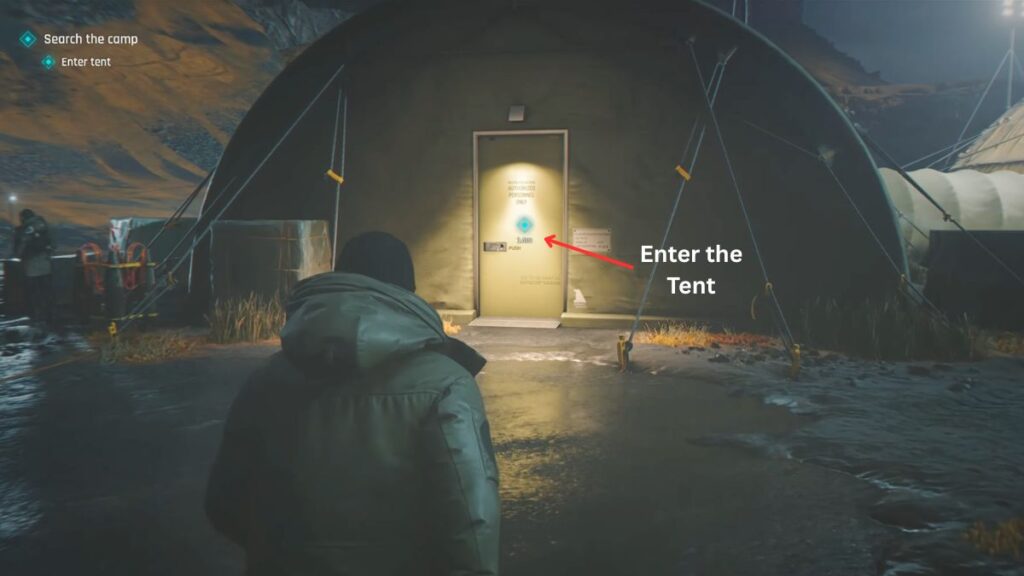
Follow the blue marker ahead toward the next sub-objective, Enter the Tent. Go through the tent, continue through the round yellow tunnel and the automatic doors beyond it. In the next area, turn right and keep moving forward until you receive the objective to Inspect the Crashed Object.
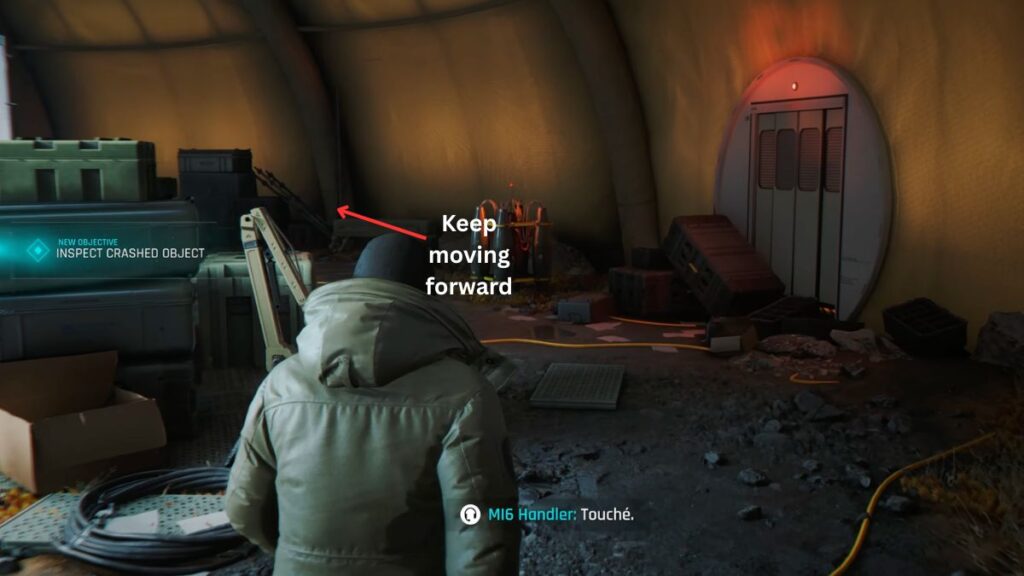
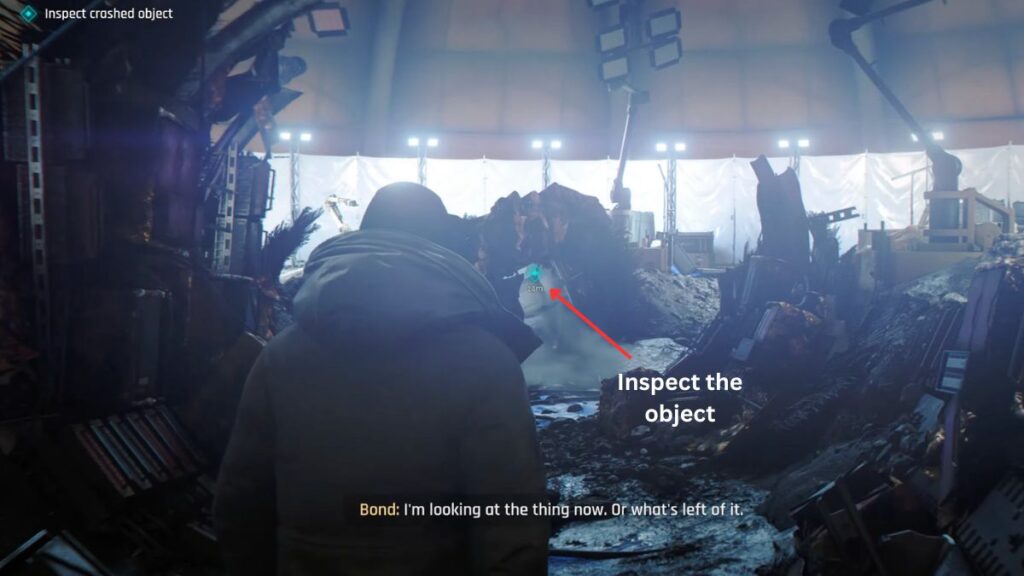
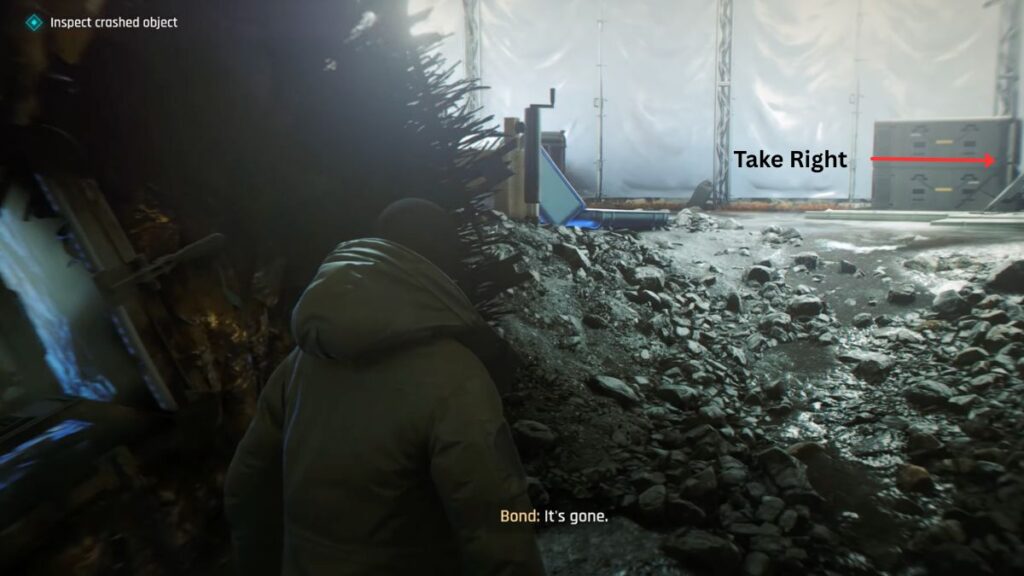
Go through the white tarp on your left and follow the blue marker to the wreckage. Once you have inspected it, take a right then take another right and keep going. Your next objective is to Look for the On-Board Computer. Keep moving and open any crates you pass along the way.
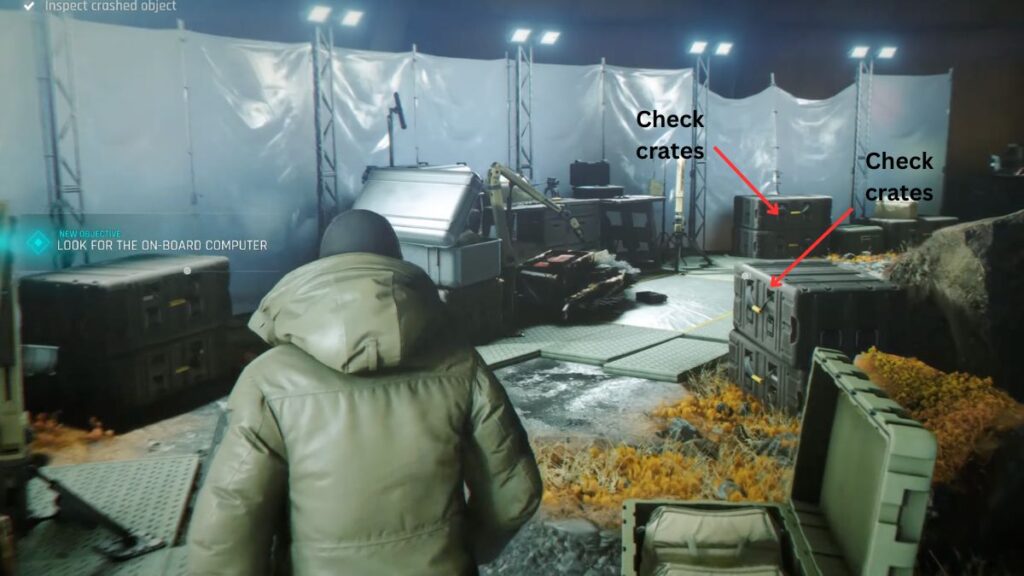
As you get close to the white curtains, a cutscene plays. You learn about the group’s plan and find out that the distortion Bond has been experiencing is because of something he was exposed to. After the guards leave, go through the red door they came from. Inside the tunnel your objective updates to Find the Antidote.
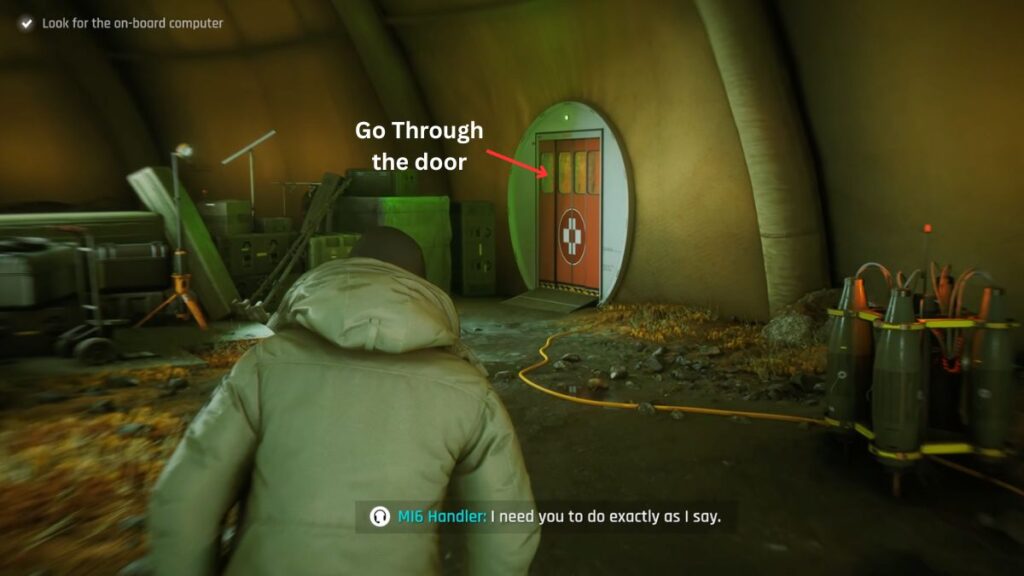
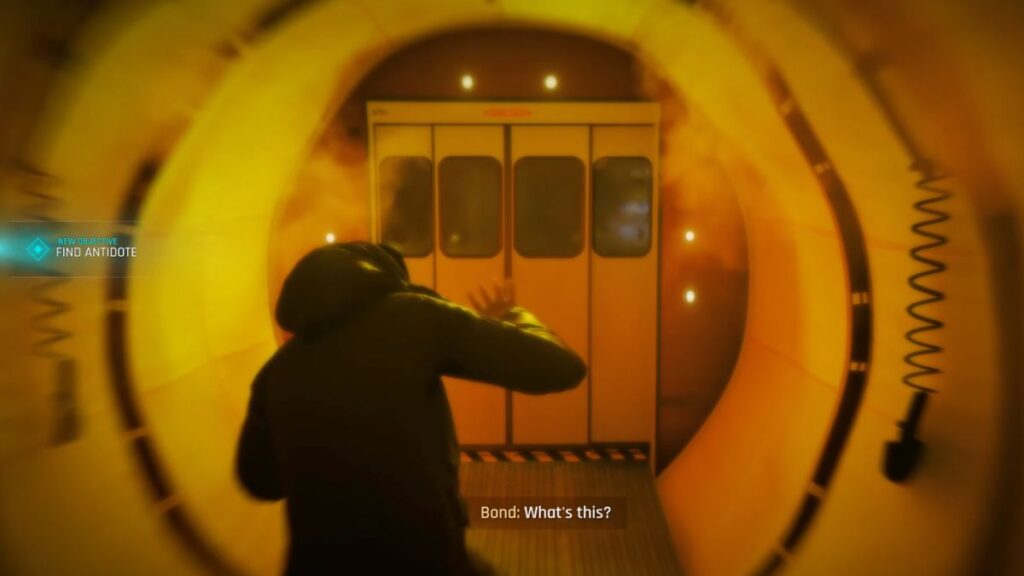
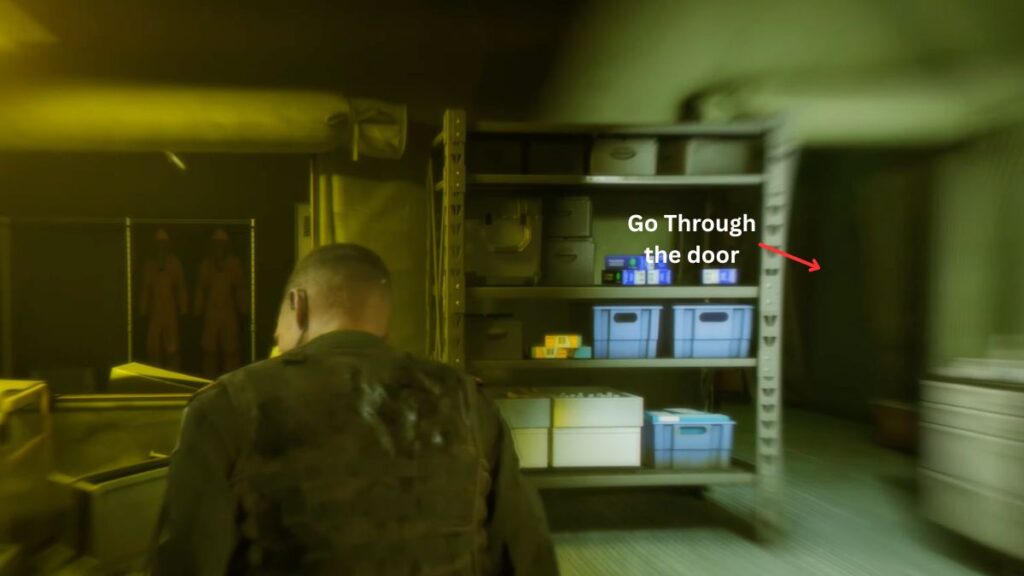
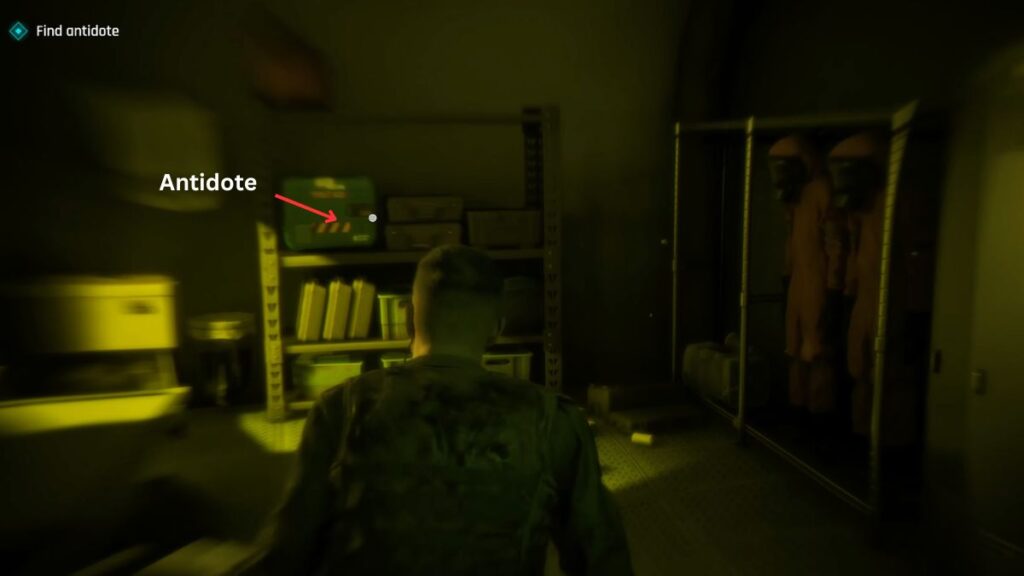
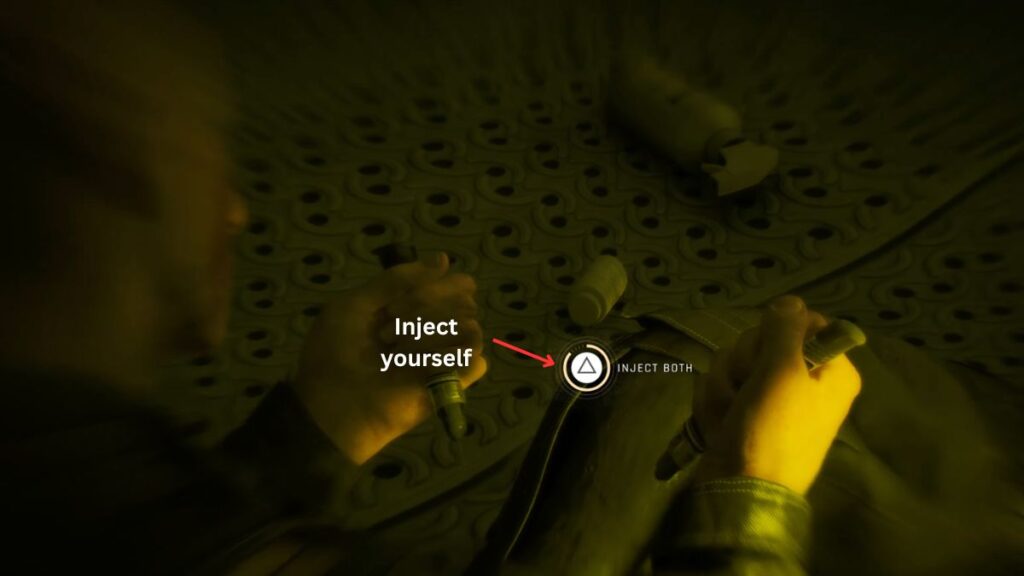
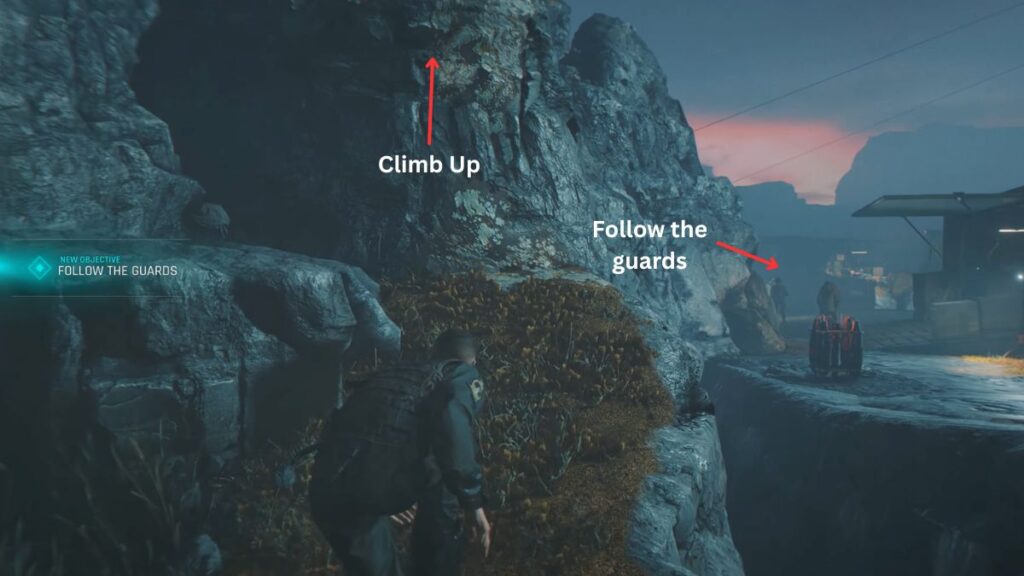
Follow the tunnel into the next room. Several blue crates are available to interact with but none contain what you need. Go through the archway on the right side of the room, take a left, and open the green box to find the antidote. A cutscene plays where Bond considers which one to use. Press Triangle when prompted to inject both. Bond passes out and wakes up outside, watching guards confront a hostage. Your next objective is to Follow the Guards.
Saving the Prisoners
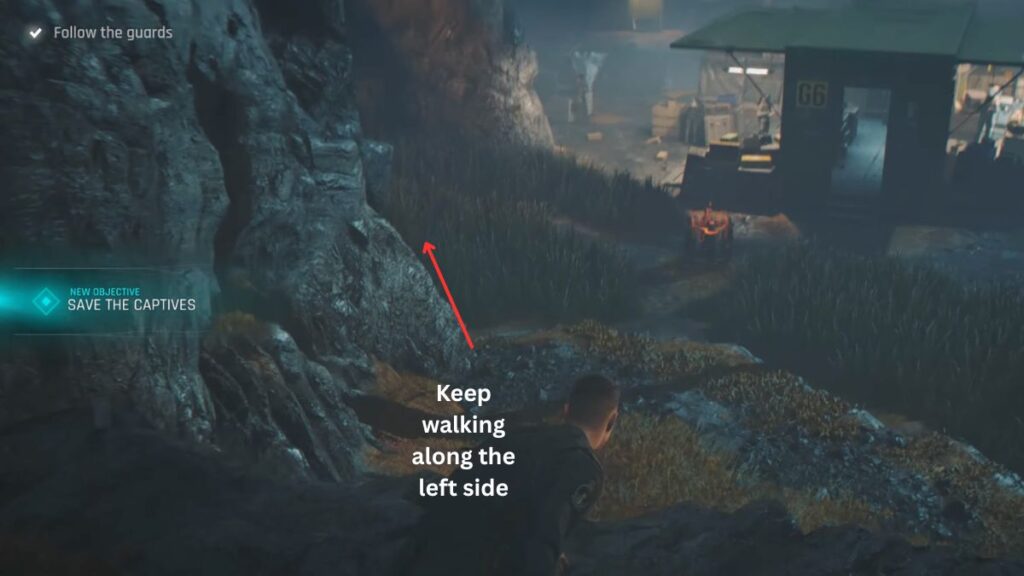
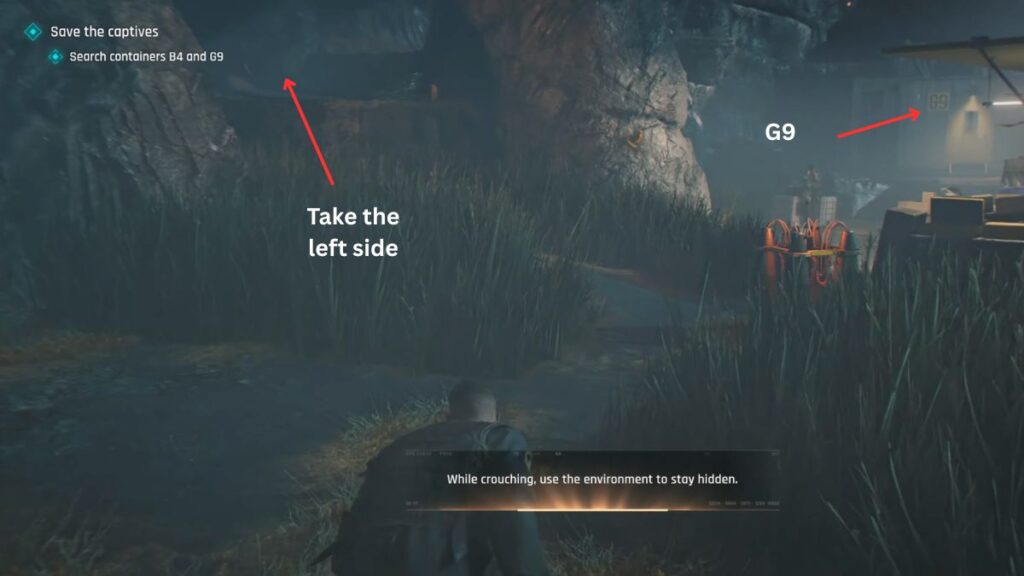
Head left and climb the small cliff, keeping the prisoner in your line of sight. When you reach the top, the prisoner is shot by the guards. The guards then mention other prisoners held in buildings B4 and G9. Bond refuses his handler’s instructions and decides to go in himself.
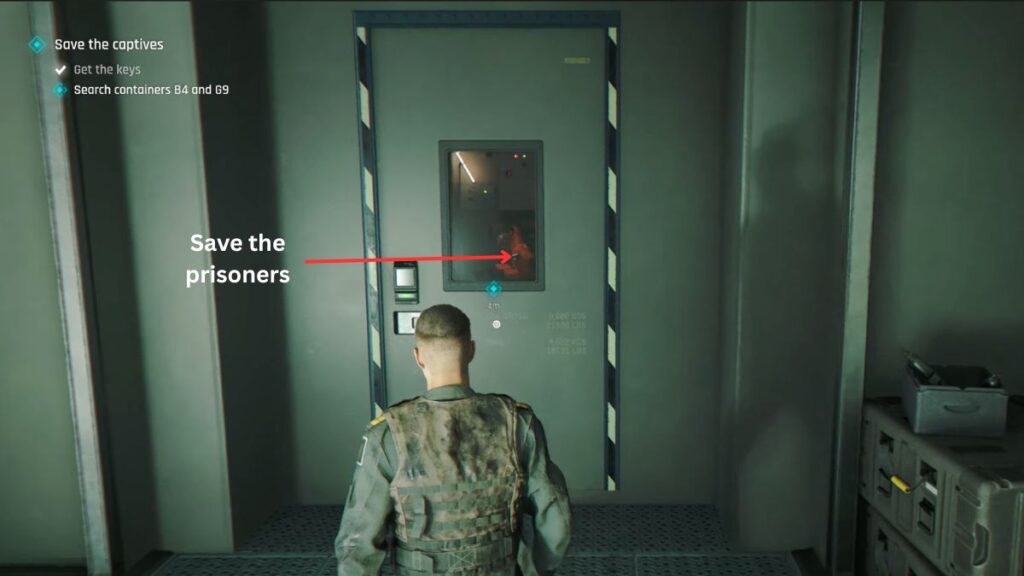
Your objective updates to Save the Captives, with sub-objectives to search containers B4 and G9.
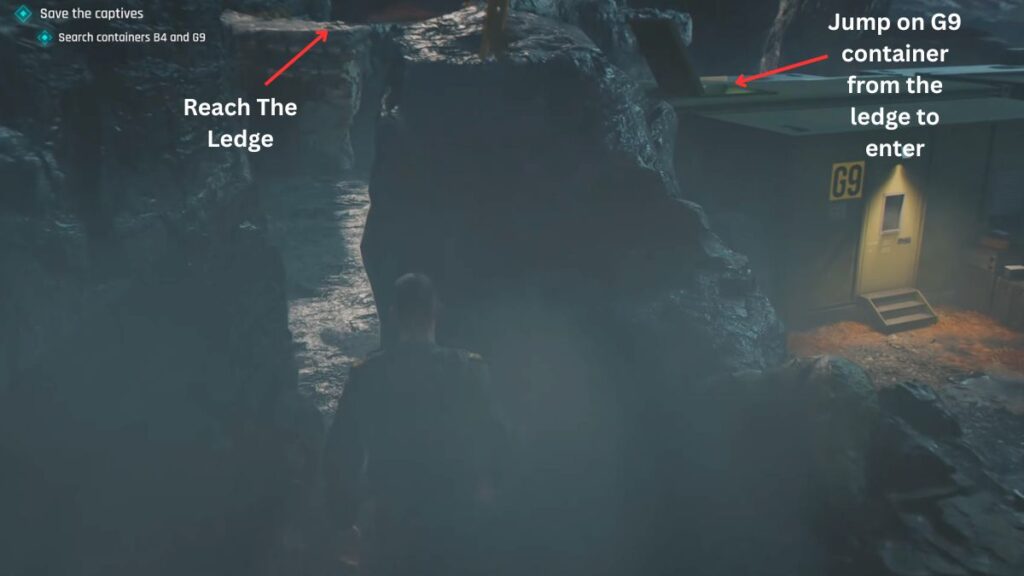
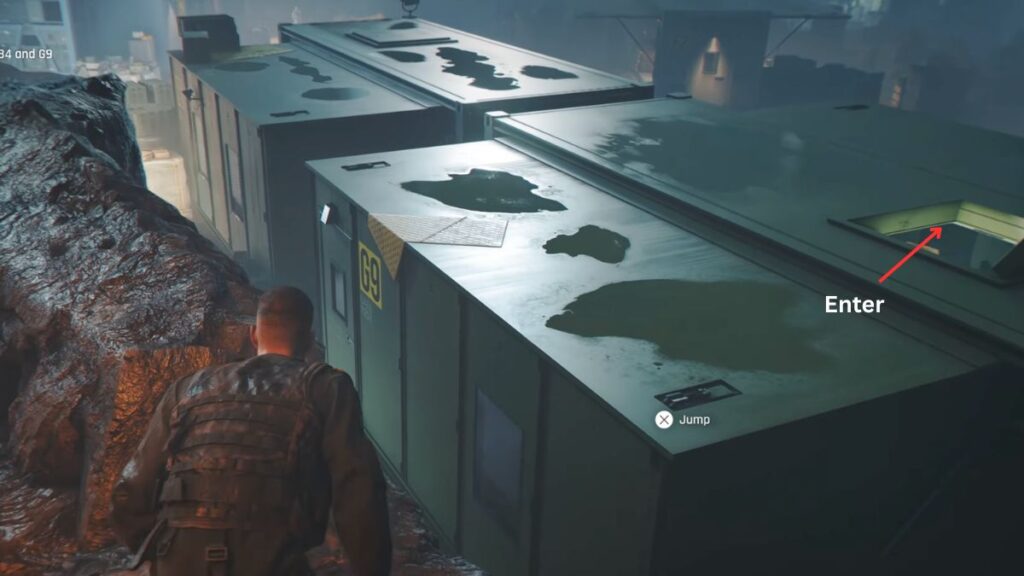
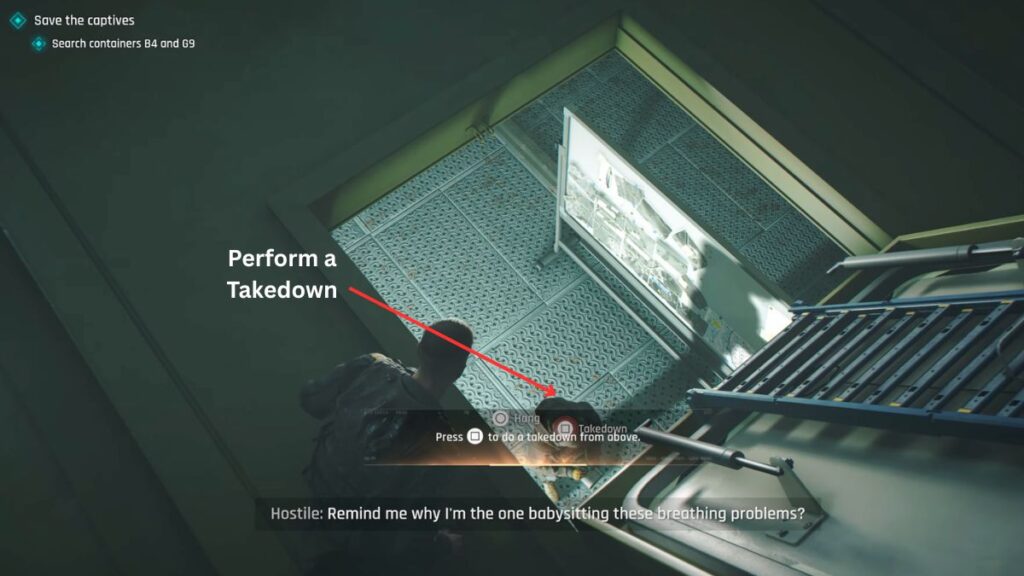
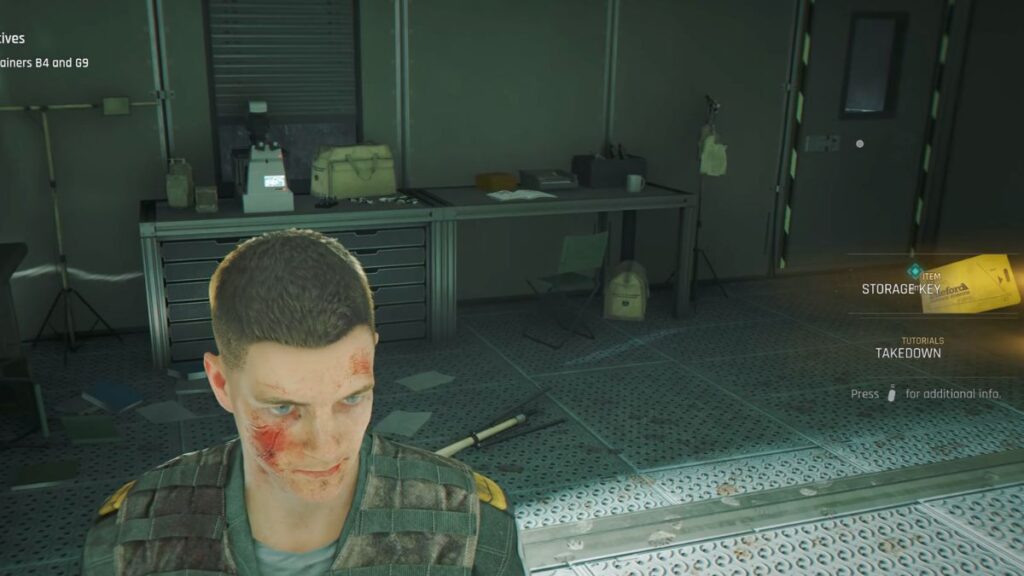
Drop from the ledge and take the left path down. When you see building G9 below, do not drop down directly. Sidle to the other side first and then jump on top of the building. A Square prompt will appear on the edge. Press it to perform a Takedown from Above, your first in the game. Drop down, pick up the storage key from the body, and use it on the locked door to the left to free the first group of prisoners
Sub-objective: Free the Captives in Container B4
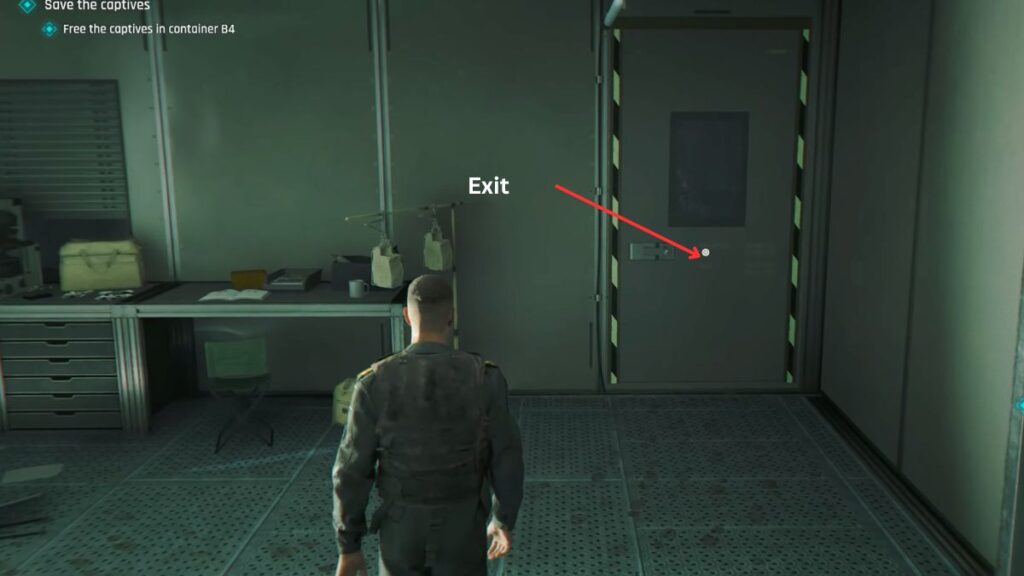
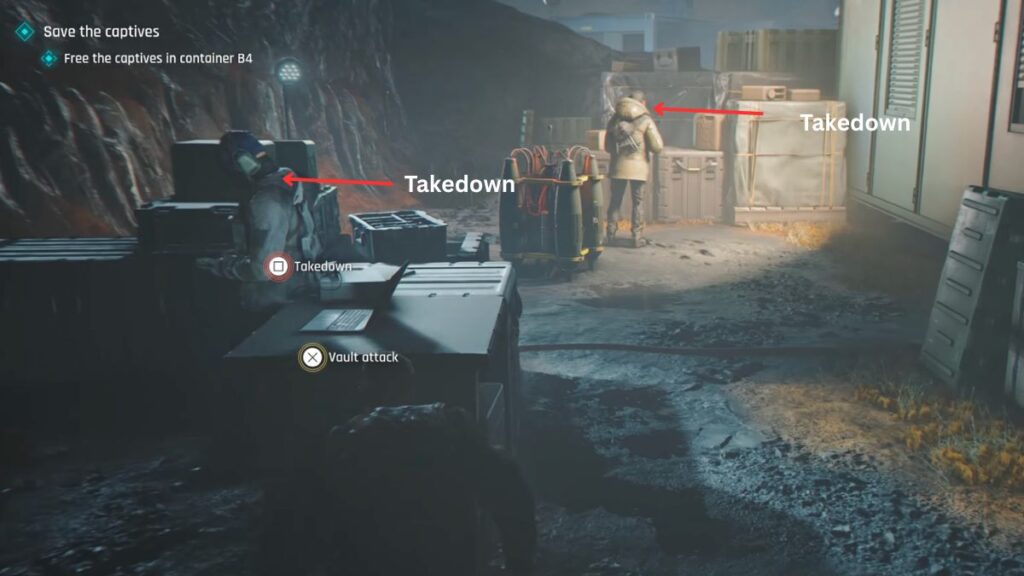
After the brief cutscene, leave through the door and take a right. A guard is standing next to a laptop ahead. Sneak up behind them and press the takedown button when the prompt appears. Take down a second guard in the same area.
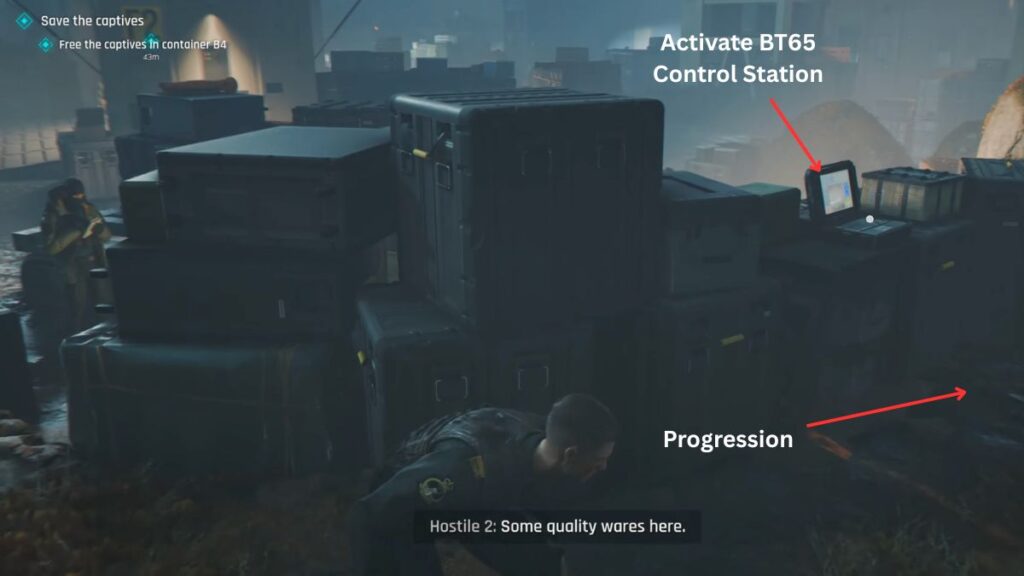
Move around the building until you reach some crates. Crouch and move along them to stay hidden. On the left side, you will find a laptop labeled “BT65 Control Station”. Activating it causes a distraction and triggers part of the Full of Surprises challenge.
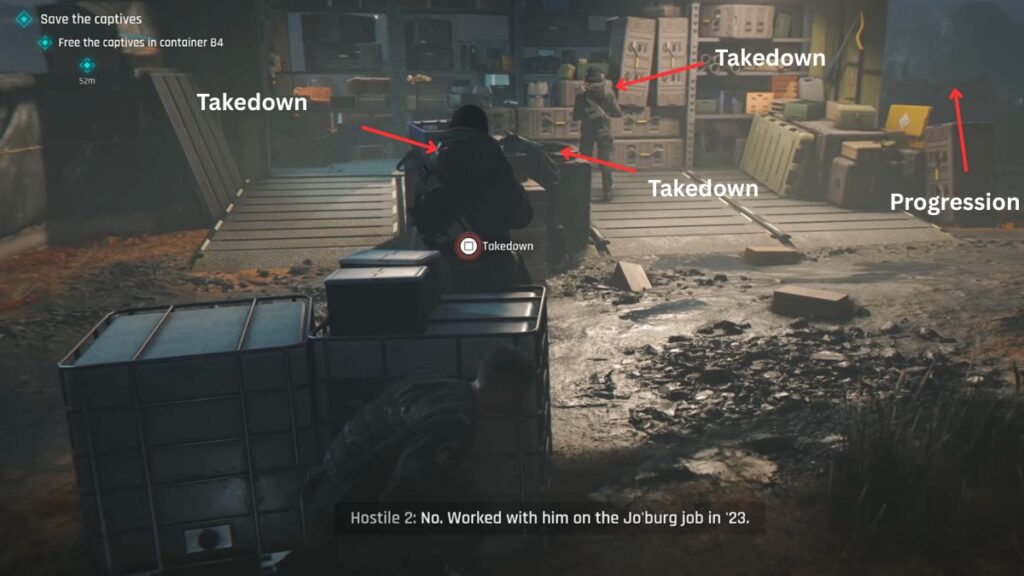
With the BT65 activated, continue along the path where three more guards are waiting. Sneak up behind each one and take them down individually using the Square prompt when it appears. After clearing them, head right toward building F8.
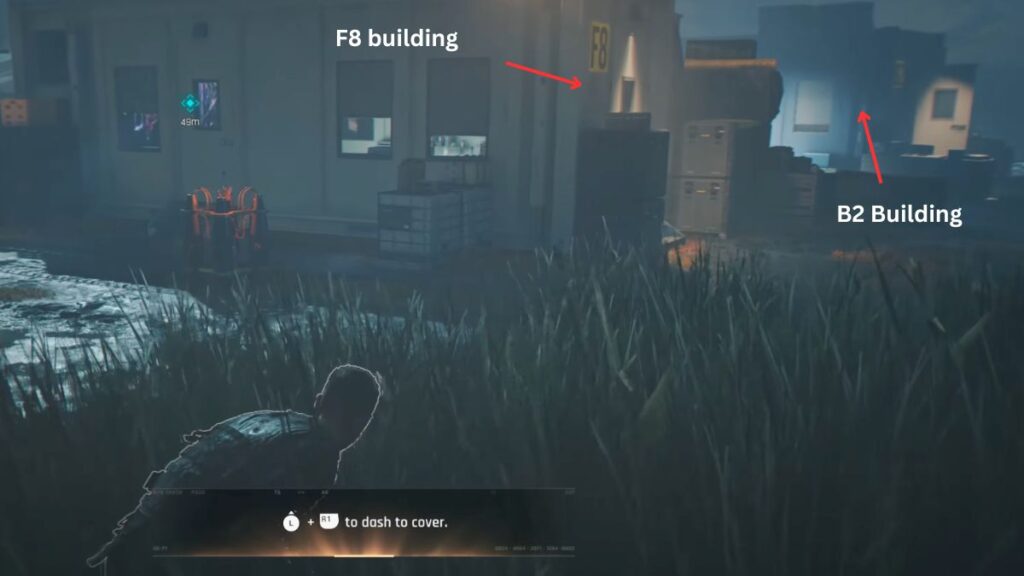
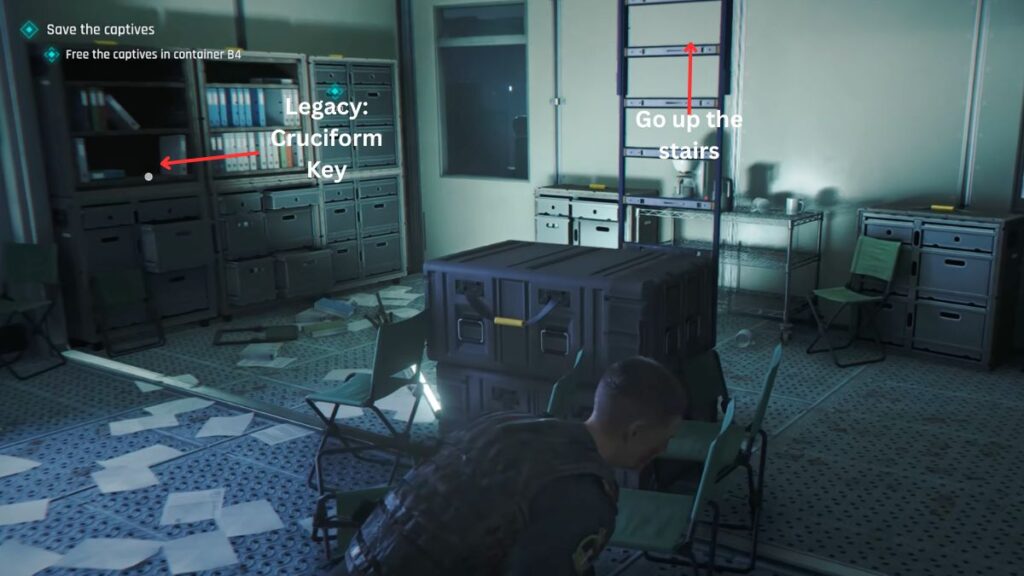
Inside F8, check the shelf directly in front of you for the Legacy: Cruciform Key. Before going upstairs, head to the adjacent building B2 first. There is a guard inside. Take them down to complete the 00 To Become challenge, which requires seven undetected takedowns in the central camp. While you are in there, collect the Postcard: Iceland Postcard from the desk.
Head back to F8, climb the first staircase then take the second one up. At the top, jump while holding left to grab the wire and slide down to a cliff overlooking building G9. It is an indirect route but it is the cleanest path through the area while keeping the challenges on track. From the cliff, take the same route back through G9 and across to where you activated the BT65, then drop down into the ditch.
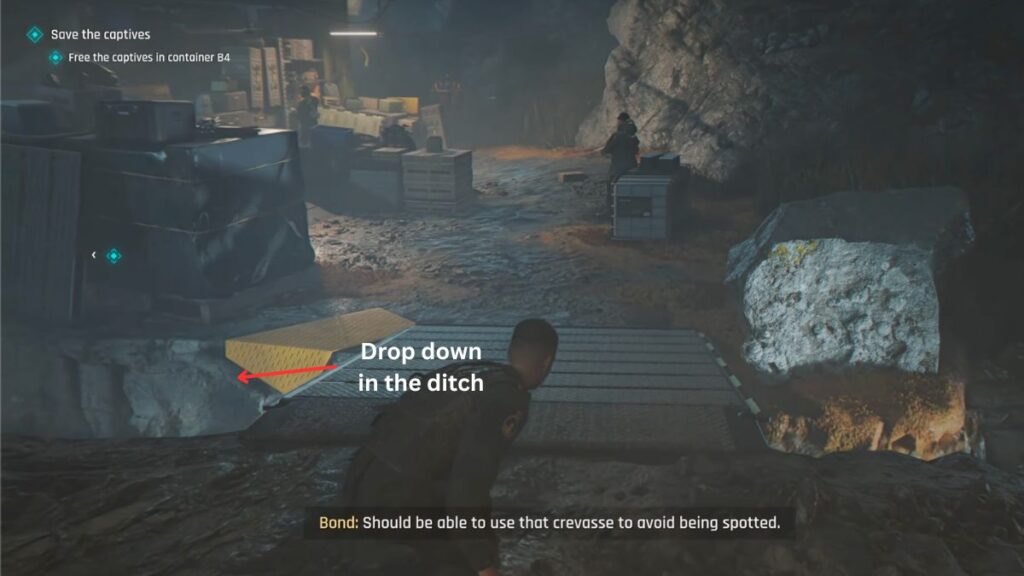
Follow the ditch until you squeeze through a narrow gap and come out onto a cliff. Head right and climb the rocky ledges past a pair of guards and an ATV. Pull yourself up into the tall grass nearby. Approach the ATV and Sabotage the Brakes to cause a distraction, then move left to the other side of the crates. The Full of Surprises challenge will complete here.
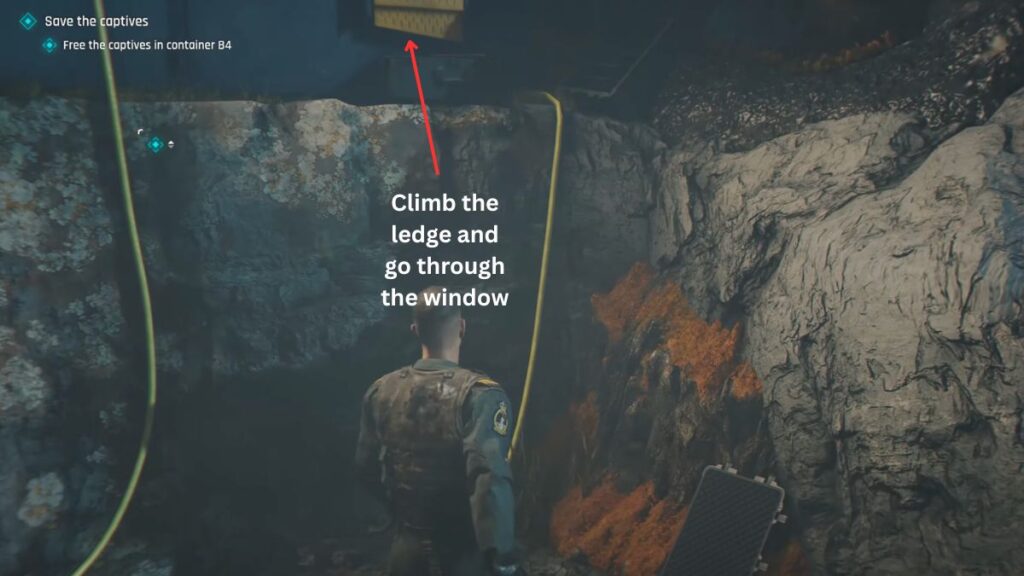
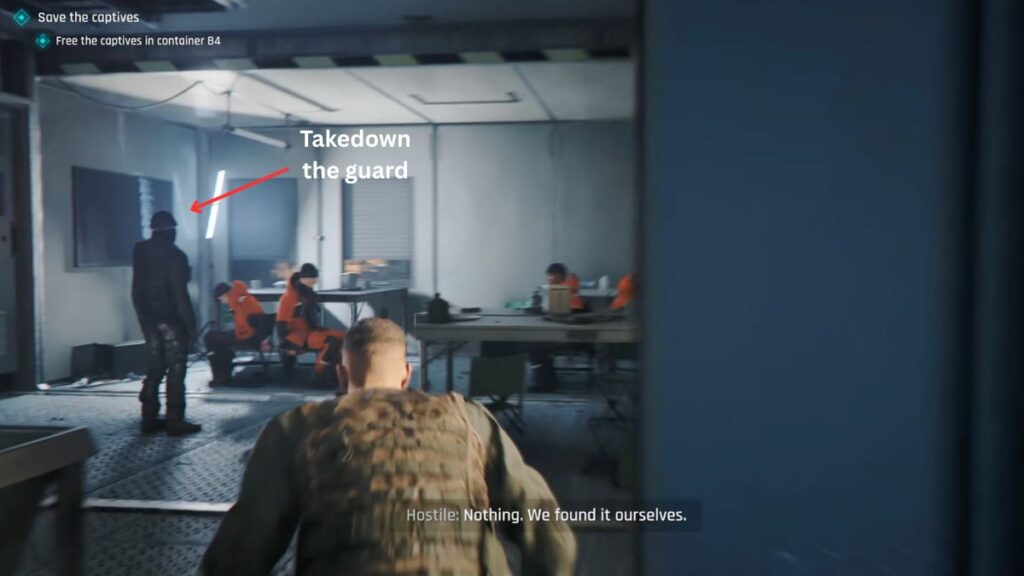
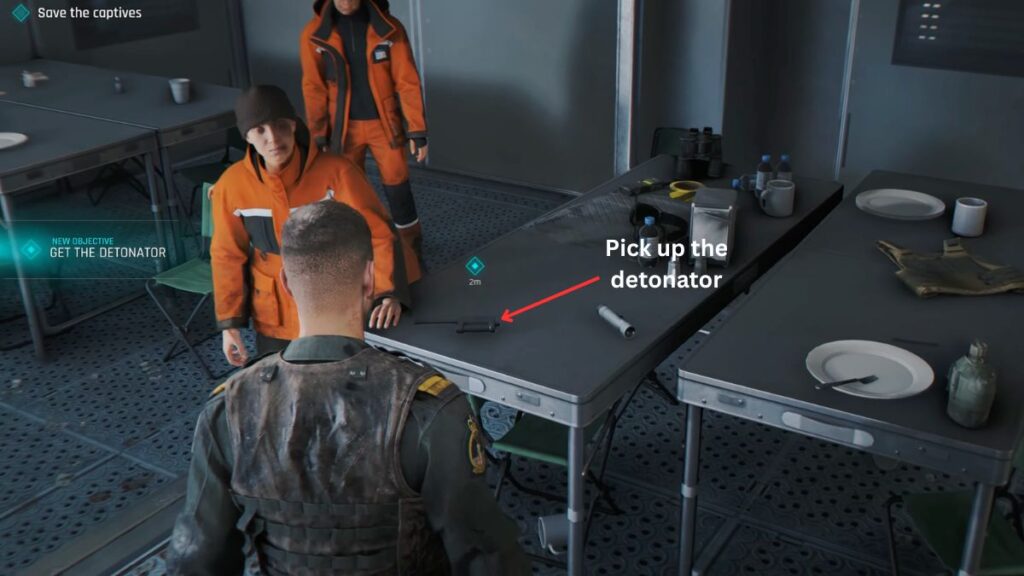
Drop back into the ditch, take the left side up the ledges, enter through the window, take down the guard inside, and free the prisoners in container B4. A short dialogue scene plays and one of the crew hands you a detonator, completing the Get the Detonator objective.
Bringing Down the Antenna
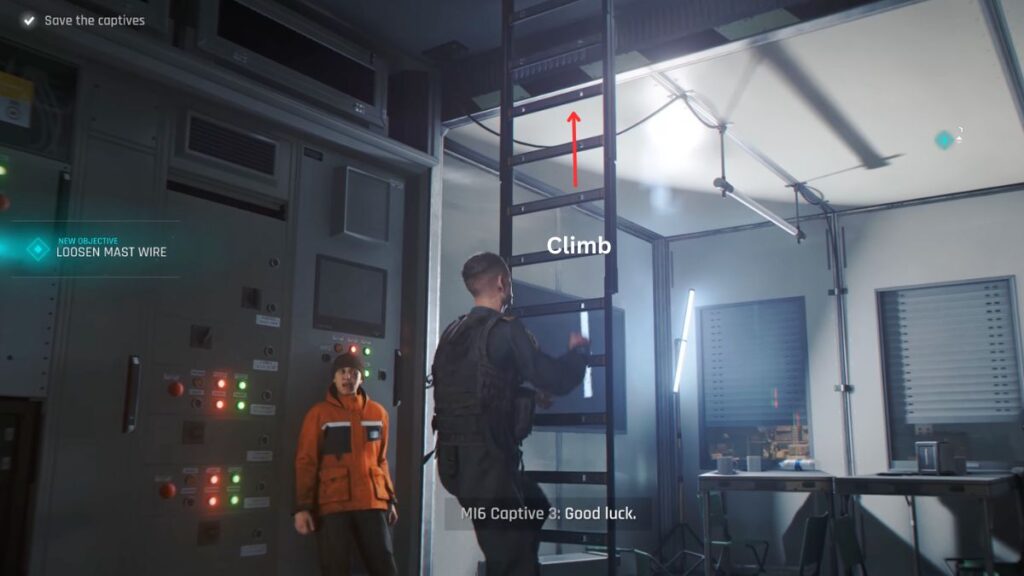
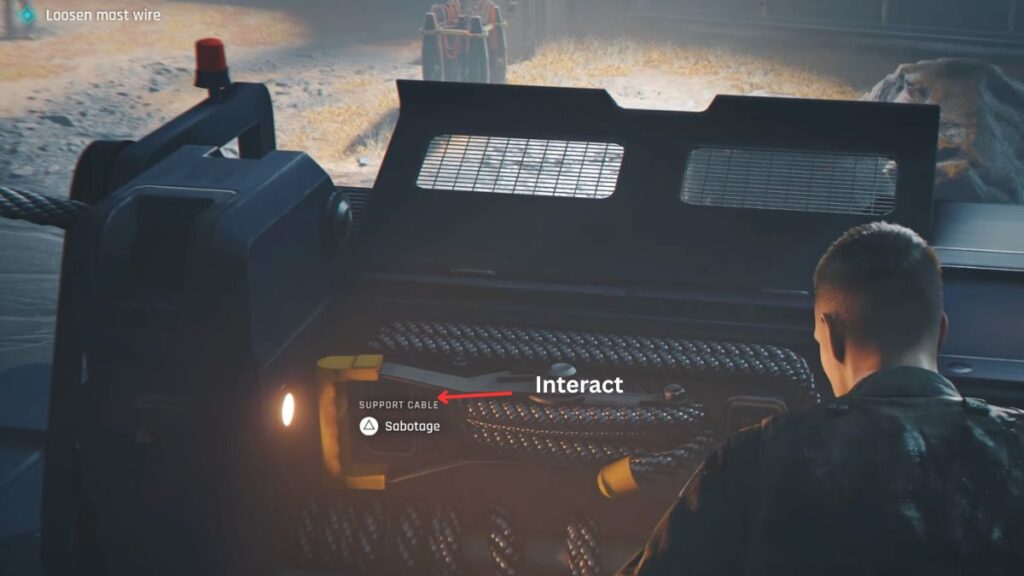
Your next objective is to Loosen the Mast Wire. Climb the stairs your crew drops down for you. At the top, look to the right for the device holding the mast support in place. Sabotage the support cable and the antenna comes down.
Escaping the Camp
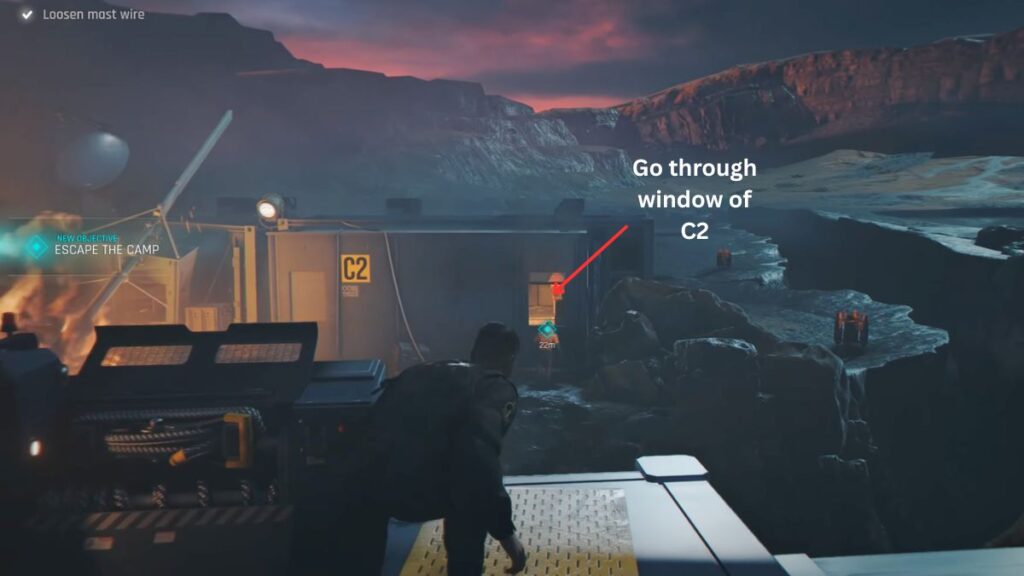
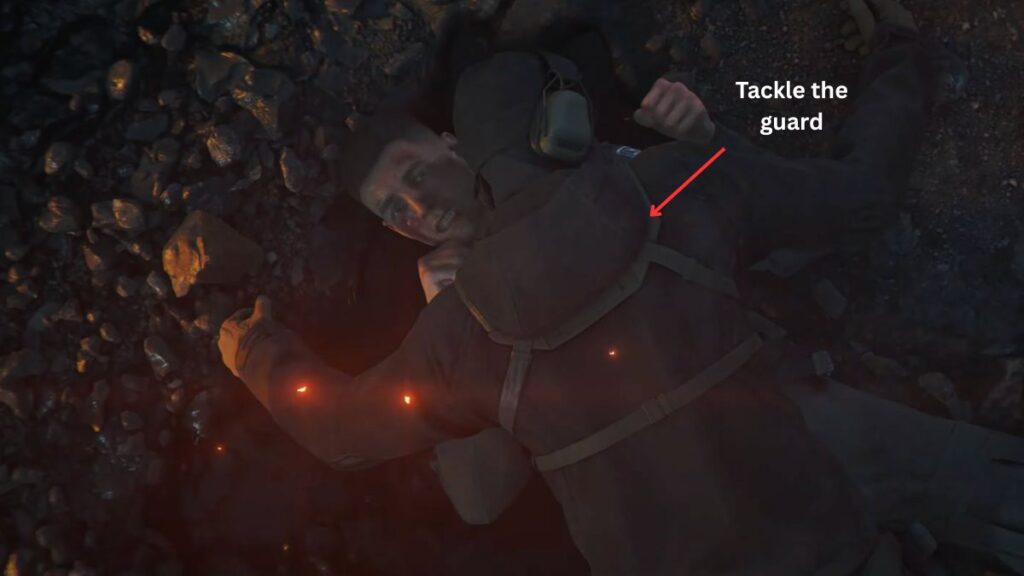
Your final objective is to Escape the Camp. Jump from the roof and head toward building C2 ahead. As you enter, a cutscene plays and Bond climbs out through a window. A quick time event follows where a guard has his weapon on your escaping crew. Tackle him and press the button sequence when prompted: Circle, Square, R2.
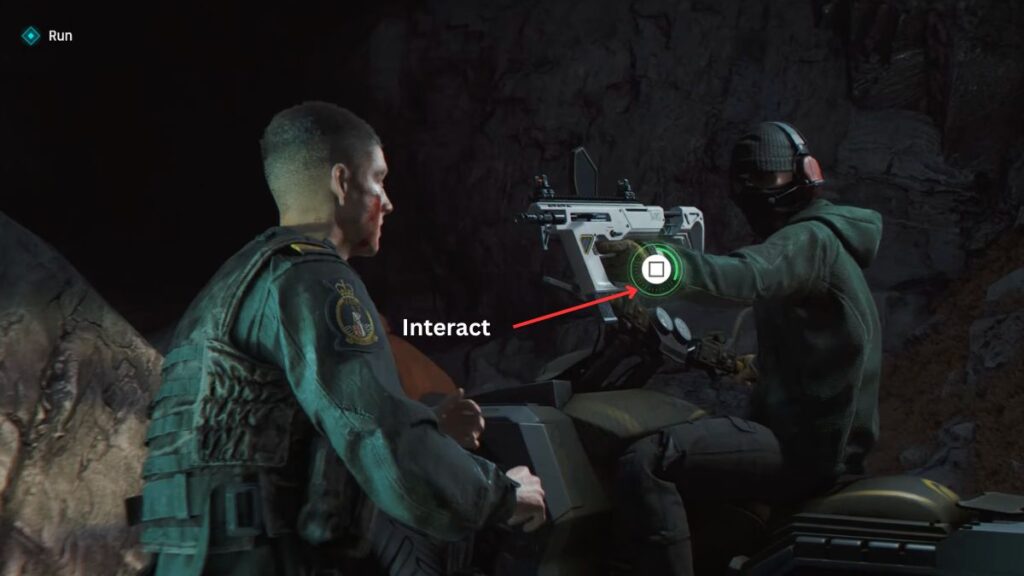
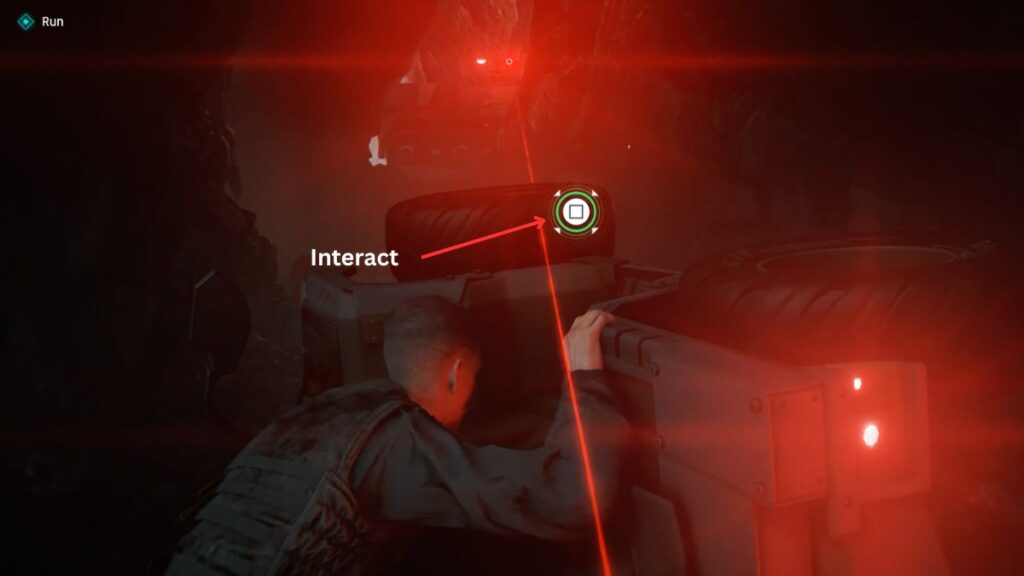
Follow the hostages toward the blue marker as they clear the camp. An armored vehicle appears so cut right into the gap between the cliffs. Keep moving and when you are about to take a left, an ATV arrives and another quick time event starts. Press Square to deal with the guard. Continue forward and another prompt has you take cover behind the ATV as you come under fire. Press Square again.
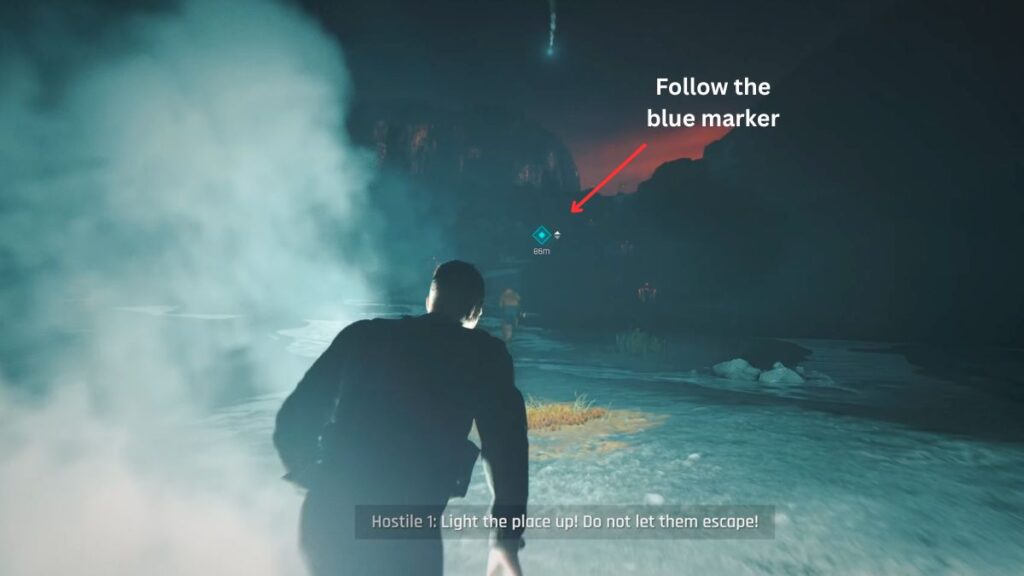
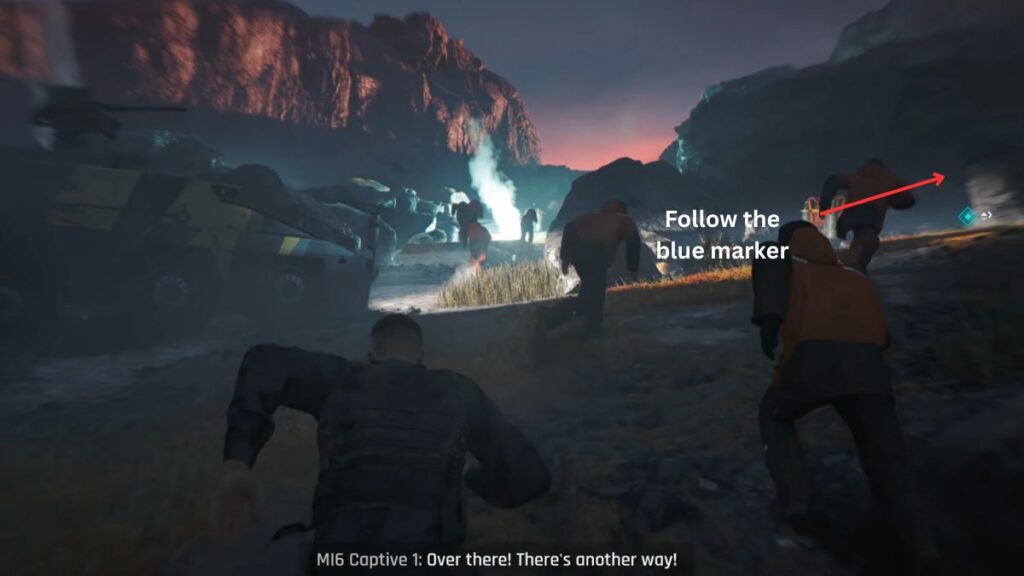
Bond shows the prisoners the way out over the cliff. Keep moving until one final cutscene and quick time event play. Press R2 to trigger the detonator. If you have stayed undetected throughout the camp section, the Ghost: Against The Odds challenge will complete here.
In His Majesty’s Secret Service
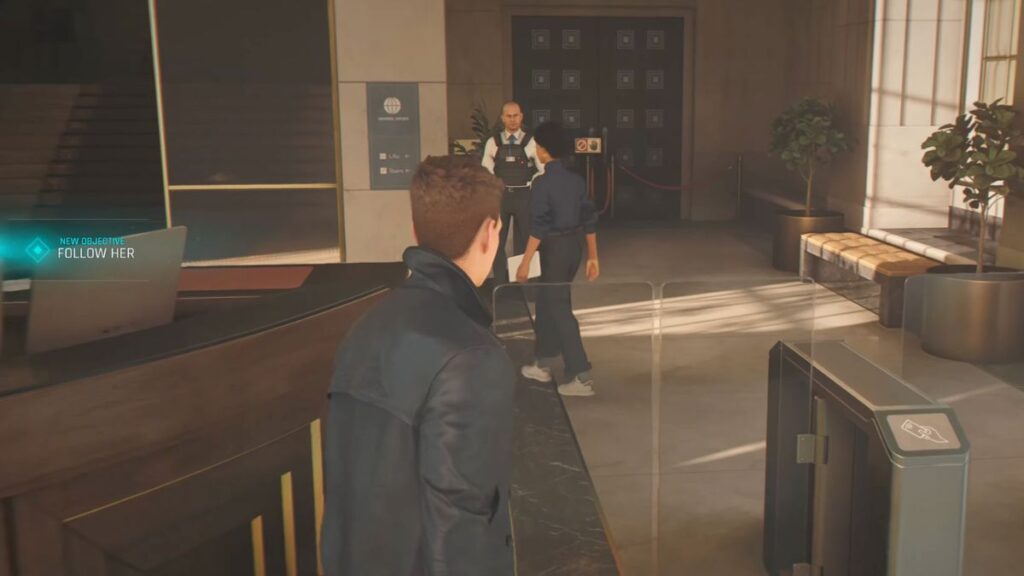
A cutscene shows Bond entering an office roughly a month after the events in Iceland. A new sub-chapter begins called In His Majesty’s Secret Service. When the cutscene ends, your objective is to Follow Her, your MI6 handler from the mission.
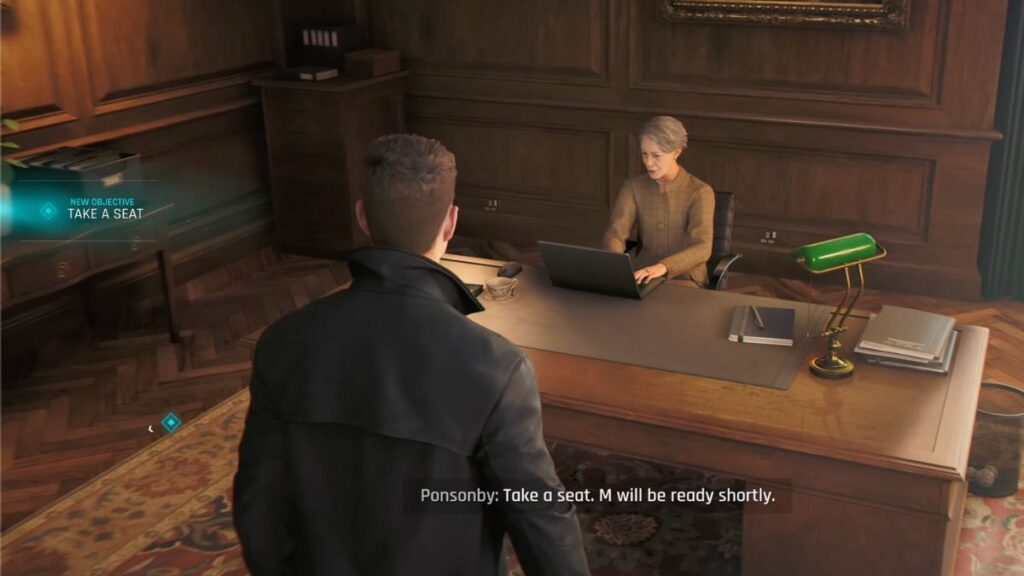
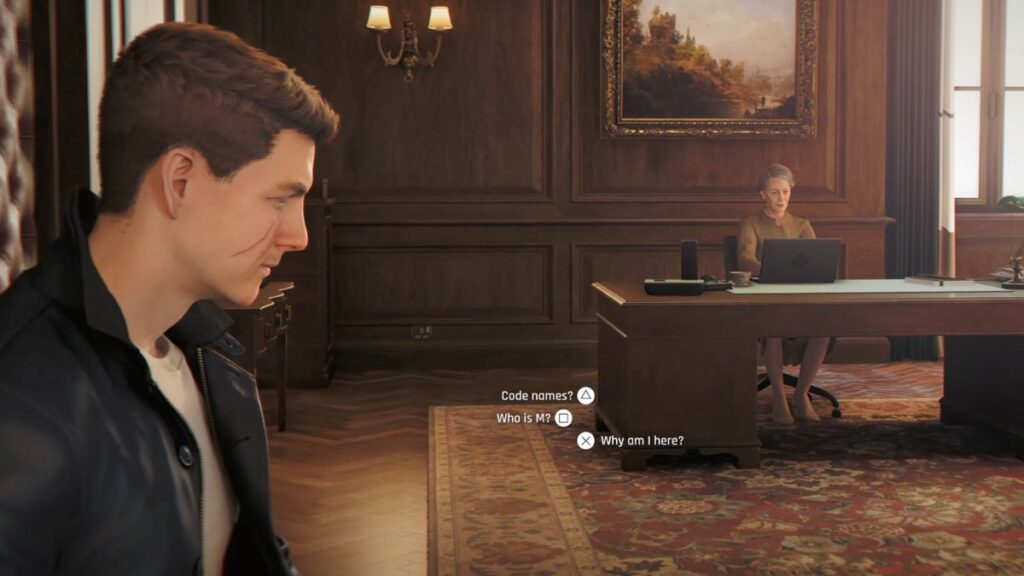
Follow her to M’s office where you will be introduced to Ms. Ponsonby. She will ask you to take a seat, which is also your next objective. While you wait, you can ask Ponsonby a few questions before she cuts you off.
- Triangle — Code Names
- Square — Who is M
- X — Why am I here
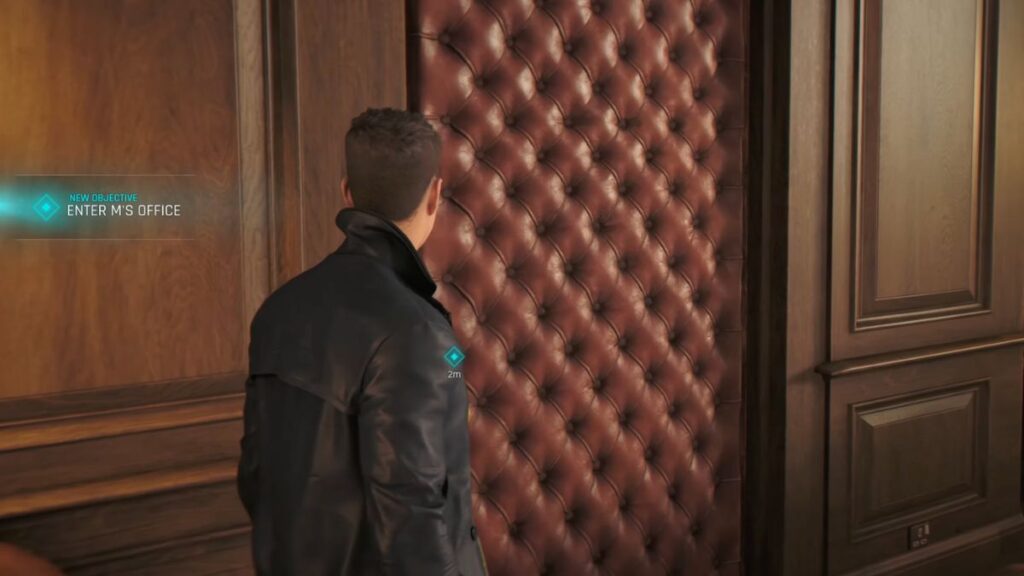
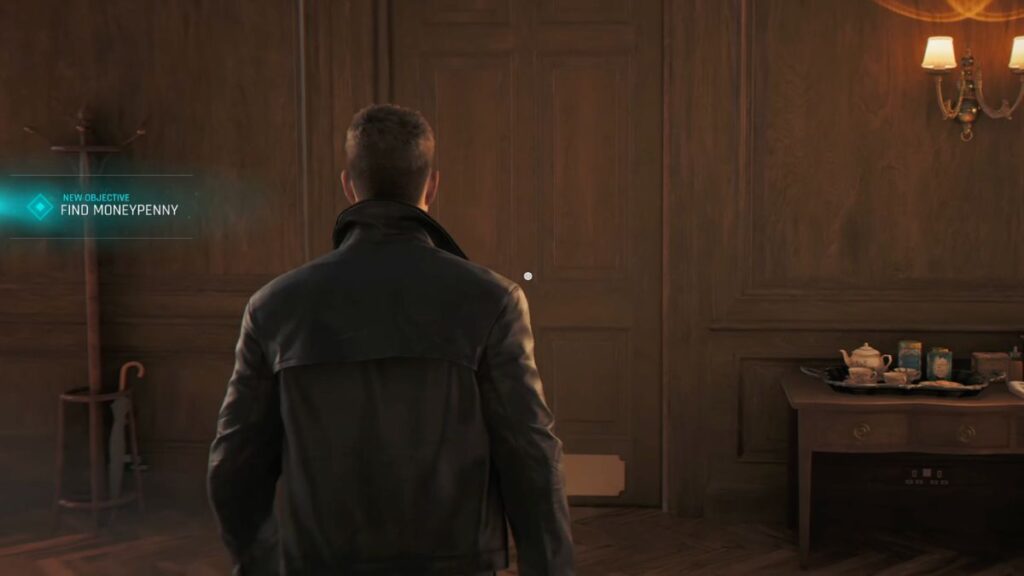
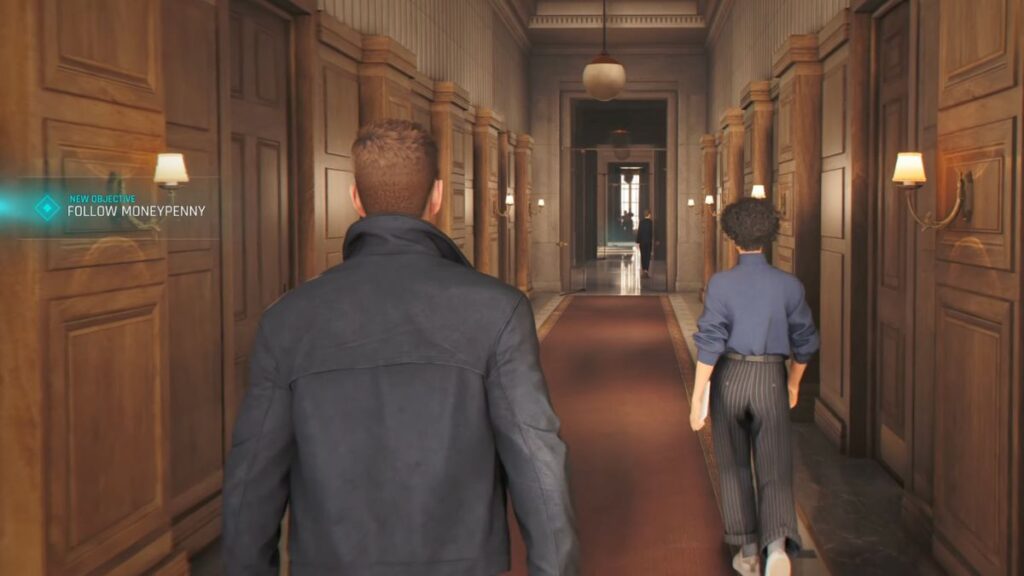
Once Ponsonby wraps up, enter M’s office. A cutscene plays and M offers Bond a place as a spy. After accepting, your objective is to Find Moneypenny. She is in the aisle just outside M’s office. Once you reach her, follow her back to the elevators. She will brief you on your housing and training along the way, leading directly into Chapter 1: The Needle’s Eye.
All Against the Odds Challenges
| Challenge | Description |
|---|---|
| Completionist: Against The Odds | Complete all challenges in Against The Odds |
| Pacifist: Against The Odds | Go through the central camp taking down only two soldiers |
| Ghost: Against The Odds | Go through the central camp without getting spotted |
| Assault: Against The Odds | Fight 4 soldiers without alerting the camp |
| No Help Needed | Go through the central camp without using any distractions |
| Full of Surprises | Use the BT65 and the ATV to distract the Arrowhead soldiers |
| 00 To Become | Take down 7 soldiers without getting spotted in the central camp |
| High Ground | Take down 3 soldiers from above in the central camp |
| Scenic Route | Use the zipline in the central camp |
The Prologue covers a lot of ground across a single mission, introducing movement, combat, stealth, and gadget mechanics before handing things off to The Needle’s Eye.
Note: If you followed our walkthrough you would have completed the following challenges:
- Ghost: Against The Odds
- Assault: Against The Odds
- Full of Surprises
- 00 To Become
- Scenic Route