
Before heading to Cedarbrook Apartments to find the next detonator part, there’s one more spot worth checking. After exiting the Gas Station gate from the previous step, you’ll have the Gas Can and will enter a street filled with Blister Heads roaming around.
Resident Evil Requiem Raccoon City East Walkthrough (Leon) – Part 3
Construction Yard
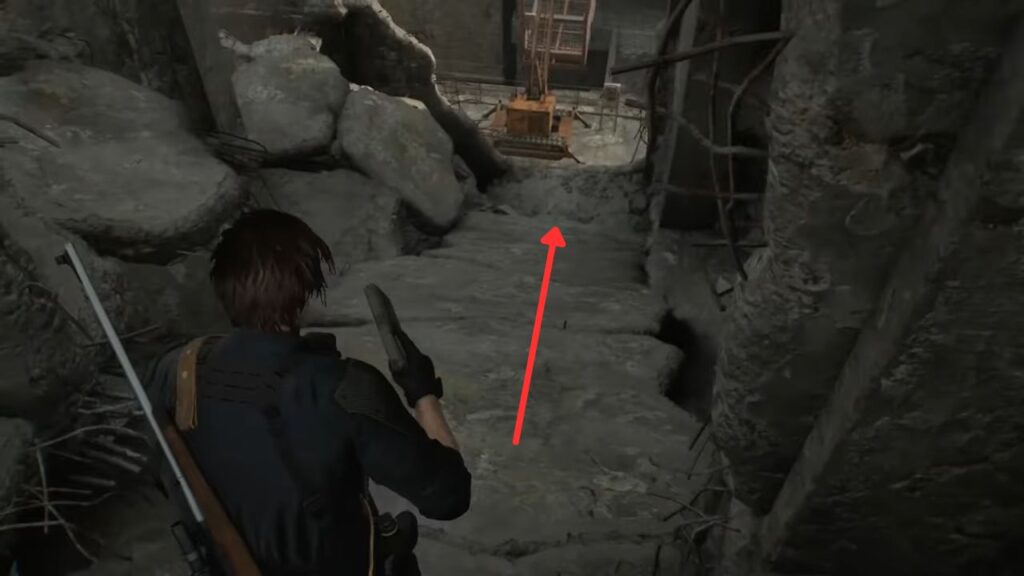
After dealing with the Blisters with sneak attacks, make your way back to the big bridge you lowered earlier, then head over to the large construction yard where the crane controls were.
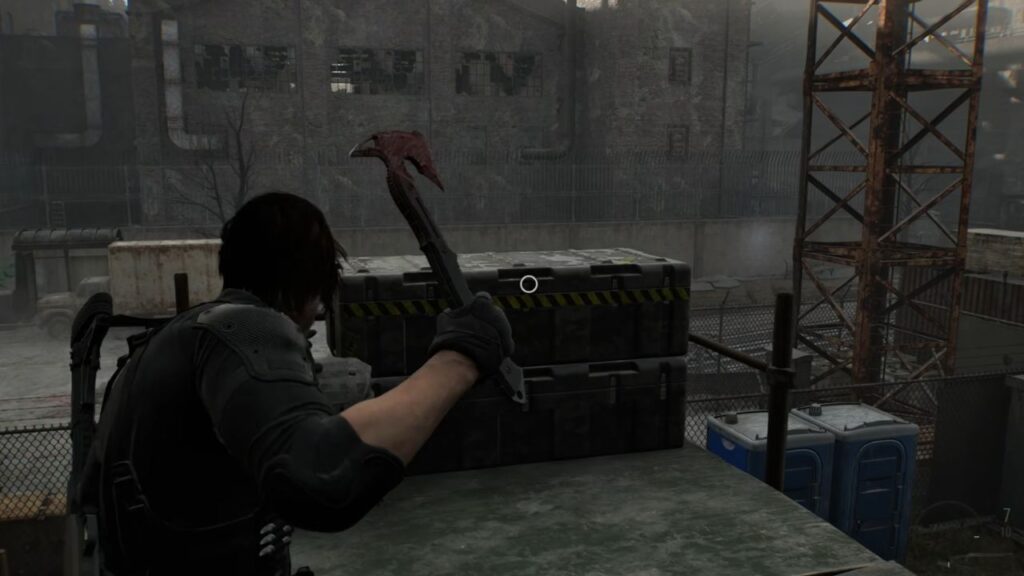
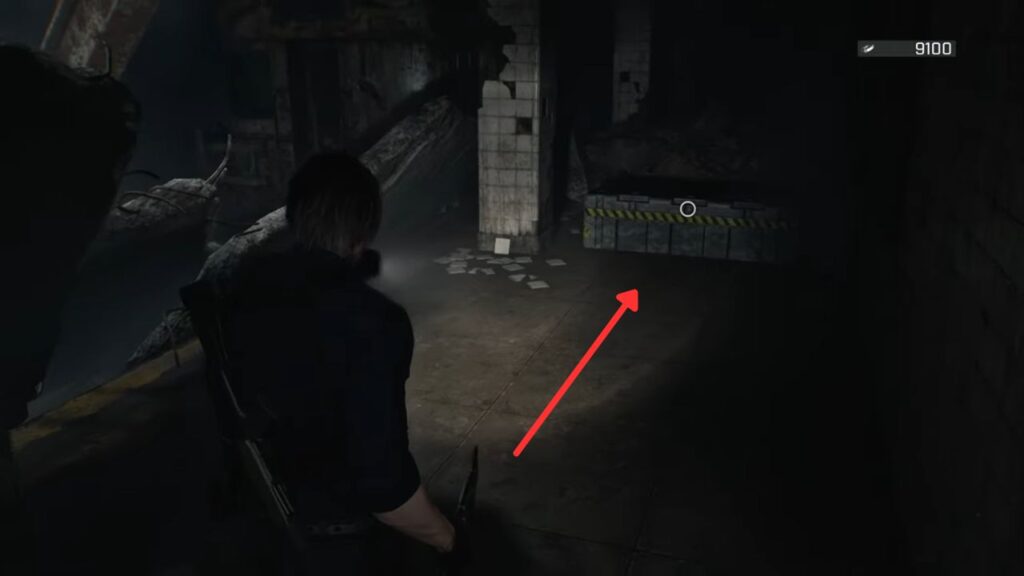
Use the Gas Can on the generator there to open the gate. Climb the scaffolding inside to reach a military crate packed with useful supplies.
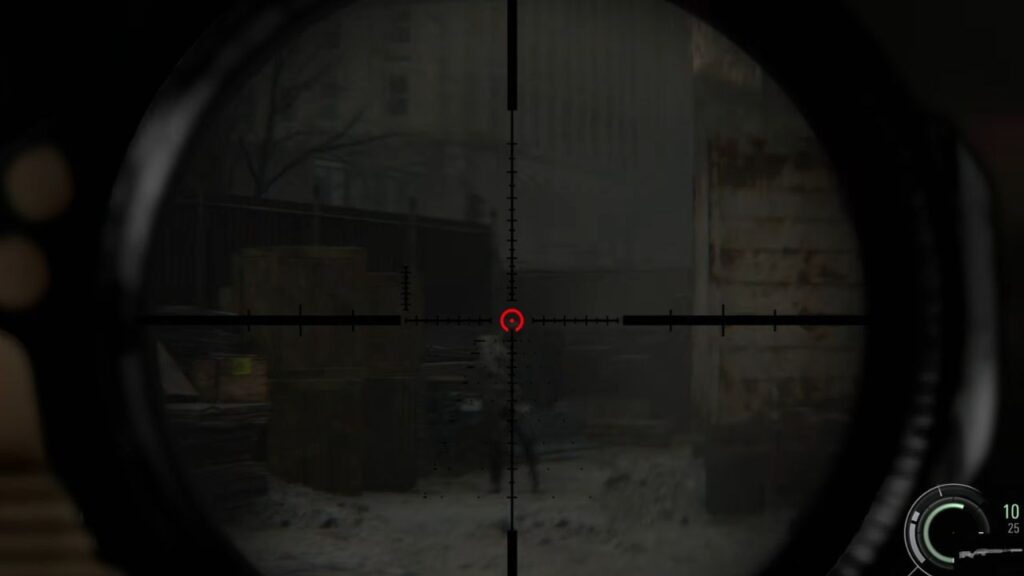
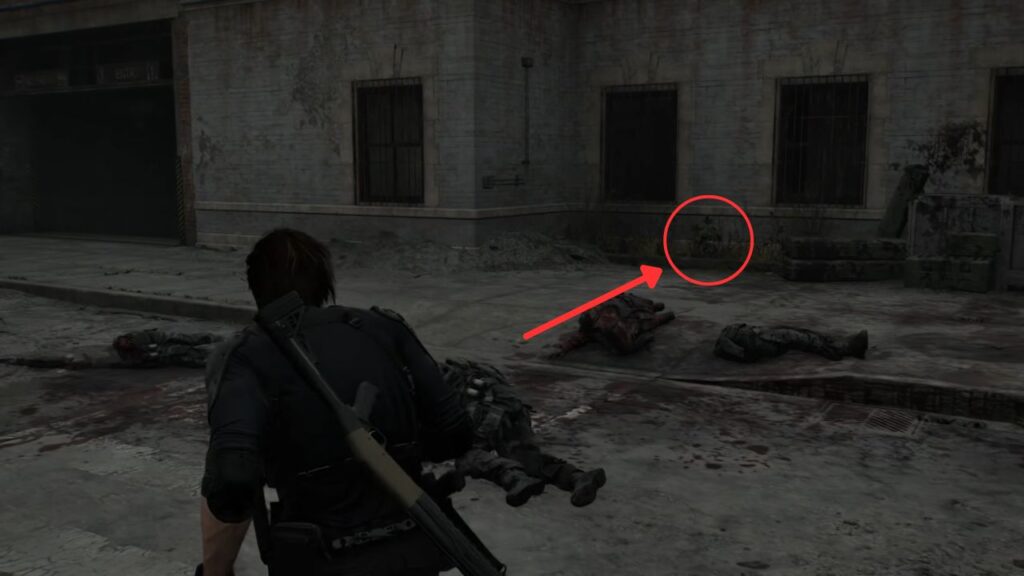
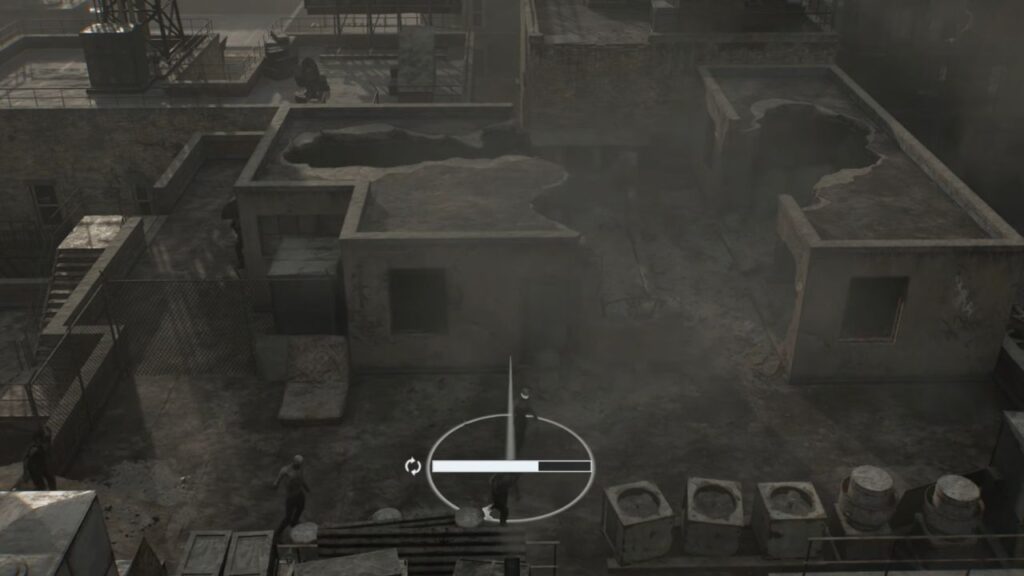
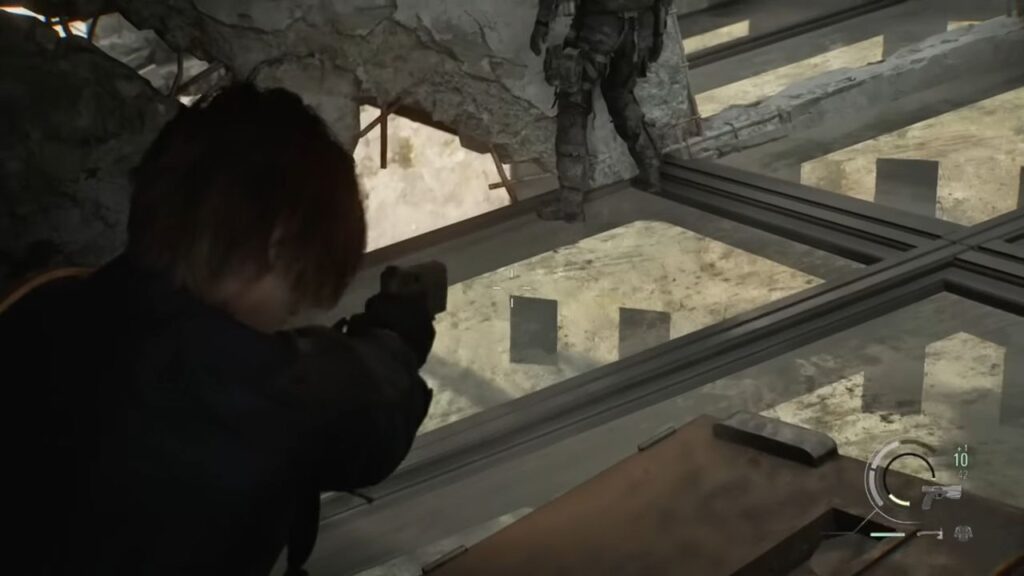
Before jumping back down, look to the right, and you will see the main construction yard below with a couple of zombies wandering around. Shoot the two infected from up here.
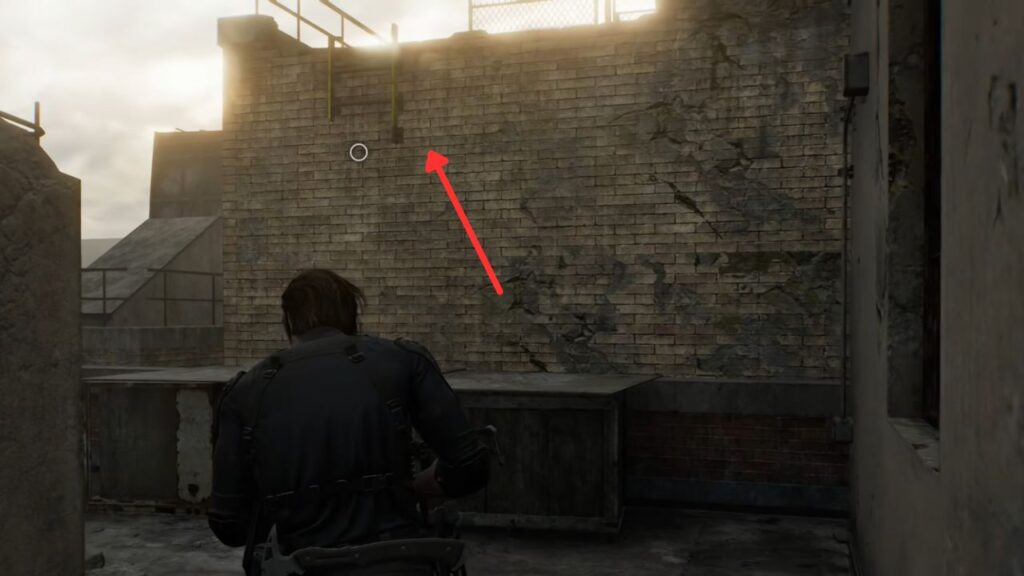
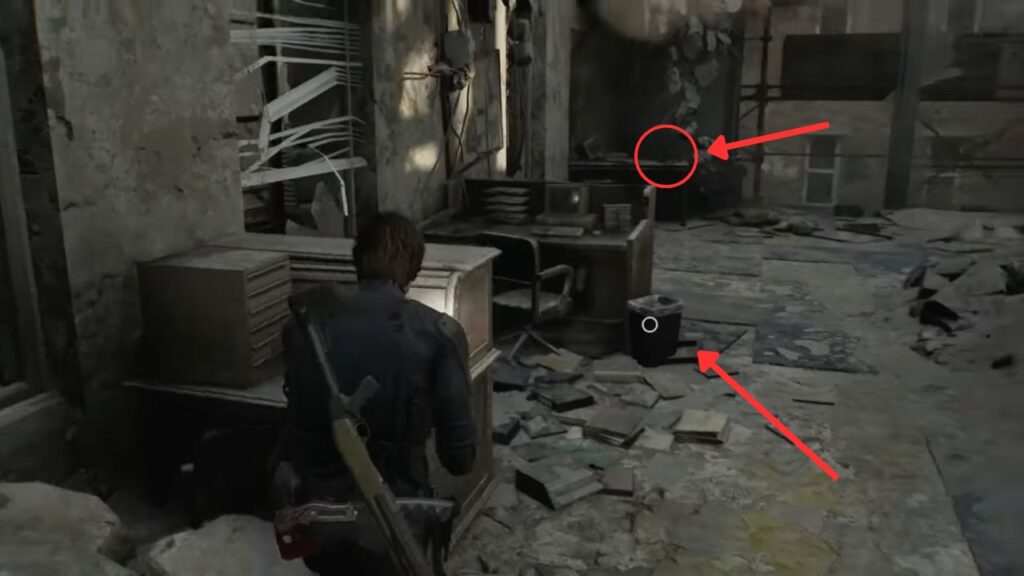
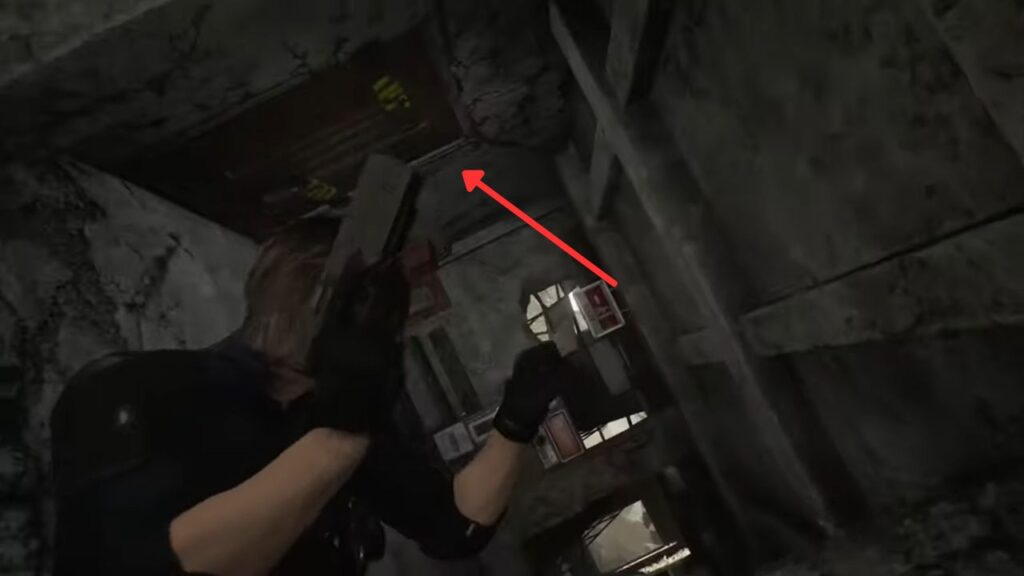
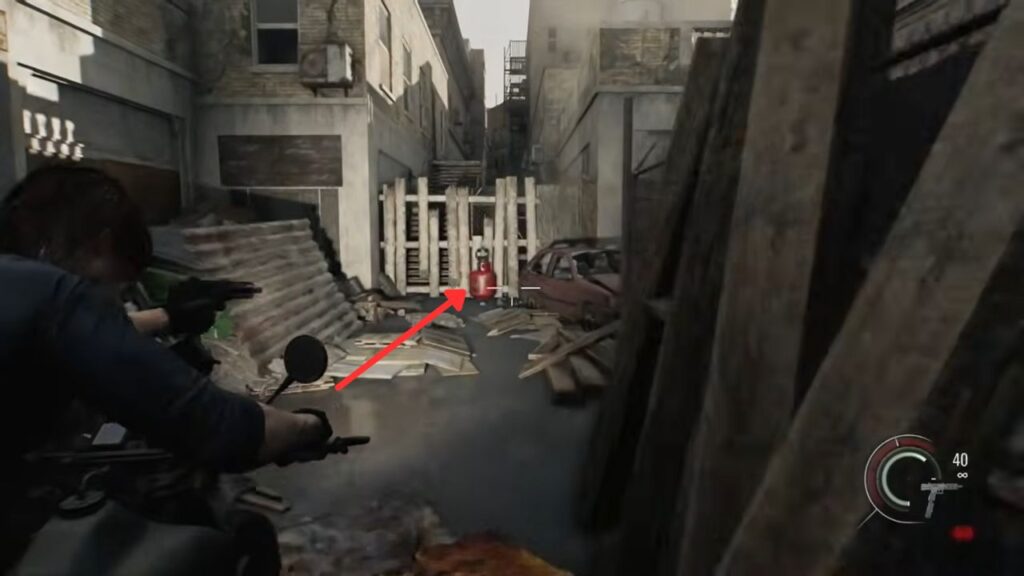
A bit further to the right, there is a hanging case attached to the side of the building. Shoot it down, and it will fall into a narrow gap below.
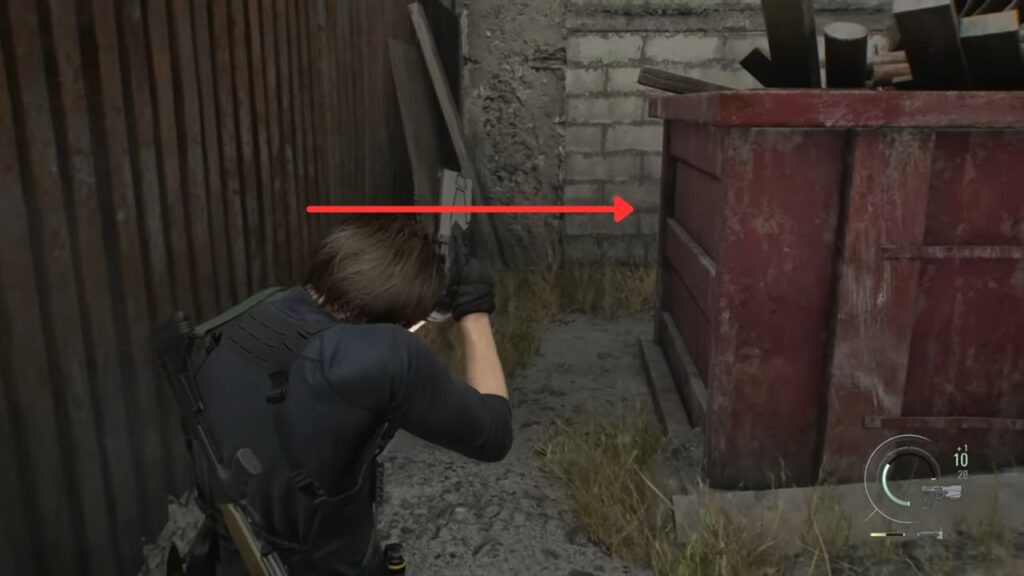
Next, jump down from the scaffolding to the other side and squeeze past the red dumpster on the right, duck under the pipes, and grab the Scrap and Stacked Hand Grenade from the fallen case.
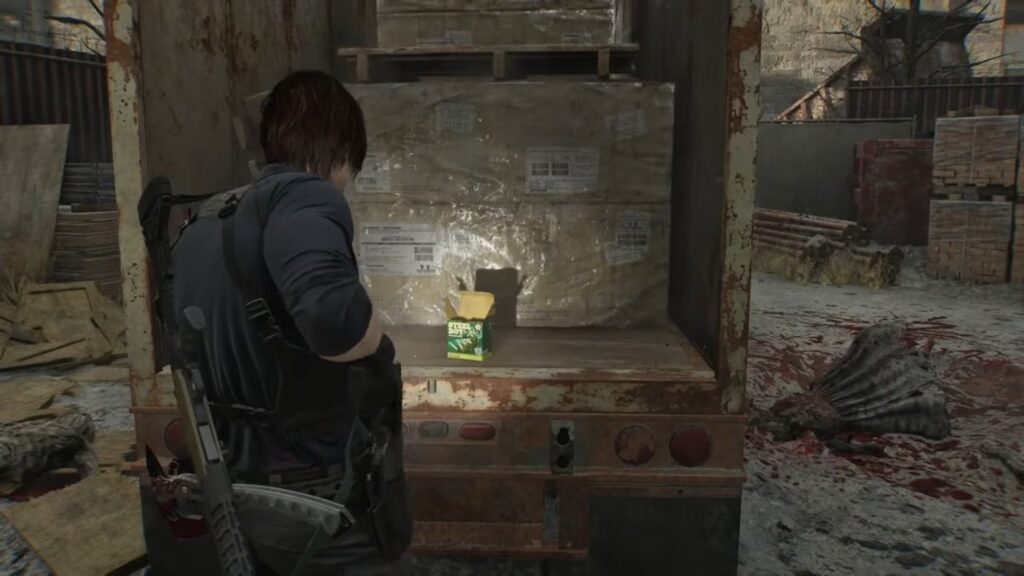
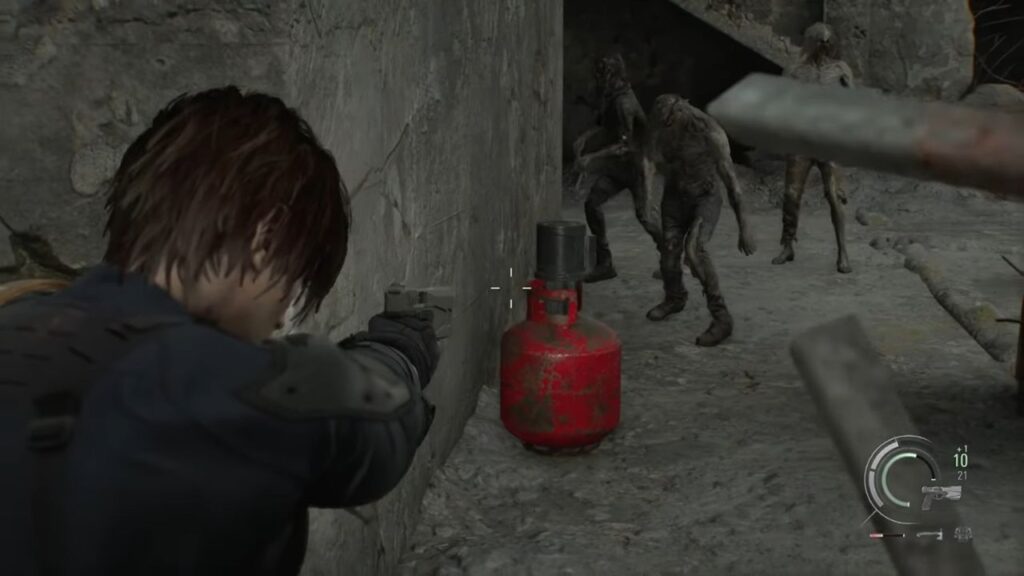
Head into the main yard. You can find some Shotgun Shells in the back of the truck. However, zombies will begin crawling up and surrounding you. Grab the explosive canister and detonate it in the middle of a group to clear them out. Once the area is clear, open the truck.
Sewers
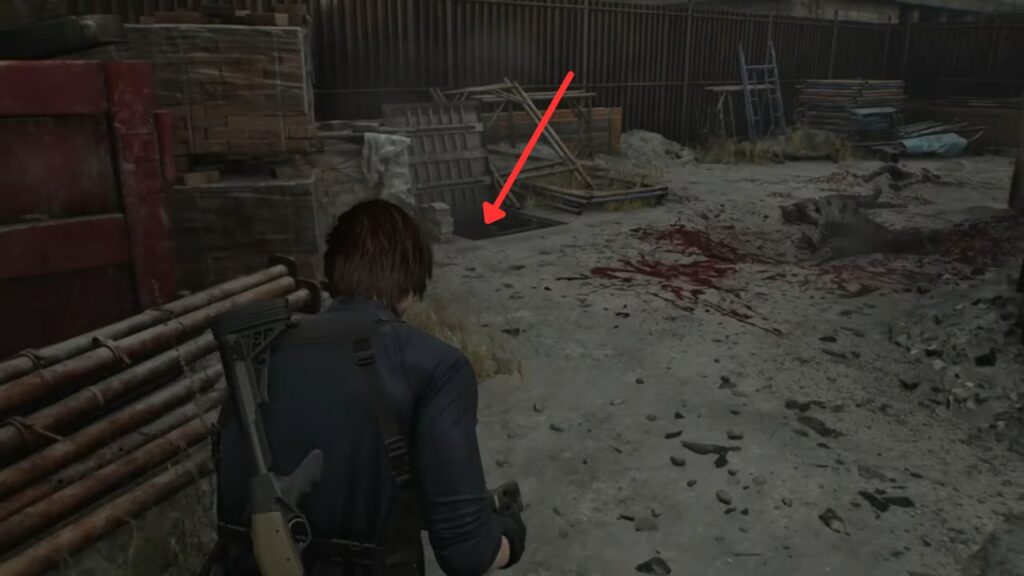
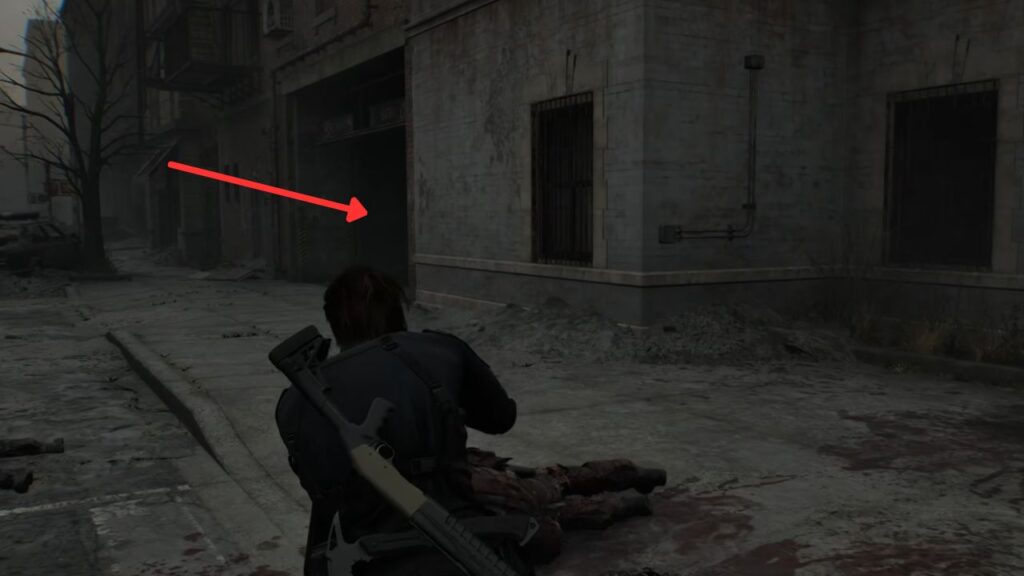
Next, open the fenced gate in front of the truck to create a path to the Central Camp. However, don’t go through it yet. Instead, look to the right for a ground hatch and climb down into the sewers.
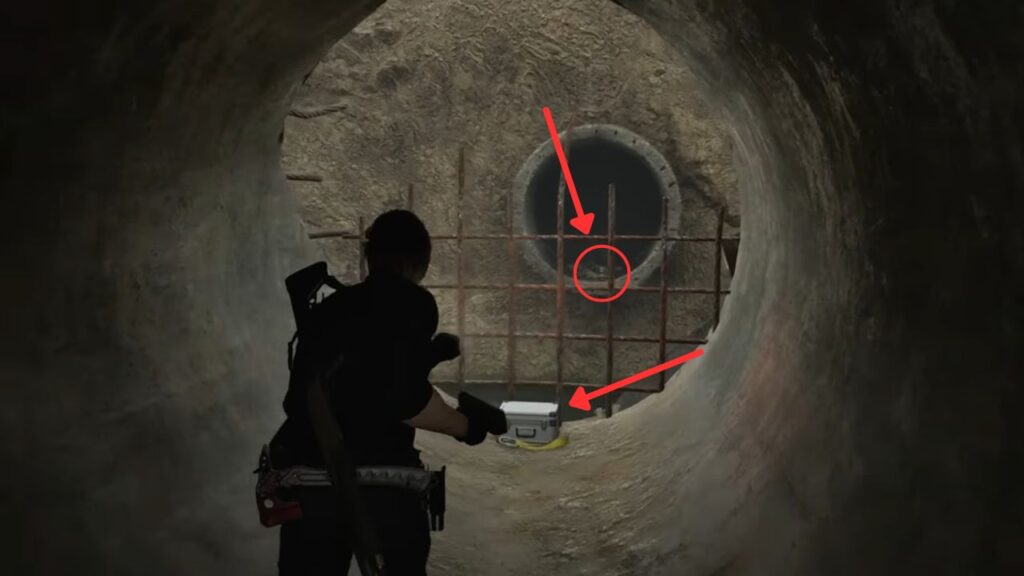
Once you’re down there, open your map and head east, then south. At the end of the sewer pipe with a half-broken grate, you’ll find a case containing a Common Tracking Module.
Before heading back, check the sewer opening in front of you. You’ll spot a Mr. Raccoon bobblehead sitting on the edge. Shoot it, then return.
Pass the ladder you used to enter and turn right, then immediately look left for a small staircase leading to a room. Inside, you’ll find a second hatch that goes even deeper underground. At the bottom, destroy a crate to get some Handgun Ammo, and look to the right to pick up a Green Herb.
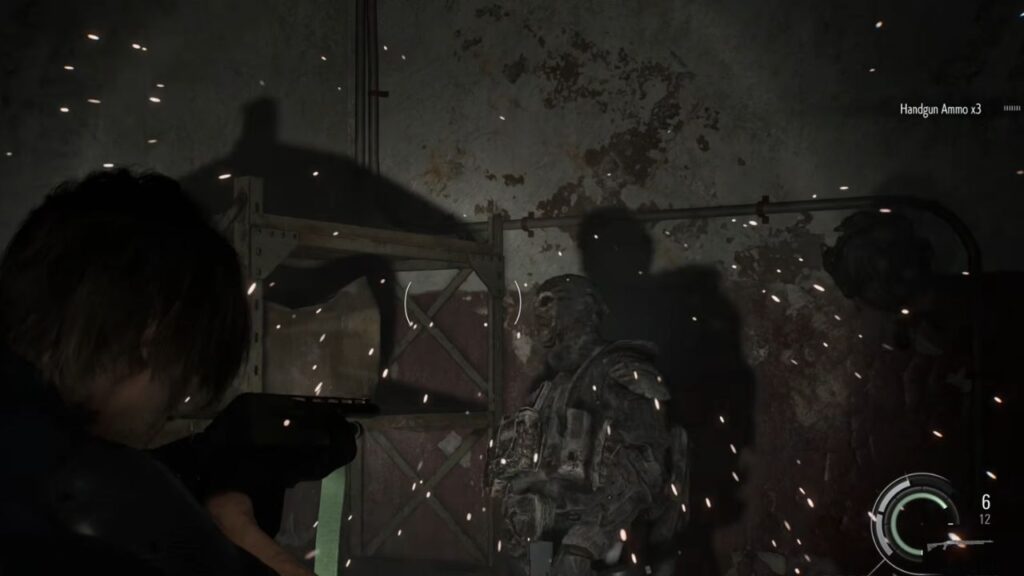
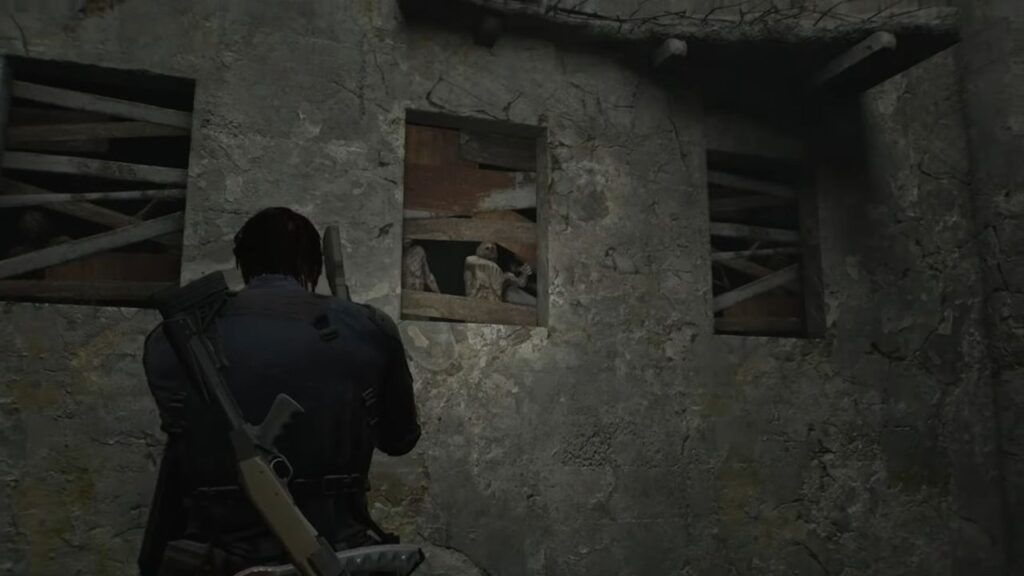
Get into the subway train in front of you and look to the right for another crate containing Handgun Ammo. Move to the other end and exit from the far side of the train to reach a dark railway tunnel. There are a few infected here, but they can be taken down quietly.
Continue forward to find another crate with Handgun Ammo. Climb into the train just behind the crate you destroyed to spot another Mr. Raccoon bobblehead sitting on top of the right-side seat.
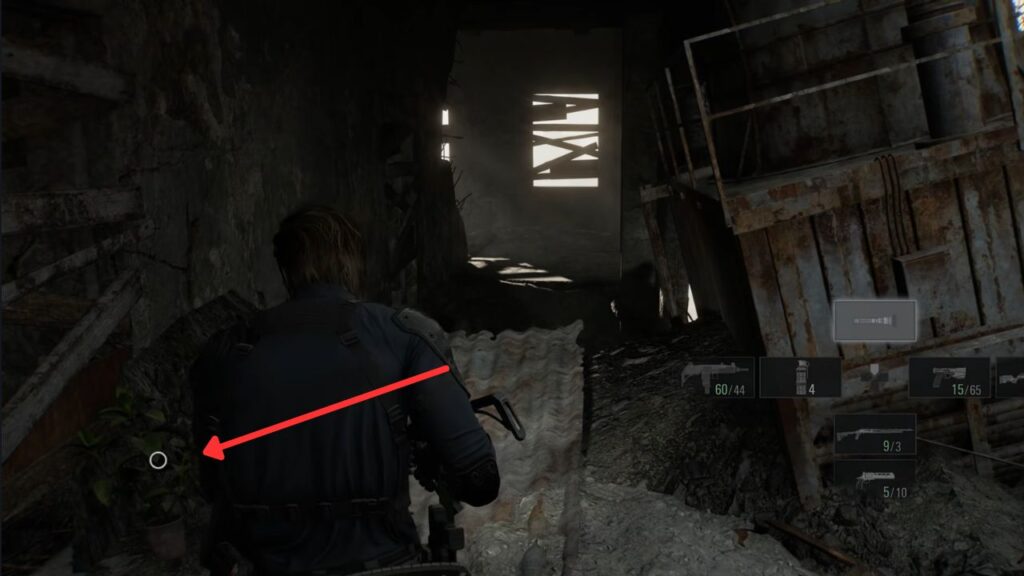
Spiders will ambush you, so clear them out and exit through the door on the opposite side. This leads to the end of the platform where you previously fought the spider boss. Jump onto the platform, eliminate the lone zombie, and walk to the end to find a military crate.
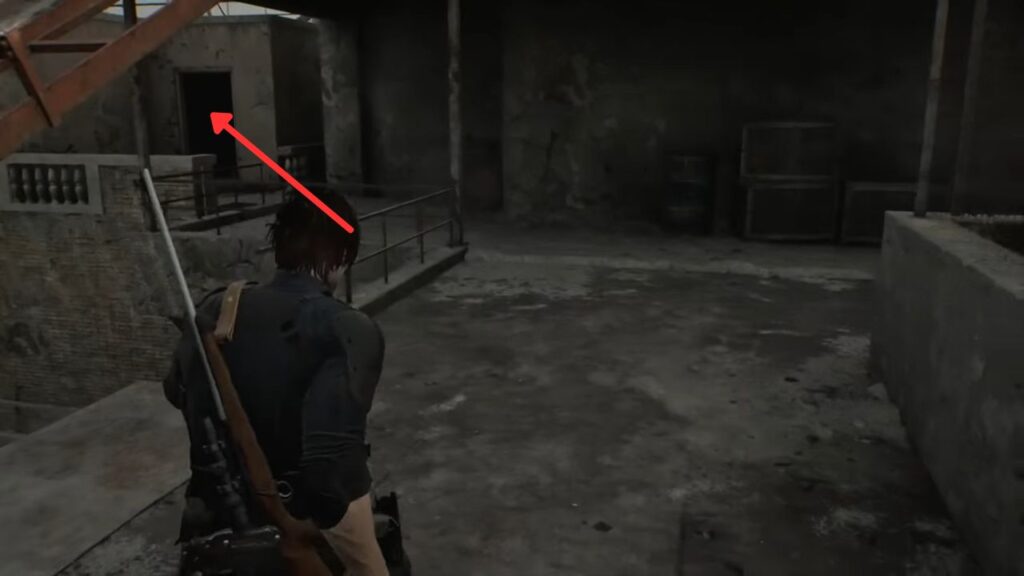
After that, turn around, climb the stairs, and take out the roaming infected. Open the steel door on the right to access a hallway that loops back to the area where you first started exploring the city.
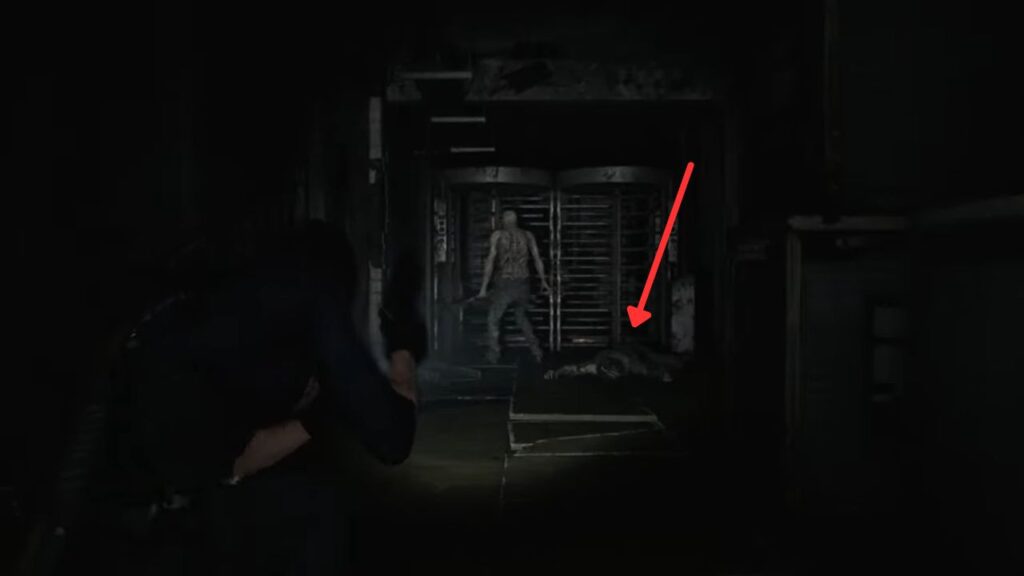
Head toward the turnstile exit, but be careful, the lying zombie will jump you. Clear the remaining infected and exit through the turnstile. Follow the path and go up the stairs to return to the surface.
Once outside, immediately turn left to find the fourth and final BSAA Container, marked with the number 4. Several infected will appear, so clear them out before proceeding.
Use your key to open the container. Inside, you’ll find the BSAA Emblem Charm and a Legendary Tracking Module, which is worth a large number of points. The charm can be equipped on rifles to improve their hip-fire accuracy.
Second Detonator Part — Cedarbrook Apartments
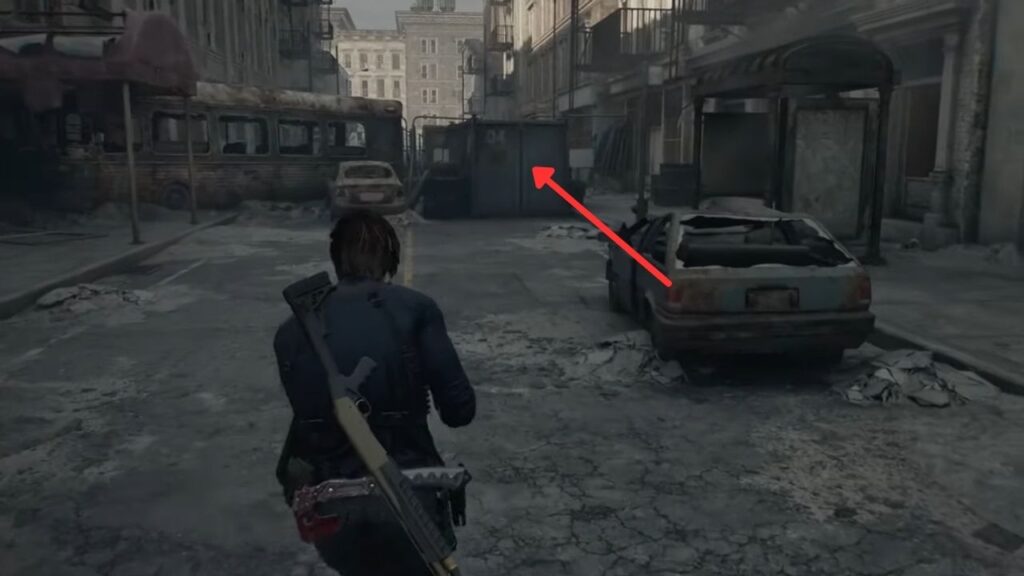
Now, head back through the underground tunnel toward the Cedarbrook Apartments. Before going in, stop by the Supply Box and purchase the second Body Armor upgrade. This will greatly improve survivability in the next area.
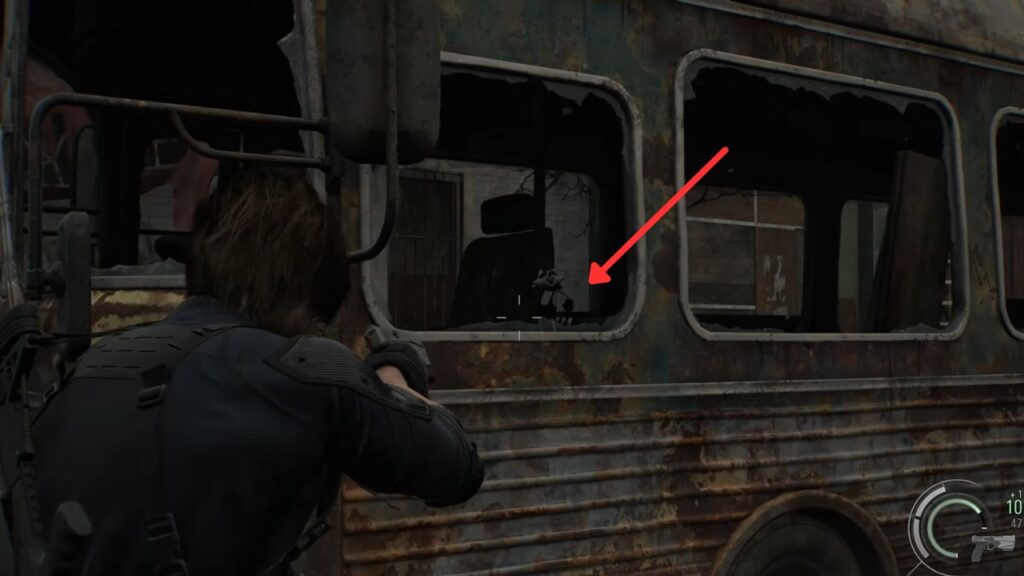
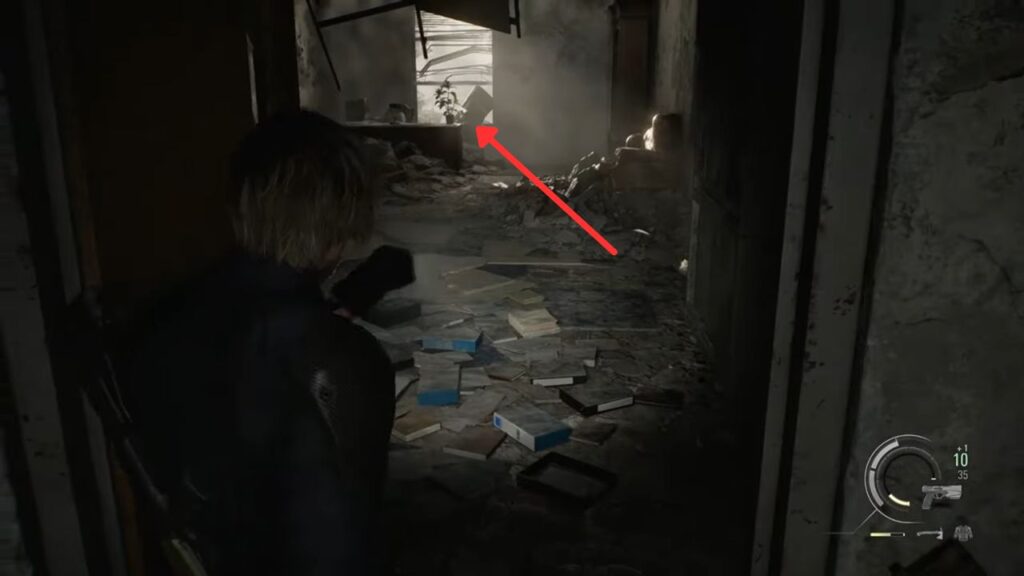
When you reach the apartment building, don’t enter just yet. Check the broken bus parked across from the entrance and look through its window to spot another Mr. Raccoon Bobblehead. Also, pick up the Green Herb on the ground to the left of the entrance before heading inside.
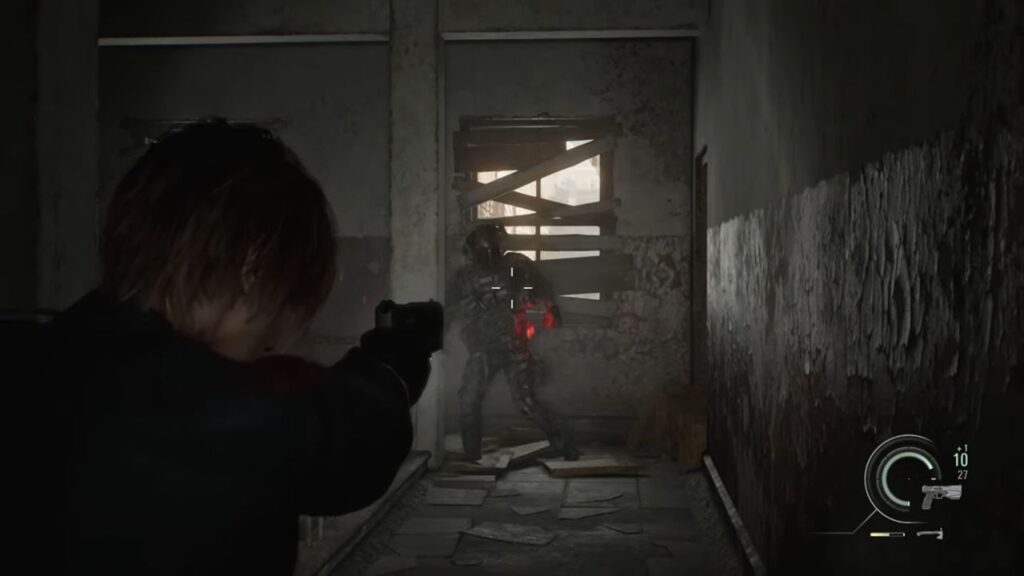
Enter the building and go upstairs. Move along the balcony and drop down through the broken railing. Several BSAA Zombies will be waiting, so stay alert. The first one will stagger in from the left, raise a submachine gun, and fire in a wide horizontal sweep.
Immediately take cover behind the crates instead of trying to tank the damage. Once the firing stops, close the distance quickly and use the shotgun to blast off its helmet, then fire again to finish it.
Shortly after, two more BSAA Zombies will drop down, one aggressive grabber and one ranged attacker. Switch to your rifle and aim for headshots as soon as they land, staying near the crates so you can take cover if needed.
After defeating all three, loot them for Submachine Gun Ammo, then rotate the blue door crank. This reconnects the courtyard to the entrance room and rewards you with the Rusty Crank, which can be used on locked doors in other areas.
Head back up to the second floor. Another BSAA Zombie will kick open a door and charge at you with a live grenade in his hand. If possible, shoot the grenade with your pistol to detonate it while he’s holding it.

With the Rusty Crank in your inventory, you can now open the steel door on the balcony. Head over and unlock it, then go through and climb the ladder on the left. At the top, destroy the crate on the right to collect some Rifle Ammo.
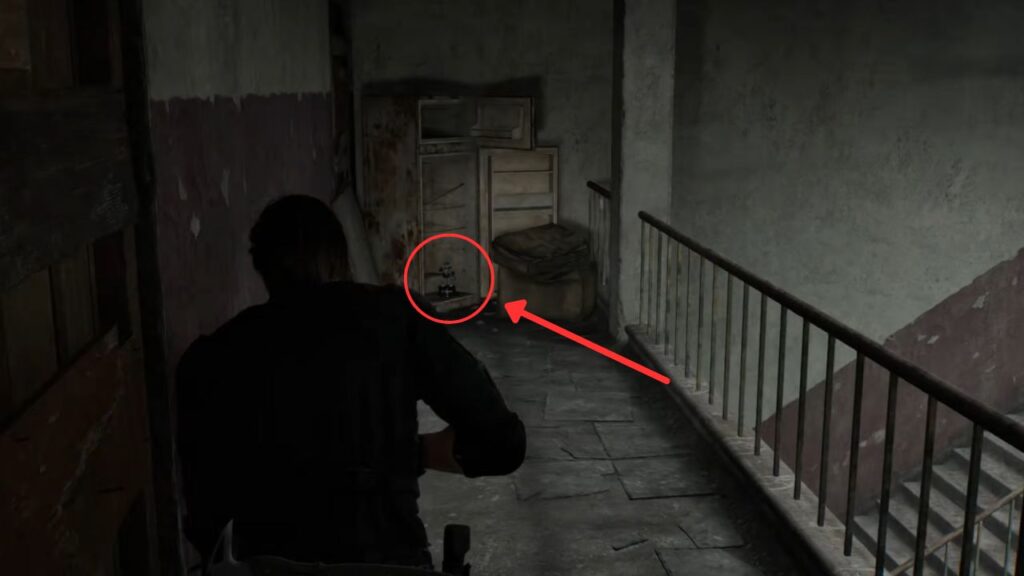
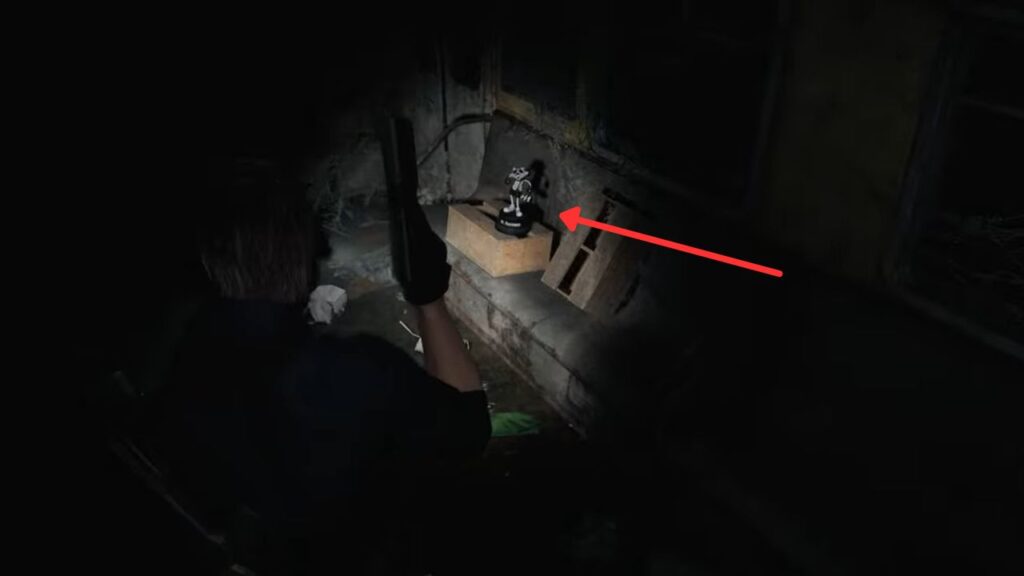
Enter the door on the right and turn right again. At the very end of the corner, you’ll find a refrigerator with another Mr. Raccoon Bobblehead inside.
Cedarbrook Apartments Rooftop
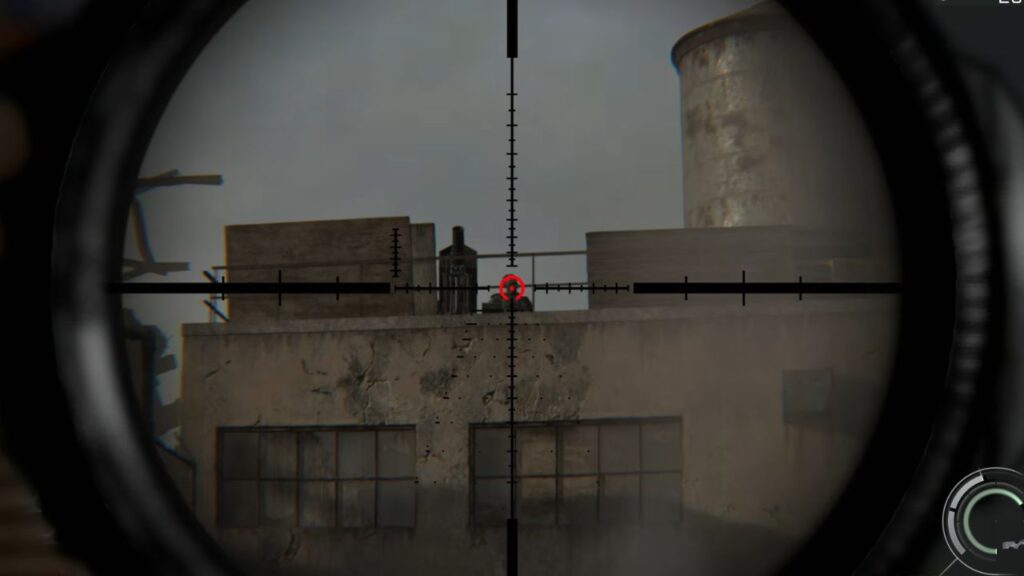
Once you are ready, head outside and go up the stairs. As soon as you step out, a BSAA Zombie on the rooftop straight ahead will start lobbing mortar rounds at your feet. After the first mortar hits and kills a zombie, immediately scope in with your sniper rifle and eliminate the one firing the mortar. If you do not act quickly, another mortar round could hit you, which will be fatal.
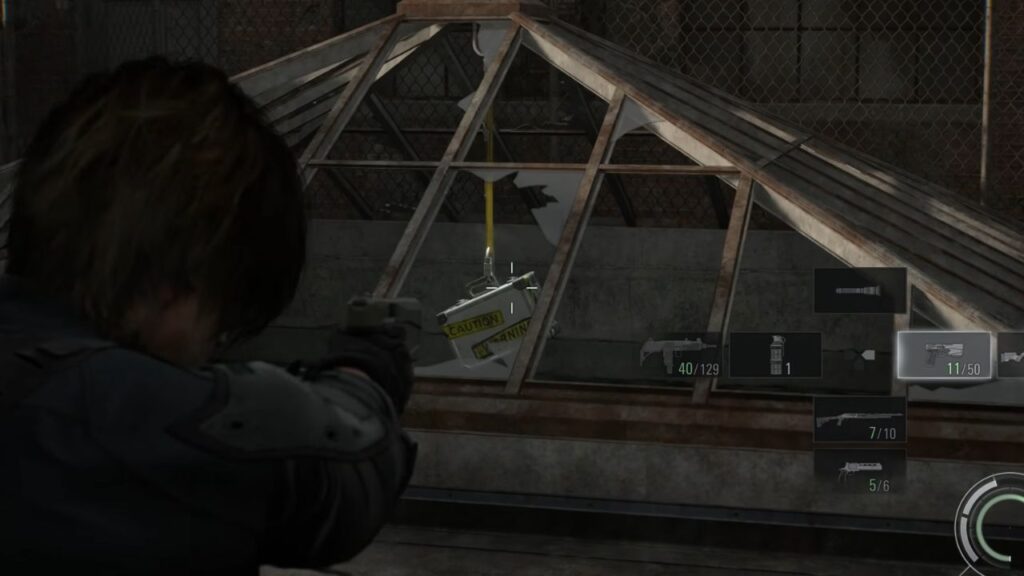
Walk forward toward the broken glass pyramid, where a case is tied to the top. Shoot it down so you can collect the Rare Tracking Module later at the bottom of the inner courtyard. Turn left and enter the door to find a medical case containing a Med Injector.
More mortar rounds will come your way, but do not panic. After a mortar lands, quickly move out and head to the opening on the left. Kill a couple of zombies, then proceed through the hole in the wall. From the gap on the right side, you will have a clear shot to eliminate the second mortar operator.
Before heading upstairs, destroy the nearby crates to collect some Handgun Ammo. Then go up the stairs, where mortar rounds will begin raining down again.
This time, enter the room ahead to take cover. The mortar operator here is positioned behind cover, making it impossible for Leon to snipe him directly. Instead, look for a broken ladder beside the mortar and climb up.
Immediately after climbing up, a zombie holding a grenade will ambush you. Quickly move behind the mortar to create some distance, then shoot the grenade to blow up both zombies.
Now comes the fun part, you can control the mortar yourself. Use it to aim at the other mortar operator first, who is on the rooftop across, near the water tank. After killing him, rain mortar fire down on the remaining zombies.
Keep watching the paths leading toward your position, the BSAA Zombies will realize what you are doing and start moving toward the ladder. If they get close, stop using the mortar immediately and eliminate any remaining enemies with your weapons.
Finally, the rooftop quiets down as the mortar fire stops. Head back down and loot the bodies for some Machine Gun Ammo. Check the building directly below the southern mortar to find a case containing two 12.7×55mm rounds for the Requiem.
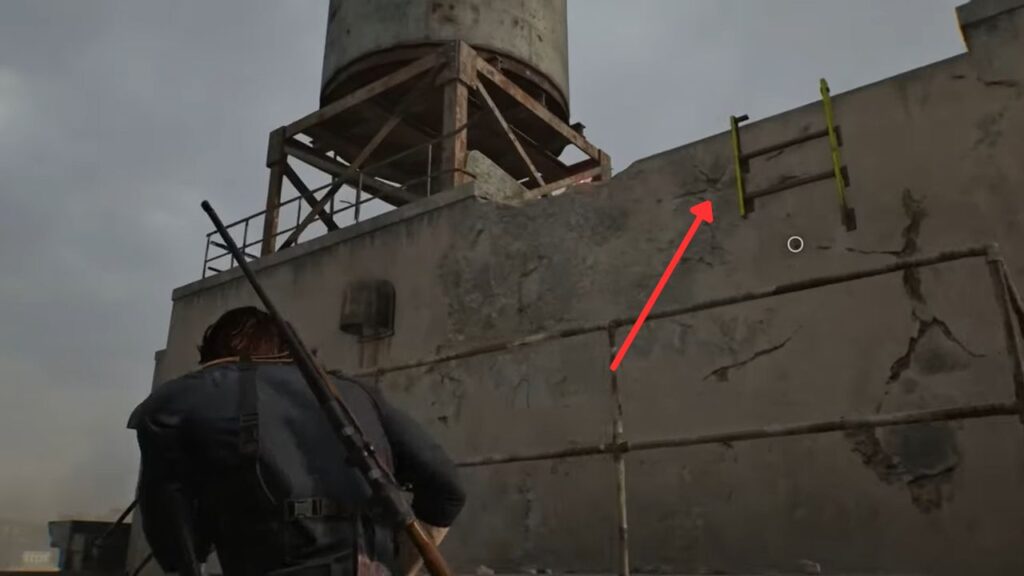
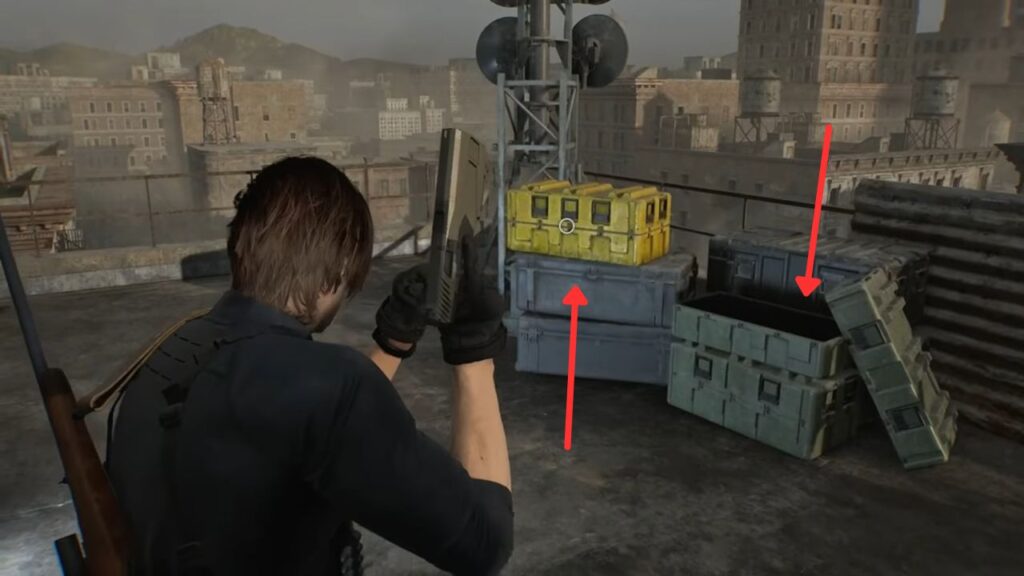
Next, move toward the northern mortar rooftop and climb up using the ladder on the side. Behind the mortar, you will find an open case containing the Engineer Corps Note. Beside it, inside a yellow case, is a Broken Signal Receiver, which is the detonator, or at least part of it, once repaired.
To fix it, you will need a Repair Kit, which can be found inside the BSAA Container at the Central Camp.
Drop back down and head left toward the lower rooftop. The moment you see a group of zombies trying to ambush you, quickly turn around and return to the mortar.
Get back on the mortar and start clearing the incoming waves of zombies, beginning with the ones in front. Make sure to aim slightly ahead of them, not directly at them, since the mortar shell takes about two to three seconds to land.
Once the area is clear, head down again and exit the apartment building. Do not forget to collect the item from the hanging case you shot earlier.
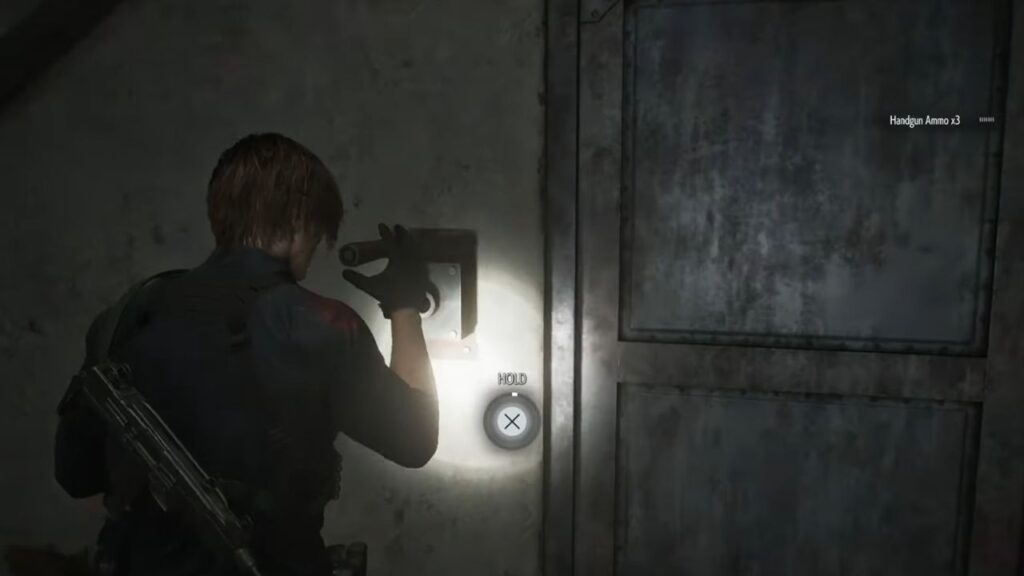
After leaving the apartment, turn right and head down to the Underground Parking Garage, then enter the Sewage Facility on the left. Use the Rusty Crank to open the sealed door.
Inside, you will find a ladder leading to a small street near the apartment building. Climb it, then look to the left and break the crate to collect some Machine Gun Ammo.
Circle around the truck to find a military crate filled with various ammo and a Tracking Module. A couple of zombies will appear here, but they should not pose much of a threat. After that, open the door behind the truck to return to the main area.
Third Detonator Part — Willis Tower and Grimstone Building
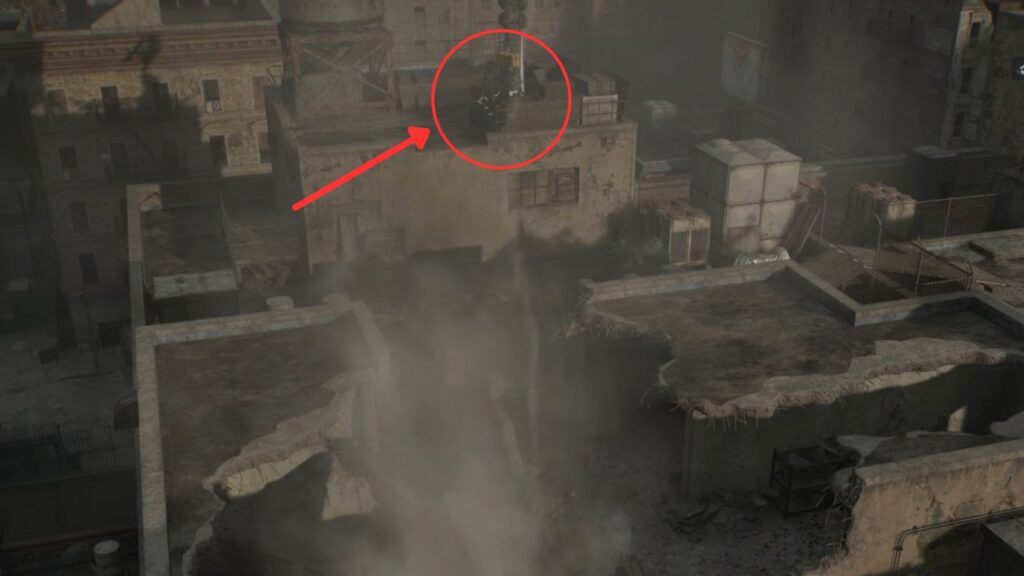
Head back to Central Camp and stop at the Supply Box to spend your credits on weapon upgrades. Once fully geared, take the lift back to the area where you found the first detonator part, then walk south toward the lower rooftop with the last orange generator.
Power it up to unlock the door, grab the military crate inside, and ride the zipline across to the collapsed building site.
When you land, a few wandering zombies may be on the ground, depending on whether you sniped them earlier. Across from the vending machine, collect Scrap from the trash can and pick up some Handgun Ammo from a desk nearby.
Move past the vending machines, go through the hole in the wall, and force open the barred door using your hatchet. Inside, you will find a Green Herb sitting on the desk.
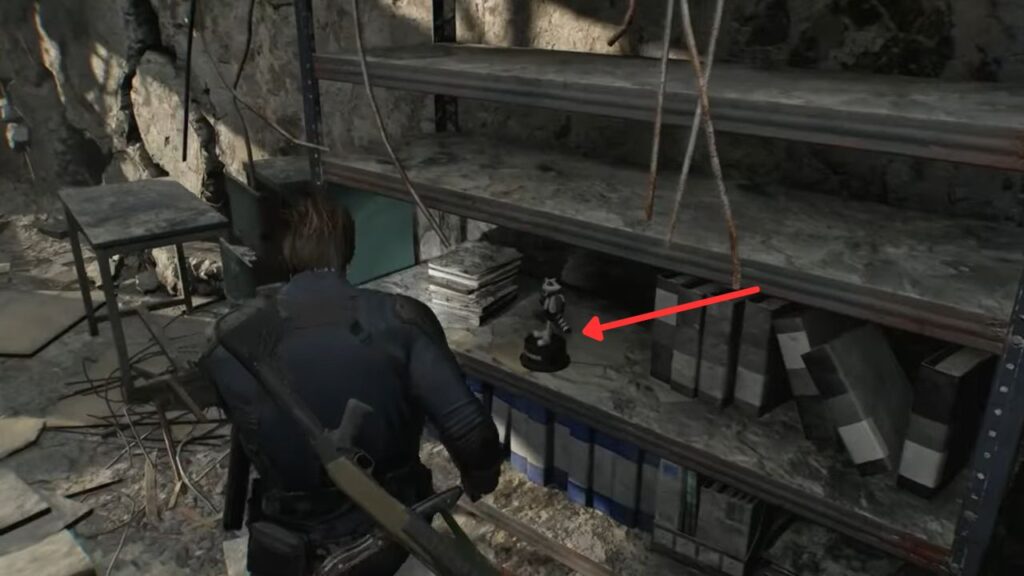
Locate the stairs beside the barred room and head up along the elevator bank. Check the open door along the hallway. At the far end of the destroyed room inside, you will find another Mr. Raccoon Bobblehead along with Gunpowder (Large).
Exit the room and continue across the hall. Pass the out-of-service elevator on the second floor to reach the path leading to Willis Tower. The next area can be confusing and mind-bending, so proceed carefully and take it one step at a time.
Start climbing the slope on the left and look for a large sealed double door with yellow stripes. Break it open, climb through, and look to the left to spot a very narrow beam leading to the other side. Cross it carefully and destroy the crate ahead to collect some Handgun Ammo.
Turn right and break another sealed double door, this time using your pistol. Jump across and move through the doorway.
Turn left and look above for another sealed door. Shoot it to cause debris to fall, creating a panel you can jump onto. Drop down, break the wooden panel on the yellow door, and jump through the gap.
Open the elevator door in front of you and drop inside. Begin climbing upward. Use the left shaft first, since the right elevator will fall. Afterward, shift to the right side to avoid the left elevator. Keep moving up and turn right at the top.
You will now be walking on fragile glass flooring. Break the sealed door on the left and continue forward. Shoot the glass panels beneath the zombies above to shatter them and make the enemies fall.
Two more BSAA Zombies will approach. While they are still on stable ground, use your shotgun to push them back. Aim carefully so you do not destroy the floor beneath them and lose your footing.
After clearing them, find a glass panel supporting a large cabinet. Shoot the glass to drop a new platform. Climb up and eliminate the remaining enemies.
Two zombies will fire submachine guns, while two others carry grenades. Take cover if possible and prioritize the ones with grenades first. Then eliminate the remaining enemies using your sniper rifle.
Move past them through the opening. Successfully crossing this section brings you to the Grimstone Building. Open the door ahead to collect supplies and obtain the third detonator part.
Grimstone Building
Go through the door on the left ahead, and you will find a small room with a laptop to save at, a Supply Box, and a Green Herb. Save your progress here. Cross the small bridge to the building north of you, which loops around to the edge of the rooftop.
Shoot down the ladder as you exit and find a military crate with items inside, then drop down and climb the stairs on your left.
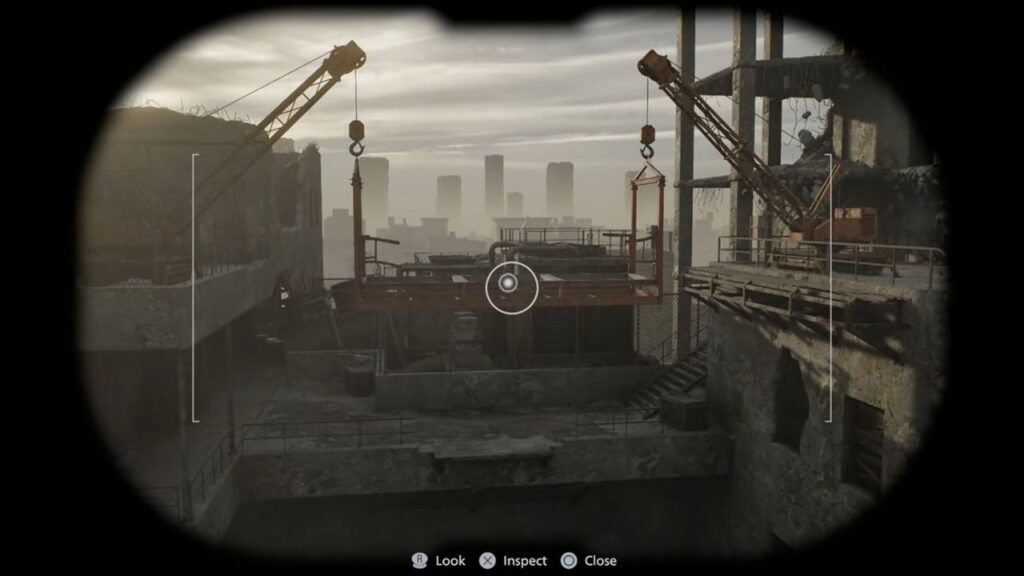
From here, you get a clear view of the gauntlet ahead, a towering ruin on the right, hanging pallets, and a lift positioned between two cranes to the south, which you can scout using Leon’s binoculars.
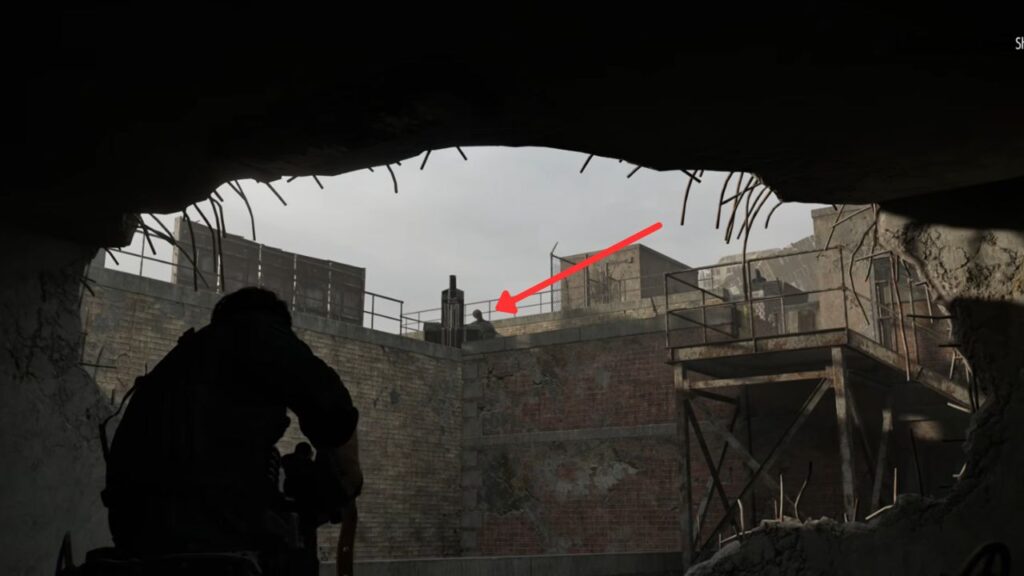
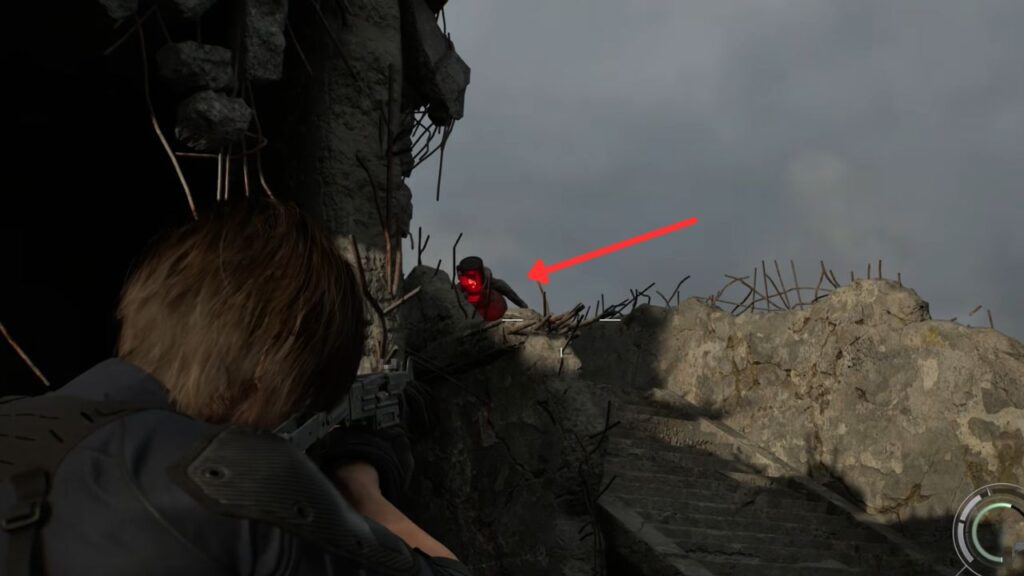
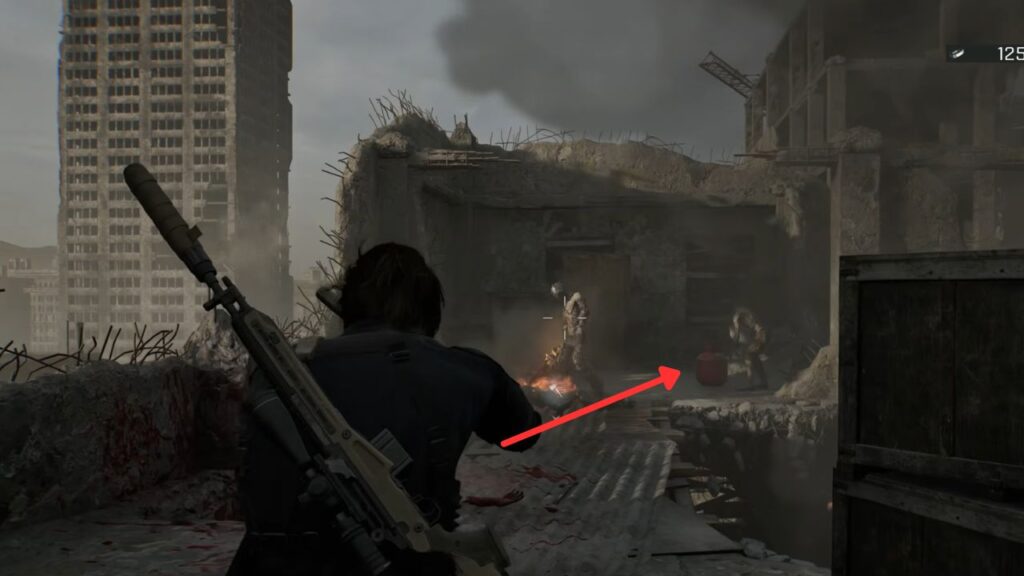
Several zombies are already roaming along the outer edge of the ruins. Use your sniper rifle to eliminate them from this safe vantage point before dropping down.
Climb down and cross the makeshift bridge, then begin ascending the ruins. At the top of the stairs, the path splits left and right. Both routes lead to the same area, but taking the right path brings you behind the ruins and past a useful explosive canister.
From there, you can sneak up on three zombies on a higher ledge and take a rifle shot at one of them. Head upstairs, and when two Blister Heads drop down, either lure them toward the gas canister to blow them up or use your shotgun at close range. Both methods are effective.
Ignore the hole on the left, as it only drops you back down. Instead, go right to find a crate. More zombies will start climbing up toward you.
Carefully move along the edge of the floor and listen for a beeping sound. Up to the left, at the top of another staircase, a zombie is carrying an explosive canister. Shoot it while he is still holding it, then proceed upstairs.
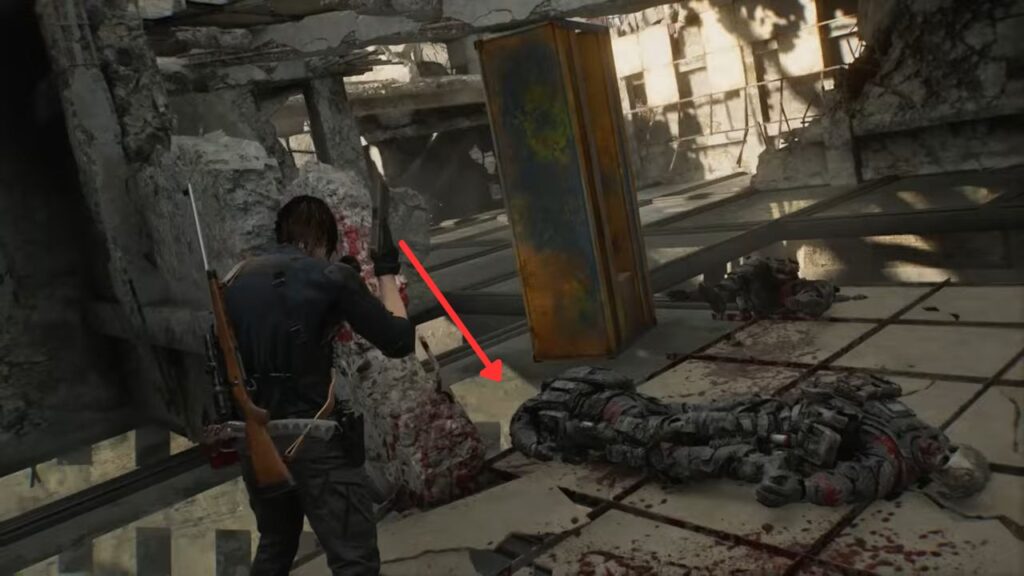
On the top floor, a crane overhead is holding a large pallet container. Do not shoot it down yet. Several zombies will swarm the rooftop to ambush you. Clear them out first, then shoot the container.
The container will break open and release more zombies packed inside. Immediately throw a grenade, then use your weapons to finish off the survivors. Collect the Green Herb and Rifle Ammo from the open crate, then climb the ladder on the side of the roof.
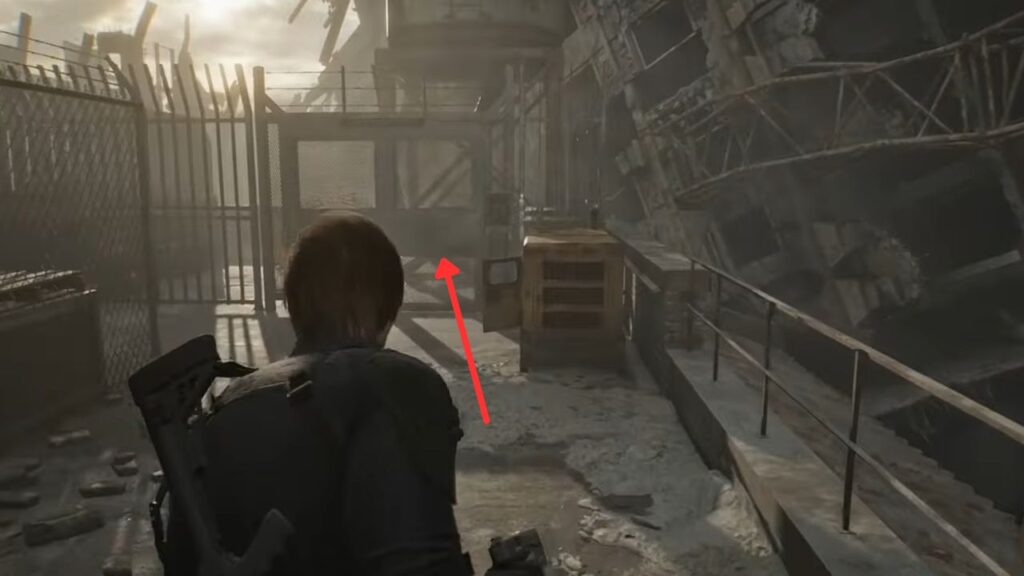
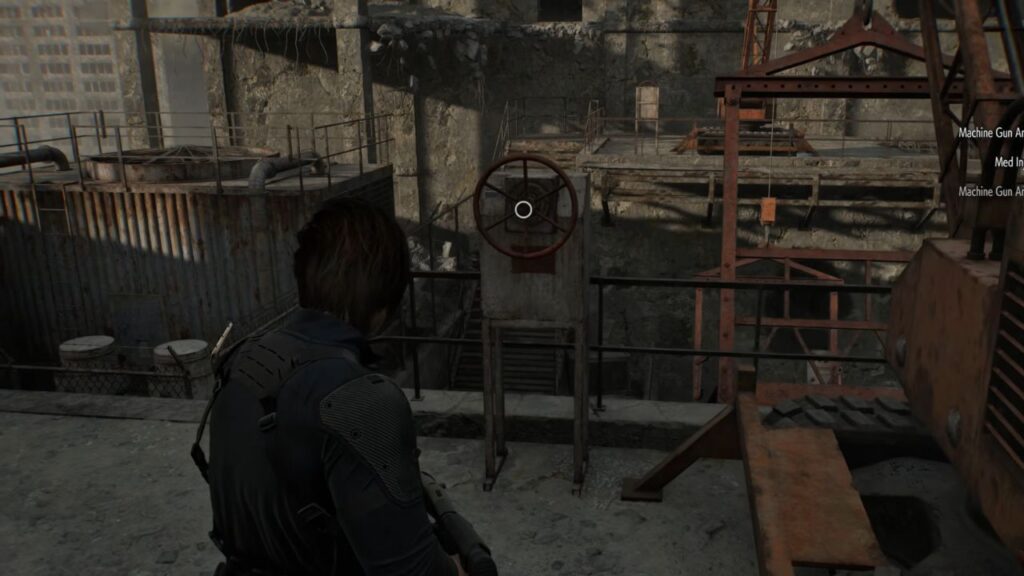
At the top, slide down the long concrete slab to reach the first crane. Turn the wheel valve to release one side of the lift. Go down the platform on the right and enter the open room on the left.
Inside, immediately look left and open the door that leads back to the laptop and Supply Box, allowing you to resupply and save.
Head back out, pick up the Large Gunpowder on top of the barrel to the left, and stay close to the left wall to find a Green Herb. Then move through the broken wall.
The zombies in this area are manageable if you proceed slowly and eliminate them one by one. However, going forward will trigger an ambush. Take out the zombie on the upper left first, then deal with the Blister Head.
Carefully follow the only path forward and turn right to go upstairs. There are a couple of explosive canisters here that you can detonate to eliminate the chainsaw zombie.
Cross the bridge while collecting Shotgun Ammo, then head through the door. Destroy the crates to obtain more Shotgun Ammo and Machine Gun Ammo, and turn the wheel valve on the left to proceed.
Take the crane lift down, but it will stop halfway as zombies begin climbing onto the platform. Eliminate them one by one, the shotgun is the most effective weapon in this tight space.
The lift will start moving again, then get stuck once more. Ignore the zombies behind the windows, they cannot reach you. Focus only on the ones that manage to get onto the lift. Keep fighting until the lift finally breaks down.
Move into the building and survive the ambush. There is an explosive canister directly ahead that you can use to blow up a swarm of zombies. Alternatively, you can ignore them, run forward, jump through the gap, and open the door to escape.
You are now back on the streets. The Central Camp is straight ahead on the right, so head there to save and resupply.
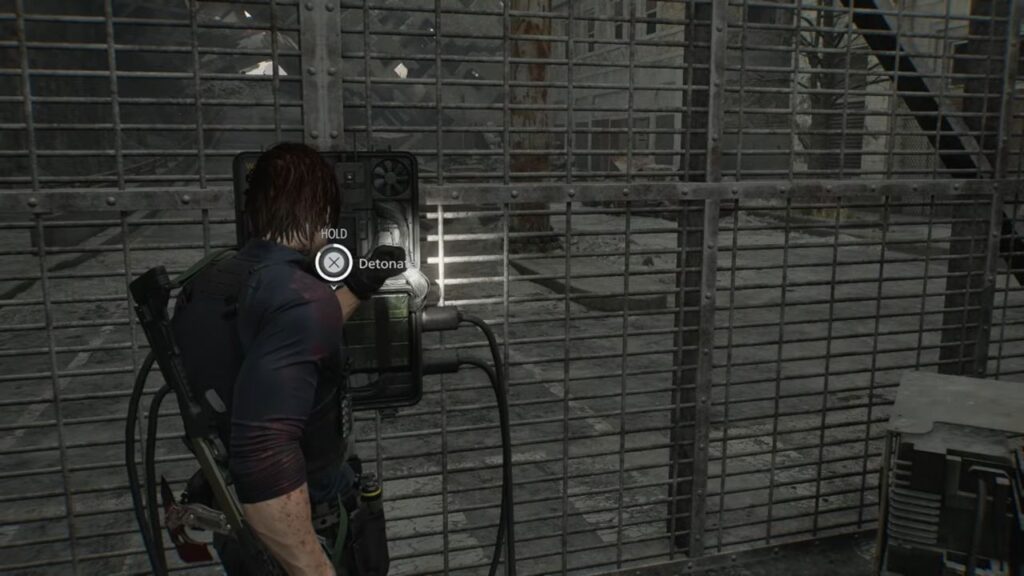
When you are ready to continue, approach the large gate and attach the detonator. Leon will grab the motorbike and make a stylish escape. However, the action does not end there.
Victor Gideon’s Ambush
After a few jumps and some action movie-style bike riding, a familiar face appears on the left. Victor Gideon is waiting with a rocket launcher, along with several Garmr wolves, ready to take you down.
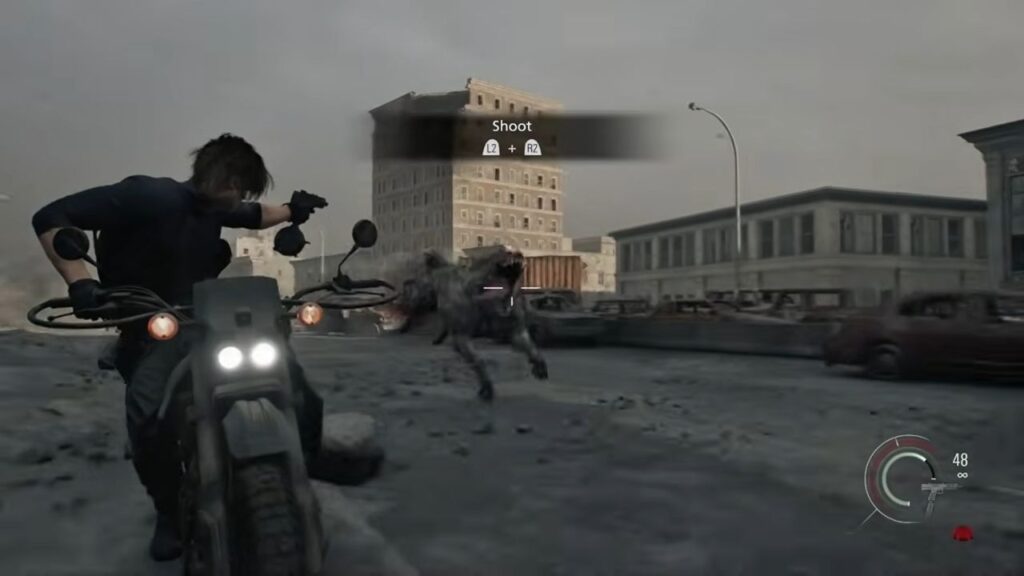
Once you regain control, eliminate the closest wolf first, then finish off the rest. Always prioritize the one nearest to you. There is no need to steer during this sequence, just focus on aiming accurately.
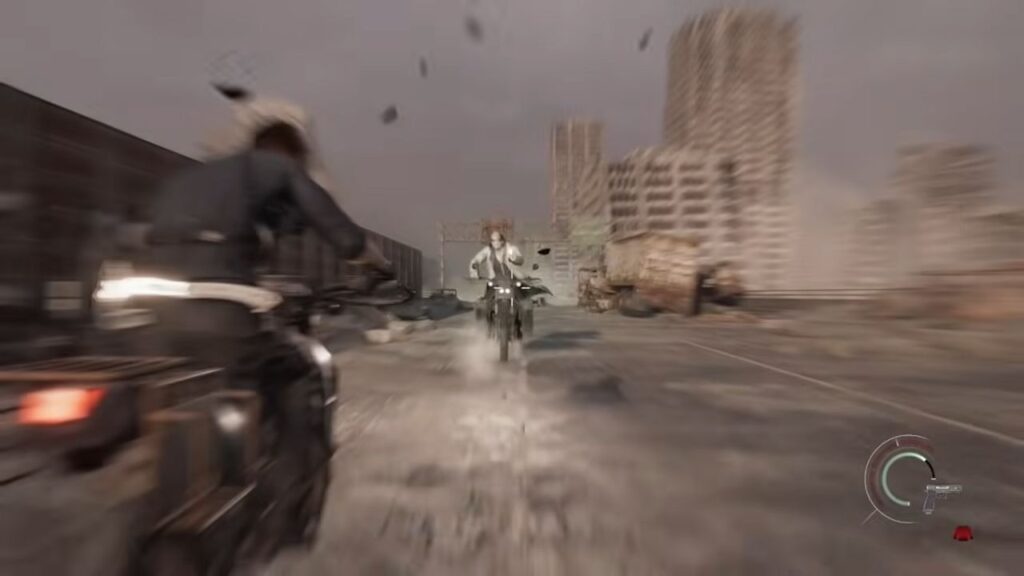
Gideon then cuts you off, and a couple of wolves attempt to bring down a large sign. Kill them quickly, then continue moving forward while taking out any Garmr that chase you. In this section, your main priority is eliminating the wolves.
Leon returns to the highway and encounters Gideon again. Shoot at him, but this will not defeat him yet. A high-speed chase through a building follows. Once again, focus on killing the wolves first.
When your path is blocked by more debris, shoot the explosive canister to blow open the gate. In this part, concentrate on targeting canisters to clear the way.
Back on the highway, continue chasing Gideon while shooting the wolves. Your submachine gun will not run out of ammo during this sequence, so keep firing. Try to eliminate the wolves while also landing shots on Gideon, otherwise, he will launch a rocket at you.
Eventually, Gideon fires a rocket at a damaged building, blocking your path once again. Take the detour and continue the pursuit.
After returning to the highway, a short cutscene will play. When you regain control, you will face Gideon head-on. Aim carefully and shoot his motorcycle to destroy it and finally defeat him.
With the road clear, Leon rides toward Raccoon City Center, where his past awaits at the Raccoon City Police Department.
All Collectibles
| Category | Item | Where to Find It |
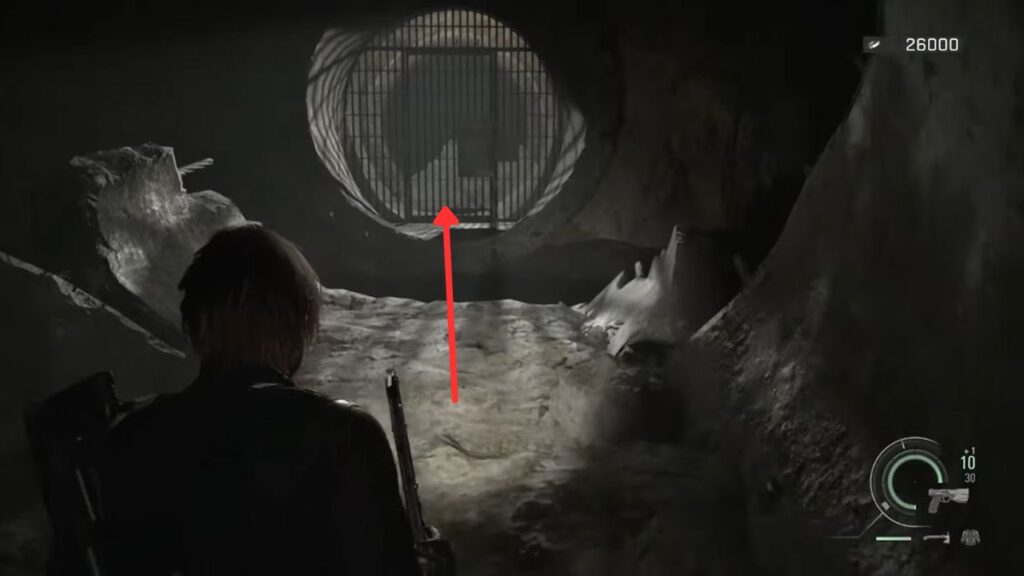
| Mr. Raccoon Bobbleheads | City Sewer Pipe Bobblehead | Visible through a scope on the far side of the large street sinkhole, reached via the sewers east of the construction yard |
| Ridgewood Station Bobblehead | On a seat inside the second subway car in the Ridgewood tunnel | |
| Cedarbrook Apartments Bobblehead | At the bottom of an old open refrigerator on the upper-floor balcony inside the apartments | |
| Willis Tower Bobblehead | At the far end of a destroyed room on the second floor of Willis Tower, next to some Gunpowder (Large) | |
| Key Items | Signal Receiver (Detonator Part 2) | In a yellow case beside the northern mortar on the Cedarbrook Apartments rooftop |
| Relay (Detonator Part 3) | In a yellow crate just past the gate at the top of the Grimstone Building | |
| Rusty Crank | Reward for working the blue door crank in the Cedarbrook Apartments inner courtyard | |
| Weapons / Attachments | BSAA Emblem Charm | Inside the fourth and final BSAA Container, just past the hotel in Raccoon City East |
| Ammo / Supplies | Common Tracking Module | In a small case at the edge of the broken sewer pipe overlooking the street sinkhole |
| Legendary Tracking Module | Also inside the fourth BSAA Container alongside the BSAA Emblem Charm | |
| Rare Tracking Module | Shot down from a case tied to the shattered roof dome on the Cedarbrook Apartments rooftop | |
| Rare Tracking Module (Willis Tower) | Reached via scaffolding through a gap in the windows on the ground floor of Willis Tower | |
| Engineer Corps Note | In an open case beside the northern mortar on the Cedarbrook Apartments rooftop | |
| Stacked Hand Grenade (x2) | One from the shot-down case in the construction yard alcove; one at the dead end one floor below the Cedarbrook balcony |
Raccoon City East is one of the largest and most combat-heavy chapters in Resident Evil Requiem. Next, to the Raccoon City Center!