The year is 1990, eight years before the Raccoon City outbreak. A young girl who looks a lot like Emily wakes up alone inside the Raccoon City Orphanage after hearing a strange sound. The room around her is completely empty. This flashback section plays out like a stealth hide-and-seek sequence, so put away any thoughts of fighting and focus on staying out of sight.
Resident Evil Requiem: Raccoon City Center Part 2 (Grace & Leon)
Hiding From the Children
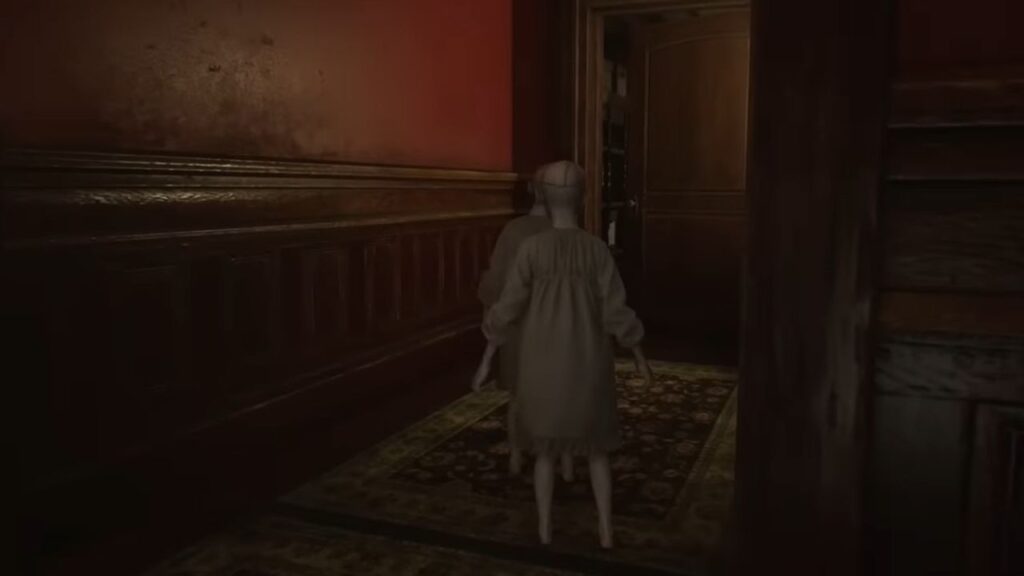
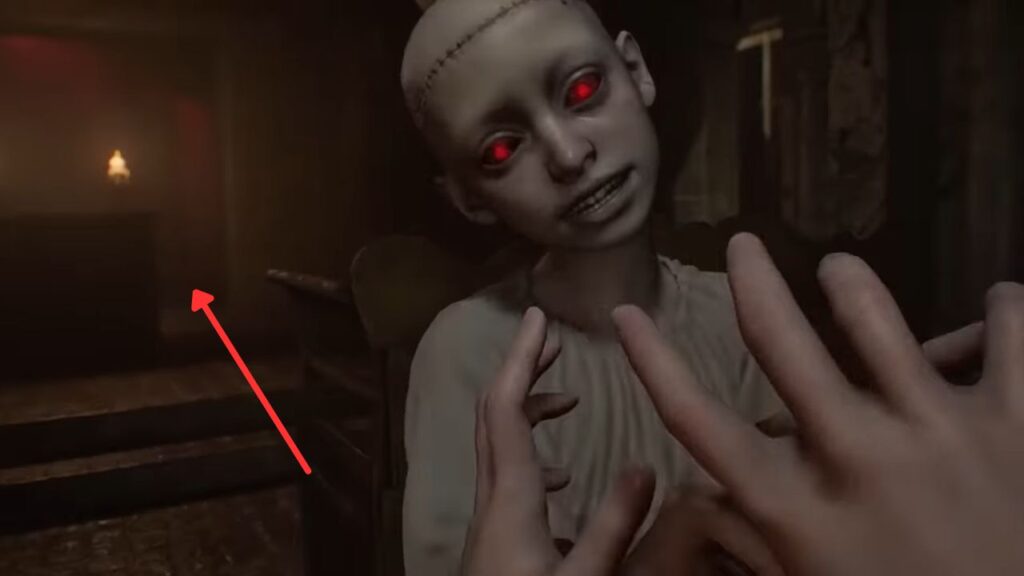
Walk out of the bedroom and into the hallway. You will see something deeply creepy happen ahead of you. Then it is time to hide.
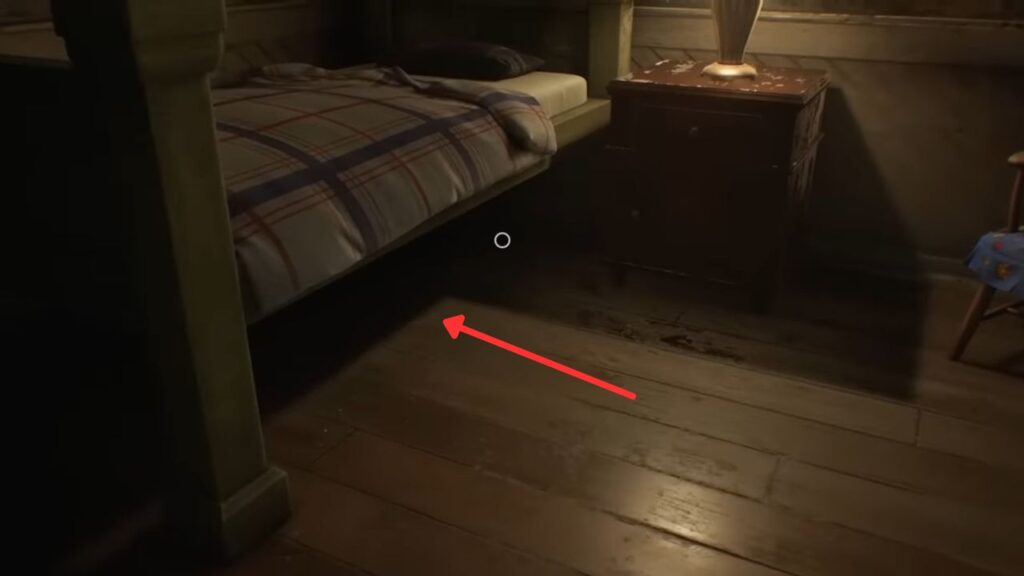
Run straight back into the bedroom you just left and hide under your bed, pressing the button to crawl underneath it. Stay there and do not move, no matter what the children say or do to try to make you think you picked the wrong spot. They are just trying to get you to come out. Hold your position.
After a short wait, a woman’s scream from somewhere else in the building pulls their attention away, and all the children leave the room. Once they are gone, crawl out and follow after them.
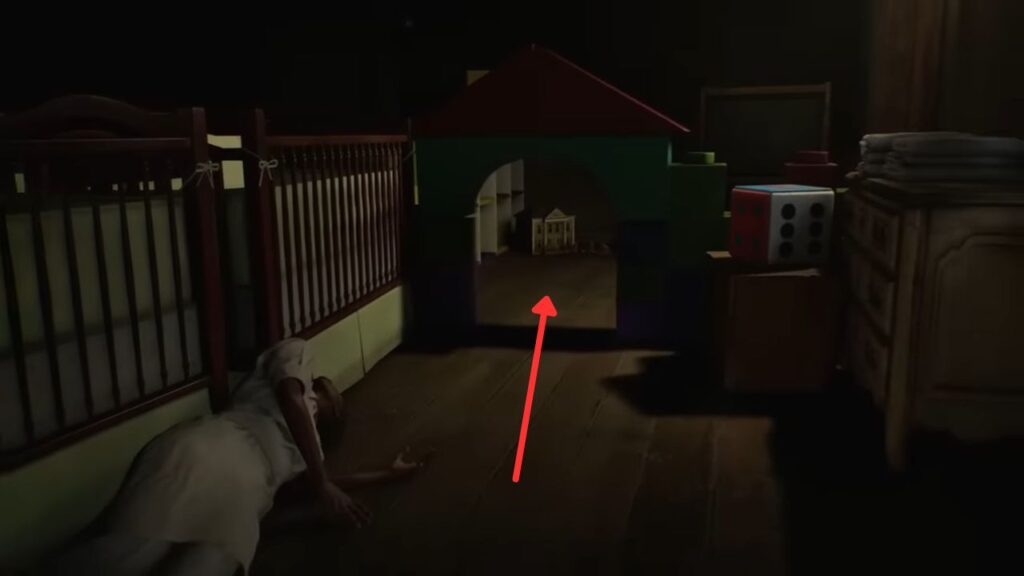
You will end up back in the large playroom where you saw the doctor earlier. More bodies are now on the floor. Turn left at the doctor and crouch to pass under the archway on the way out.
In the main hall, walk down the big staircase. As you near the bottom, you will hear a tapping sound, the children are back on the upper floor, knocking on the window of the room you were just in.
One of them breaks the glass, and it is clear you need to find somewhere to hide again quickly.
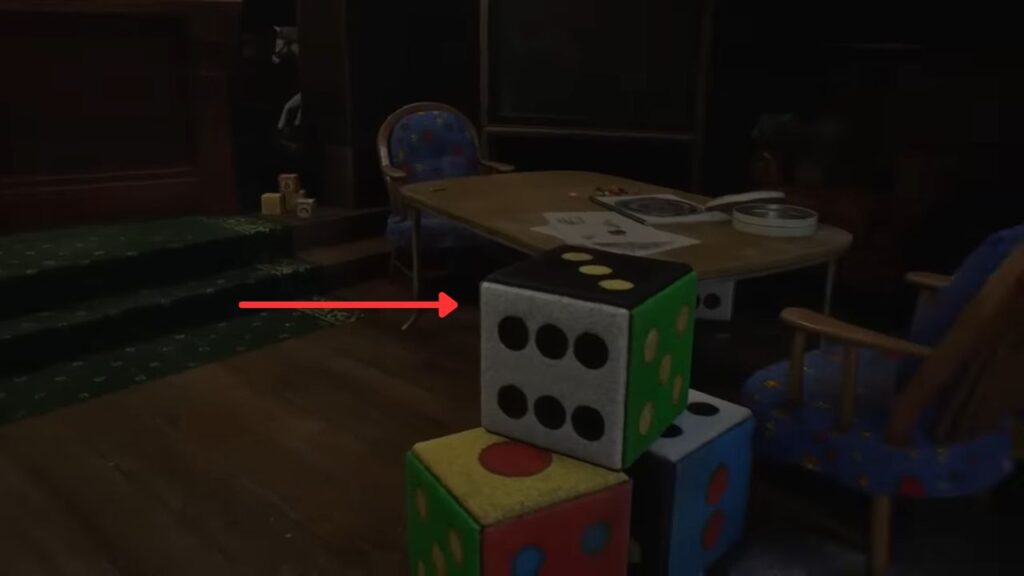
None of the doors on this floor will open. Instead, look under the staircase for a small table just behind some big dice, and crouch down to hide beneath it. The children will jump from above and hit the ground, neck first, right in front of you, then stand up as if nothing happened.
Wait until one of them opens a door, and the other one starts heading back up the stairs. Once they are moving away, crawl out from under the table.
Go through the door that was just opened, but take it slow. Around the second corner, you will see two children standing with their backs to you.
They will keep standing there. So before they turn around, make your way back to the main hall and walk around a little bit. When you return, the children will be gone. Enter the room.
The Director’s Room
You are now in the Director’s Room. Work your way through the bookshelves toward the desk by the window. There is a locked hatch on the floor beside it.
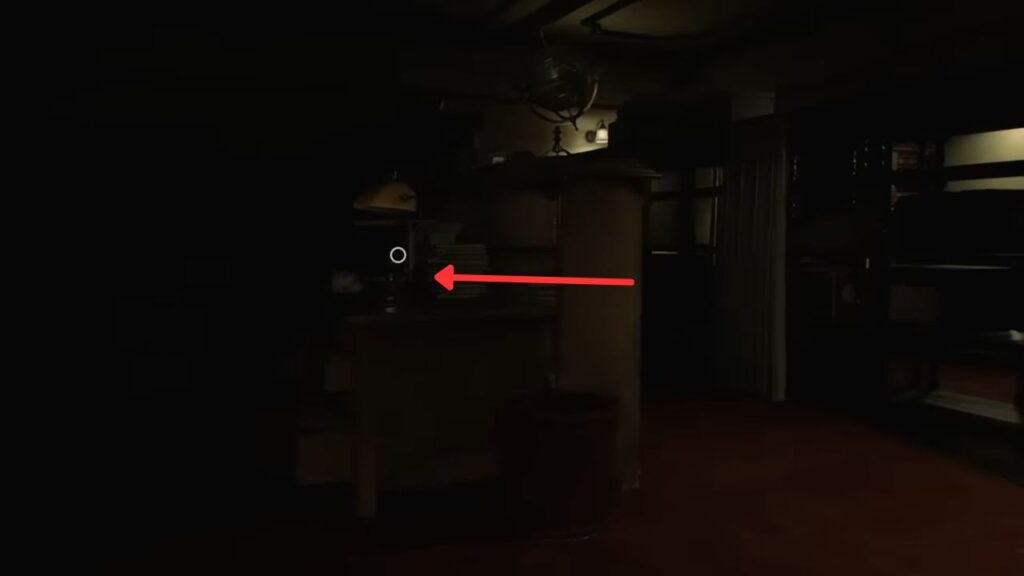
Turn around and look for a small yellow lamp on a desk across from an armchair. Switch it on, and the light will reveal a key hanging high up on the wall above some drawers.
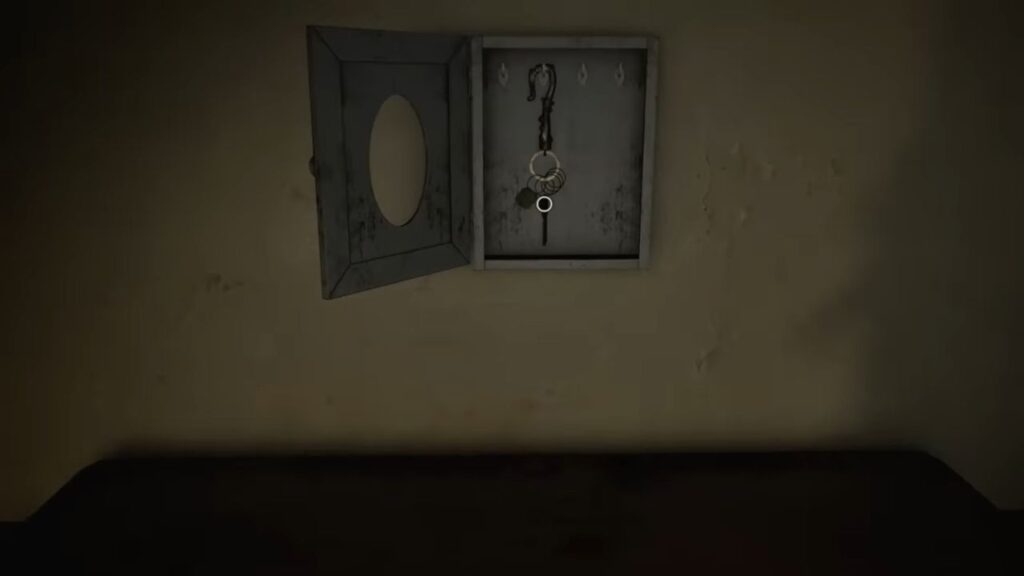
To get it, pull out the bottom drawer and use it as a step to climb up. The girl will reach for the key, but will then clumsily fall. Pick it up off the floor to collect the Hatch Key.
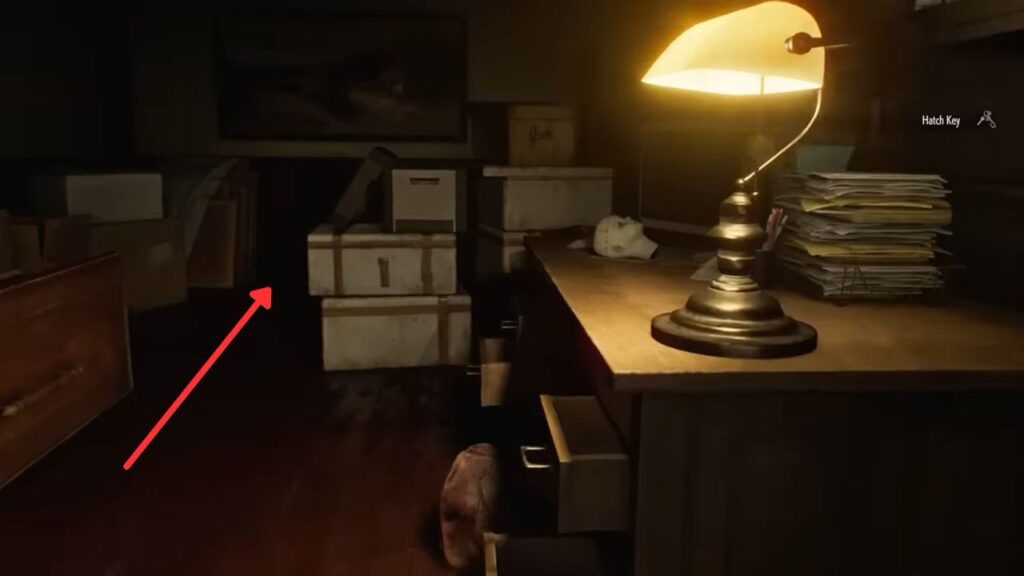
Right after that, one of the children smashes through the window above the hatch. You need to hide again immediately. Run to the far corner of the room, past the lamp you turned on, and crouch down behind the white boxes. Stay calm and wait.
The children will get very close, but something will distract them, and they will move away. Give them a moment to leave the room before you get up and head to the hatch.
Open the hatch, and you will notice a creepy child watching you from the window. Quickly head down the hatch.
The Underground Chapel
Follow the dark path all the way down. Follow the glow from a small fire truck toy that lights the staircase ahead. Keep going until you reach a large doorway that opens into a creepy underground chapel.
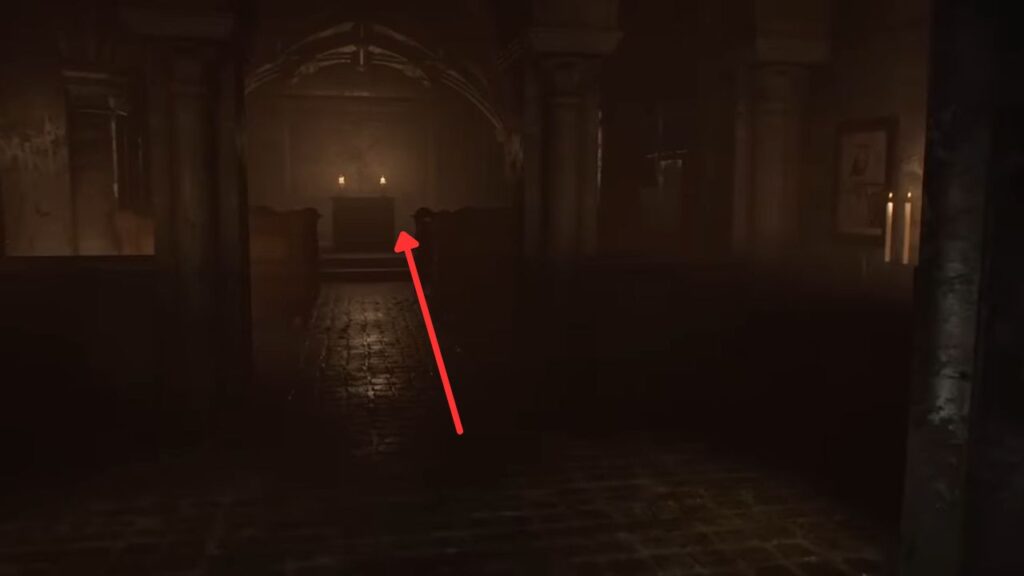
Cross to the far side of the chapel and walk past the podium. The wall behind will open up, revealing the Umbrella logo. There is a ladder behind it, but it is too high up to reach from the ground.
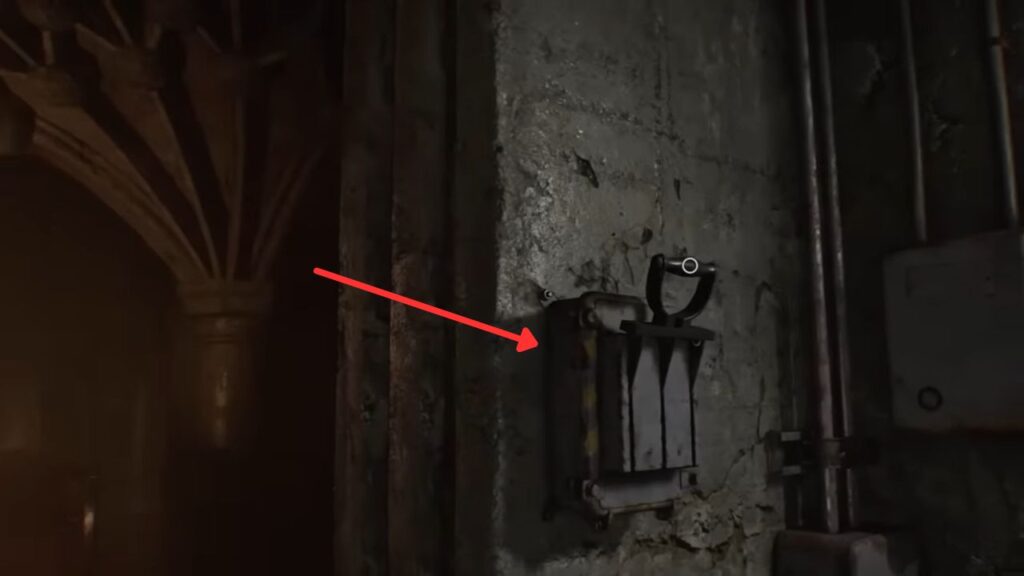
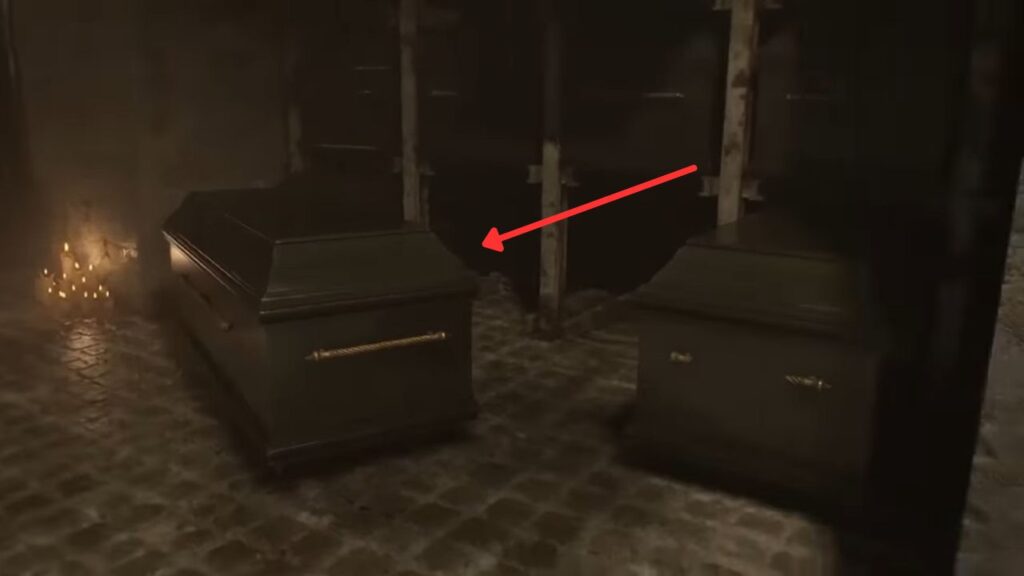
Turn around and find a lever next to the door. Pulling it turns on a light in a small side room and opens the gate into it. Step inside, it is full of old coffins. Open the front one, and it is empty except for a Toe Tag file you can pick up and examine.
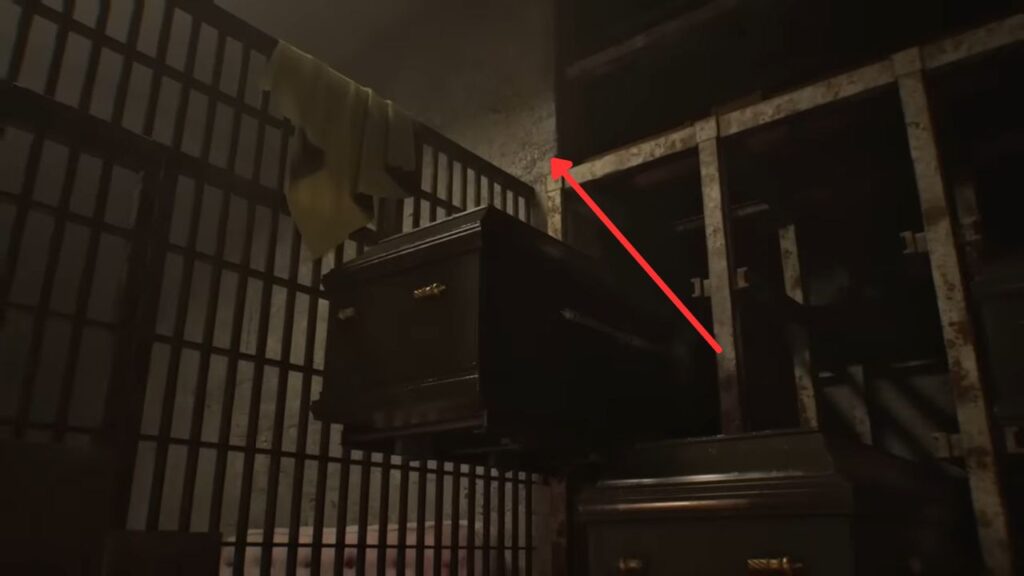
Further along, a second gate blocks your way. Look to the right, and you will see a stack of coffins piled high enough to climb over. Find a coffin on the bottom row that you can pull out, use it as a boost, and climb up and over the gate. You will drop down onto an old mattress on the other side.
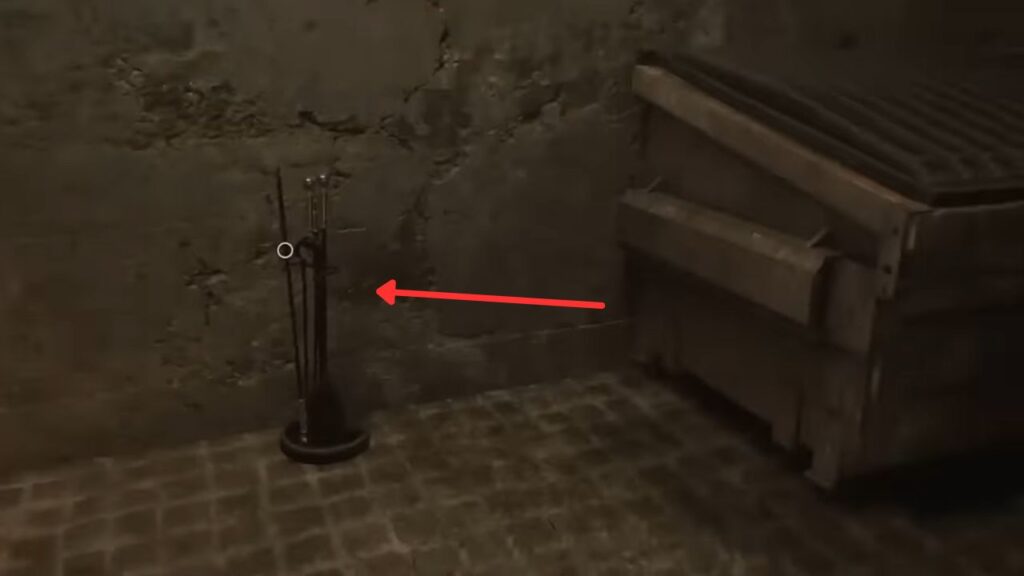
In this small room, grab the Fire Poker leaning against the wall. It is long enough to reach the ladder back in the chapel. Unlock the gate and head back toward the podium door.
As you return, the coffins around you will start to open. The children will not actively chase you in here, but you should not slow down. Run back through the door behind the podium. One child on the right will reach out, but you can push past.
Stay to the right side of the chapel and use the poker to pull the ladder down, then climb up and leave the giggling creepy kids behind.
The Research Lab
At the top of the ladder, you step into a clean, white-walled research lab. It feels completely out of place next to everything you just went through.
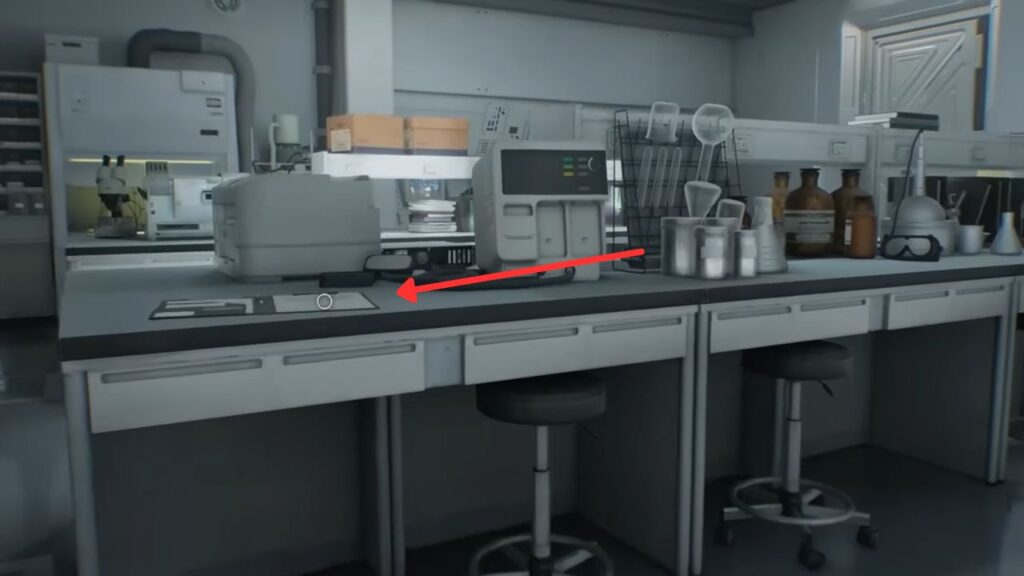
Walk down the hall and look for a door with a green light on the right side. Go inside, and you will find a lab room with the Series 60 Results file sitting right on the desk in front of you.
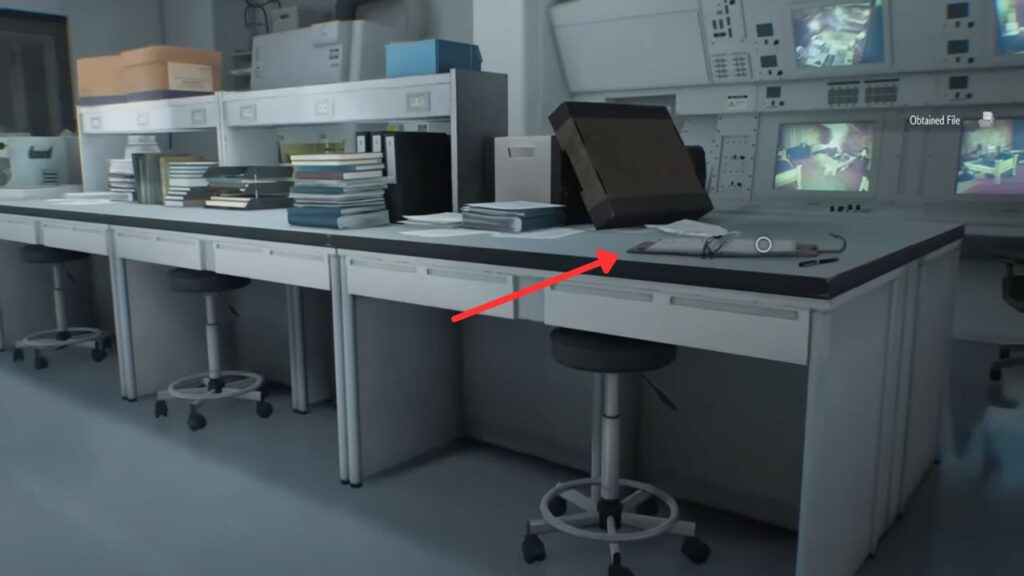
Turn right and keep going. You will pass a monitor showing footage of Spencer visiting the orphanage. Before you reach the exit door, check the second desk to find another file, the New Researcher’s Notebook.
Go through the door on the right and turn left into a room full of tiny babies in containers. This leads to a dark conference room with a projector casting light on one wall.
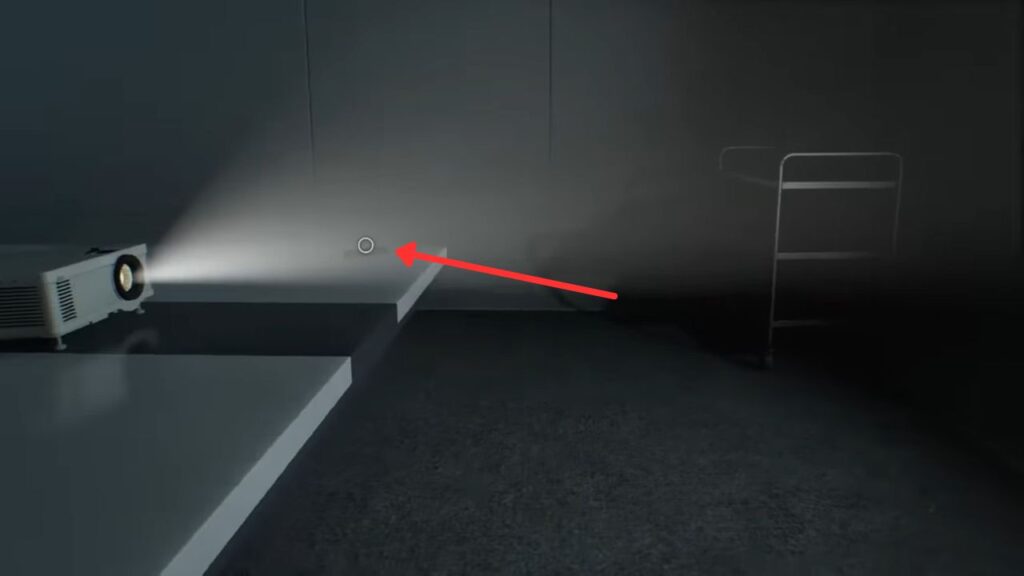
Find the remote at the end of the table and press it to go through the presentation and see what Umbrella has been doing here. Once you reach the final slide, the flashback ends.
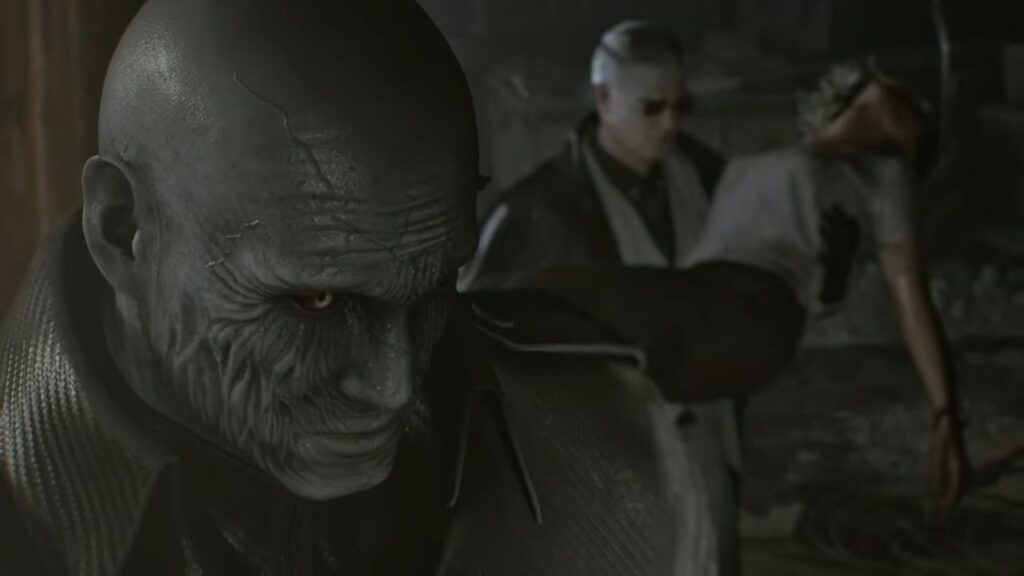
Grace is shaken by what she has just learned about herself. Leon steps in to help, but Zeno has a surprise ready, an old enemy from Leon’s past at the R.P.D. is back. Surprise surprise, it’s Mr. X!
Escaping the R.P.D.
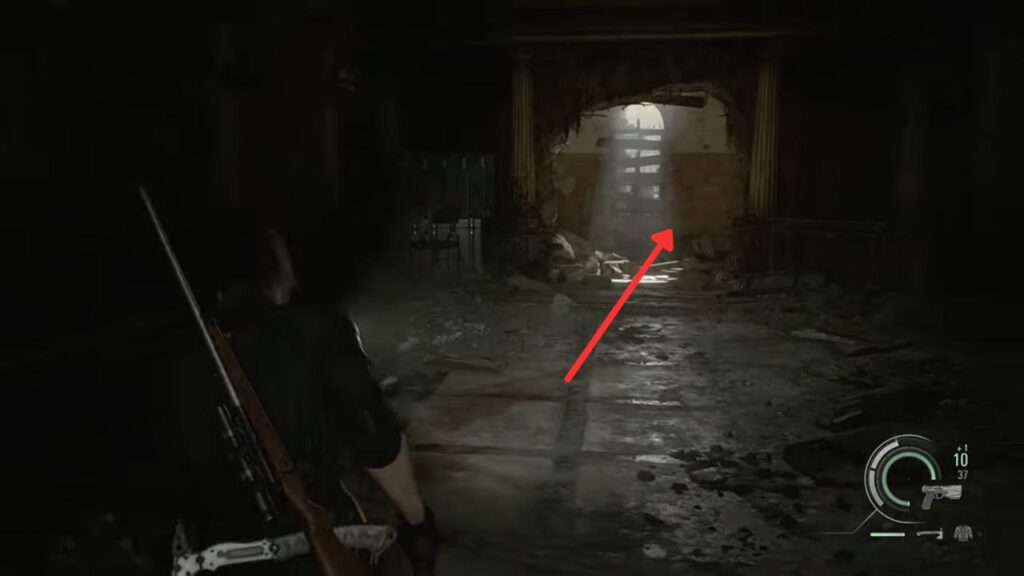
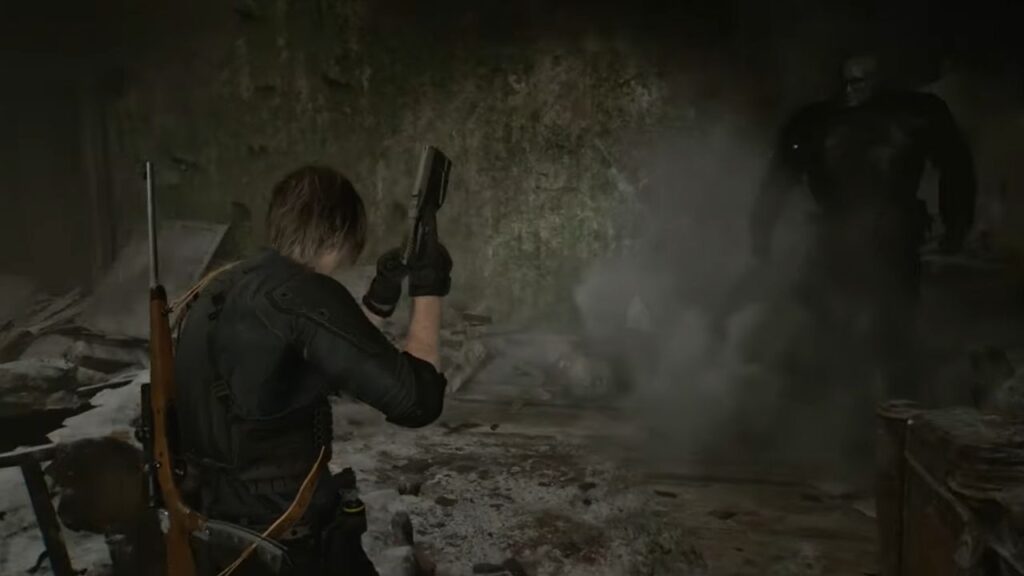
After a short cutscene, you are back in control of Leon. Start going back down the hall the way you came. Mr. X smashes through the wall and knocks Leon into the old Press Room. Do not stop to fight him, run straight through to the other side, circle around when Mr. X smashes through a door, and take the staircase going up.
After jumping the gap at the top, you have put some distance between yourself and the giant for now. Turn left and then right and try to push toward the central hall. As you get close to the old Waiting Room, Mr. X shoves the tail end of a wrecked helicopter through the wall right in front of you, blocking the way forward.
Back away from it straight away. He will then start pushing the sharp wreckage through the wall toward you, trying to pin Leon against it. Do not stand there, turn and run.
Head back the way you came. Mr. X will follow you, lead him into the Chief’s Office, circle around the furniture to avoid him, and slip back out into the hall toward the central area.
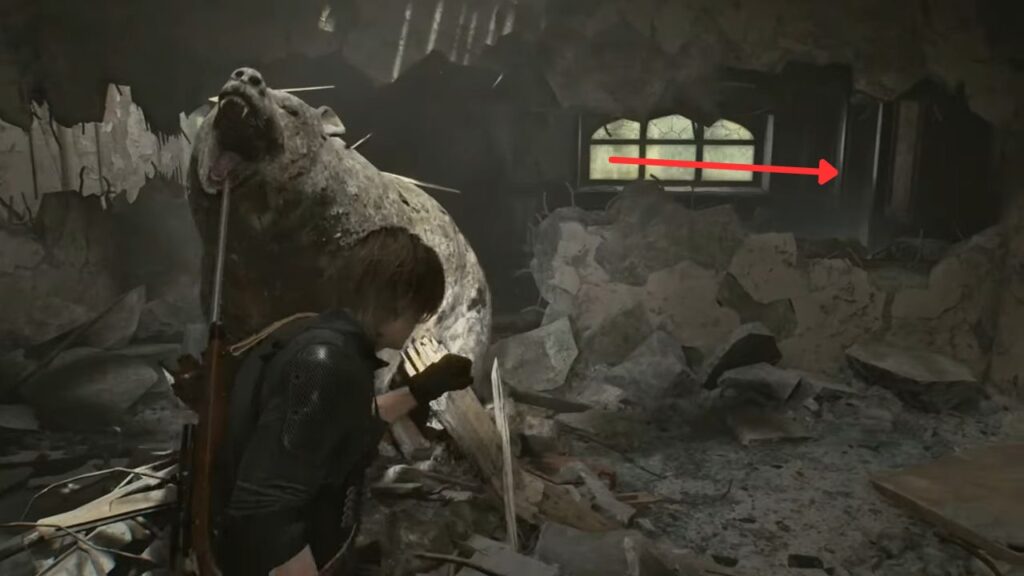
Go around the bear statue and out the other side until you reach the Central Hall. Either way, once you get there, Mr. X disappears on his own.
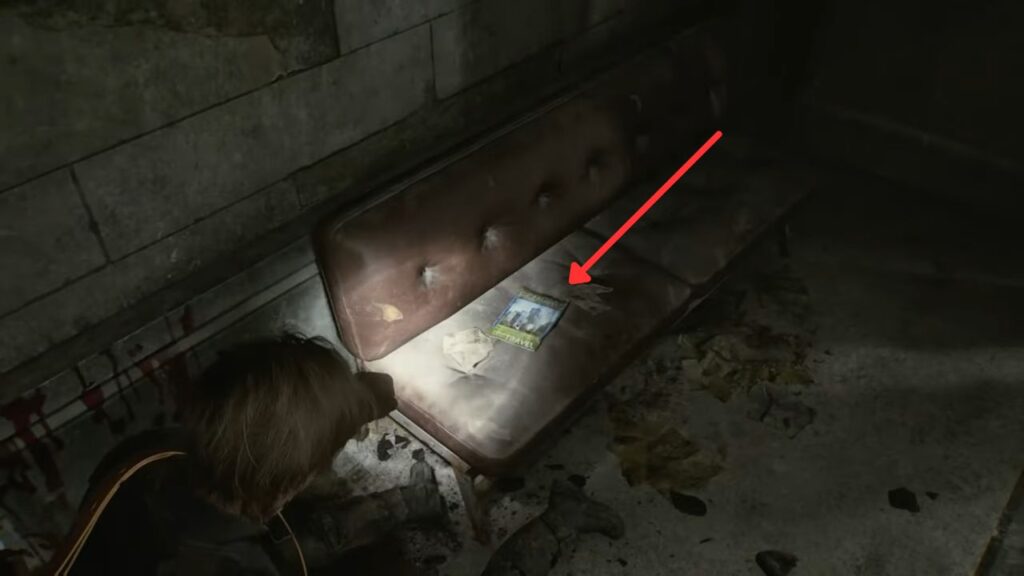
Now that you are on the balcony outside the Waiting Room, look to your left. There is a Guide Pamphlet sitting on a couch, pick it up. This is a good time to wrap up anything you want to do inside the R.P.D.
When you are ready, save your game and go up the stairs beside the lion statue, and through the hole in the wall on the right.
Heading to the Orphanage
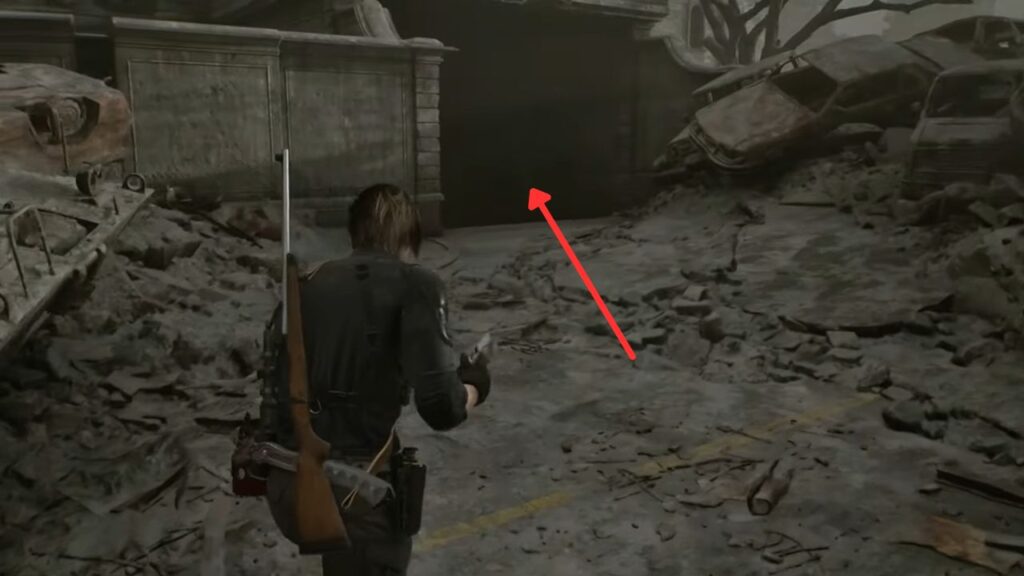
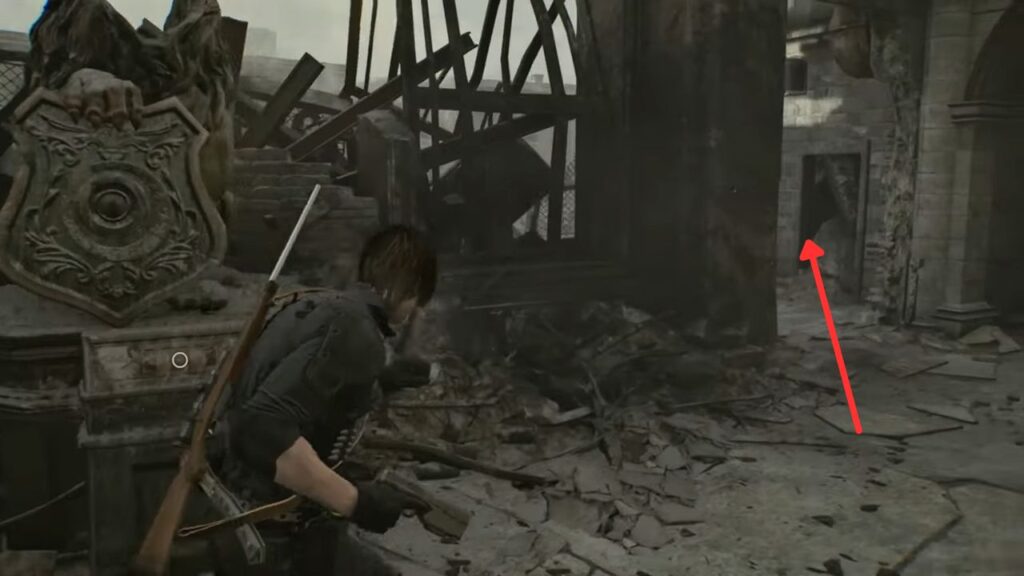
Exit the building and head down to the street below. Before going toward the orphanage, turn left down the road to find the entrance to the R.P.D. garage.

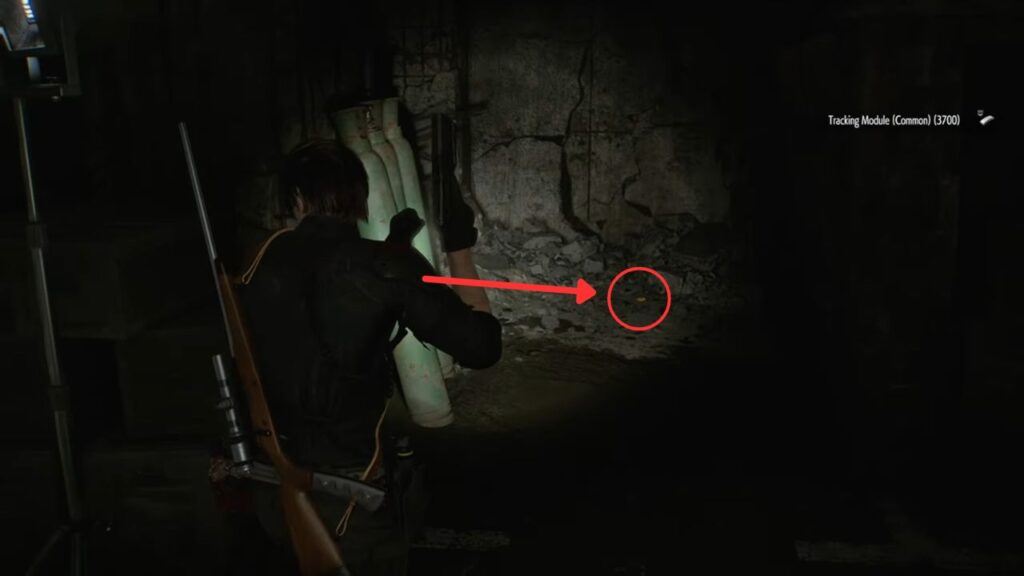
It looks almost the same as it always did, except the BSAA left a container here that is open with a spotlight on it. There is a Med Injector and a Common Tracking Module on the boxes just outside the container.
As you get close, a BSAA Zombie jumps out of the container. A second one carrying a machine gun will come from your back, along with another zombie. Take out the one with the gun first before he starts firing.
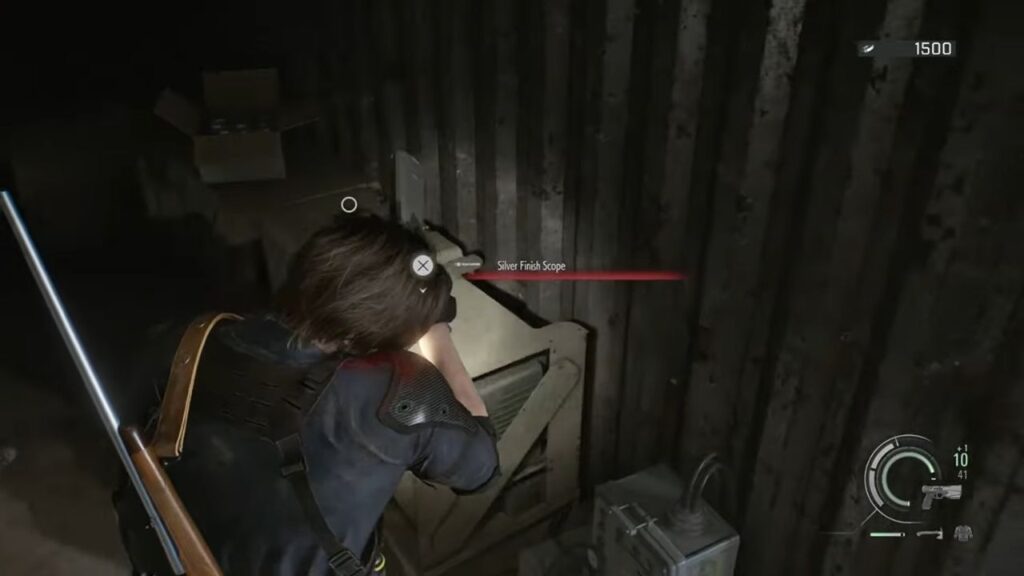
Once they are all down, check the container for Rifle Ammo and the Silver Finish Scope, which can only be attached to the Classic 70 rifle.
Take a look at the old rusted van stuck in the wall, it is the same one that Ada used to slam into Mr. X years ago, neat!
On the ground by the driver’s side door, you will find the Cute Bear Charm that Ada must have left behind. Attach it to your shotgun to boost its damage at mid-range.
Check the rest of the garage area for some Handgun Ammo and crates, then head back to the street.
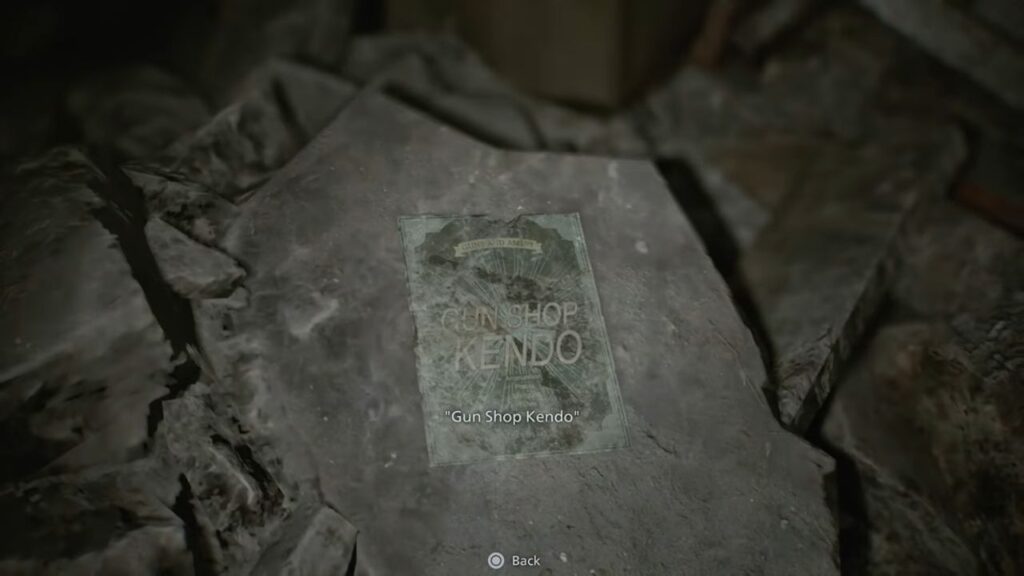
Walk down the road and cross over to enter Gun Shop Kendo. Head inside and go through the back. Leon will reflect on what happened here, making a quiet promise to himself.
When the scene ends, turn around and look along the shelves to find a W870 Police Shotgun. It has good spread and solid power but a small ammo count.
Before leaving, go back into the small courtyard between the two buildings and look for a narrow alley off to the side. It leads to a large Umbrella billboard overlooking a big pit. Look at the windows to the left of the billboard, and you will see a Mr. Raccoon Bobblehead tucked inside one of them.

Step out through the back of Gun Shop Kendo, and you will see the long road leading to the orphanage in the distance. There is another BSAA Container here with crates holding Shotgun Ammo, Rifle Ammo, and Machine Gun Ammo, along with a Med Injector, a save laptop, and a supply box.
Use this stop to resupply, fix your armor, and upgrade the new shotgun if you want to get the most out of it.
Save your game here before going any further. All that ammo sitting around is a clear sign of what is coming. The moment Leon starts walking down that road, his old nemesis shows up, this time armed with a missile from a helicopter.
But Leon is not the same person he was back in Raccoon City, and he has no intention of backing down.
All Collectibles
| Category | Item | Where to Find It |
| Collectible Files | Toe Tag | Inside one of the first coffins on the right in the underground coffin room |
| Series 60 Results | On the desk straight ahead as you enter the green-door lab room | |
| New Researcher’s Notebook | On the second desk near the exit of the lab room, past the Spencer monitor | |
| Guide Pamphlet | On a couch to the left of the balcony outside the Waiting Room in the R.P.D. | |
| Mr. Raccoon Bobbleheads | Raccoon City Billboard Bobblehead | Visible through a window to the left of the Umbrella billboard, in the alley beside Gun Shop Kendo |
| Key Items | Hatch Key | Falls to the floor after the girl tries to pull it off the hook above the drawers in the Director’s Room |
| Fire Poker | In the small area past the coffin gate, reached by climbing over the stacked coffins | |
| Weapons | W870 Police Shotgun | On the shelves inside Gun Shop Kendo, found after the cutscene in the back room |
| Weapon Attachments | Silver Finish Scope | Inside the BSAA container in the R.P.D. garage — fits the Classic 70 only |
| Cute Bear Charm | On the ground by the driver’s side of the rusted van embedded in the R.P.D. garage wall |