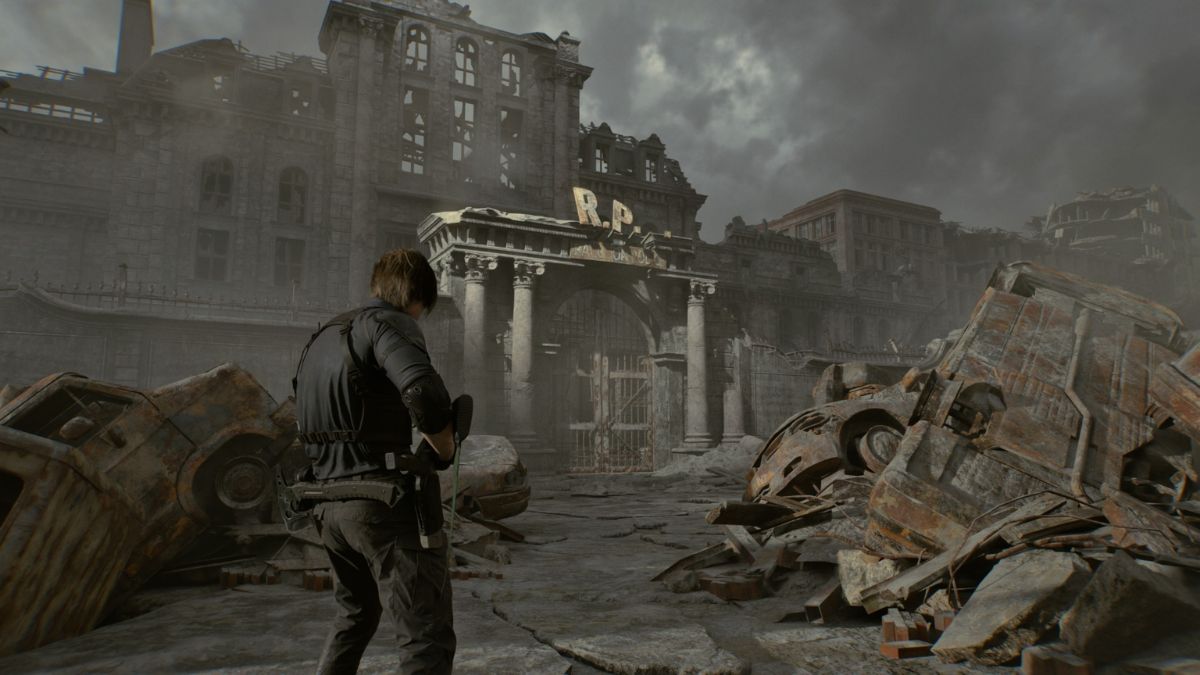
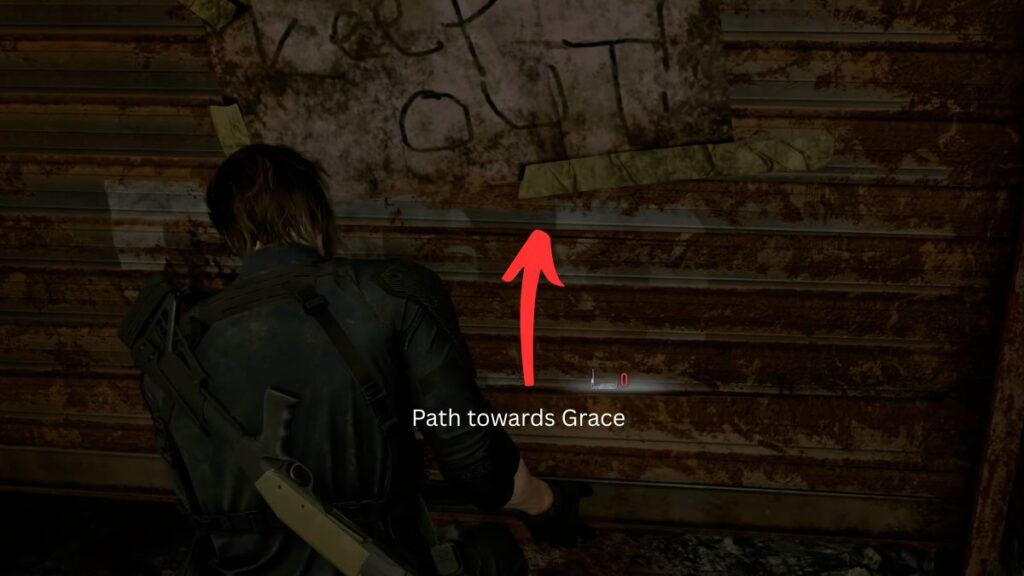
After a long chase sequence and a brief cutscene, Leon arrives close to the target site. Once the cutscene ends, you’ll be prompted to search for Grace.
Approaching the R.P.D.
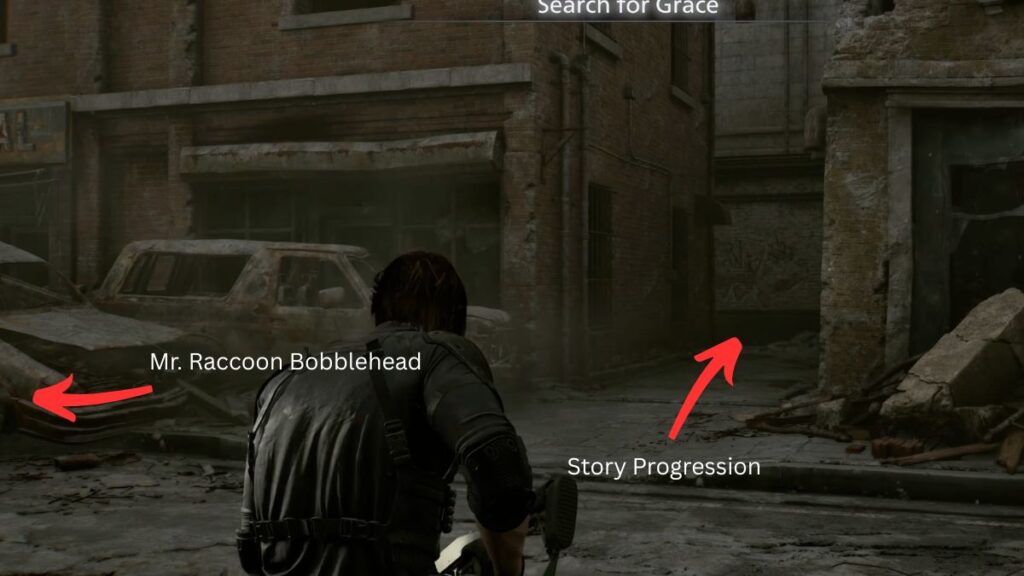
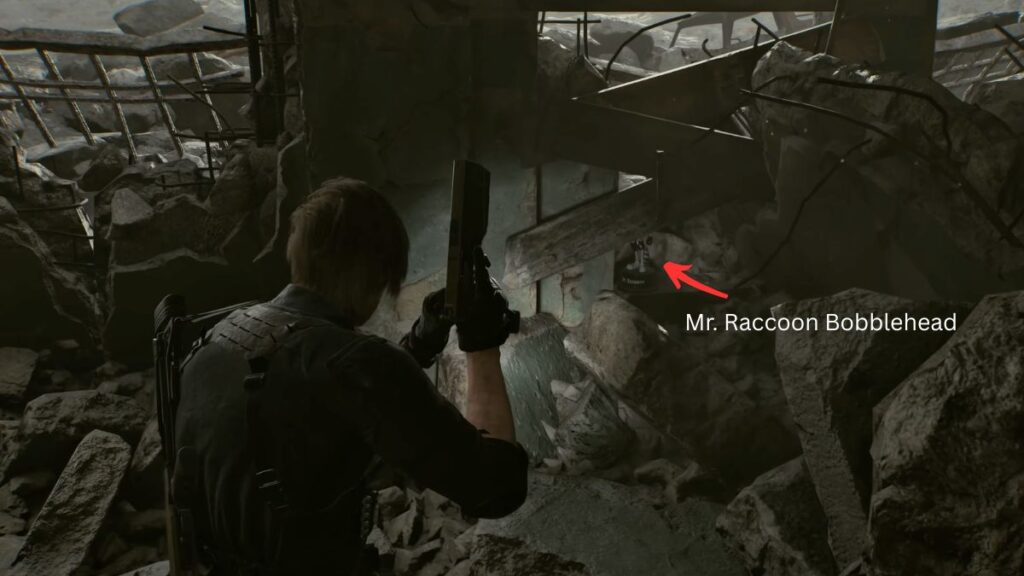
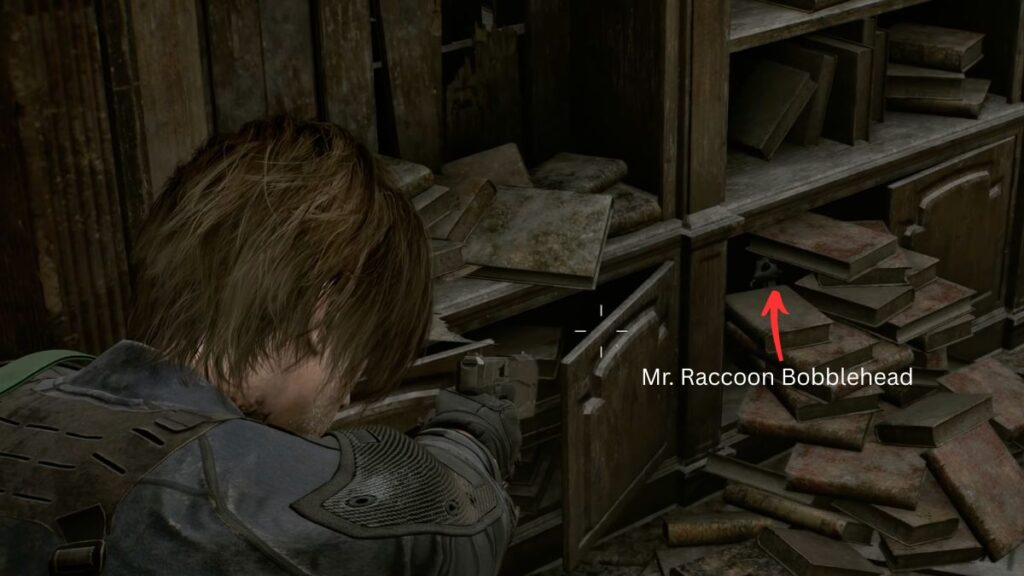
Directly ahead of you is an alley, but before heading in, check the left side near the debris and broken car to find a Mr. Raccoon Bobblehead. After collecting it, follow the alley and keep moving until you reach the other side.
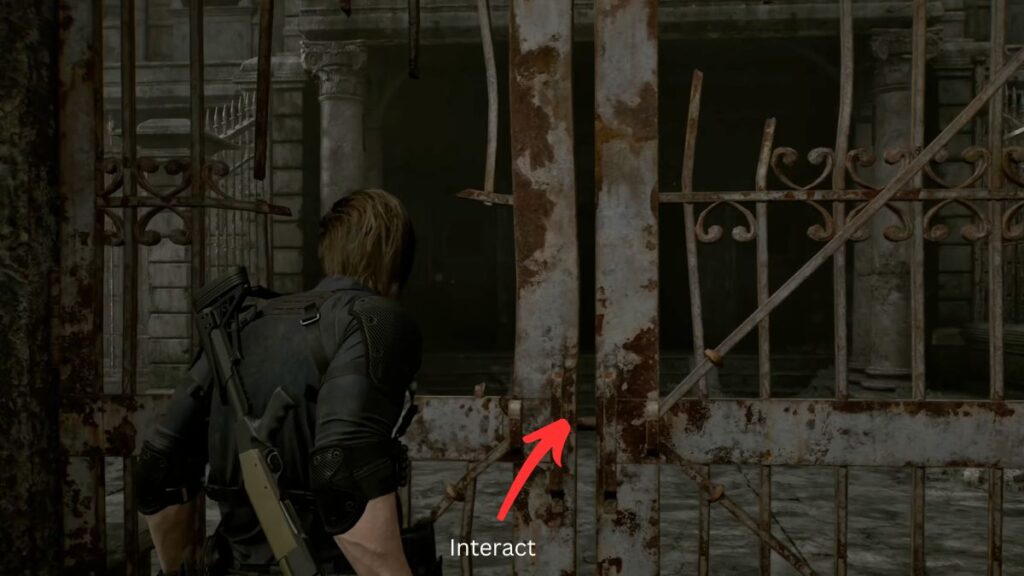
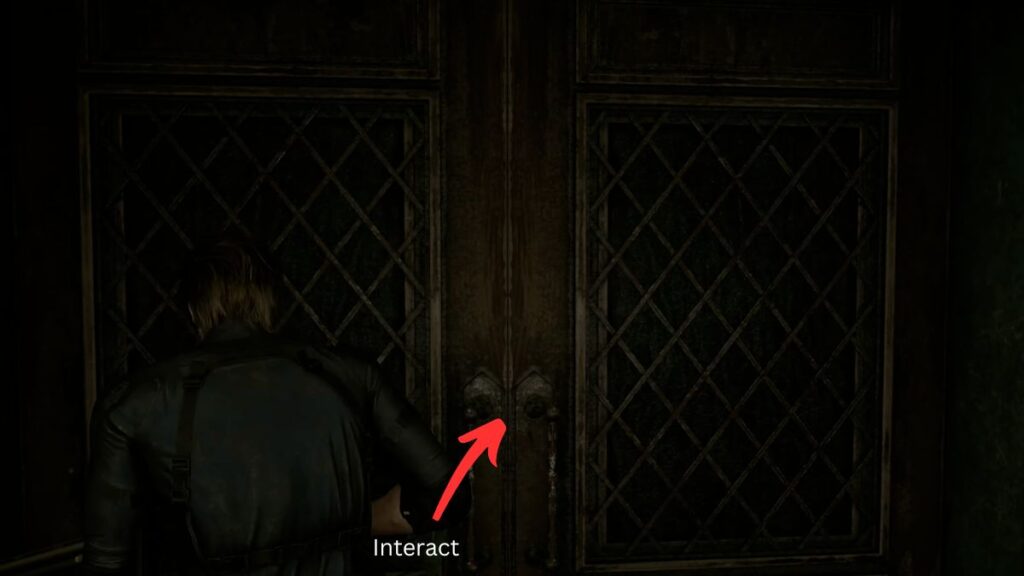
Keep moving forward until you reach a gate on the right. There is not much in this area except debris and rusted cars, so just approach the gate and interact with it to open it. Through the gate, there’s another door. Open it, and Leon will experience a series of flashback memories from his past.
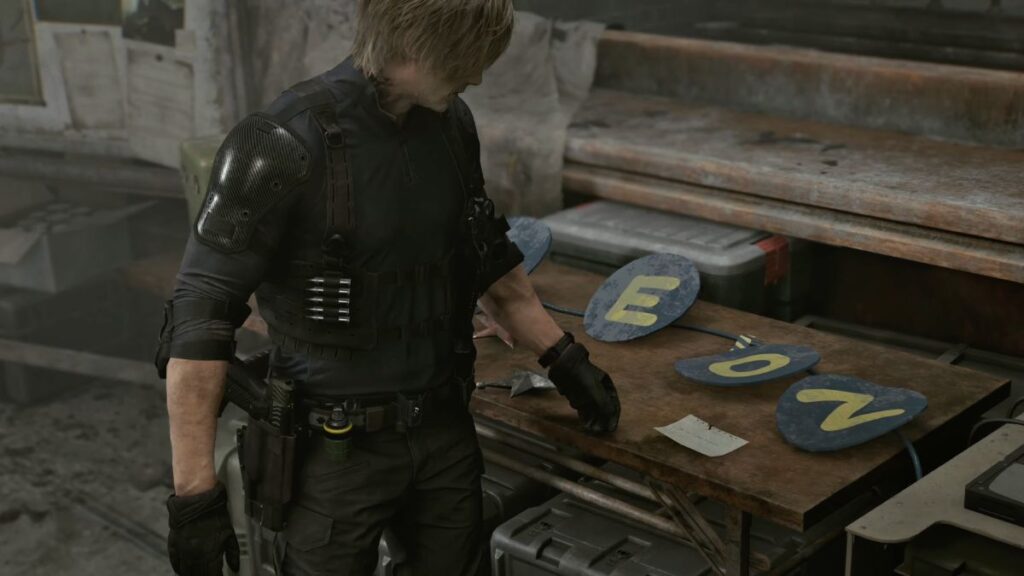
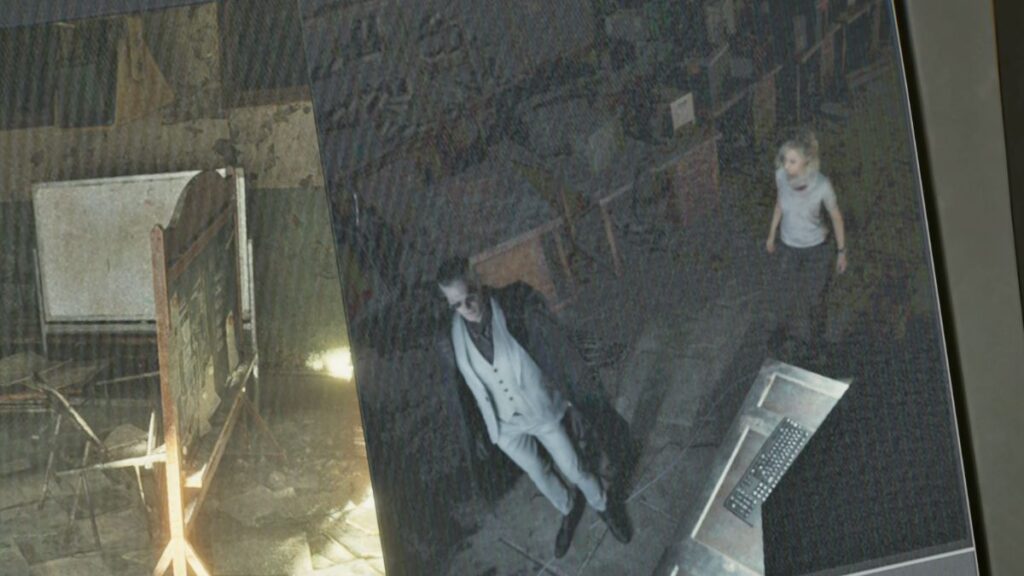
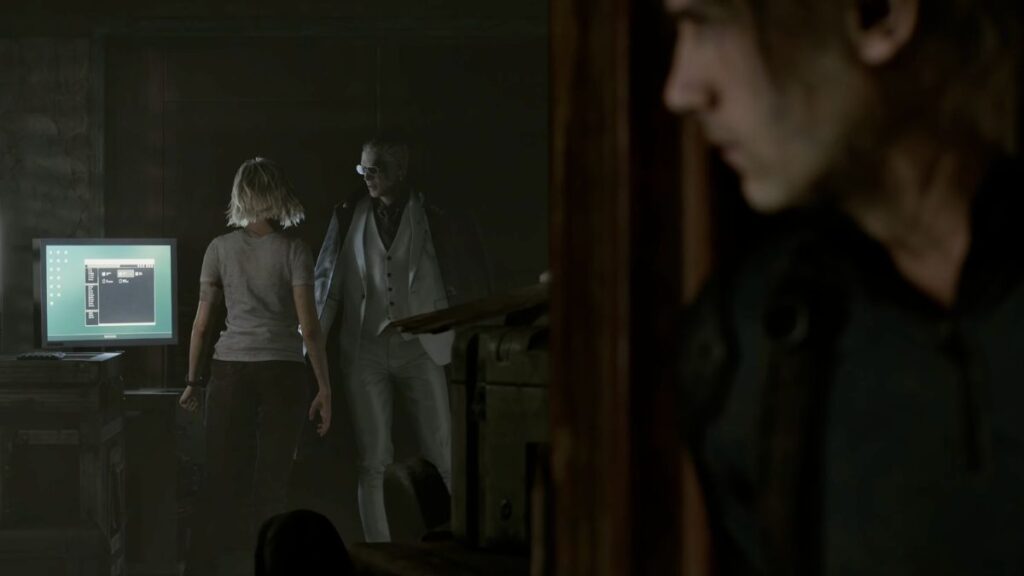
There isn’t much to find in the immediate area, so head past the main desk. A cutscene will trigger, and Leon spots Grace alongside the unknown man on the laptop, and a banner reading “Welcome Leon” with the message “You can’t save anyone” on a piece of paper.
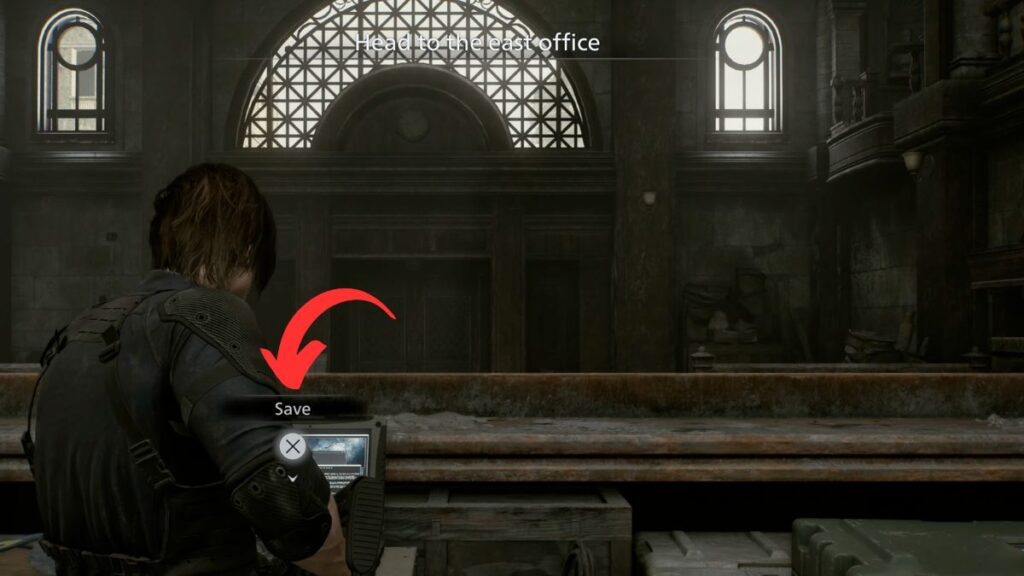
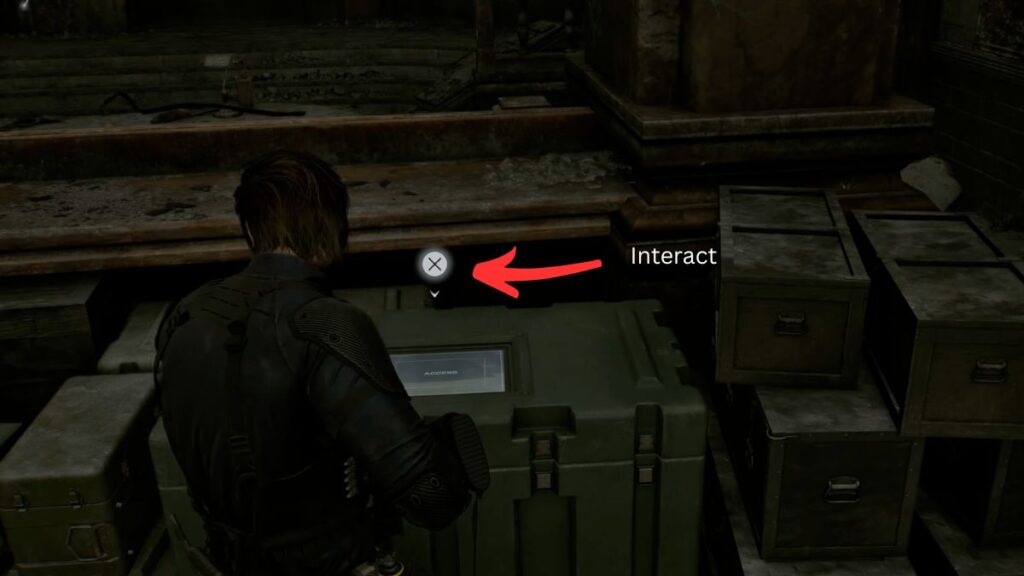
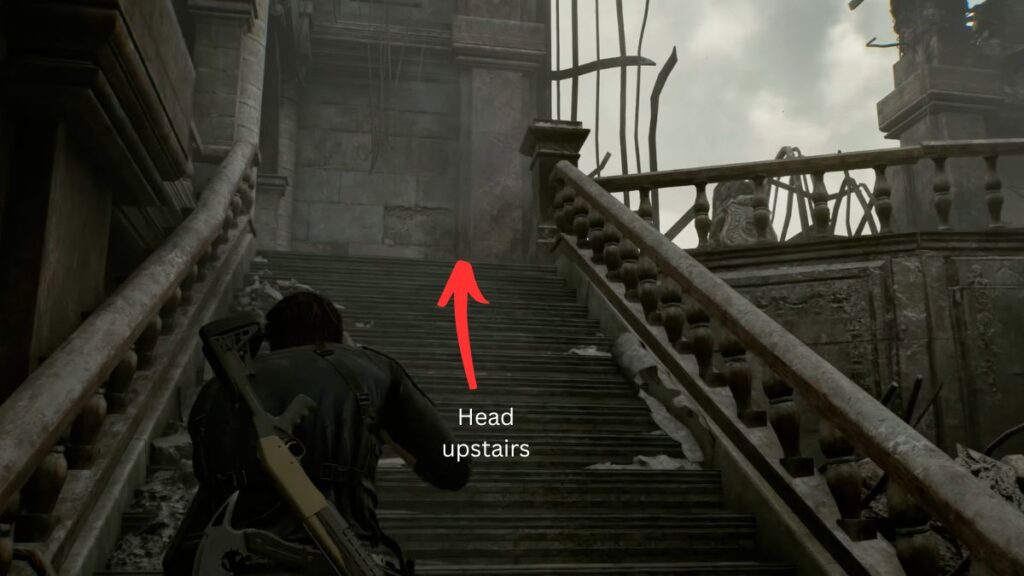
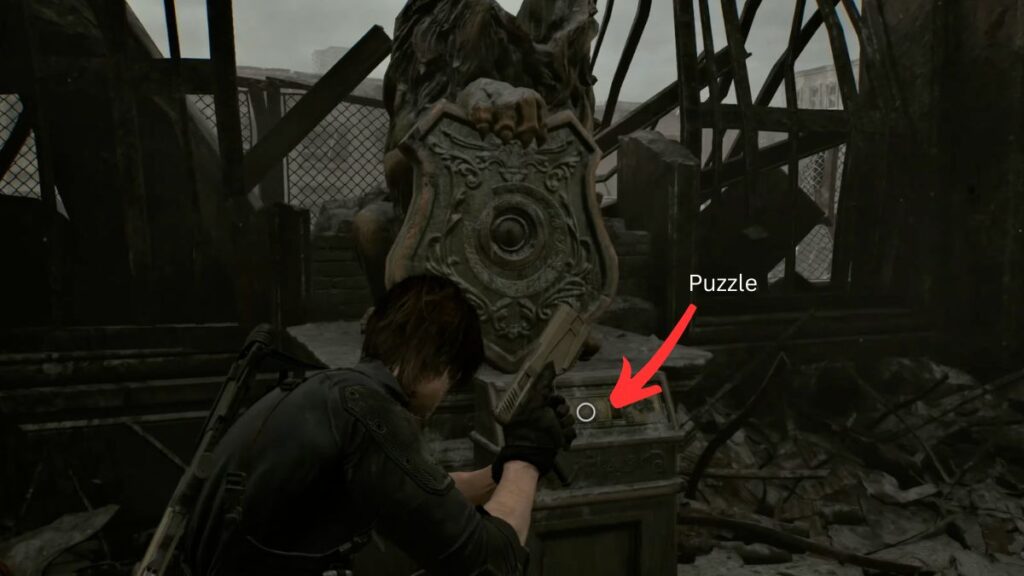
After the cutscene, you’ll be prompted to reach the east office. Before heading there, save your progress on the laptop and check the supply box beside it to spend any credits you’ve accumulated. Right next to the laptop on the left side is R.P.D. Perimeter Report on a board. Head up the stairs and take a right, where you’ll spot a lion statue with a puzzle in front of it.
The West Office
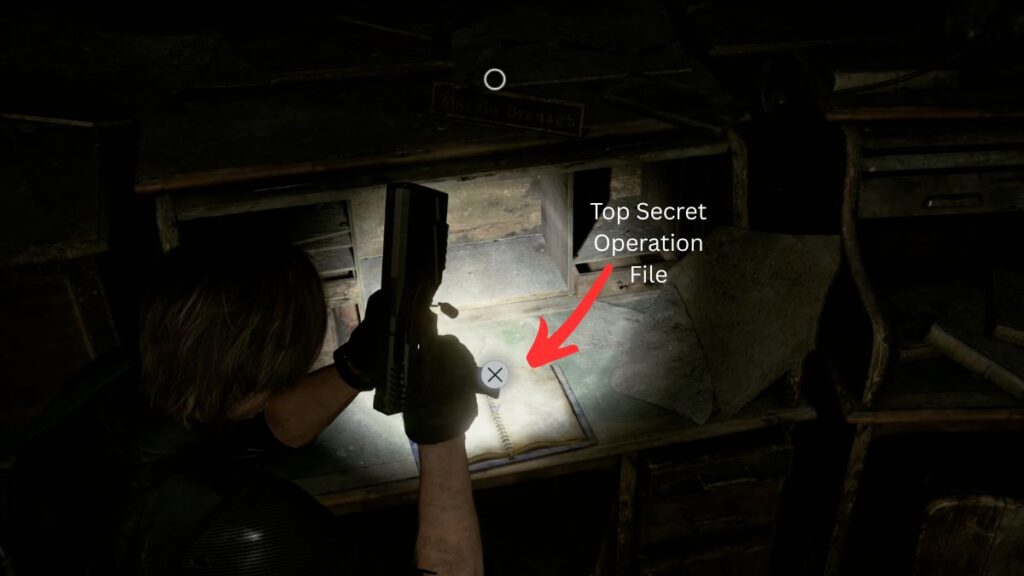
Go back downstairs and take a right into the west office. Inside, you’ll find Marvin Branagh’s desk along with a Top Secret Operation File sitting on top of it.
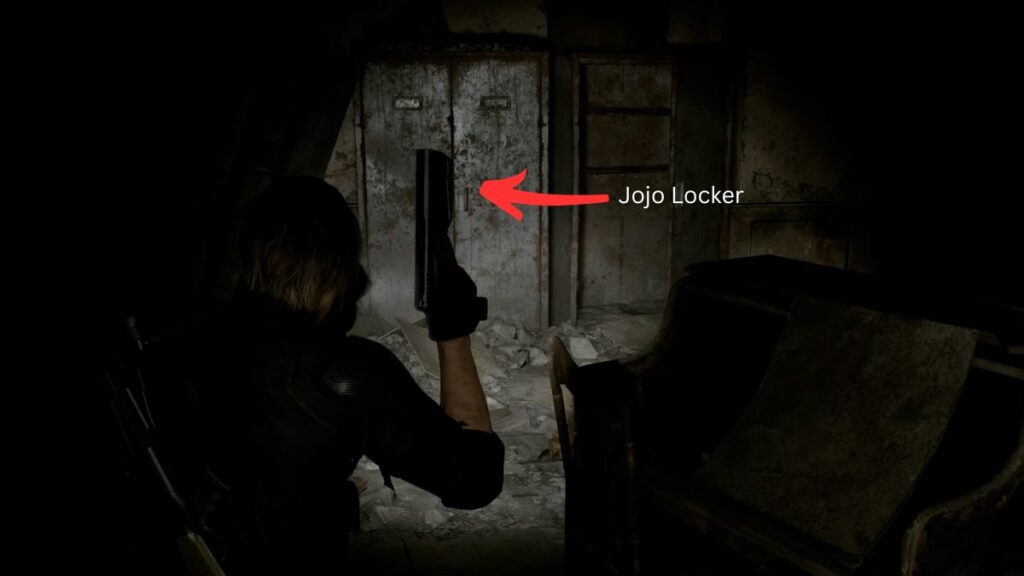
At the far end of the room, there’s a locker with the name “Jojo” on it, although it needs a key, so leave it for now, but do remember it. On the left of this locker, there is another room; however, there is nothing inside it, so you can skip going towards it.
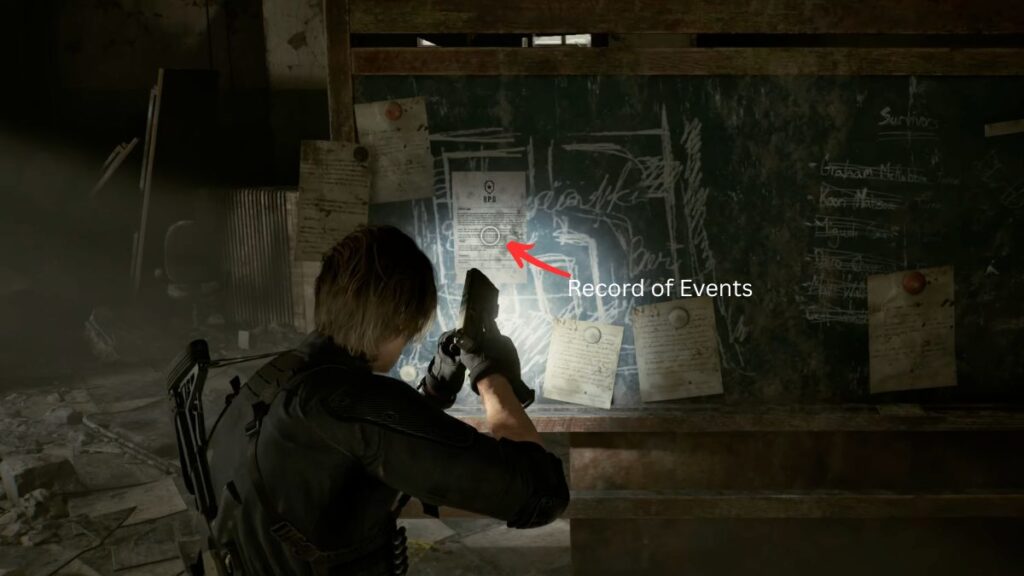
Instead, take a right from the locker and follow the hallway to the left into the next room. Head toward the hole in the wall and collect the Handgun Ammo on the table on the left. Go through the broken wall and interact with the board on the other side of the wall to collect the Record of Events file. Turn left and just to the right of a ruined wall nearby, look behind some wooden planks to find another Mr. Raccoon Bobblehead.


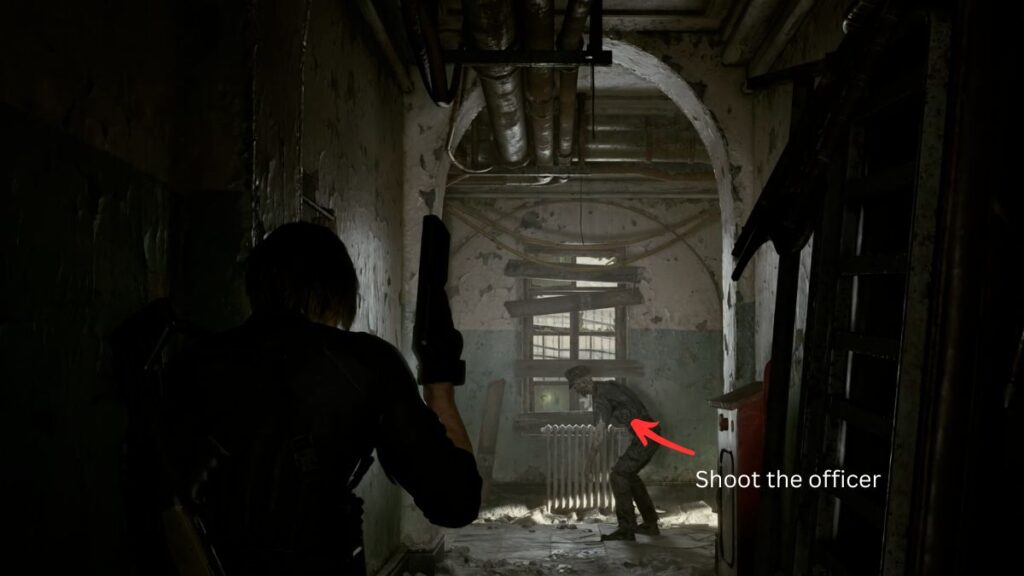
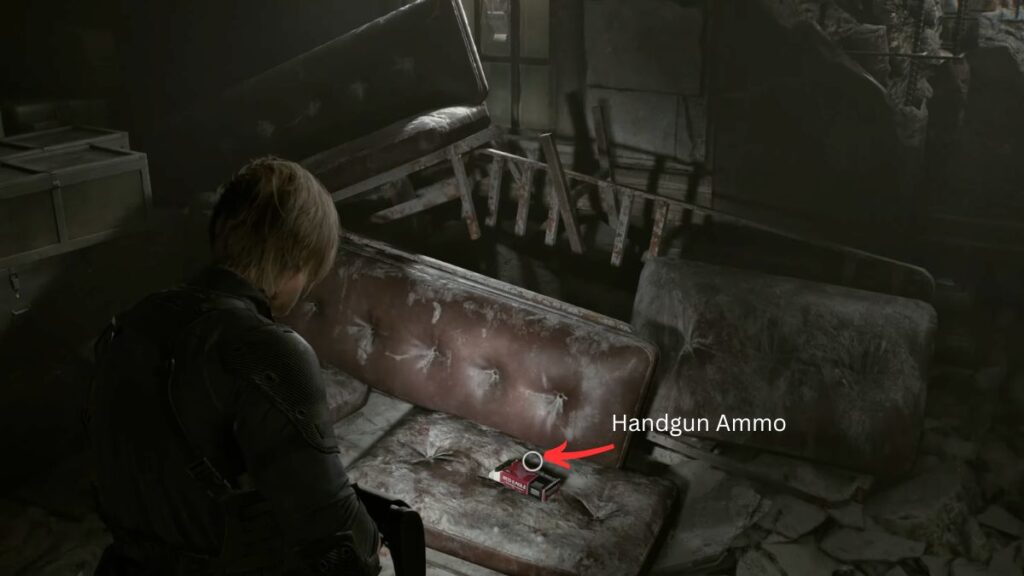
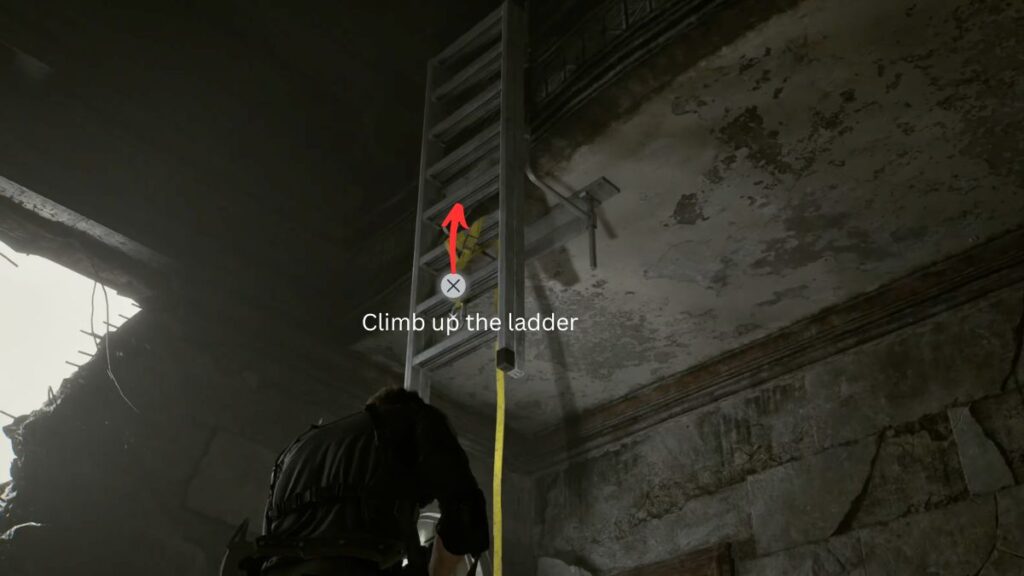
Head back to the hallway and continue south. After a few steps, you’ll come across an infected officer; take him out with your weapon of choice. Keep going until the path splits in two. The right path leads to a dead end with only a skeleton, so take the left path into the next room. Collect the Handgun Ammo inside. Turn around and climb the ladder to reach the upper floor.

The S.T.A.R.S. Office and Armory
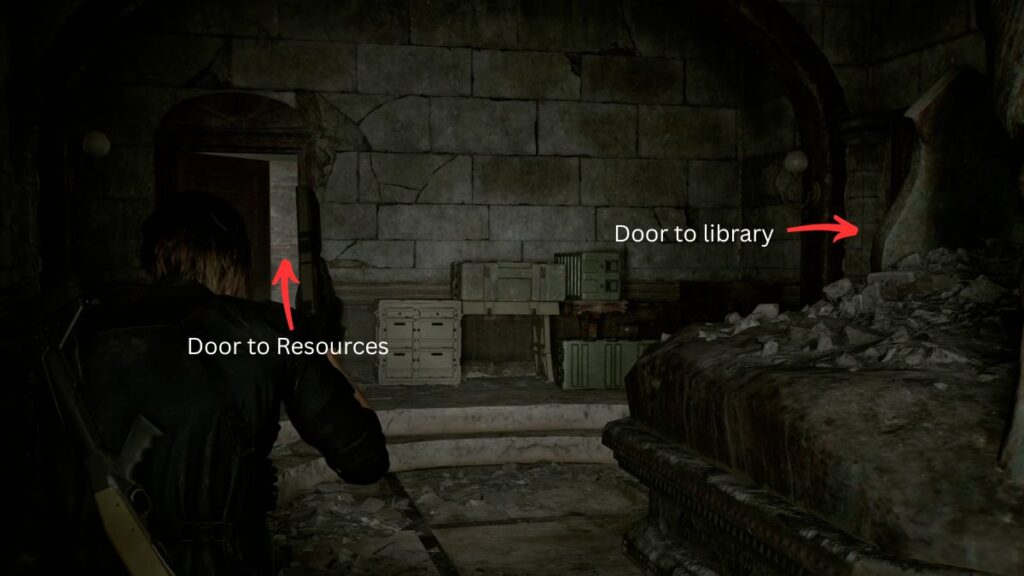
At the top of the ladder, you will come to an area where you’ll find two doors, one straight ahead and one to the right. Take the left door first.
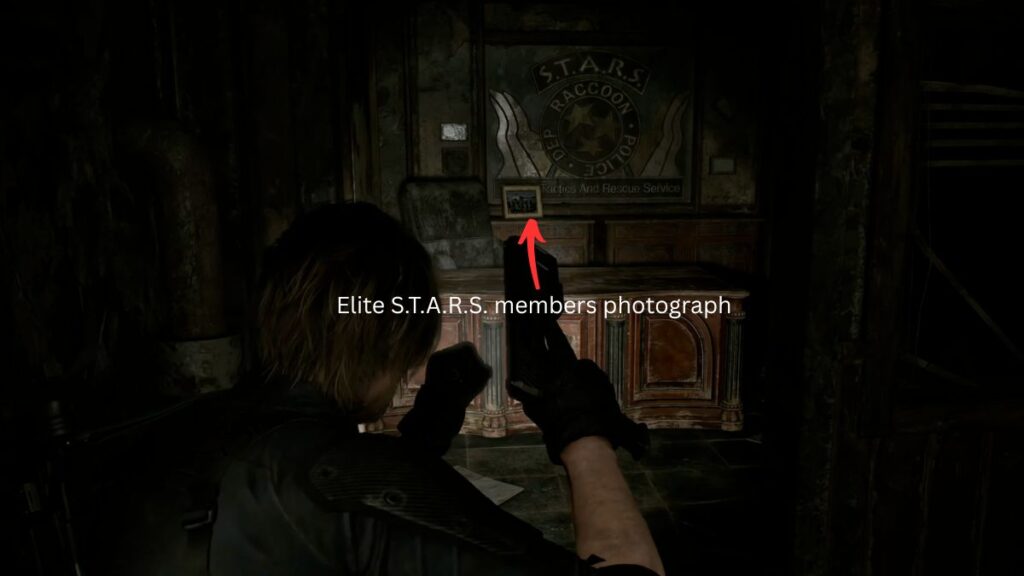
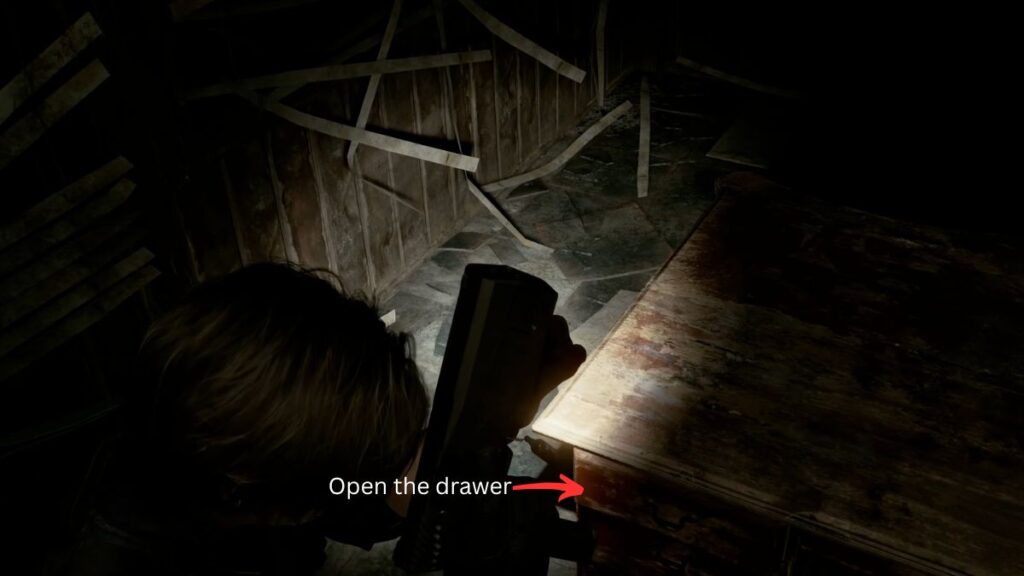
Keep following the hallway and take the first right. Soon, you will come across a door on the right side and enter it. Right after you enter, take a left inside the office to find a photograph on the table that shows the elite S.T.A.R.S. members. In front of it is a table, open the top drawer to get a Library Card.
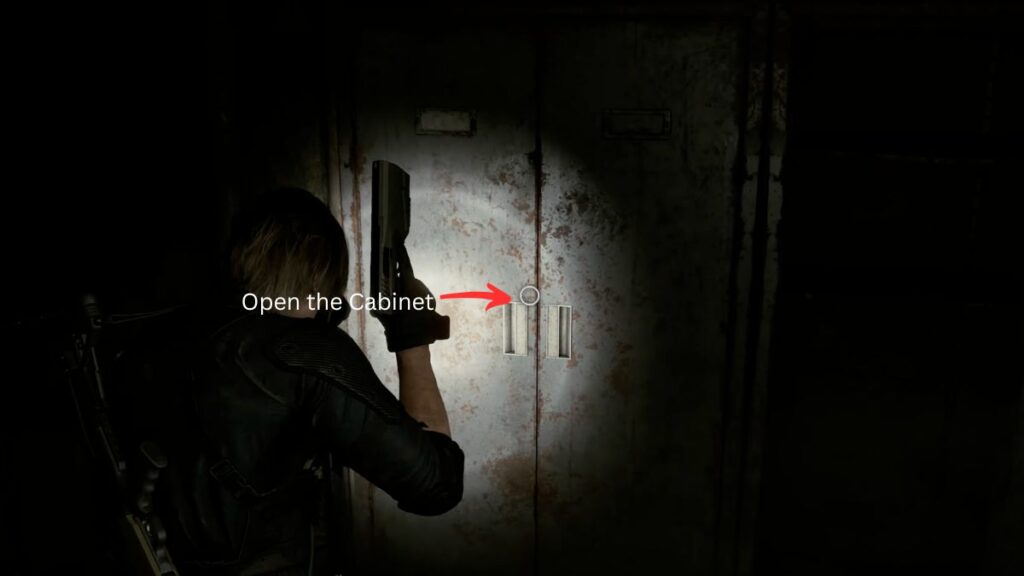
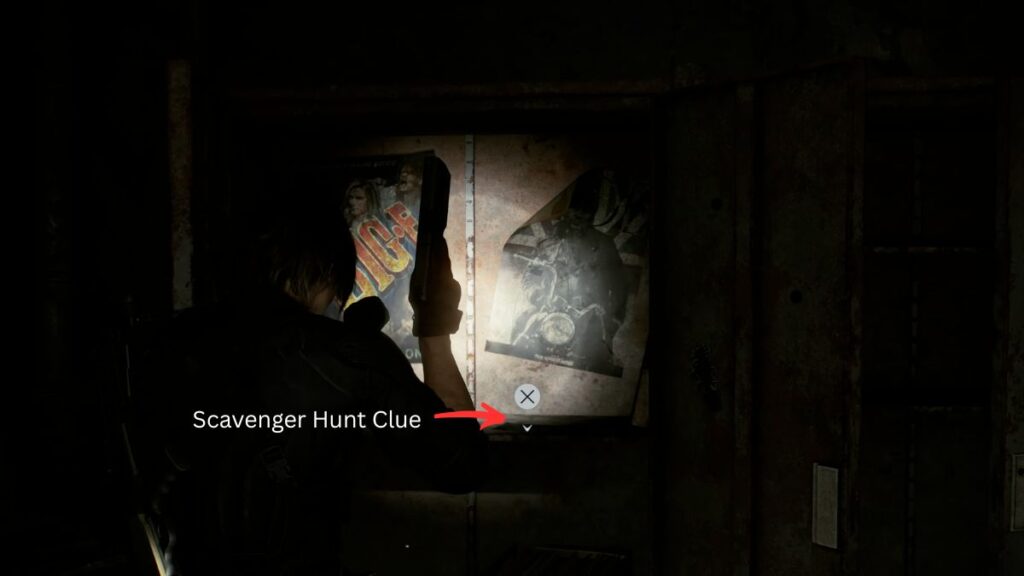
After collecting the Library Card, come back to the room, and on the right side, you will find a cabinet. Open it to find a Scavenger Hunt Clue along with some posters.
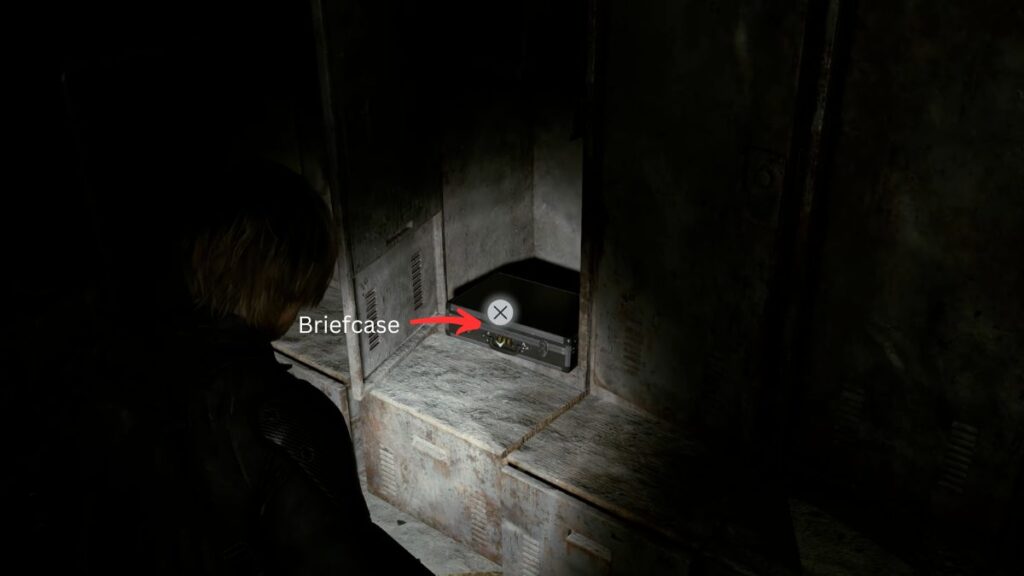
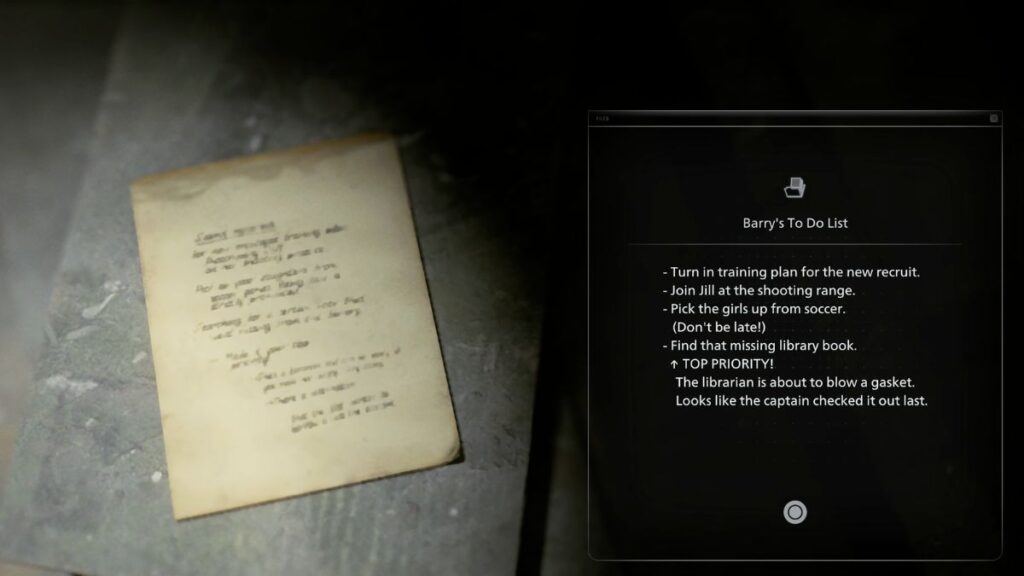
Keep moving forward in the office to find Barry’s To Do List on the desk. Look around the room to find Jill’s molding beret and Chris Redfield’s old jacket. Check inside the jacket to find a photo tucked away, which is another Scavenger Hunt Clue. There’s also a locked briefcase with a three-digit code sitting in the S.T.A.R.S. Armory.

The Library
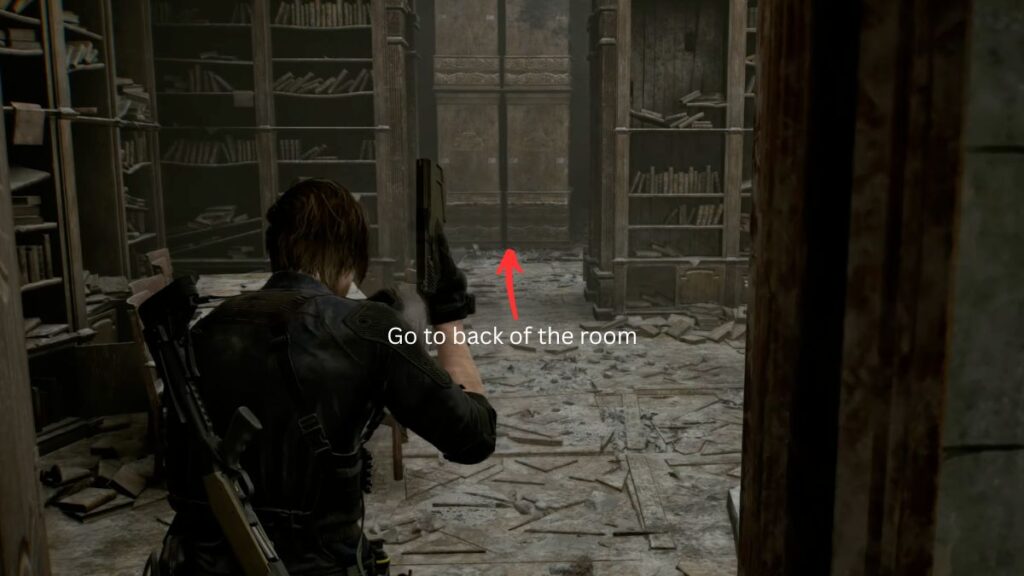
Now take the right door to get to the library. Take a quick scan of the library, you will see a door in front of you which leads to the back of the library, a staircase on the right, and another door on the right that leads you to the second-floor balcony looking to the main hall.
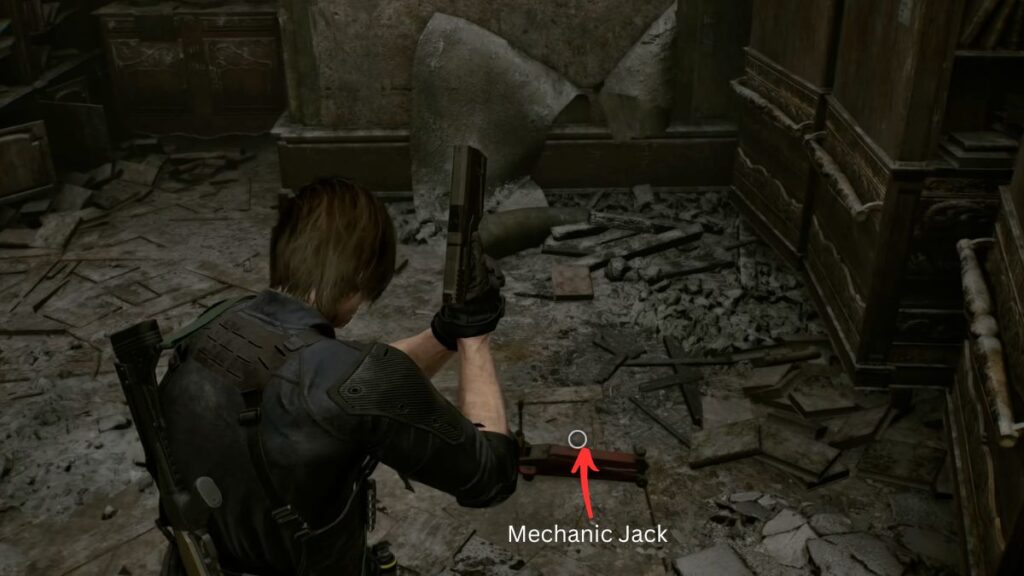
Go through the door at the far end to reach the back of the room and collect the Mechanic Jack, which will let you pry open the shutters downstairs. While you’re back here, check the bookshelf right next to the door and look in the bottom cabinet behind the books to find another Mr. Raccoon Bobblehead.
Head up the stairs to the second floor of the library. Near a wooden door, you’ll spot a book that looks noticeably newer than the ones around it. Open it to find a photograph of Rebecca inside. The writing on the back reads “Rising Rookie Rebecca.”
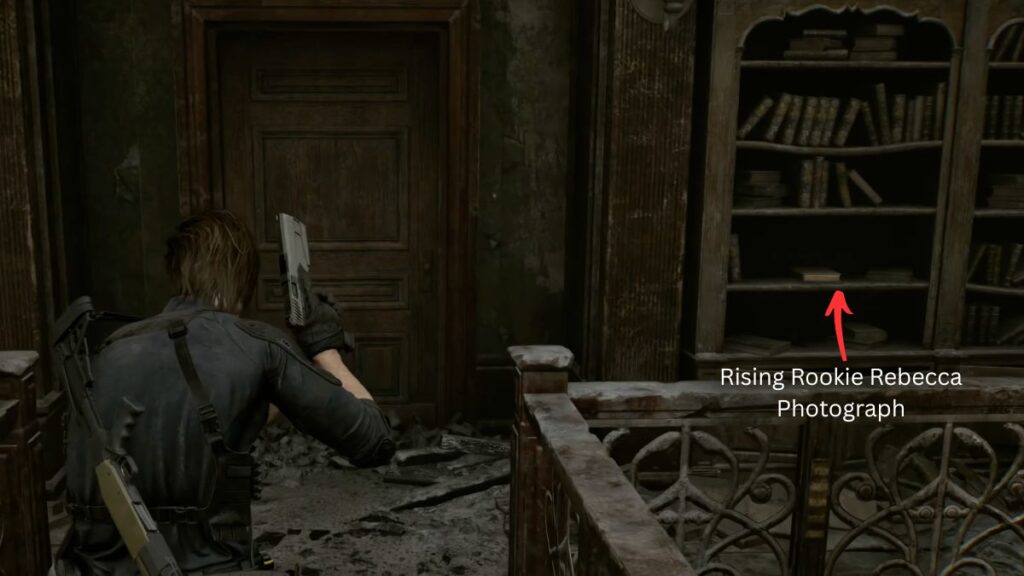
This is your final clue for the briefcase. Head back to the S.T.A.R.S. Armory and enter RRR as the code to open it. Inside, you’ll find the Power Shade Charm, which increases the damage of your last bullet and grants bullet penetration to the Requiem Revolver.
The Shutters
Go to the second floor balcony overlooking the main hall and drop down. Use the Mechanic Jack to pry open both shutters on the ground floor.
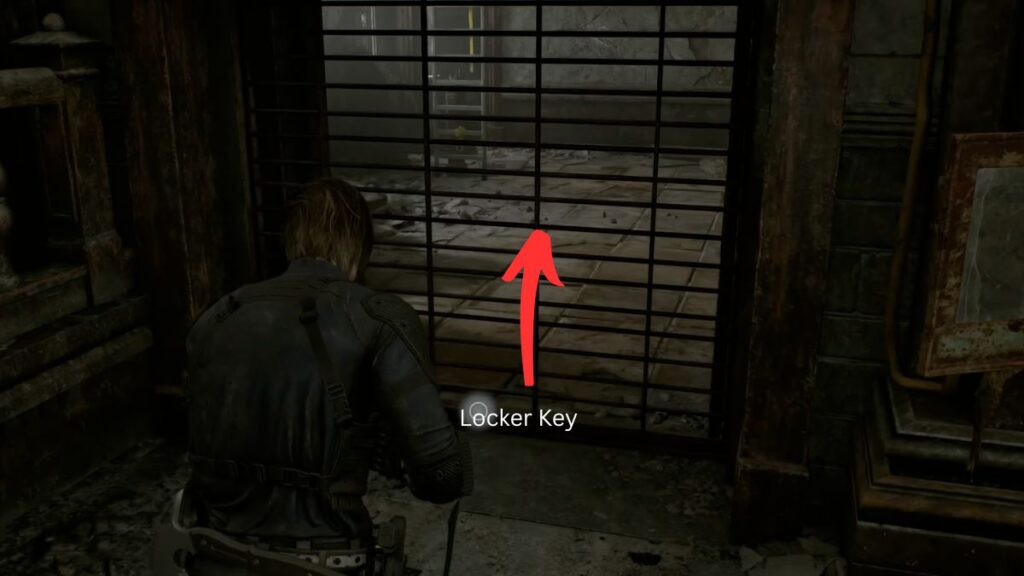
Go through the west shutter first. Keep moving until you reach a chalkboard and climb up the stacked items beside it, and look next to the television to find a Locker Key. Take it back to the locker in the west office labeled “Jojo” and open it. Inside you’ll find old posters of Capcom games, an original Saturn, a copy of Resident Evil 1, the S.T.A.R.S. Emblem Charm that can be applied to your submachine gun, and two tickets to the Raccoon City Zoo.
Now go through the other shutter door. There’s nothing to collect along this path, but keep following it until a cutscene plays where Leon overhears a conversation between Grace and her kidnapper.
All Collectibles
| Category | Item | Location/Notes |
|---|---|---|
| Mr. Raccoon Bobblehead | Bobblehead #1 | Left side near the debris and broken car before the alley |
| Bobblehead #2 | Behind wooden planks next to the ruined wall, through the broken wall in the west office | |
| Bobblehead #3 | Bottom cabinet behind the books in the back section of the library | |
| Collectible Files | R.P.D. Perimeter Report | On the crates in front of the ruined statue in the main hall |
| Top Secret Operation File | On Marvin Branagh’s desk in the west office | |
| Record of Events | Board on the wall through the broken wall in the west office | |
| Barry’s To Do List | On the desks in the S.T.A.R.S. Office | |
| Scavenger Hunt Clue 1 | Inside Chris Redfield’s old jacket in the S.T.A.R.S. Office | |
| Scavenger Hunt Clue 2 | Inside the cabinet beside the door in the S.T.A.R.S. Office | |
| Library Card | Side drawer of Wesker’s desk — reveals the briefcase code | |
| Tools | Mechanic Jack | Back section of the library ground floor — used to pry open shutters |
| Keys | Locker Key | Next to the television above the chalkboard through the west shutter |
| Charms | Power Shade Charm | Inside the locked briefcase in the S.T.A.R.S. Armory — code: RRR |
| S.T.A.R.S. Emblem Charm | Inside the Jojo locker in the west office — applies to submachine gun |