
With the nightmare of the basement finally behind them, Grace and Emily make it back to the main part of the Care Center. All three Star Quartz pieces are now in hand, and the path through to the courtyard is ready to be opened.
Resident Evil Requiem Care Center Courtyard Walkthrough (Grace)
Unlocking the Door in the Central Hall
As the chaos of the elevator shaft settles, Grace gets her hands on the third and final Star Quartz that Emily had been carrying. If you picked up the other two during your time exploring the Care Center, you now have everything you need to open the locked door upstairs.
Before going forward, take a second to look back near the elevator shaft, you’ll spot the Girl’s severed hand still moving on the ground. It does not seem to do anything obvious right now, but it’s worth keeping in mind for later.
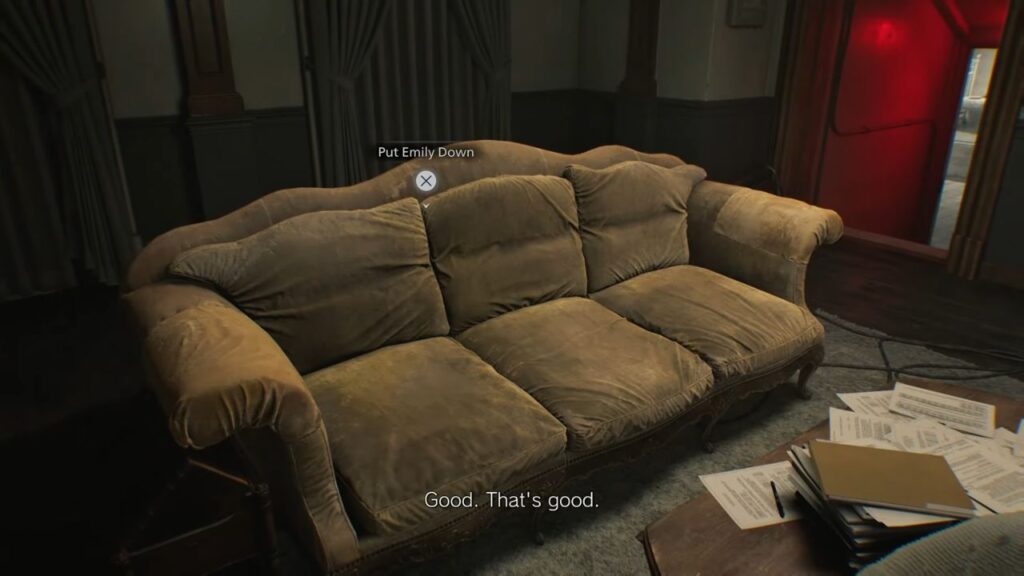
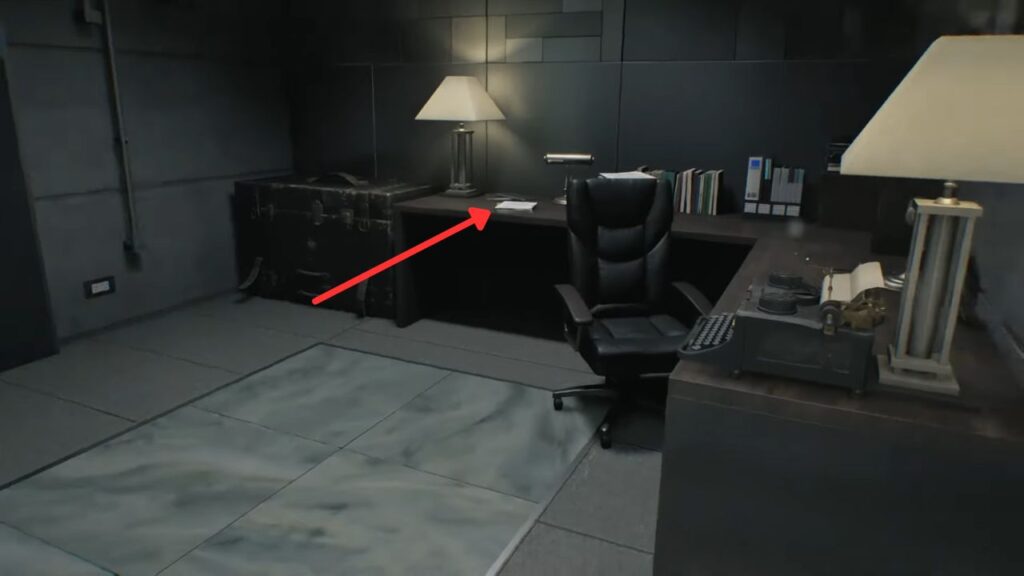
In Central Hall, you have the option to set Emily down in the Guard’s Office for a moment. This is a good time to take stock of what you have, because once you step through the Quartz Door, there is no coming back to this part of the building.
Use this window to wrap up any loose ends around the Care Center, spend any leftover Antique Coins at the Parlor, drain any remaining infected blood pools to max out your crafting materials, check the Pantry in the Kitchen if it was unlocked earlier, and grab any herbs, ammo, or scrap you might have missed.
Also, make sure you have collected all five Bobbleheads and as many Files as you can still reach. When you feel ready, pick up Emily, head to the top of the stairs, and slot all three Quartz pieces into the door to swing it open.
The Courtyard
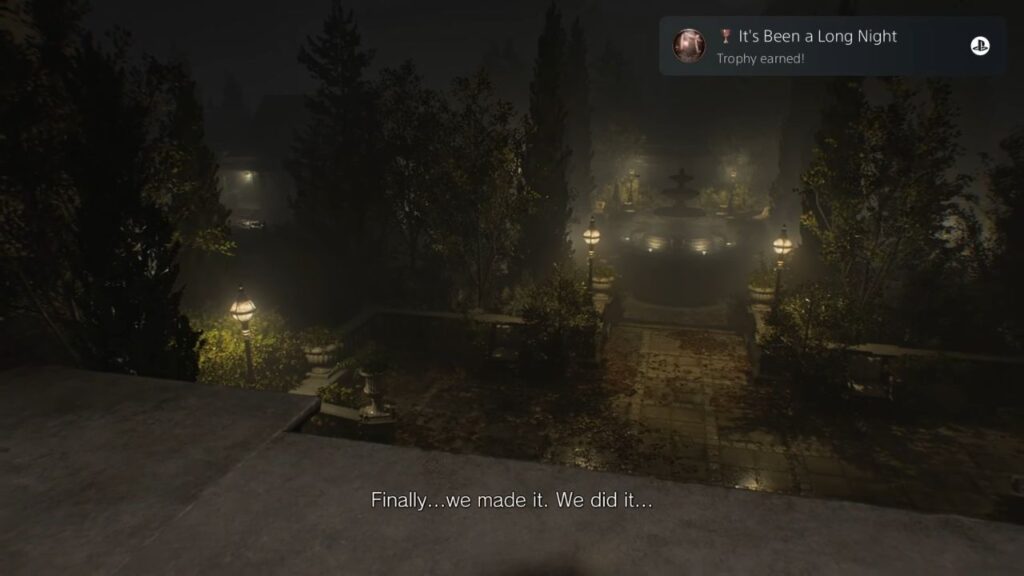
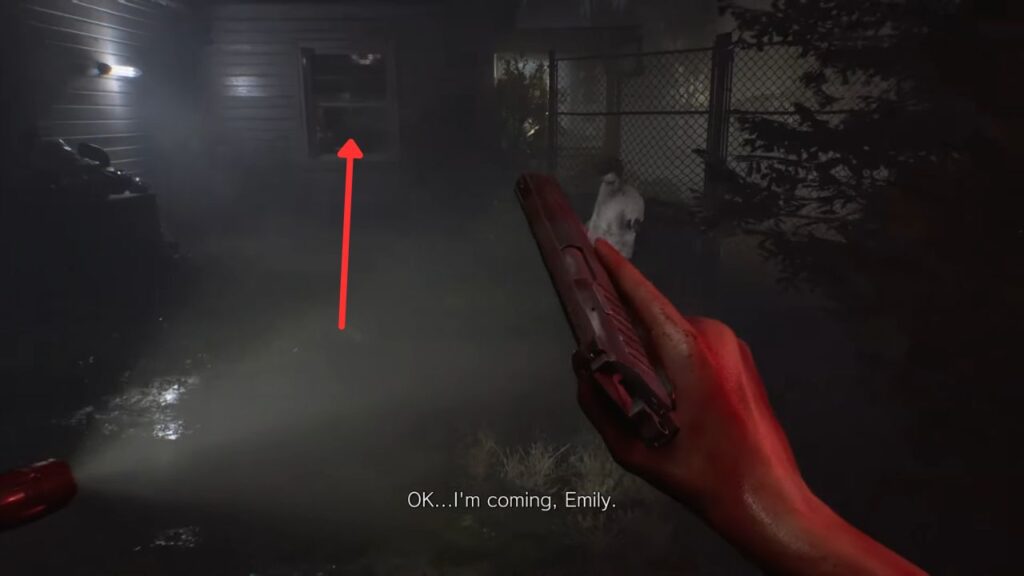
Stepping outside feels like a breath of fresh air compared to everything you just went through. The courtyard is open and calm, with no signs of infection on the surface.
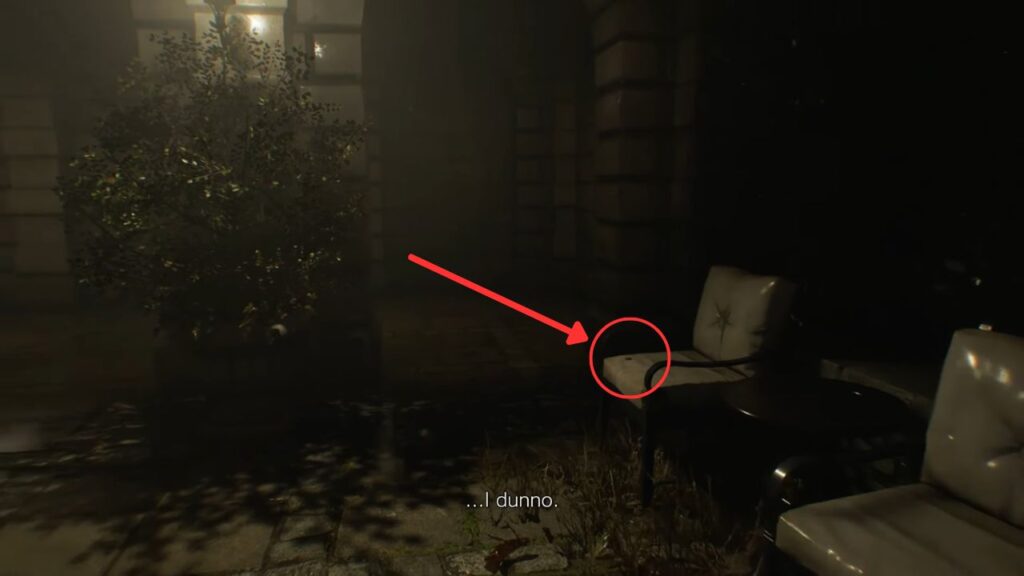
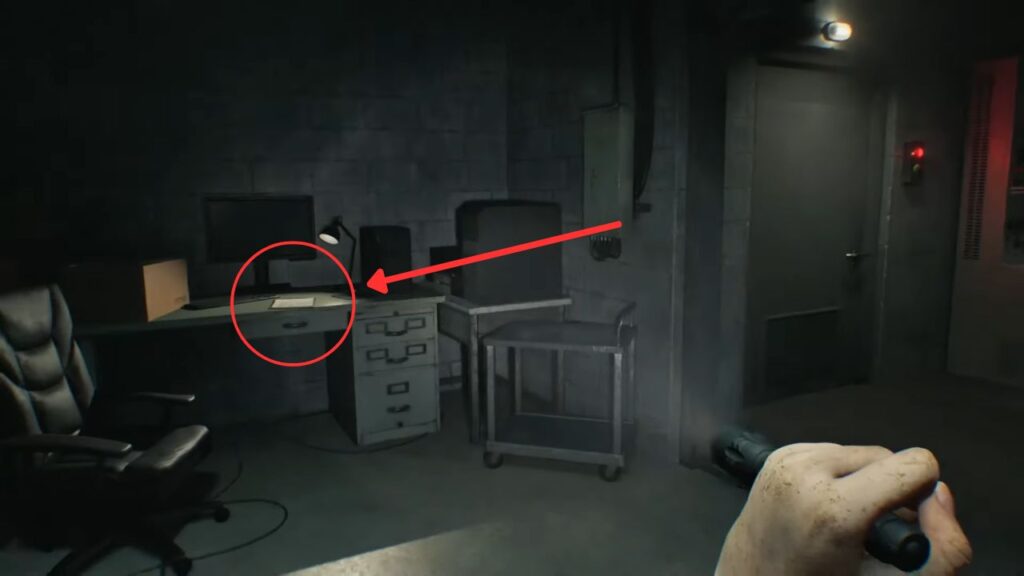
As you walk down the steps, it becomes clear that Emily is not doing well. Before you get too far, check the white chair at the bottom of the left staircase, there is an Antique Coin sitting on it.
At the far end of the courtyard, a large red light draws your eye toward a wide open area with a fountain and a pool of water. Two signs point in different directions from here, a chapel to the east with a locked gate, and a helipad to the west. Let’s head to the helipad first.
Finding the Helicopter Key

When you reach the helipad, a man named Harry hobbles into view. He is the pilot, and aside from a bad leg, he seems completely fine, a rare thing in this place.
He tells Grace he will fly her and Emily out without hesitation, but there is a problem: his supervisor walked off with the ignition key and disappeared into the nearby VIP Suite. Since Harry cannot go after it himself, he offers to keep watch over Emily while Grace retrieves it.
Once Emily is settled with Harry, you are free to move on your own again. If you need to top off your supplies before heading in, walk back toward the fountain. Inside the water, you can grab a Makeshift Knife, and around the back of the fountain, there is a Green Herb tucked along the edge.
Head into the small building nearby. On a table right by the entrance, you will find the Visitor Record file, which mentions that someone referred to only as ‘Z’ paid a visit here not long ago.
Continue into the next room to find an Item Box, a good spot to offload anything you do not need before moving into the main area of the VIP Suite.
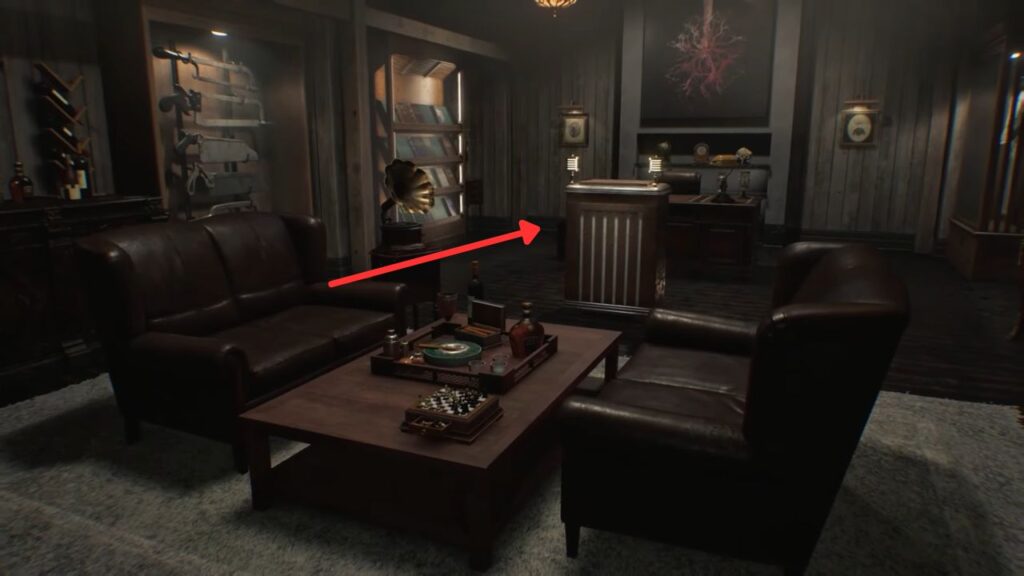
The main room is packed with ornaments and antiques, but the key is nowhere in sight. Walk up to the small console in the middle of the room and press X to interact with it. It reveals a display shaped like a DNA strand with a gap in the center, clearly meant to hold something.
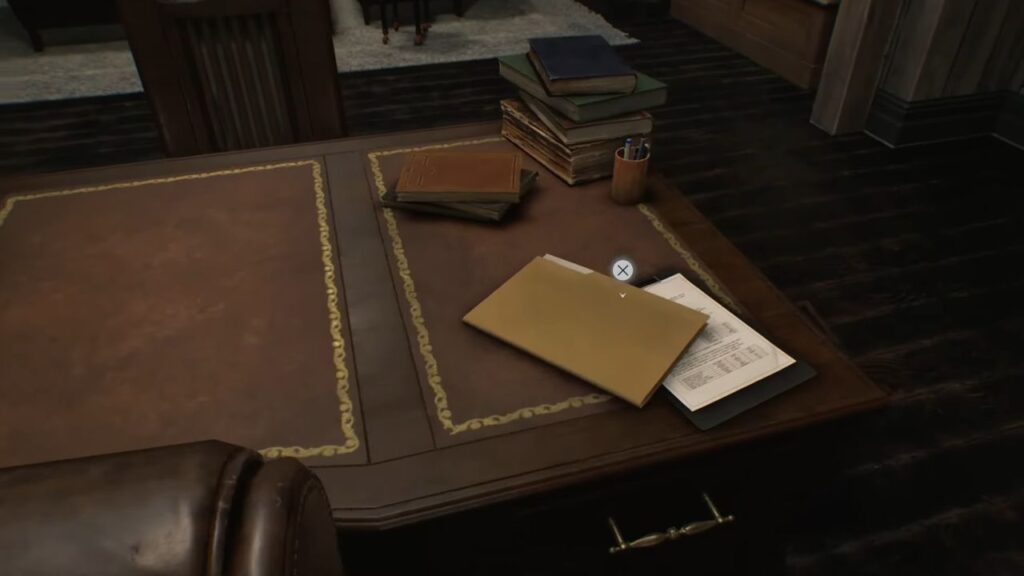
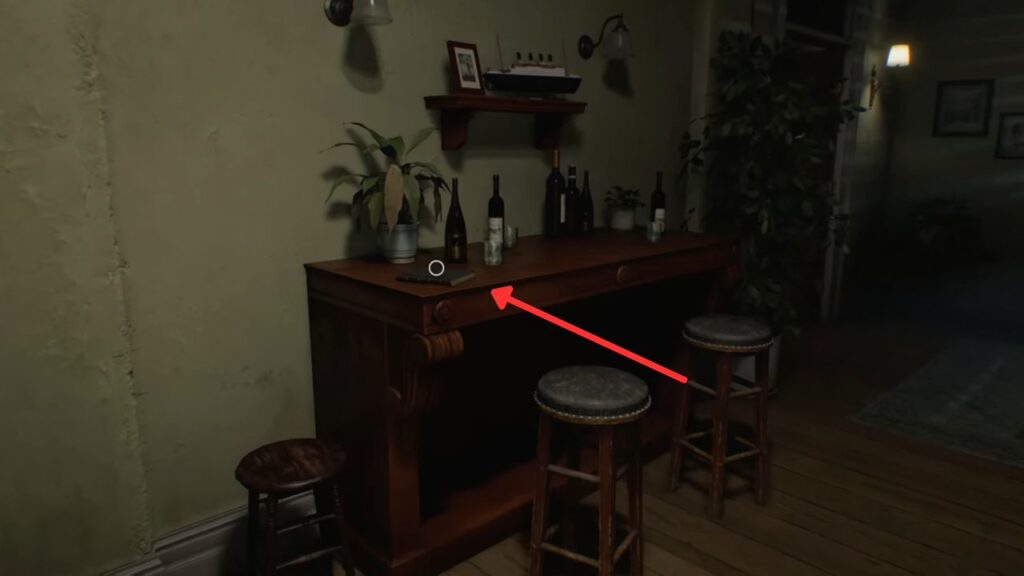
Over at the main desk, pick up the Note Regarding Research Results, an unsettling read, and interact with the Hourglass sitting nearby.
Flip the Hourglass over while examining it, and you will find two small pins on the side that detach it from its stand. Try slotting it into the helix console, and you will quickly discover it is slightly too wide to fit.
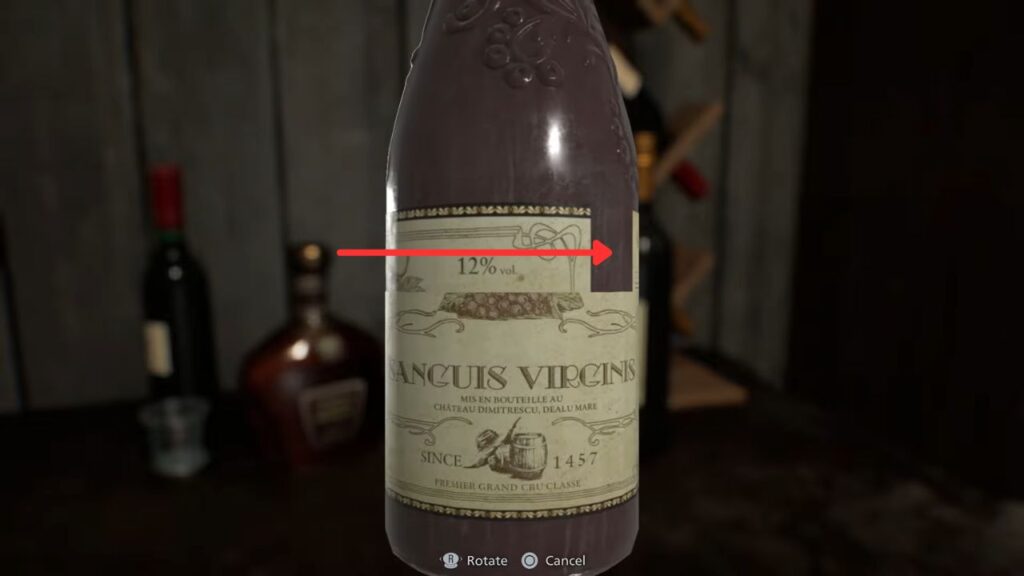
Look toward the back corner of the room where several wine bottles are displayed. One of them reacts when you interact with it, its label is noticeably crooked. Click on the label and rotate the top half until it lines up with the bottom. The name on the bottle reads Chateau Dimitrescu, which may ring a bell.
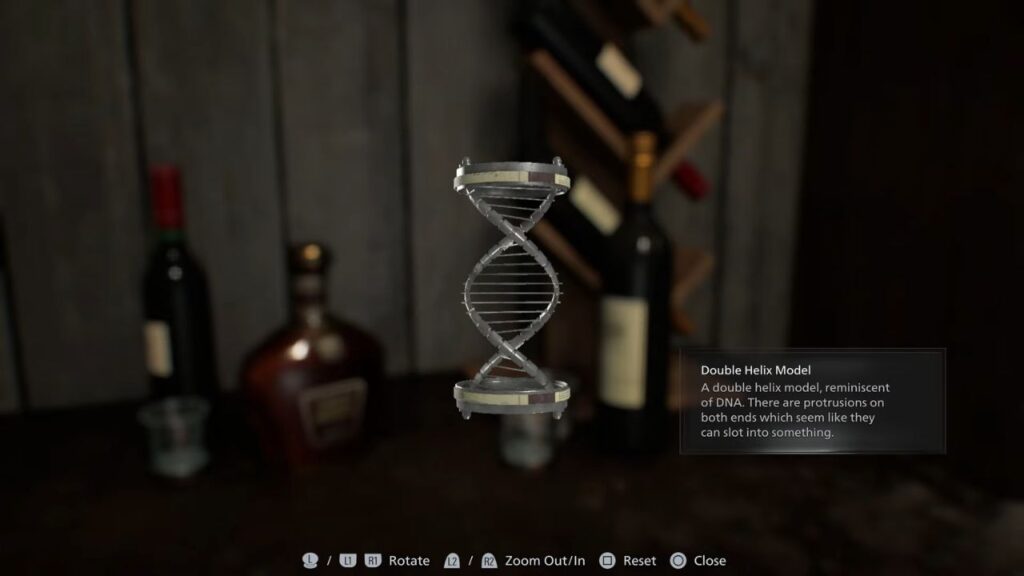
Once the label is properly aligned, the bottle pops open at the center. Pull it apart to reveal the Double Helix Model hidden inside.
Slot the model into the console in the middle of the room, and something remarkable happens, the entire room begins to de-escalate. When it comes to a full stop, a new doorway has appeared on the side, leading into a reception area for an underground laboratory.
You will find a typewriter and an item box inside, as well as a document called Spencer’s Research 2 on one of the desks. Note that the Hourglass will not leave your inventory on its own, so store it in the item box before going any further.
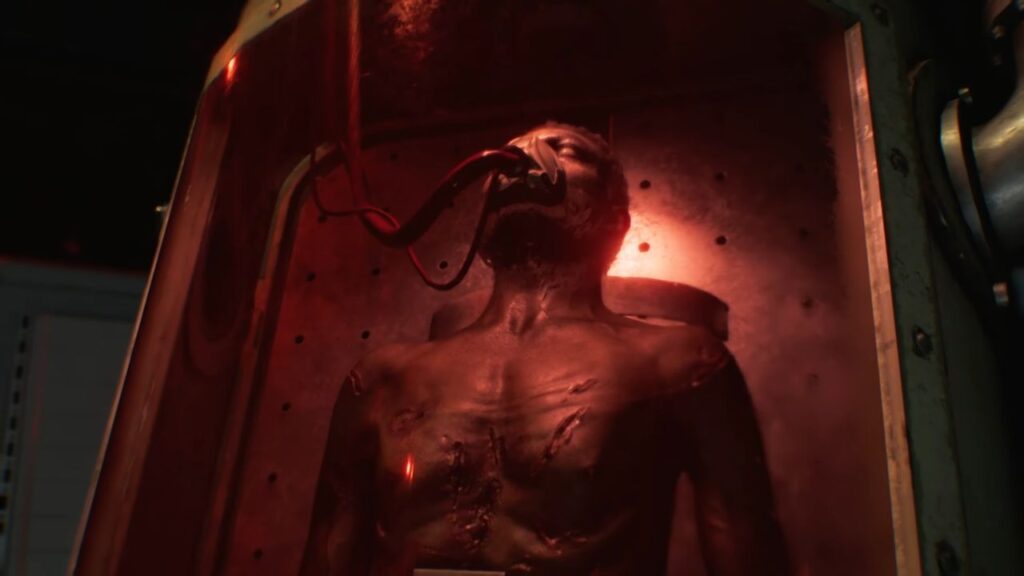
Go down the stairs from the reception area and through the door into a large Collection and Testing lab. A towering sphere of dark, thick fluid at the center of the room, surrounded by infected specimens sealed under glass.
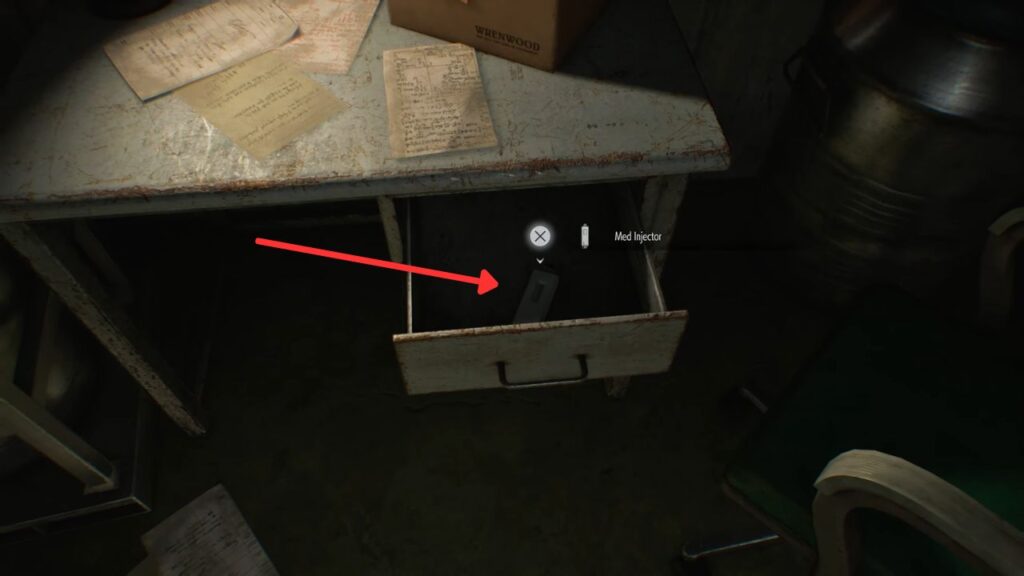
Take your time exploring if you like. Along the walls, you will notice several canisters, and in the back left corner, there is a Med Injector on a desk.
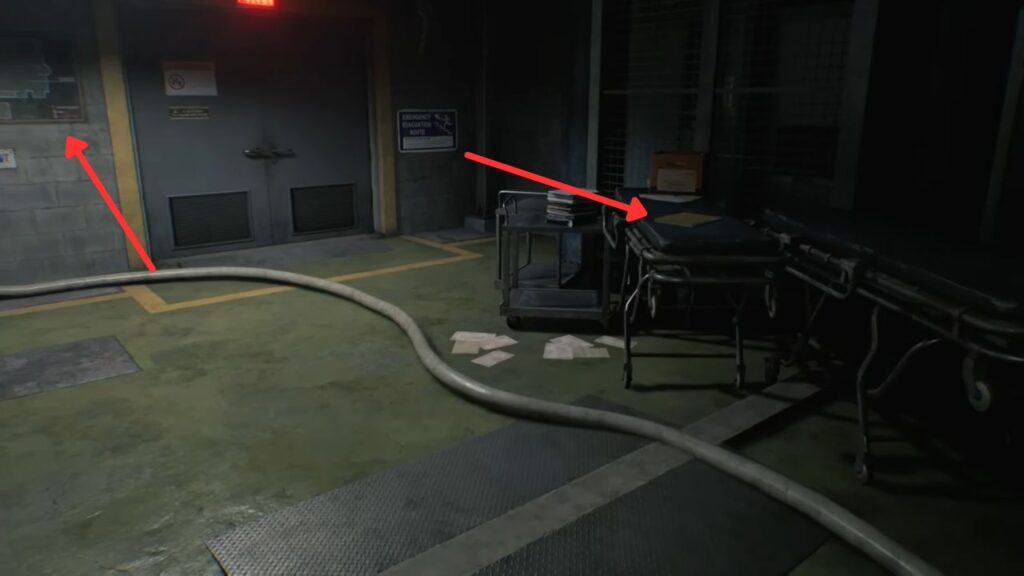
On the far side of the room, look for an emergency exit door and a Research Facility Map beside it, along with a sign showing the evacuation steps, worth memorizing.
Off to the right, on a blue stretcher, you can read the Subject 170 Record, which appears to document the creature you have come to know as the Girl.
Follow the sign pointing toward ‘Development‘ on the left side and climb the stairs to the second level. As you reach the top, look to the left to spot a discarded canister and a disturbing amount of blood on the floor.

Now, turn right and look for a door that is slightly open, leading into a Private Lab. Head in, but before going further inside, check the desk on the left in the hallway for the Grace Ashcroft Blood Analysis Report.
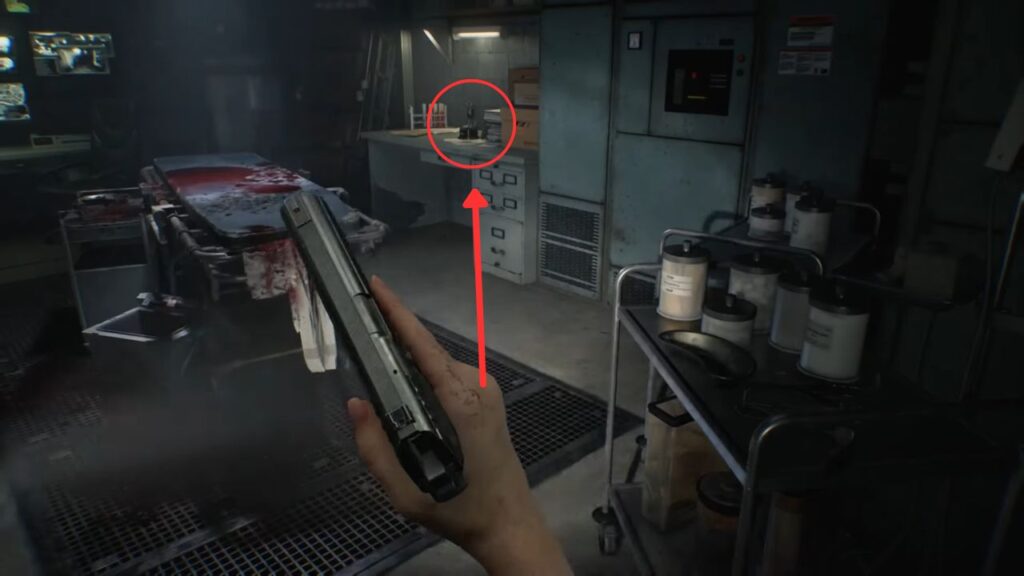
Inside the Private Lab, you will find a bloody surgical table, a row of security monitors on the left wall, and a Mr. Raccoon Bobblehead sitting on a small desk to the right.
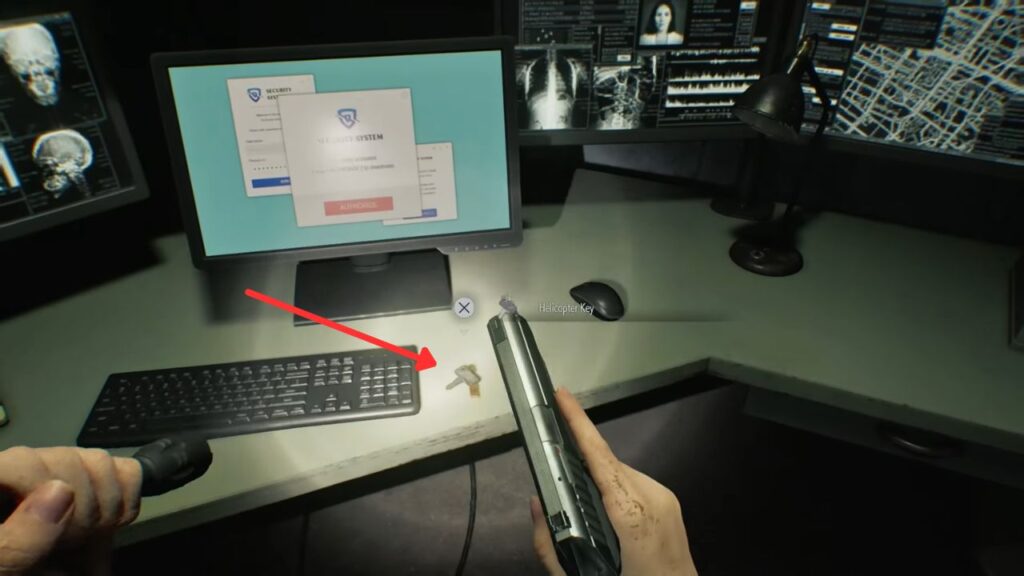
Just past the table, the Helicopter Key is finally within reach, grab it. Before heading out, interact with the security monitor on the table and click ‘AUTHORIZE’ to unlock a nearby door.
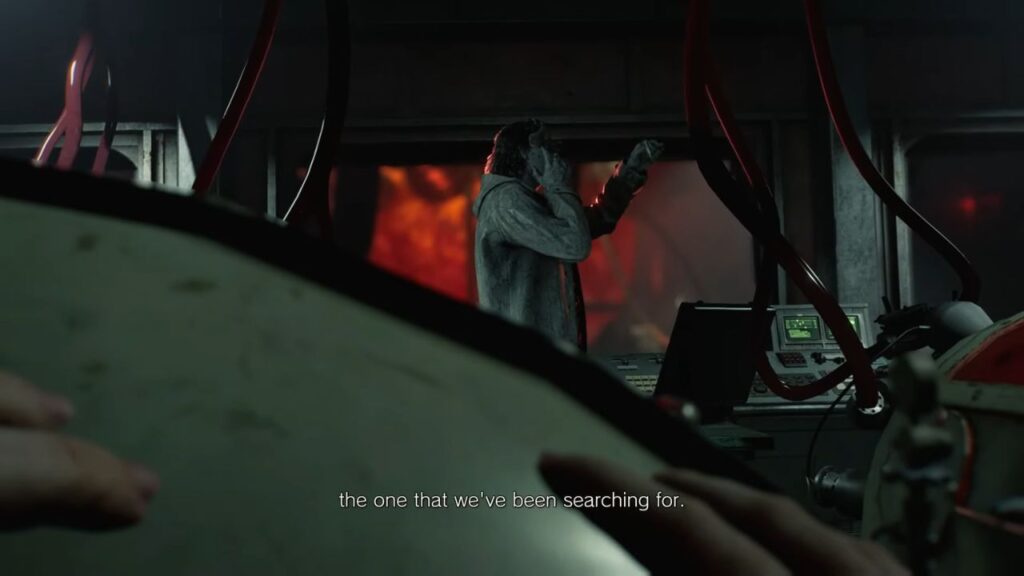
As Grace moves to leave, she narrowly avoids being seen by Victor Gideon, who appears extremely interested in Grace for reasons that are not yet clear. The moment he steps away, he triggers a self-destruct sequence for the entire facility. The action begins!
Getting to the Helicopter
Run out of the control room, and you will find yourself back in the reception area. You can save your game here if you want. The elevator that Gideon used to leave is no longer accessible, so you will have to find another way out.
The good news is that there is no actual countdown timer on screen, but that does not mean you are safe. Things are about to get dangerous fast.
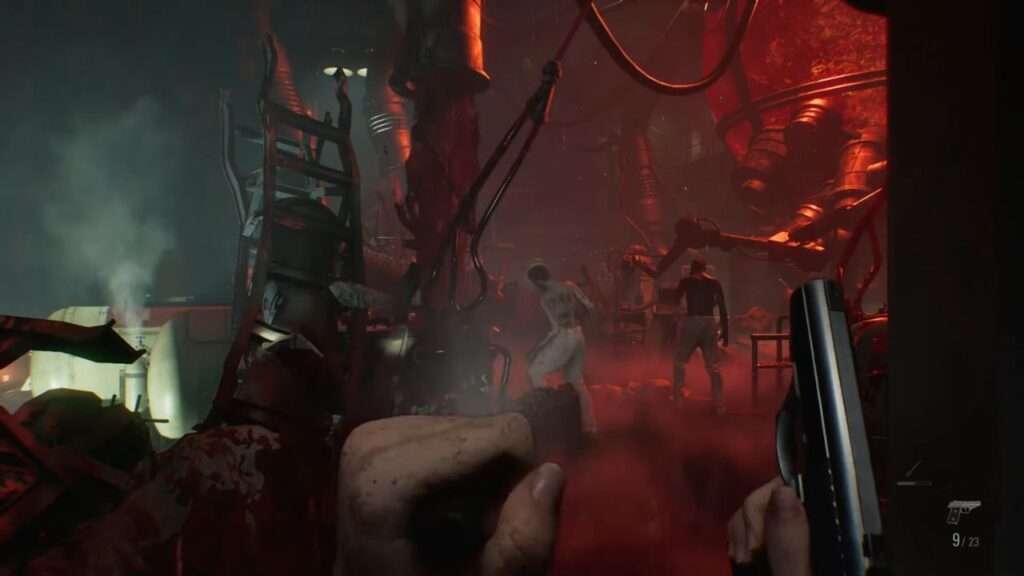
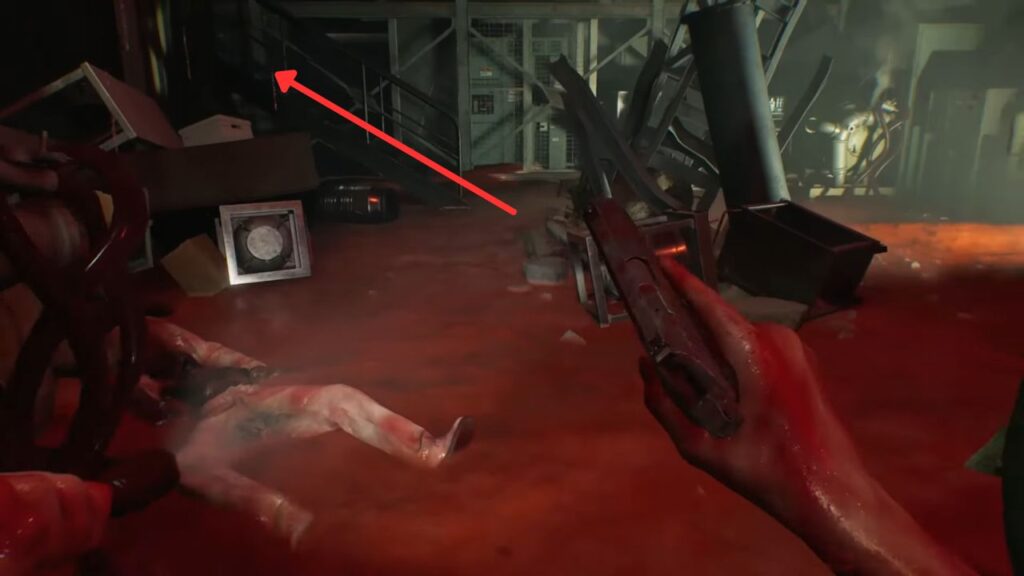
Head back down to the Collection and Testing lab, and you will find it has completely changed. The stasis pods have failed, and the infected are stumbling out of them across the entire room.
It looks overwhelming, but you have everything you need to deal with it, pay attention to the clues around you.
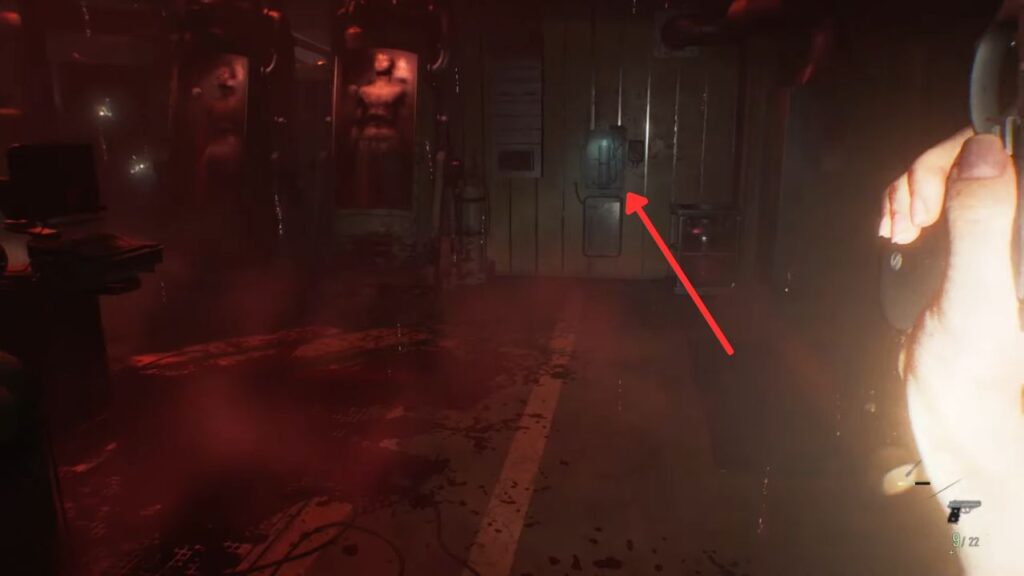
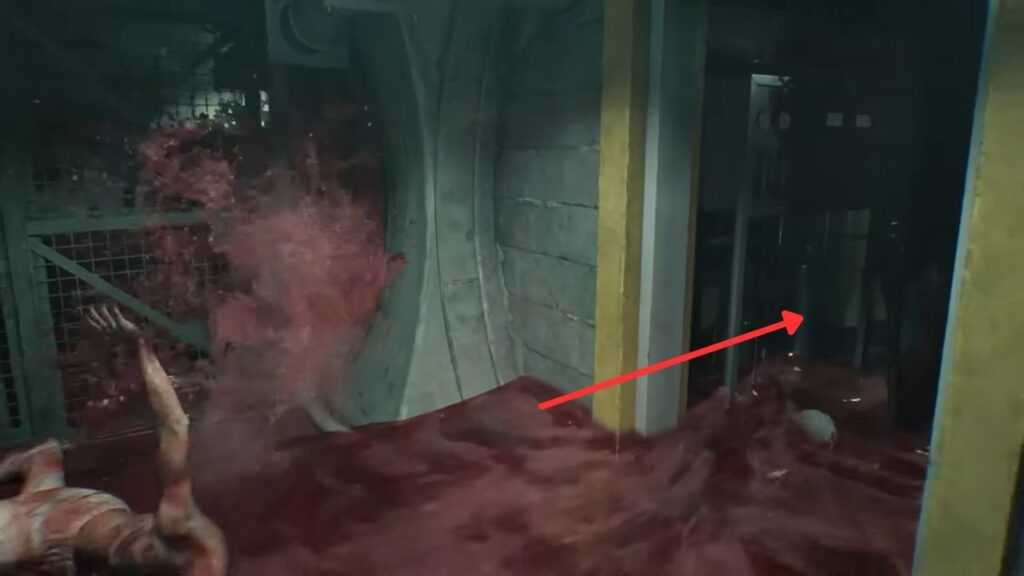
The automated alert tells you to dispose of the specimens, and the answer is right there on the walls. Turn right as soon as you enter and grab one of the disposal canisters mounted along the wall.
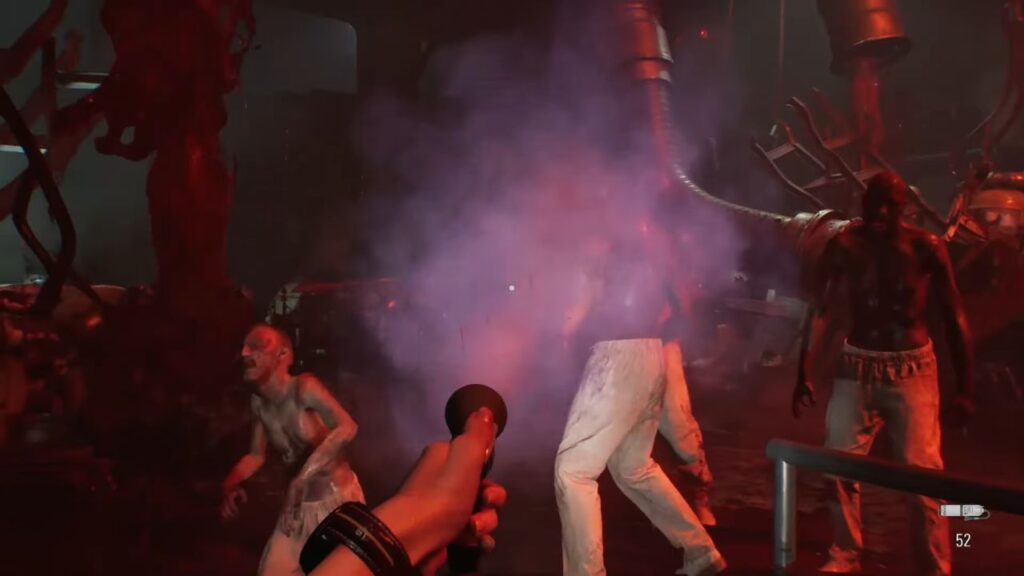
These work like a pressurized sprayer and release the same type of compound used in hemolytic injectors. Hold the left trigger to aim, then hold the right trigger to unleash a burst of purple gas at the infected nearby.
It takes roughly 3 to 5 seconds before an infected starts convulsing and then bursts apart. Try to pull multiple enemies into a group before spraying so you cover as many as possible with one continuous blast. If your canister empties, there is another one against the far right wall.
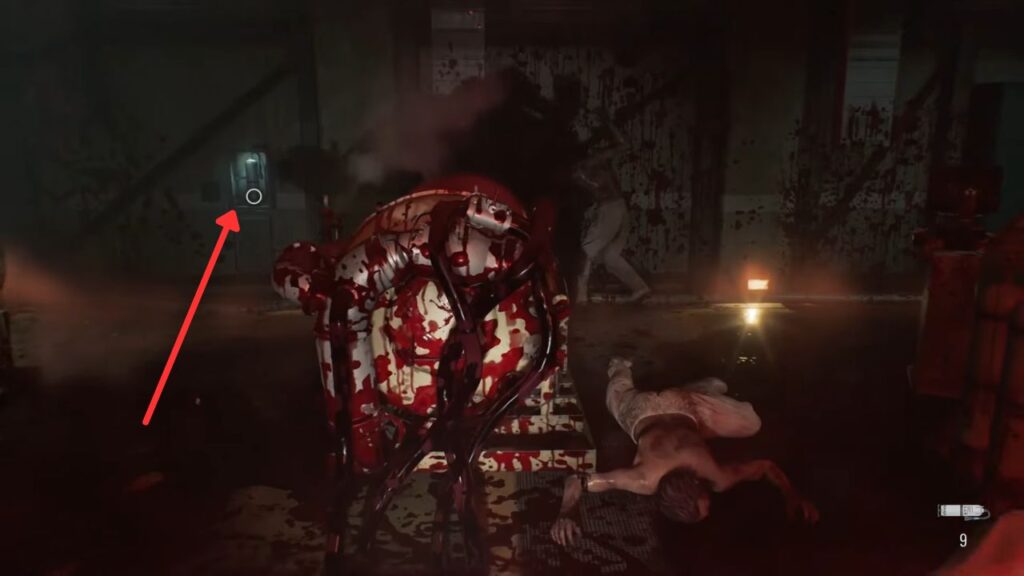
Push toward the center of the room, then curve left toward the back wall. More infected will be waking up as you move, so stay alert. You do not have to wipe out every single one, but clearing a path makes it much easier to avoid getting grabbed.
More canisters are scattered around the room, but you will have to fight your way through some tight spots to reach them. Retreat and swap to a fresh canister when needed rather than getting overwhelmed trying to hold your ground.
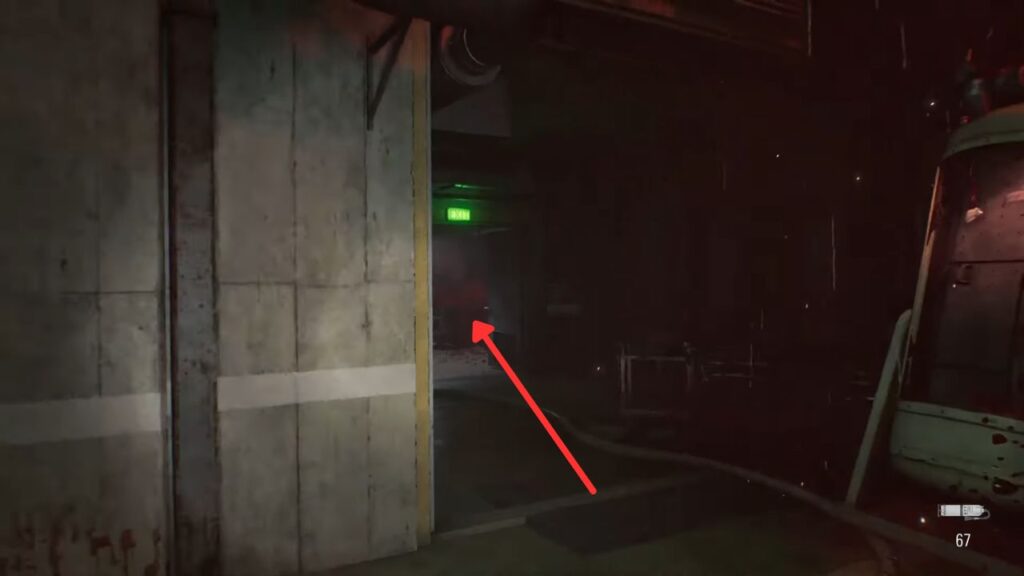
Once you reach the far end of the room, dodge past any remaining infected and go through the emergency exit door. A corridor leads you into another large lab space, and the sounds ahead make it clear that a large number of Blister Heads are mutating somewhere nearby.
Just as you enter, sections of the facility begin to collapse, burying most of the Blister Heads in the rubble. The few that survive are left flat on the ground, use that window to run. Do not stop to fight.
Head up and turn left toward a staircase at the back of the room, stepping quickly over any bodies on the floor. Linger too long, and they will get back up and come after you.
Keep moving along the route ahead, ignore anything in your way as you climb more stairs and run through corridors that are actively falling apart. Blood starts streaming across the floor from a passage to the right. Squeeze through a gap in some pipes to shake off anything following you, and you will come out at the base of a long staircase completely flooded with blood running downhill.
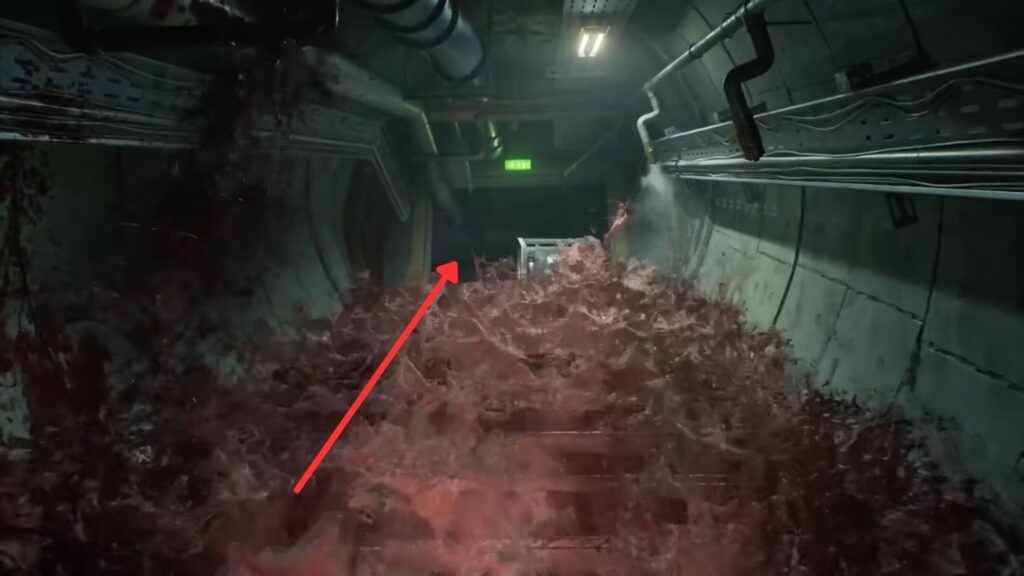
Climb straight up and hug the left side of the staircase as you go. Toward the top, stuff begins crashing down on the right, stay out of that lane. At the top, you will find a final ladder, which brings you out through the emergency exit and back above ground near the Helipad.
Move down the slope quickly but carefully, a handful of infected will push up out of the grass on the right side. Put a few rounds into the nearest one’s legs to slow it down, then jump through the broken window in the VIP Suite and out the door toward the helicopter.
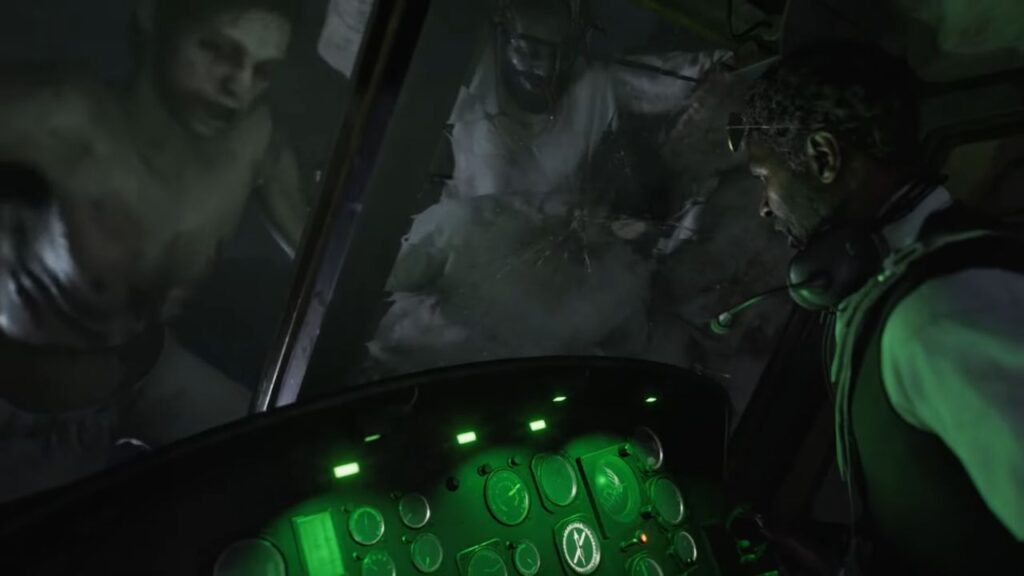
With the Helicopter Key in hand and Harry waiting at the controls, escape seems guaranteed. But if you were hoping for a clean ending, you’ll be disappointed.
All Collectibles
| Category | Item | Where to Find It |
| Collectible Files | Visitor Record | On the table just inside the front door of the VIP Suite |
| Note Regarding Research Results | On the main desk inside the VIP Suite’s central room | |
| Spencer’s Research 2 | On a desk inside the underground lab’s reception area at the bottom of the stairs | |
| Subject 170 Record | On a blue stretcher beside the emergency exit in the Collection and Testing lab | |
| Grace Ashcroft Blood Analysis Report | On the desk just outside the Private Lab entrance on the second level | |
| Mr. Raccoon Bobbleheads | Private Lab Mr. Raccoon | On a small desk to the right inside the Private Lab |
| Antique Coins | Care Center Courtyard Antique Coin | On a table at the base of the left staircase heading into the courtyard |
| Key Items | Star Quartz (3rd) | Collected from Emily right after the elevator sequence ends |
| Double Helix Model | Hidden inside a wine bottle in the back corner of the VIP Suite | |
| Helicopter Key | On a surface just past the examination table in the Private Lab | |
| Other | Hourglass | Found on the main desk in the VIP Suite — store it in the item box before proceeding |
| Med Injector | On a desk in the back left corner of the Collection and Testing lab | |
| Research Facility Map | Mounted on the wall beside the emergency exit in the Collection and Testing lab |
The Care Center Courtyard chapter serves as the bridge between Grace’s harrowing time in the basement and the wider story waiting beyond the facility’s walls. Next up, to the Care Center Chapel!