
The Care Center Basement section of the game revolves around Grace, hunting for three Joint Plugs to open Emily’s cell, all while staying out of sight of the Girl and fighting off the infected that lurk in every corner.
Resident Evil Requiem Care Center Basement Walkthrough (Grace)
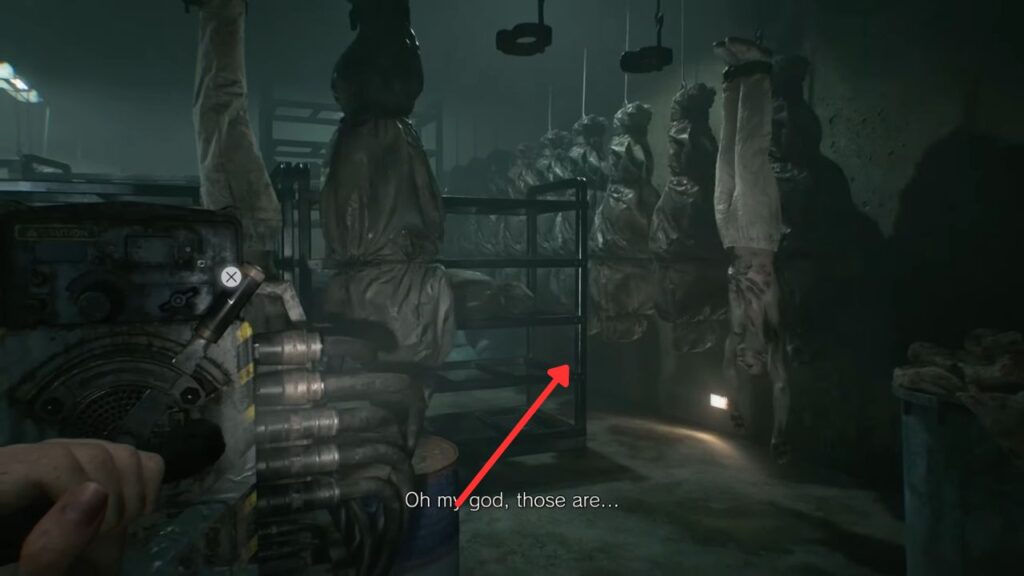
Underground Tunnel
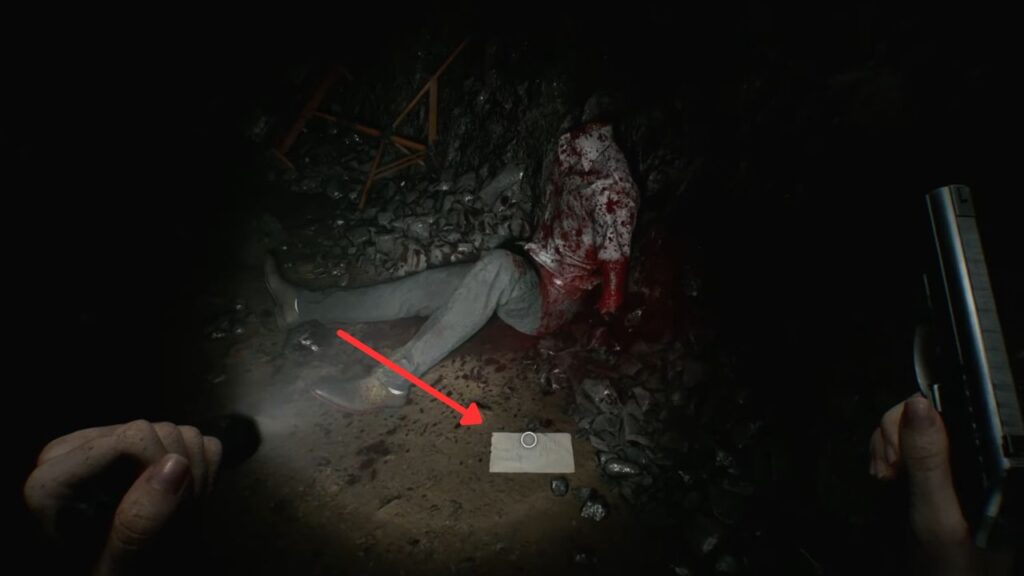
Starting off, you’ll take in a grim underground passage strung with hanging shackles. Scan the area nearby, and you’ll come across a body missing its head. Check it to pick up the Staff Member’s Last Words file.
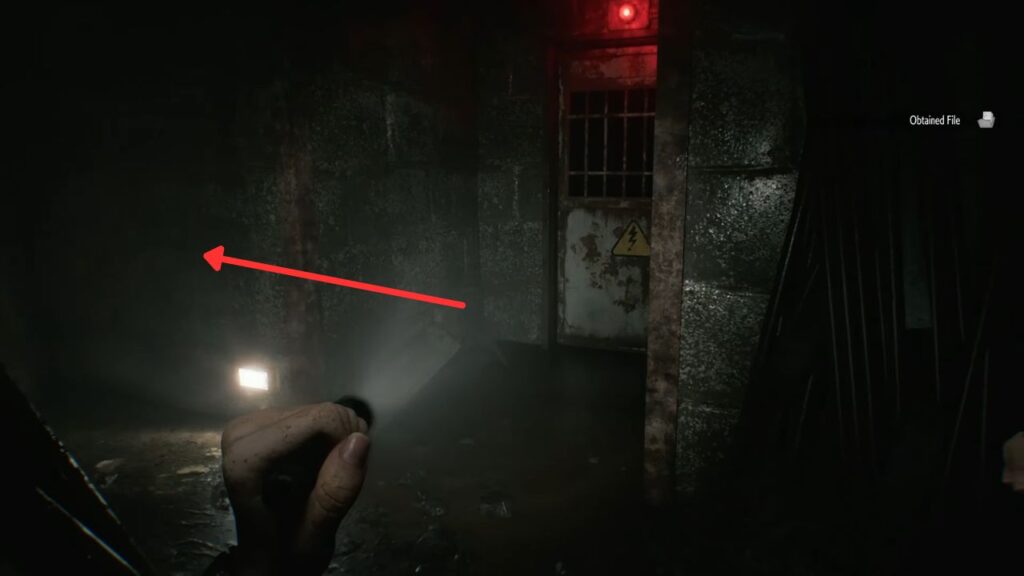
Continue along the corridor until you reach a locked door fitted with an empty power slot. There’s nothing to do with it just yet, so turn left, following the faint glow of a red light ahead.
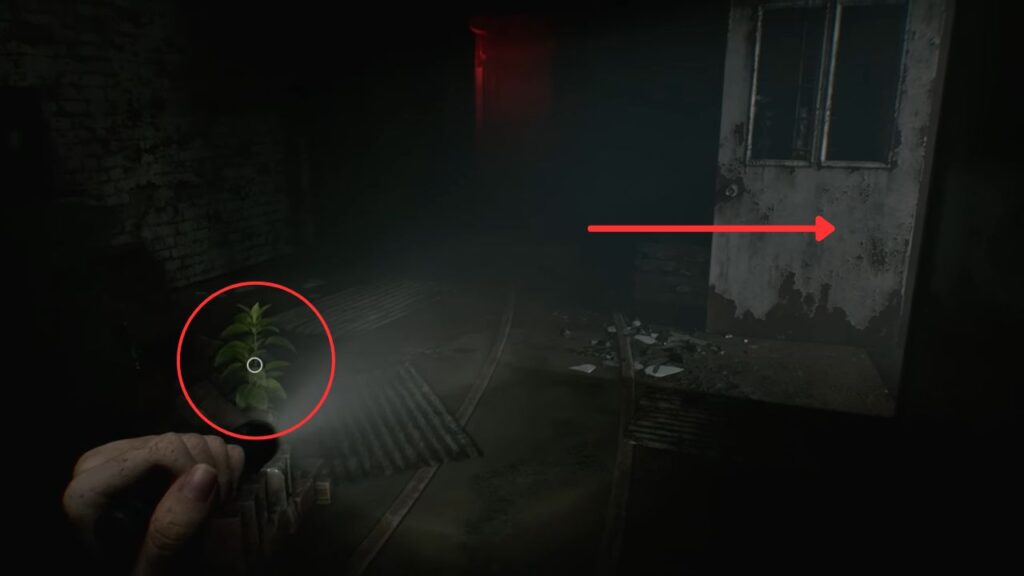
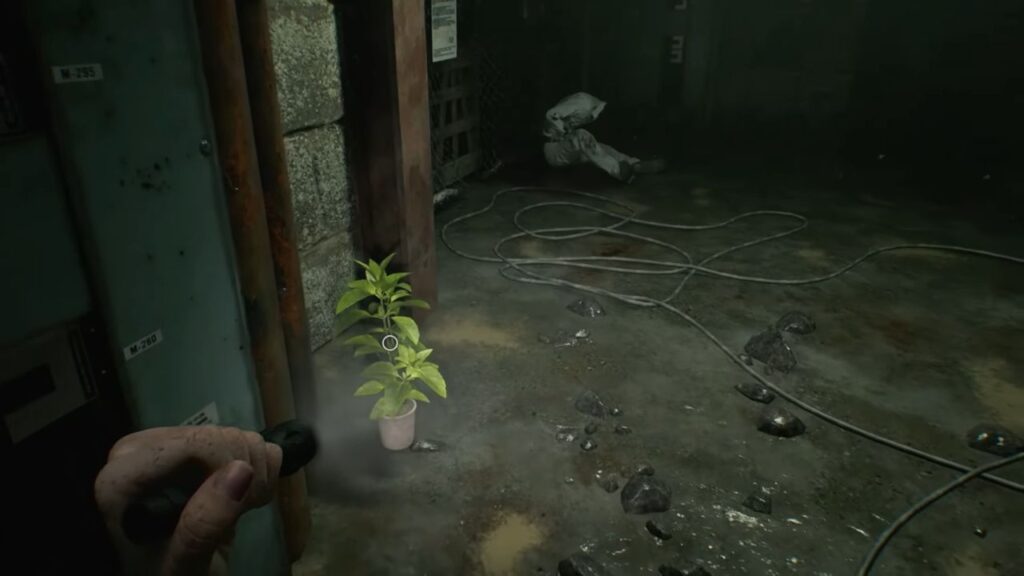
Near a slumped corpse, you’ll pass a still platform lift that leads back up into the Care Center, with a side corridor branching off to the right. More secured doors and another empty power slot line the walls as you move deeper in, until you reach a welcome sight at the far end, a safe room to your right, with a Green Herb growing just outside it.
Security Room
Step inside the Security Room and you’ll spot a typewriter, an item box, and an entire wall of monitors. One screen in particular catches your attention, it shows Emily unconscious in a cell somewhere below.
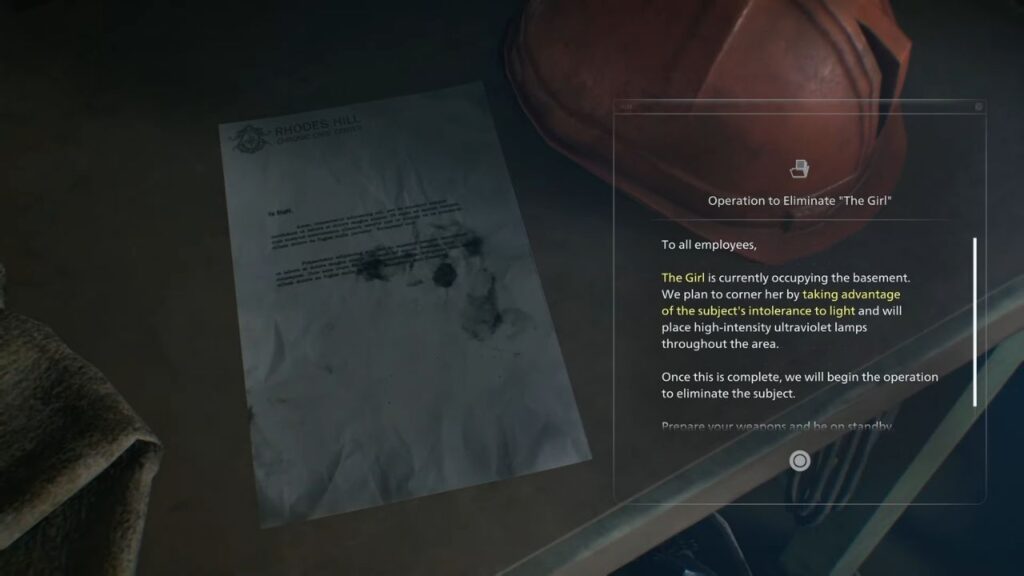
Also in the room, on the left, is a document called Operation to Eliminate “The Girl”, which spells out her weakness to bright light and hints at lamps positioned throughout the basement that could prove useful.
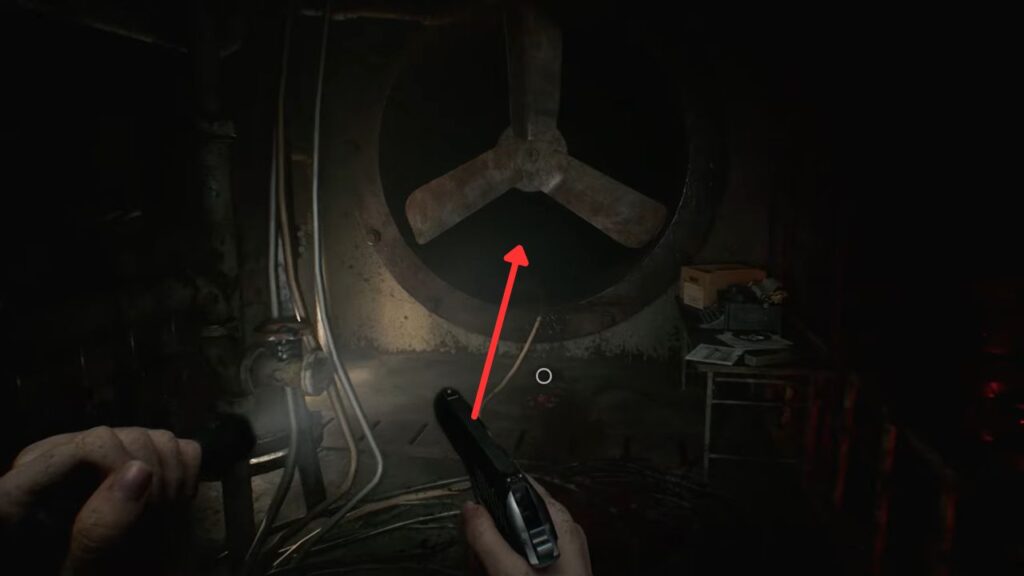
Save up, then head out and go right into a wide space with a large furnace. Bodies litter the floor, but don’t panic, they won’t wake up if you walk past them or even accidentally step on one. The danger comes if you open fire near them or knock a moving enemy into them, as that’s enough to wake them up.
Furnace Room and Prison Wing

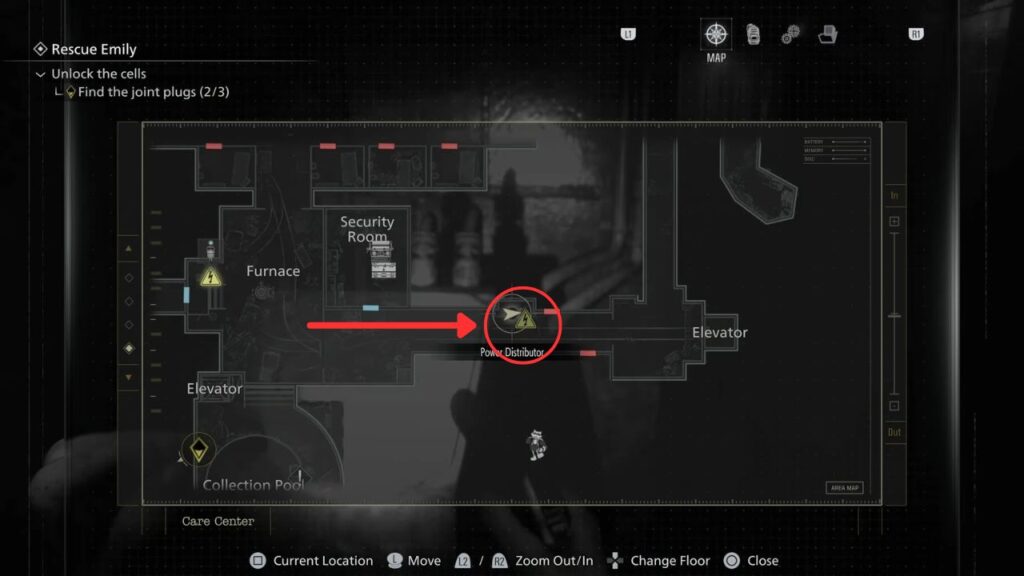
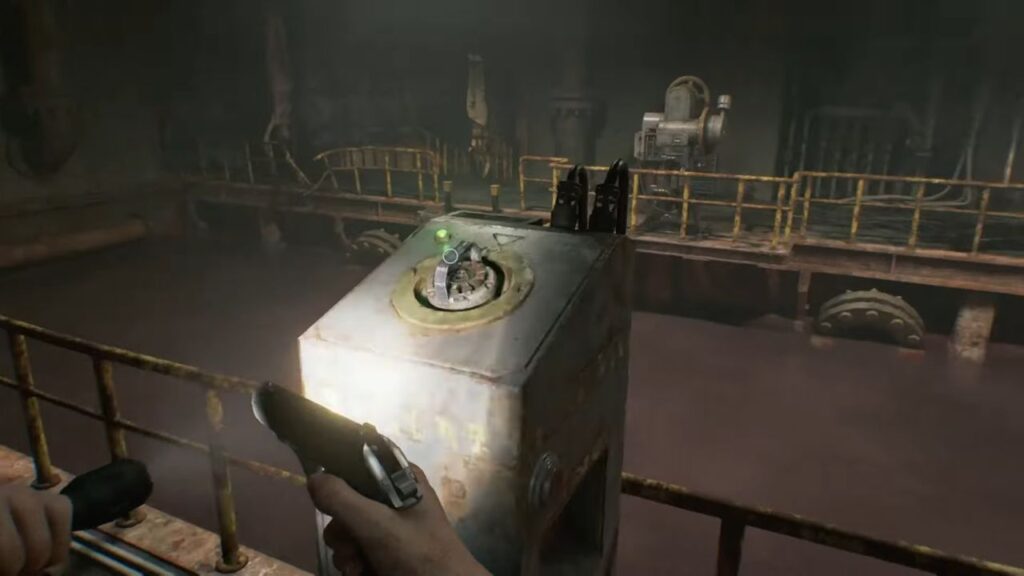
To your left sits a pitch-dark area called the Collection Pool, where you can grab some Scrap near an elevator, grab it, and get back to the Furnace room. The central distributor console in this room is bolted shut and will need a special tool to access. A sealed door blocks the far end of the furnace, so take the right turn and head north into the cell block.

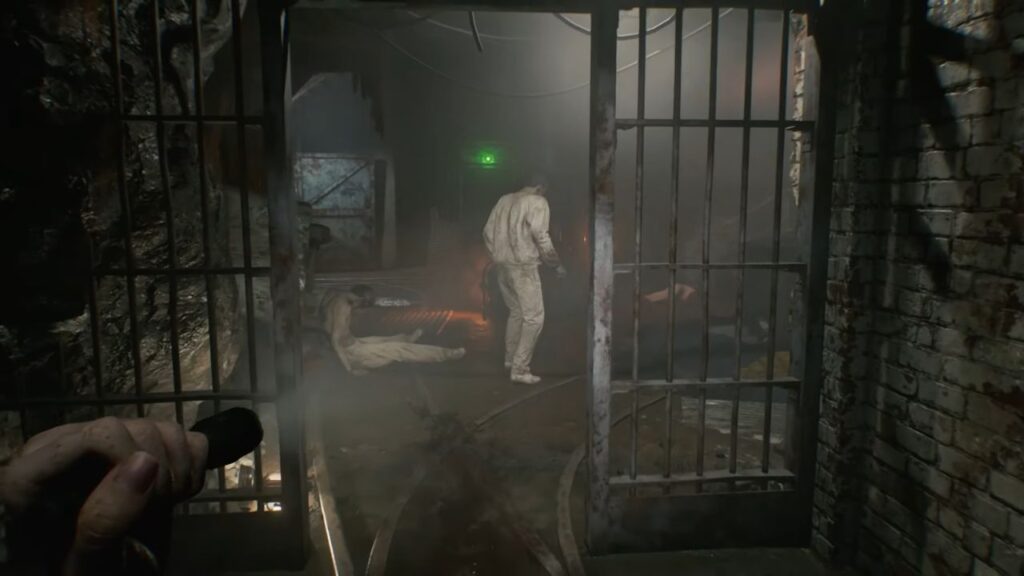
The cell doors are all firmly shut, which means the infected trapped inside can’t reach you. Round the corner to the right, and you’ll spot a single cell with a light on. Peer through the bars and you’ll see Emily inside, surrounded by an unsettling arrangement of dolls.
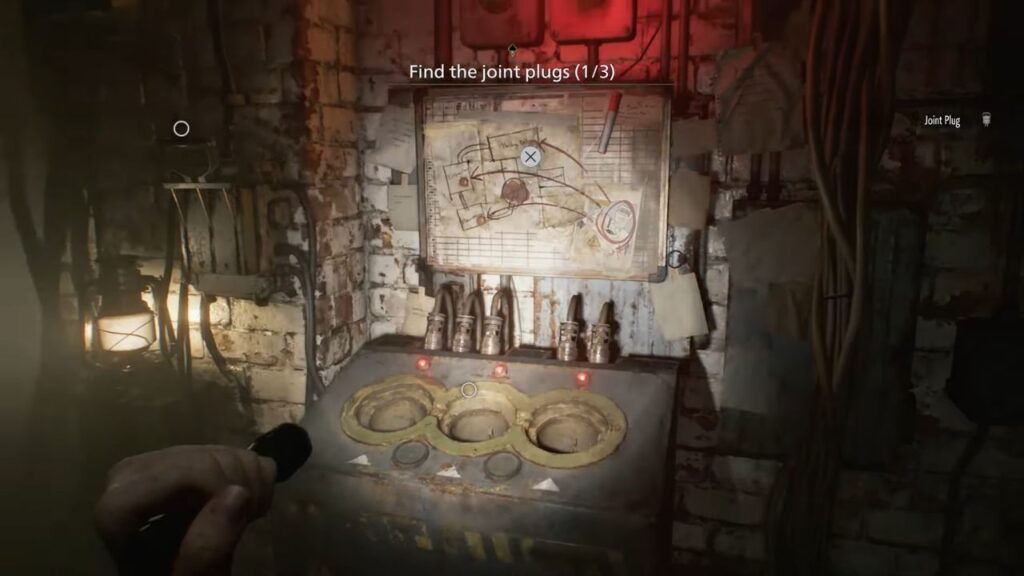
To figure out how to get that cell open, make your way to the far end of the wing. You’ll find a power relay, a hand lever, three large input slots, and a single Joint Plug already installed.
Read the Unlocking the Cells note pinned to the wall, it explains that the plugs are what power the cell release mechanism, and that two more need to be retrieved: one is past the furnace in an Inspection Room, and the other is deep below in a Processing area.
Importantly, pulling a plug kills the power to that zone, and re-inserting it restores it, so you’ll be sharing and swapping plugs between distributors as you go. Before leaving, pull out Joint Plug 1 from its slot and take it with you.
Locating the Second Joint Plug — Inspection Room
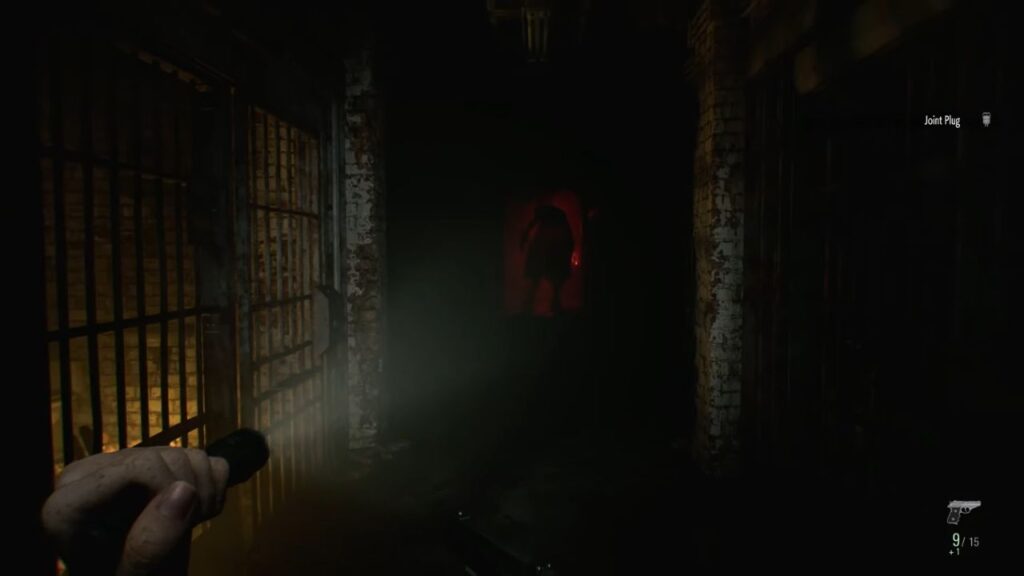
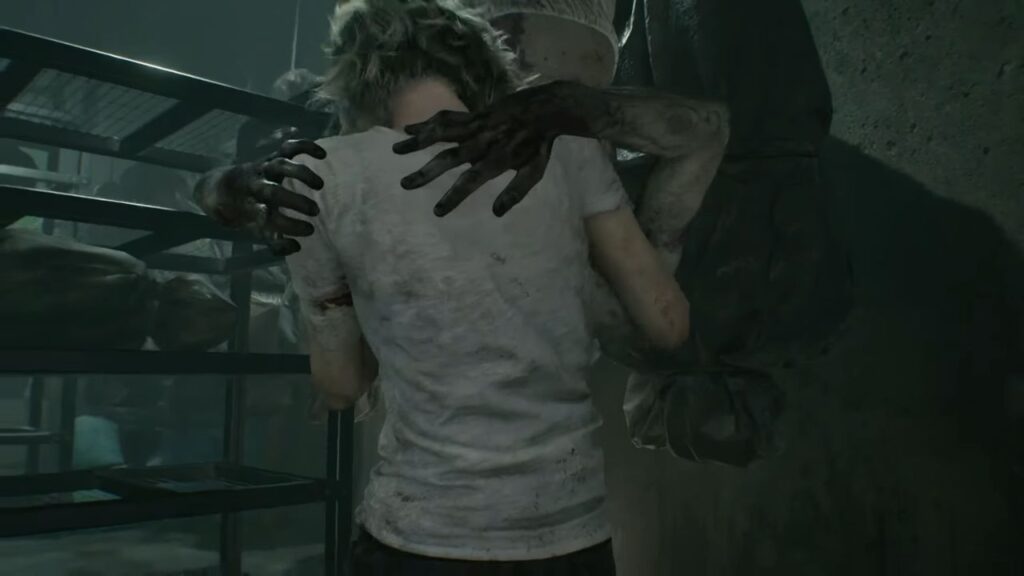
The moment you turn to leave with the plug, the Girl drops through an opening in the ceiling at the far end of the wing. Crouch down immediately and press yourself against the wall near the power relay. She won’t come all the way in, she’s just checking on Emily, and after a moment, she’ll disappear.
Follow her movements in a low crouch. When she swings left into the furnace area, she’ll circle around before drifting toward the Security Room end of the basement.
While she’s occupied over there, loop back to the southern end of the prison wing, where you’ll find another power distributor beside a puddle of infected blood. Slot in your Joint Plug to unseal the Workshop door and flood the small room with light, instantly turning it into a safe area if the Girl ever gets too close.
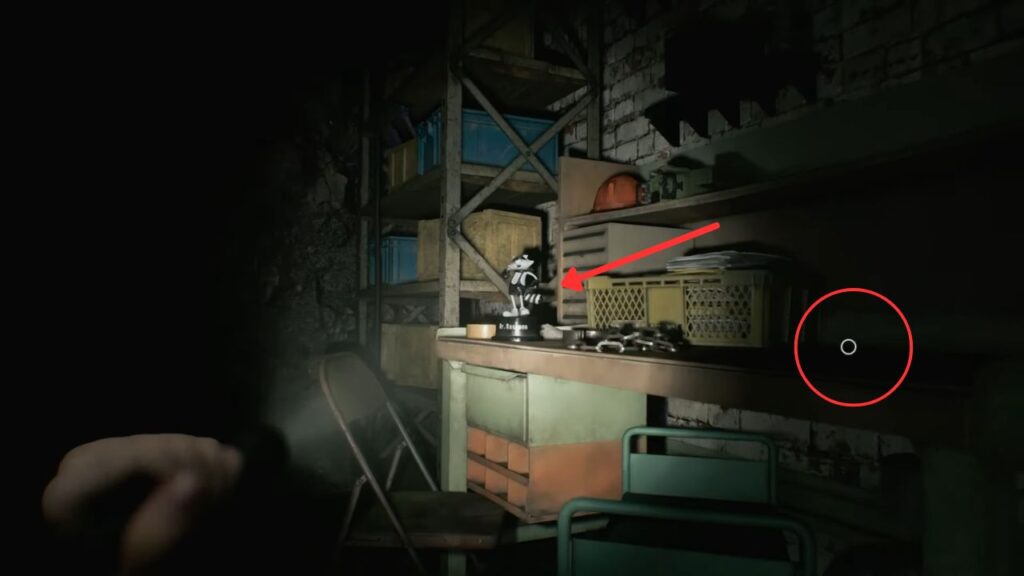
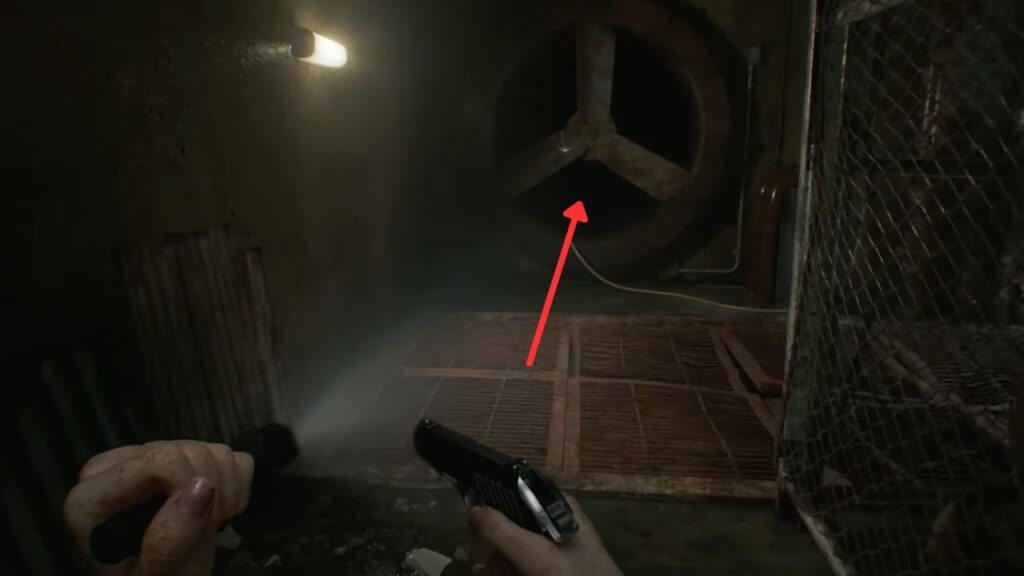
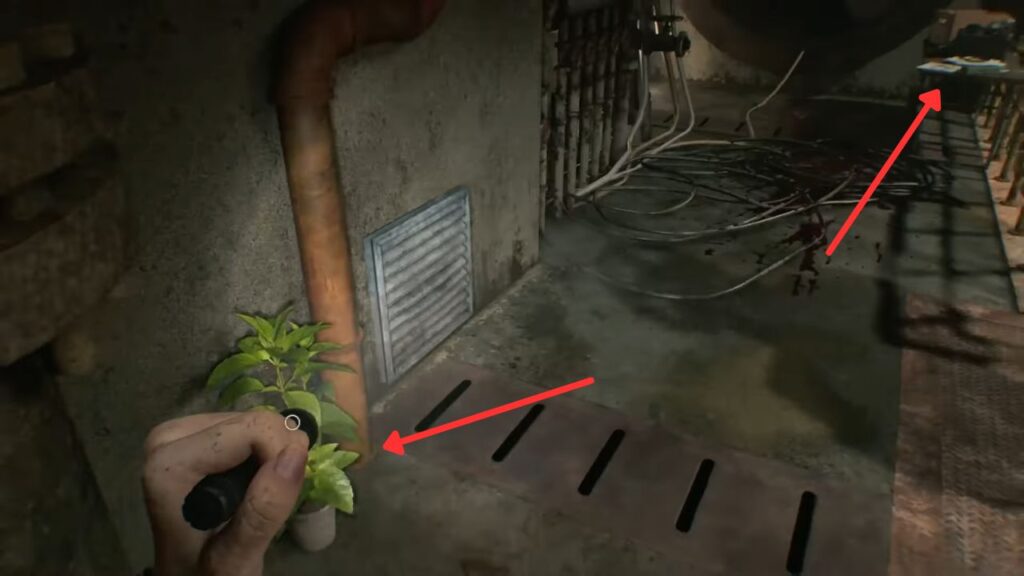
Inside, grab the Scrap next to a nearby saw, then look for the Mr. Raccoon Bobblehead sitting on a table alongside the Technician’s Note. The note mentions a toolbox stashed somewhere in the boiler room, which sounds relevant to a vent hatch in the room that you can’t open just yet. Grab everything, collect your Joint Plug on the way out, and make your way back toward the furnace.
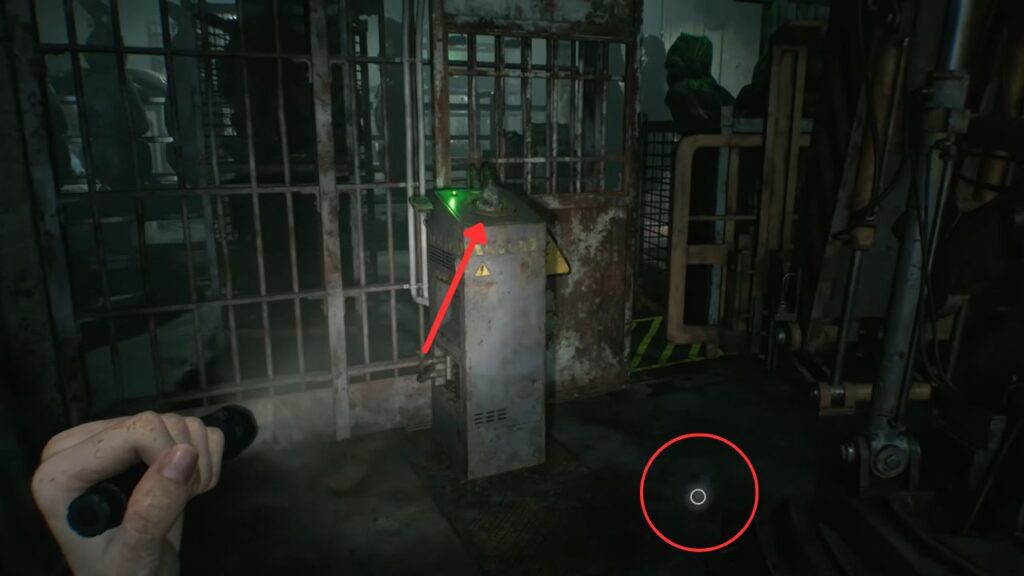
Behind the furnace, climb a short set of steps to locate another power distributor. Leave your plug in here, it unlocks the nearby door and fills the furnace area with light, which acts as a handy escape zone in a pinch.
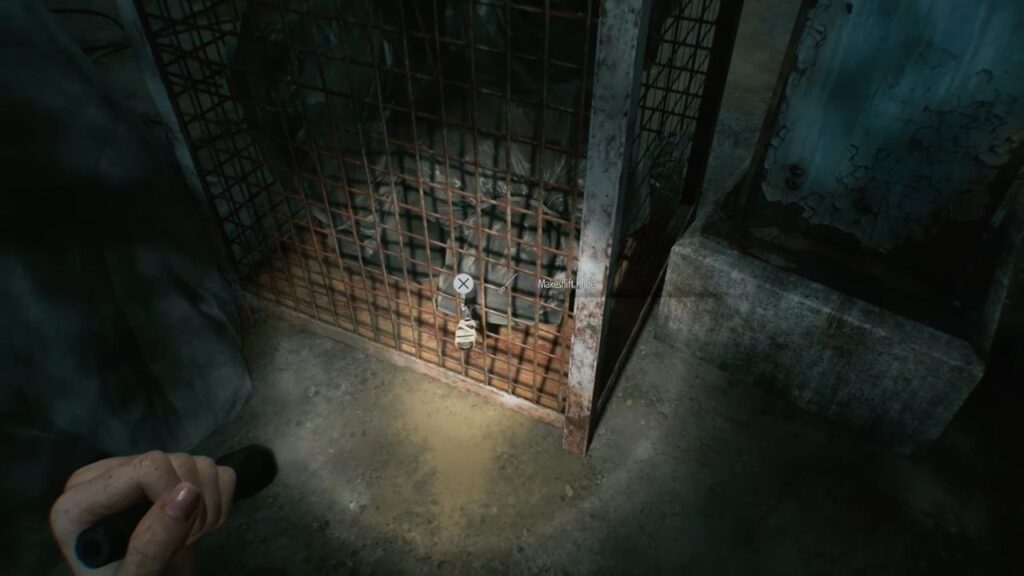
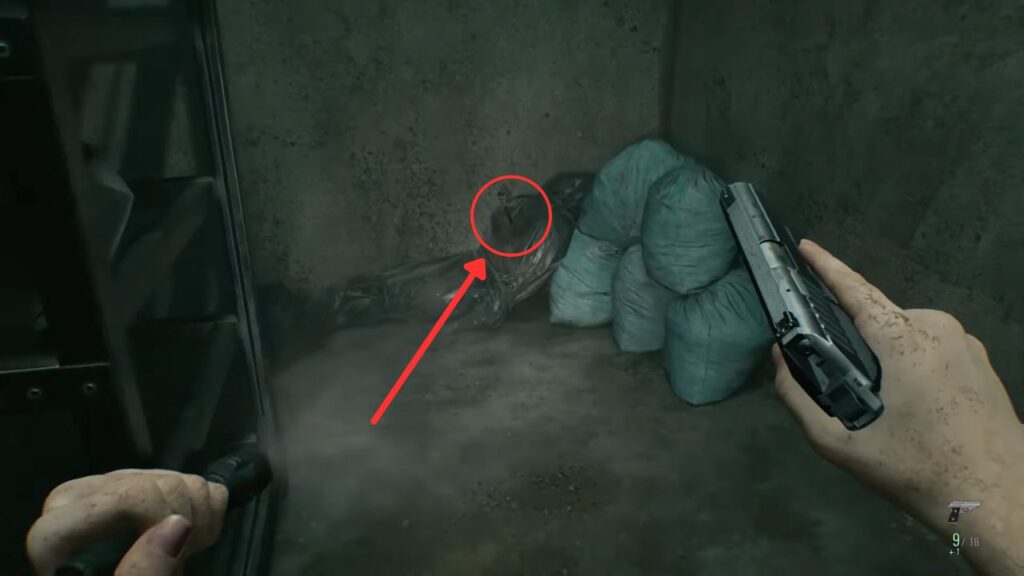
Pass through the newly opened corridor, stepping carefully past a body propped against the wall, and enter the wide chamber leading to the Inspection area. Something is shuffling around on the other side of the stacked crates and body-bag containers ahead, keep your movements quiet. Look to your left to find a Makeshift Knife, popping out from one of the black plastic bags.
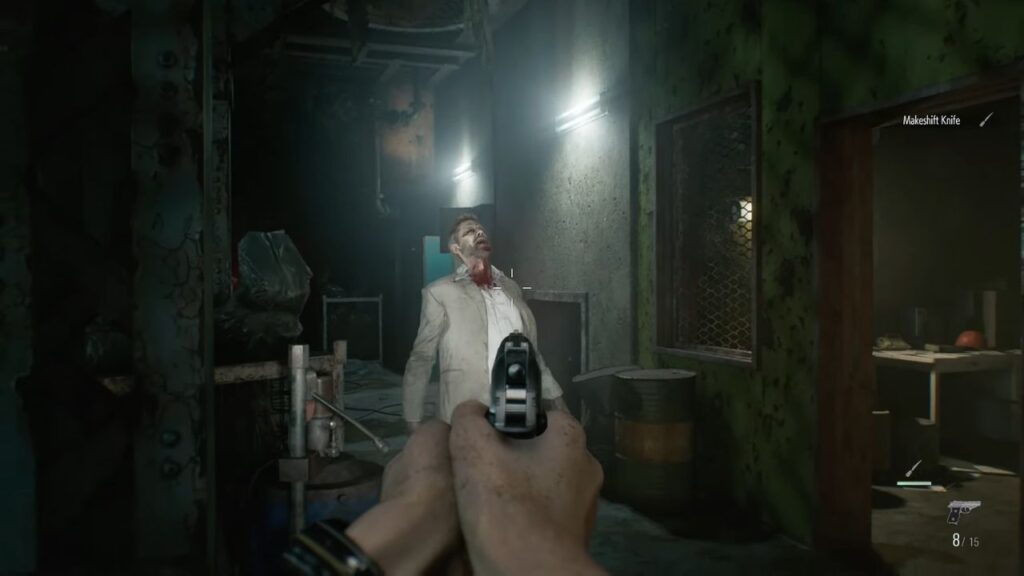
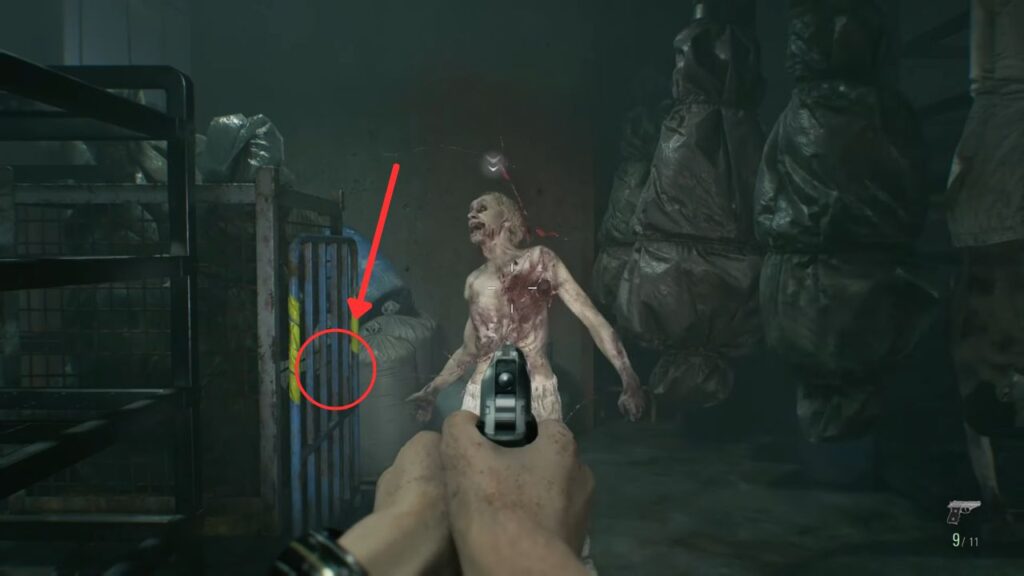
When the infected staggers into a small side office, follow him in and take him out with a hemolytic injector. This prevents him from mutating into something much worse later.
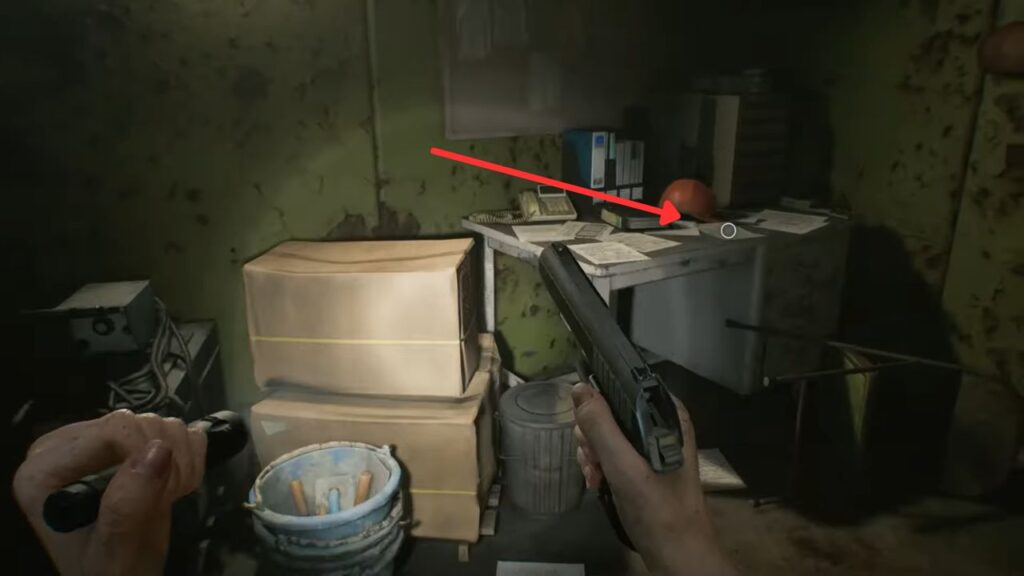
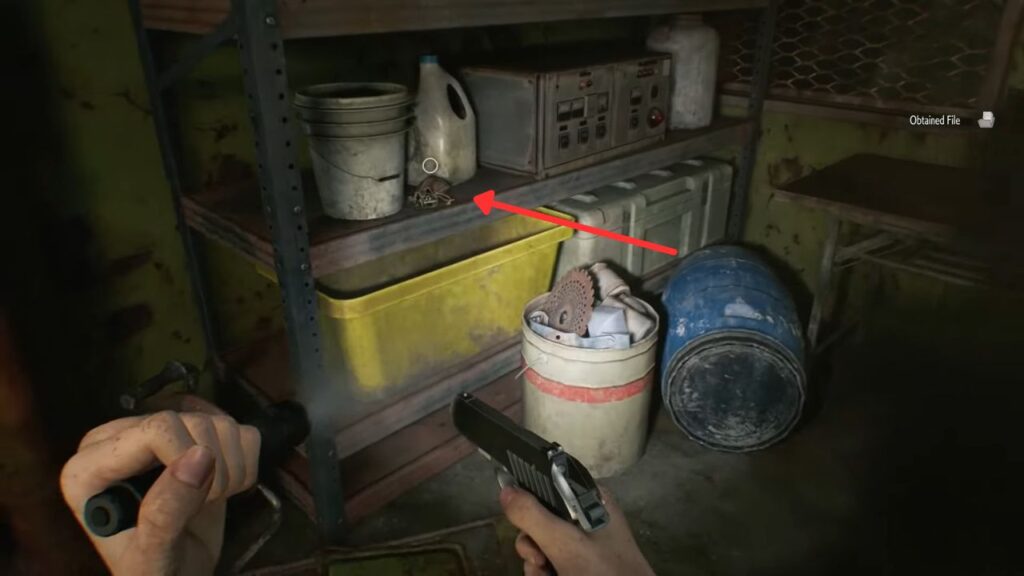
Sweep the office after he’s down: you’ll find the Security Guard’s Report on the left, some Scrap on a shelf, and a safe on the right. The combination ties back to the very first cabinet Leon cracked open in the attic, spin it right to 60, left to 40, then right to 80.
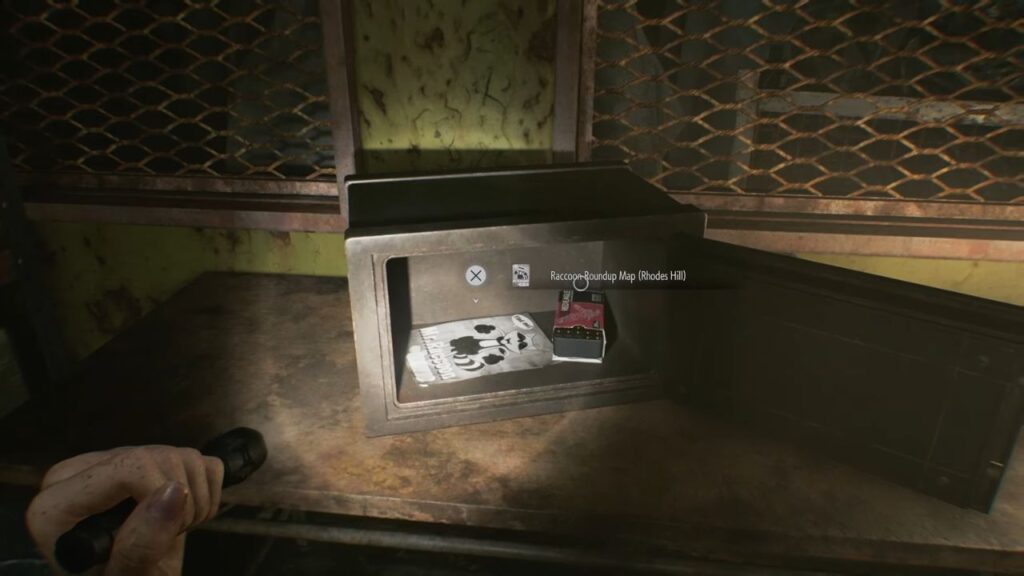
Pop it open and you’ll find Handgun Ammo alongside the Raccoon Roundup Map for Rhodes Hill, which pinpoints every bobblehead collectible across the Care Center. Worth grabbing before you’d have to spend challenge points to unlock it yourself.
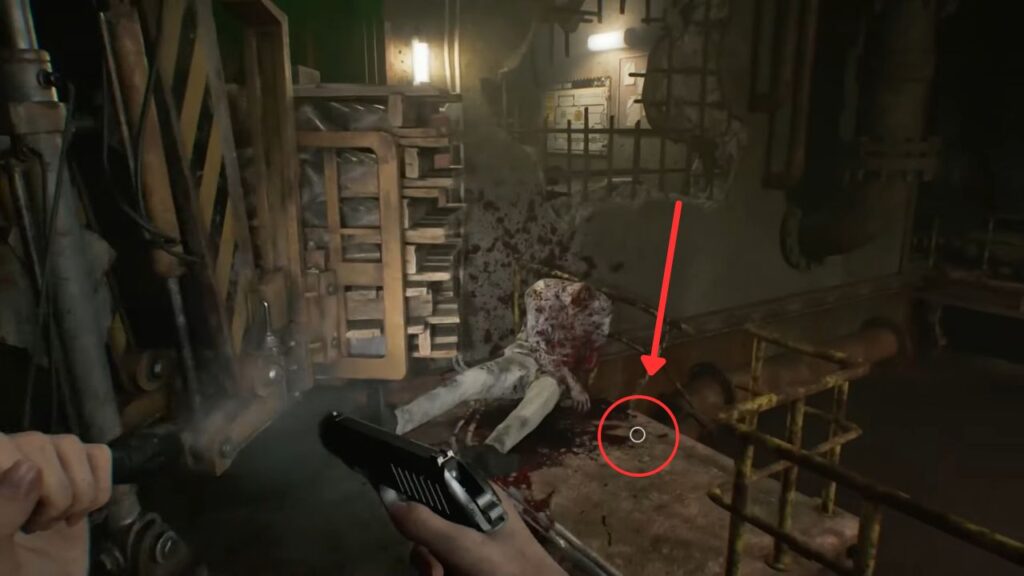
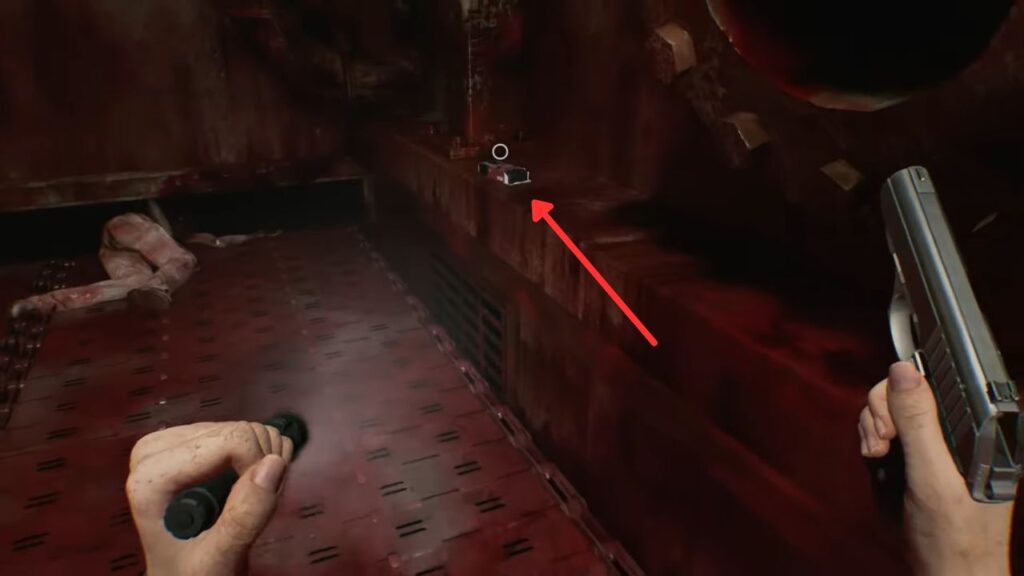
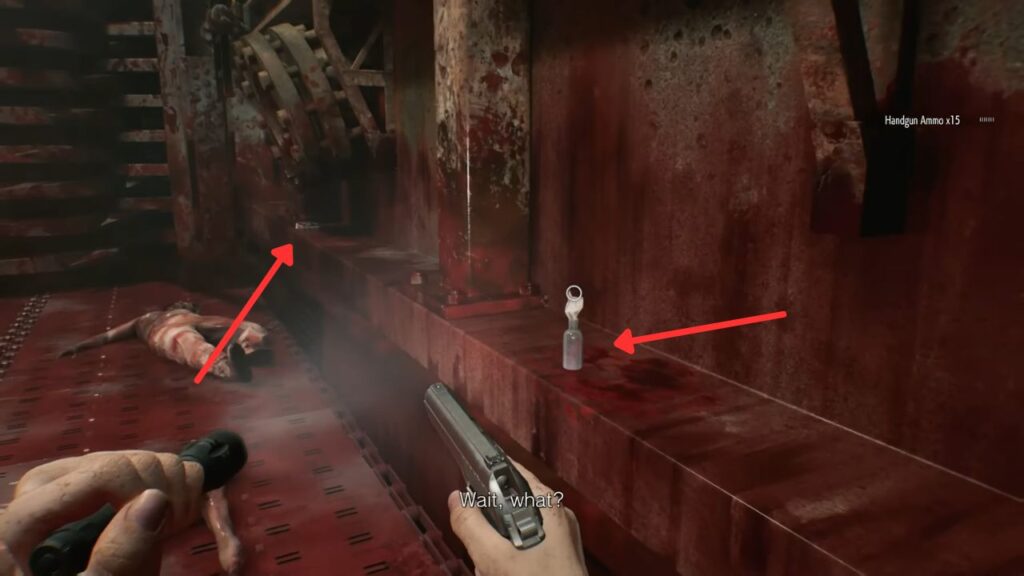
Cross to the opposite side of the main chamber, and you’ll find a pool of infected blood near an open floor grate, and beyond it a large electric forklift that won’t move without a key. You can’t get past it yet, but Joint Plug 2 is sitting right there by the blocked door, take it along with an Empty Bottle on the floor nearby. Now use the open grate as your exit route.

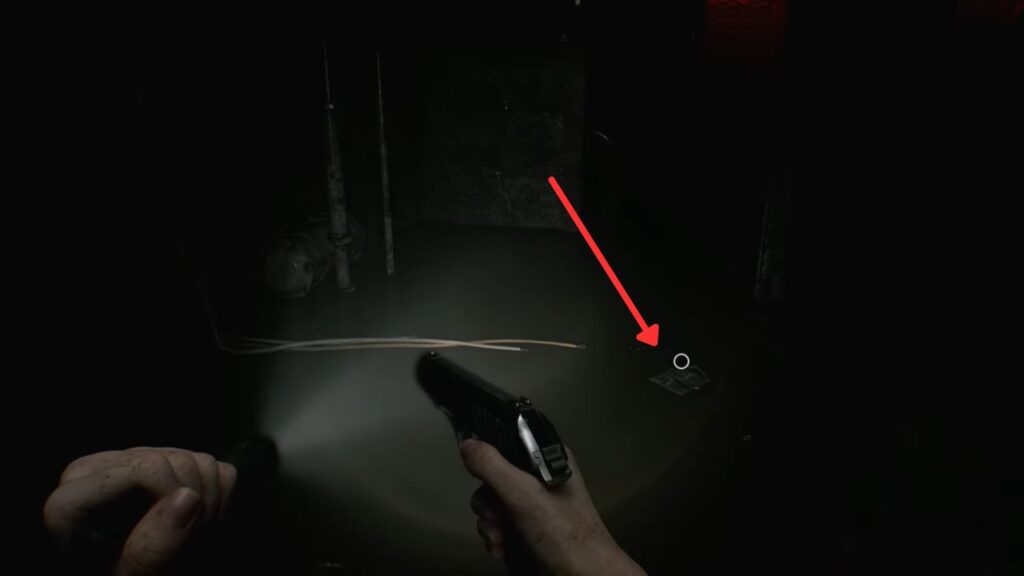
Squeeze through the tight passageway and grab the Lockpick you find along the way. As you near the exit, an infected will start crawling in from the Workshop side, only to get snatched by something much bigger before it reaches you.
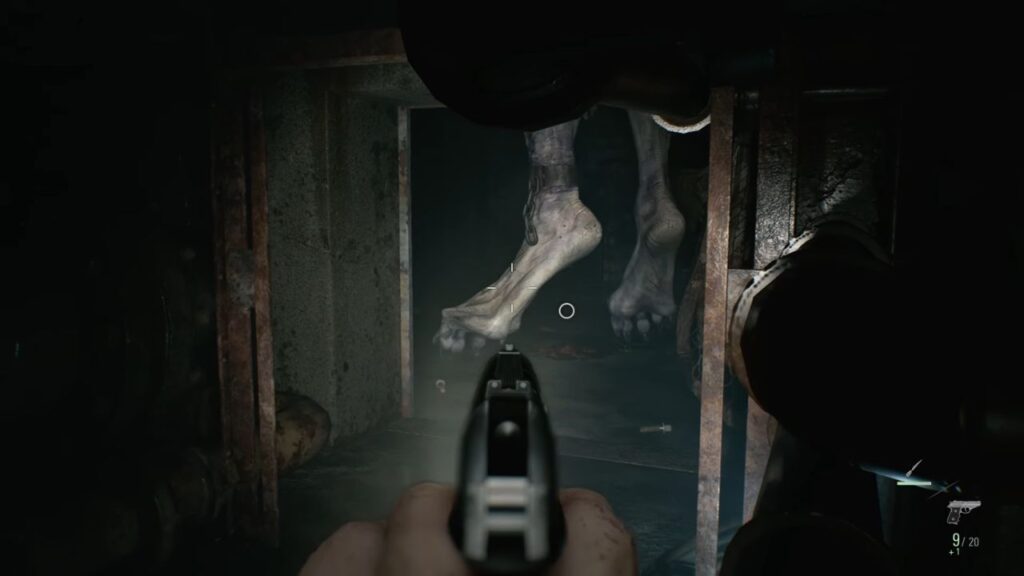
Stay still and wait for the Girl to finish her business in the Workshop, then slip out through the vent on the other side. Since the Workshop has no power right now, its door stays sealed, but you can get onto a nearby crate and drop back into the prison wing through an open window overhead.
Retrieving the Toolbox
Back in the furnace area, keep an eye out, another enemy may have woken up while you were away. Put him down carefully, avoiding any contact with the bodies on the ground. With the Technician’s Note in mind, your next goal is to get that toolbox, since you’ll need it to access the distributor inside the Collection Pool.
You only need one plug for the next stretch, so leave the other plug in the furnace distributor as a safety net. Walk down the passage past the Security Room and insert a plug into the distributor along that hallway. Two doors will swing open on either side.
Skip the Boiler Room for now, it’s flooded with electrified water that blocks the areas you actually need. Head into the Bunk Room across the hall instead.
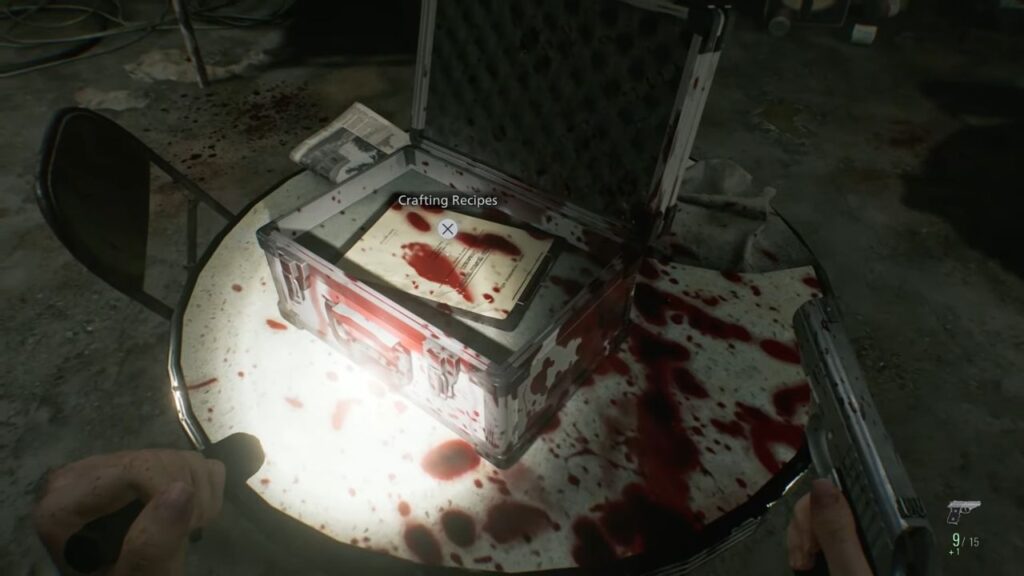
An infected is wandering around inside, so take care of him before poking around. Once he’s down, check the open case at the center of the room for a recipe that teaches you how to craft Molotov Cocktails. These are a big deal, empty bottles you’ve been carrying suddenly become some of the most powerful crowd control tools in the game.
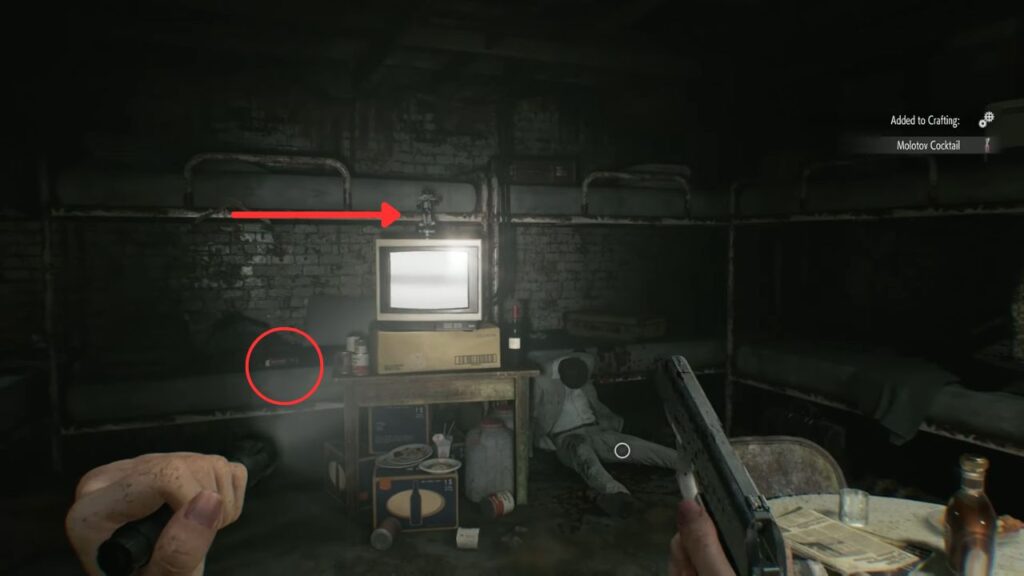
While you’re here, check the top of the TV box for a Mr. Raccoon Bobblehead, grab the Handgun Ammo from the nearby bunk. Head to the lockers at the back of the room, one holds some Scrap, and the locked one yields Rare Metal for Requiem ammo when opened with your Lockpick.
Leave the Bunk Room and reclaim your Joint Plug, which also drains the power, and the electrified water from the Boiler Room. From there, take the longer route back up toward the main elevator near where you first dropped into the basement, and slot the plug into the distributor you’ll find along that path.
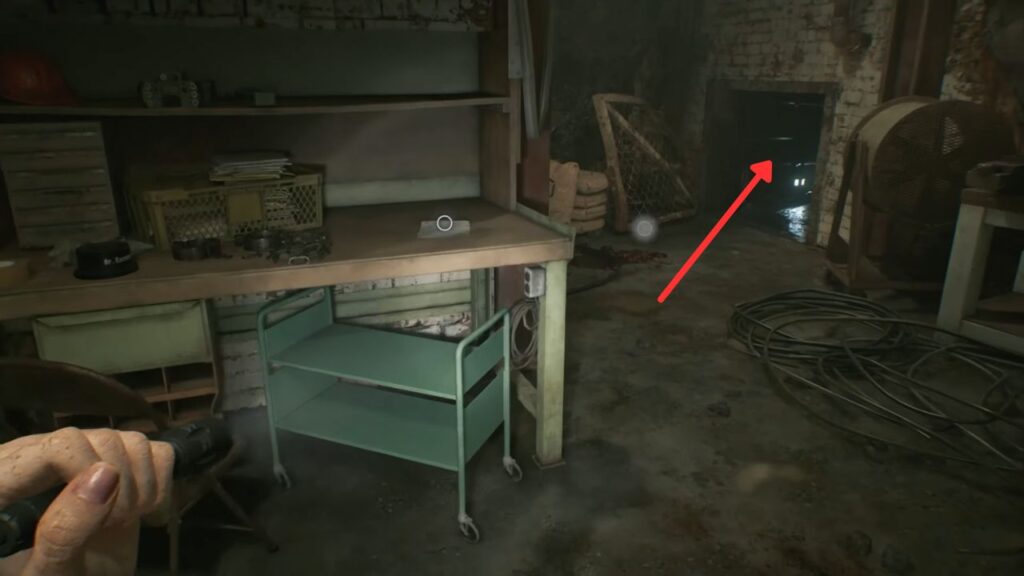
This reveals a small storage and cuts power to the Boiler Room, leaving the puddles safe to walk through. Push the moveable crate inside aside to create a shortcut into the Boiler Room itself.
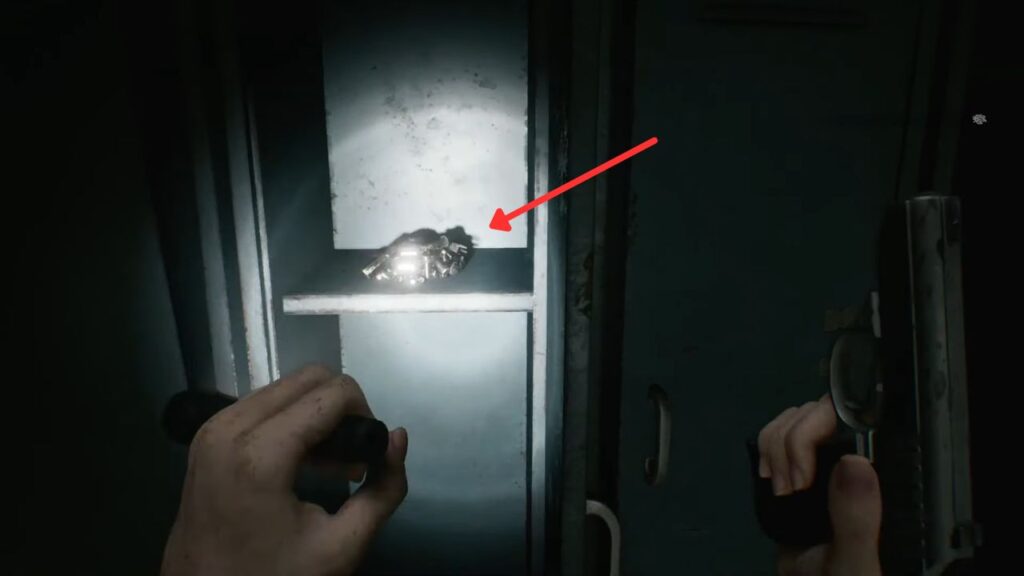
Inside, a Green Herb is tucked away on the right, and your second Lockpick is sitting in what was previously an electrified puddle.
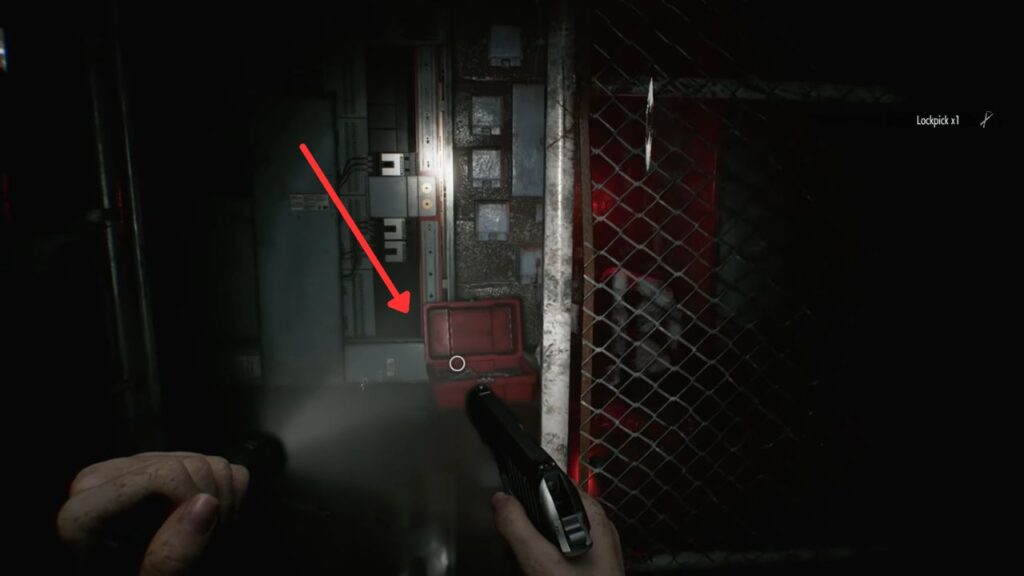
The toolbox you’ve been after is in an area on the right side of the room, behind a wired fence, containing the Square Socket Wrench, another Empty Bottle, and some infected blood.

The moment you try to leave with the wrench, the Girl drops right into the room with you, and she’s standing directly between you and the exit. Stay Calm.
- She’ll move toward the corpse near the fence and begin feeding
- Then shift her attention toward the body near the toolbox
The moment she starts walking your way, loop around the central boiler to keep it between the two of you at all times. Once she’s facing away, cut around behind her and slip through the gap in the fence without making a sound. Get out and reclaim the Joint Plug.
Locating the Third Joint Plug and Forklift Key — Processing

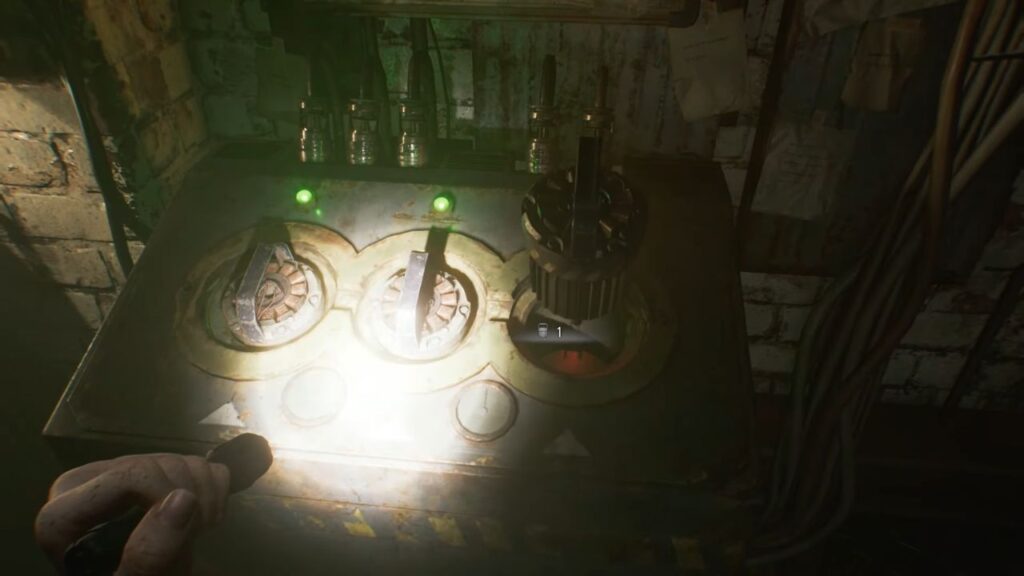
Wrench in hand, work your way back to the furnace and take the left-hand entrance into the Collection Pool area. A fancy white-suited infected will be guarding the distributor you need. Take him out quietly from behind using a hemolytic injector, gunfire risks drawing the Girl straight to you, and the room is far too cramped to deal with her.
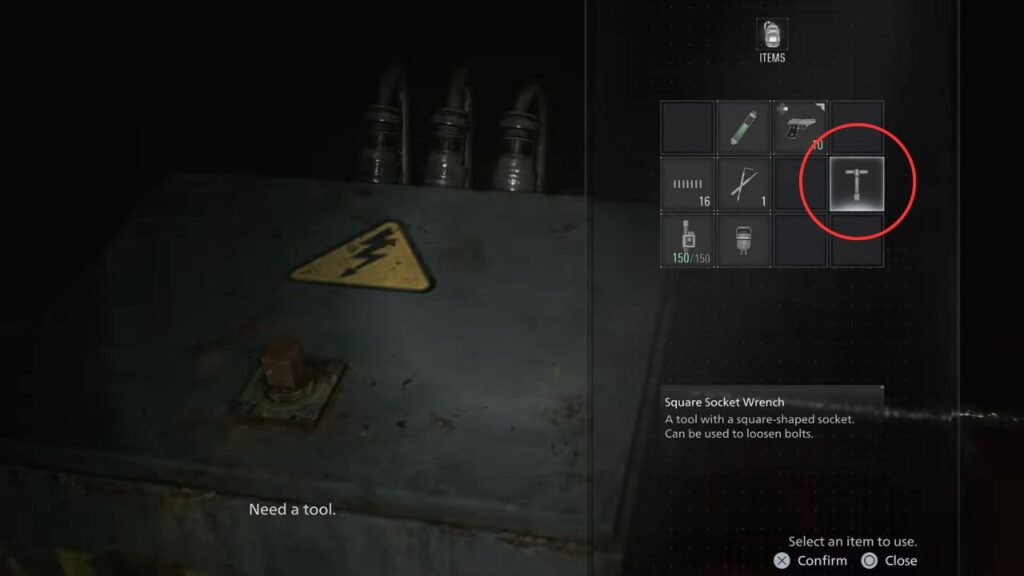
Once he’s gone, apply the socket wrench to the panel to unlock it. Unlike the others, this distributor requires two plugs simultaneously. Slide them both in to restore power and unlock the door ahead.
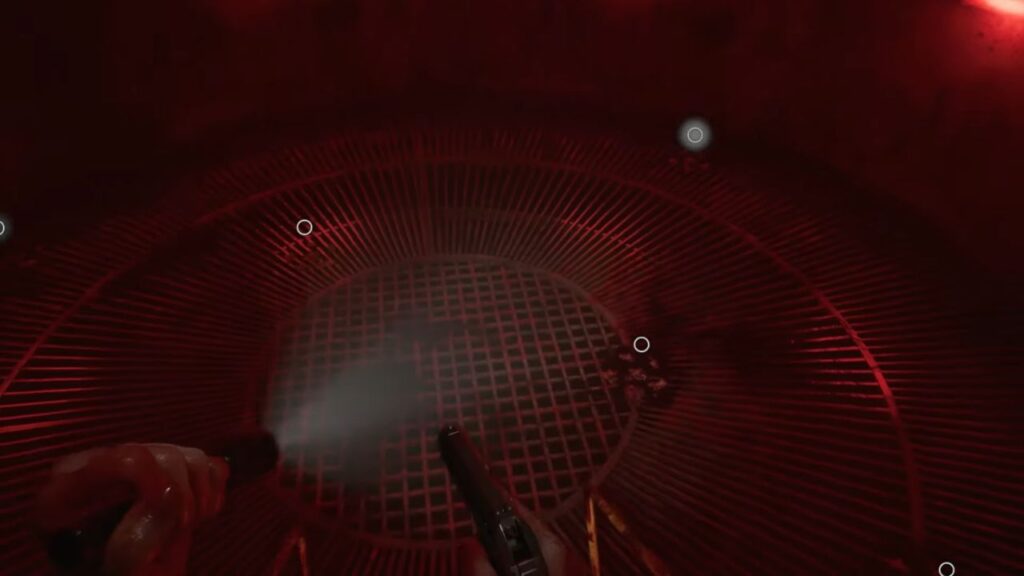
The passage beyond is long and industrial, lined with old turbines and a corroded metal walkway. Don’t try to cross the walkway, the panels give way underfoot and drop you into a pit below. Instead, duck through one of the idle turbines and crawl through the internal tube, collecting Scrap from a pile of wreckage before curling around to emerge on the other side of the drop.

Climb out of the turbines and grab the Green Herb nearby, then take the ladder on the left side up into the Processing area.
Joint Plug 3 is visible right away, overlooking a pit of thick fluid with infected blood to collect alongside it. But the moment you lift the plug, the door behind you locks shut, trapping you in. The trick is to approach from the opposite direction.
To do that, walk past the plug and find the second forklift in the room, along with a body clutching the Forklift Key. Now you have what you need to shift both forklifts and clear the blocked passages.
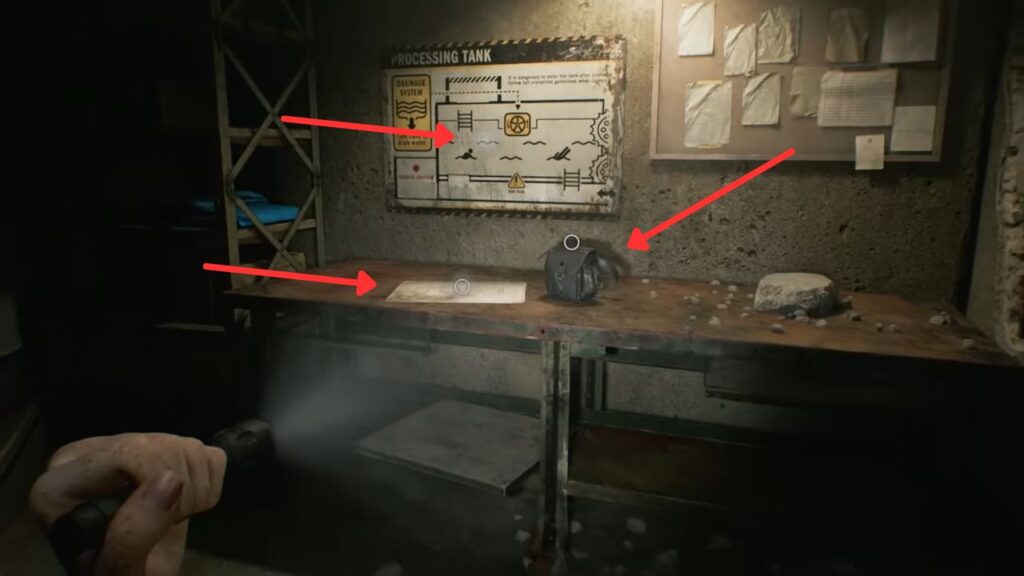
Put the key to work on this forklift and step through into the room it was blocking, you’ll find a Hip Pouch upgrade, a Care Center Basement Floor Plan, some Handgun Ammo on a barrel on the left, and the Processing Tank diagram, which confirms that the valve to empty the pit is on the opposite side.
Head back through the furnace room toward the Inspection Room entrance with both plugs in your possession. Put one in the furnace distributor to deal with a newly risen enemy nearby, then push into the room with the second forklift.
The lights cut out the instant you enter. Listen carefully, the Girl is somewhere in the darkness, hovering near the forklift, with no room to maneuver around her. You’ll need another way in.
Retreat to the furnace, recover the joint Plug, and loop back through the Holding Cells. The cell you already visited once will now have an occupant who’s broken loose, he’s weak, so put him down and ransack the cell for the last Empty Injector. Top off any spare Steroids or Stabilizers you can craft using your blood supply.
Use the plug on the Workshop entrance, sneak through the vent system, and work your way back to the room where the Girl is still pacing. The second she turns left, sprint from the vent and slot the plug into the distributor by the Inspection Room door. Light turns on, sending the Girl retreating into the shadows.
Use the Forklift Key one final time to shift the remaining forklift and walk through into the Inspection area.
Inspection Room — The Conveyor
This room is filled with a moving overhead conveyor draped with body bags and a handful of upside-down infected. Entering the room kicks the whole system into motion, sending a constant loop of bodies traveling from left to right.
Before you get swept up in it, check the row of lockers on your left, there’s Scrap in one, and use your second Lockpick to open the other to claim the last batch of Rare Metal available in the Care Center.
Getting through the room means joining the parade of hanging bags and using them as cover to advance in stages. Stay alert, infected who aren’t bagged will react if you stand too close to them. Focus on gaps of two or three clear spaces, and whenever possible, pick gaps that don’t have an active body dangling at the far end.
Hug the right wall as you move forward, then cut left when an opening appears. Collect the blood pool there, then shove the wheeled crate aside to widen your path. One of the bagged infected will tear free at this point and rush you in tight quarters, Handgun Ammo on a nearby shelf can help if you’re running low.
With the crate cleared, you’ll notice the conveyor loop swings back toward you at this point, making forward progress impossible. Head back to the room’s entrance and pull the lever to the left, the direction of the conveyor will reverse, pushing the bags upward toward the far end.
Now repeat the same process of slipping in between the hanging bodies and riding the line upward. A second infected drops down in this upper area, so deal with him before doing anything else. Check the corner opening for a Makeshift Knife and a small blood puddle, then keep going with the moving bags as they carry you up the stairs and into the Processing area.
Processing Room — The Grinder
Turn left at the top and locate the large drainage wheel used to empty the bloody reservoir below. Before you spin it, there’s a Typewriter in the corner, save now, without question. Pick up the extra Green Herb nearby and use any blood you have on hand to put together a Molotov if your supplies allow.
Drop down into the pit. Once you land, turn to face the ladder and look left to grab Handgun Ammo resting against the wall. Cross the pit to the far side where you’ll find a Molotov Cocktail and more Handgun Ammo near a ladder that hasn’t been lowered yet.

Then the alert sounds: processing is beginning, and everything in this pit, including you, is heading for the grinder. Your goal during this sequence is simple: survive. Stick to the edge of the pit farthest from the grinder and constantly shuffle your position backward to buy yourself reaction time.
As the bodies around you begin to wake up, some will tumble straight into the blades, but others will drag themselves upright and start coming for you. Shoot them in the legs to send them stumbling, a well-placed hit can knock them into the grinder or at least buy enough time to deal with the next threat.
Any enemy you stagger in the middle of the pit should be shoved in the direction of the grinder immediately. When you see two or more getting up at once far from the blades, that’s exactly when to hurl a Molotov, the fire handles groups far faster than you can.
When the system announces it’s almost finished, hold your nerve for just a little longer and clear out any stragglers. The conveyor shudders to a stop, the ladders drop, and you’ve made it.
Climb out on the side where Joint Plug 3 is waiting, grab it, and get ready to finally leave this place behind.
Escaping Through the Elevator
To get back, drop into the now-empty pit and climb the ladder to where the Typewriter was. You can save your game again here. With the power cut, the turbine nearby is inactive, crawl through it, though fair warning: you’ll be funneled into an unpleasant detour.

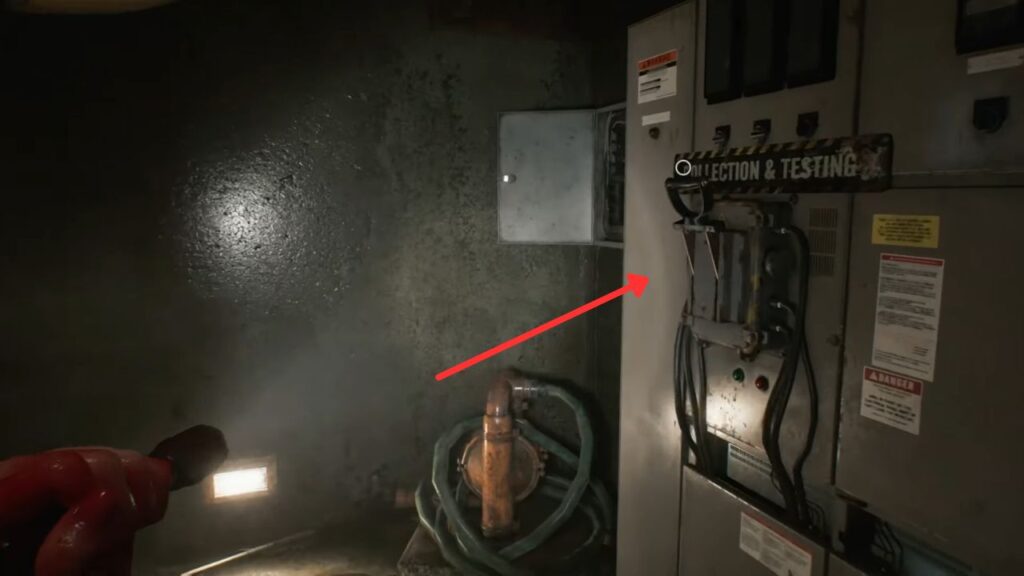
You’ll slide down into the Collection Pool chamber on the lower level. Climb out of the blood pool, and get the Green Herb right ahead. Then look for a lever on the wall marked ‘collection and testing‘, pull it to drain the pool entirely.
This reveals six clumps of infected blood scattered across the floor, amounting to roughly 240 units in total. Use this windfall to top up everything you have: craft all your remaining Steroids and Stabilizers, convert any Rare Metal into Requiem rounds, and stock up on hemolytic injectors, first aid, and ammunition.
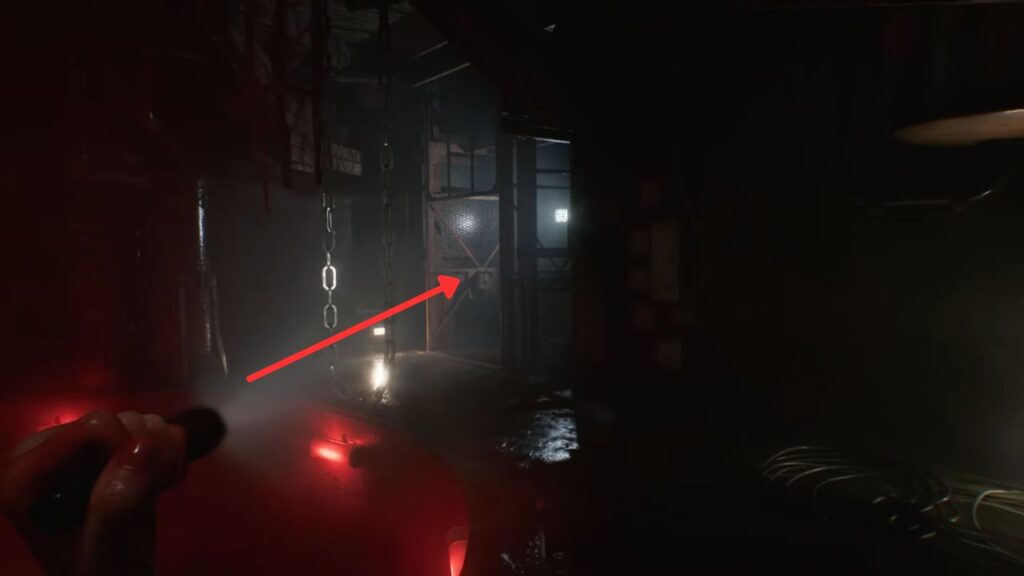
Take the red elevator up to the level above. If you left any infected alive in this room earlier without finishing them properly, expect a Blister Head waiting for you.
Once upstairs, work your way back through the Workshop and the vent tunnel to reclaim your remaining plugs. The same rule applies to the suited infected you dealt with outside the Inspection Room, if he wasn’t permanently neutralized, he’ll have mutated too.
When you reach back for the plug beside the forklift near the Inspection Room, the Girl will be lurking above. Sure enough, the moment you pick up the plug and turn around, she drops down and blocks the vent.
Don’t run, immediately turn and re-insert the plug into the distributor. The lights come on, and she’ll run back into the ceiling. Once she’s gone, grab the plug again and dive into the vent before she gets another chance to cut you off.
Return via the Workshop and collect the remaining plug. With all three now in hand, head to the main power relay at the far end of the prison wing and load all three in at once. Grace charges into Emily’s cell, and the moment you get control back, start moving and do not stop.
Every cell in the block has just been unlocked. Chaos breaks out immediately, and with Emily in your arms, you have zero ability to fight back. If you hesitate, you will get grabbed.
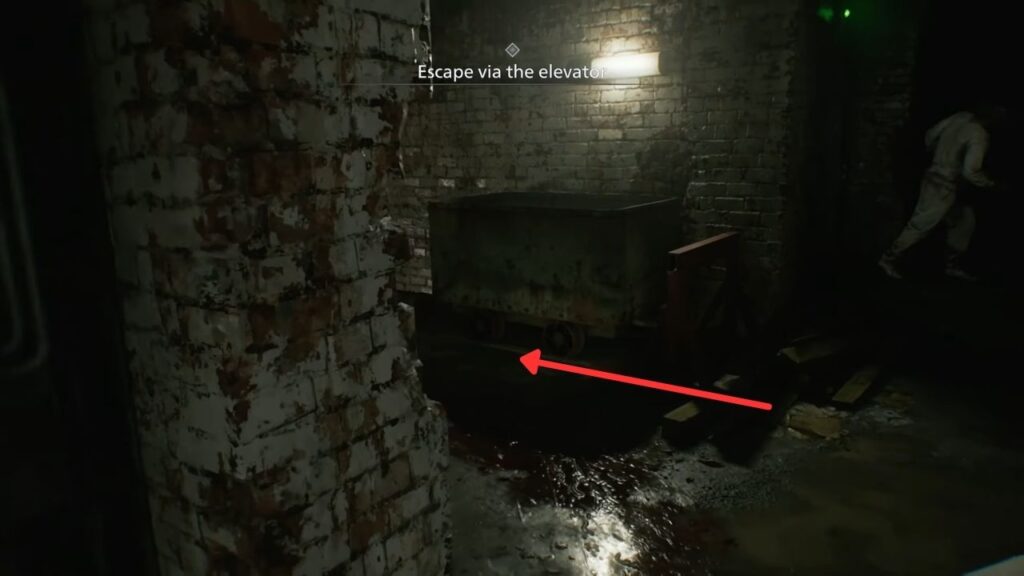
Run through the prison corridor, and turn left when the mine cart comes into view. Blast through the furnace area, hug the left side, infected will be spilling out from the collection pool doorway and the walls.
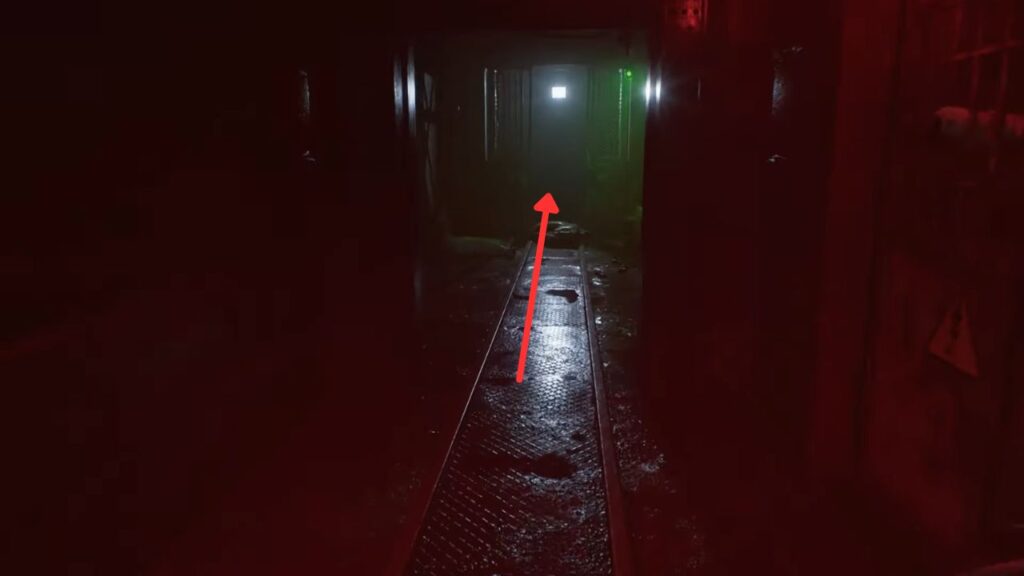
Don’t even glance toward the safe room. Run straight through to the elevator at the end of the hallway, which is now showing a green indicator light.
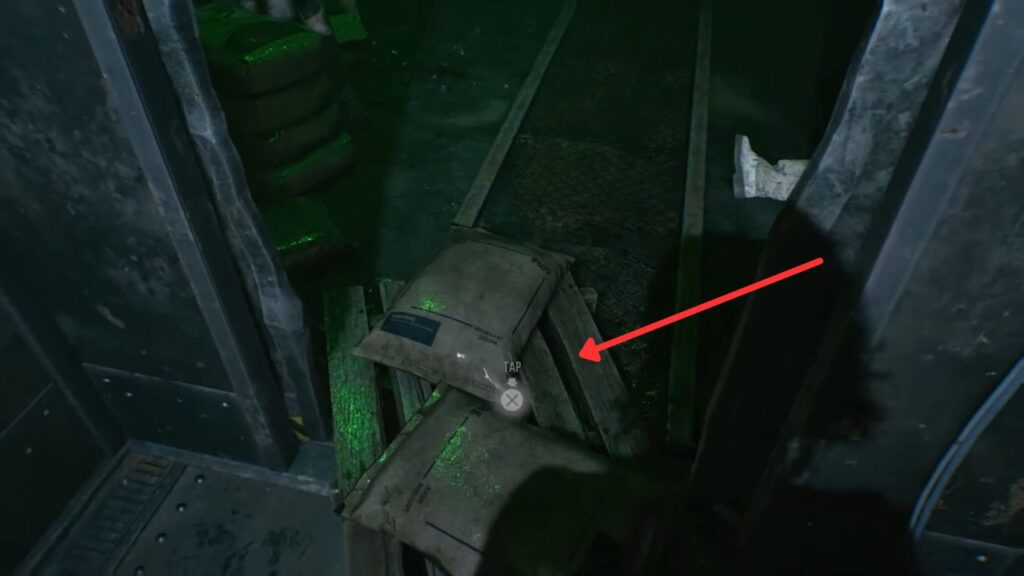
Inside the elevator, Grace sets Emily down. Hit the button to go up, nothing happens. Look down, you’ll see bags and wooden pallets jamming the mechanism. Spam the interact button as fast as you can, because the Girl is almost here. Clear the blockage in time, and the lift will start moving, but the nightmare isn’t over.
The Girl scales the outside of the elevator shaft and punches through the ceiling just as you reach the floor above. Shoot her in the face multiple times with your pistol to break her grip, then interact with the damaged door to wrench it open.
Grace hauls herself and Emily through the gap just before the elevator collapses with the Girl inside. The chapter closes with a burst of adrenaline, you’re back on solid ground, Quartz in hand, and the courtyard exit is finally within reach.
All Collectibles
| Category | Item | Where to Find It |
| Collectible Files | Staff Member’s Last Words | Sitting with the decapitated body shortly after you drop into the underground tunnel |
| Operation to Eliminate “The Girl” | On the left wall inside the Security Room, near the bank of surveillance monitors | |
| Unlocking the Cells | By the lever and relay panel at the far end of the prison wing | |
| Technician’s Note | On the table beside the Workshop bobblehead, referencing a toolbox in the boiler room | |
| Security Guard’s Report | On the left side of the small side office in the Inspection area | |
| Care Center Basement Floor Plan | In the storage room reached by moving the forklift in Processing | |
| Mr. Raccoon Bobbleheads | Basement Workshop Bobblehead | Sitting on a small table inside the Workshop, right next to the Technician’s Note |
| Basement Bunkroom Bobblehead | Balanced on top of the old flickering TV set in the Bunk Room | |
| Tools | Square Socket Wrench | Retrieved from the toolbox tucked in the Boiler Room alcove |
| Forklift Key | Carried by the dead body in the Processing room, close to the third Joint Plug | |
| Lockpick (x2) | One in the tight vent passage near Inspection; a second sitting in the drained Boiler Room puddle | |
| Joint Plugs | Joint Plug 1 | Already slotted into the relay panel at the rear of the prison wing — take it before leaving |
| Joint Plug 2 | On the ground beside the locked door next to the electric forklift in Inspection | |
| Joint Plug 3 | Climb out of the drainage pit after surviving the grinder sequence in Processing | |
| Upgrades | Hip Pouch | Inside the side room you unlock by shifting the forklift in Processing |
| Raccoon Roundup Map (Rhodes Hill) | Cracked open from the wall safe in the Inspection office — combo: right 60, left 40, right 80 | |
| Crafting | Molotov Cocktail Recipe | Found in an open case in the Bunk Room after handling the enemy inside |
| Holding Cells Empty Injector | Looted from the cell of the prisoner who breaks free during the final escape run |
The Care Center Basement is one of Resident Evil Requiem’s most thrilling chapters, combining intricate puzzle design with constant tension and high-stakes survival. Next up, Care Center Courtyard!