Chapter 6 begins after the truck crash, sending the siblings on a thrilling underwater journey and some heavy artillery! Follow this walkthrough to achieve 100% completion in Chapter 6: Nobody Left Behind of Reanimal
Reanimal Chapter 6 Walkthrough
The Bunker
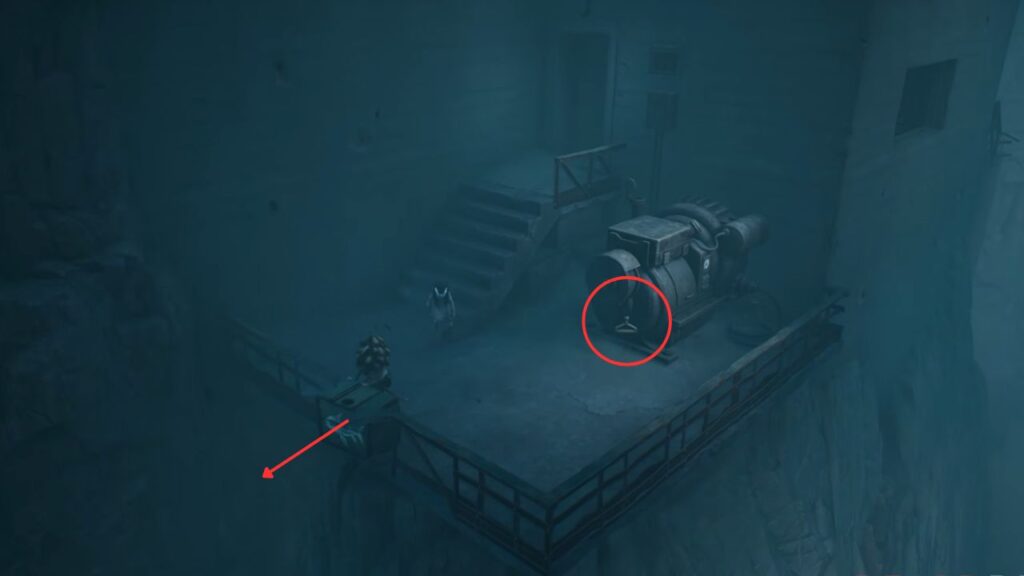
Start by taking the right path through a tunnel and head through the door into a bunker. Exit the bunker through the door on the right and push the crate outside, you’ll need this later. Pull the lever on the generator to turn on the power, then head back inside the lab.
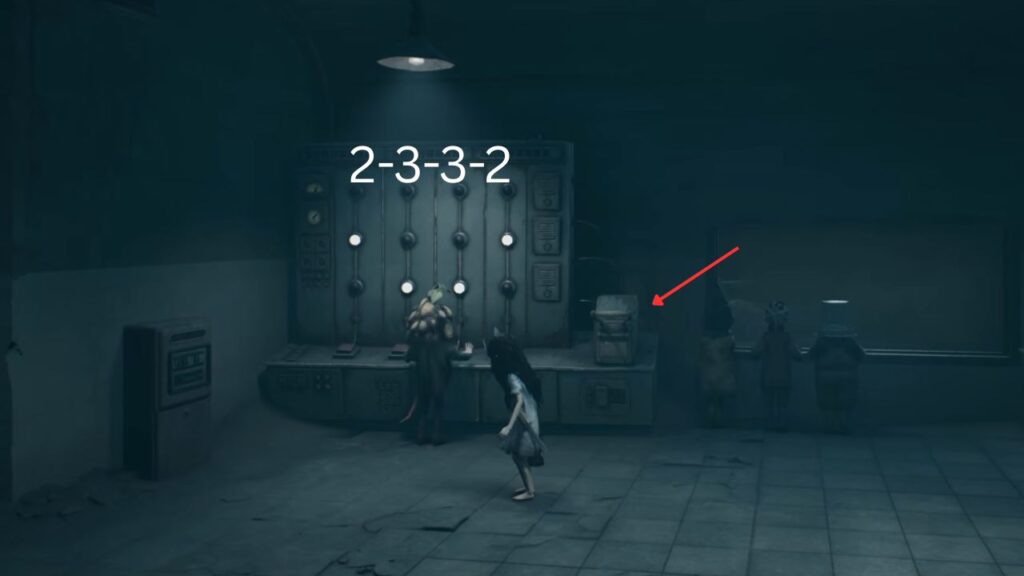
With the electricity powered on, you can interact with the machines. In the left corner of the lab, there’s a large console with light bulbs on it. First, set the lights in the following sequence from left to right: 2-3-3-2 (from top to bottom).
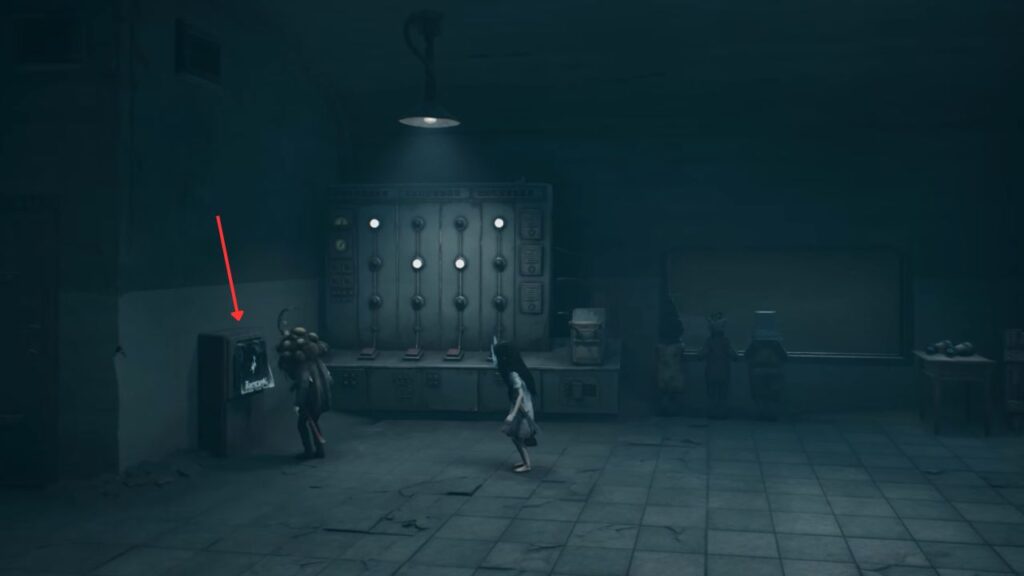
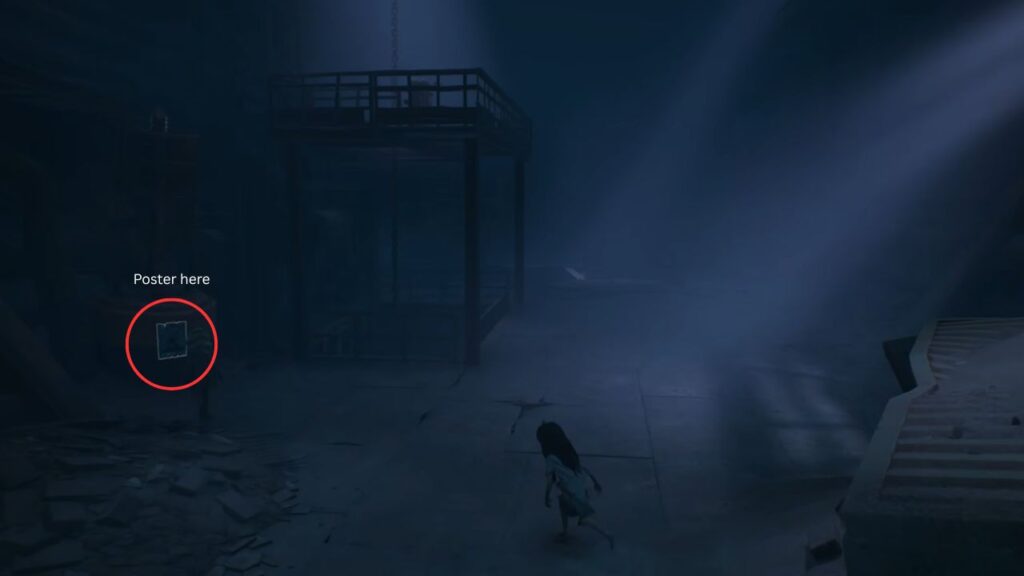
Then, pull the lever beside it. Doing this will unlock the “Secret Bunker” trophy, and a Propaganda Poster will appear to the left of the console.
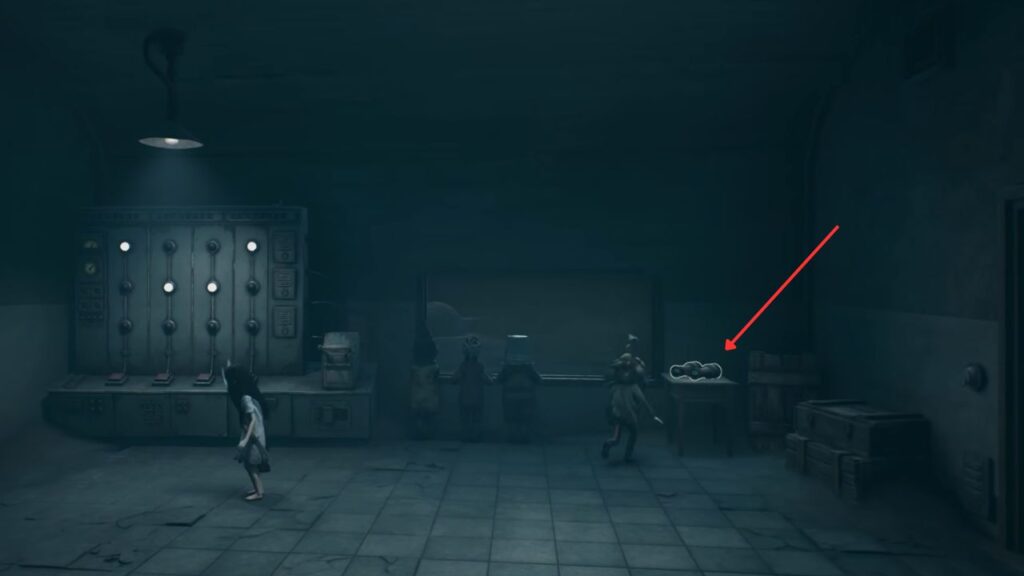
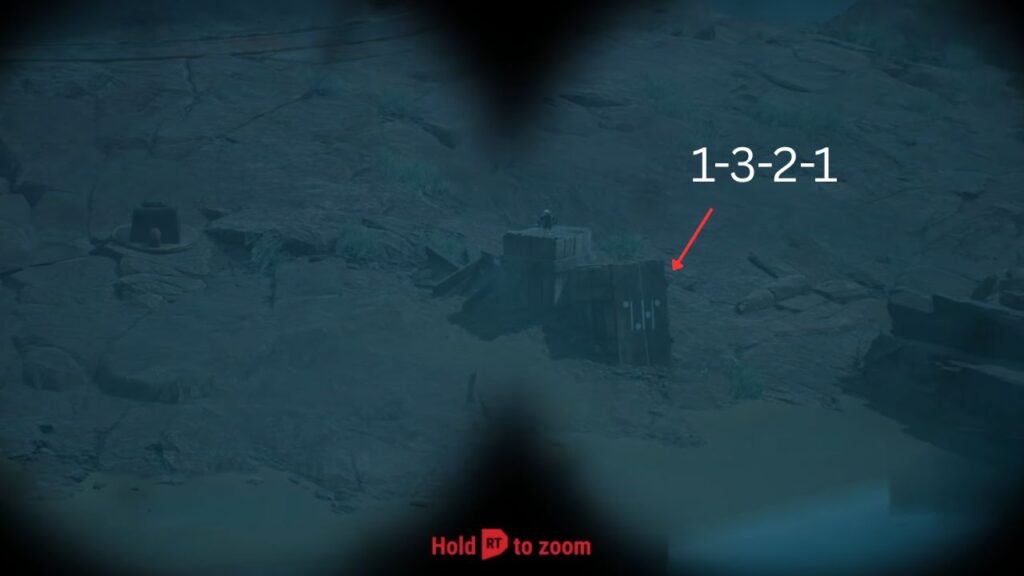
After grabbing the poster, pick up the binoculars from the table on the right side and use them to look through the glass. Find the crate that displays a code, you’ll need it to send ammunition to the massive artillery. The code is 1-3-2-1. Enter it on the console to trigger the delivery.
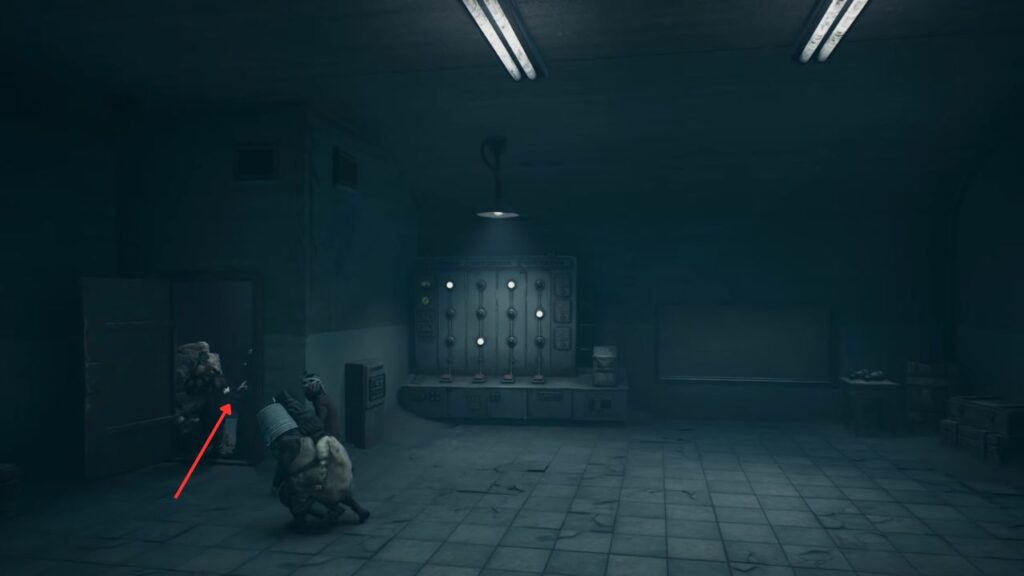
Exit the room by squeezing through the blocked door on the left, then climb down the ladder to reach the beach. Move along the beach until you find a critter, hit it to obtain a new mask. After that, continue farther down the beach and jump into the boat.
Boat Navigation
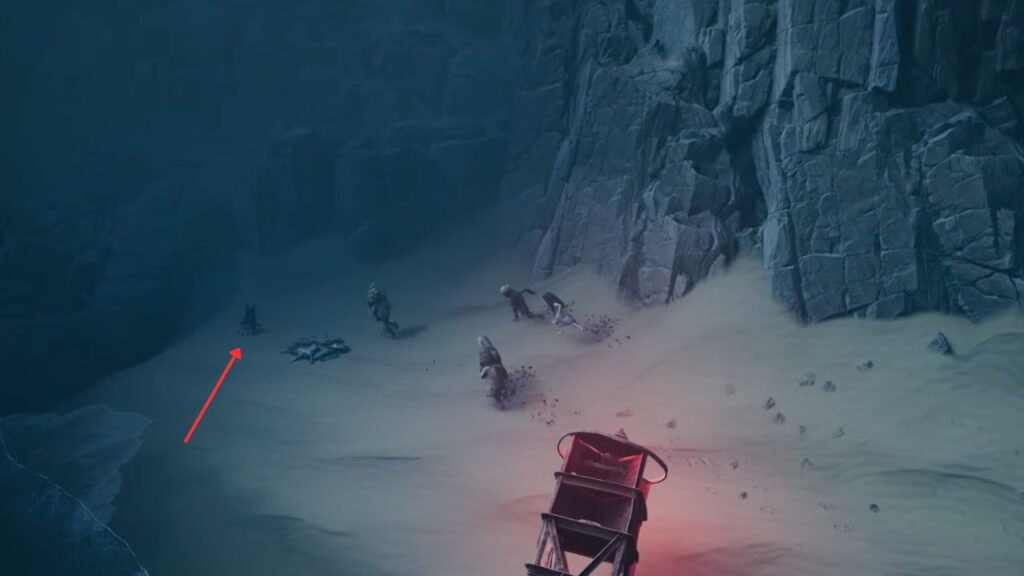
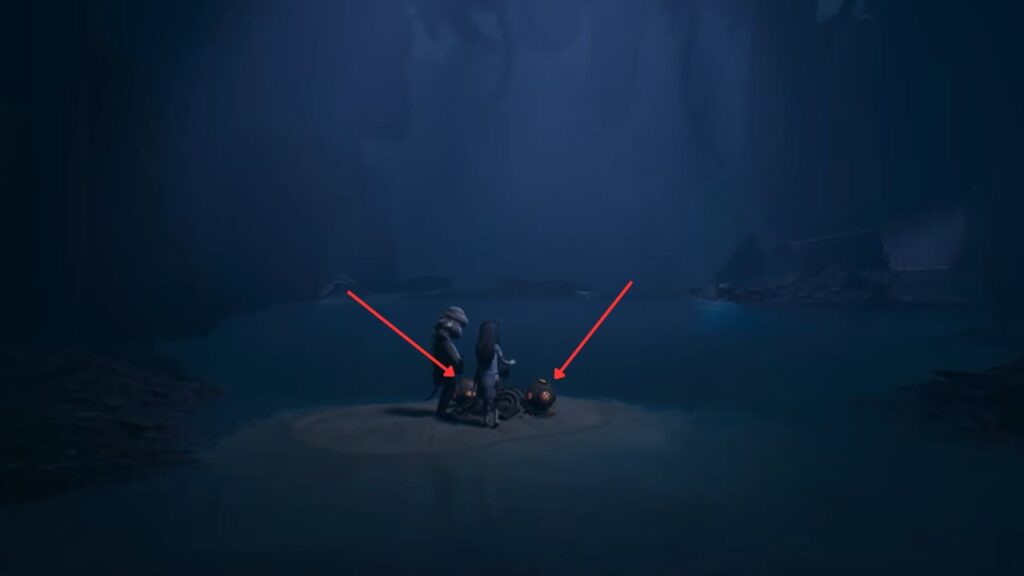
Before heading out, immediately drive to the right to find a cluster of three sea mines tucked behind the cliffs at the edge of the area. Destroy them. From there, head toward the central island with the large cannon.
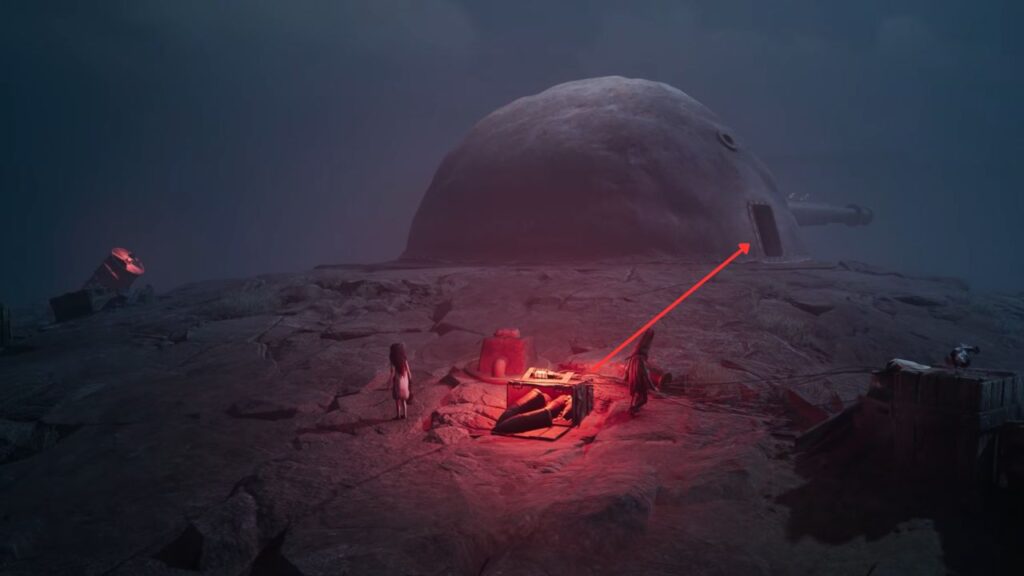
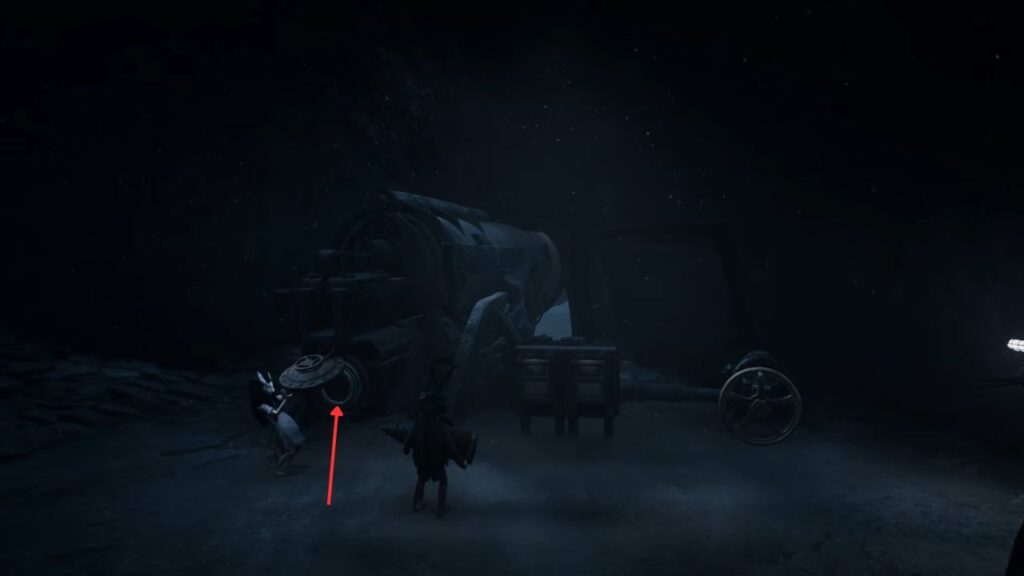
Grab a cannon shell from the red, glowing crate on the island and carry it into the cannon. Load the shell by interacting with the small wheel at the back to hold the door open while your sister inserts the shell.
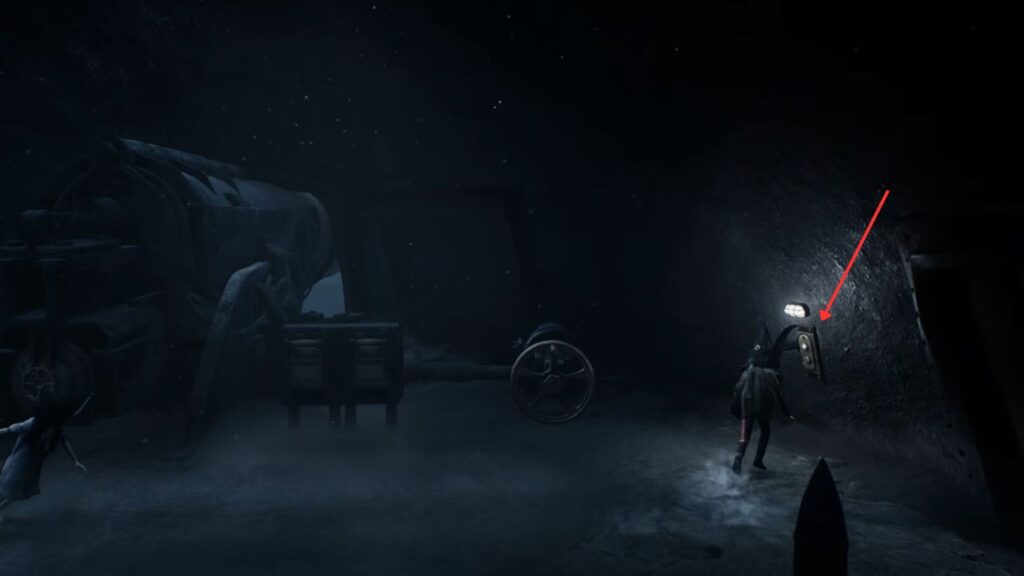
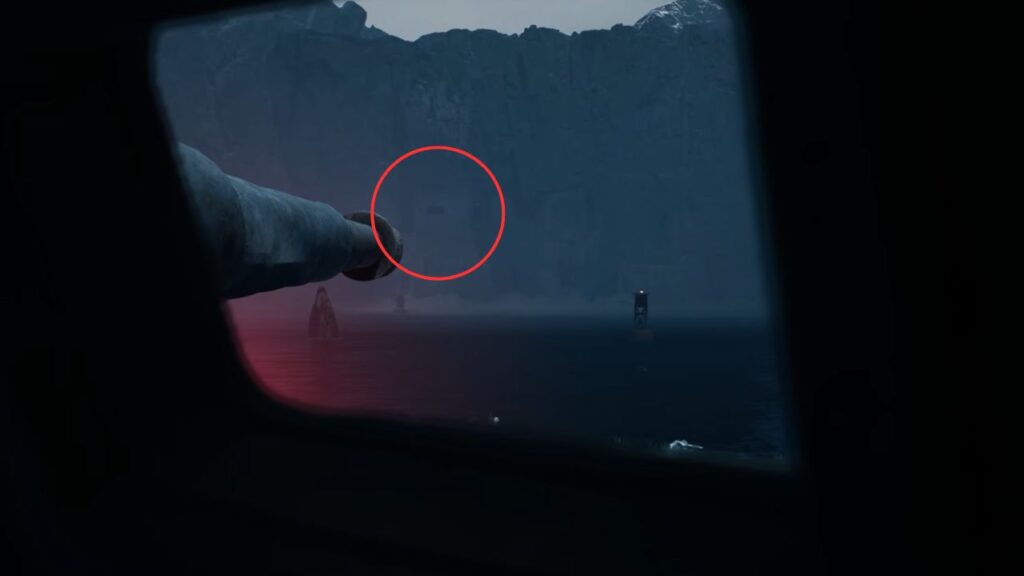
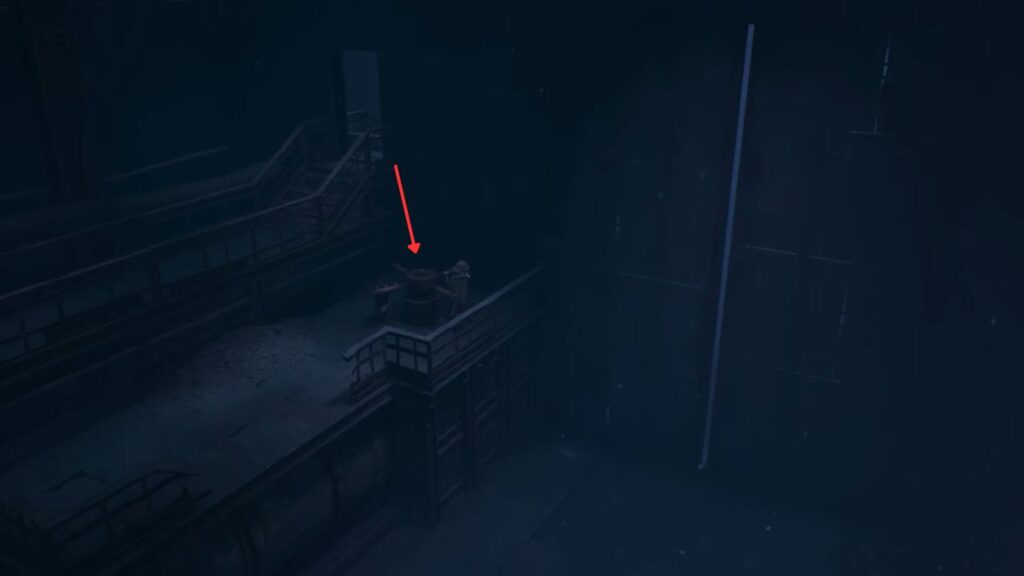
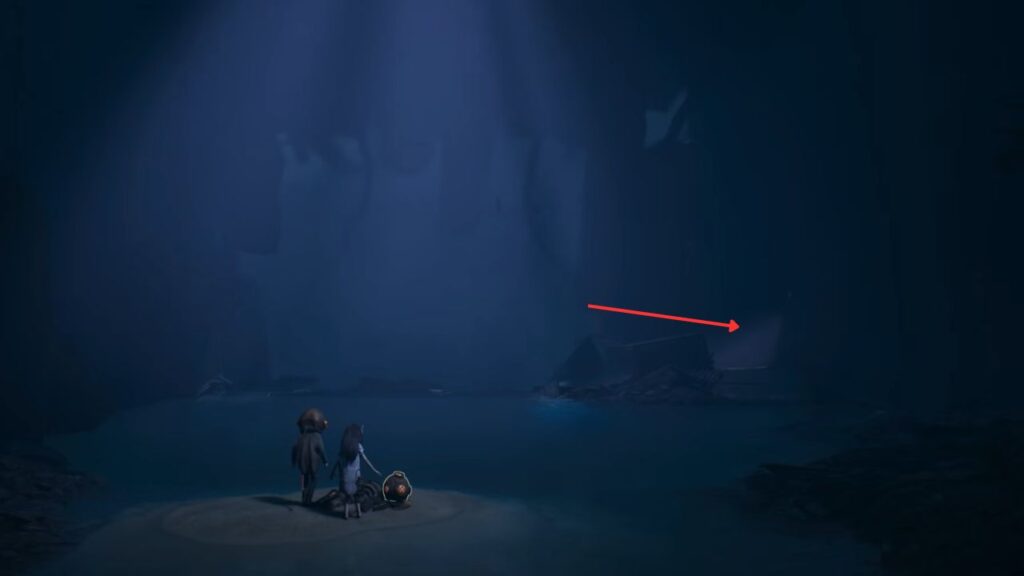
Once the cannon is loaded, press the button beneath the blinking light next to the door to open a window. Use the larger wheel to rotate the cannon until it’s aimed at the bunker you came from. Look for a single rectangular window in the middle of the stone cliffs.
Interact with the double lever to fire the cannon. Destroying the bunker will earn you the “Non-Cannonical” trophy.
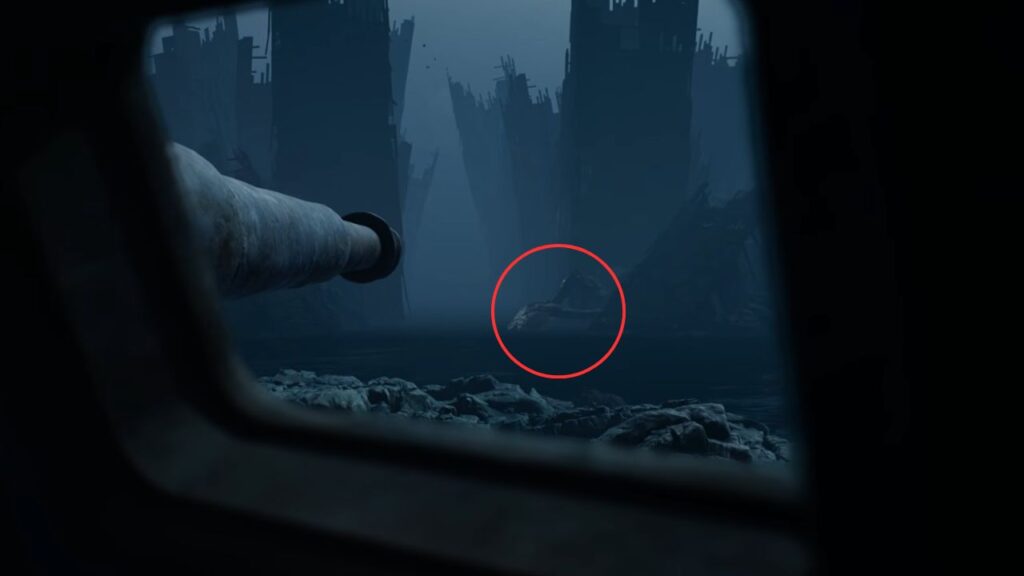
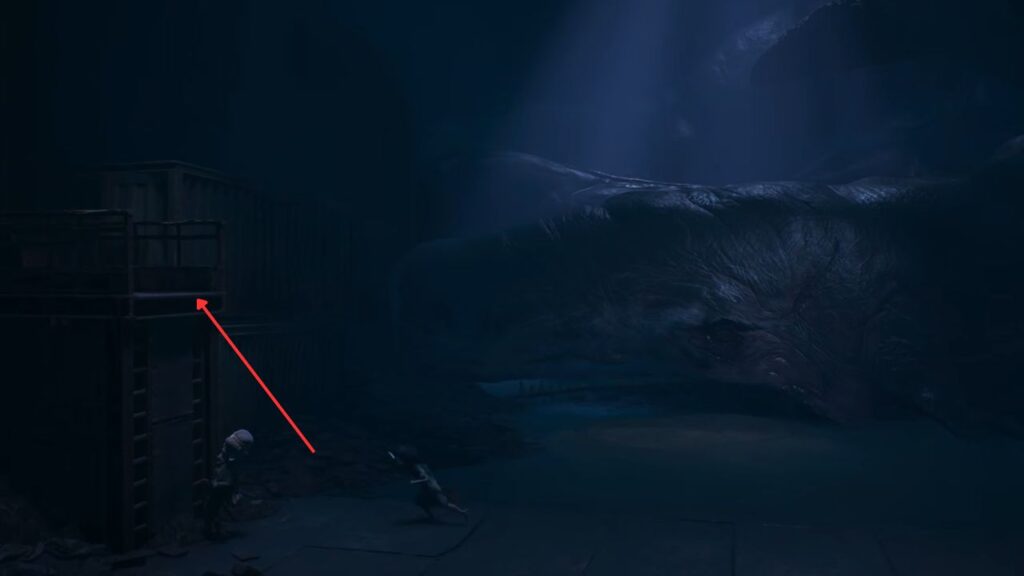
You’re not done yet. Grab another shell, load it into the cannon, and rotate the cannon further to the right until you spot a large sea monster. Fire at it to clear the path for your boat to continue.
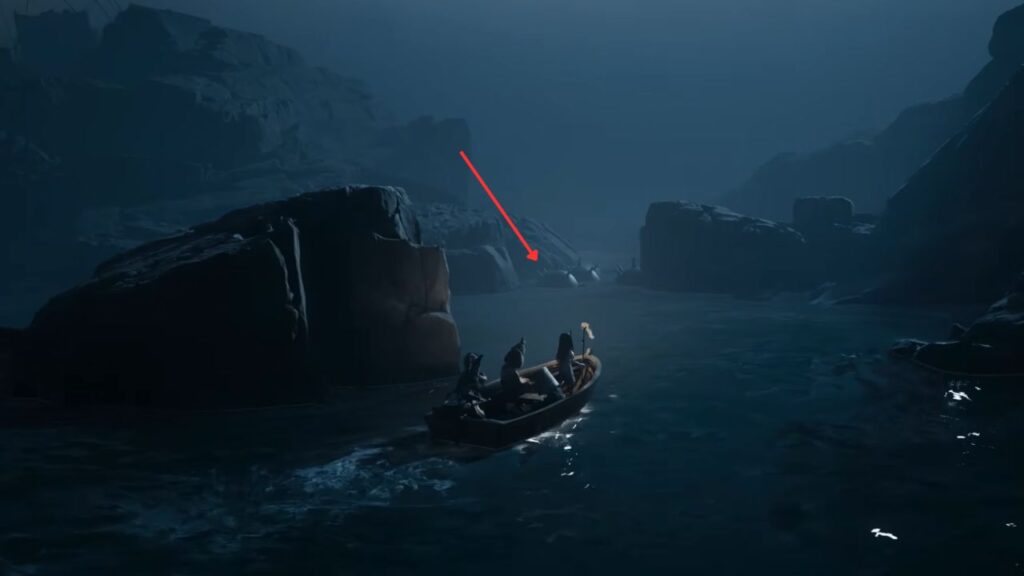
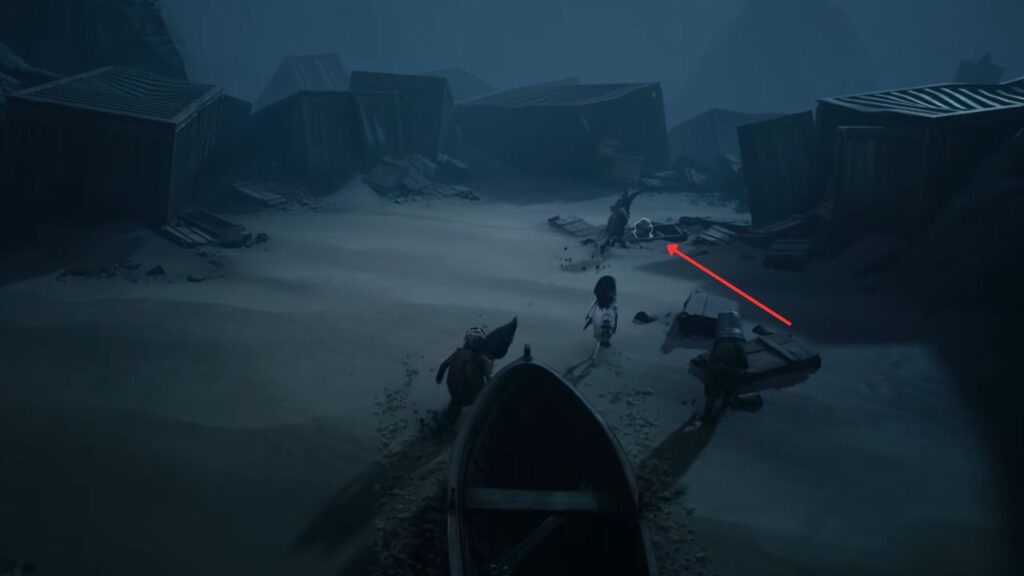
Get back on your boat and drive past the monster you just destroyed, making sure to blow up any mines you encounter along the way. Hug the right wall, destroy the mines blocking the path, and land your boat. In front of the right container, you’ll find a mask, pick it up, then return to the boat.
Finally, hug the right wall again and park the boat next to the red glowing light beneath the massive shipwreck.
The Shipwreck
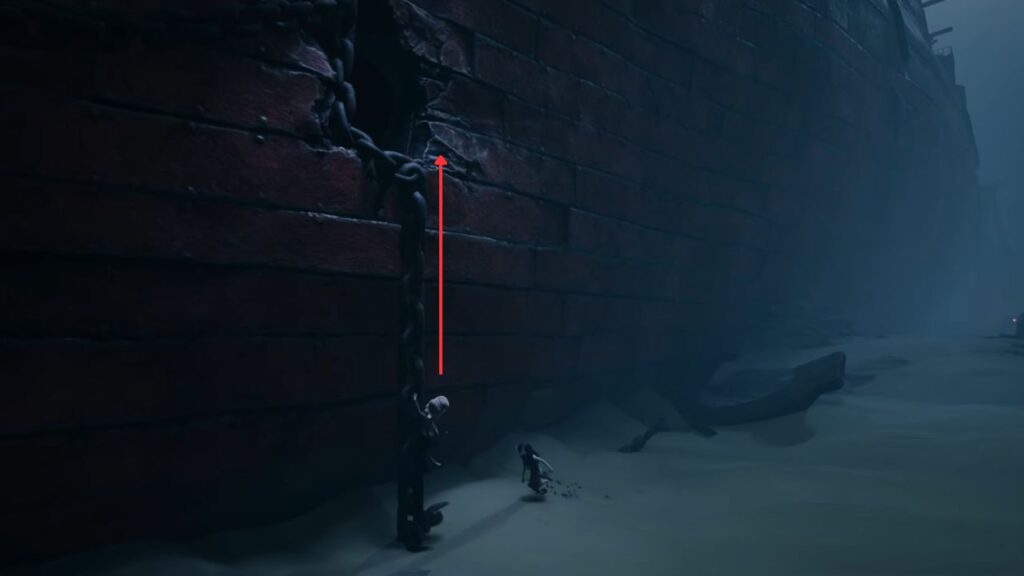
After landing, head west while fending off seagulls. After you climb the ledge, look for an anchor you can climb to enter the ship.
Inside, drop down and head left to find a poster pinned to a red buoy. Grab it, then walk across the steel beam at the back. Climb the wall on the left, then turn the wheel to open the gate.
Move past the newly opened gate and climb the wall on the left. Follow the platform to the end and pull the lever to call the elevator. Before heading down, interact with the diving suits on the left side to put them on. We’re going underwater!
Underwater
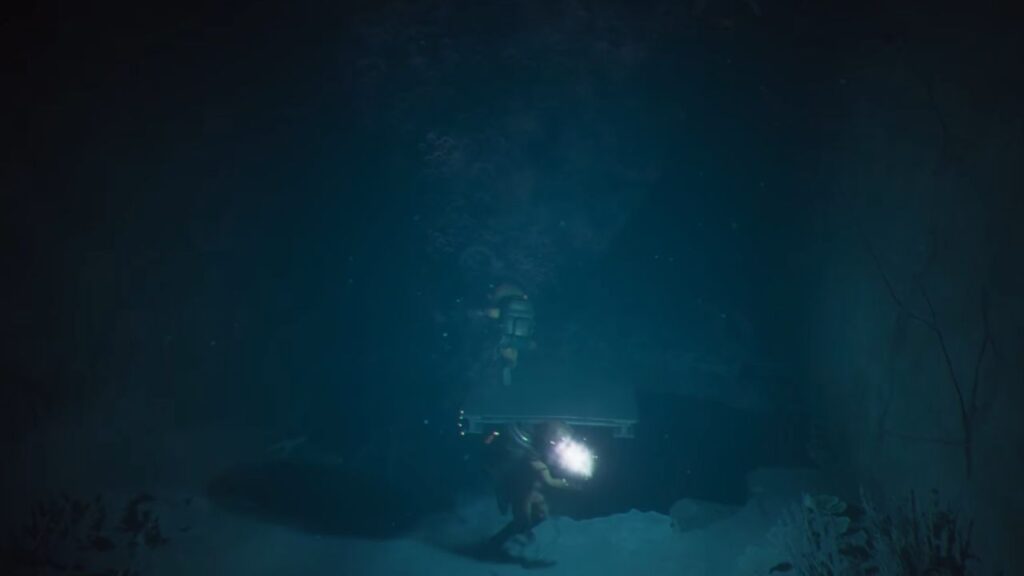
Once underwater, turn on your torch and head right through the large opening. Carefully avoid the sea mines as you move forward. Open the door, then jump over the obstacles and across the gap, be especially careful with this jump.
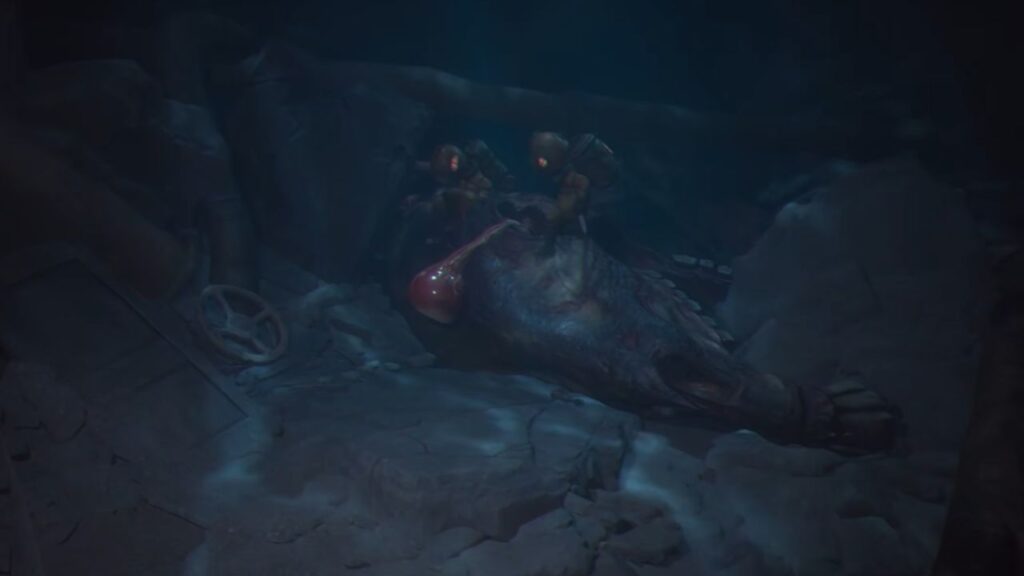
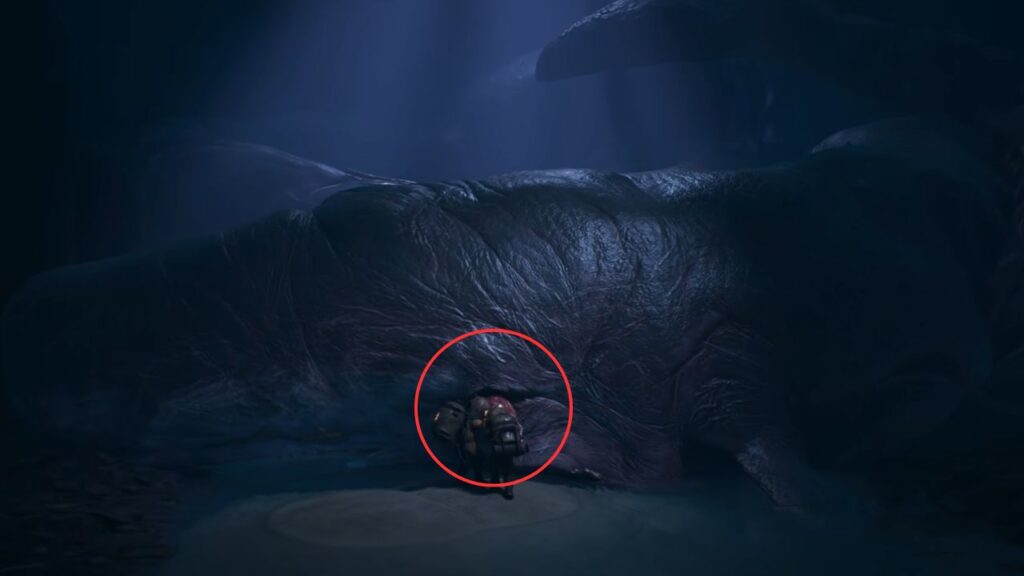
Follow the path, and at the end, you’ll come across what appears to be the monster that you shot with the cannon earlier. Climb onto its head, pull out its eye, and cut it. Yes, you read that correctly. After taking the eye, run back toward the elevator.
At this point, you’ll discover that the monster isn’t actually dead, it will rise and start chasing you. Keep running and don’t look back. Get into the elevator and head back up. As soon as the doors open, jump out quickly, or you’ll be dragged back down.
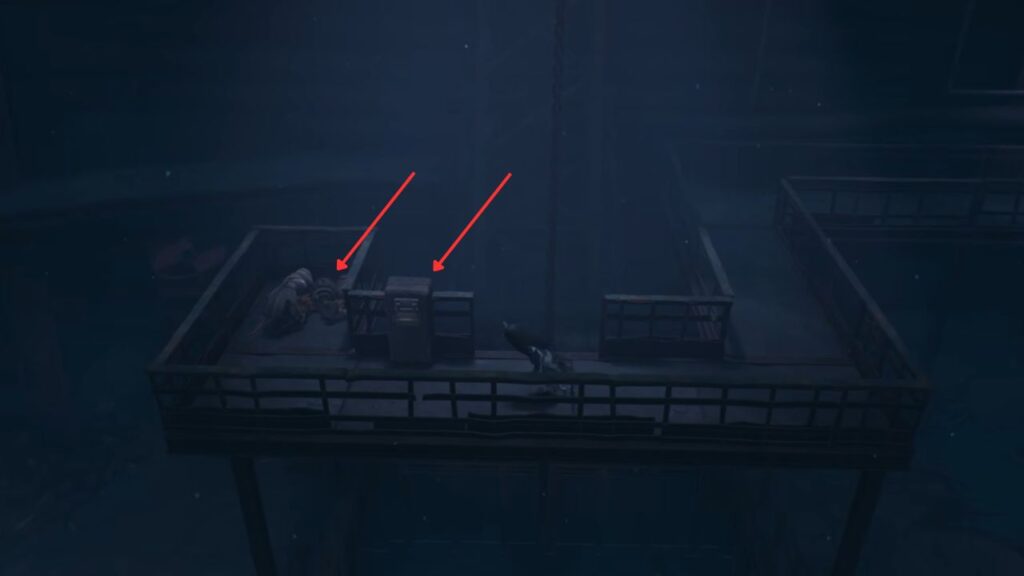
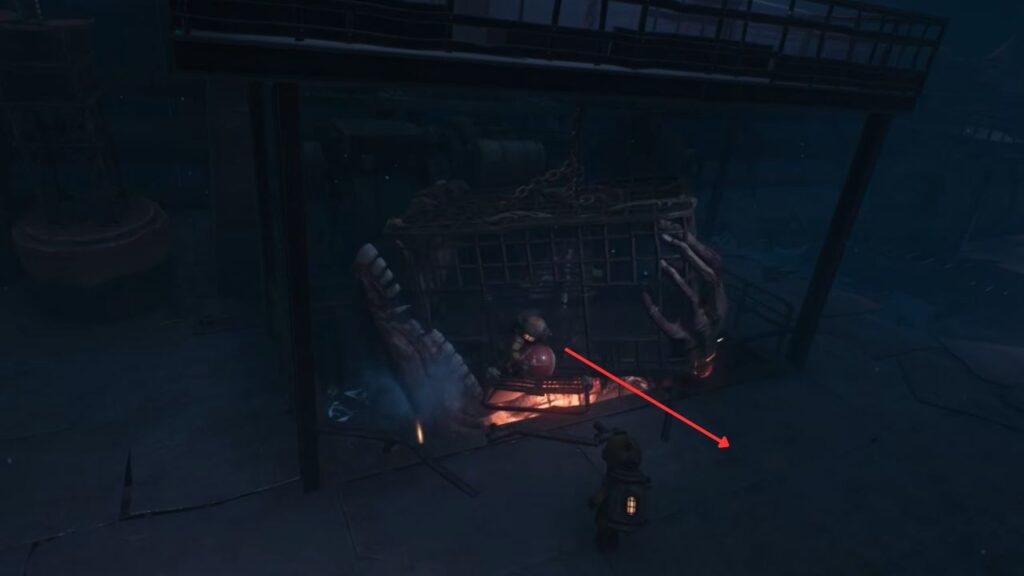
Back inside the ship, head to the gate and interact with the whale. Insert the eye into its eye socket and watch as the majestic whale moves away, clearing the path for your boat to continue. Before leaving, interact with both diving suit helmets to collect two mask collectibles.
Finally, look for an opening in the right corner with a light shining through. Squeeze through it and return to your boat.
The Flooded Town
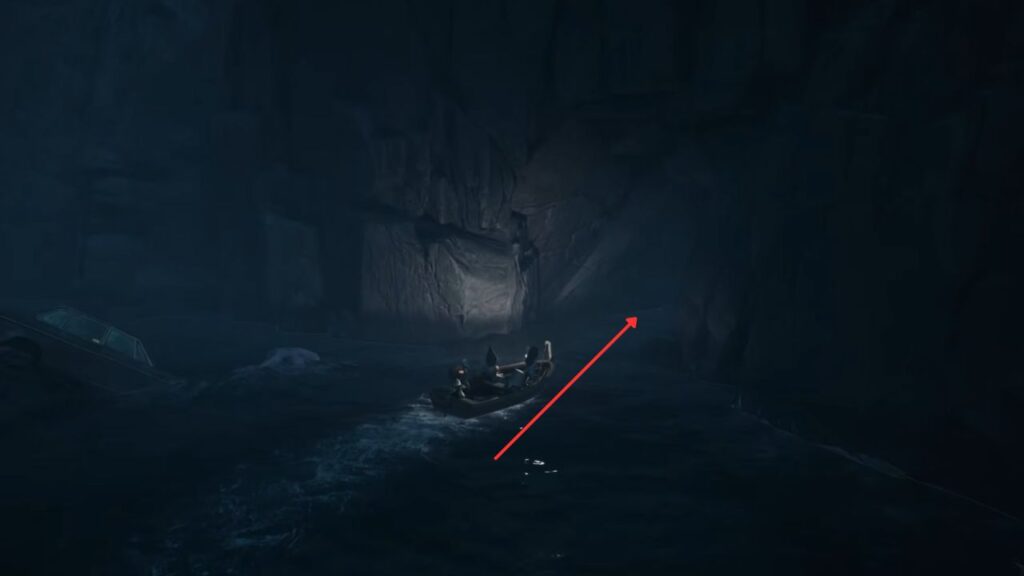
Drive the boat through the gap that just opened on the right. Turn left when you see a floating traffic light. Kill any monsters and destroy any mines you encounter along the way. Hug the right wall until you spot a very narrow cave, then head inside.
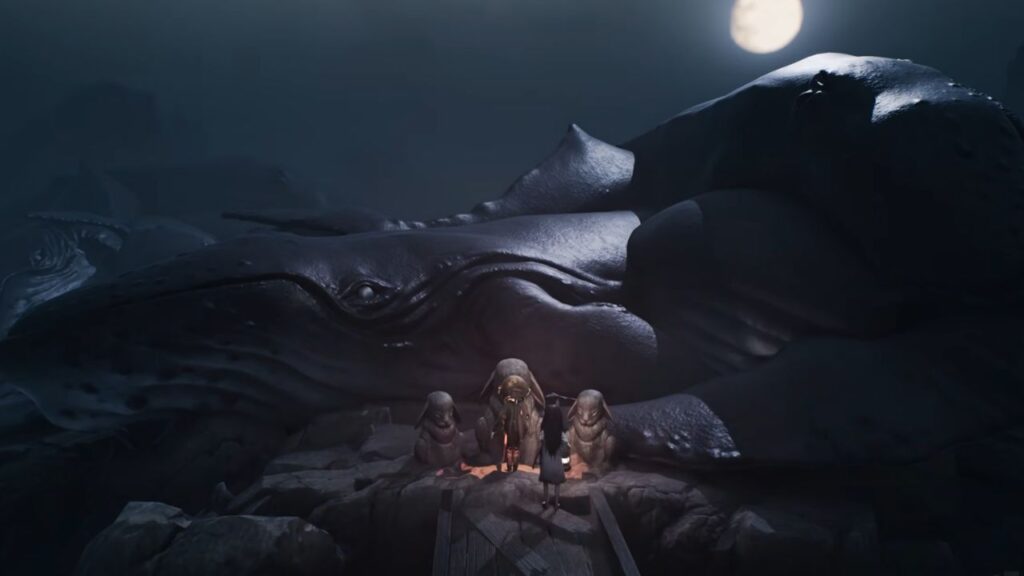
At the end of the cave, you’ll find another rabbit statue under stunning moonlight. Light the candle using your lighter, then head back outside.
After exiting the cave, turn right and destroy the mines blocking the tunnel entrance. If you’ve cleared every mine since Chapter 3, you’ll earn the “Naval Blazing” trophy here.

Proceed through the tunnel, eliminating all enemies you encounter. Once you exit the tunnel, clear any remaining mines and head toward the flooded town until you can park your boat. Walk forward, climb the stairs, and open the door at the end.
The girl will collapse to the floor, vomiting out the sheep that have been trapped in her memories all this time. Interact with her to pick her up, then follow the sheep until you climb over a wall, triggering the start of Chapter 7: The Spoils.
All Collectibles in Reanimal Chapter 6
| Category | Item | Location / Notes |
|---|---|---|
| Masks | Mask #1 | Looted from the critter on the beach below the bunker |
| Mask #2 | On the small beach at the far right edge of the cliffs, after shooting the sea monster | |
| Mask #2 | Interact with the first diving suit helmet after removing it | |
| Mask #3 | Interact with the second diving suit helmet after removing it | |
| Propaganda Posters | Poster #1 | Appears to the left of the bunker console after completing the code sequence |
| Poster #2 | Inside the shipwreck, pinned to a buoy after dropping down and heading left | |
| Rabbit Statue | Rabbit Statue #1 | On the small beach reached by turning right before the dark tunnel entrance |
| Trophies | Secret Bunker | Pull the lever after entering the correct console sequence in the lab |
| Non-Cannonical | Use the big cannon to shoot and destroy the bunker | |
| Naval Blazing | Destroy all sea mines across Chapters 3 and 6 with the harpoon | |
| Lost at Sea | Travel a long distance in the boat (tracks across multiple playthroughs) |