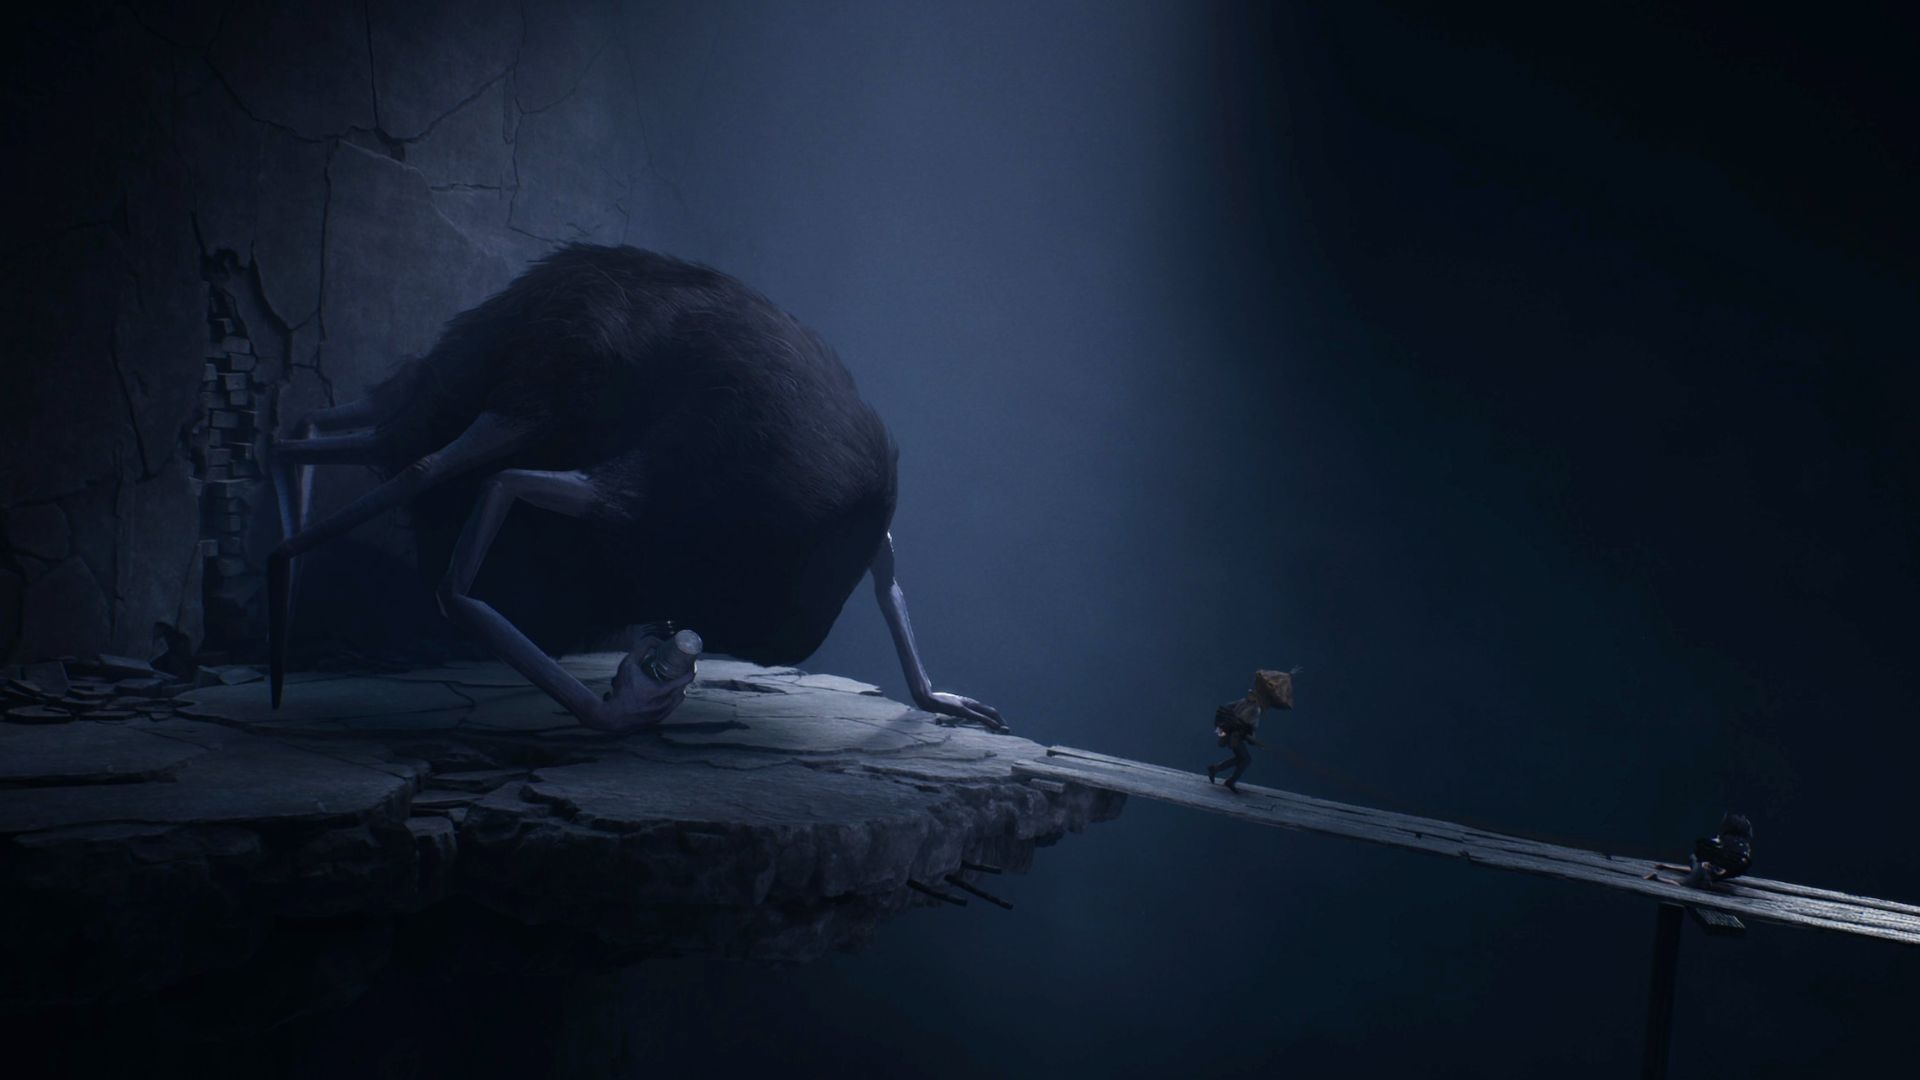
At the end of Chapter 4: No Shelter, you help Hood escape from a wooden box — but he falls back down before you can reach him. A cutscene then plays where the baby ghosts catch you and y our sister, tie you up, and lower you deep underground using a chain hoist. Chapter 5: Down in a Hole begins with you trying to find a way out.
List of Chapters before Chapter 5:
- Reanimal Chapter 1: Dead in the Water Walkthrough
- Reanimal Chapter 2: The Cleaning House Walkthrough
- Reanimal Chapter 3: After the Flood Walkthrough
- Reanimal Chapter 4: No Shelter
Reanimal Chapter 5 Walkthrough
The Underground Tunnel
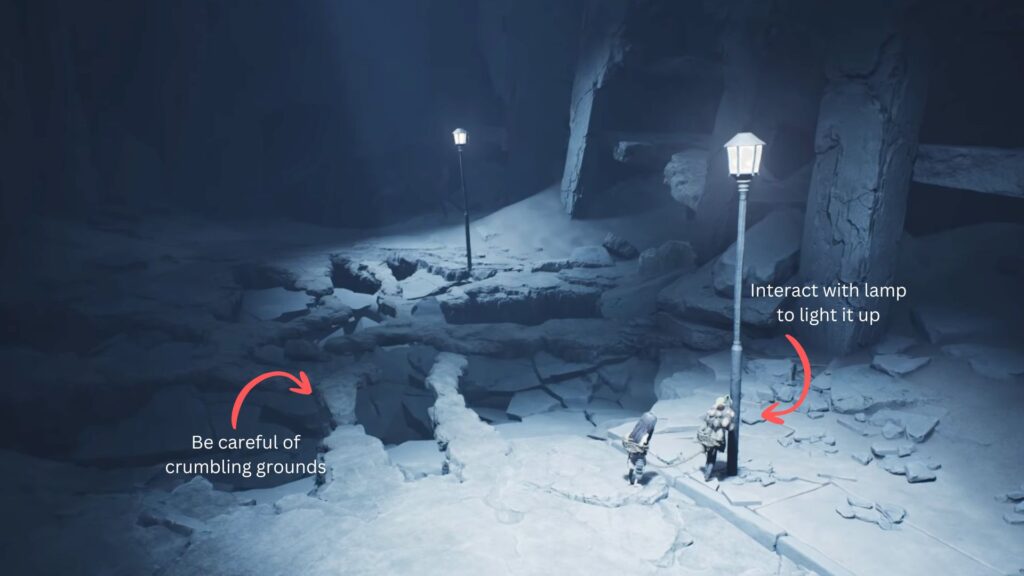
Keep jerking your body until you both break the chain hoist. Once you’re free from it, you’ll quickly discover that you and your sister are chained together. But that’s fine, just keep going forward through the tunnel, jump over holes as you go. Whenever creatures rise up from below, stop and hide until they pass. You can interact with the lamps along the path to light them up, giving you a clearer view of what’s ahead before moving forward.
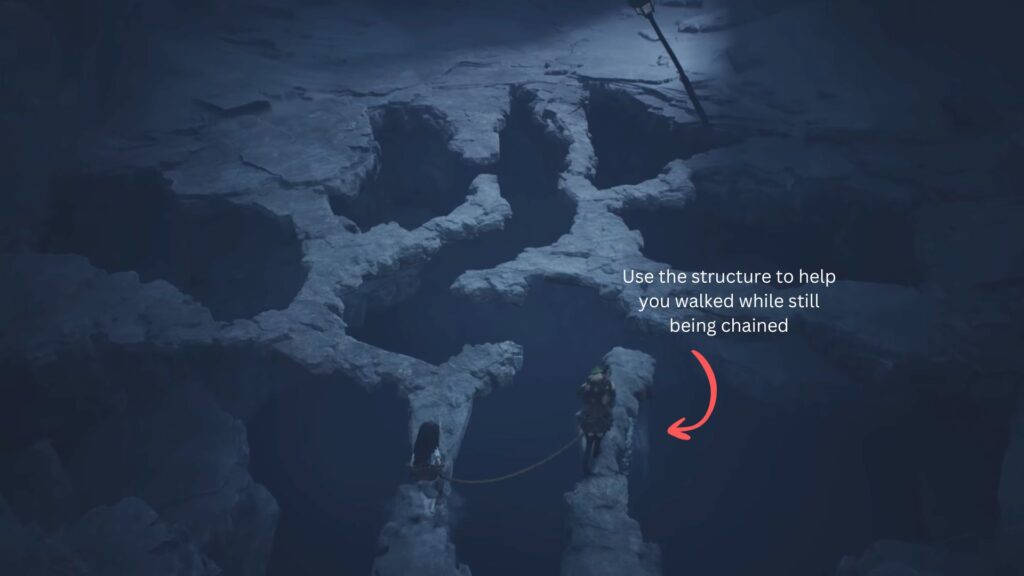
Continue carefully, as sections of the ground will crumble beneath you. When this happens, stop and take your time before jumping across the remaining stable rocks. Since you and your sister are chained together, every jump and movement needs to be slow and deliberate.

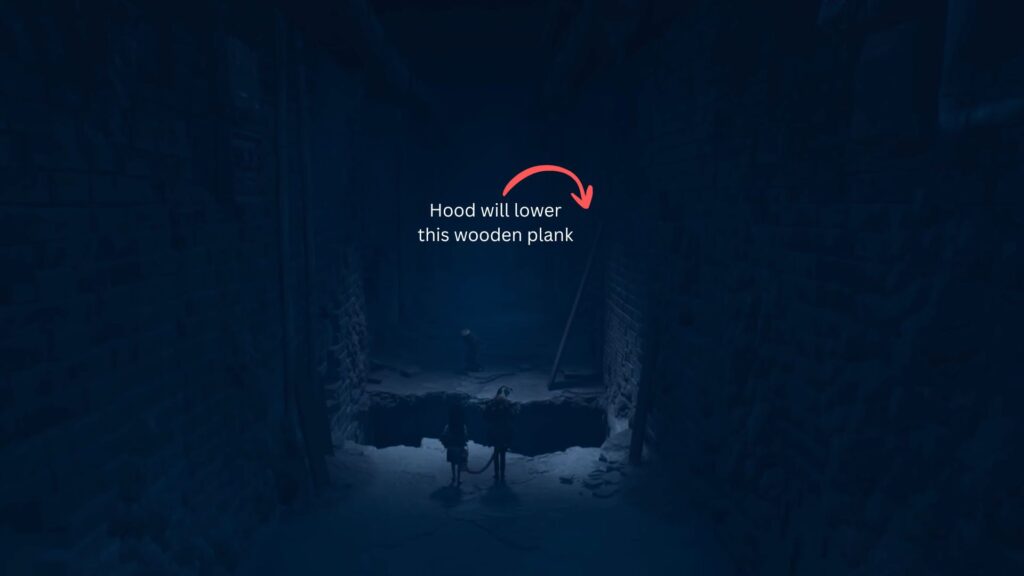
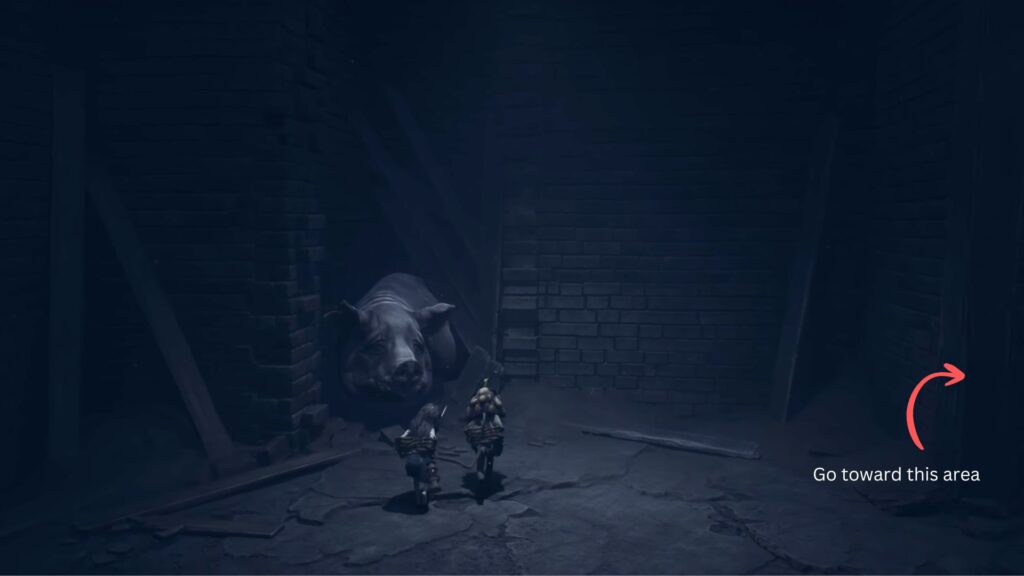
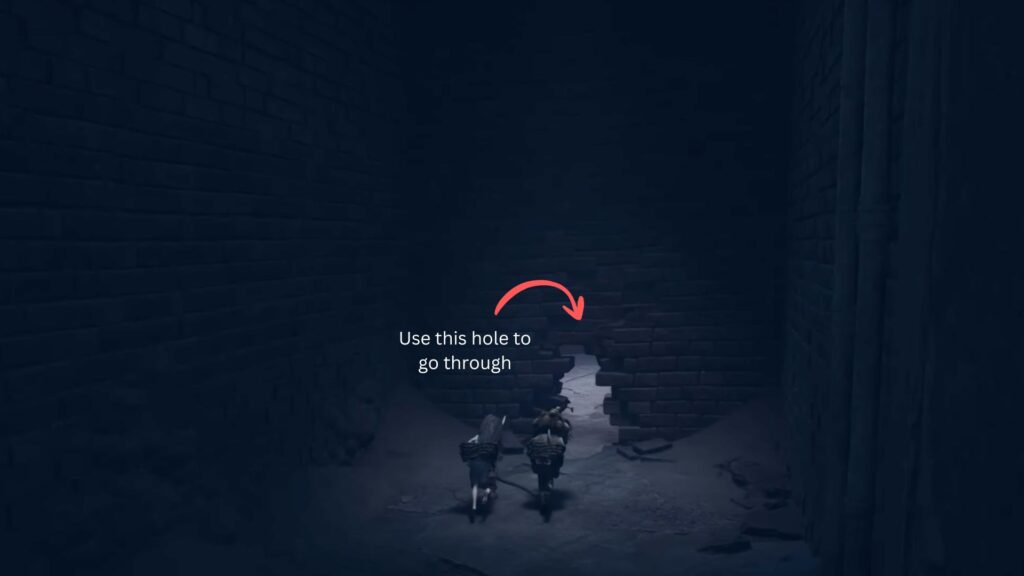
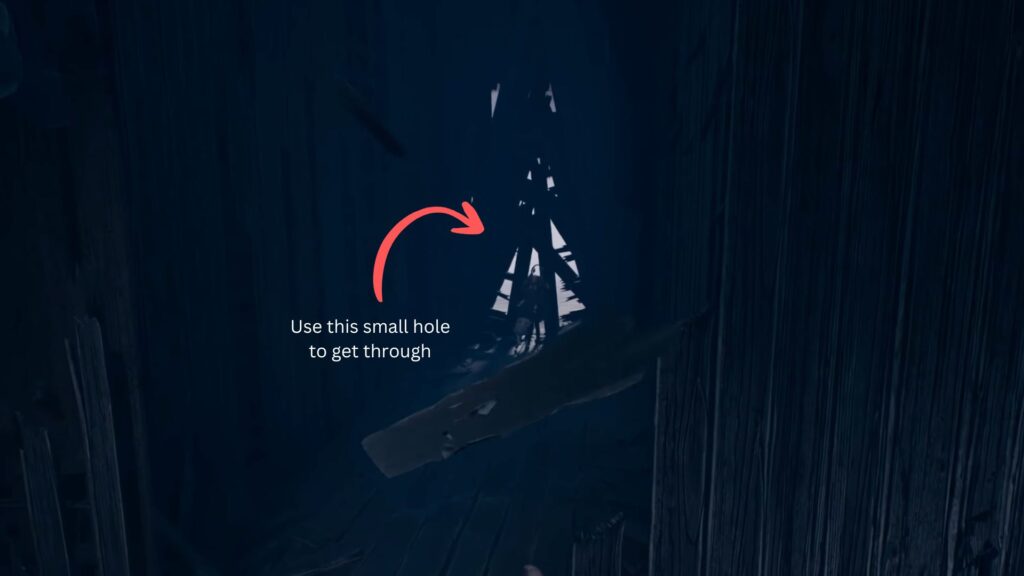
Eventually, you’ll come across Hood waiting beside a hole. He’ll help lower a wooden plank so the group can reunite. Keep following the path until a giant pig runs past you. It won’t attack you, though. Just follow it until it gets stuck in a small opening. Once it does, look to the right to find a small hole in the wall. Crawl through it to move on to the next area.
The Wooden Shaft
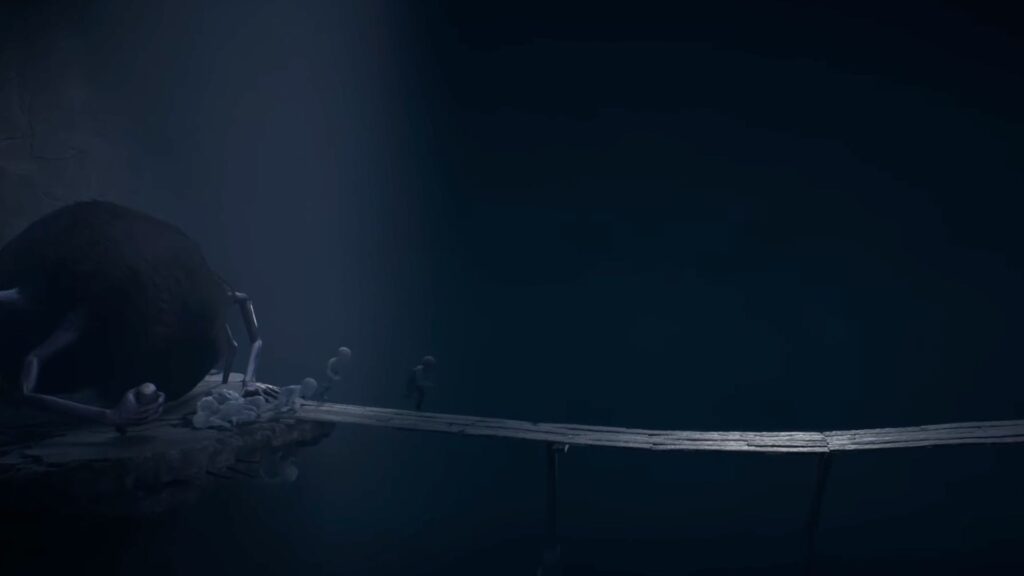
In the next area, you will need to run across a wooden bridge. Before you get far, a monster will suddenly drop in and snatch Hood away. It will also vomit a swarm of baby ghosts that will immediately chase you from behind. Keep running and don’t fall!
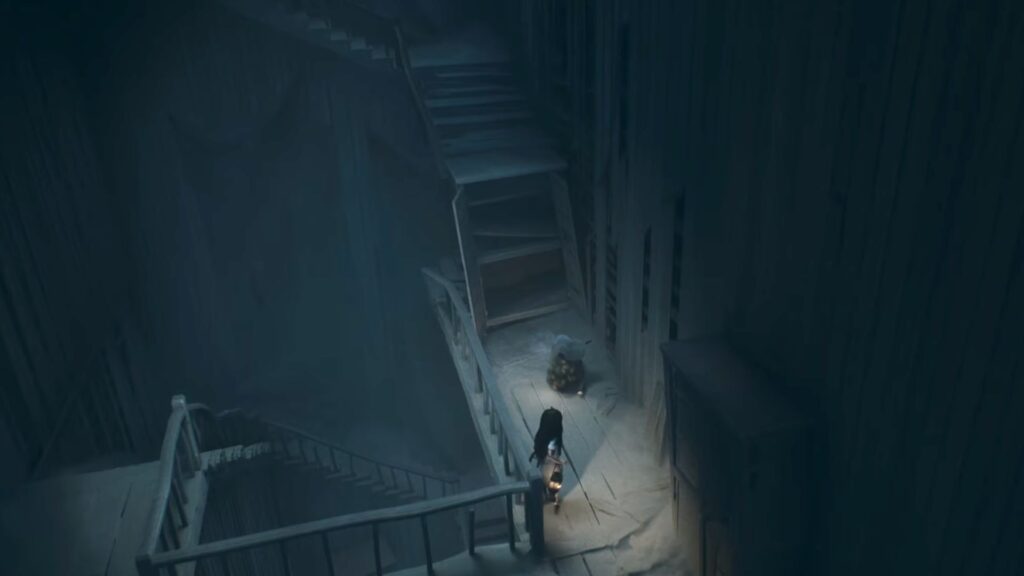
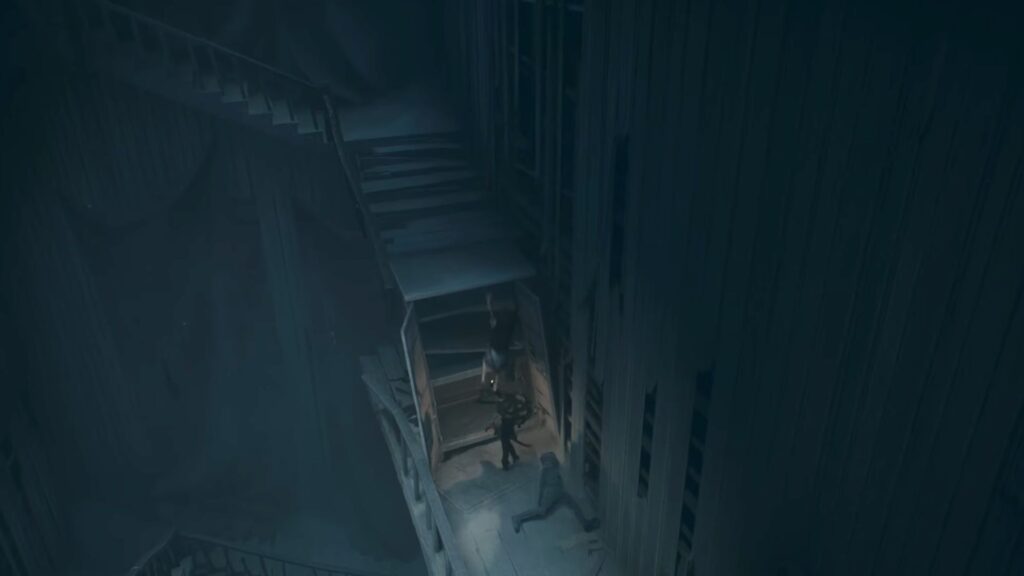
Then, continue until you reach a tall, vertical wooden shaft with broken staircases wrapping around the interior walls. The staircase creates and uneven, spiral-like path going upward, with a large open drop in the center. So a misstep here means falling.
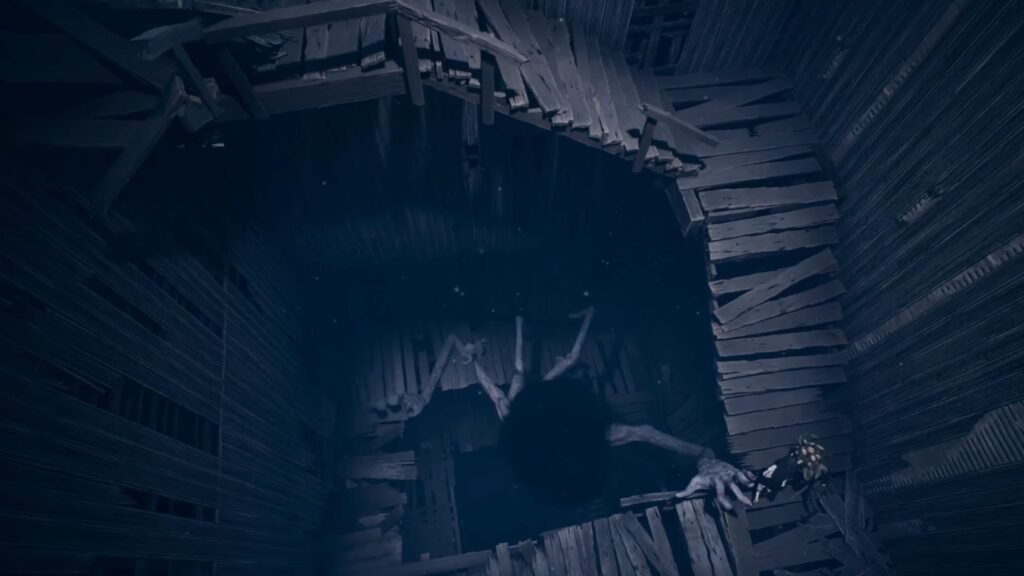
Adding to the pressure, baby ghosts will scatter in every direction and the massive spider monster who took Hood will pursue you from the center hole below. Run up the stairs as fast as you can, staying aware of the gaps and broken sections along the way. When you reach the top, exit through the wooden wall quickly to enter a new area.
The Building
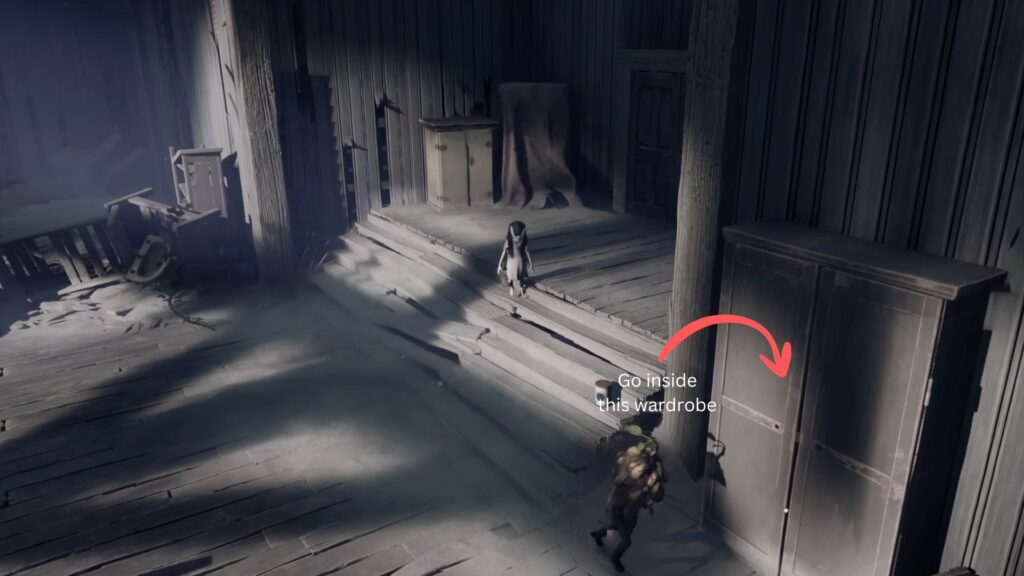
After you come out of the wooden hole, the chain linking you and your sister will finally come undone. On the right side of the room, you’ll notice a large wooden wardrobe. Head over to it and use your pry bar to open it — you will find your first Propaganda Poster on the wall inside worth collecting.
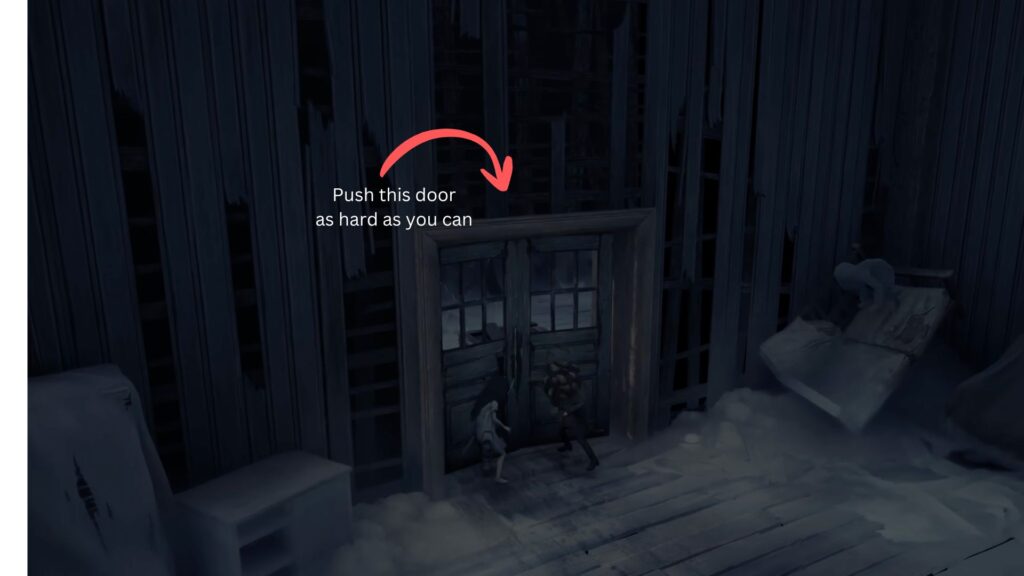
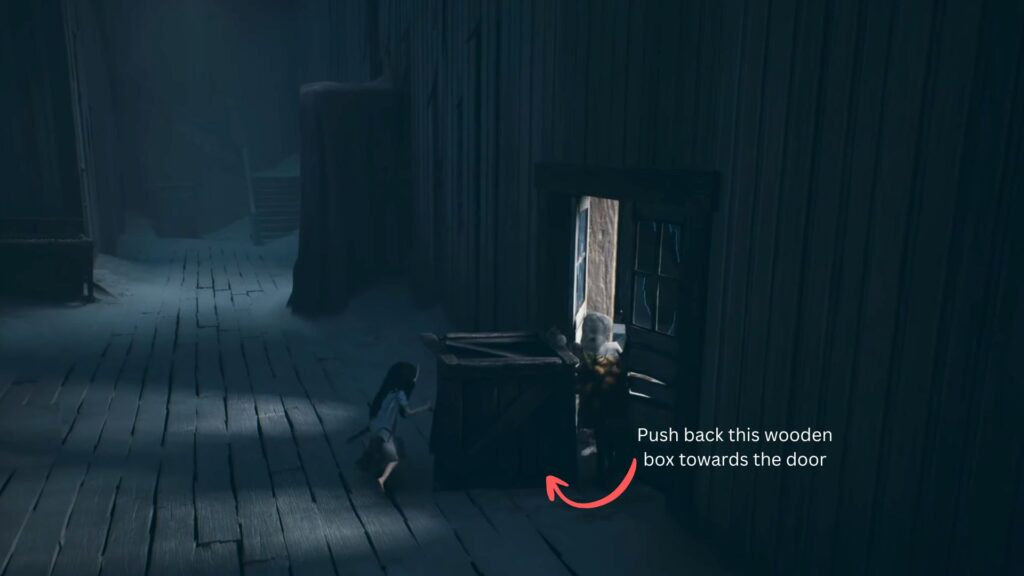
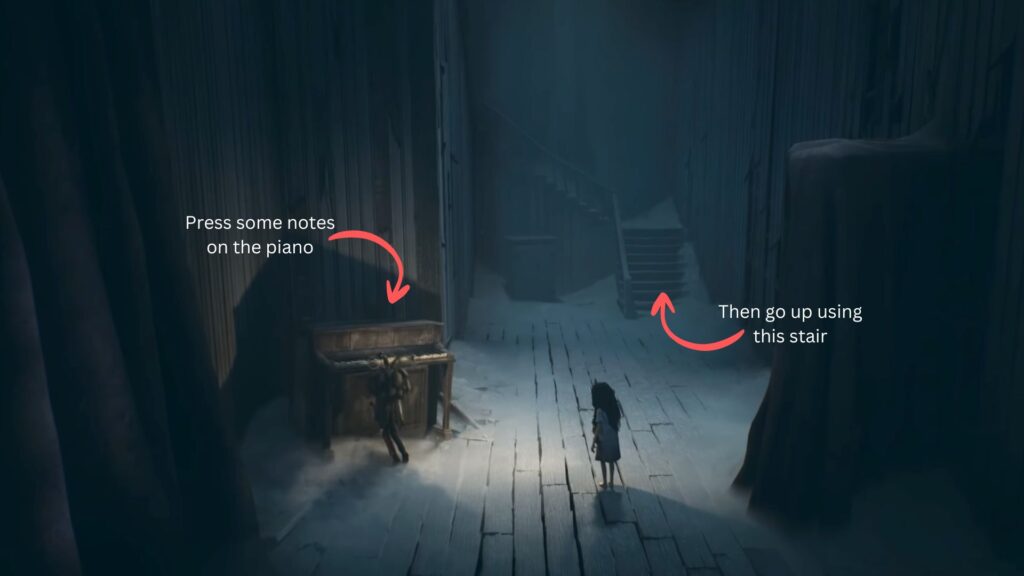
After grabbing it, return to the main room and head straight toward the door ahead. You’ll need to push hard to open it, as a wooden box is wedged against it from the other side. Once it’s open, run inside and immediately push the wooden box back against the door to block anything from following you in. Then press some notes on the piano to accomplish an achievement.
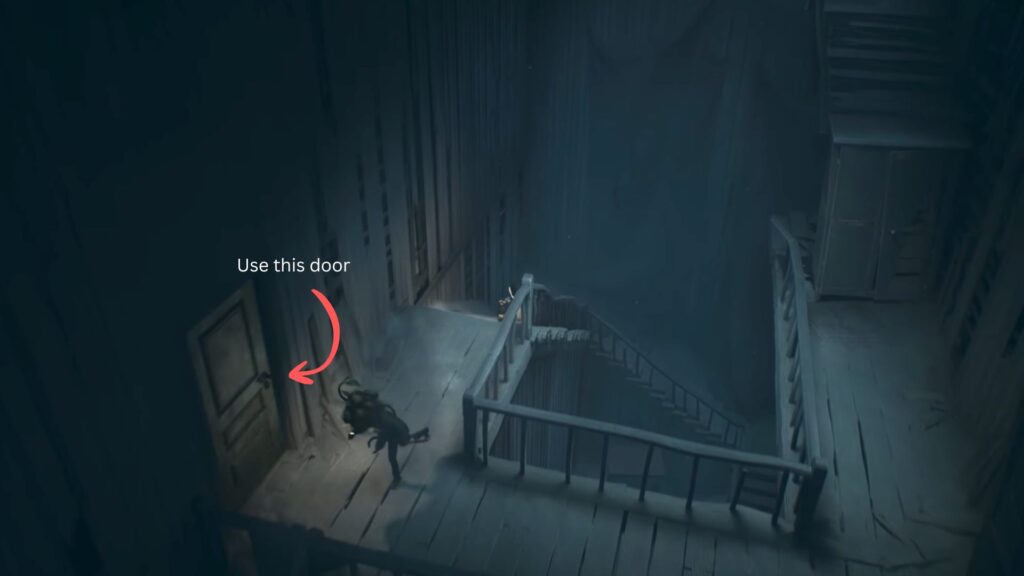
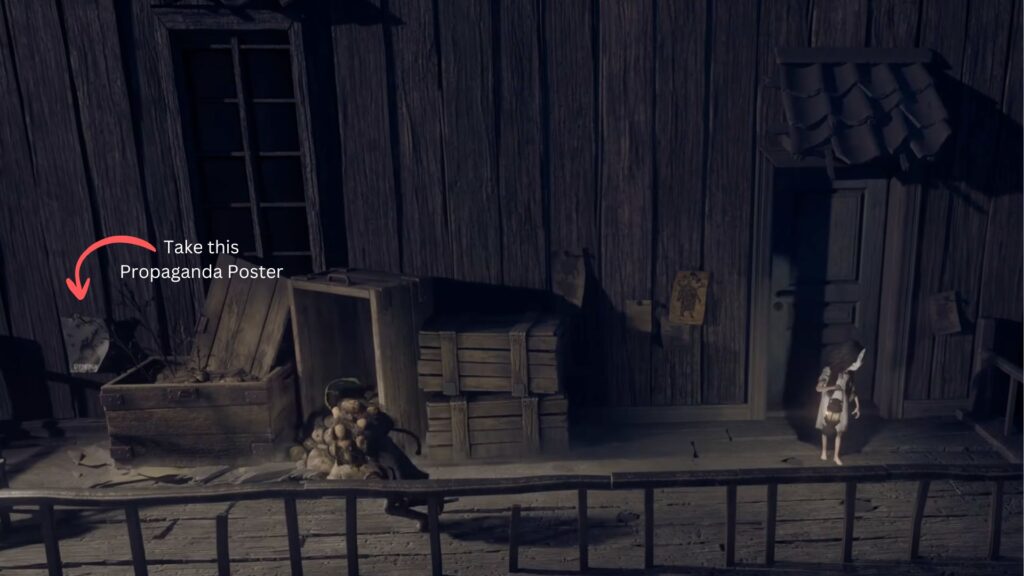
Climb the stairs until you see a door on the left. It leads to a small balcony where you can collect your second Propaganda Poster in this chapter. Then, head back inside and continue up.
A large wardrobe is now blocking your path — open it, but be ready, as a baby ghost will leap out at you. Your sister will help you take it down. After dealing with it, help her climb on top of the wardrobe to get over it, and she’ll pull you up from the other side.

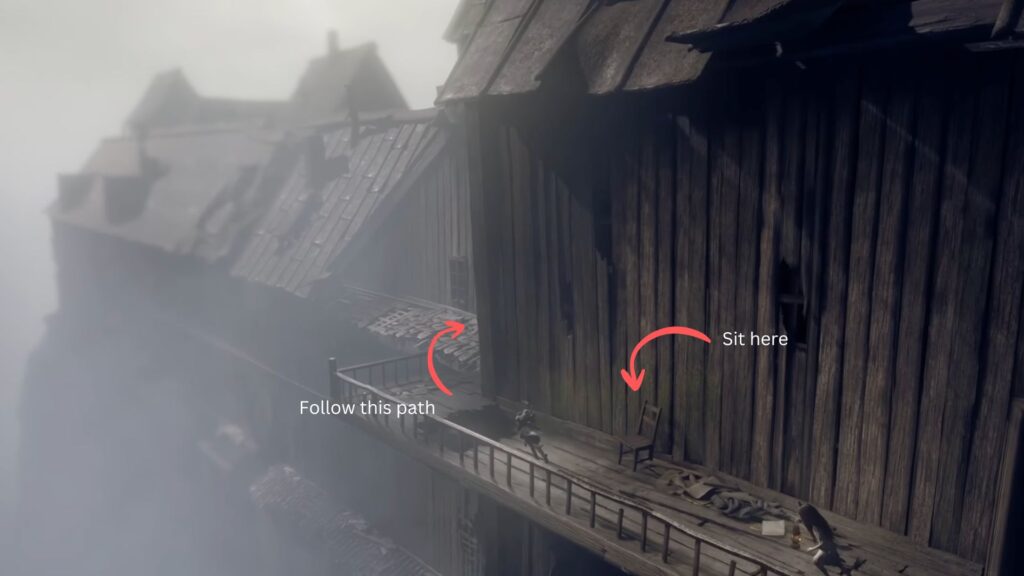
Keep climbing until you reach a second door on the left. Go through it to reach another section of the building. On this balcony you can sit for a while on the wooden chair to get your first Raise Up Your Leg trophy task in this chapter.
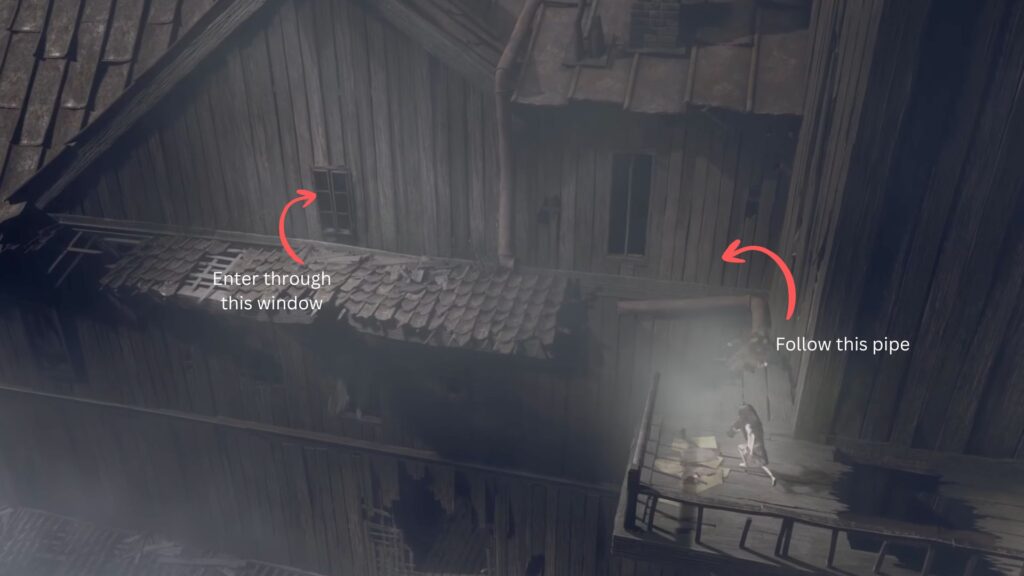
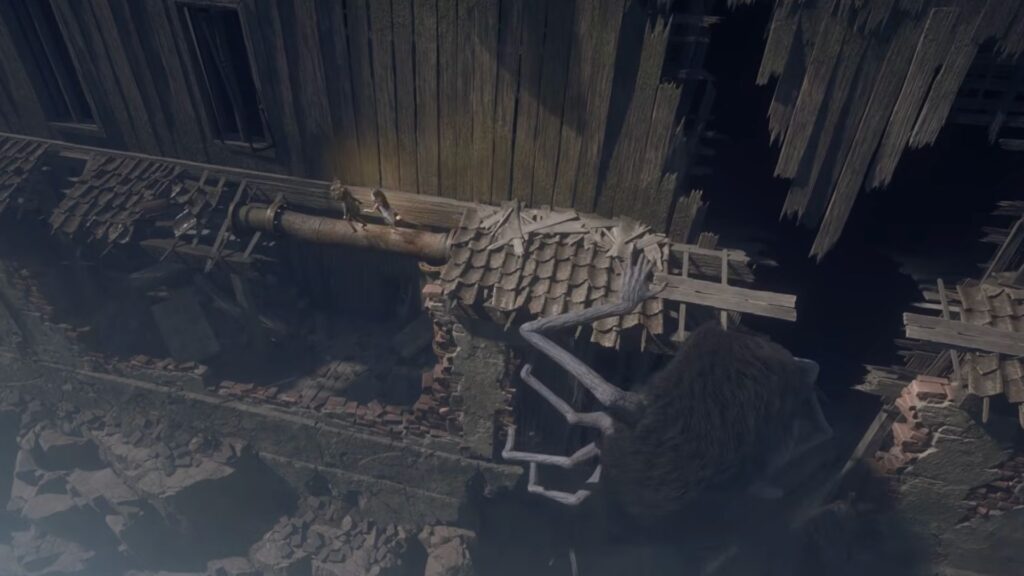
Watch out for the holes in the floor — follow the wooden floor carefully, walk across the pipe without losing your balance, jump onto the roof, and use your pry bar to open the window on the right.

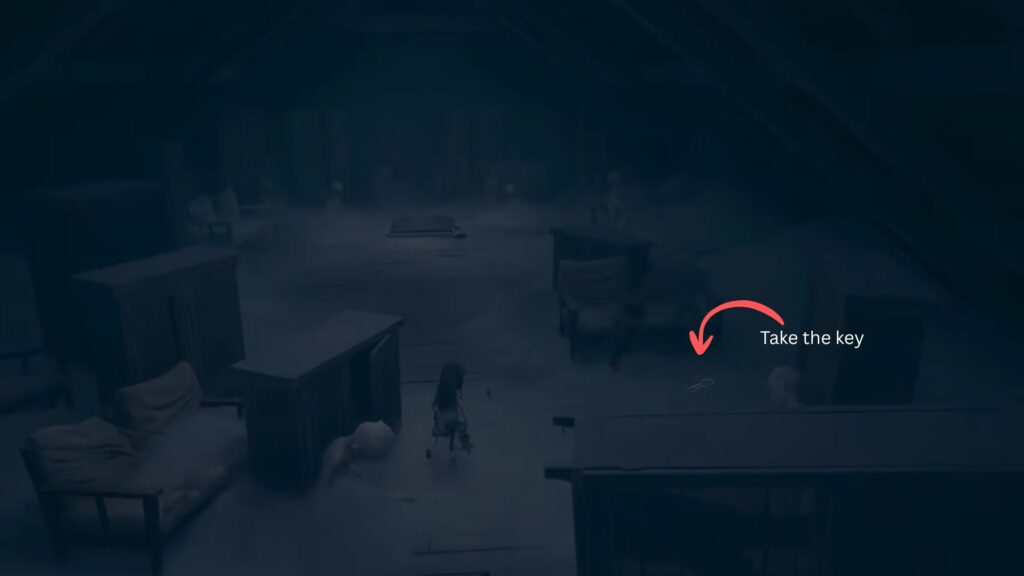
The Skull Room
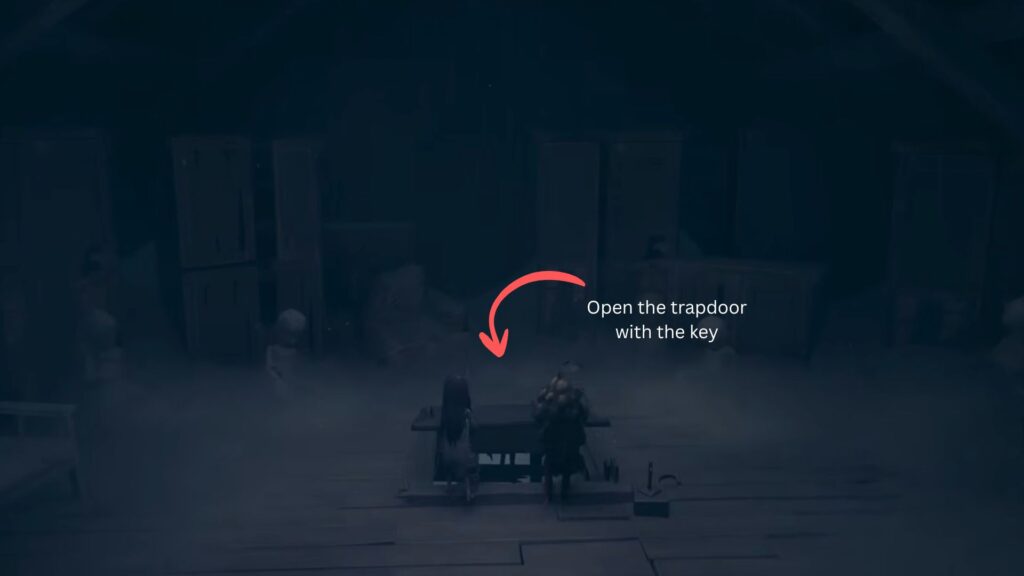
Inside, look to the right near the sofa to find a key on the floor. Pick it up, then use it to unlock a trapdoor in the floor. You and your sister will open it together and drop down inside, landing in a pile of skulls.
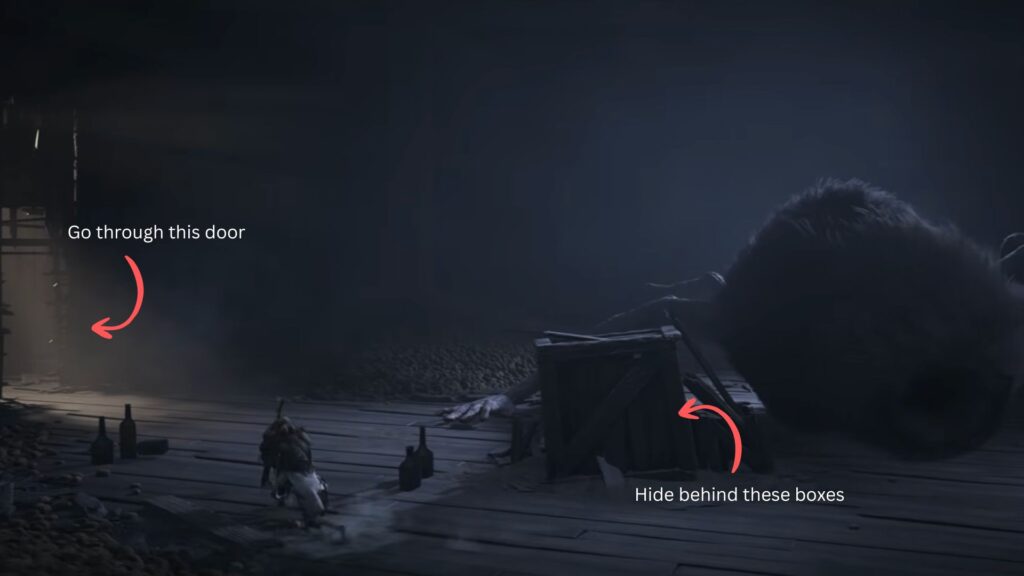
The massive spider monster from earlier will also drop through the hole shortly after. Use the boxes in the area as cover, stay crouched, and work your way into the next area without being caught.
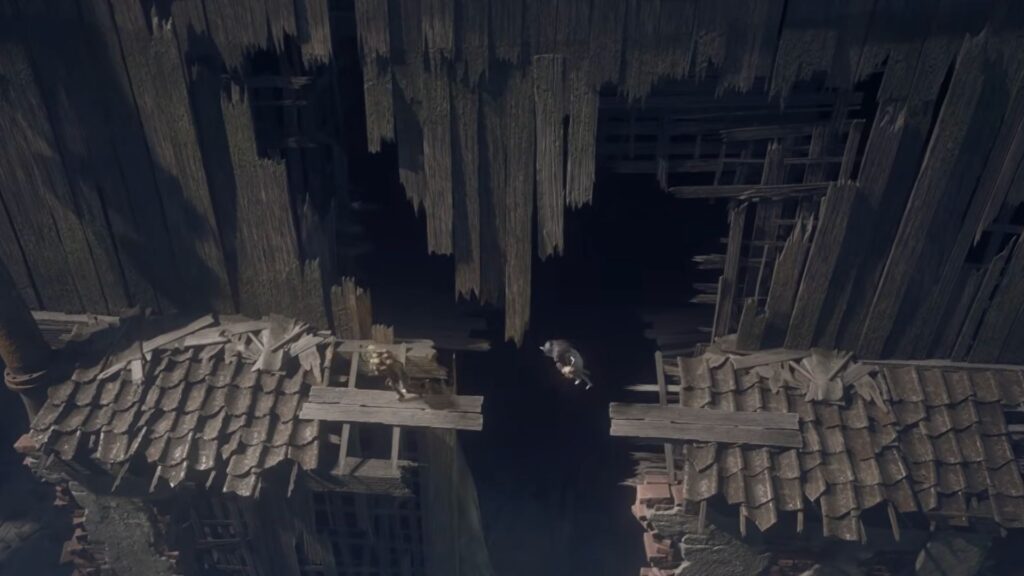
The Rooftops
One you’re out, follow the rooftop path. You will need to jump across gaps and broken roof sections to keep moving — the buildings is heavily deteriorated, with sections collapsing as you go.
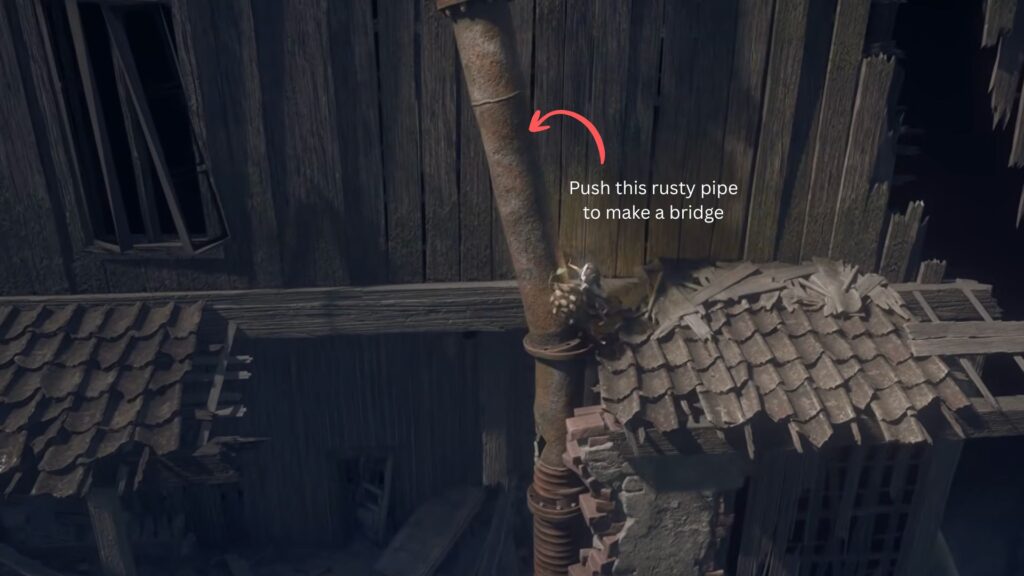
When you spot a large rusty pipe, push it to create a bridge to the next section. The path ahead is fairly straightforward, but the spider monster will continue pursuing you from behind. Keep jumping, stay alert, and don’t stop.
Boss Fight: The Spider Monster
You’ll eventually arrive at a room lined with tall bunk beds. This is where the boss fight takes place.
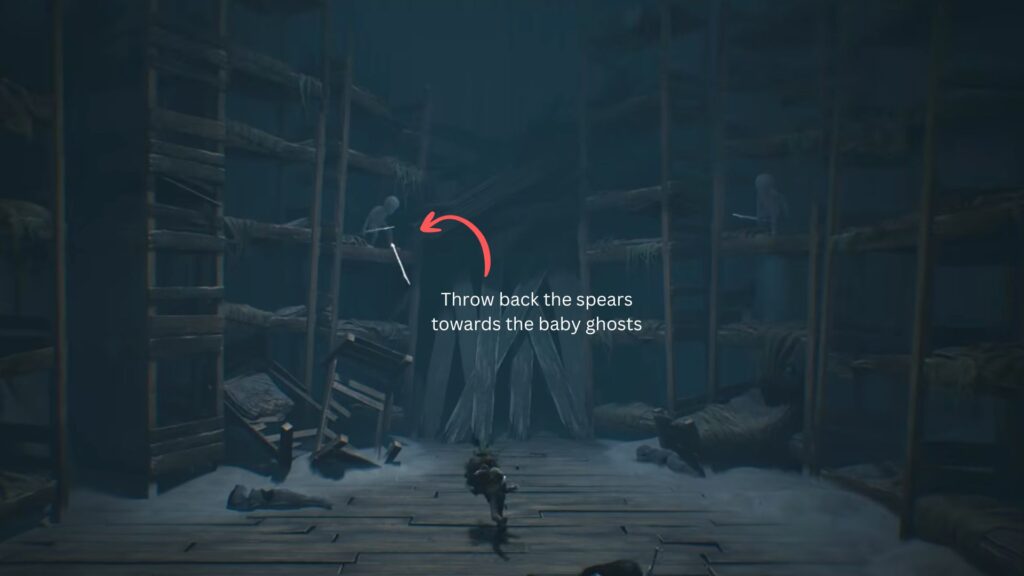
The massive spider monster will charge in and out of the wooden planks repeatedly. While it’s away, focus on dealing with the baby ghosts, who are actively trying to attack you during the fight. Whenever a baby ghost throws a spear at you, dodge it, pick it up off the ground, and throw it back at them. Spears are your main weapon throughout this encounter.
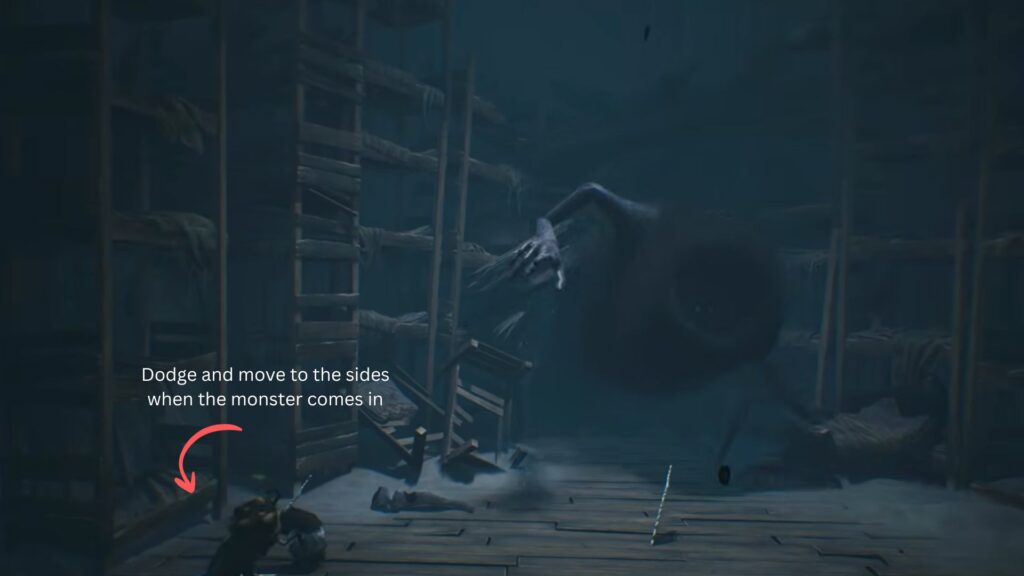
When the spider monster bursts through the door, move to the sides of the room to avoid its reach. If you happen to be holding a spear when it enters, you can throw it at the monster — but keep moving and dodge its attacks regardless.
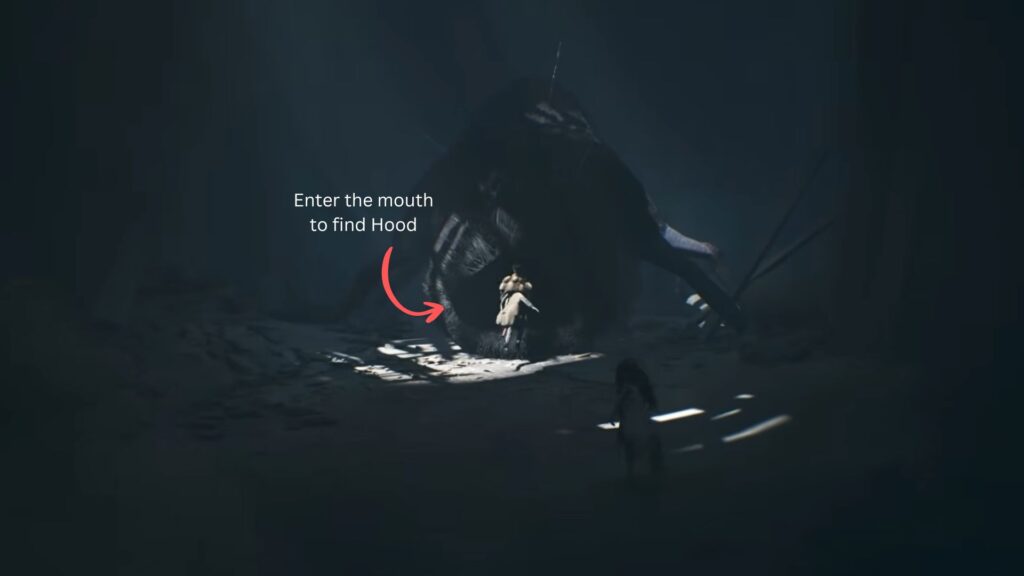
The fight ends when the spider emerges from the hole on the right side (not the front one), one final time and then turns around. Follow it into the tunnel. It will collapse and die partway through, and you will be able to enter through its mouth to find Hood inside. The spider’s body will then eject all three of you out.

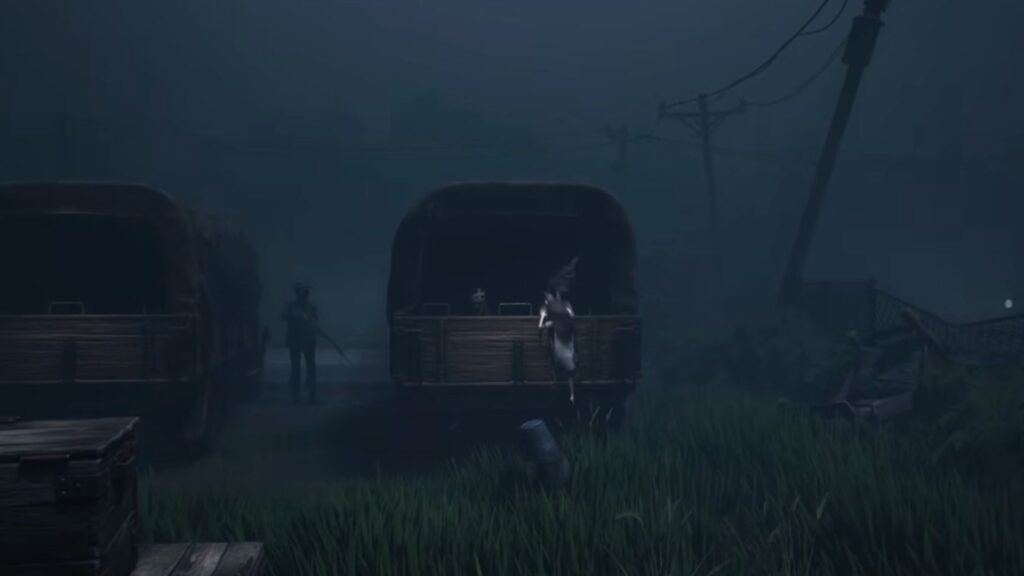
Exit the building and cross the lot. Head to the truck on the far right side, closest to the fence. A cutscene will play — your sister suddenly falls into a severe coughing fit, and the truck crashes. That’s the end of Chapter 5: Down in a Hole. Your journey continues in Chapter 6: Nobody Left Behind.
All Collectibles in Reanimal Chapter 5 – Down in a Hole Walkthrough
| Category | Item | Location/Notes |
|---|---|---|
| Propaganda Posters | Poster #1 | Inside the wooden wardrobe on the right, first room after the shaft |
| Poster #2 | Small balcony through the first door on the left up the stairs | |
| Trophies | Rest Up Your Legs | On the broken balcony before walking on top of pipe |
| Keys | Key | On the floor near the sofa, inside the room accessed via the pry-opened window |
| Tools | Pry Bar | Carried over from previous chapters — used on wardrobe and window |
Chapter 5: Down in a Hole is one of the more physically demanding chapters and you also really need to be careful with your steps here. The spider boss fight also introduces a reactive combat system where enemy projectiles become your weapons. After the truck crash that closes out the chapter, you’ll be heading into Chapter 6: Nobody Left Behind.