The Ancient Sanctuary has a lot of branching paths, collectibles to find, and a major boss fight at the end. Here is everything you need to get through it without missing anything.
Entrance
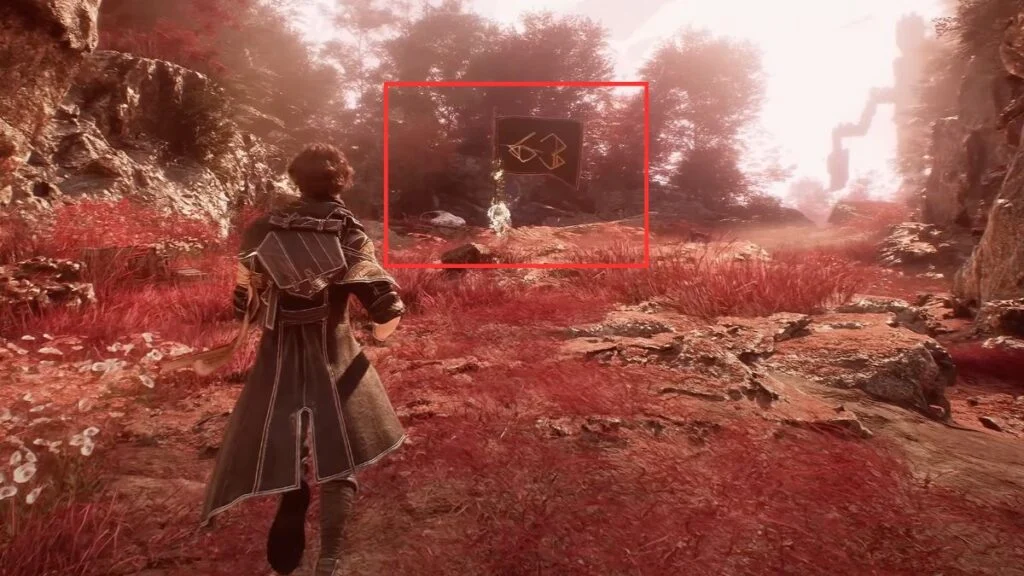
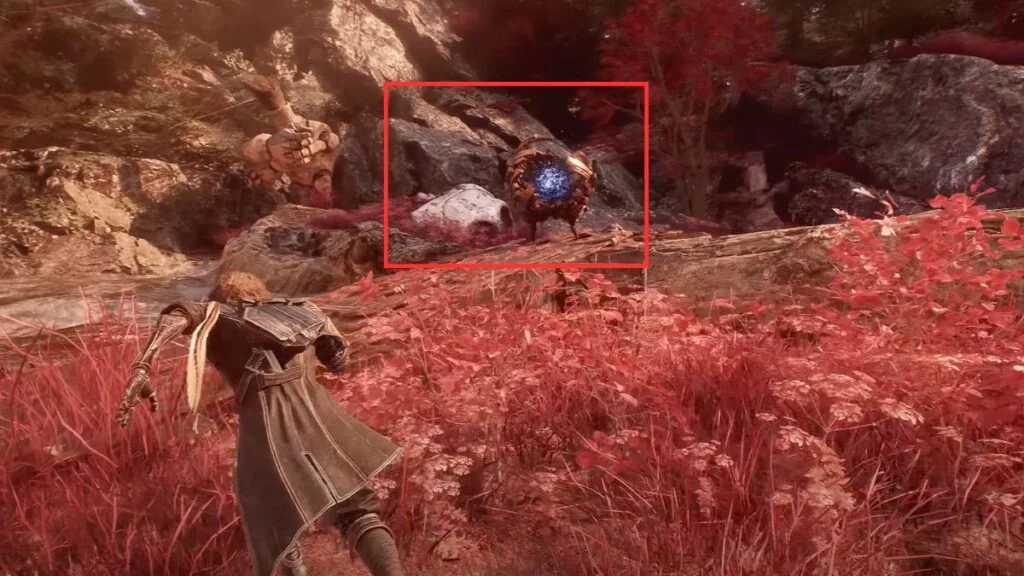
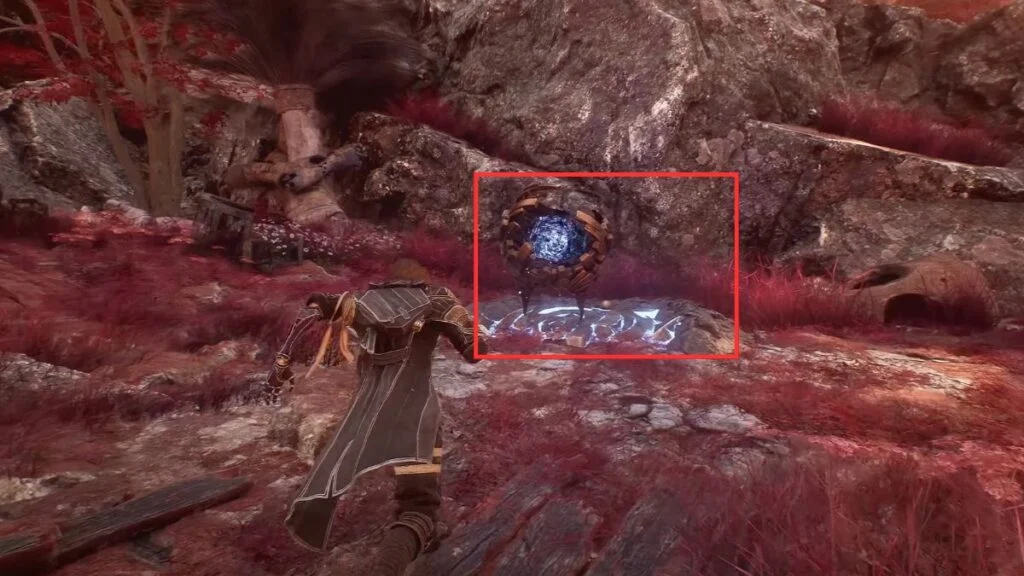
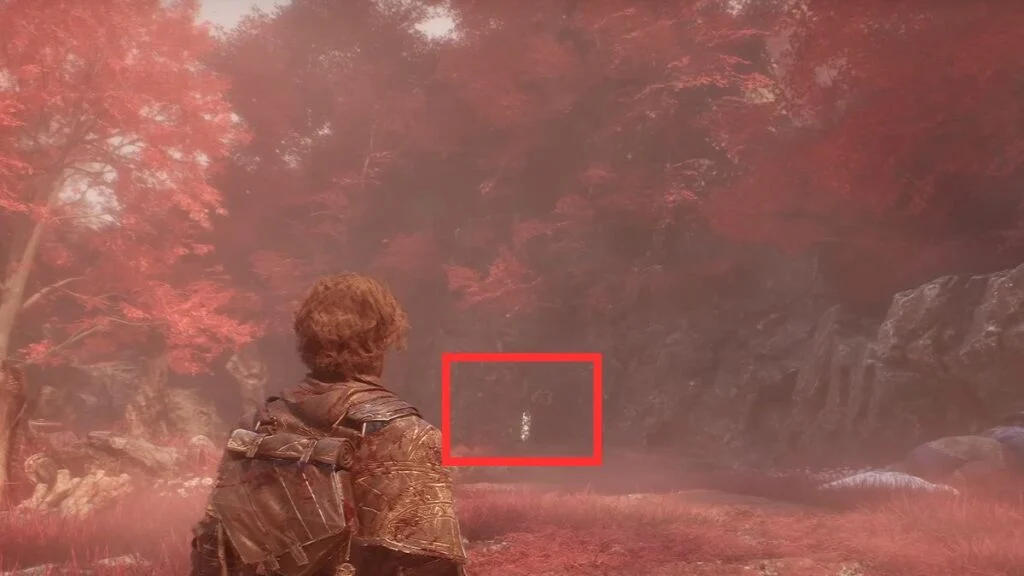
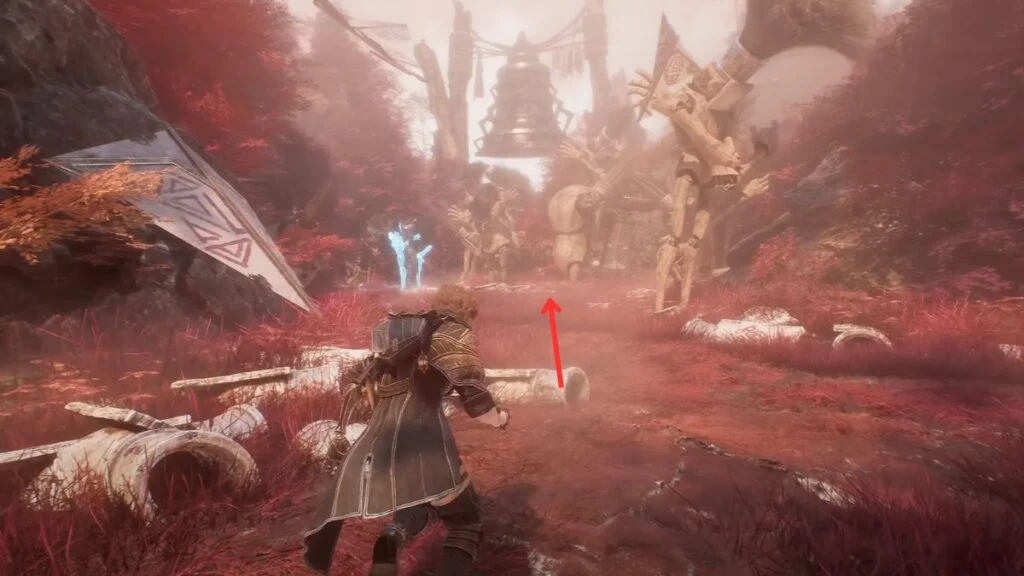
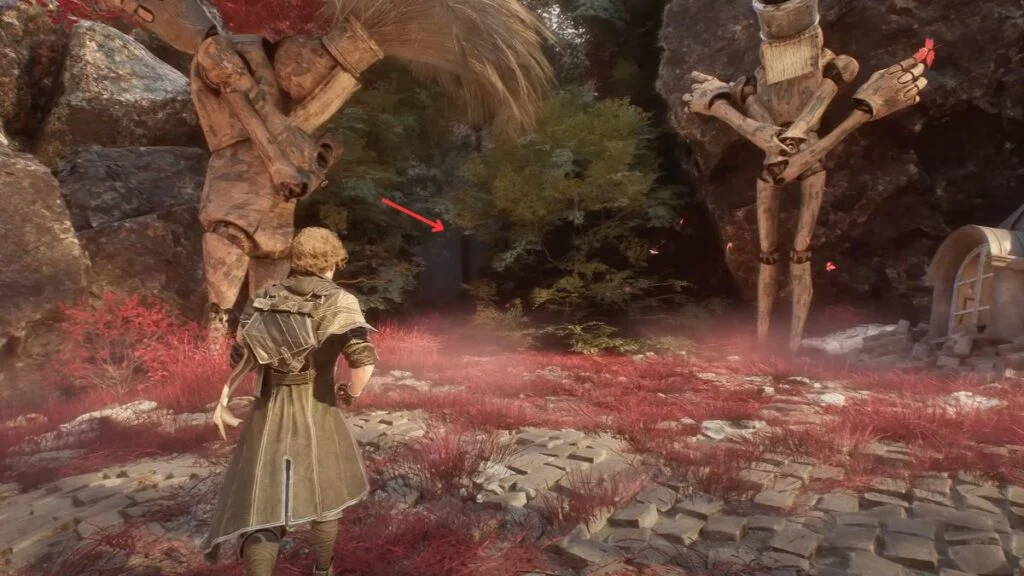
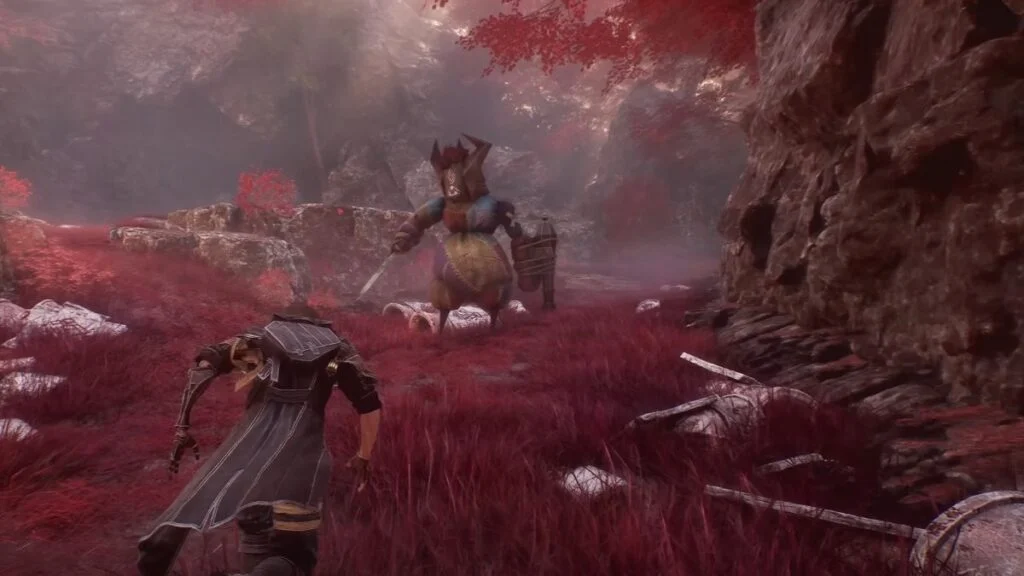
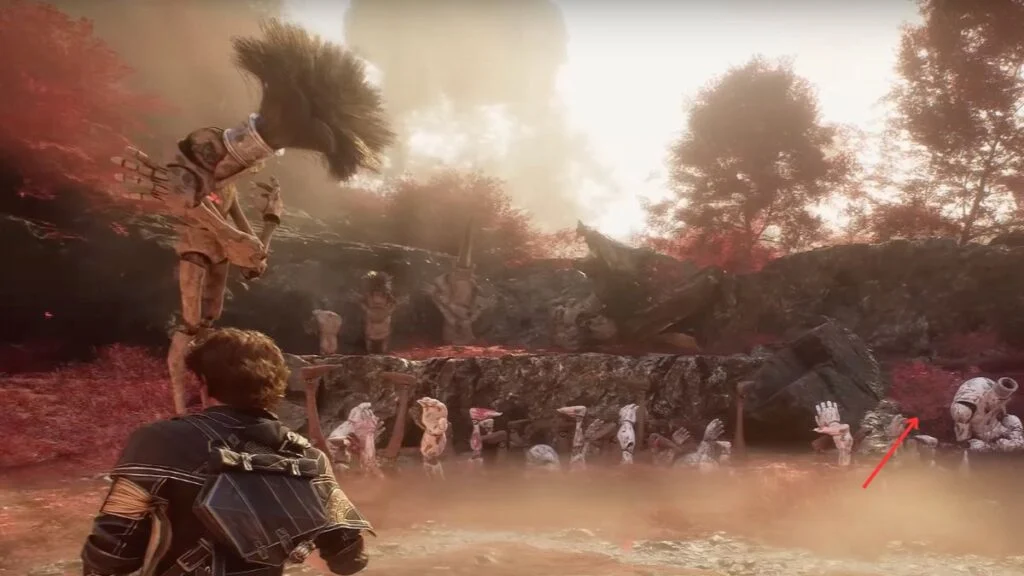
When the opening cutscene ends, walk forward, and you will see an Expedition Flag right in front of you. Rest at it. Just behind the flag is a Petank, which looks like a broken mechanical ball with blue light and two tiny legs. You will find a lot of these in the coming chapters. Once you get towards it, it will try to run away when you get close.
To start the fight, chase it onto one of the blue glowing tiles on the floor. The Petank is not that hard but it can be annoying. It starts with five shields and gets some back each turn. If it manages to escape during the fight, go back to the Expedition Flag to reset it. When you win, you get a Polished Chroma Catalyst, a Recoat, and a Colour of Lumina.
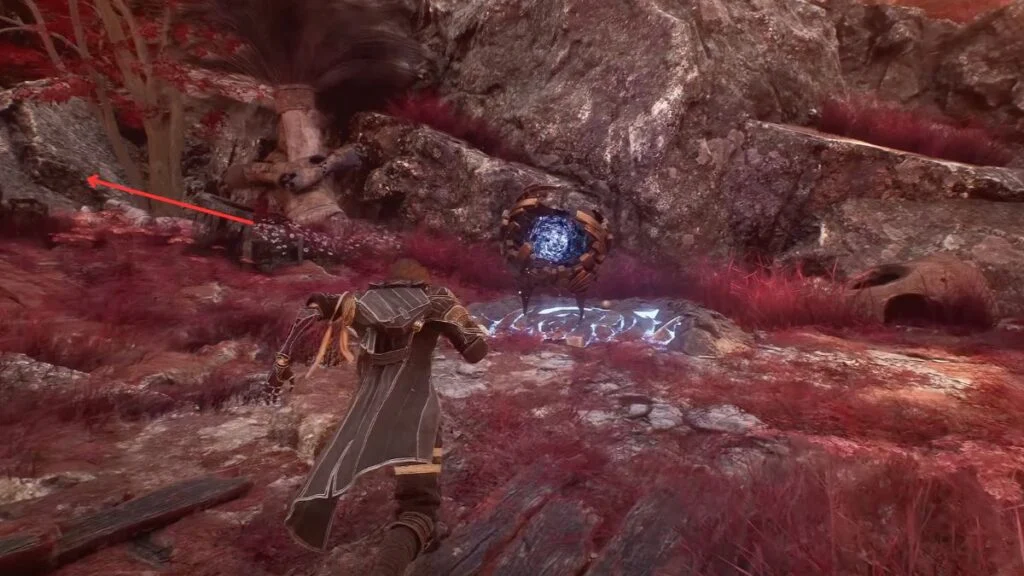
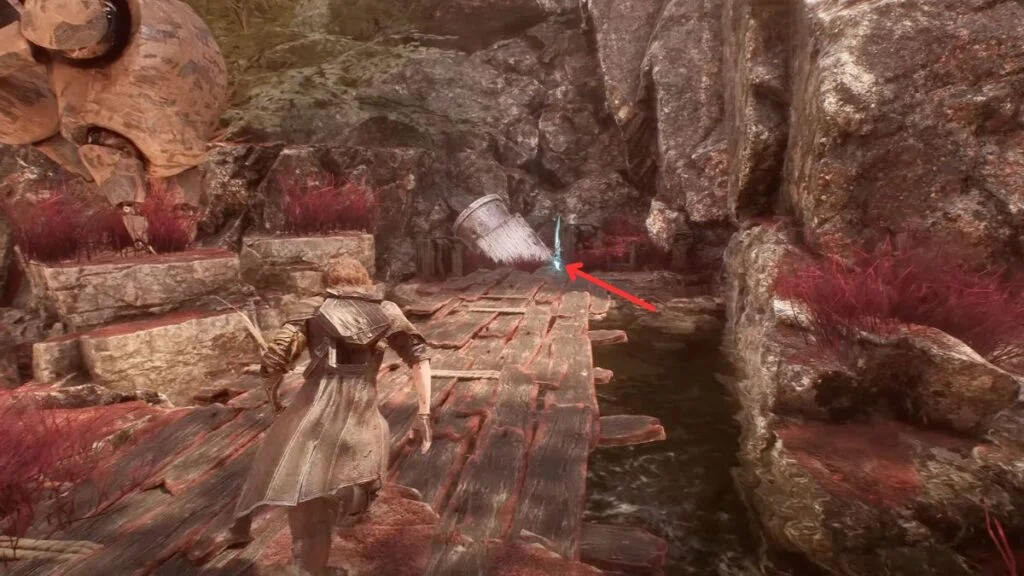
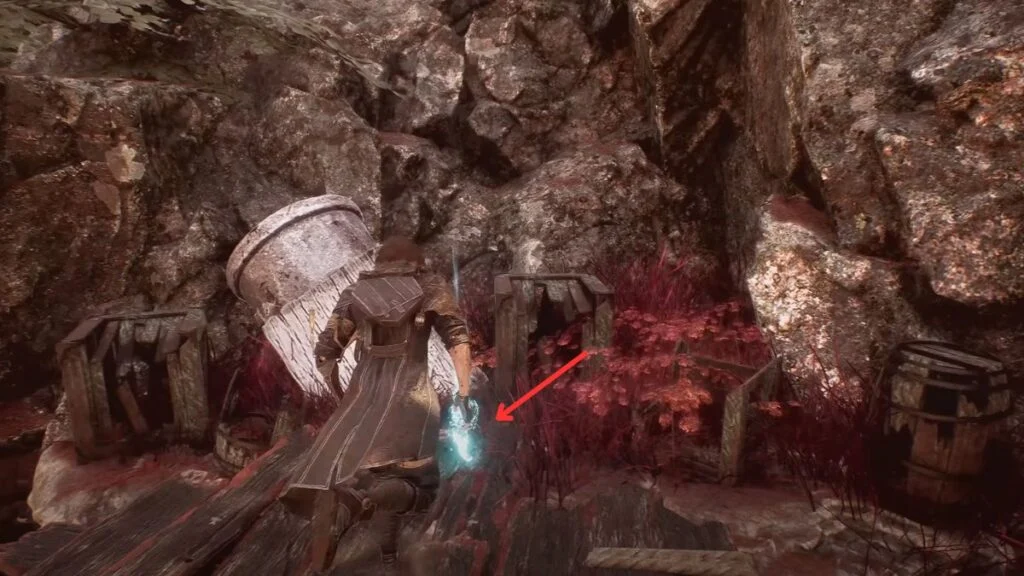
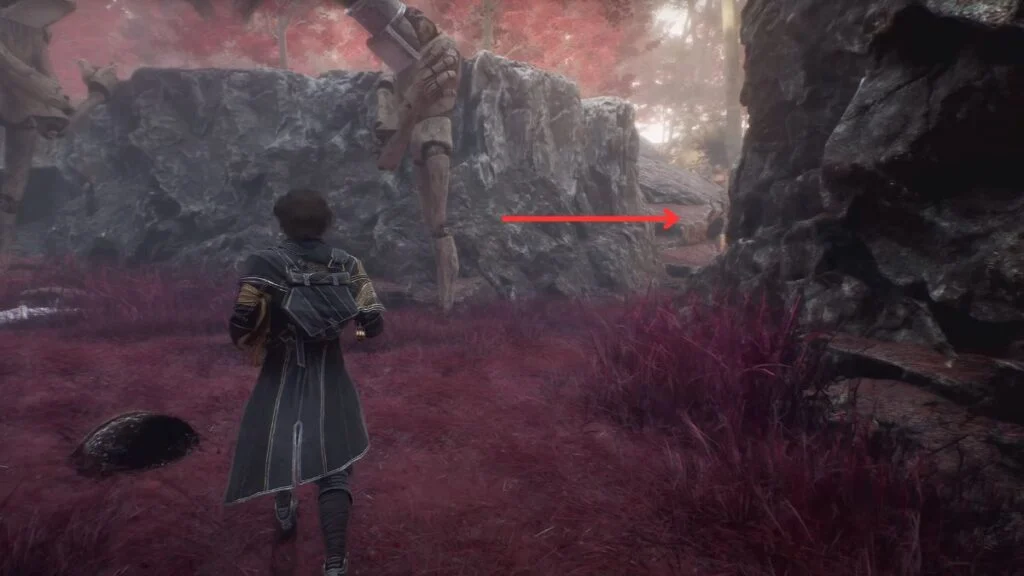
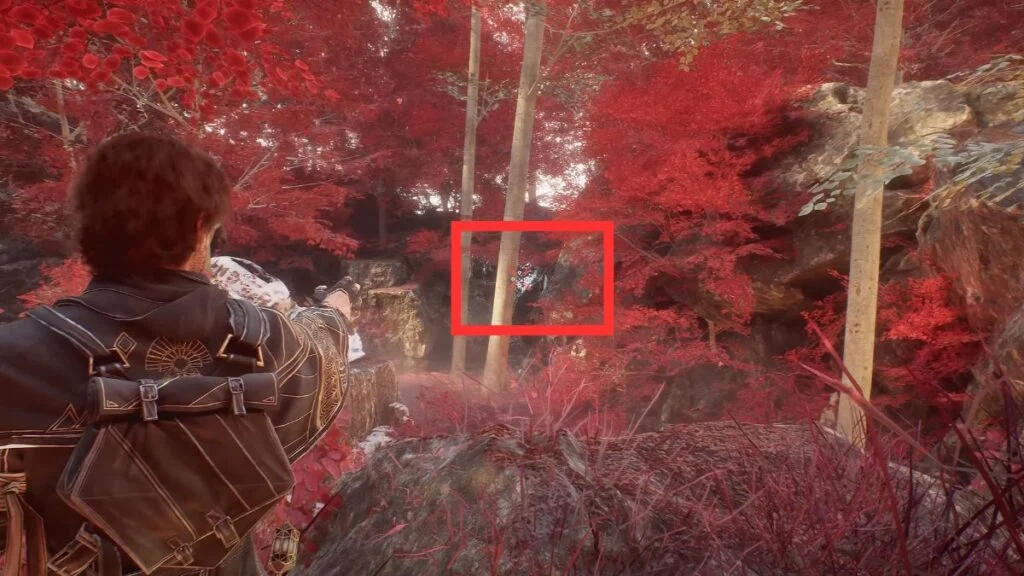
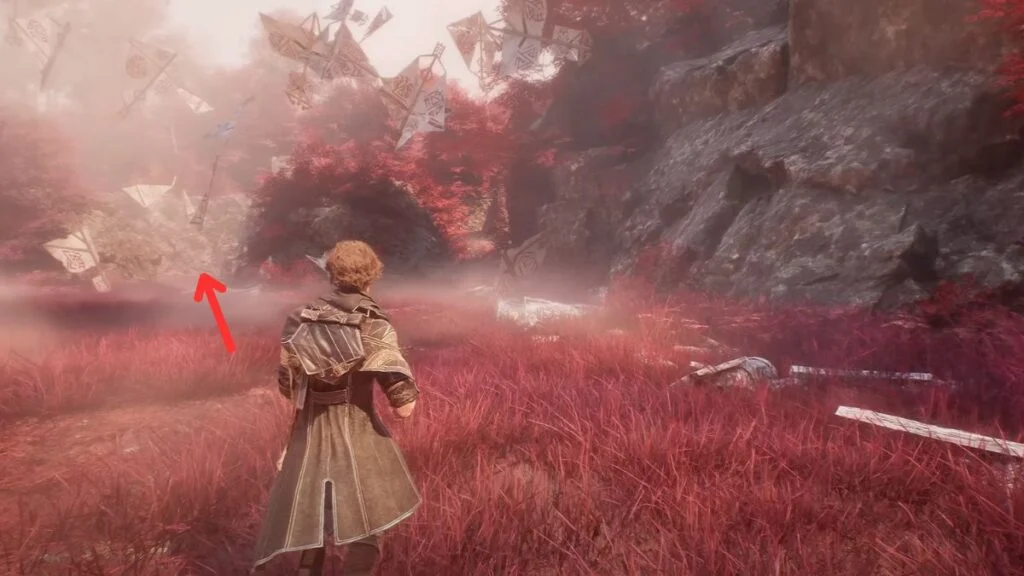
After the fight, go left up the red wooden planks. Follow the bridge all the way to the end. Among the wreckage there, you will find the Energizing Jump Pictos. It gives passive bonuses to Health and Speed, and also gives you one extra AP when you use Jump Counterattacks. Come back to the Expedition Flag and move forward. The path splits into two here.
Left Path
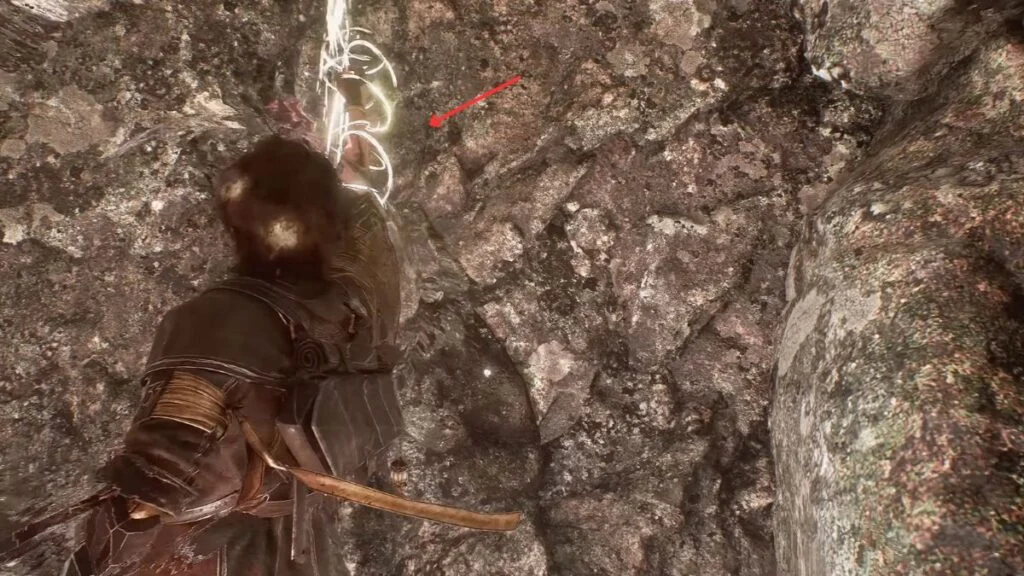
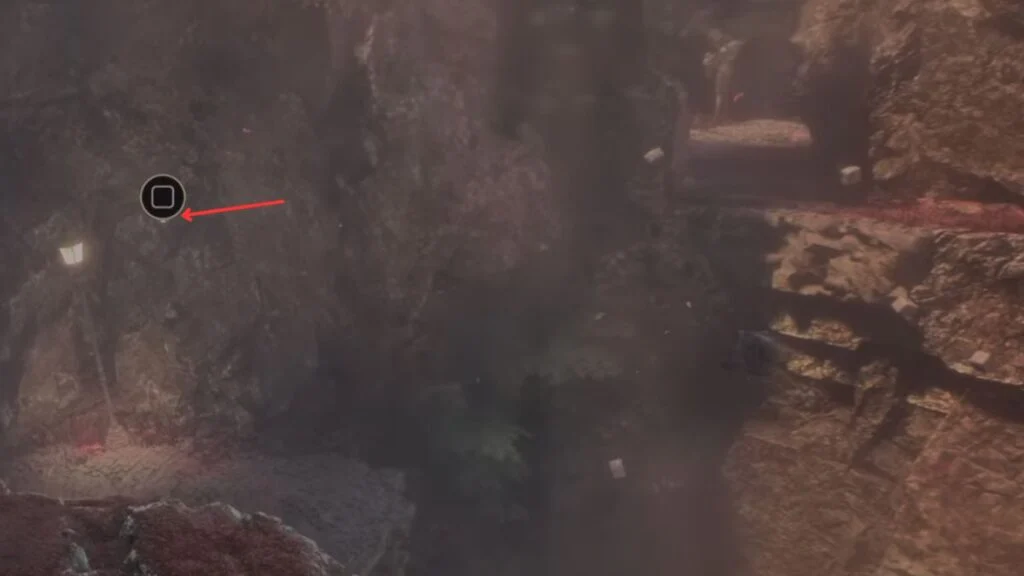
Take the left path first. Look carefully along the right wall as you go — there are handholds going down. Climb down, and you will find a Pictos called Burning Mark at the bottom.
Right Path
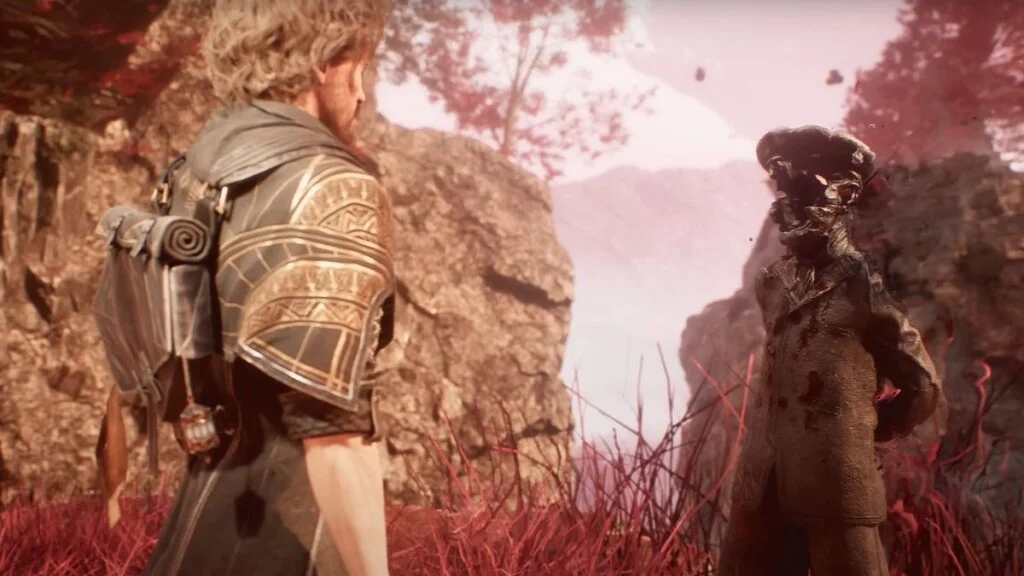
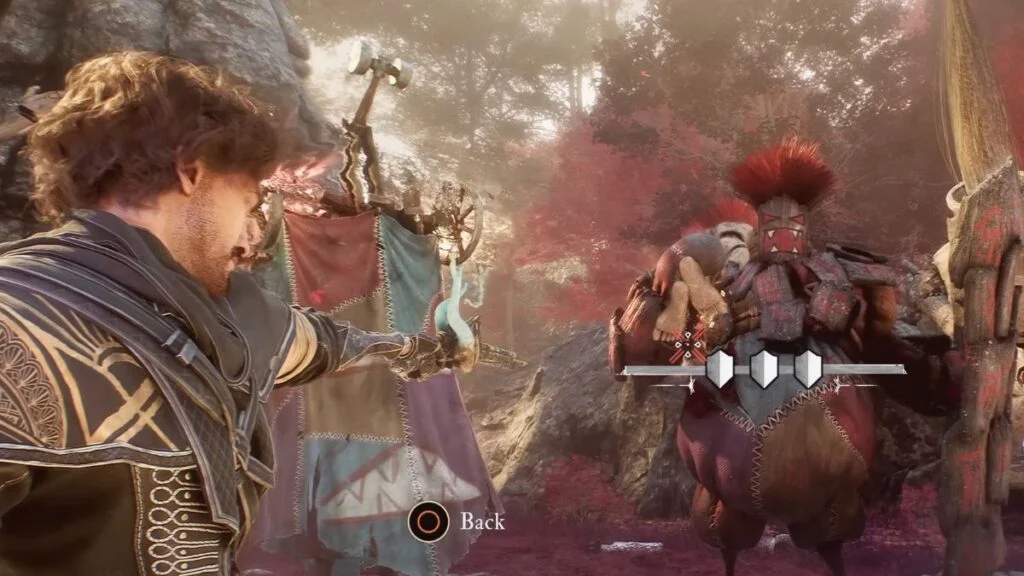
Head back and take the right path now. You will come across an NPC called Young Boy. Talk to him and go through all the dialogue before moving on. After you finish talking, keep following the path and a cutscene will play. After the cutscene, you will fight a Robust Sakapatate.
The Robust Sakapatate is weak to Fire and resists Lightning. Near the end of the fight, it will lurch toward your party and explode, so get ready to dodge that last hit. Winning the fight gives you the Sakaram weapon for Gustave and triggers another cutscene.

Expedition Flag 63
After the cutscene with the new Karatom, follow the path until you reach Expedition Flag 63. Rest here before continuing.
The Sanctuary Maze
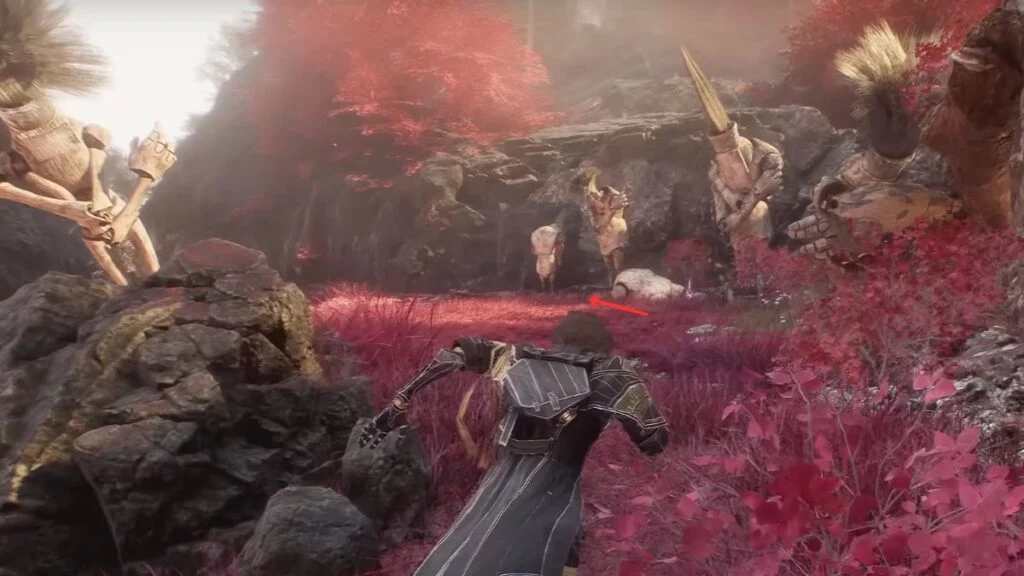
From Expedition Flag 63, follow the path and take the slight left. A Ranged Sakapatate is waiting here. It is weak to Fire and resists Lightning. Beat it and move on.
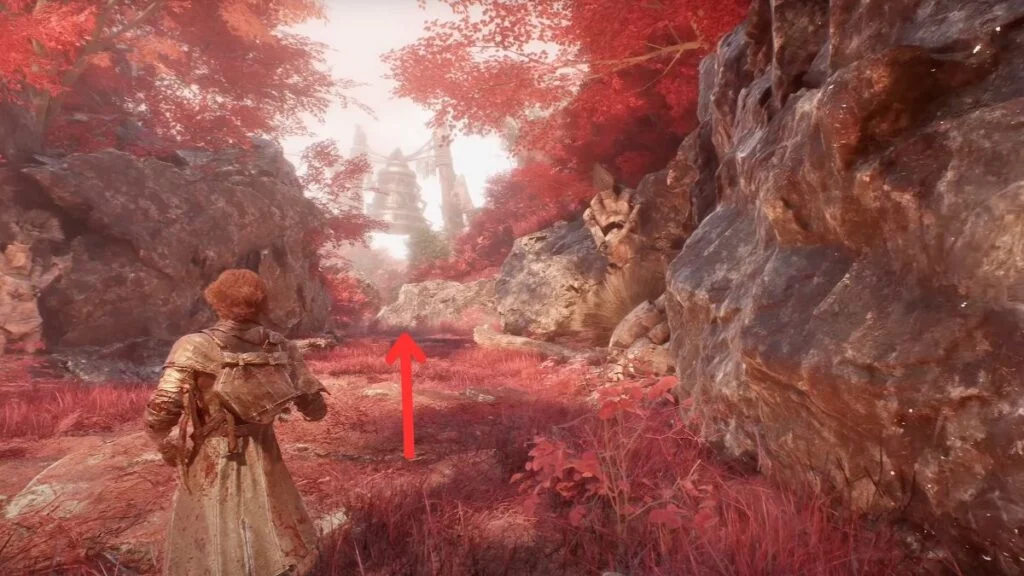

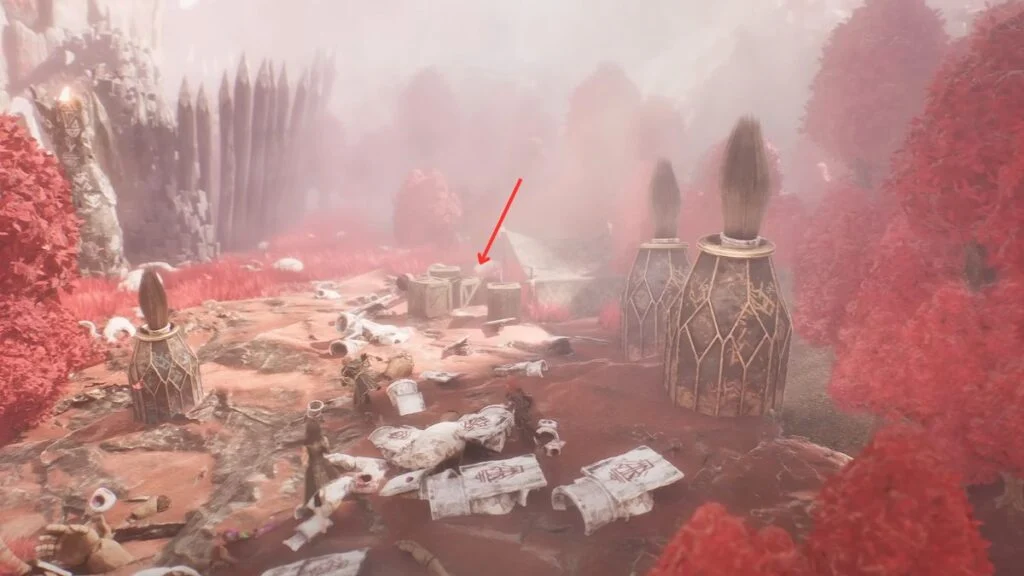
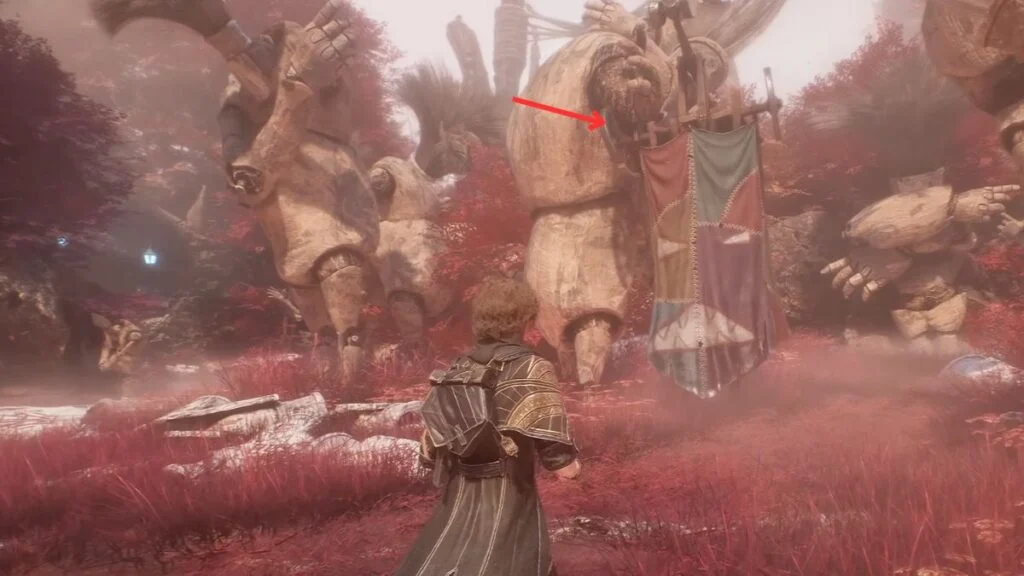
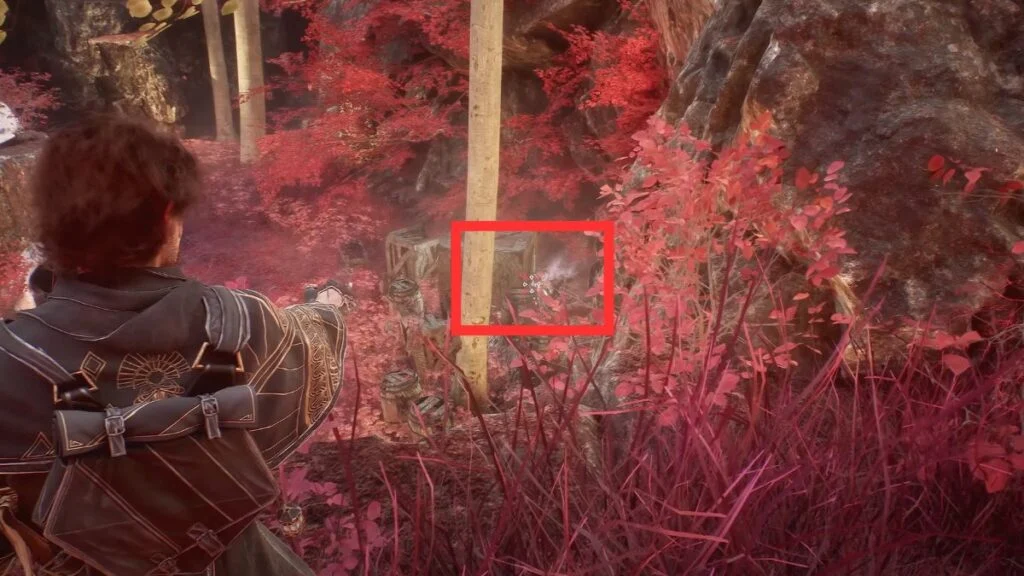
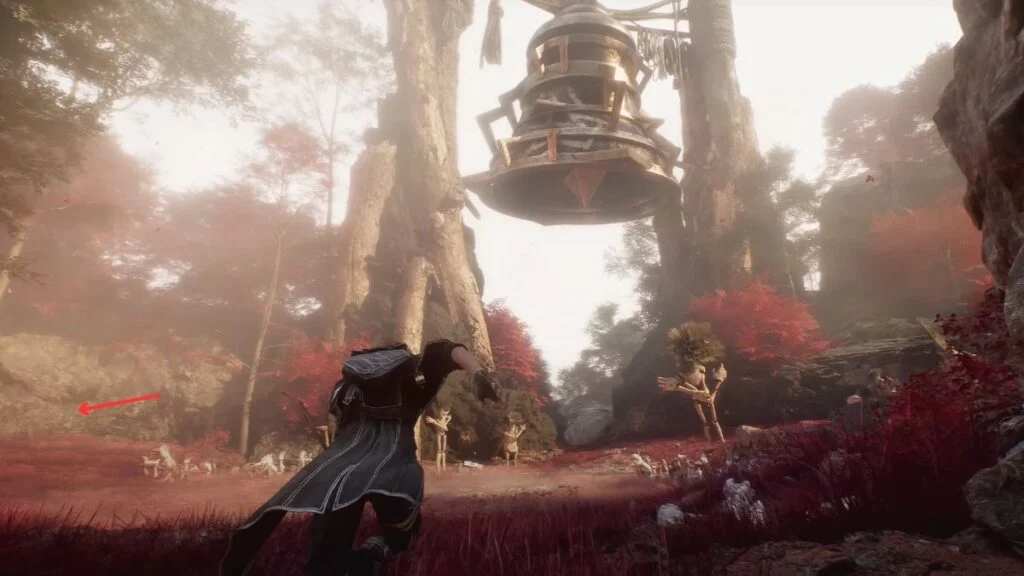
You can either keep going forward or check the two hidden areas first. If you go forward, you will see a large bell in the background. Head toward it and you will run into a Catapult Sakapatate, also weak to Fire. After the fight, take the small path to the right to find some Chroma inside crates. Grab them and come back to the main path.
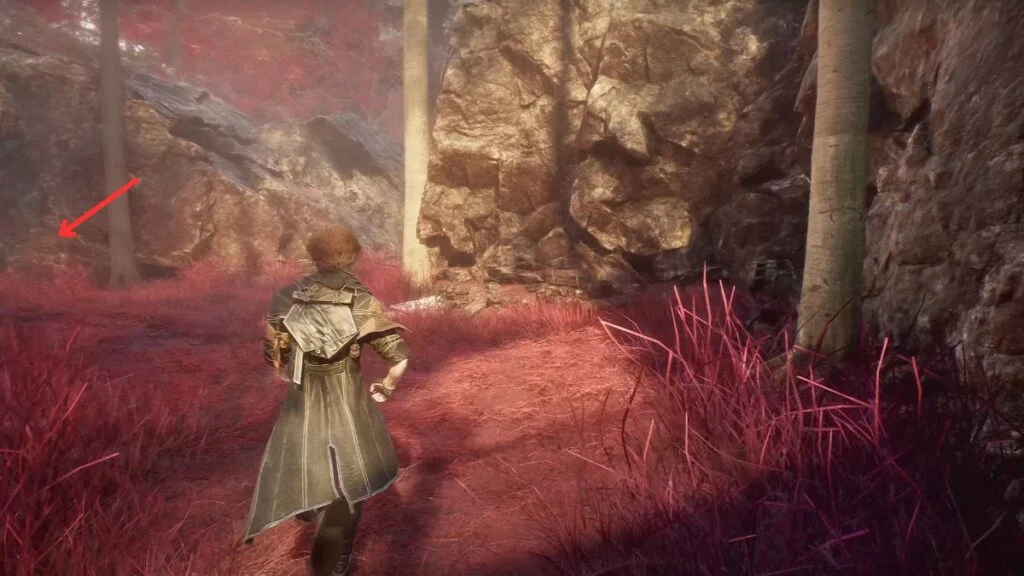
Keep following the main path. At some point, Lune and Maelle will have a short conversation about the area. Keep going after that. When the path splits, take the first left and then turn right. Walk along and on the left you will find a Healing Tint Shard sitting under a statue.
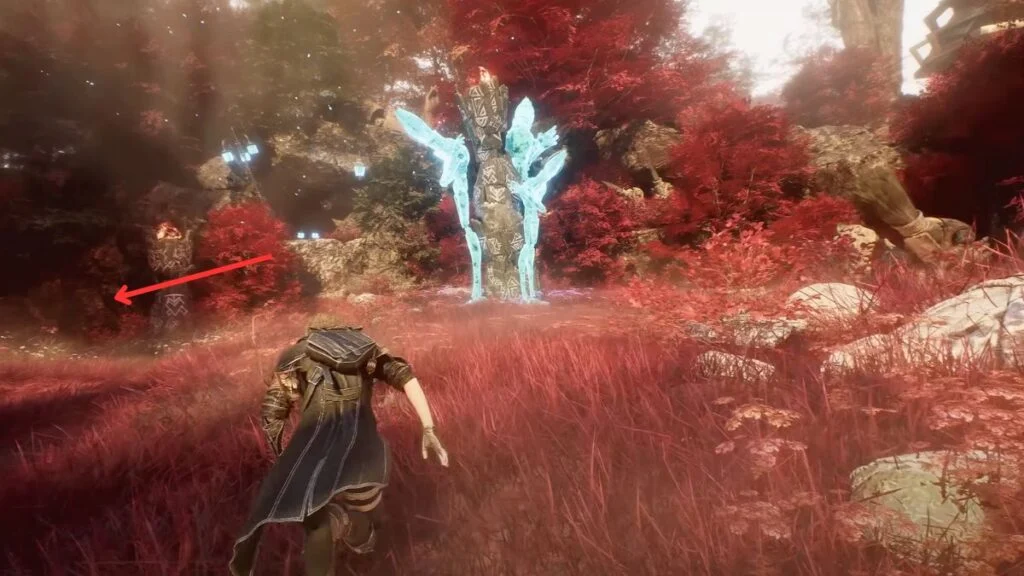
Move forward into the open area where two enemies are waiting together: a Robust Sakapatate and a Catapult Sakapatate. Beat them both. After the fight, three paths open up: left, center, and right.
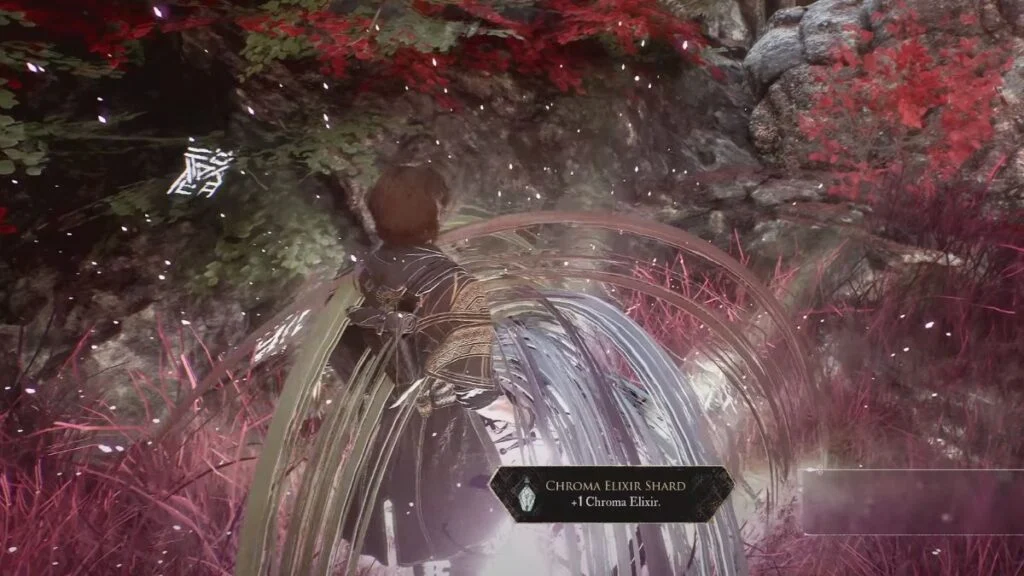
For the center path, go down the rope and onto the platforms below. Jump and climb your way up to higher ground and follow the path to a Paint Cage. Shoot the locks to break it open and grab the Chroma Elixir Shard inside.
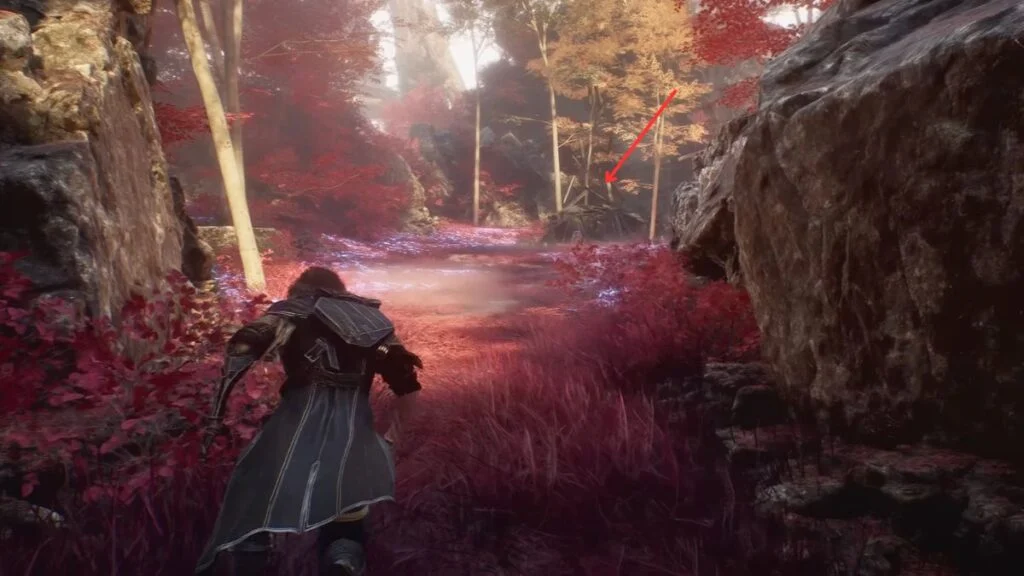
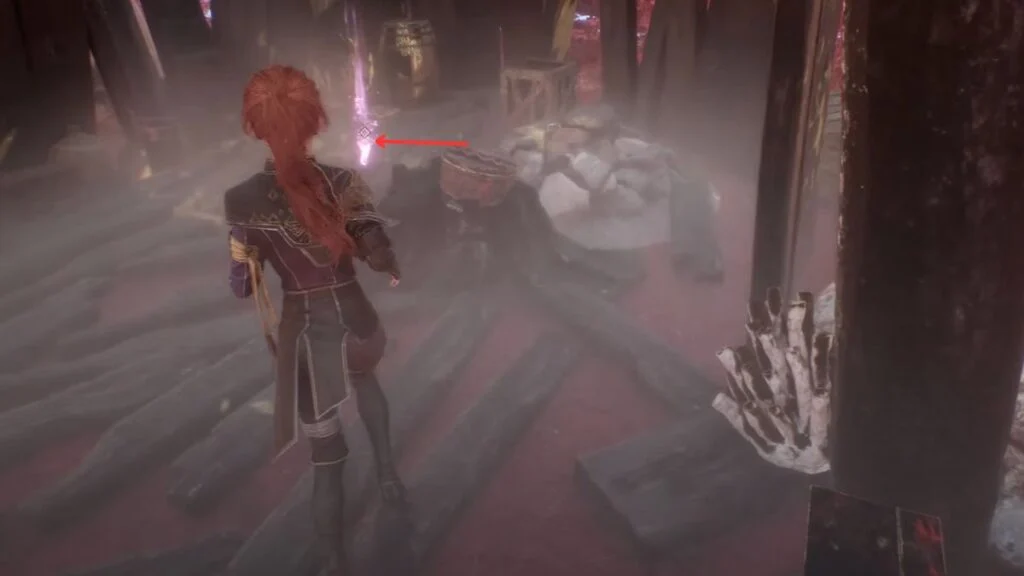
After grabbing it, jump down from the ledge and look around the area. You will find Journal Expedition 63 here. This is also the same spot the left path leads to, so you do not need to do both.

Hidden Path 1
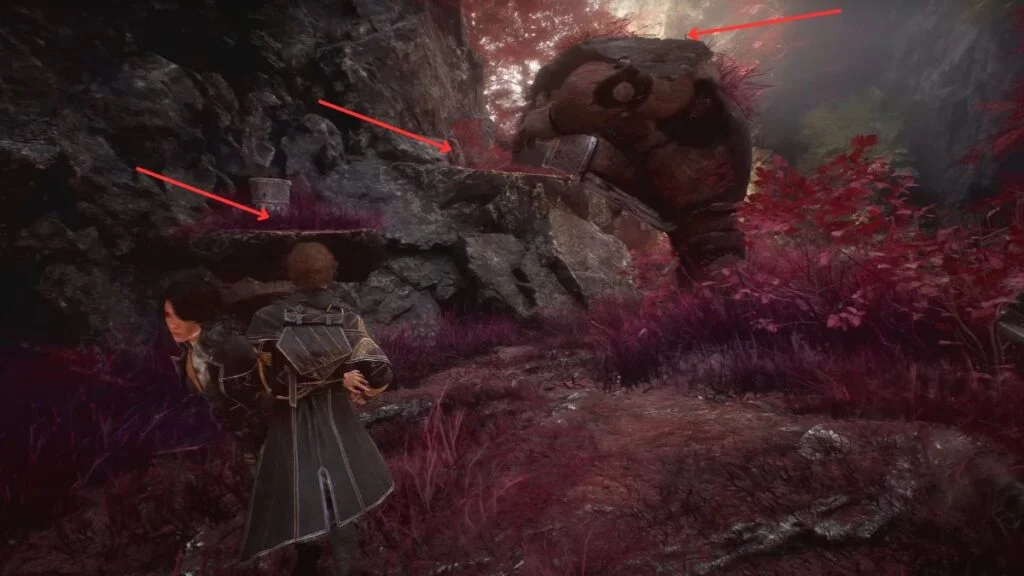
Go back to the area just after Expedition Flag 63 where you first fought the Ranged Sakapatate. Follow the extra path in that area until you reach a small crossing. Two more paths branch off here.
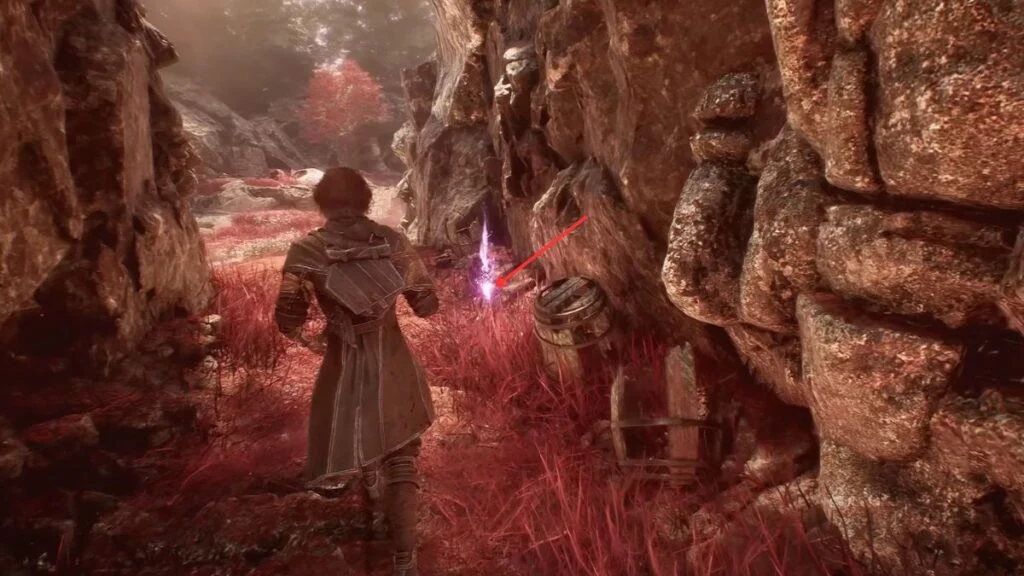
Take the left one first. There is a wooden structure with a Revive Tint Shard inside it.

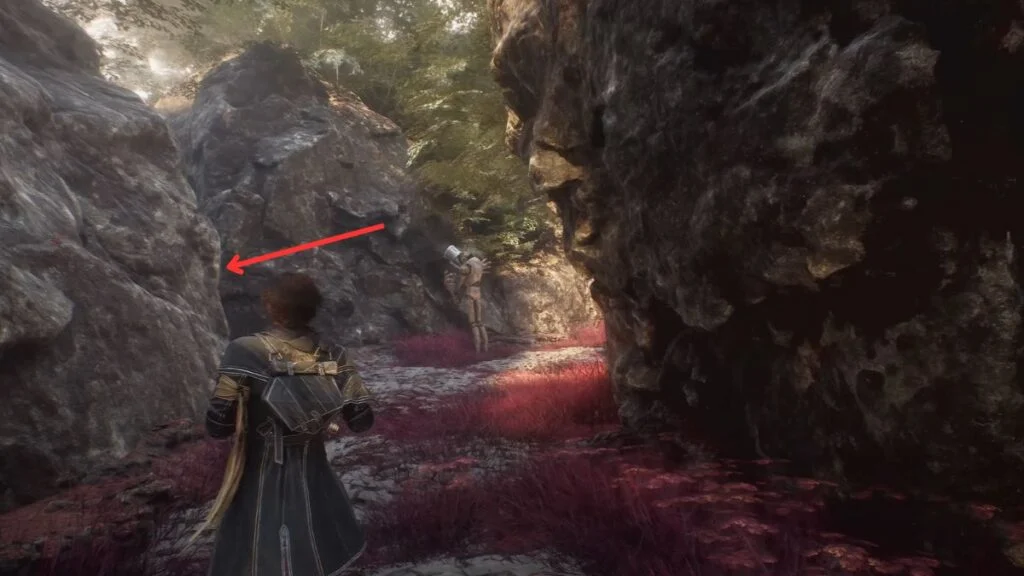
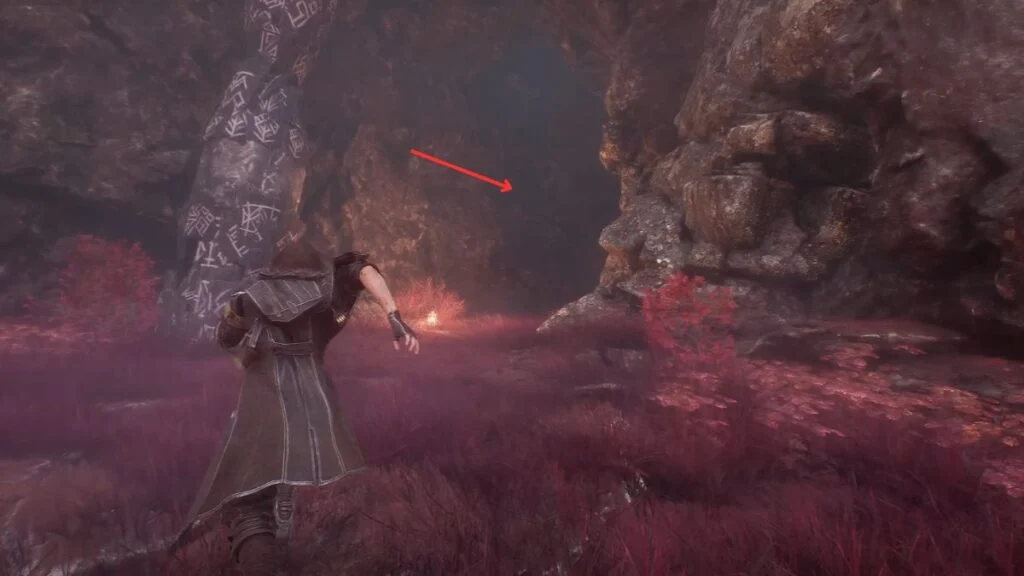
Then take the right one. A small right turn off this path has some Chroma, grab it and come back. Further along, you will face a Ranged Sakapatate and a Catapult Sakapatate together. Beat them to get the Trebuchim weapon for Lune.
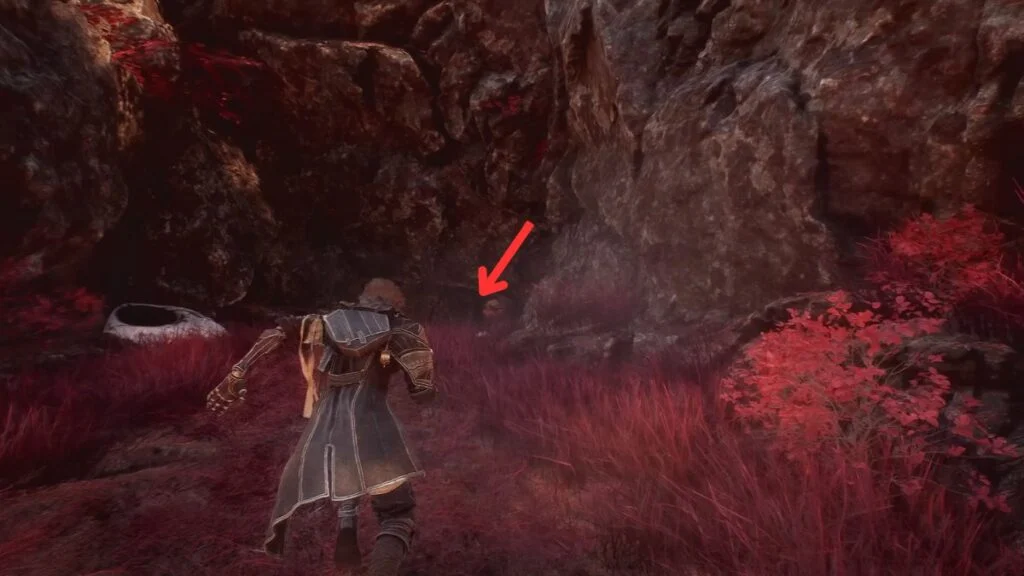
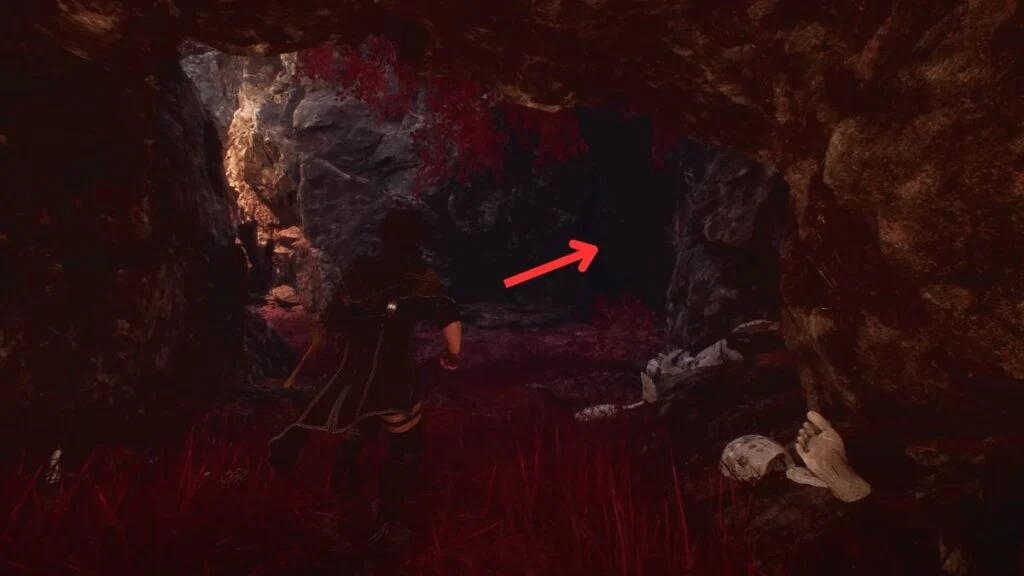

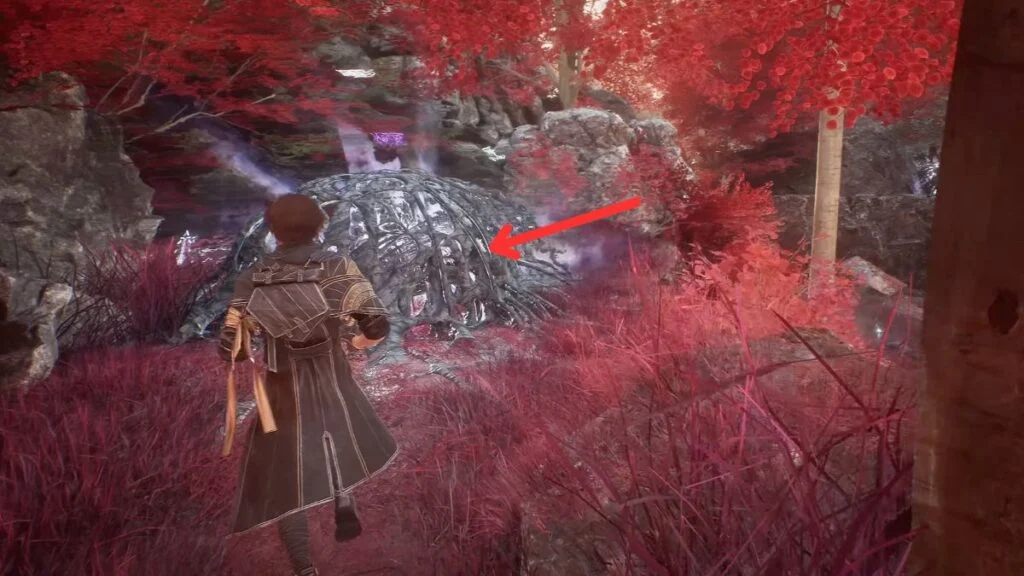
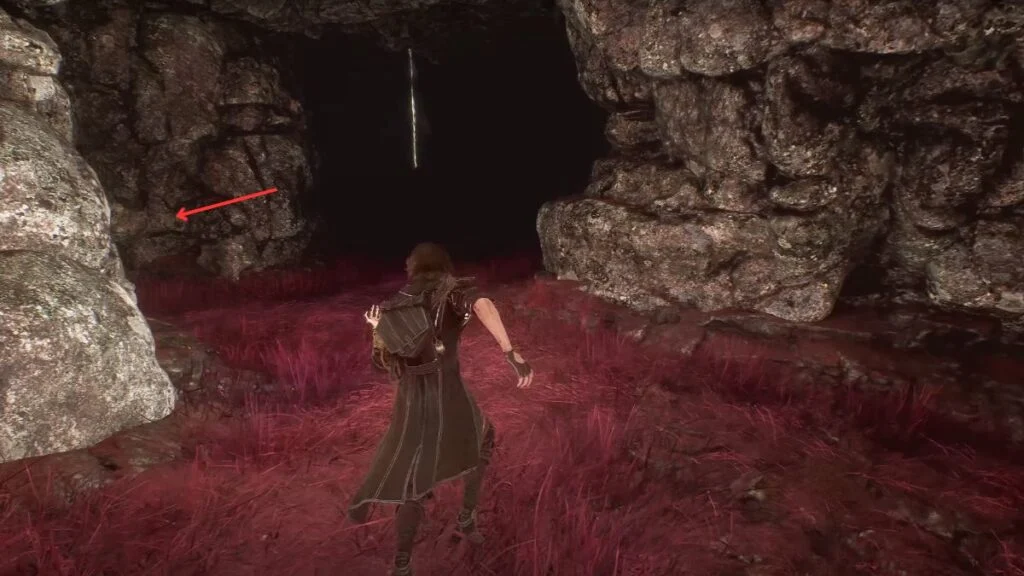
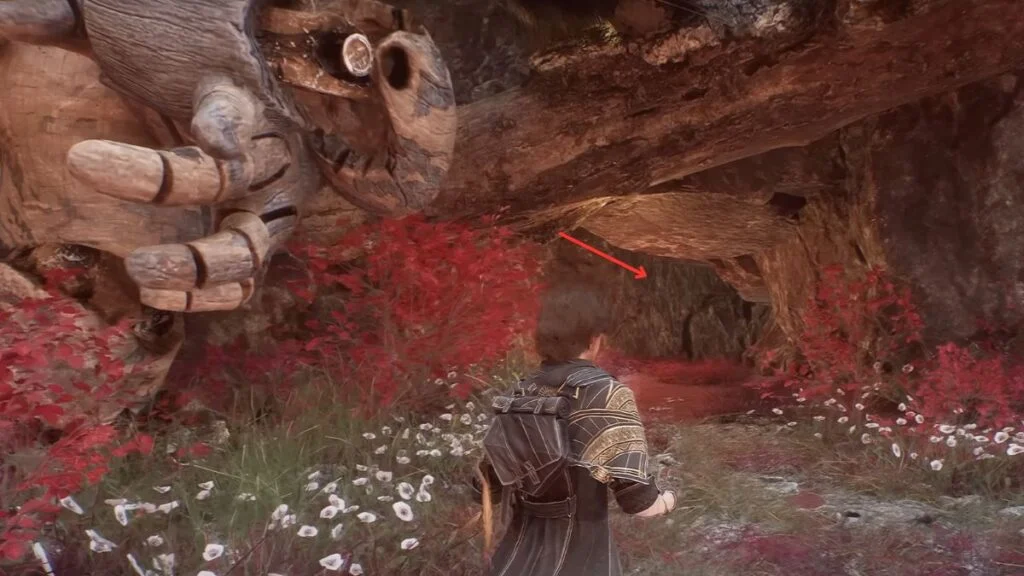
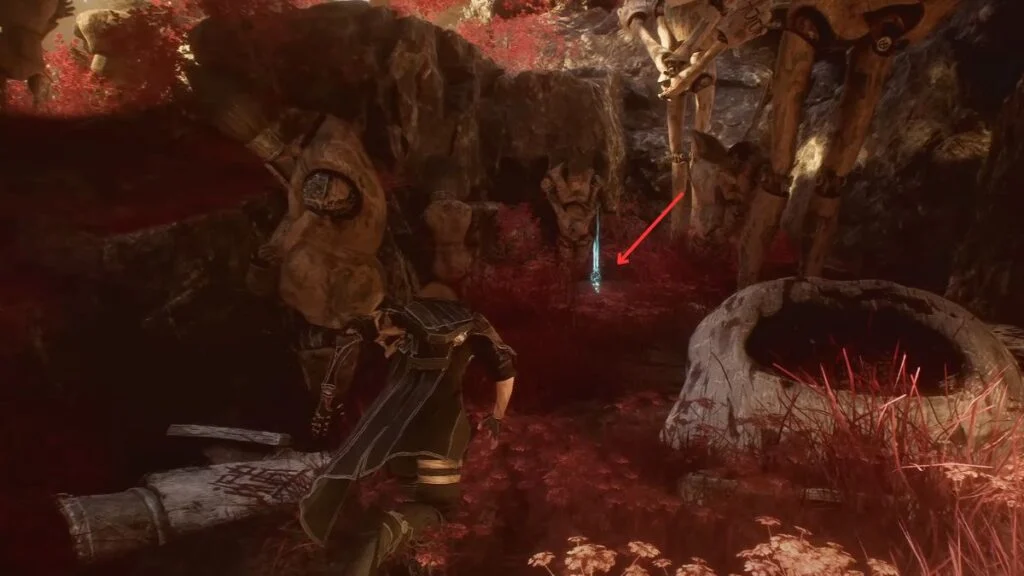
Keep going until you find a cave on the right side. Go in. There are three paths inside. The right one is blocked, so ignore it. Take the far left path where a Catapult Sakapatate is guarding the Attack Lifesteal Pictos. Defeat the enemy and pick it up.
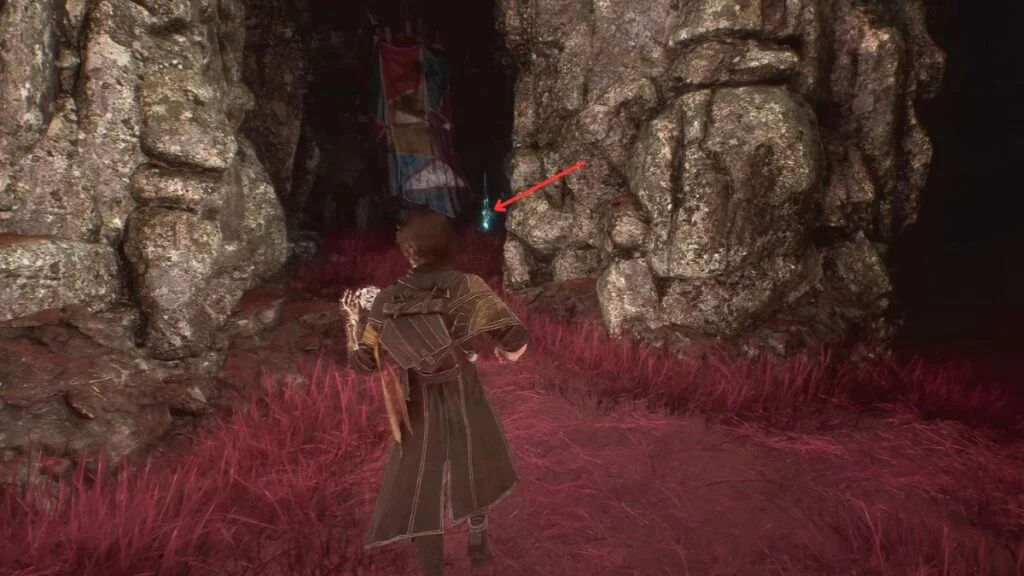
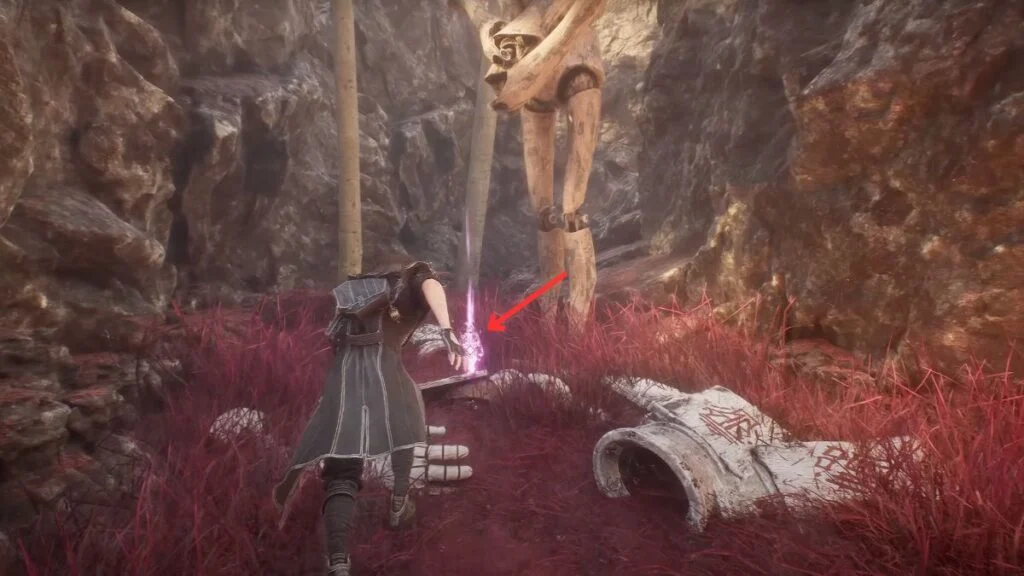
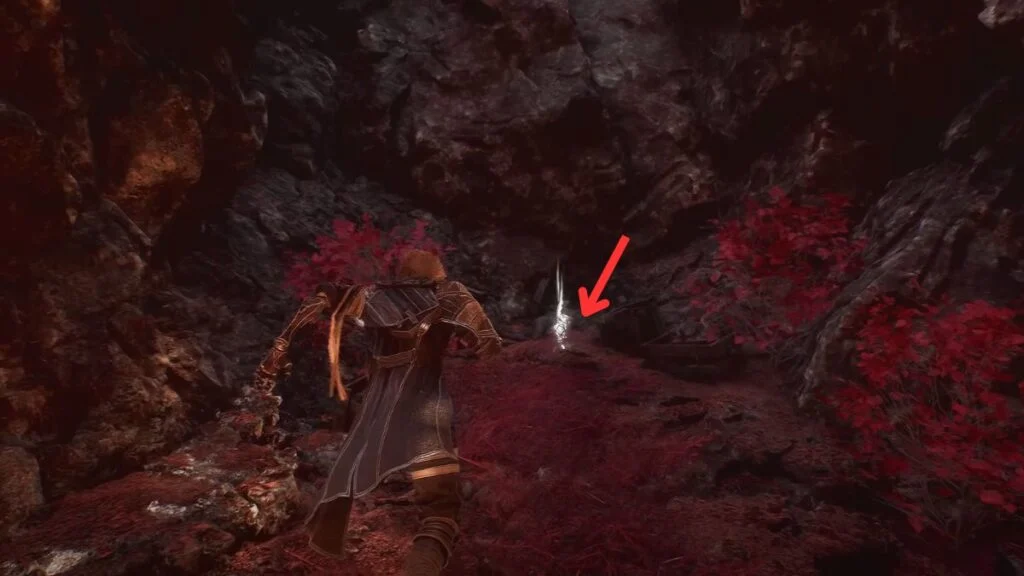
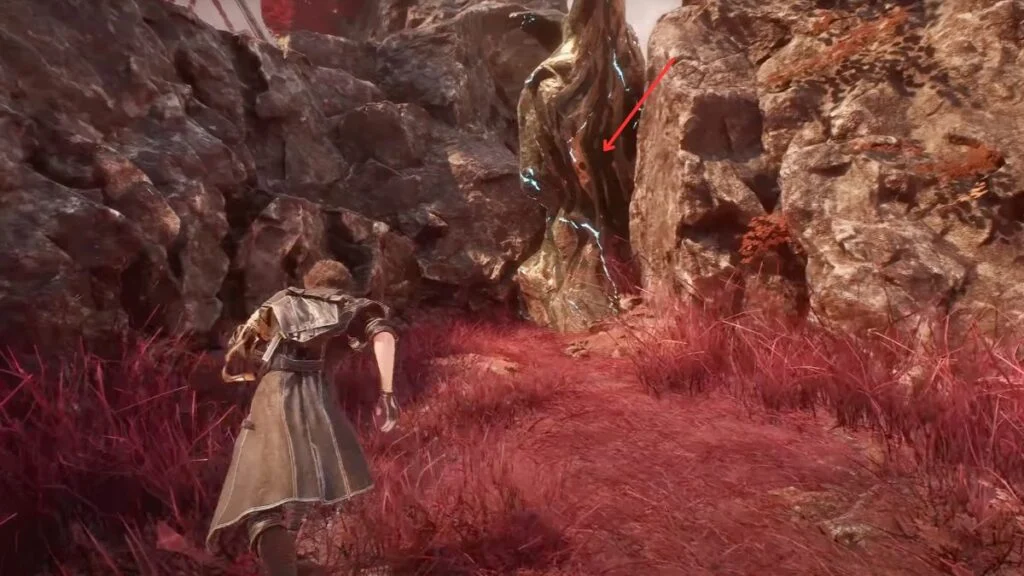
After grabbing the Pictos, take the path straight ahead and follow it until you see a glowing golden rope in the dark. Climb up to reach a Colour of Lumina at the top. Jump off the ledge after collecting it and you will land back near the entrance area.

Hidden Path 2
Go back to Expedition Flag 63 and this time stay to the right. Follow the path and take the first right. There is a small crouch hole — go through it. A Ranged Sakapatate is inside. Beat it, then look to the left side, climb the ledge, and grab the Energising Start II Pictos.
Gestral Totem (Act 2 Only)
This area can only be accessed after Act 2. Go back to the area where you first fought the Ranged Sakapatate after Expedition Flag 63. You will see blue cracked rocks on the wall. Press R1 to use Paint Break on them. Once they are broken, look to the left for an interaction prompt and press Square.
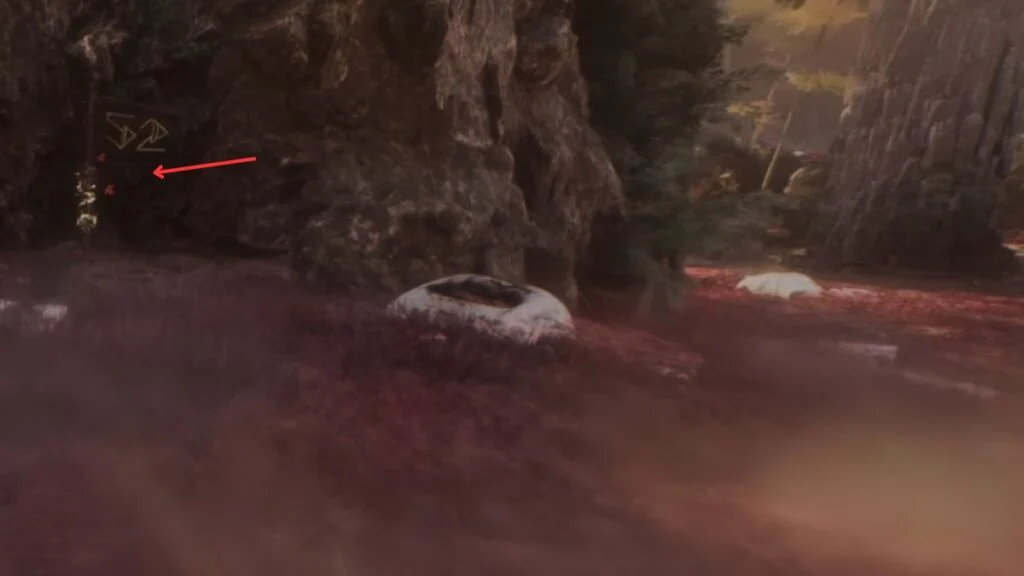
You will reach Expedition Flag 52. To the right of the flag, several enemies are waiting including Robust and Catapult Sakapatates. Fight through them and keep going in the same direction. Follow the water path until you find the Piercing Shot Pictos.
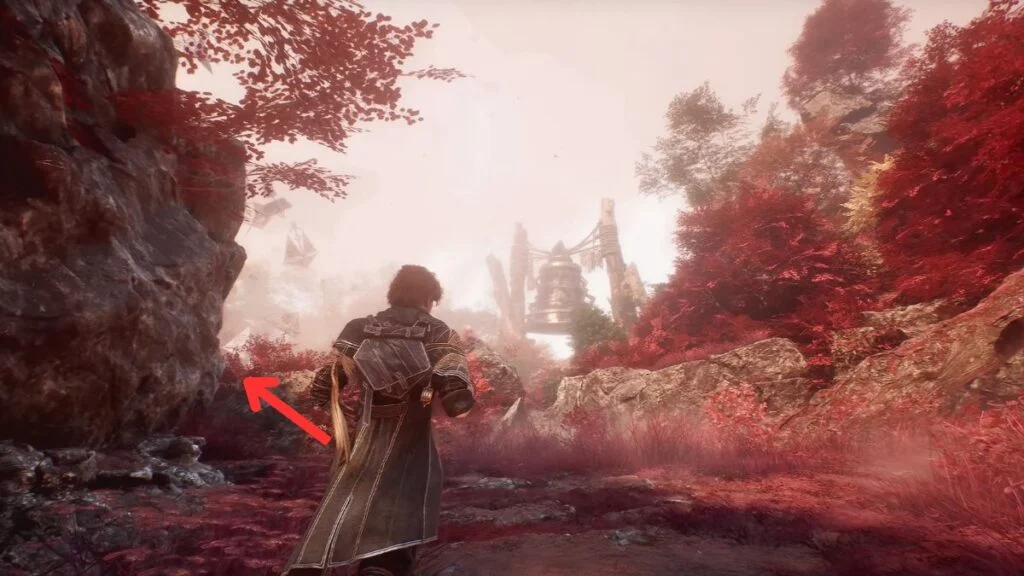
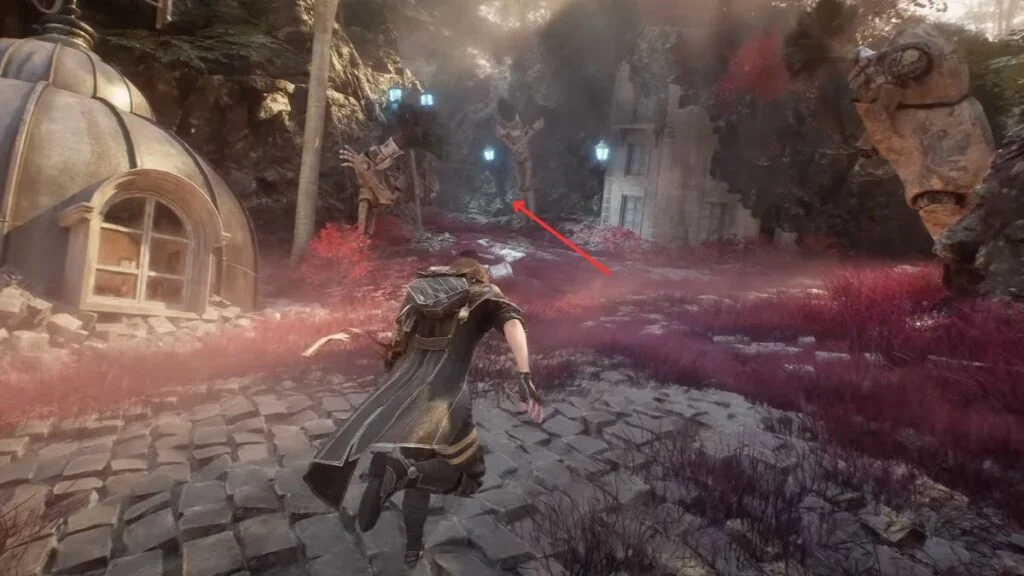
Giant Bell Alley
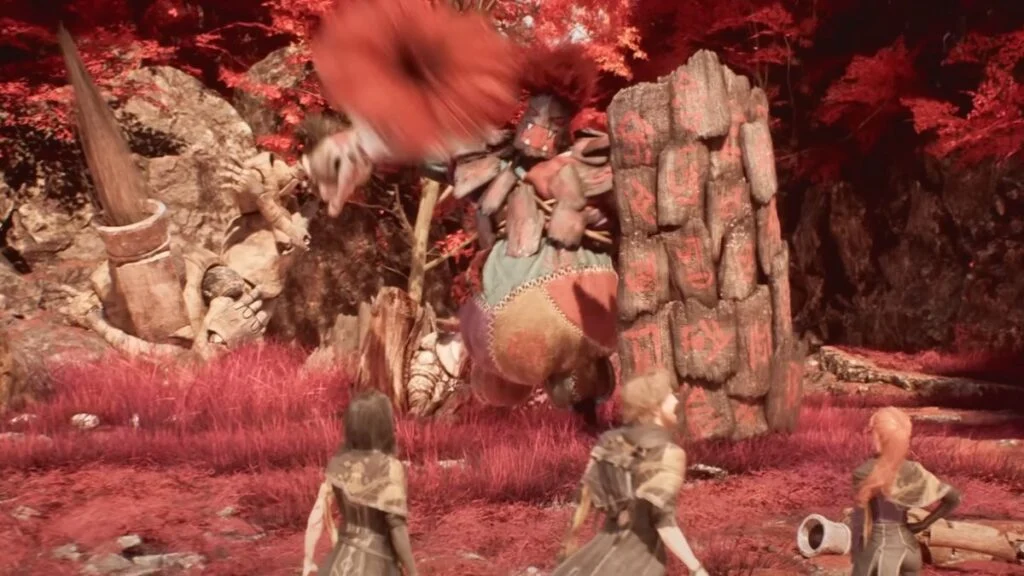
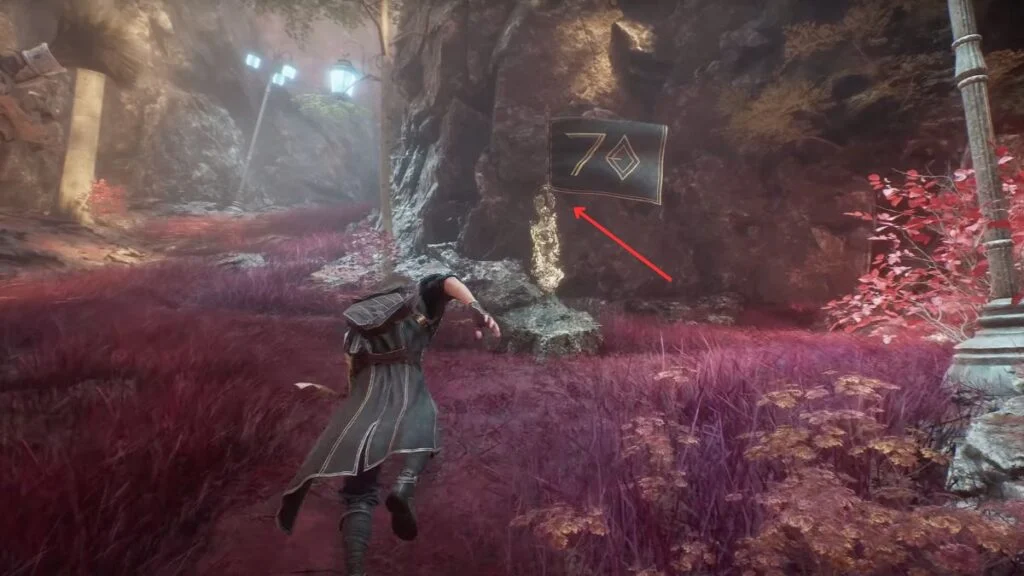
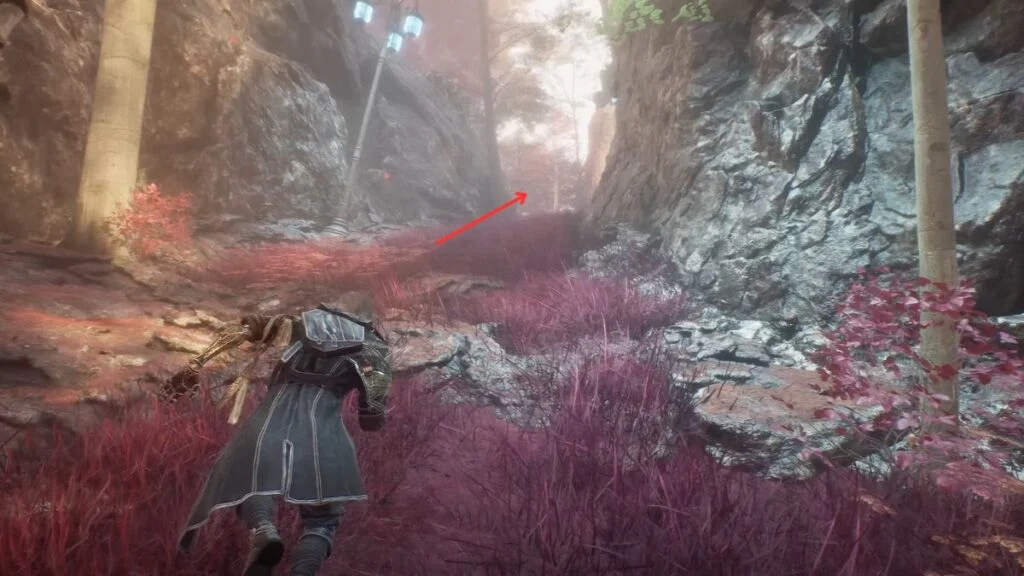
Go back to the main area where you fought the Ranged Sakapatate alongside the Catapult Sakapatate. Take the right path from there. Follow it to Expedition Flag 70, the Giant Bell Alley checkpoint. Rest and keep going. The path leads to a large bell. A short cutscene plays, and Tropa announces your arrival and summons the Ultimate Sakapatate. The boss fight starts right after.
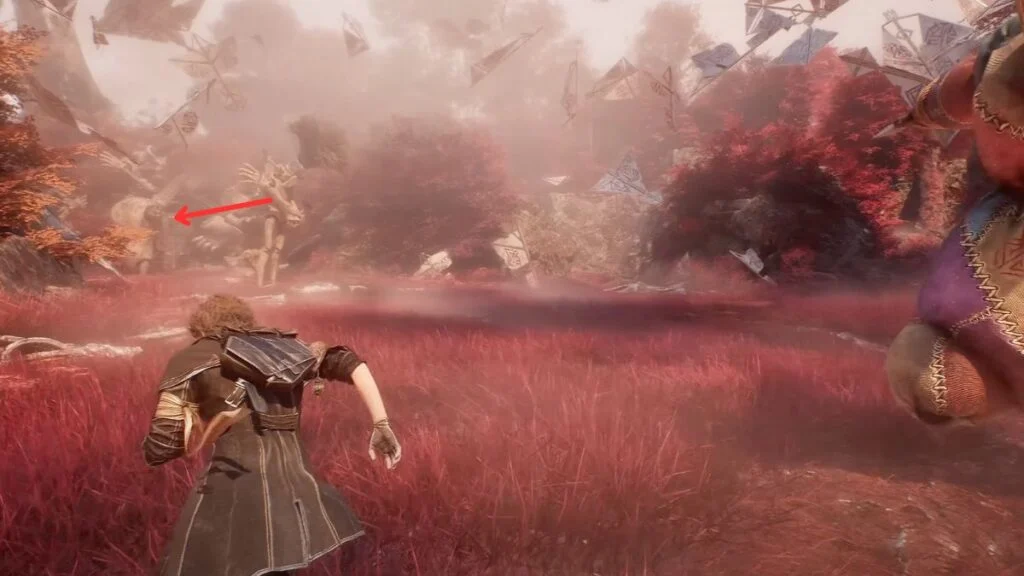
Boss Fight: Ultimate Sakapatate
This is not an optional fight. The Ultimate Sakapatate is weak to Fire and resists Lightning. It has four main attacks:
- Dead Partner Attack — The boss swings three times using its dead partner. Dodge right just before the first two swings, then jump on the third one.
- Ground Slam — It raises its weapon, pauses briefly, then slams the ground. Dodge during the pause or parry right after the pause before the slam lands.
- Shield Slam — It twirls and then slams with its shield. Dodge shortly after the twirl ends, or parry right after the brief pause that follows the twirl.
- Canon Fire — It raises its shield and fires three shots that inflict burn. Dodge as soon as the three nozzles on the shield light up, or parry just after they light up. The third shot has a slight delay, so watch for that.
Winning gives you the Breaker Pictos, three Polished Chroma Catalysts, a Recoat, and XP.
After the Boss
Do not leave yet. On the right side of the arena, find the Energy Tint Shard tucked away. Keep going along that path to pick up the Stun Boost Pictos as well. Come back to the main arena and check the left side. There is a Colour of Lumina here.


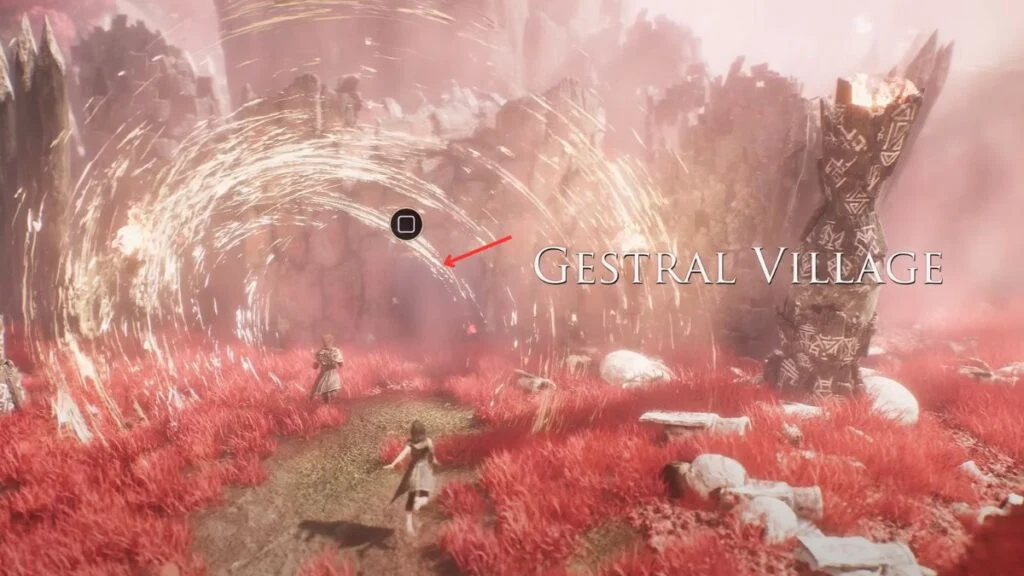
Once you have everything, go through the portal ahead. You will enter a short transitional area before Gestral Village. Before going through the next portal, check the crates in this area to find one more Colour of Lumina.
Now take the final portal into Gestral Village.