Blue Prince drops you right into the game without wasting much time. While it does let you get to gameplay faster, it does fail to teach you many of the game’s core mechanics. As soon as you start, the game only really tells you what the map is, how to draft a room, and that the goal is room 46. Aside from that, you’re kind of on your own.
To help start your journey, I will break down some basics you need to know, as well as some major tips to make your game experience more enjoyable. Before I begin though, it’s important to note that this is a puzzle game mixed with a rogue-like! Confusion is part of the journey, and different runs will help you discover how to solve puzzles. Everything on this page will be spoiler-free though, so for a more direct walkthrough, you can skip to the next chapter.
Core Game Mechanics
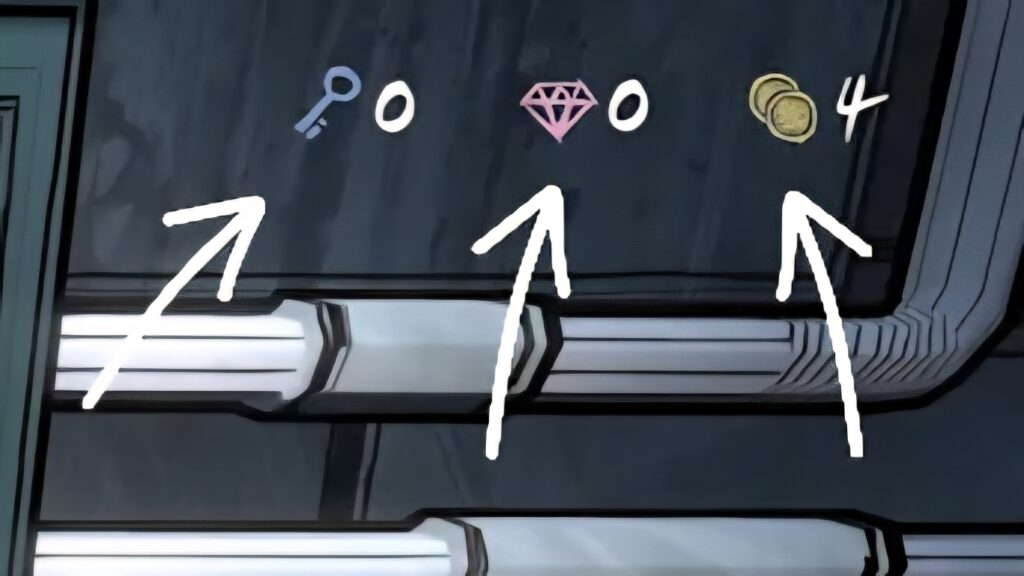
The basics of this game are that you have a set amount of steps each day. Once you use all of your steps, your day ends and the next day (run) begins. Throughout your run, you will find Keys, Gems, Dice, and Gold (also known as the game’s currency). Keys are used to unlock doors or chests. Gems are needed to let you draft certain room types. Dice are used to re-roll the set of 3 rooms you drafted. Gold is used to purchase items or other collectables. You can also find items, which are upgrades for the run you are in. At the end of each day, you will lose all items and currencies that you find during the run.
Your goal each day is to progress as high up into the Mansion as you can to reach room 46, all while solving puzzles along the way. Some days you may be more puzzle-focused, other days may be focused on reaching room 46. The rooms you draft and how you adapt to it will determine which kind of focus you should have.
Drafting rooms is how you progress through each run. When you draft a room, you are offered 3 random room choices from the available pool of room options. Each room is preset in layout, but items can potentially spawn randomly in each room once you draft it. Rooms can be classified as 1 Door, 2 Door, 3 Door, or 0 Door (aka dead ends). Each room is also color coded, which lets you build synergy across runs (as well as better track available rooms). The color code is as follows:
- Purple: Bedrooms (Focus is on Steps)
- Orange: Hallways (Focus is on Keys)
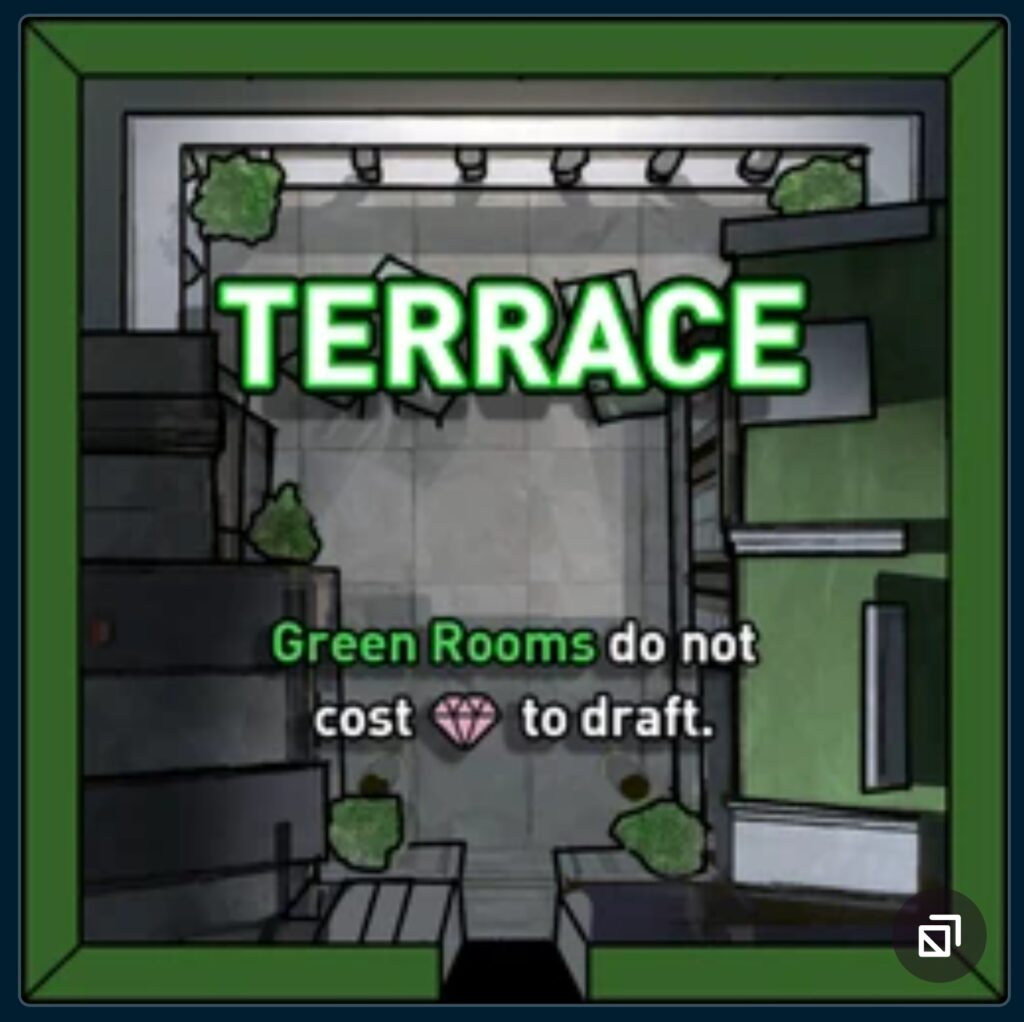
- Green: Outdoor/Plants (Focus is on Gems)
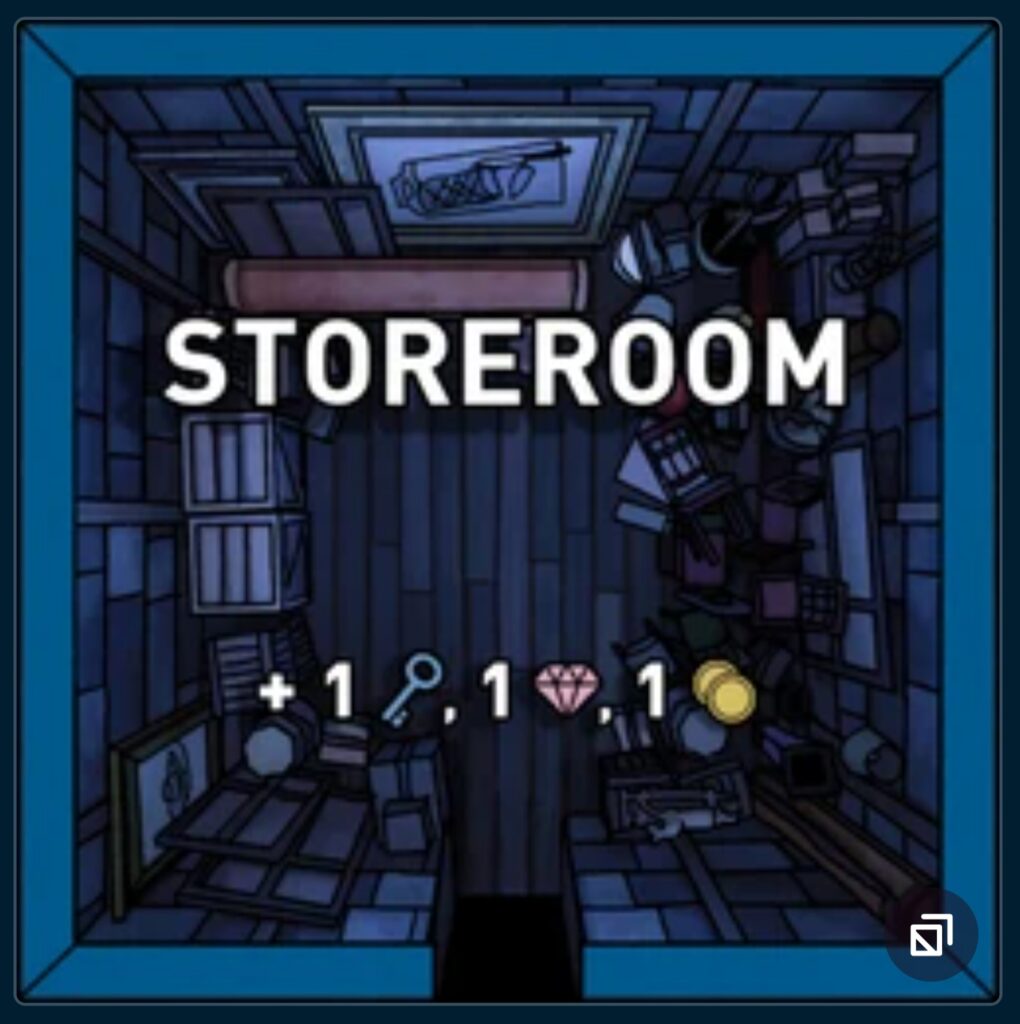
- Blue: Mechanical and Items (Impacts the Mansion in some way and/or offer items or perks)
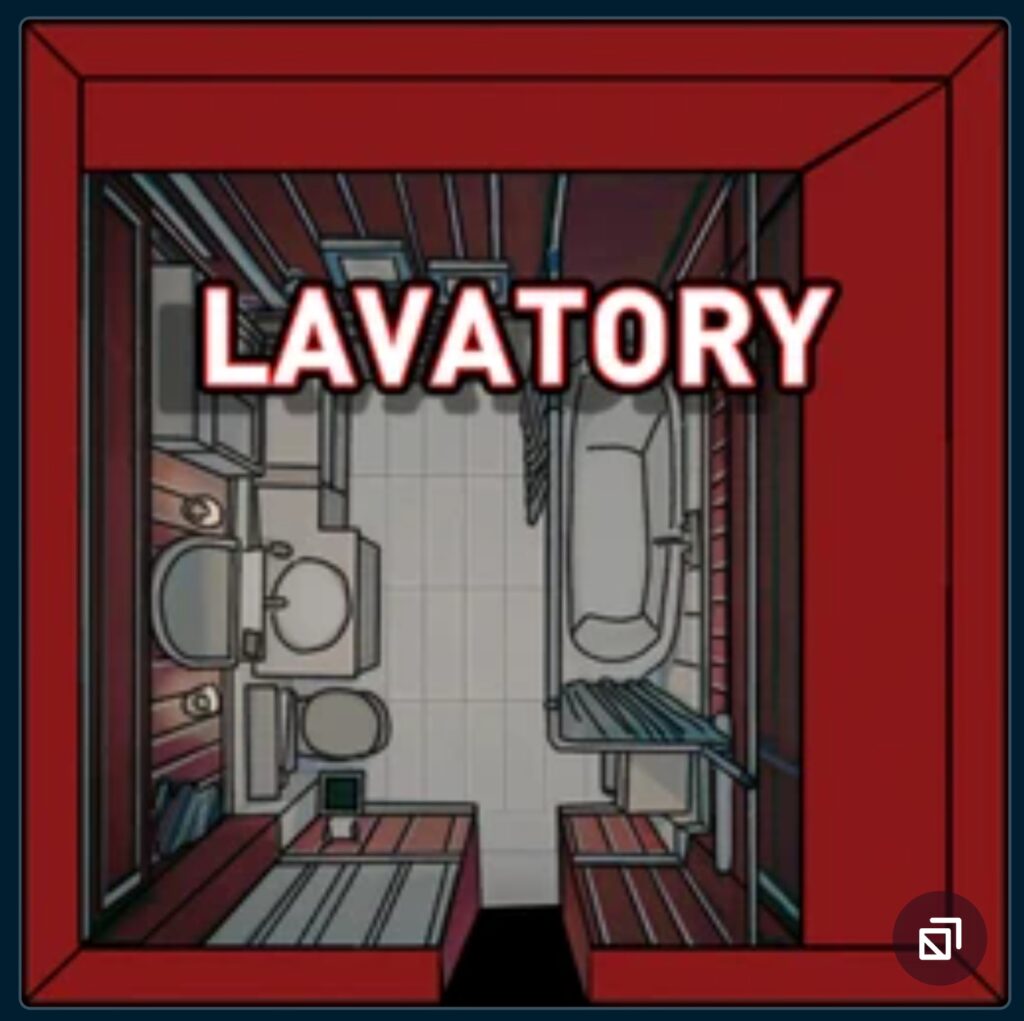
- Red: Fun Breakers (Rooms you want to avoid usually)
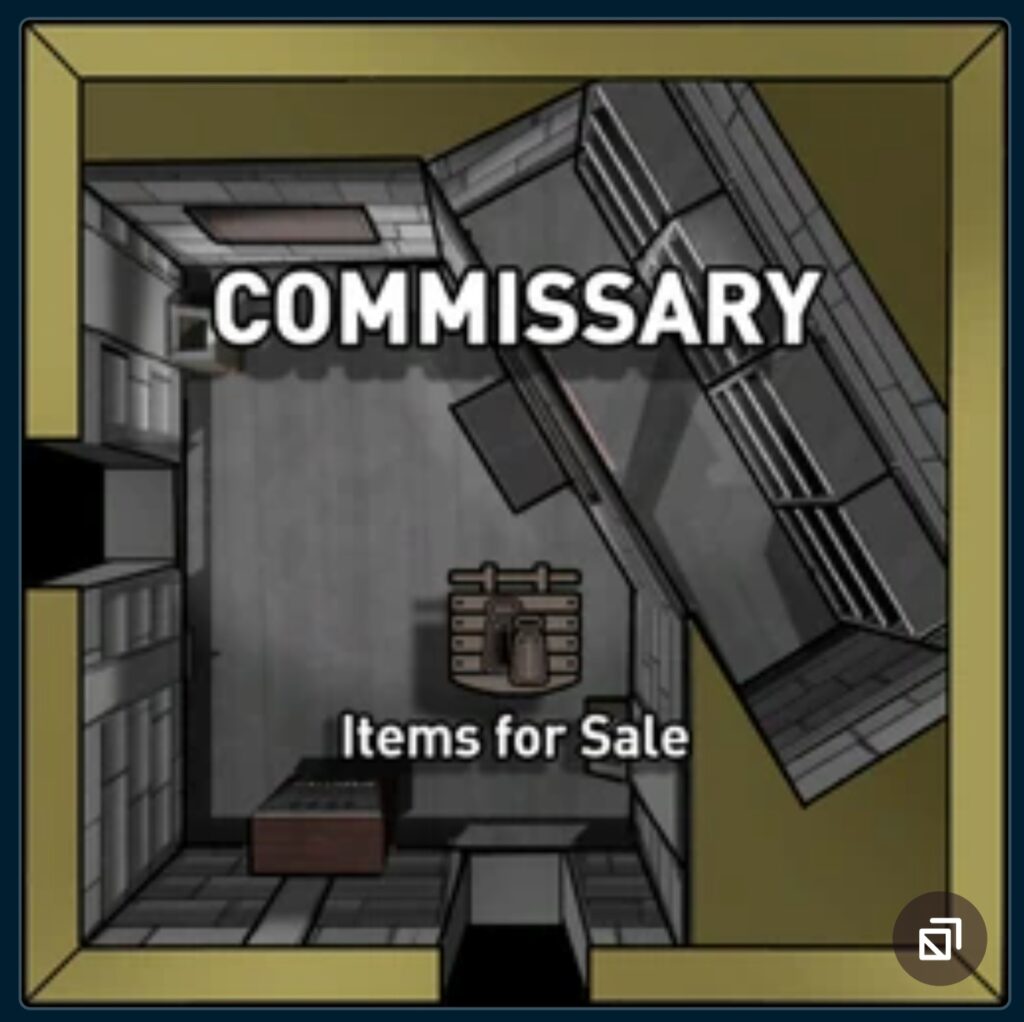
- Gold: Shops (Spend Gold here)
The biggest and most important mechanic of this game is drafting. What the game doesn’t tell you is that whenever you draft a room, that room will not appear again for the rest of that run! So if you draft “Bedroom”, you will not see that room again until you start the next day. This is super important since room layouts never change. In other words, if you only draft rooms with doors, you will quickly start to see only dead ends in your draft picks. Part of the game’s core strategy is tracking what rooms you haven’t used so that you can continue to progress upwards.
Spoiler-Free Tips
When you first start the game, don’t think too hard about reaching room 46 right away. It is nearly impossible to do that as a new player, so focus on simply learning the room types so you know what options you can draft each run. Once you get the hang of things, move towards being more strategic:
The best habit to learn early on is using those dead end rooms. While they can definitely feel bad to draft since you are trying not to get locked out of climbing the Mansion, you have to reduce the amount of dead ends in your draft pool. If you don’t, your mid to late game runs will often end with a draft of 3 dead ends that kill your run entirely. You want to create dead end rooms on the edges of the map, where you don’t have much room to move anyways. Drafts will never offer rooms with doors leading through the edges of the Mansion (aka the map), so you are more likely to draft these dead ends anyways.
Bedrooms can often times create little to no rooms, but they often offer step bonuses to extend the amount of rooms you can walk through! These are ideal for early game drafts, so you can better assess how many steps you have to budget with.
With dead ends strategically placed, you want to draft rooms that have a room facing north. Many of the game’s rooms will only be draftable on the mid or higher levels of the Mansion. The higher you go, the more draft options you have available. Higher up also gives you flexibility on letting rooms with odd door placements not become dead ends.
Currency and Item Tips
Use your gems wisely as you draft. It can be hard to find them sometimes, and you may be forced to draft a bad room if you can’t afford the gem cost. If you need more gems, focus on drafting green rooms that have no gem fee. These often carry gems on the floor or on the table, and sometimes even free items! If you have some coins, you can also draft the Commissary to purchase a few gems each run.
Keys can make or break runs. The higher you climb the Mansion, the more likely a door is to be locked. If you are low on Keys, avoid using them on every single locked door you find. Unlocking a room to draft a strategic dead end can be way less beneficial than using the key to draft a new path upwards. In other words, focus your key usage on climbing Mansion levels.
Coins are fairly hard to collect early game on a consistent basis. If you see expensive items in a shop, don’t worry too much about saving up for them. You will often times get more usage out of spending coins on basic items until you get more familiar with the game.
Dice can make bad drafts much better! But they can also make them a lot worse. Save these for times when you desperately need a new draft, not when “it could be better” or “I’m looking for a certain room”. These are also the rarest currency, so what you find may be all you get that run.
Items can make a HUGE impact on your runs! I won’t spoil what items are available here in case you enjoy the surprise of discovering them, but there are a couple of key aspects of items:
- There will only be 1 of each item in a run. If you pick up an item (or see one spawned), that is the only copy of that item you will find.
- The Shop can potentially spawn an item or two alongside the currencies of the game. It can potentially offer you an item that you later find during your run. This is because that shop item isn’t “real” until you purchase it.
- If you buy an item from the shop, it will then remove the ability for it to spawn from that point onward in the run.
Spoiler-Free Basic Strategy
Like any rouge-like, you aren’t supposed to “win” for a while. Since the other half of this game is puzzle based, you should start your early runs be introducing yourself to some of these puzzles. Some of them won’t be solvable right away, but you can find answers in other rooms as you draft them! If you never discover the puzzle, you won’t realize you passed by an answer.
As you draft the first 2 to 3 levels, avoid drafting rooms with lots of doors. These are more useful mid and late game when you have less rooms to choose from. If you draft a room with optional doors pointing south and north, the south pointing doors are often great places to use up those dead ends drafts.
Here are a few rooms I would recommend you draft early:
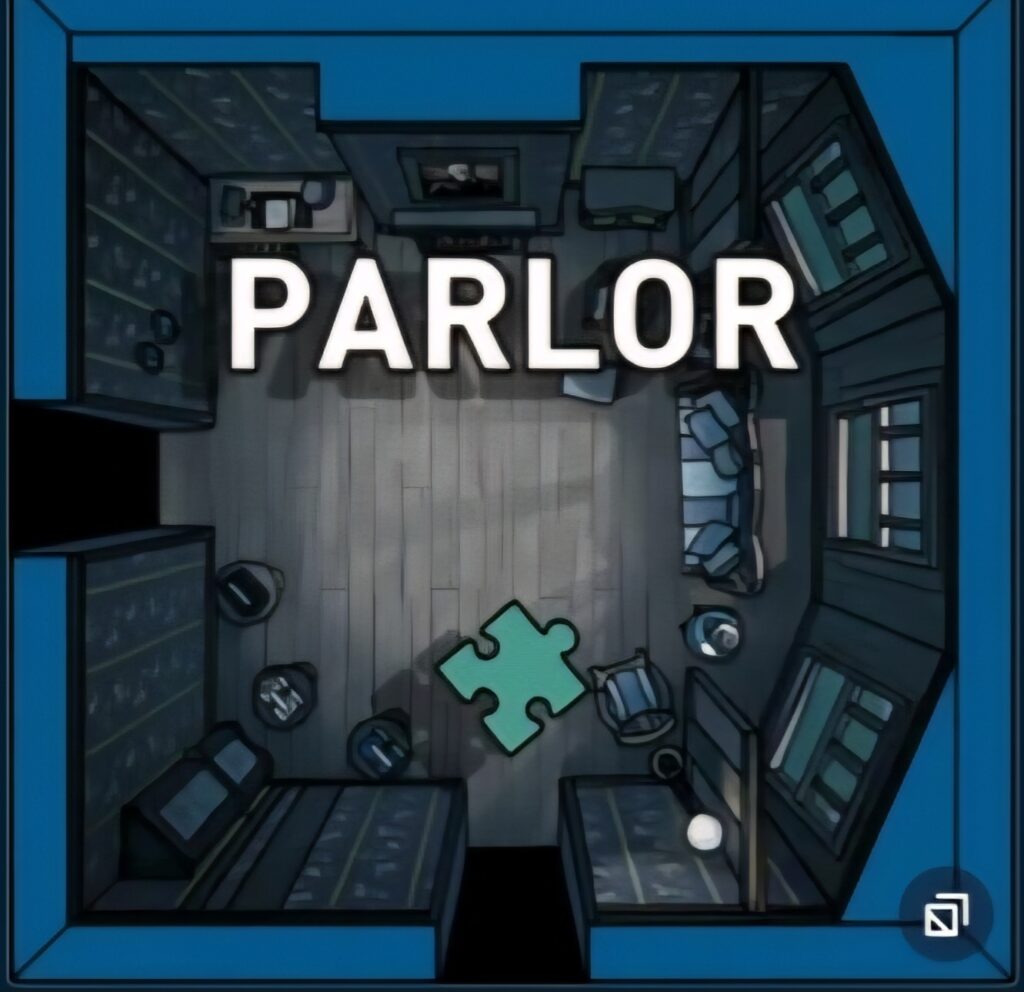
- Parlor: For consistent gem spawning
- Nook: Guaranteed key
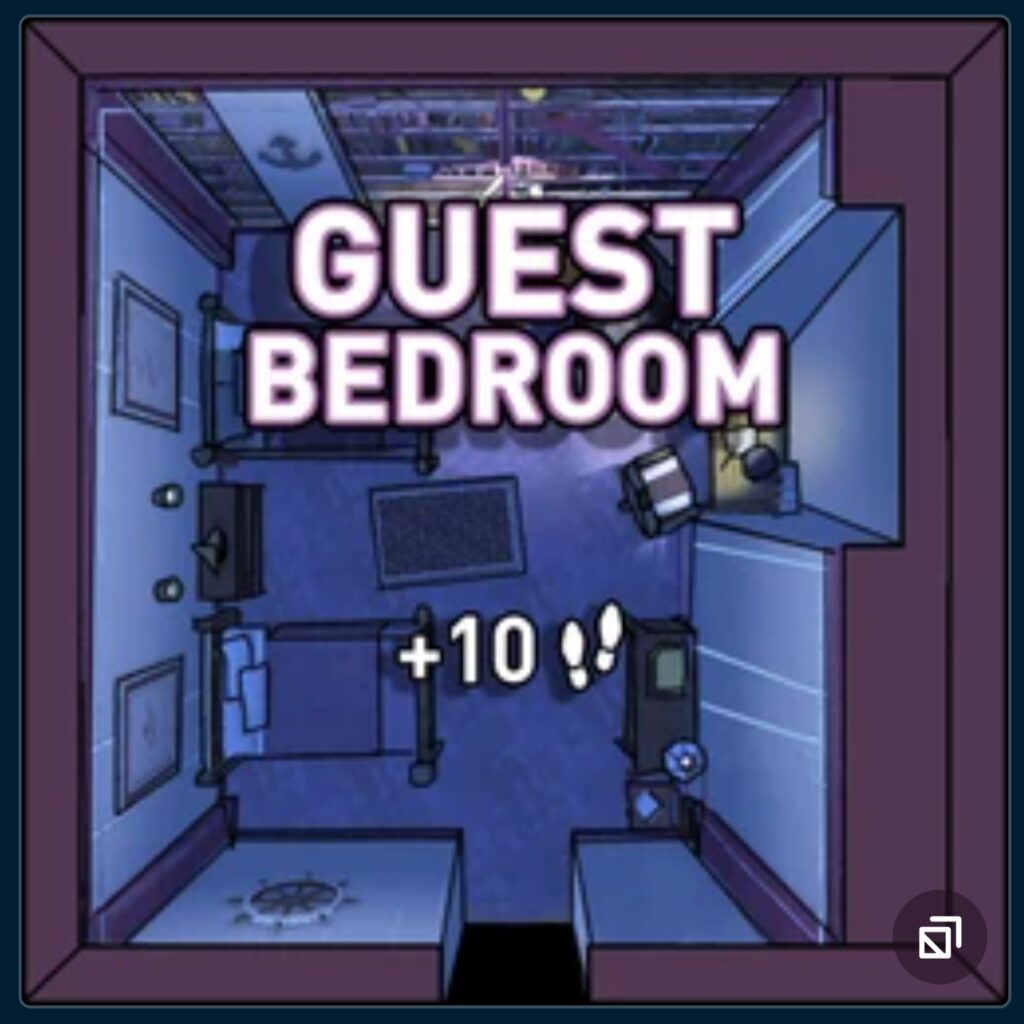
- Guest Bedroom: Remove a dead end, gain +10 Steps
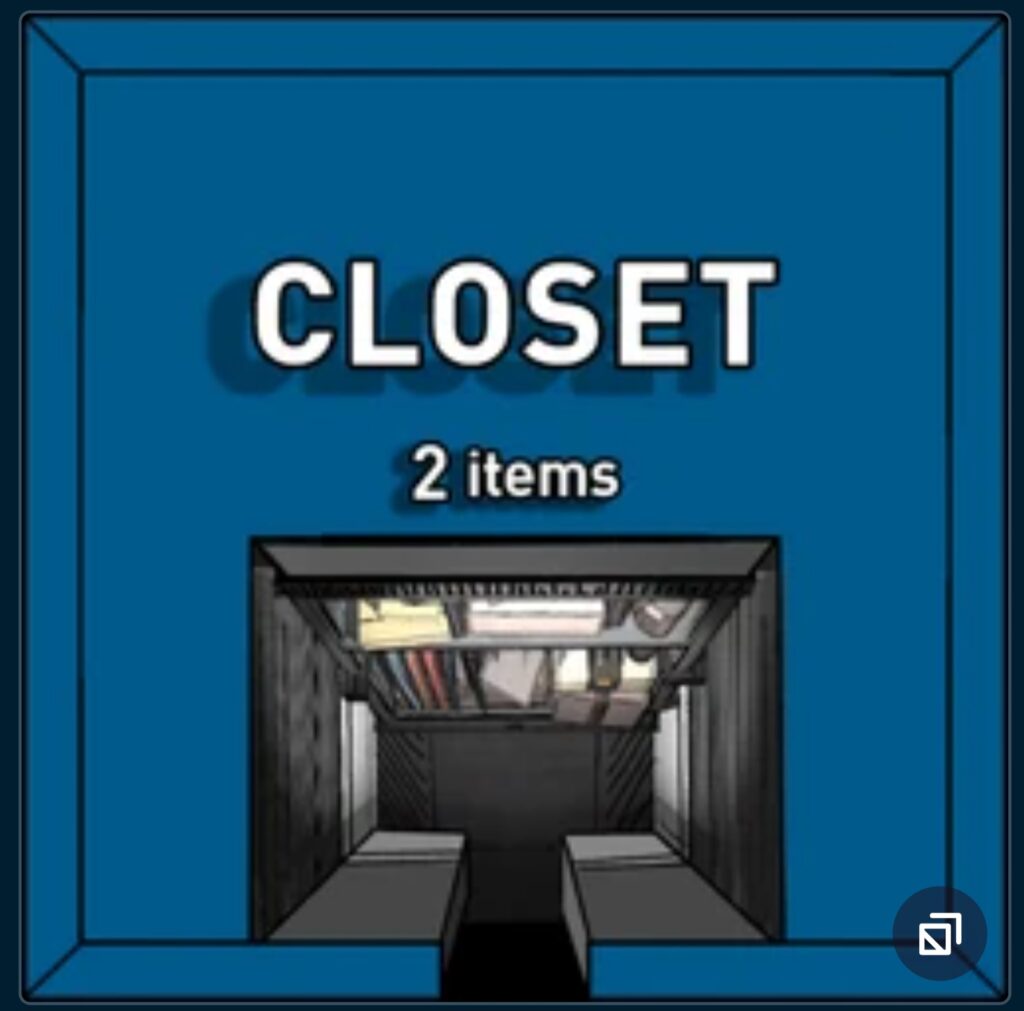
- Closet: Remove a dead end, possible useful items or currency for the whole run
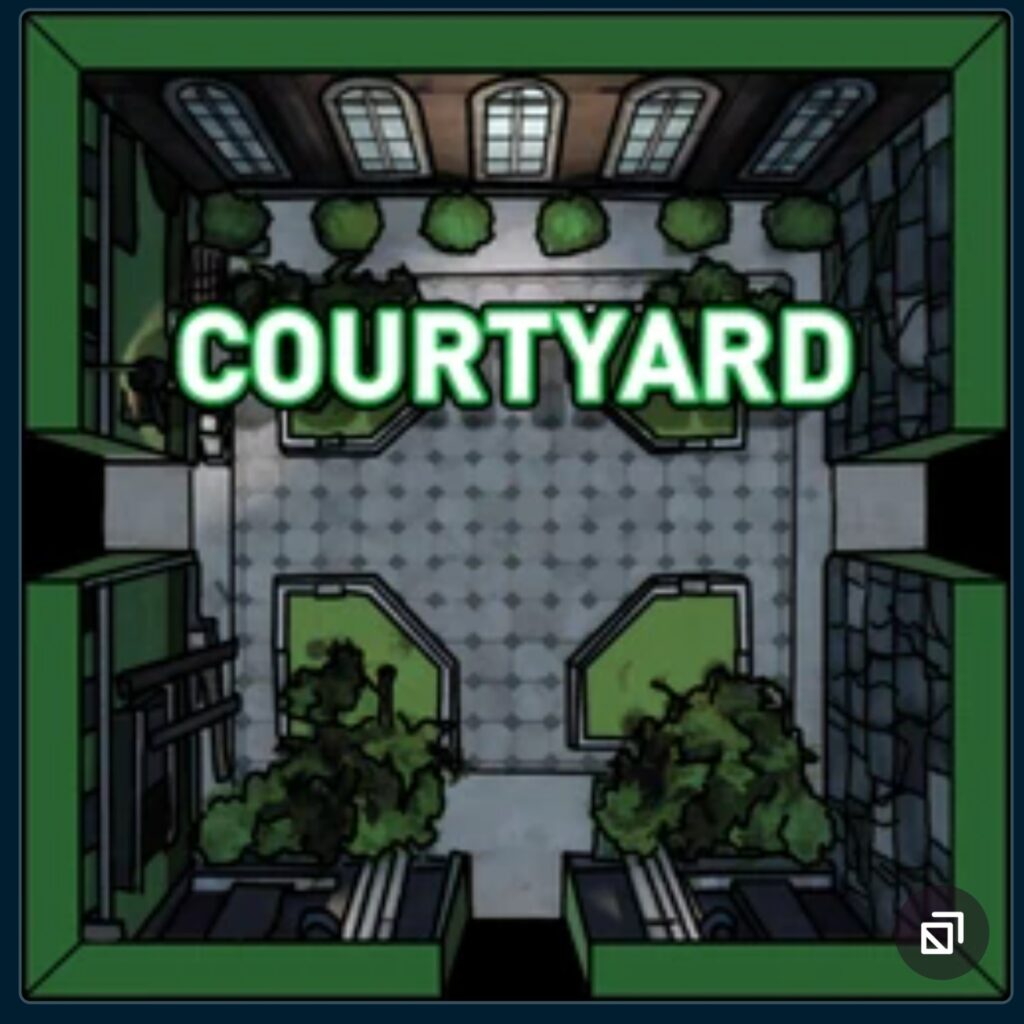
- Courtyard: A early 2 door room that has a high chance of spawning an item
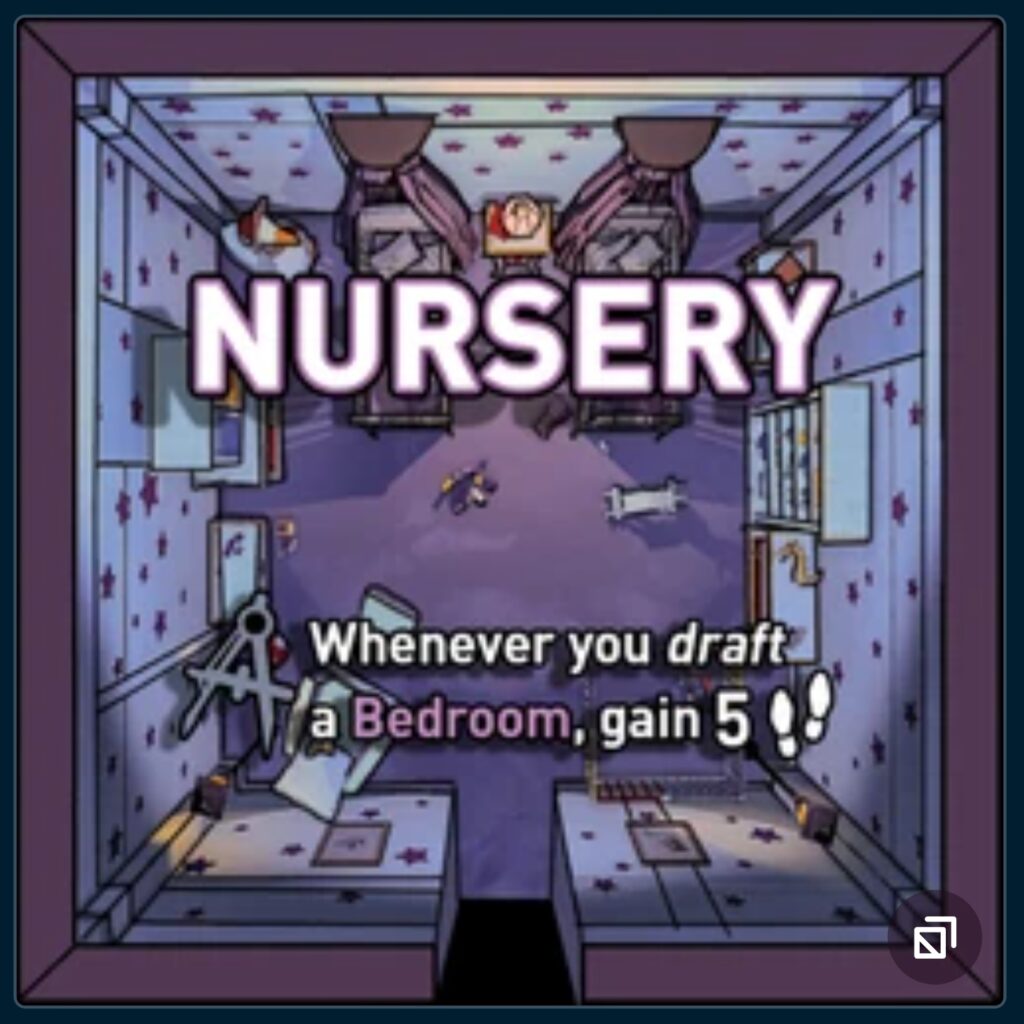
- Nursery: Make every bedroom way more valuable

And here are a few rooms I would NOT recommend you draft early:
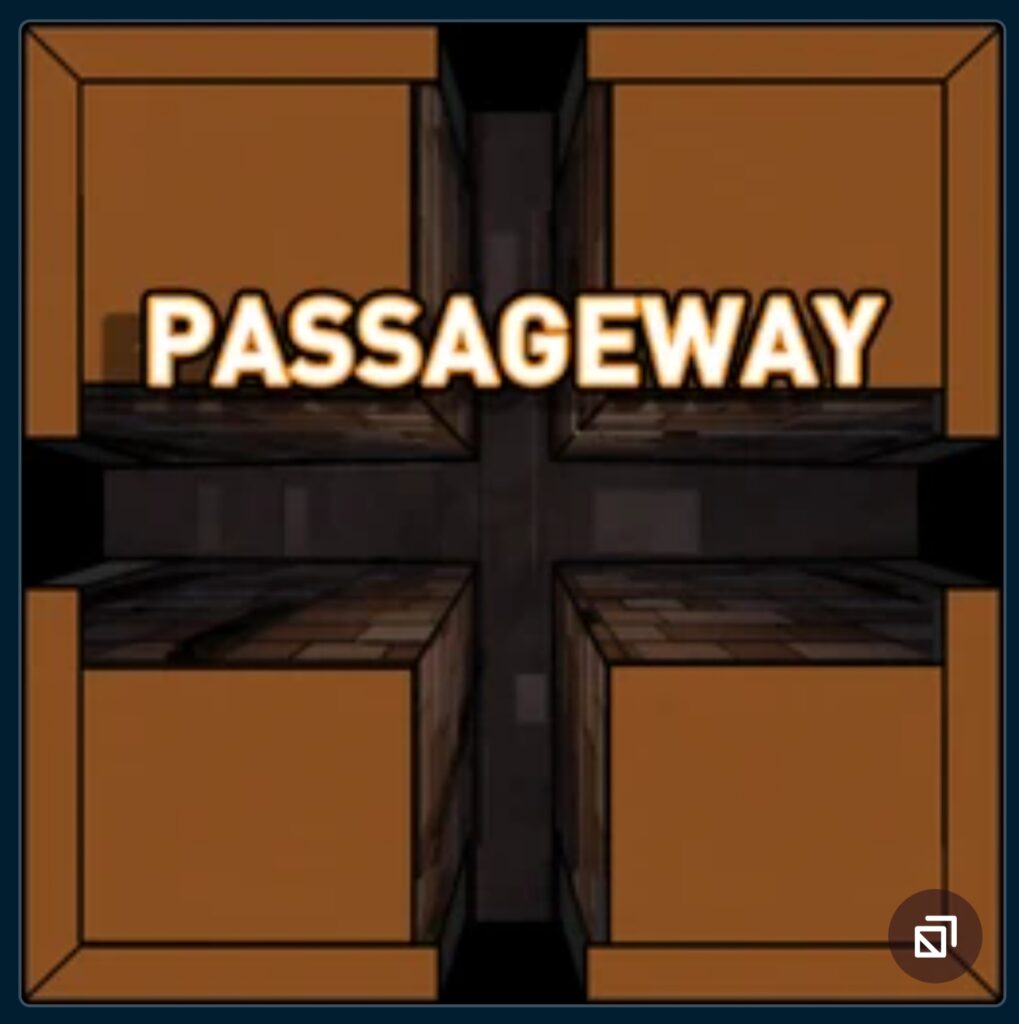
- Passageway: It costs too many gems early game
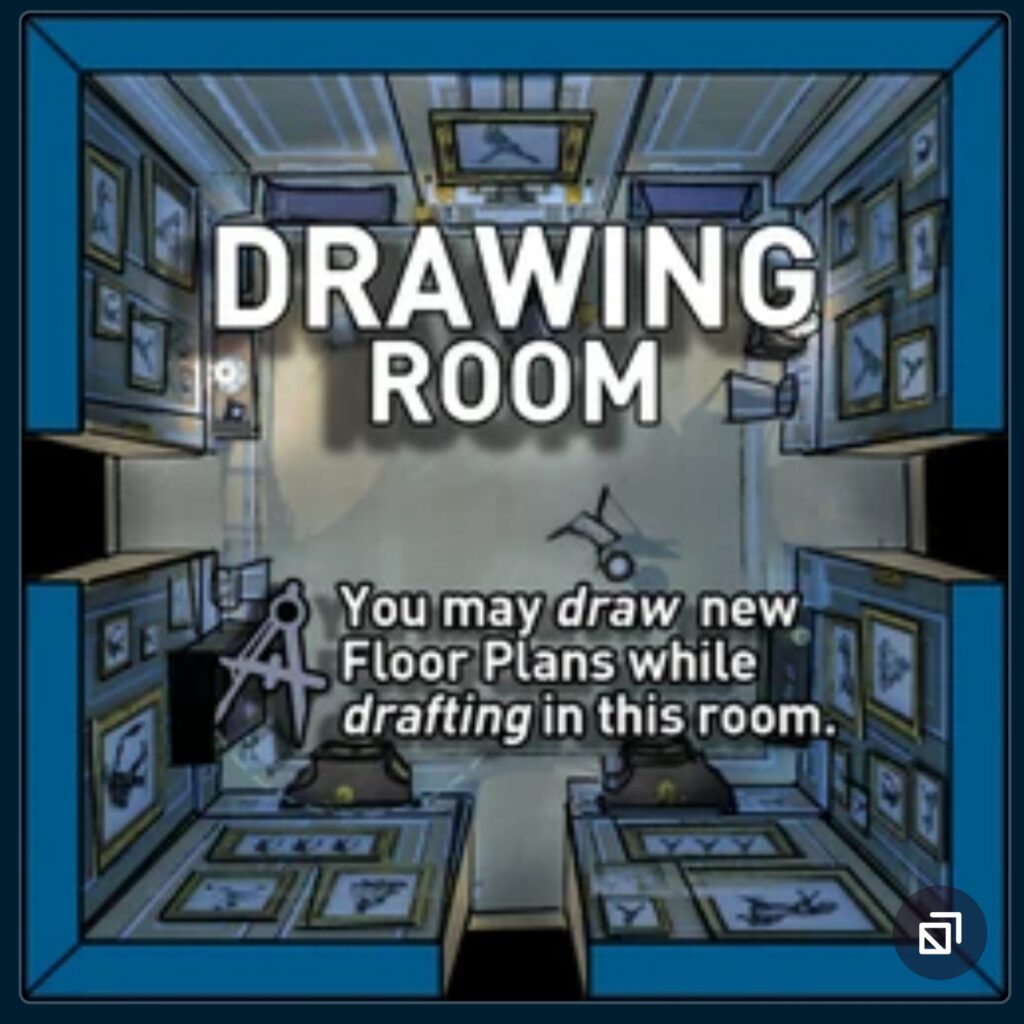
- Drawing Room: Save the re-rolls for when they matter more
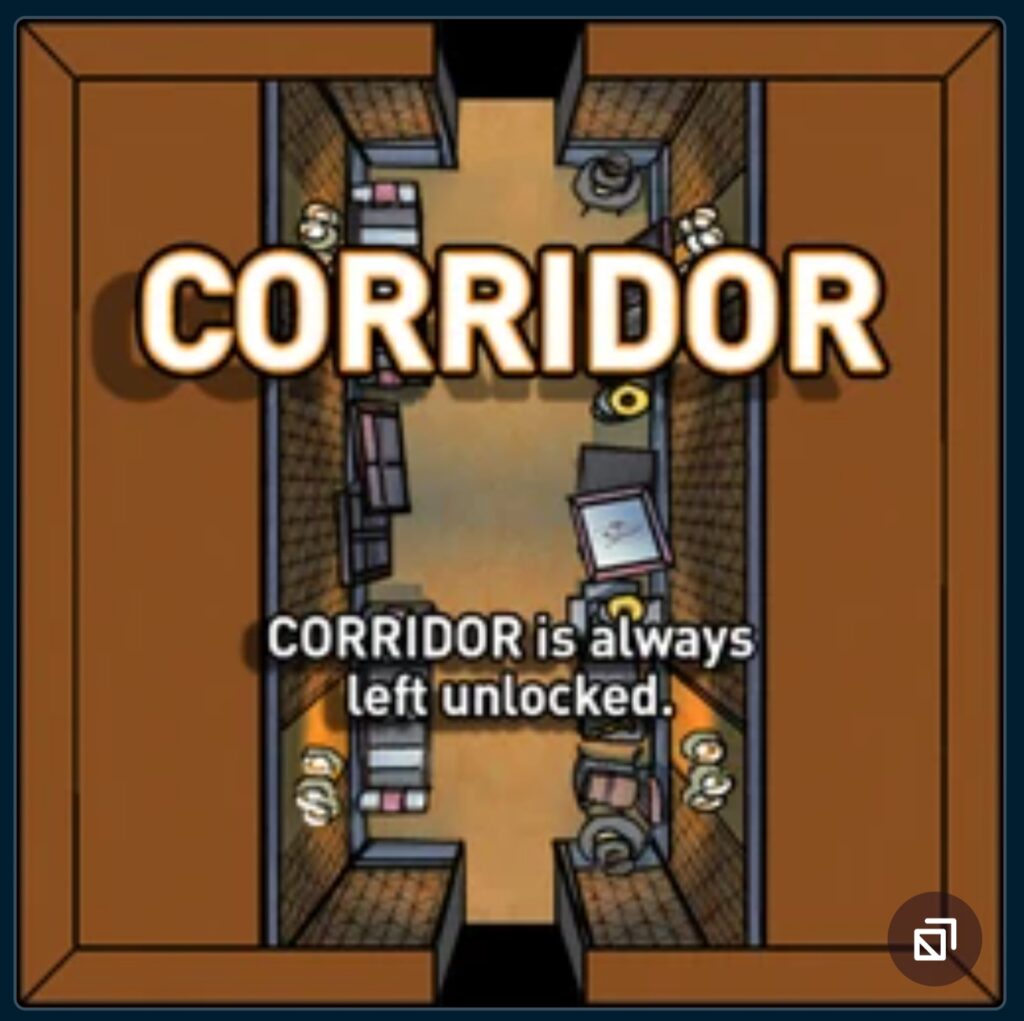
- Corridor: This Hallway is guaranteed to be unlocked. Early levels are usually unlocked anyways, save this for late game when you need to rely on an unlocked door
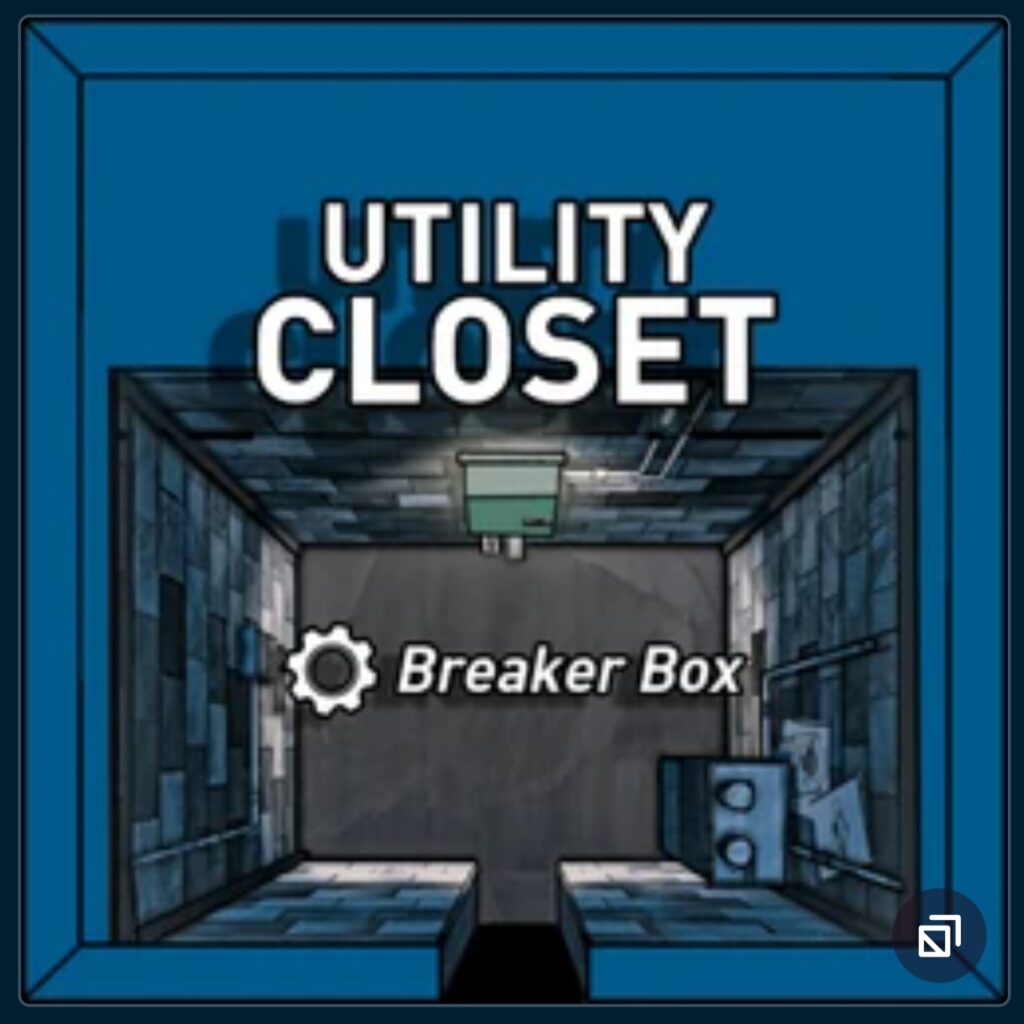
- Utility Closet: This usually doesn’t give you much value on the first 1-3 floors
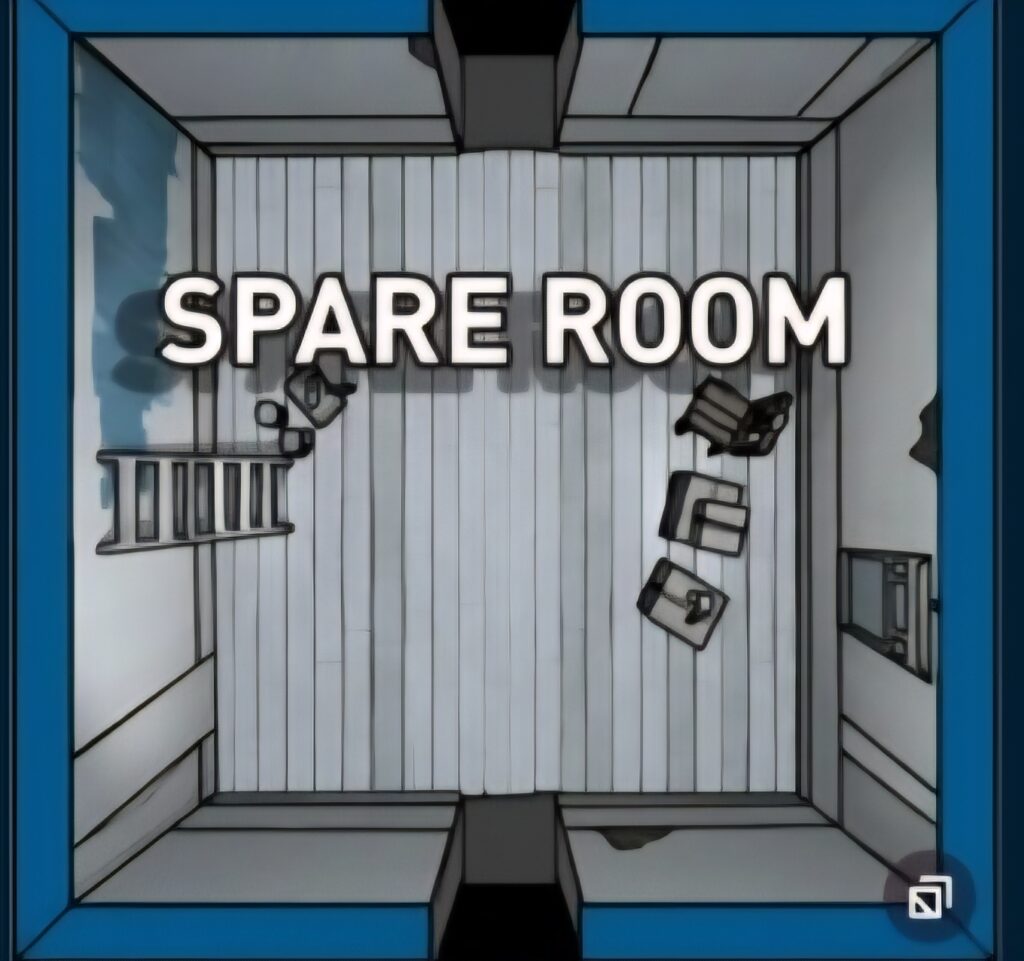
- Spare Room: This is just a hallway, so generally you want to save these for climbing north, not early game
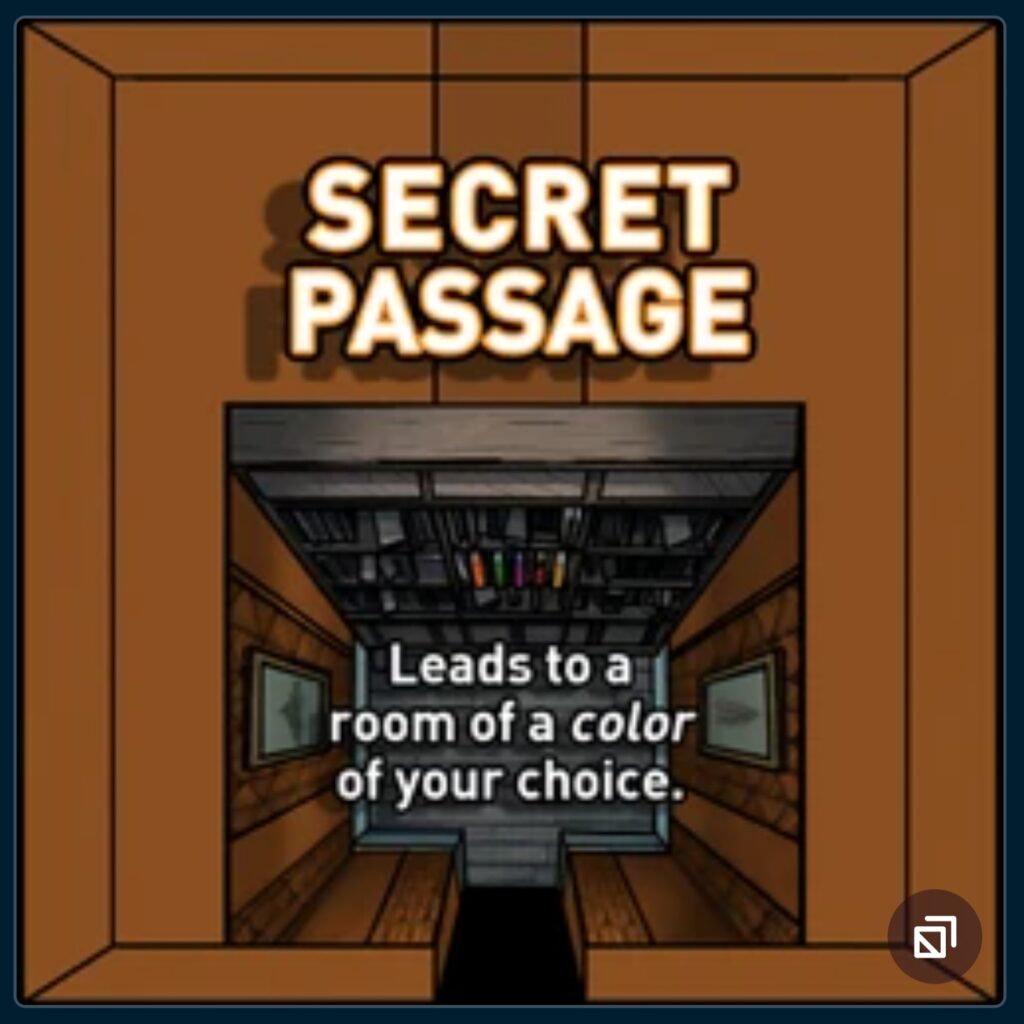
- Secret Passage: A waste of gems early game, this is useful to force draft specific rooms. Early game it becomes an expensive hallway
If you focus on these room picks to get out of the lower floors, you will discover a lot more of what the game has to offer. From here, focus on the puzzles you find, and keep inching your way towards room 46. As you continue, it will become more apparent what goals you should aim for each run.
I can’t be much more detailed here without dabbing into spoilers, so I will keep it light. In the following chapters of this Blue Prince guide, I will cover more spoiler-centered guides if you don’t care about the discovery aspect of the game. If you want light spoilers on how each room ranks on a tier list, I created one trlst featuring only rooms avalible on day 1.