If you are hunting achievements, or simply looking for a challenge, you can try beating the game in a single day. To do so requires a lot of game knowledge, a good strategy, and a bit of luck. This guide will walk you though the knowledge and strategy portions, so all you will need to get is that luck.
This is a puzzle game, so a big aspect of the game is discovering and learning secrets. This guide will definitely spoil a number of things if you are new to the game, so save this for later if you don’t want spoilers.

Key Strategies to Win
Blue Prince only allows you win by unlocking the antechamber, entering the basement, and flipping the lever to unlock the door to room 46. With that said, there are multiple ways to open the antechamber and enter the basement! Each method may be more viable than the other depending on your luck during a run, so knowing your options is important. To prepare you, lets break down ways of opening the antechamber, and ways to enter the basement to flip the final lever:
The AnteChamber Doors
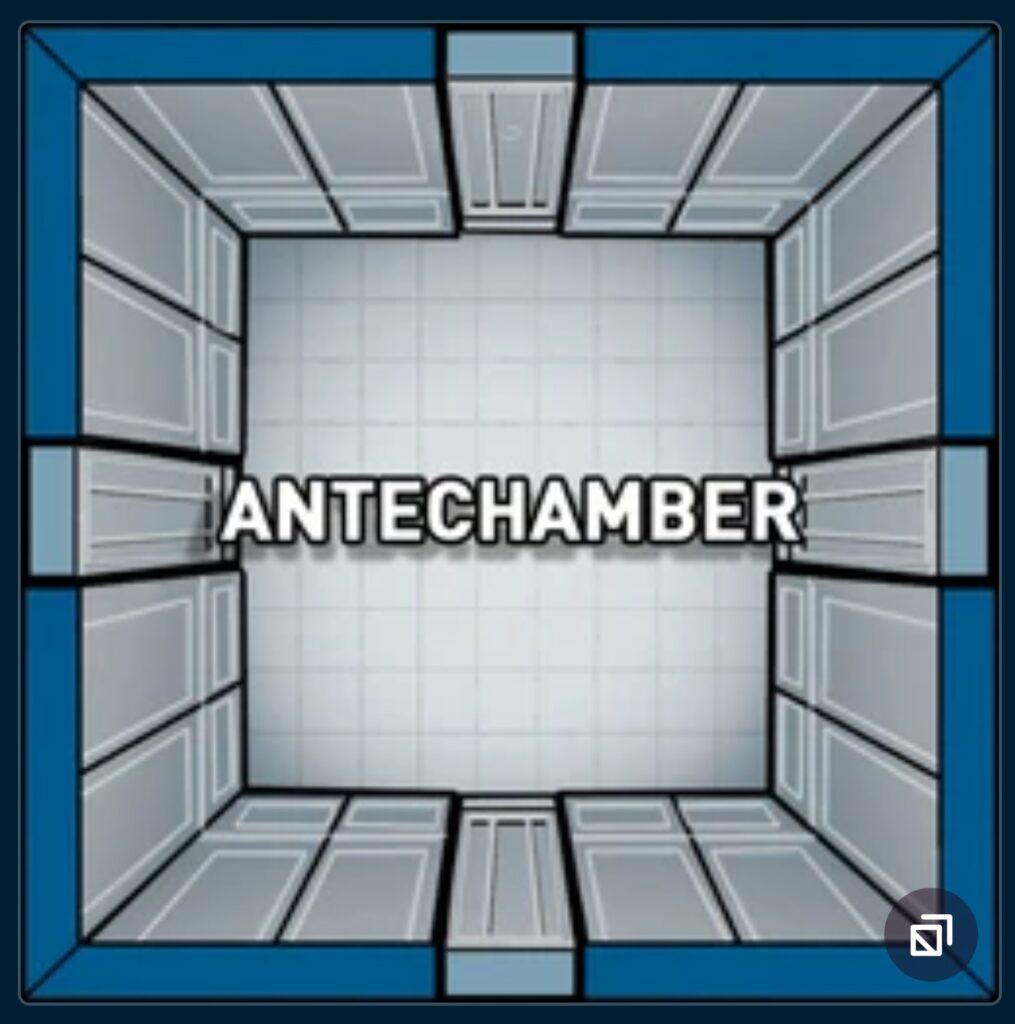
You can enter from the North, East, and West sides of the antechamber. None of them have any differences other than their ease of access, but it’s important to know how to open each door. Each lever displays which wall it will open on the small image at the bottom, with red indicating the wall it will always open.
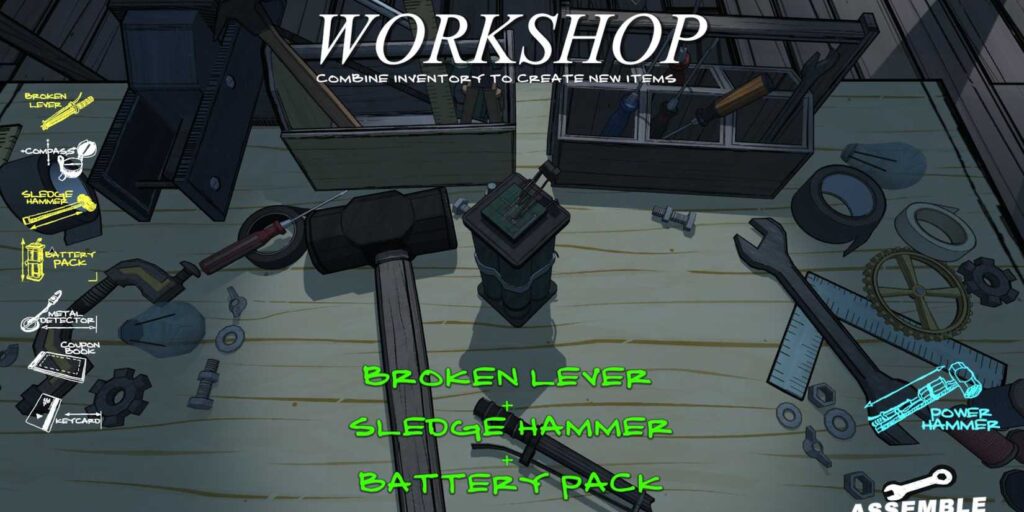
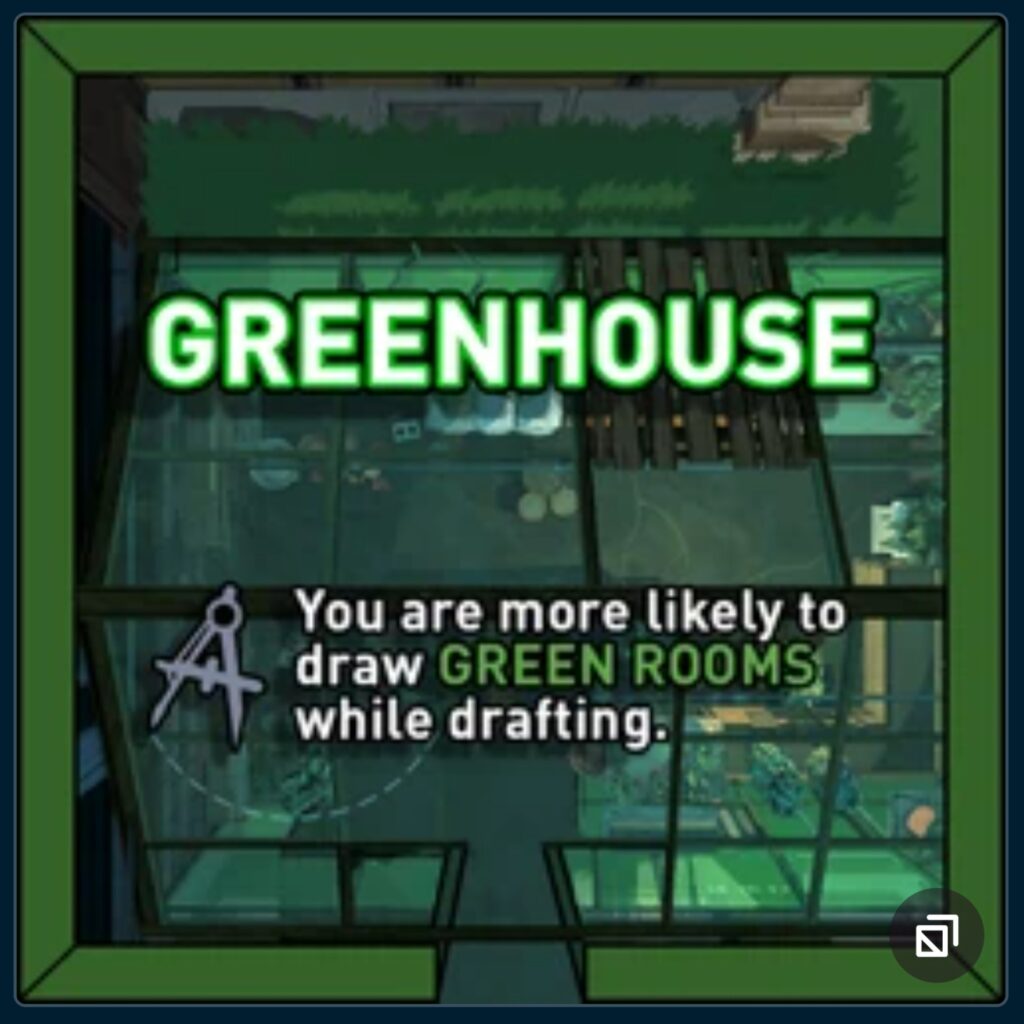
- The Greenhouse: Use the found broken lever in this room for a fast way to open the south wall. The Greenhouse always spawns on the edges of the mansion on either the bottom right or top left corners. This lore book shows the exact spaces when it mentions the “best place for a greenroom”. This makes the room easier to spawn if you find a broken lever.
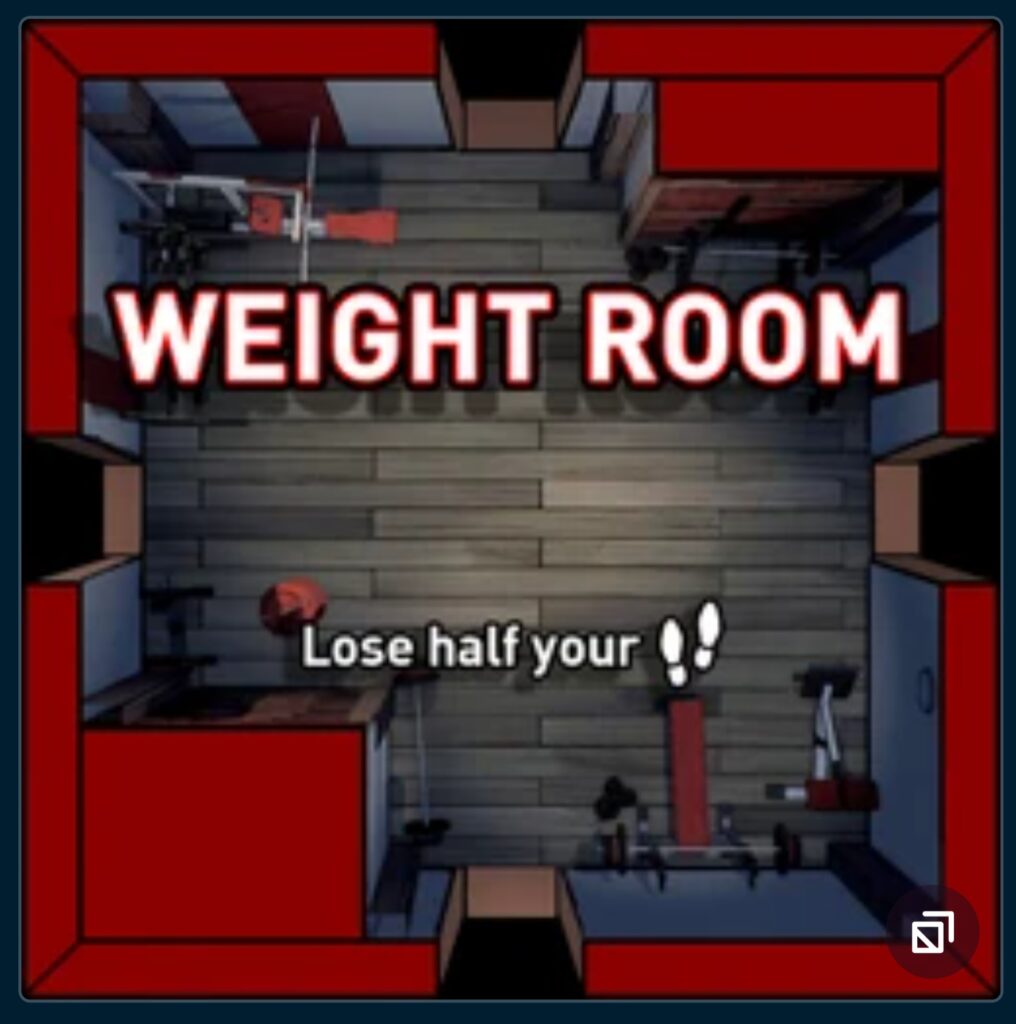
- The Weight Room: While it is a red room, you can find a breakable wall in the corner. With a power hammer, you can break down the wall to reveal a lever that opens the south wall. If you can enter the basement and flip the lever first, then draft with room (with the power hammer ready), it can be the final step in a run for you. Doing it earlier will simply make step management harder for you. I do not recommend drafting this room unless you already have the power hammer and are ready to open room 46.
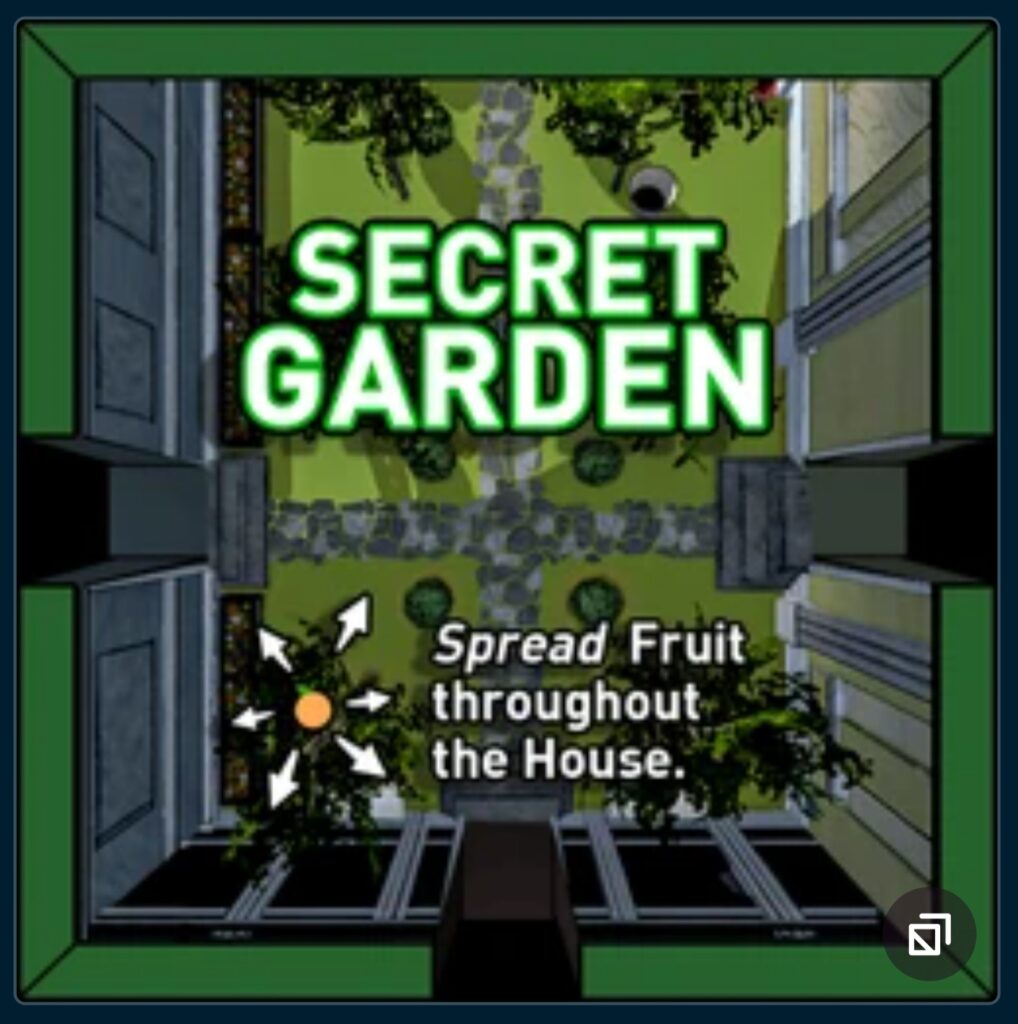
- The Secret Garden: If you find a “Secret Garden Key”, you can force-spawn this room by using the key to open any locked door along the far sides of the Mansion. Doing so allows you to interact with 2 wheels. Moving them turns arrows on a post, an aligning them all to the same direction will reveal a lever to the left side of the antechamber. If you happen to have a power hammer on you, you can break down a brick wall next to the wheels to reveal a third wheel. This lets you rotate all the arrows, which will allow the right side of the antechamber to open. For day 1 wins, this is only useful if you only have access to the right side of the antechamber.
- Great Hall: This room involves a little luck, but less luck if you happen to have a metal detector on you, or a lock pick. The 4 corners of this room all equally have a chance to spawn a lever to open the right side of the antechamber, but only 1 of the corners will actually spawn it. You can open all 4 doors if you have the keys/ lock pick to do so, making a fairly easy way to open the antechamber. If you have a metal detector, you can detect coins on a table that sits with the lever! Just hug the walls and see which corner makes the detector more reactive, then unlock that door.

The Basement
Getting into the basement is “typically” done by drafting The Foundation, but there are actually a few alternate ways down to the basement. Getting down there isn’t your only challenge though. You also have to find a way to move the mine card down the tracks so you can reach the final lever. Since there are 2 halves to the basement puzzle, you need to have a plan for both halves:
Getting into the Basement-
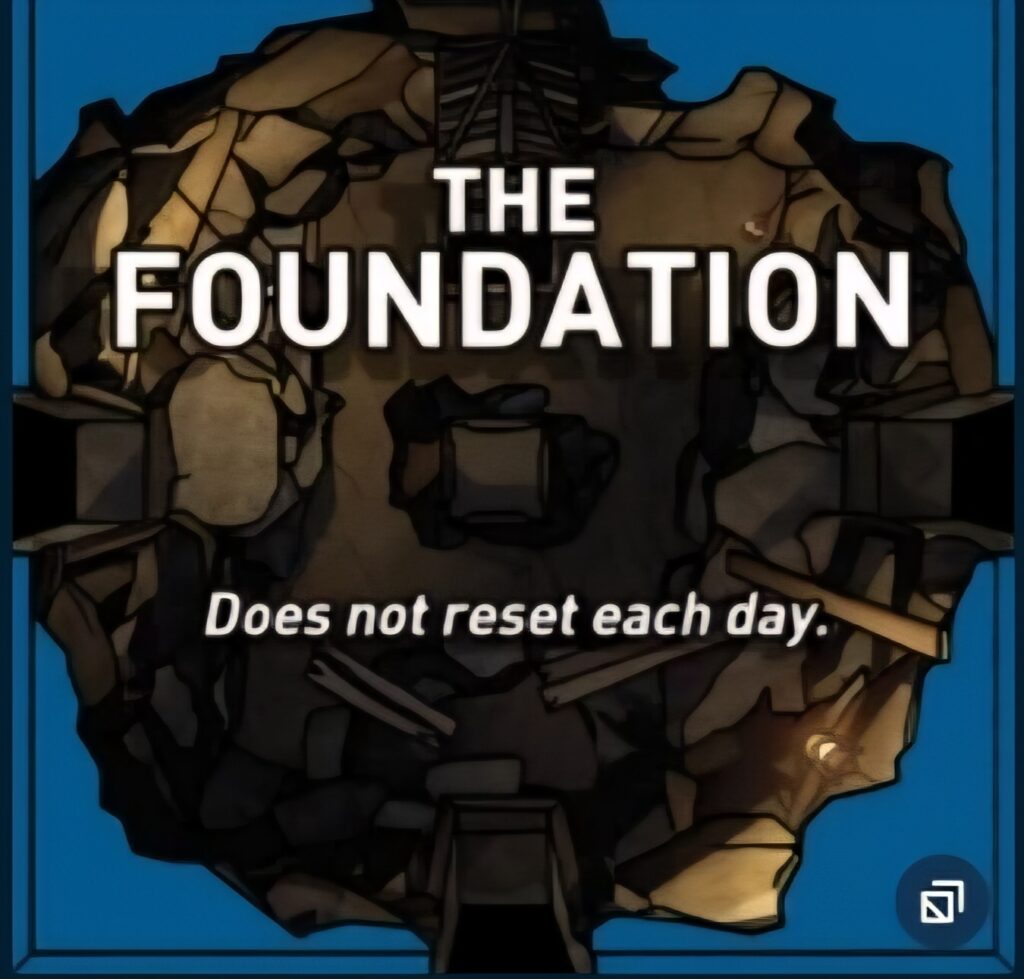
- The Foundation: If you can draft the foundation on day 1 (which isn’t common), you can take the standard route of taking the basement key from the antechamber and unlocking the basement door. You do have to draft a room with a door that opens into the back of The Foundation in order to allow the elevator to move. In my opinion, this is the hardest method to pull off in one day.
- Secret Mine Shaft Passage: If you have the power hammer, you can leave the mansion and make your way behind the fountain, down the stairs, and to your right. Here you will find a tunnel boarded up that power hammer can knock down. This will take you directly into the basement, no key required! This is the easiest way down to the basement, but it requires that power hammer to be crafted first.
Getting to the Mine Cart-
- The Catacombs: If you go outside and draft the Catacombs, you can complete the statue puzzle and open the hidden wall. This leads you directly to the Mine Cart and takes very few steps. This is your easiest and most consistent option. If you can find Dice, you can re-roll the draft picks to ensure you get Catacombs.
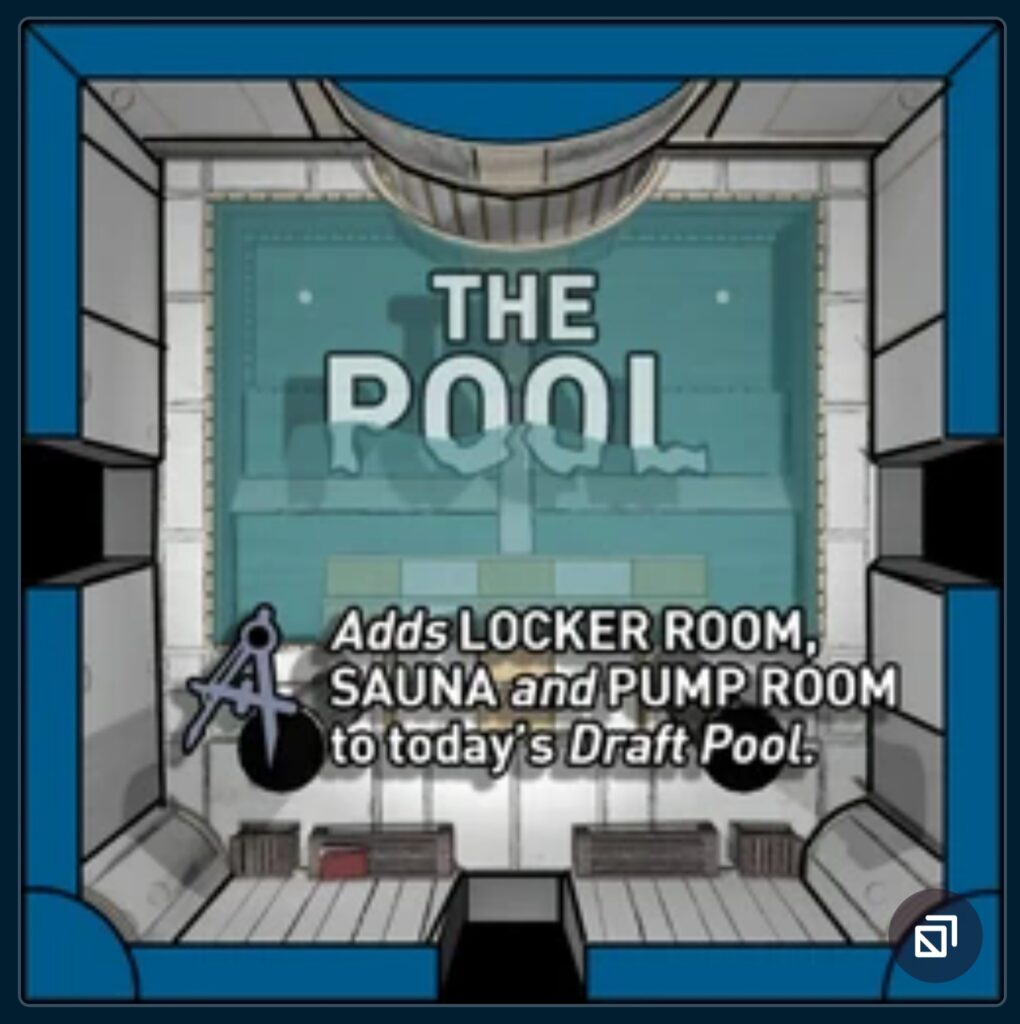
- The Water Pump Method: If you happen to draft The Pool, you can then draft Pump Room. This room allows you do lower the water level under the Mansion, which serves a couple of purposes.
- You can lower the water level of the fountain outside, giving you access to a basement key door that leads directly to the Mine Cart
- You can slightly lower the water level so that you can utilize the boat and skip the “enter the basement” requirement
Full Day 1 Room 46 Strategy
Now that all of your basic win conditions have been outlined, I will walk you through a solid strategy to get that day 1 victory.
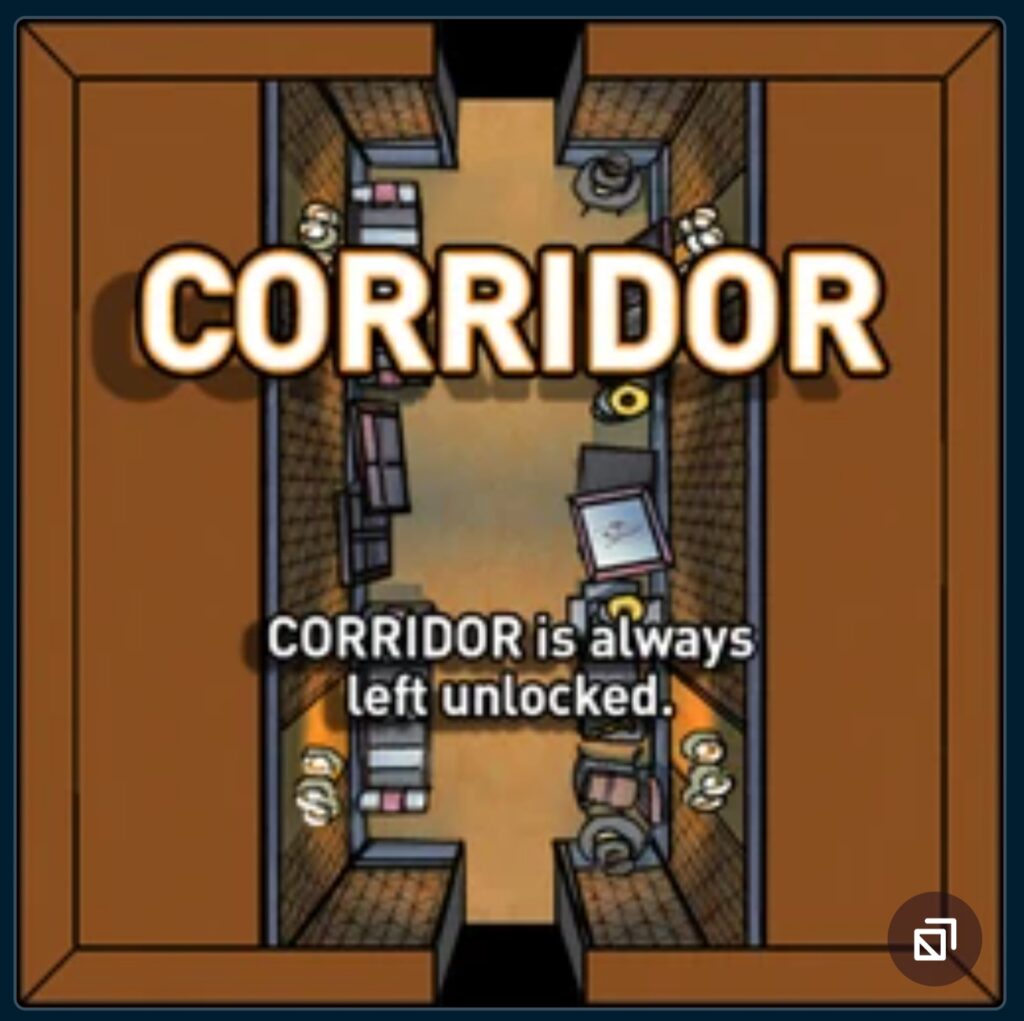
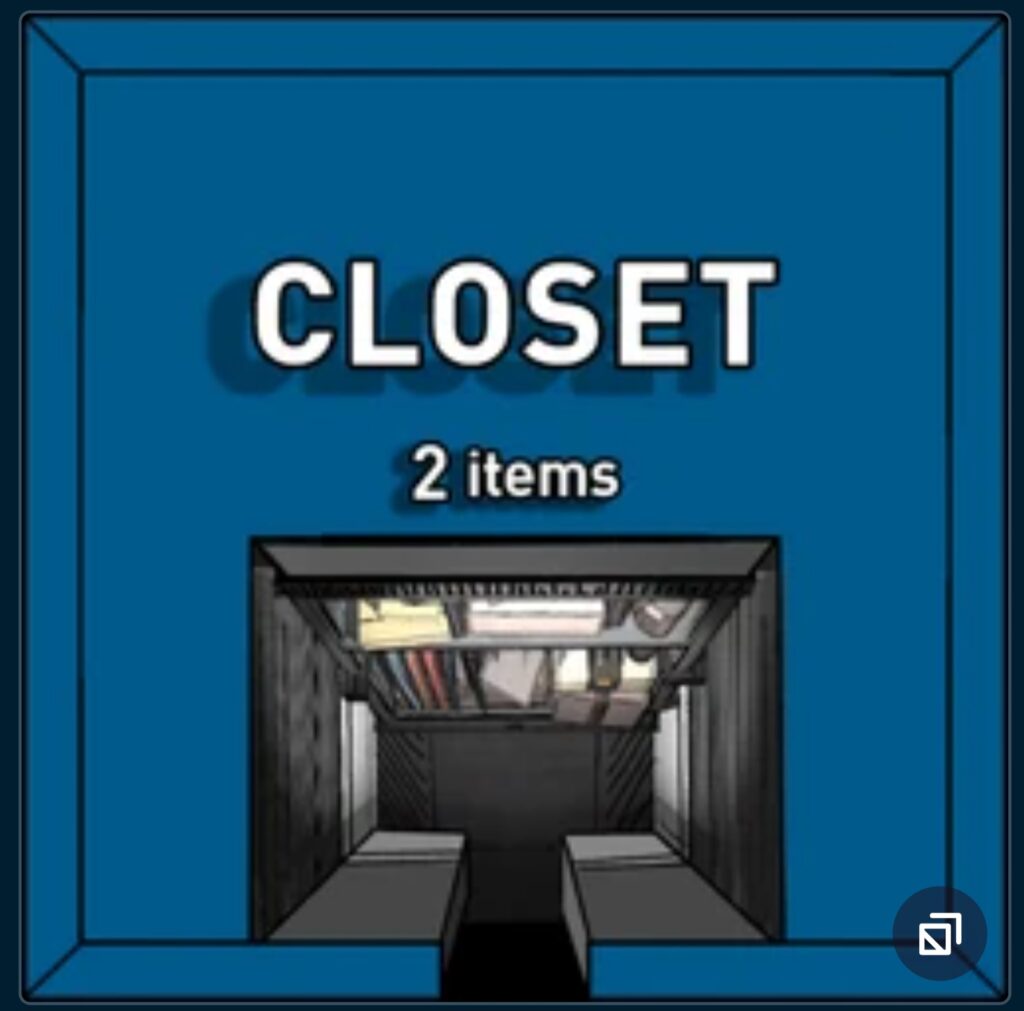
Start your day with drafting the Closet on the East door. The first door you draft tends to offer the same options on day 1, so you can bank on this being a draft pick. Ideally, you will find Running Shoes, Sleep Mask, or Dice to make the run much easier. Afterwards, draft your North door. Ideally, draft a no-gem room that moves north, but still avoid Corridor (to save it for mid to late run). Finally, draft the West door before leaving the lobby. Any room that isn’t a dead ends will work fine.
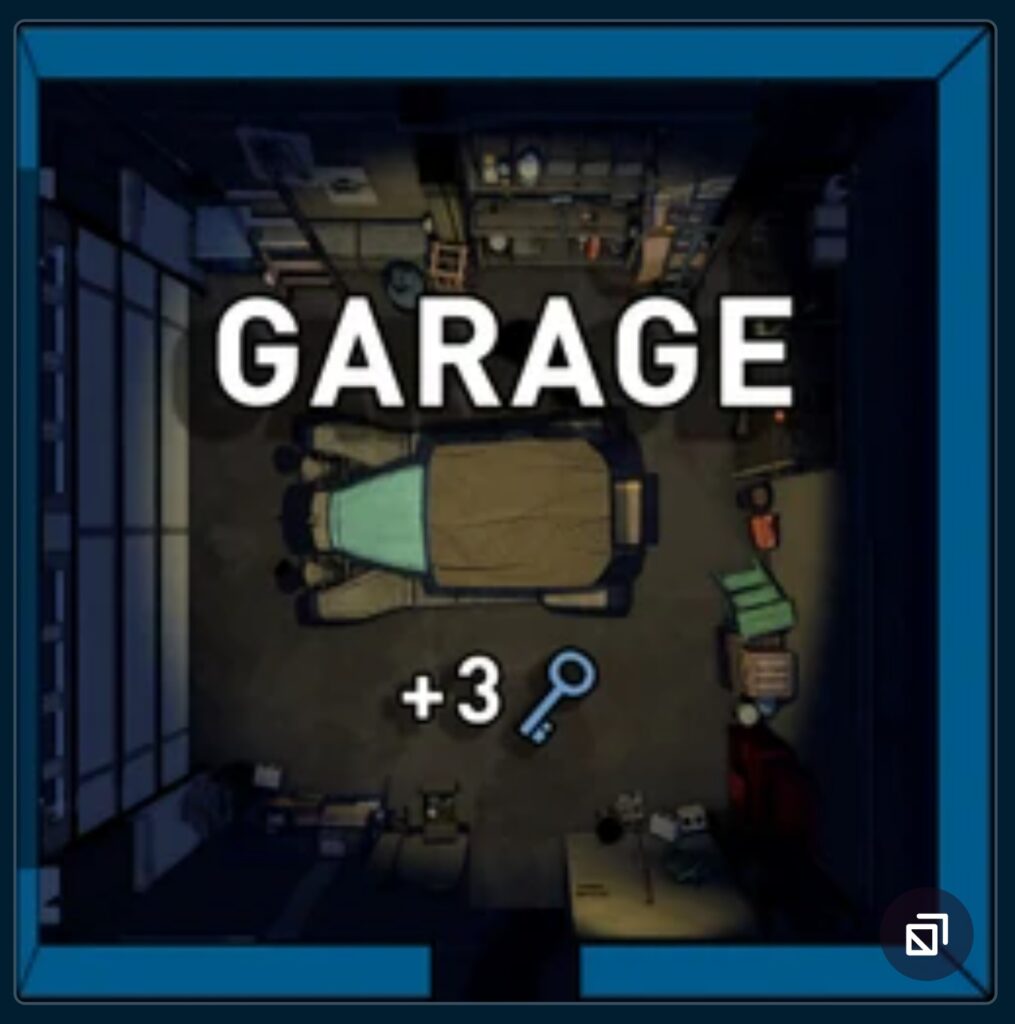
After the initial 3 rooms are drafted, make your way to the west side first. You want to draft a few rooms that give multiple doors. Your goal in this area is twofold: create a couple of pockets to draft some dead ends, and draft the Garage. Ideally, you can draft the Utility Closet as your dead end so you can give the Garage power.
After drafting the West lobby, return to the lobby and head North. Your goal here is to draft a few rooms with North facing doors, but give yourself a way to circle back to the South East corner to draft rooms in that area. Focus again on drafting as many of those dead ends as you can find places for to ensure your upcoming mid-game is much easier.
When you find a good opportunity, draft the Security Room. Here you want to shut off the Key Card power (unless you managed to find a Key Card of course) and increase the Key Card spawns to high. If you drafted that Utility Room, you can turn the power off so that Key Card rooms become free, unlocked doors. By increasing the spawns, you give your late game a much lower chance of failing due to a lack of keys.
At this point in your run, you should have enough knowledge on what kind of run you should be aiming for. Since the game requires some draft luck, its nearly impossible to guide you specifically from this point onward. Using the key strategies I listed at the start of this guide, figure out your best win conditions and dedicate to them. Abandon alternate options if you have a clearer win condition.
For example: If you have crafted the power hammer and Catacombs, don’t try drafting The Pool (or Water Pump) since you already have your win condition. If you have the sledgehammer, but no lever though, don’t disregard other win conditions just yet.
My final strategy recommendation is to slow down and count your steps. Day 1 gives you very few steps to work with, and it is one of the main ways a run can be ruined. Unless you are trying to win a speed run competition, slow down! Take your time and study your map. Each time you walk into a room, you burn a step. I have personally lost several day 1 runs because I was short a few steps (and 1 run that was literally 1 step short of a win). Moving too quickly will create those “oops, wrong direction!” moments that naturally can happen as you grind runs for a lucky run. The time it takes to complete a run is completely irrelevant unless you are making personal goals, so think carefully and plan ahead.