While your runs reset after each day ends in Blue Prince, you can unlock permanent upgrades that can boost your runs every day. This guide will cover all permanent upgrades you can get and how to get them.
As a quick disclaimer, Blue Prince is a puzzle game. The topics this guide will cover will definitely spoil some of the puzzles, so stop now if you want to discover things yourself.
Permanent Upgrades Available Day 1
The Orchard
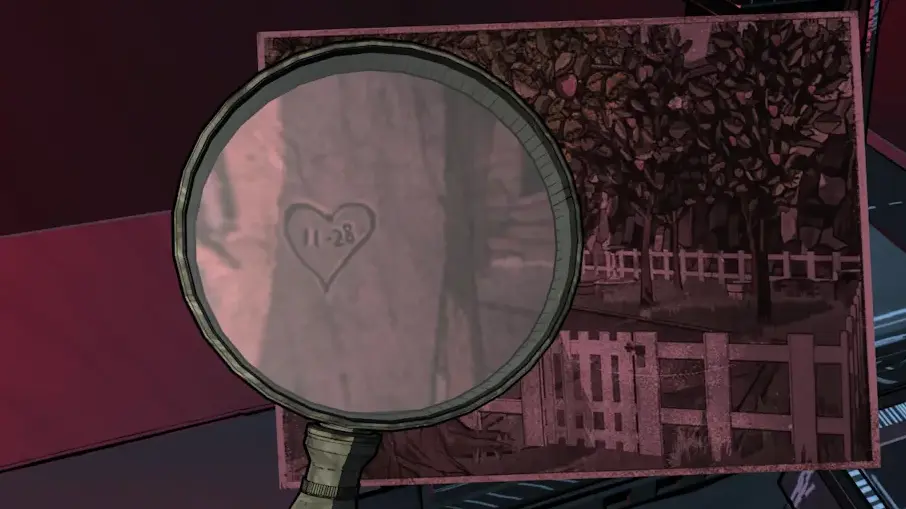
Before you even set foot into the mansion, you can head East down the paved road. Continue until you see a campsite, then take a right to move behind that campsite. There will be an apple orchard with a gated entrance, with a small lock on the gate. The game has a puzzle for the combination to that lock (shown below), but you can skip it by entering the code at anytime.
This code unlocks the orchard, which gives you a permanent extra 20 step every day! This won’t start until day 2, so don’t expect an immediate increase in your steps.
The Outside Room
You may notice a fence with a locked door blocking a mysterious shed to the west side of the mansion. This is the game’s outside room, and it offers 8 unique rooms that you can draft once a day. If you unlock that fence gate, you can enter it daily before entering the Mansion!
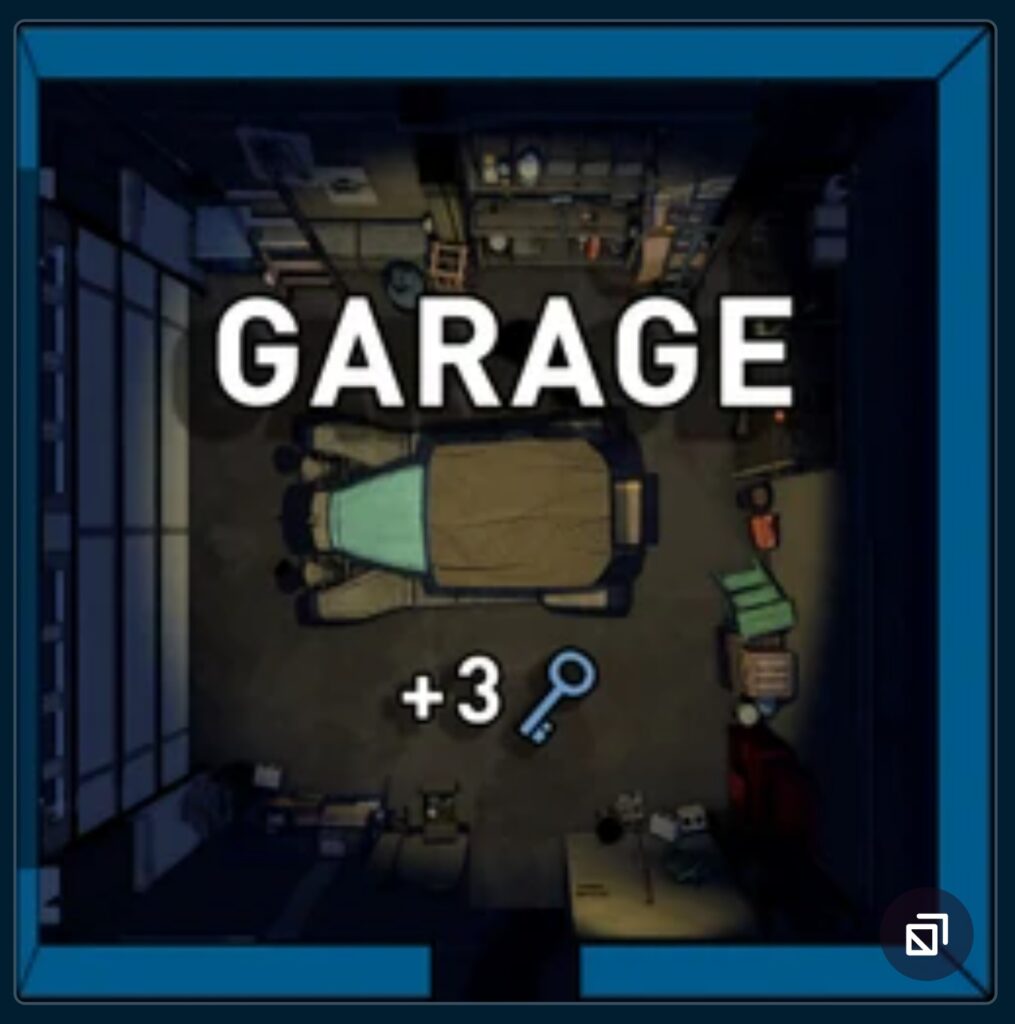
To unlock the gate, you will need to draft the Garage and Utility Room. Garage is only draftable on the far West wall of the Mansion, and it will only be draftable if you are facing North or West. As a small bonus, the room always gives you 3 keys to help you find that Utility Closet.
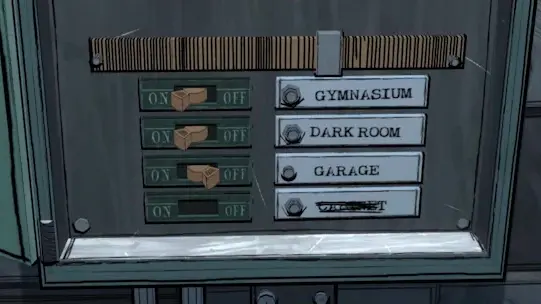
The Utility Closet is necessary to give the Garage power, which will let you head outside. Unlike the Garage, it doesn’t have any specific draft requirements to spawn, so you can use the East side of the Mansion if you need to. Once drafted, simply flip on the “GARAGE” breaker switch.
After both rooms are drafted and the breaker has been turned on, head back to the Garage. You can now press the Garage door button located in the room, on the wall directly next to the door. This button will open the Garage door, allowing you to venture outside the West trail. Head south to that locked fence from before. Now that you are on the inside of the fence, you can interact with it and open the fence. Doing so will permanently unlock that section for future runs. As a bonus, you can use the outside draft room on day 1 too!
The Gemstone Cavern
This one is super easy, especially if you already have the Utility Closet drafted. Simply head to the room and interact with the breaker box.
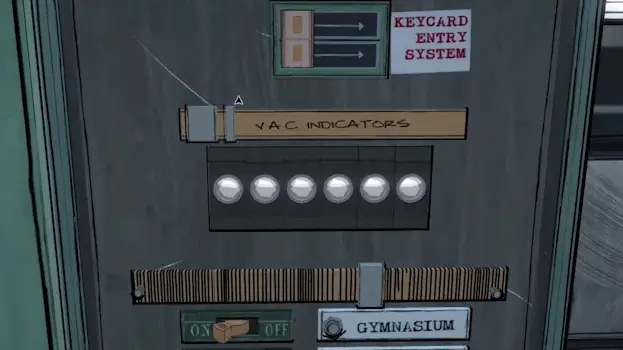
You will notice if you press a button on the VAC indicator, it changes colors. Your goal for this puzzle is to make every light a different color: Off, Blue, Green, White, Red, Purple. If you feel like doing a small puzzle for fun, you can figure it out to unlock the Gem Cavern. If you simply want the solution, press the lights in the following order:
- Turn the buttons green by pressing: 1 2 3 4 5 6
- Press the buttons so that all the lights turn blue (except for the last one) in the following order: 1 2 1 2 2 3 4 5 6
- Now you want to turn all of the lights purple. Press the buttons in the following order: 6 6 5 5 5 4 4 4 3 3 3 2 2 2 1 1 1 1
- To finish the puzzle and set all of the lights to different colors, press the buttons in the following order: 4 5 6 6 6 6 5 5 5 3 3 3 1 1
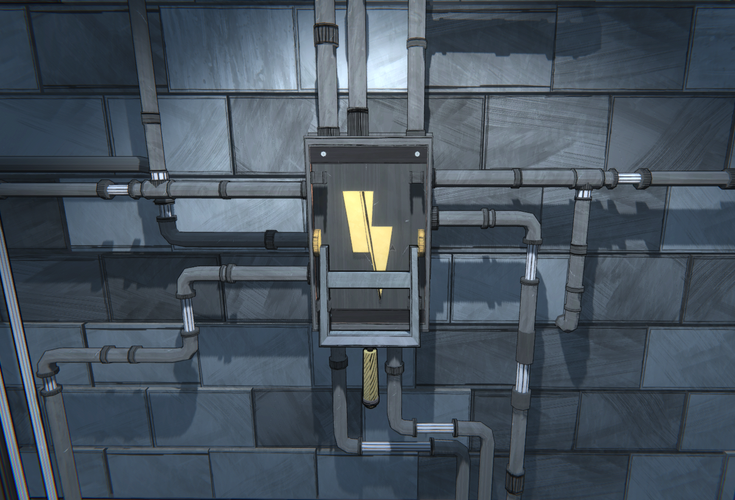
After the puzzle is completed, a hidden room will appear that will give you a power switch to open the Gem Cavern! Doing so will grant you 2 gems each day at the start of your run.
As a quick warning (and hidden tip), you can actually visit the Gem Cavern by heading down the East road (like you are going to the Campsite or Orchard. You can then use the Jackhammer inside to mine additional gems! However, each time you mine, there is an increasing chance that the cavern will collapse! Doing so will remove this bonus permanently from your save file. The gems you can mine are only good for that run you are in, so don’t mine unless you find it absolutely necessary!
Long Term (Complicated) Upgrades
Blackbridge Grotto
This upgrade is surprisingly easy if you skip all of the puzzle solving aspects. All you need to do is draft the Boiler Room and Laboratory. They can either be side by side, or connected by any room that carries power (such as Corridor, Archives, or any room with power ducts on the ceiling).
Once the power is on in the Boiler Room and you can power the Laboratory, make your way to the control unit in the corner if the room. If you want a puzzle, you can do a bunch of tasks to figure out which levers should be flipped. If you want the direct and easy method, simply flip the switch labeled 9, then immediately flip the switch labeled 3. That’s all!
After that, you have successfully unlocked Blackbridge Grotto. There is more puzzles that are unlocked with this room, but it has a permenant upgrade that is more useful for runs. You can access 1 computer per day that is in a room you haven’t drafted yet. In other words, if you draft Security Room, you can log onto that computer and gain remote access to any other computer. Use this to log onto the Laboratory computer to use experiments without needing to actually draft Laboratory!

Satellite Dish
This is easily the most complex upgrade to get, but doing it let’s you access more lore/puzzle information (and more excitingly, access to more lab experiments!). If you want more practical upgrades, you can safely skip this one for now.
If you want to get the upgrade, here’s the quick guide on how do to it (only the solutions here, skipping the puzzle portions). You will need 3 things:
- Unlock the Orchard
- Have either the Self Igniting Torch (from the Armory) or the Burning Glass (craftable item)
- Collect all 3 Microchip pieces
If you haven’t collected the Microchip pieces before, you will have to unlock the Blackbridge Grotto first. Once unlocked, you can go inside to find a pedestal in the center of the room. One of the 3 Microchip pieces will be inside the pedestal already. As for the other 2 microchips pieces:
- In the Entrance Hall: In the back corner of the room, you will see a vase. By smashing it with a sledgehammer or power hammer, one of the microchips will fall out onto the floor.
- On the West Trail: You will have to have access to the outside room to get this one. If you have the Shovel, head to the bridge leading to the outside room. On the ground at the bottom right post, you will see a dig symbol that will allow you retrieve the 3rd Microchip.
Once all 3 microchips are acquired, head to the Orchard with your Self Igniting Torch or Burning Glass. There you will find a sun dial. You can use either item on the base of the sundial. Afterwards the dial will open, revealing 3 open slots for you to place the Microchip pieces into. After doing so, you will get your permenant unlock.
Blue Tents
This one is pretty simple, but requires you to “beat the game” by reaching room 46. After you win, you get Mount Holly Gift Shop added to the draft pool. Once you draft it, simply collect a mere 400 coins and purchase the upgrade in the shop. Once done, the game will permenantly spawn blue notes on the 8th rank, which detail puzzle secrets you will need. If you aren’t trying to solve puzzles though, this addition isn’t very useful.
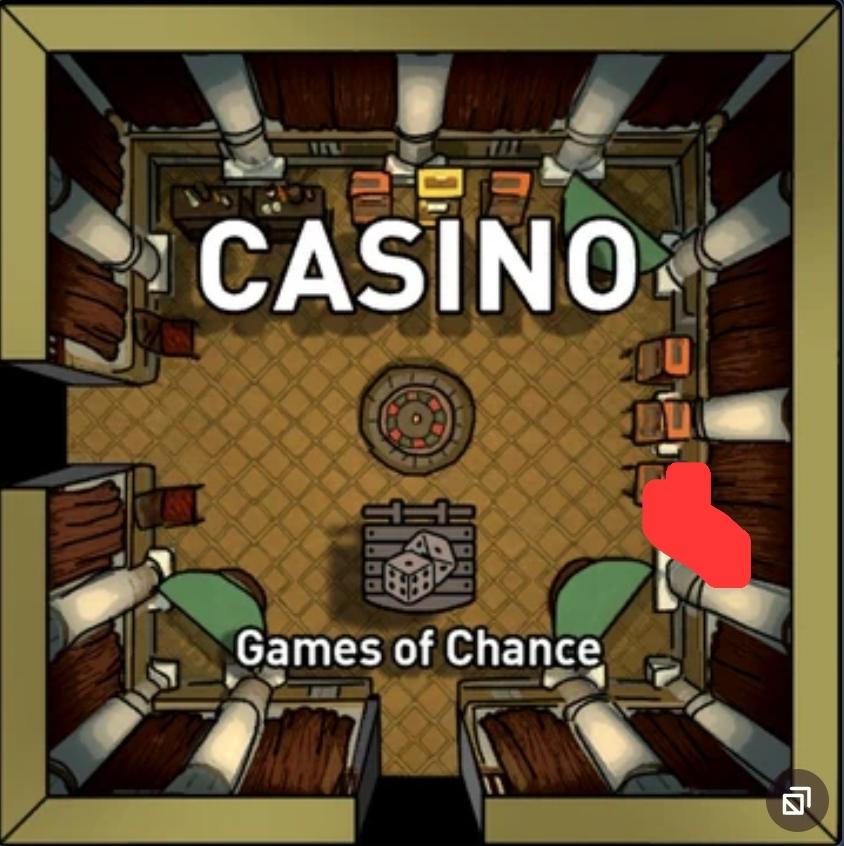
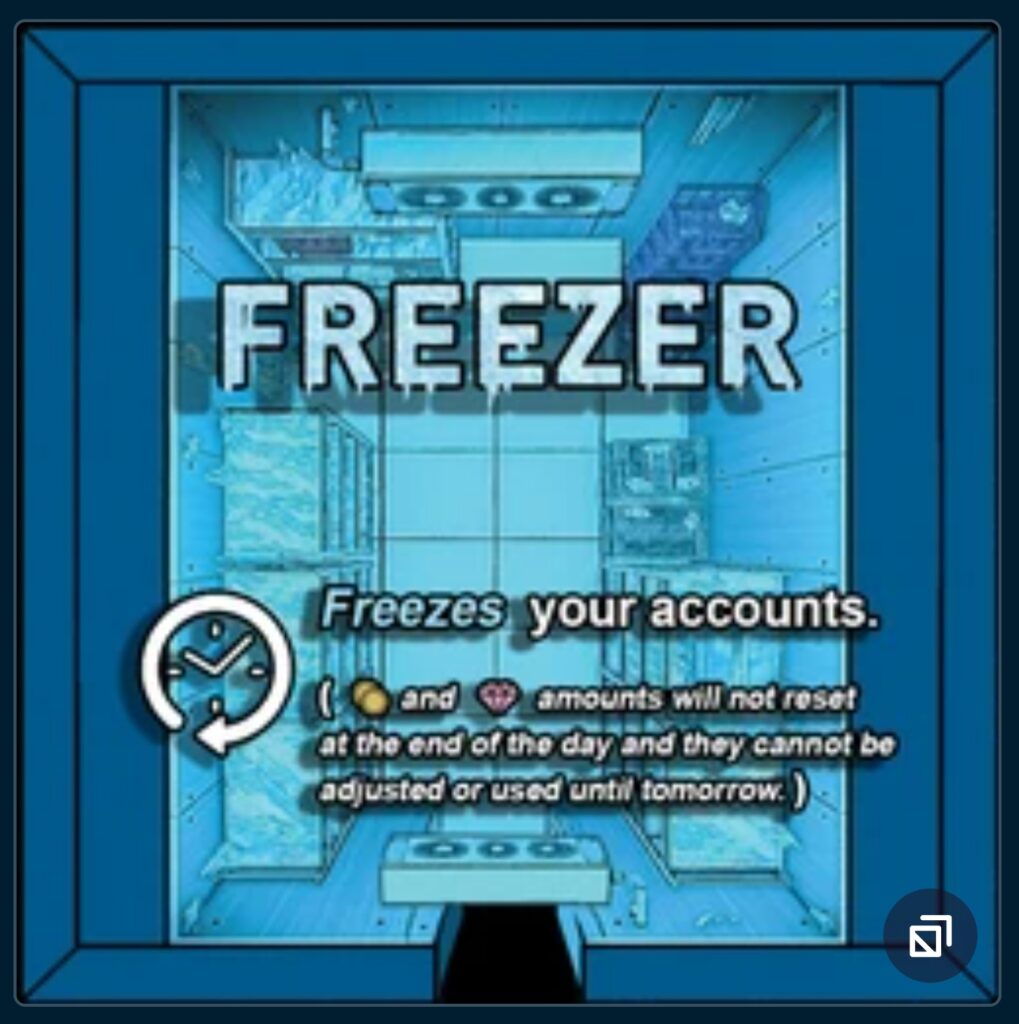
If you need help getting 400 coins, try drafting the Casino to farm coins from the slot machines. You can also draft the Freezer to roll your coins over to the next day.