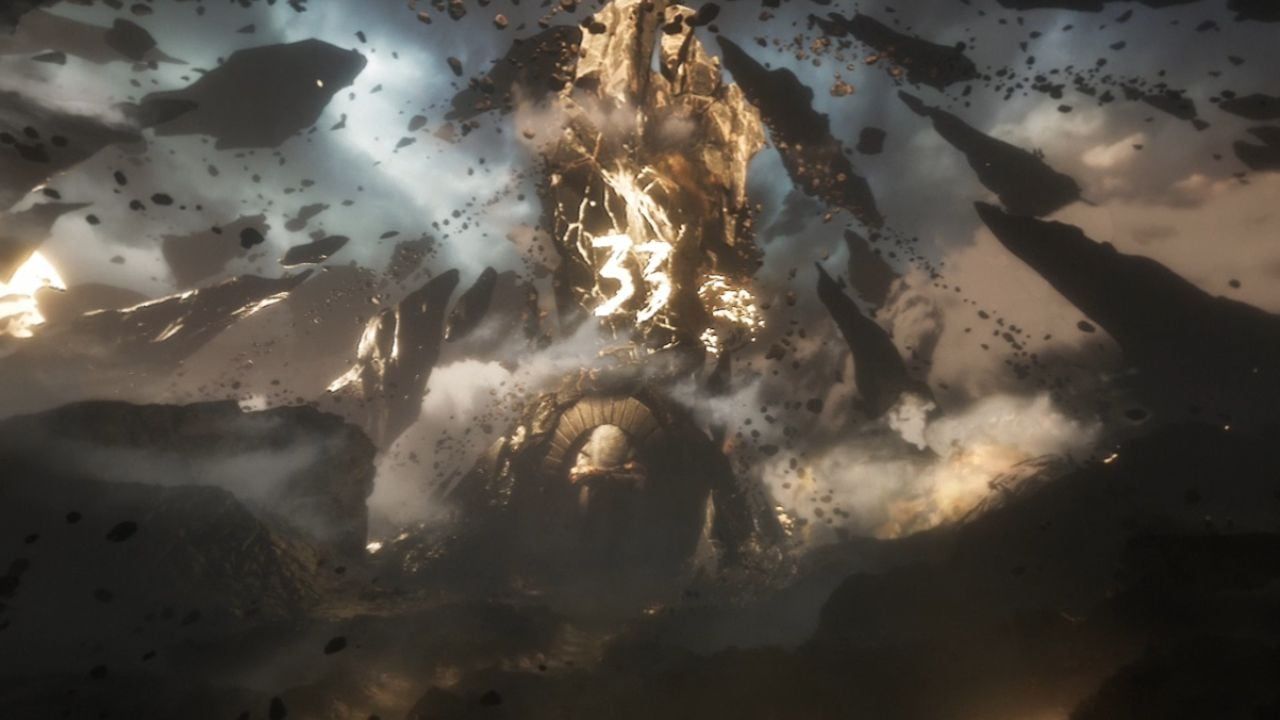
The Monolith is the final dungeon before facing the Paintress. It’s the largest and most complex area in the game, pulling together environments from every region you’ve explored. Take your time here, there’s a lot to collect.
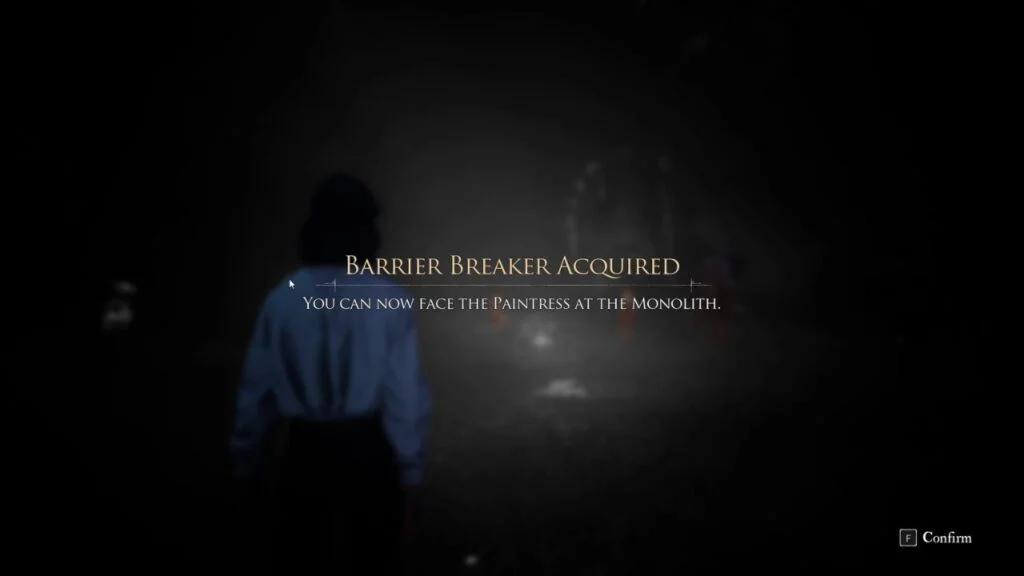
After defeating Sirene, you return to camp. The most important thing you receive is Maelle’s Barrier Breaker weapon, which you’ll need to get into the Monolith.
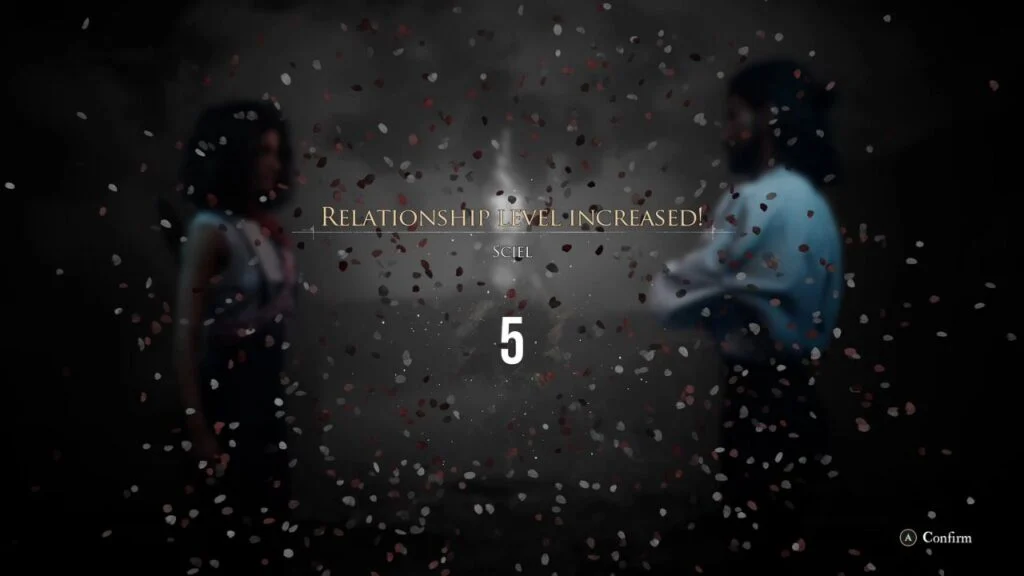
Before leaving, raise your companion relationships. Sciel and Lune can reach Level 5, and Monoco can reach Level 4, though you’ll need to fight him for that one. Maelle and Esquie aren’t available for upgrades yet.
Spend your Attribute and Skill Points, visit the Curator to upgrade weapons and Lumina, and write in Gustave’s Journal. Also, select “Check Up on Others” at the campfire, it triggers an important cutscene. Then go to sleep.
The Monolith Entrance
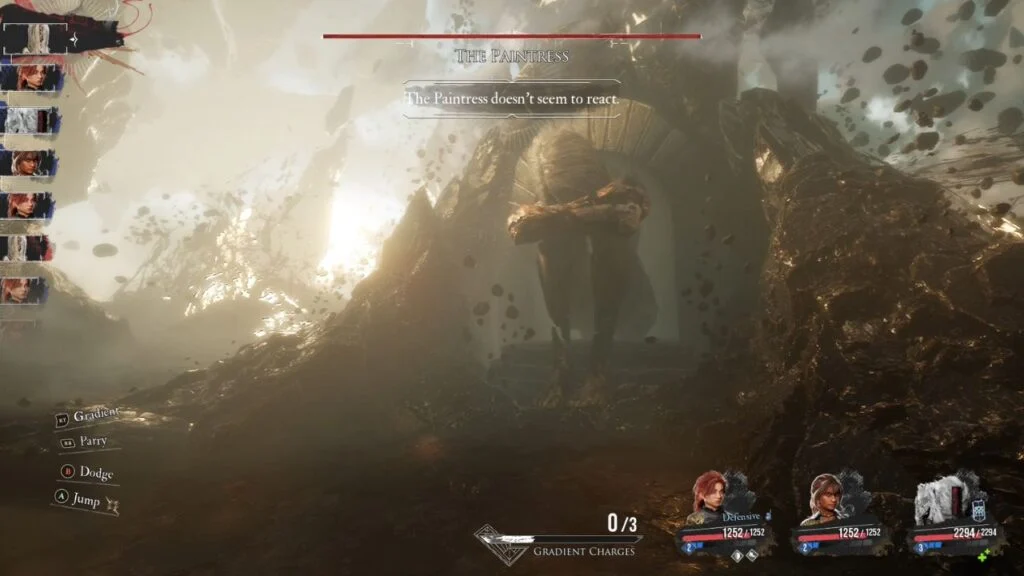
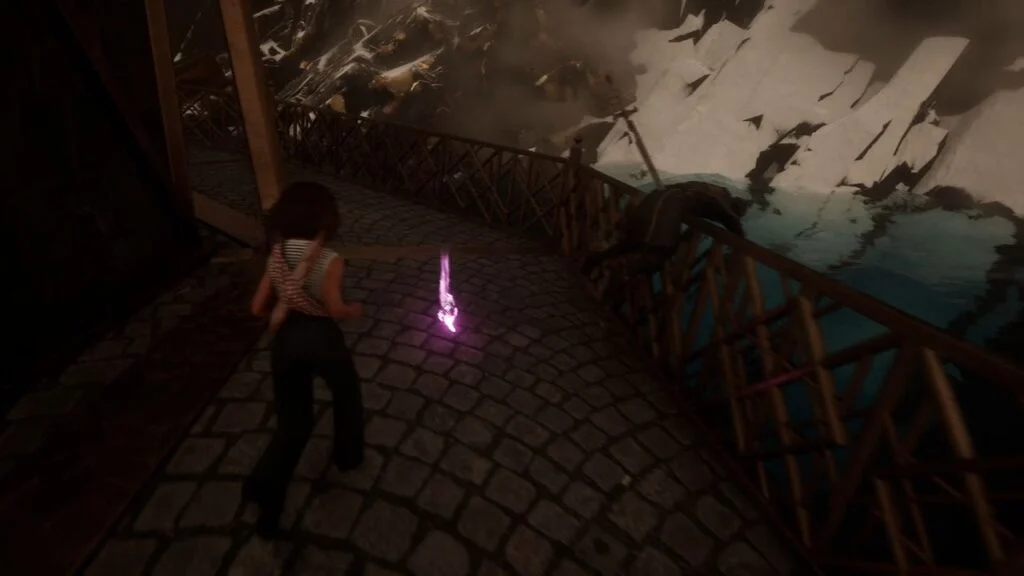
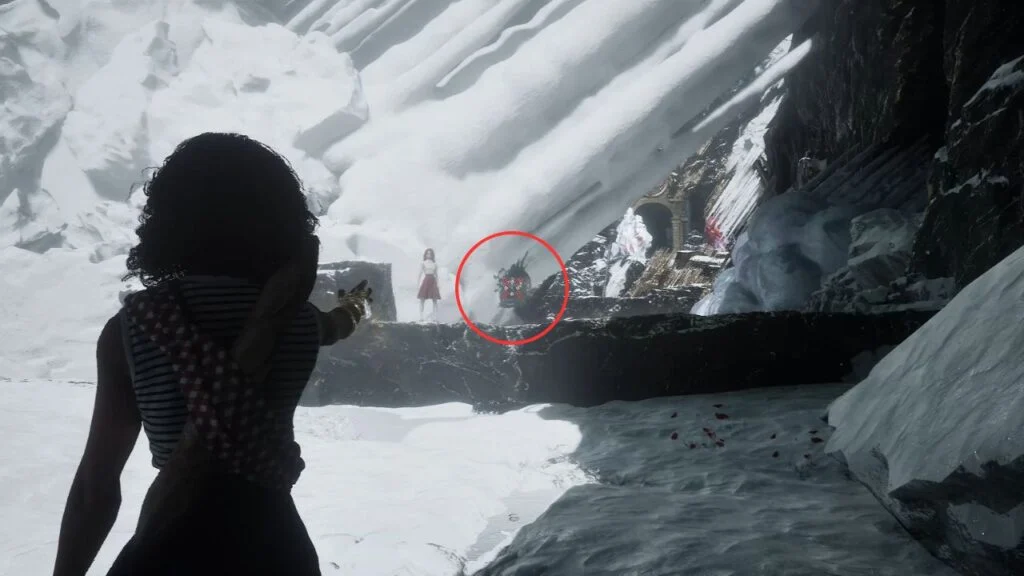
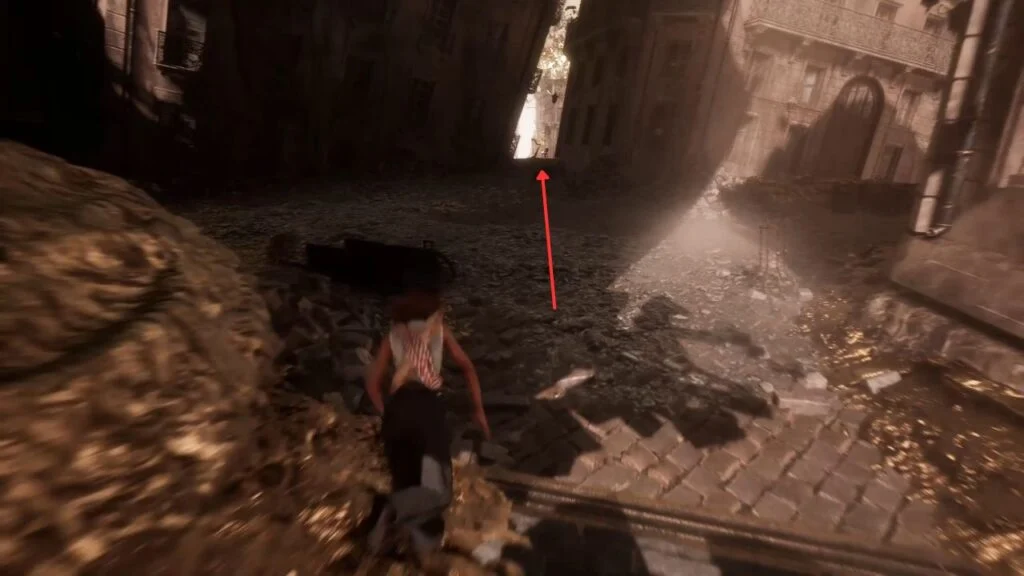
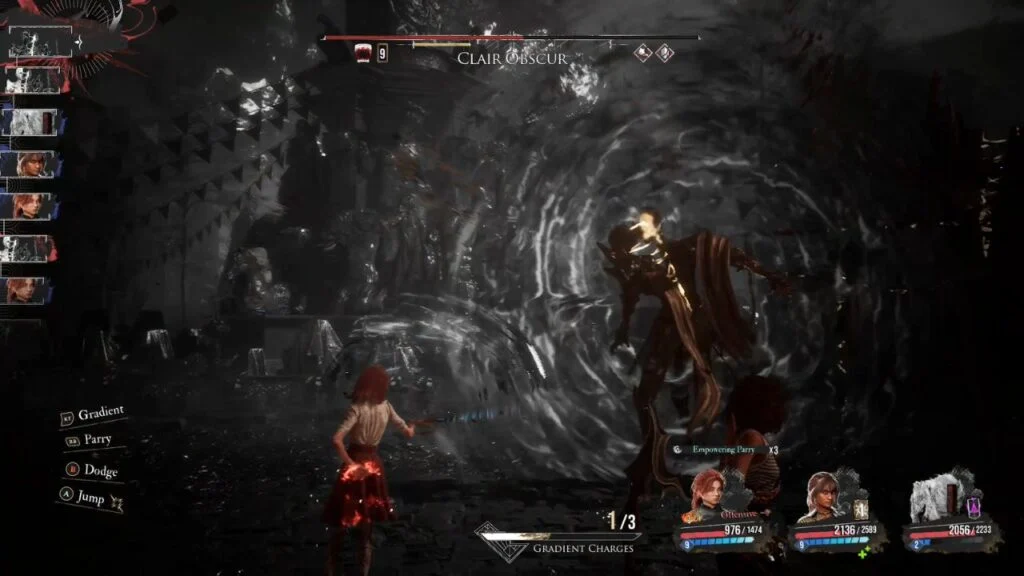
Head to the northernmost point on the map and break the barrier with Maelle’s new weapon. Activate Expedition Flag: The Monolith Entrance. Walking toward the Paintress triggers a fight, but you can’t damage her at all, this is intentional.
Just attack for 2-3 turns and the battle ends automatically. You’re transported inside the Monolith.
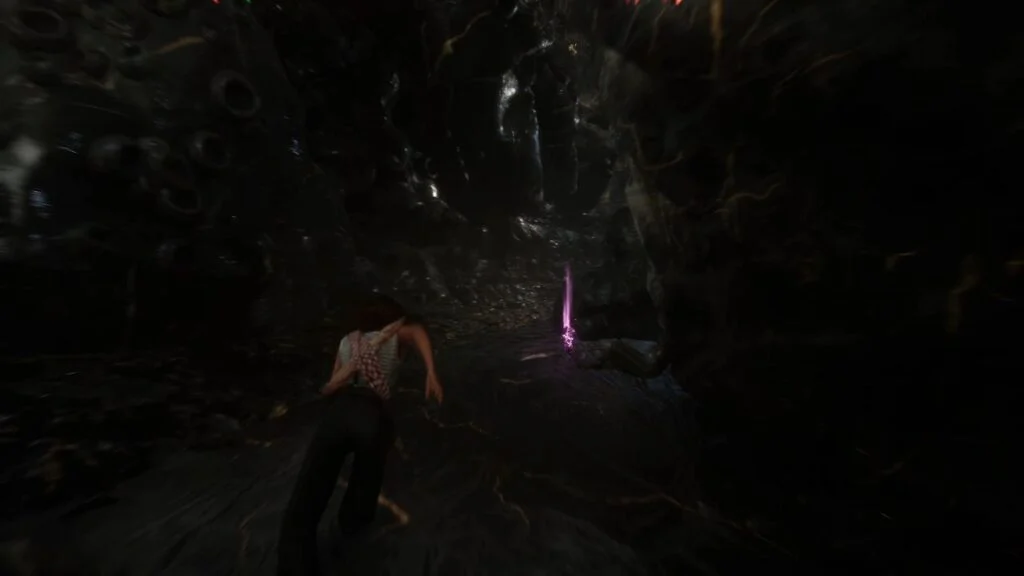
Inside the Monolith
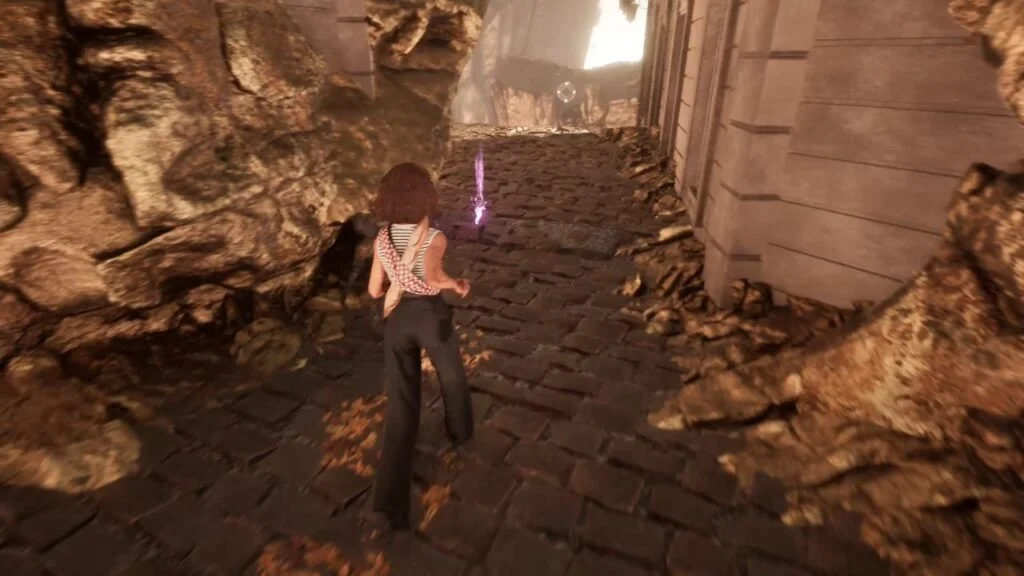
Activate Expedition Flag: Entrance. The dungeon recreates environments from your entire journey, and you’ll encounter familiar enemy types throughout. If you haven’t had Monoco in your active party since recruiting him, use this opportunity, defeating enemies with him unlocks new abilities.
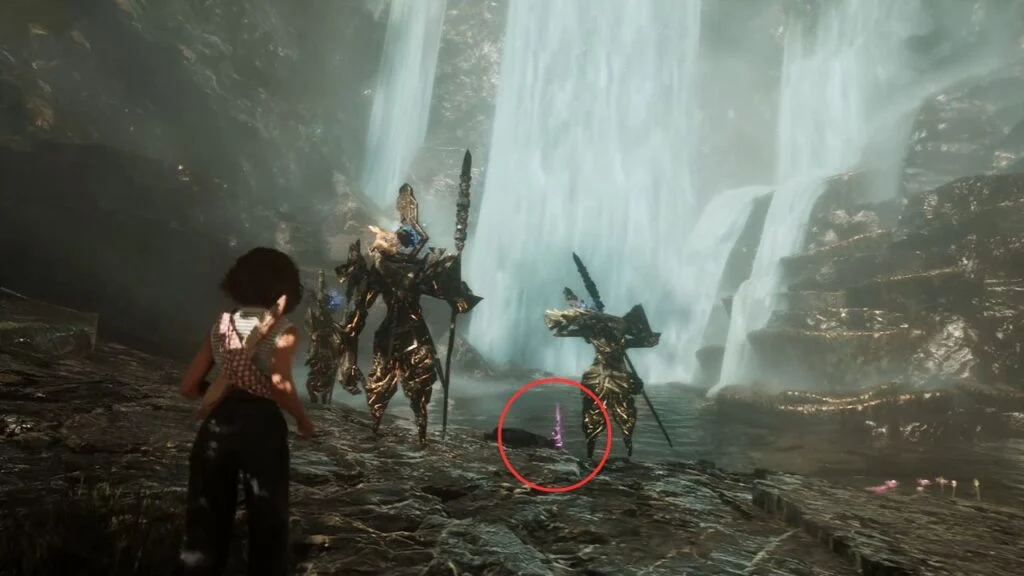
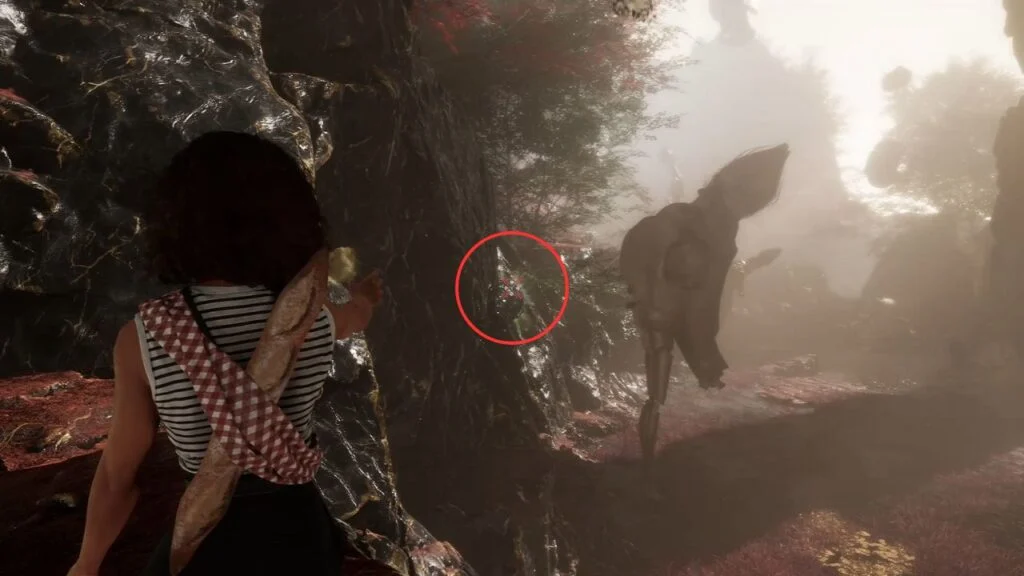
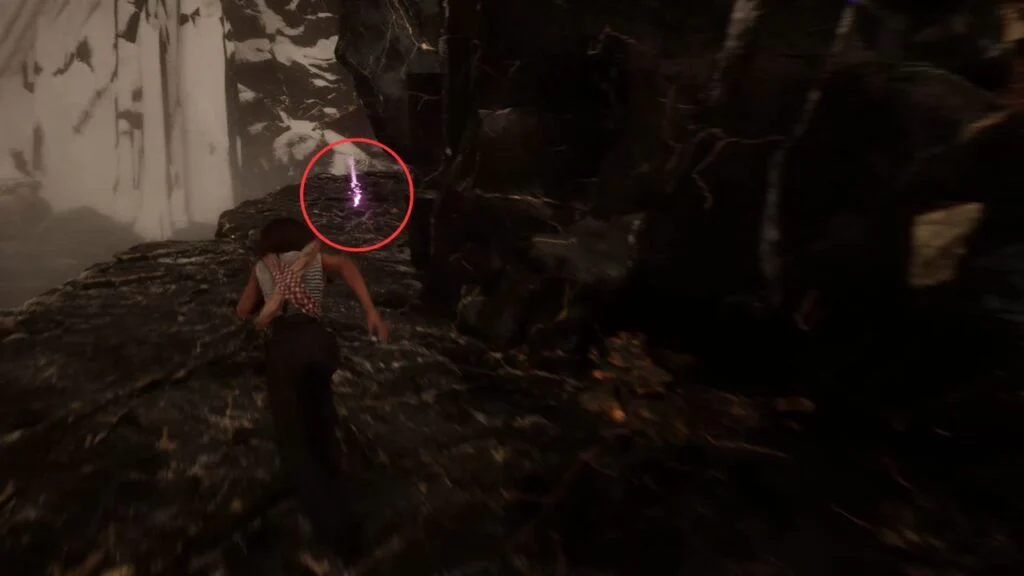
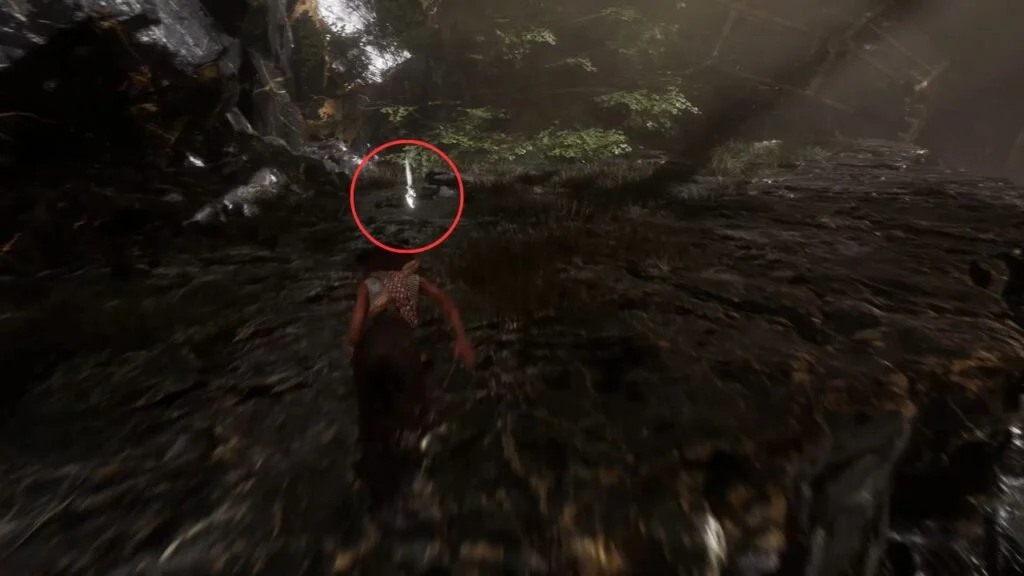
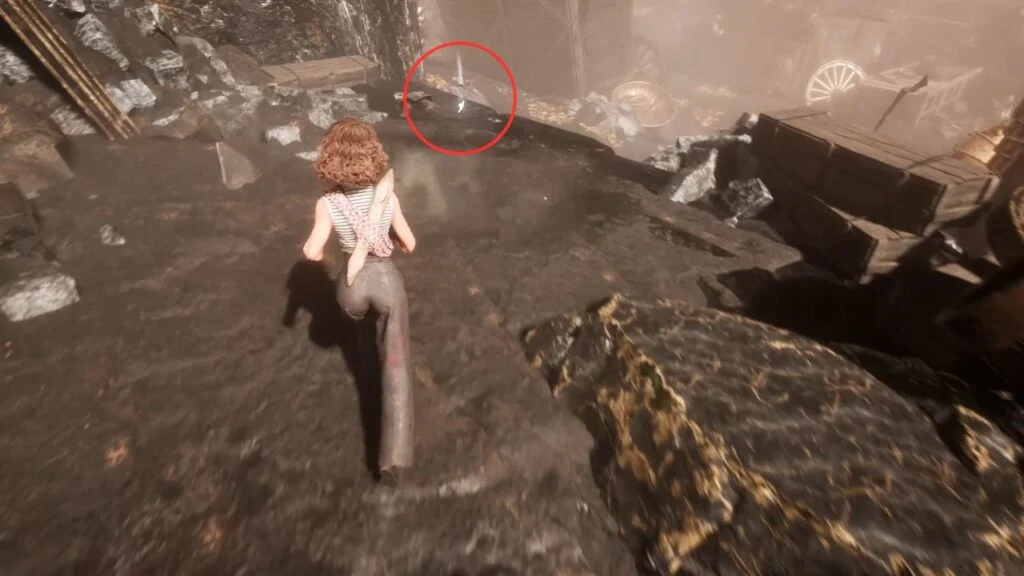
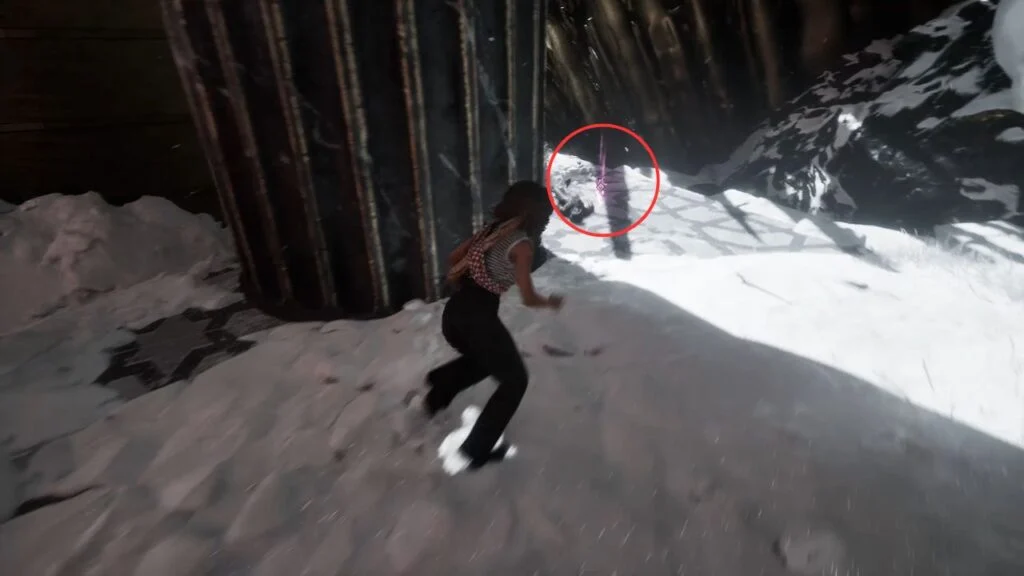
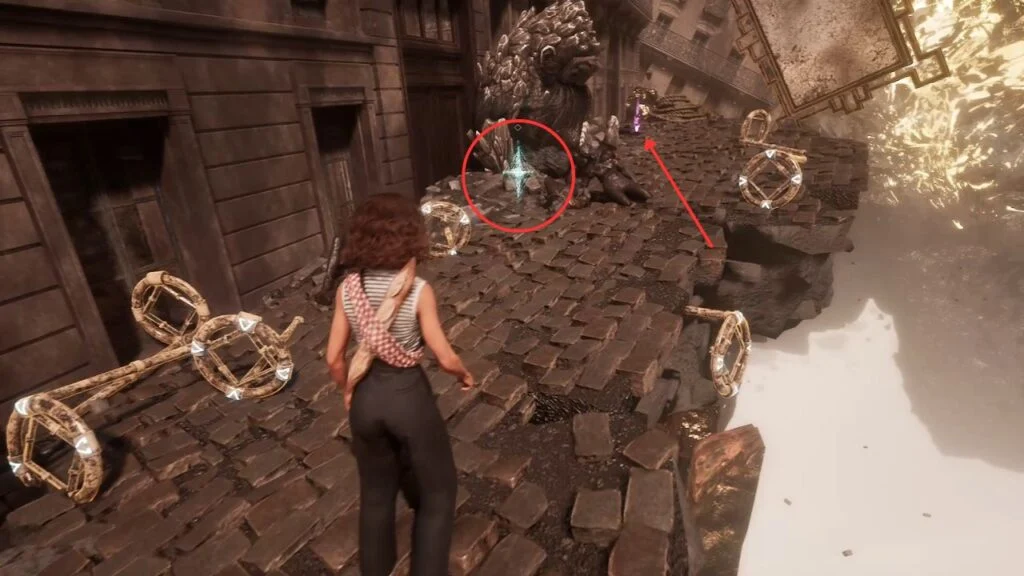
Follow the main path across the grapple points to an area with a waterfall. Three Lanceliers are here, defeat them for Weapon – Lanceram (Level 15) and a Colour of Lumina they were guarding.
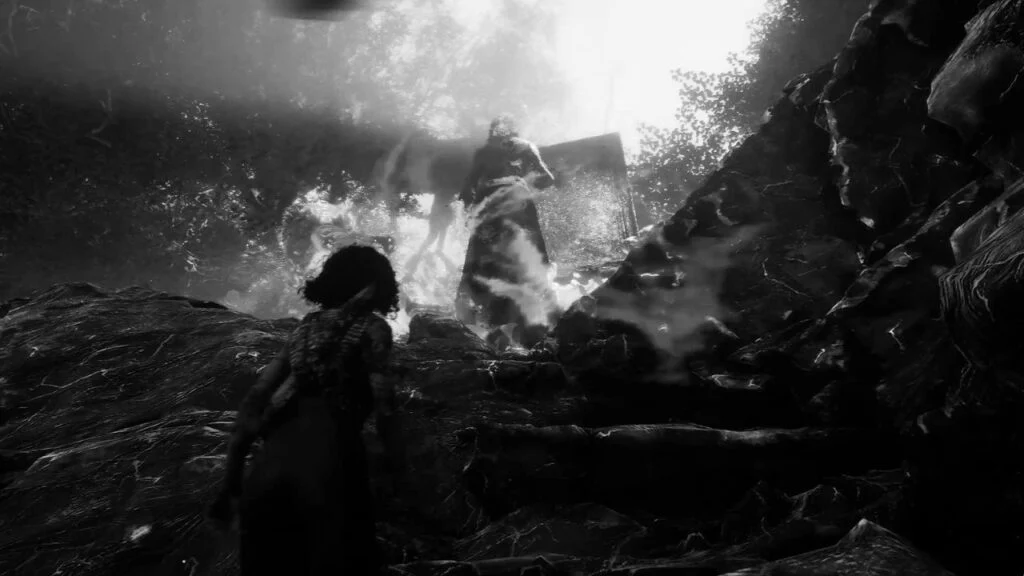
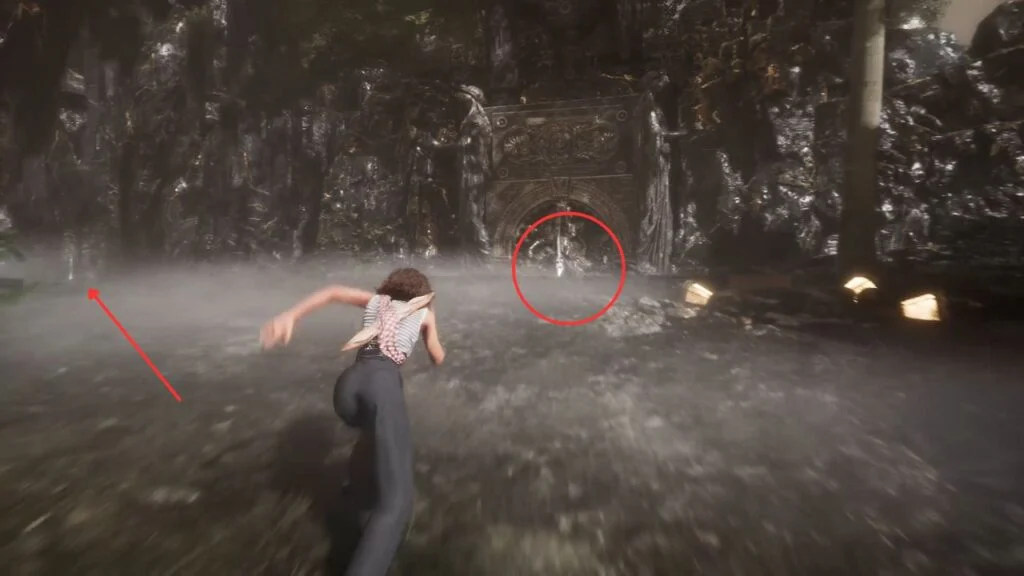
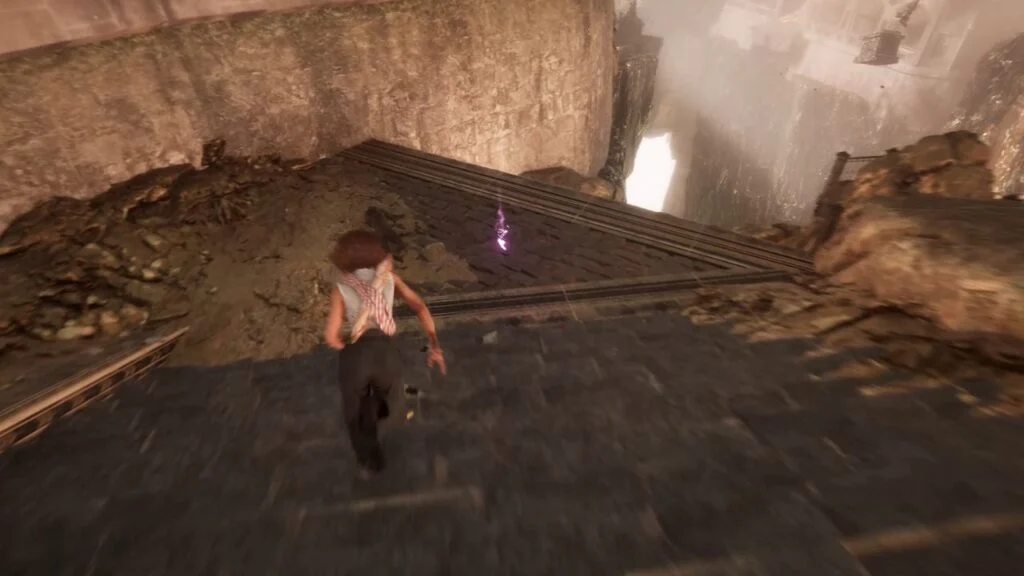
The world shifts to black and white as you climb the nearby hill. These monochrome sections contain story scenes, watch them. Go through a portrait frame to restore color.
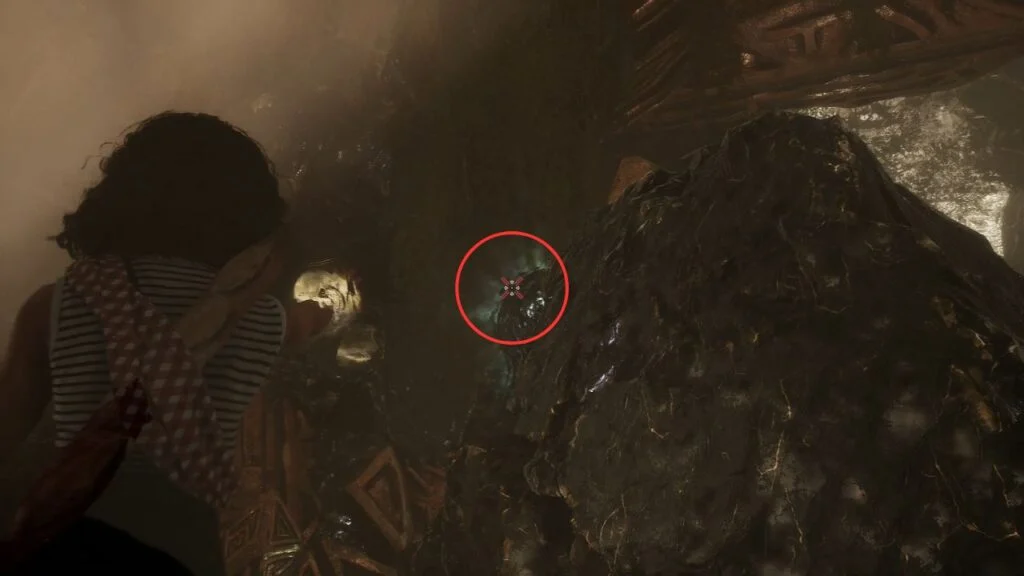
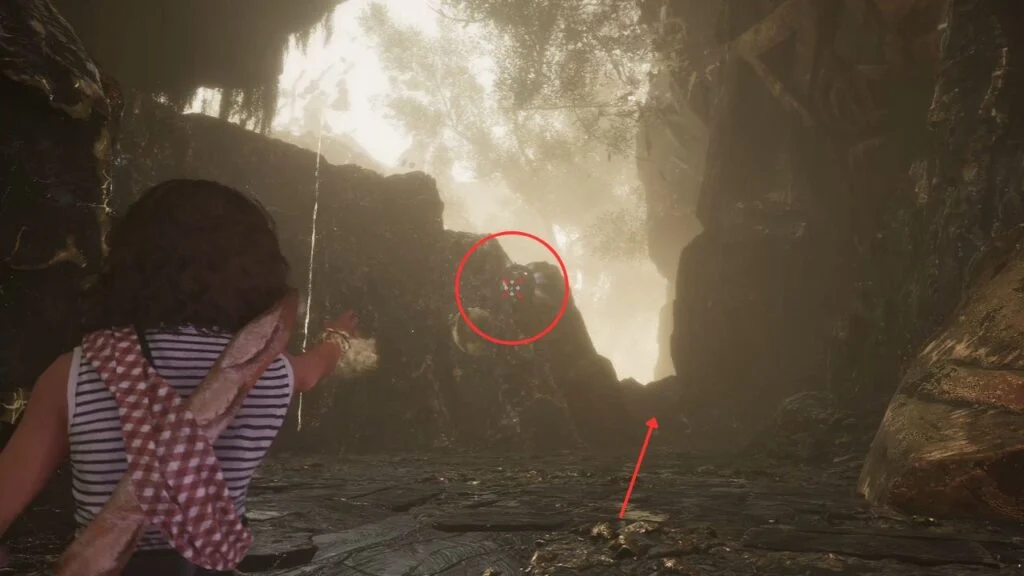
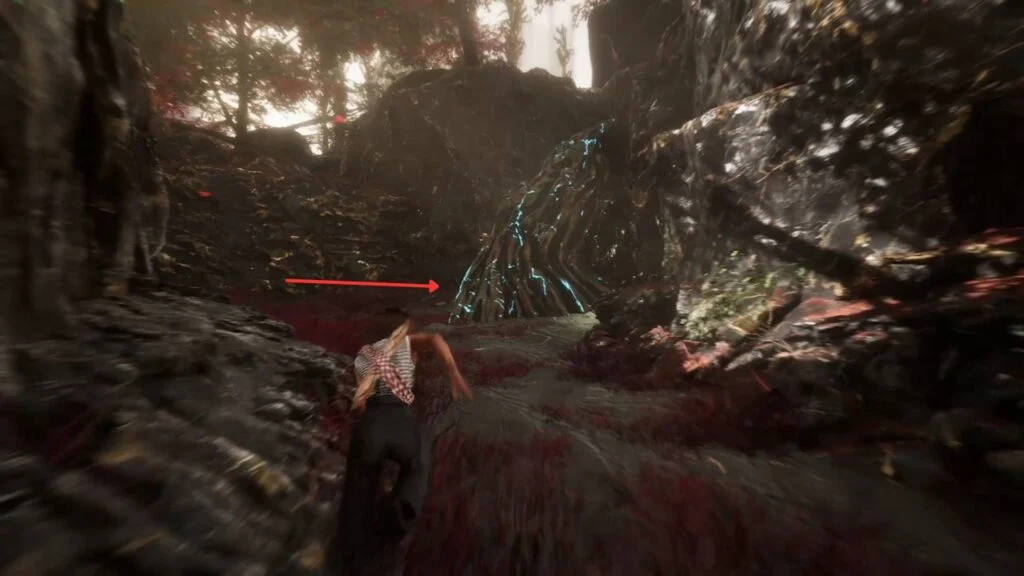
When the path splits just before the next flag, go left first and head down the magic ropes. You’ll fight Portiers, Abbests, and Lanceliers along the way. At the bottom of the second rope, find a Paint Cage.
- First lock: on the wall of the huge rock in the center.
- Second lock: right beside the magic rope you used.
- Third lock: follow the small pathway near the rope to find it behind. Breaking all three gives you a Revive Tint Shard.
Climb back up and follow the main path to activate Expedition Flag: Tainted Meadows.
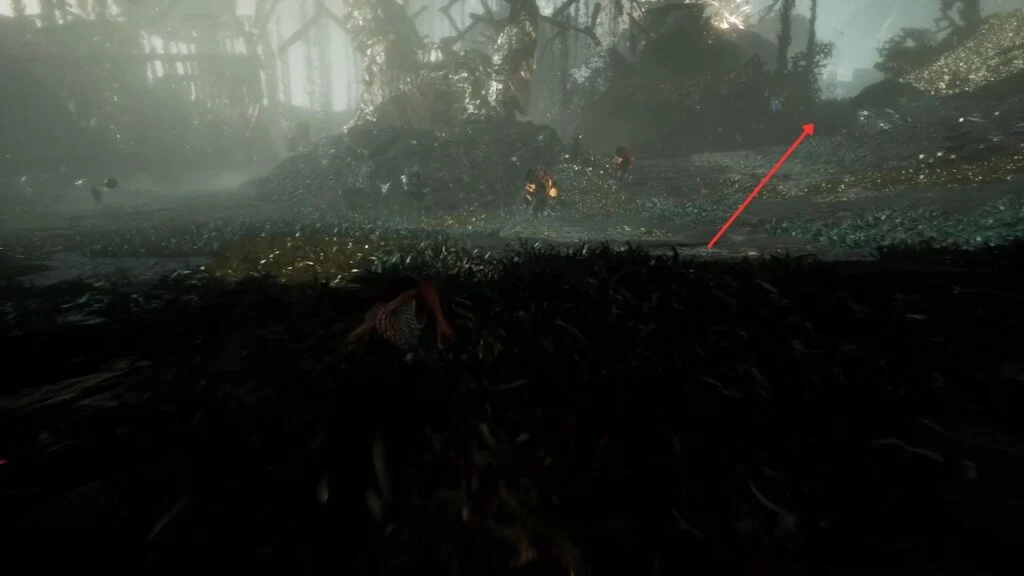
Tainted Meadows
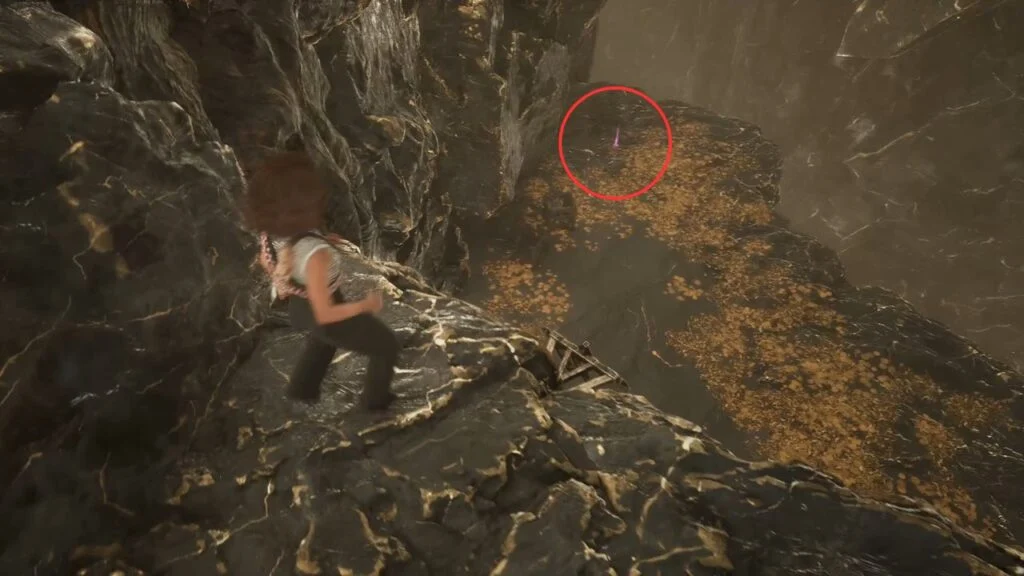
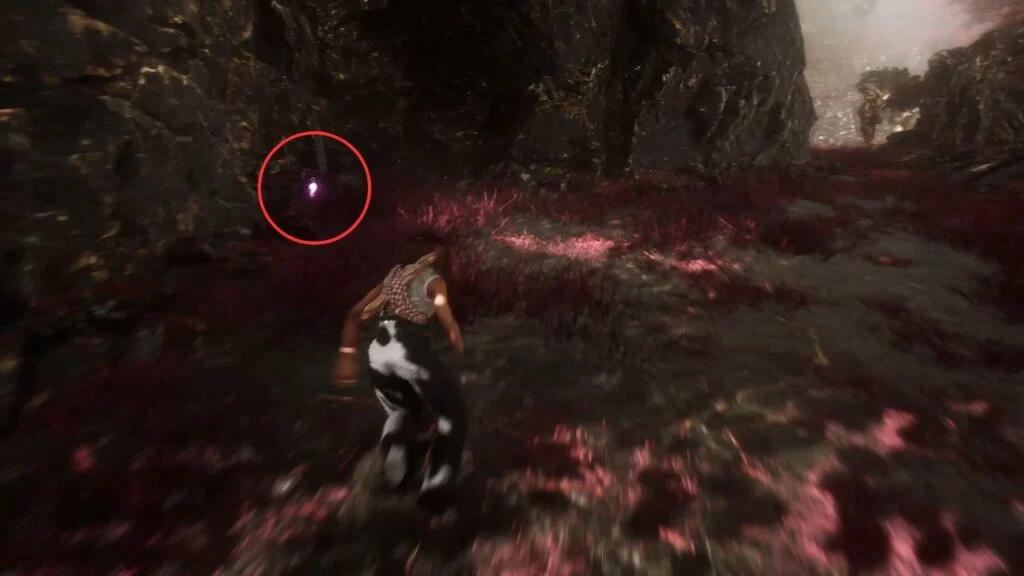
A darker version of Spring Meadows. Follow the path and kill the patrolling Portier ahead. At the split, cross the bridge on the left first. Kill the patrolling enemies, head down the slope, and hug the left wall to find a Colour of Lumina on a lower platform.
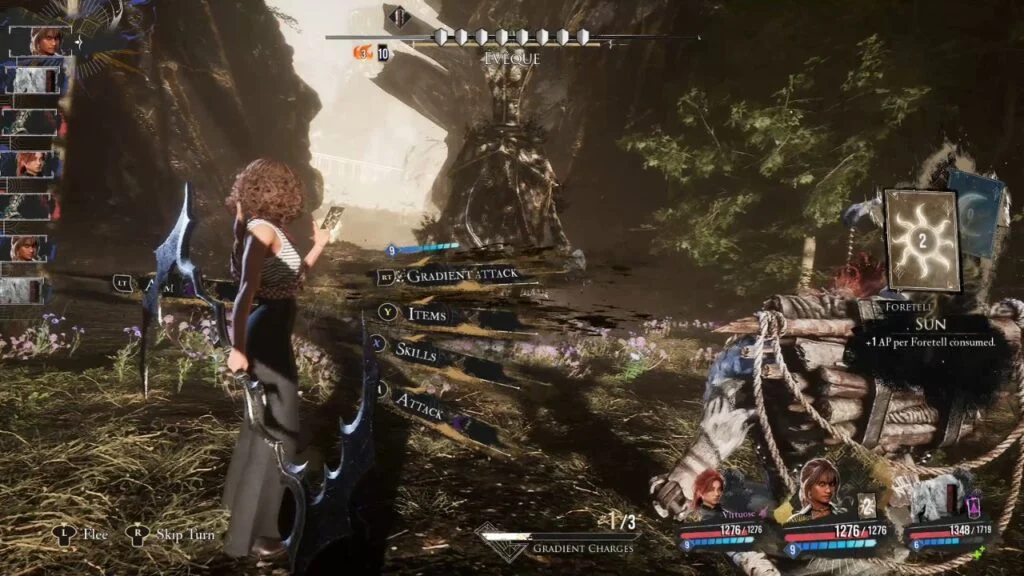
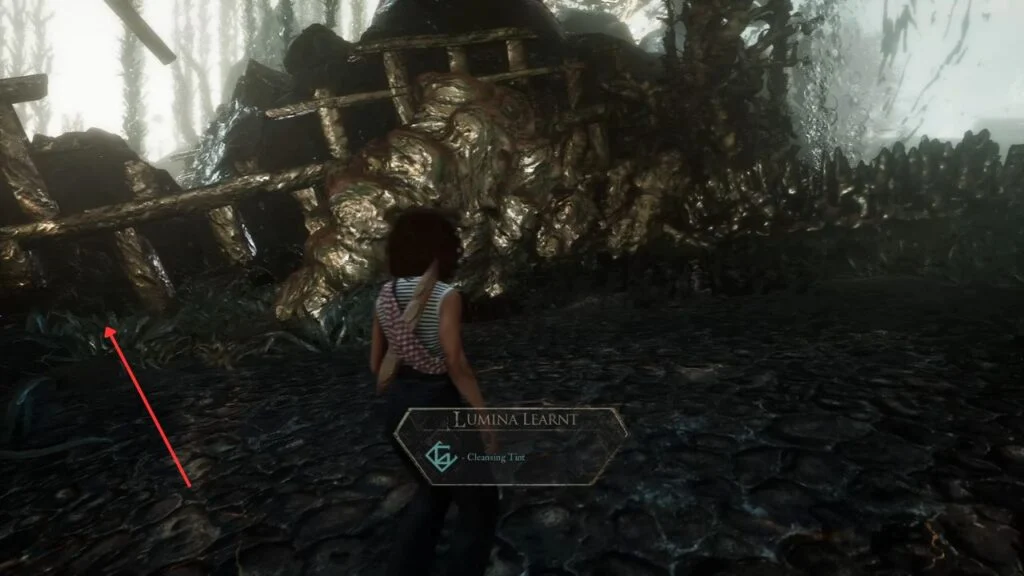
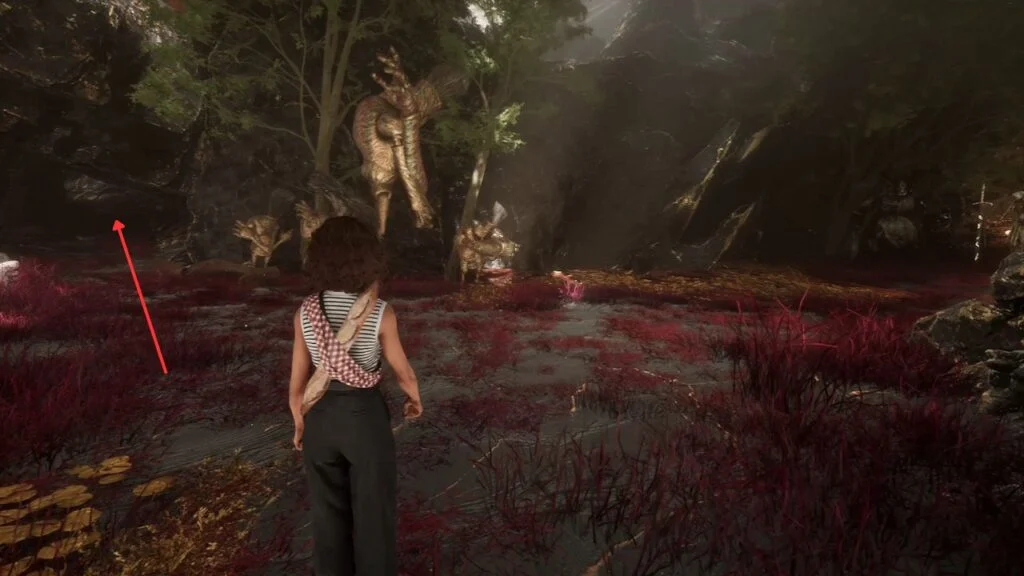
Return to the slope area and fight the Évêque. This is the same boss from Spring Meadows, but noticeably stronger, it now puts up eight protective shields.
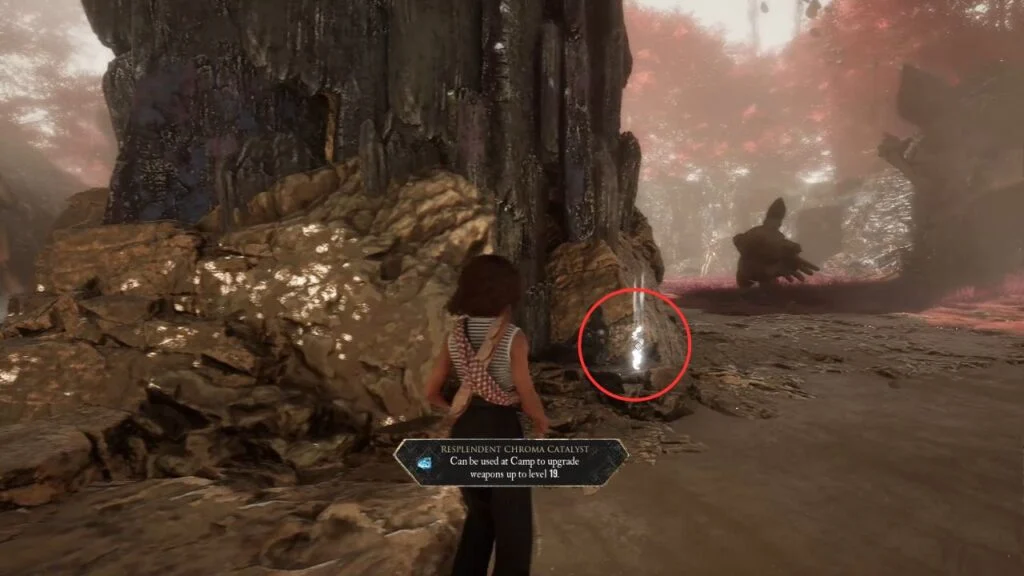
Bring shield-breaking skills. If Monoco is in the party when you beat it, he learns Évêque Spear. It also drops Pictos – Cleansing Tint (Level 15) and a Resplendent Chroma Catalyst.
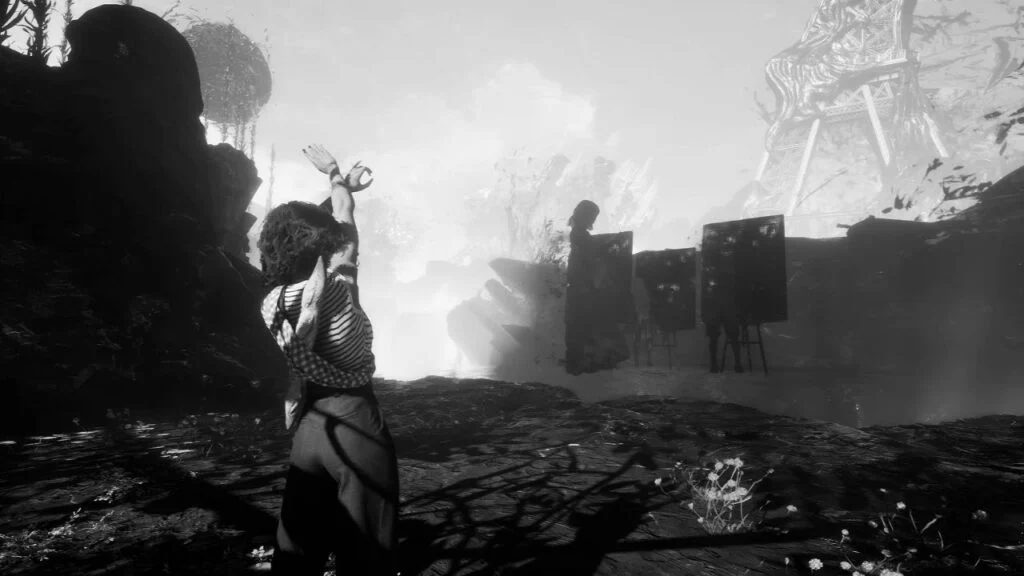
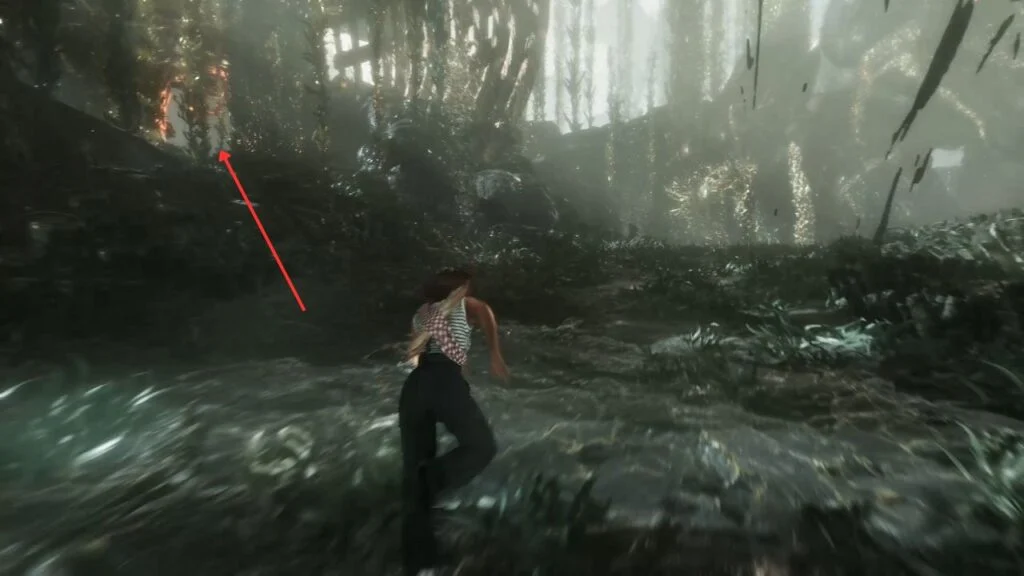
Continue along the main path and defeat the Volesters and Clair ahead. After the fight, Monoco acquires Clair’s Foot. Climb the nearby ledge and watch the second black-and-white memory scene, if you’ve been following the story, this one likely reveals the Paintress’s true identity.
After the scene, turn left and head into the dark cave toward Tainted Waters.
Tainted Waters
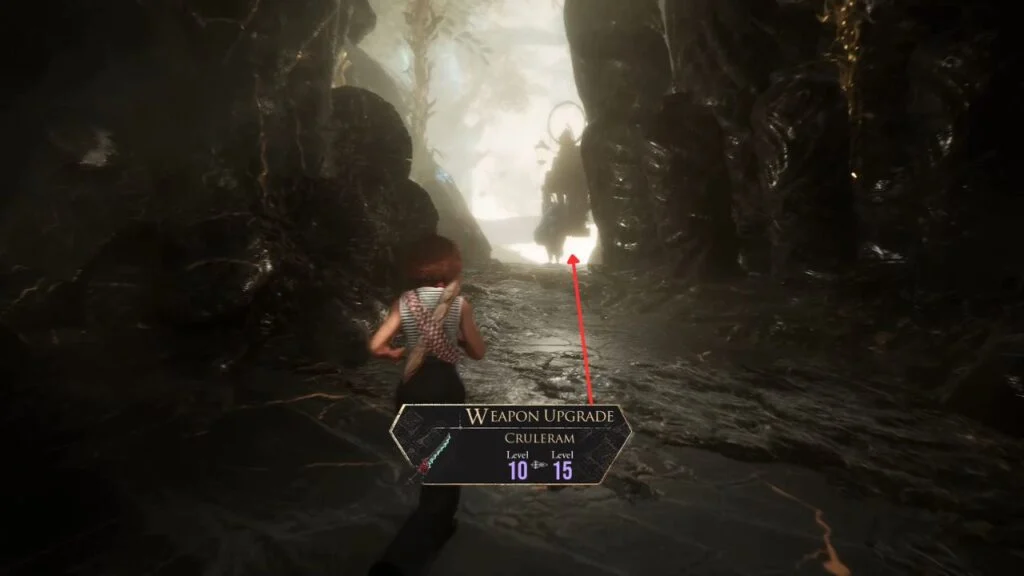
An aquatic-themed section recalling Flying Waters. You’ll immediately fight groups of Brulers, Crulers, and Démineurs, earning Weapon – Brulerum (Level 15) and Weapon – Cruleram (Level 15).
Look for the narrow seaweed-lined tunnel on the left side of the first room. It leads to Mistra, a Gestral Merchant selling Fragaro and Veremum. Fragaro is a solid upgrade for Monoco at this point. Defeat Mistra in combat to earn Pictos – Powering Cleanse.
Head back to the main path and hug the left wall for a Resplendent Chroma Catalyst. Keep going until you activate Expedition Flag: Tainted Waters.
Kill the enemies immediately ahead. Look right for a side path, follow it, kill the Démineur, and at the end look left to find the remains of a wrecked ship. Crawl underneath it and get the Colour of Lumina behind the boxes.
Return to the open area and take the left side. There’s a seaweed-covered sloped path, go through it and cross the grapple points to reach an optional boss.
Optional Boss: Chromatic Bourgeon
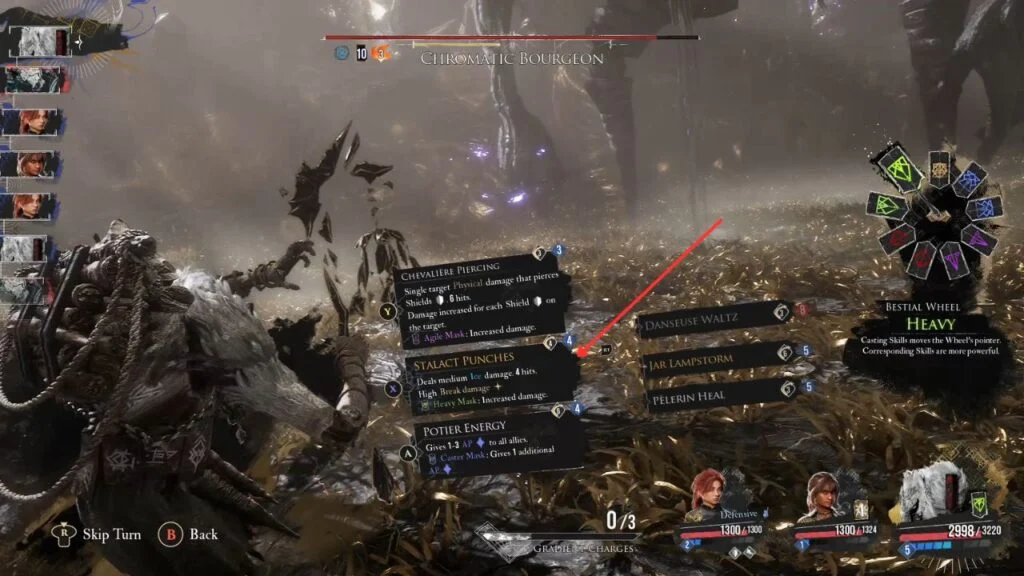
An enhanced version of the Bourgeon enemies you’ve fought before, with significantly more health and power.
Its most dangerous move is Consume, which removes two party members from the fight entirely until the boss is Broken. Use high Break-damage skills, Monoco’s Stalact Punches work well here. Time your Break specifically for after it consumes your allies, so you bring them back quickly.
The other key attack is Miasma, a four-hit fluid combo that deals heavy damage and applies Exhaustion, preventing affected characters from gaining AP for several turns.
The boss is weak to Lightning, so prioritize lightning attacks throughout the fight.
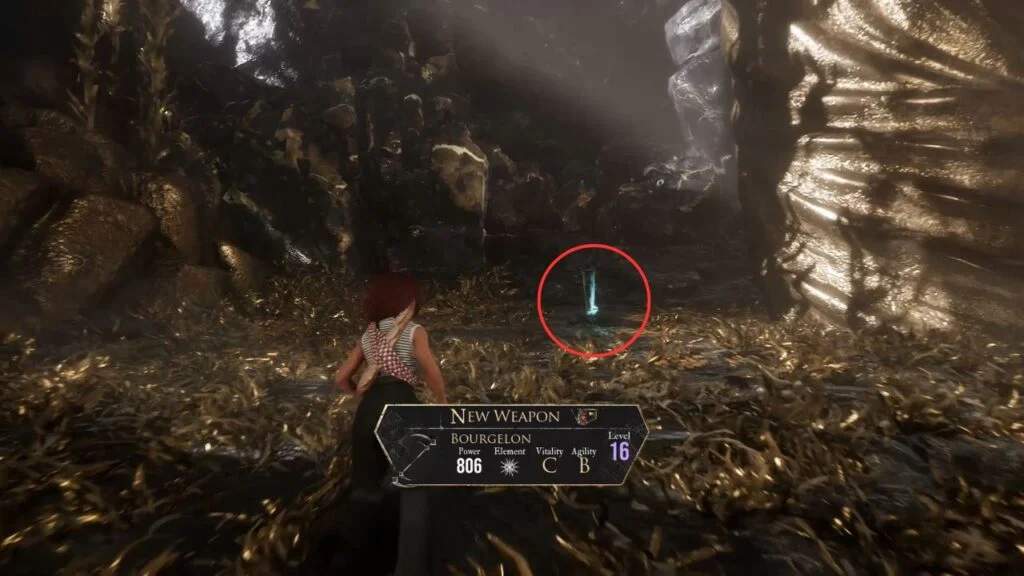
Rewards: Sciel Weapon – Bourgelon (Level 16) + Bourgeon Skin + Colour of Lumina x5 + Resplendent Chroma Catalyst x2
Behind where the boss stood: Pictos – Stay Marked.
Head back across the grapple points and follow the main path. Kill the enemies blocking the way, this grants Monoco a new Obscur skill. Climb the magic rope and activate Expedition Flag: Tainted Sanctuary.
Tainted Sanctuary
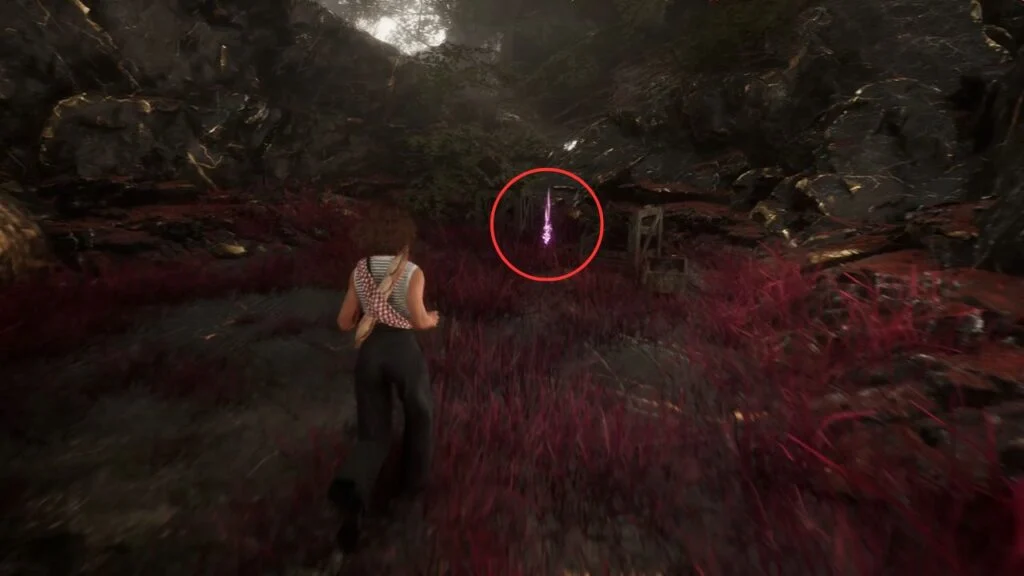
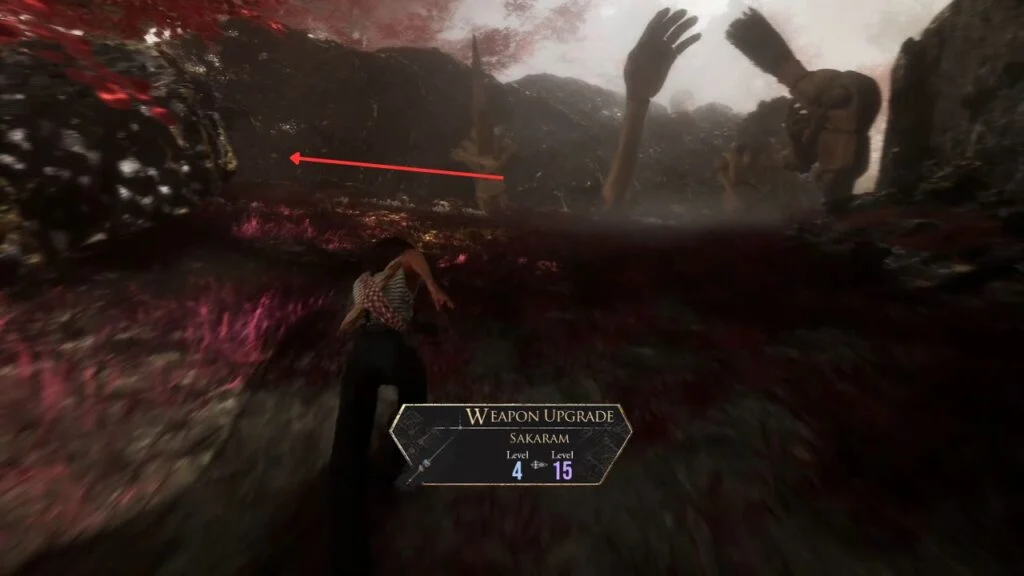
Proceed ahead and head right for a Colour of Lumina. Head back and take the path between the two Gestral statues. You’ll fight Robust and Ranger Sakapatates, defeating them gives you Weapon – Sakaram (Level 15) and the Ranger Sakapatate skill for Monoco.
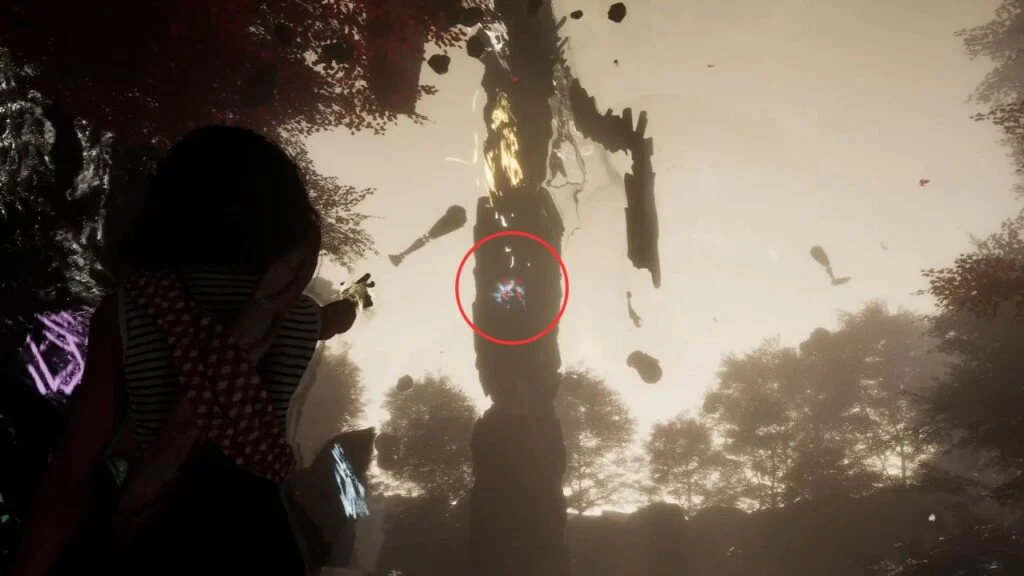
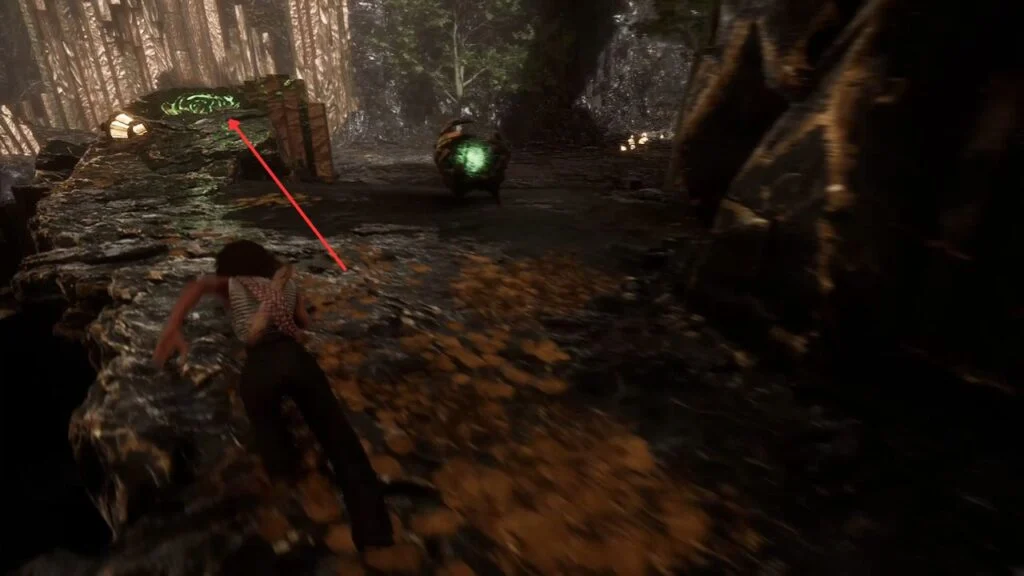
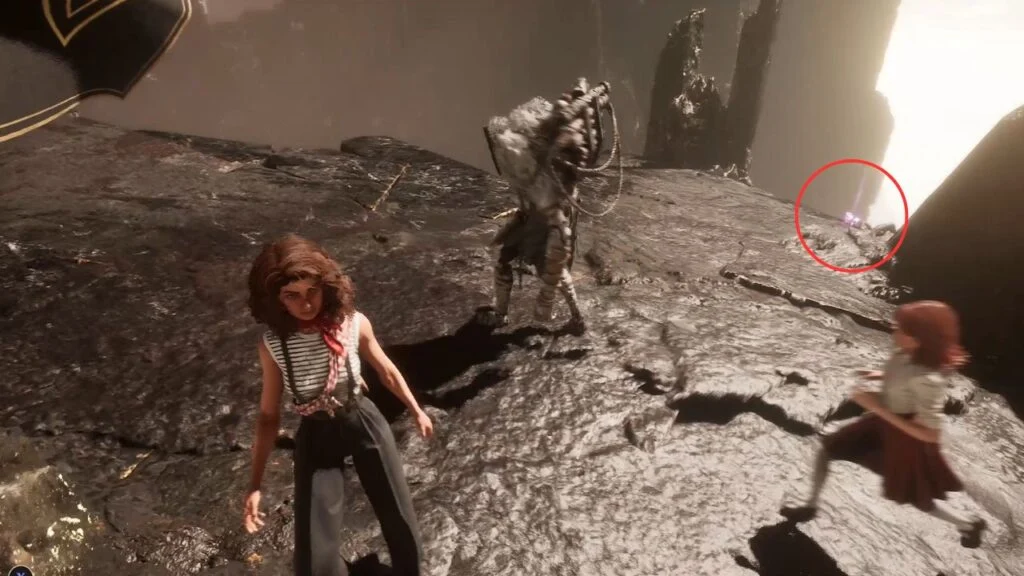
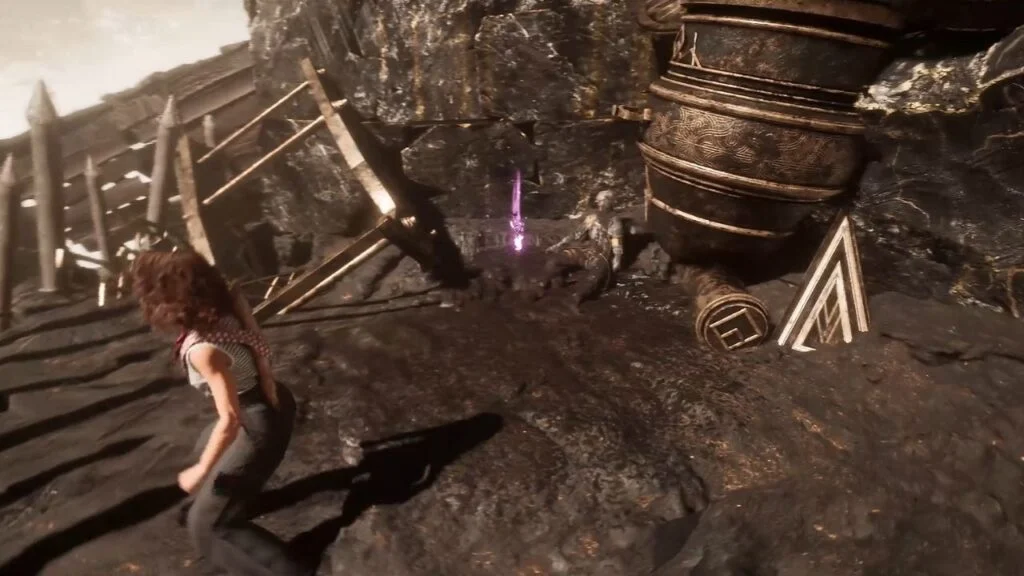
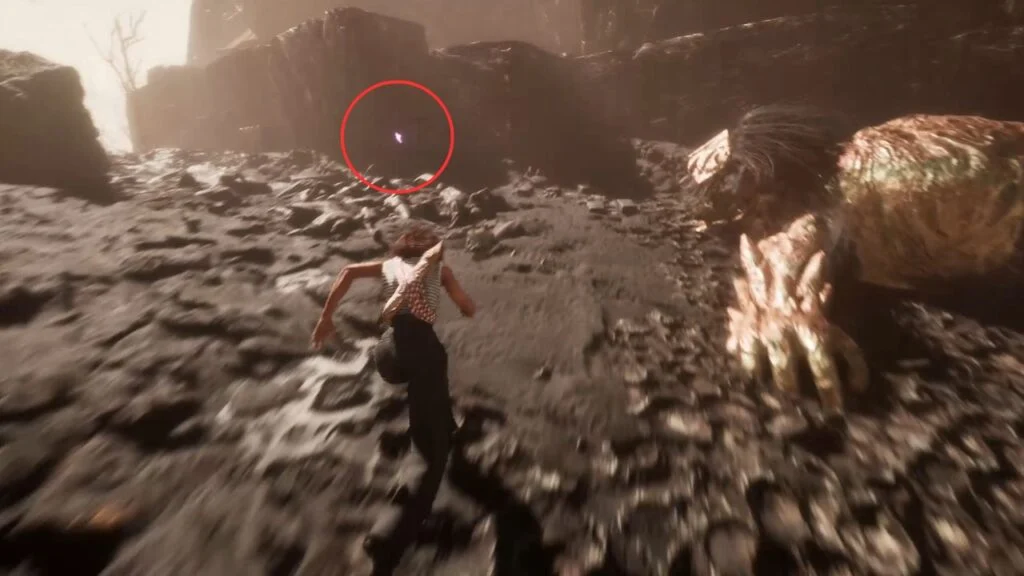
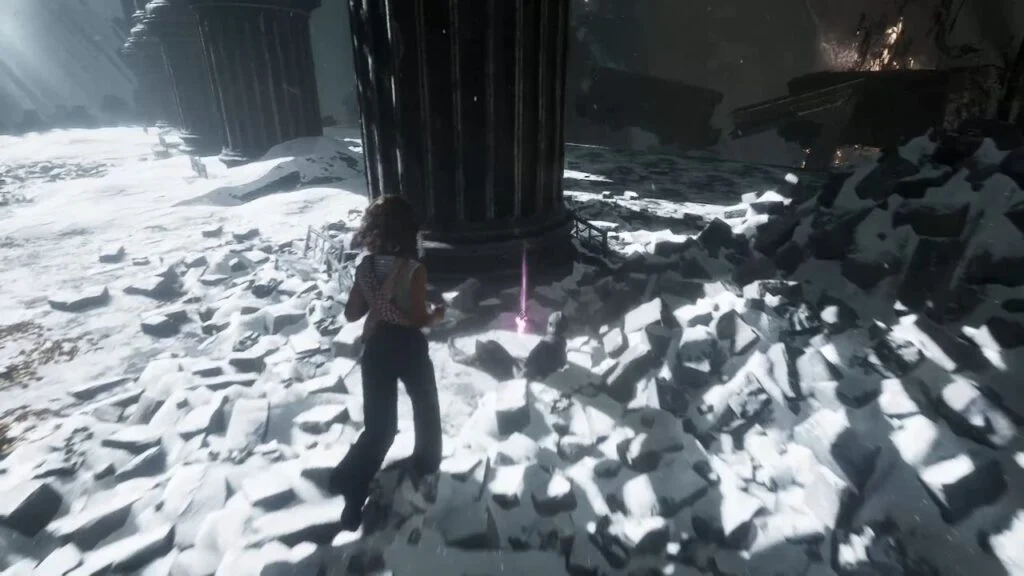
Continue, but before entering the pathway with Gestral statues, look left for another Colour of Lumina. Keep going to the center of the area, there’s a huge towering totem in the middle. Kill the patrolling enemies and grab Chroma x2,130 under the totem.
From the entrance, head right into a small alleyway for a Resplendent Chroma Catalyst. Follow the main path to a split, take the left path, and crawl under the rock. Kill the enemies here to find a Paint Cage.
- First lock: on the middle part of the huge totem.
- Second lock: go near the ledge and look left.
- Third lock: inside the Paint Spike in the same area as the cage. Opening it gives you Pictos – Random Defense.
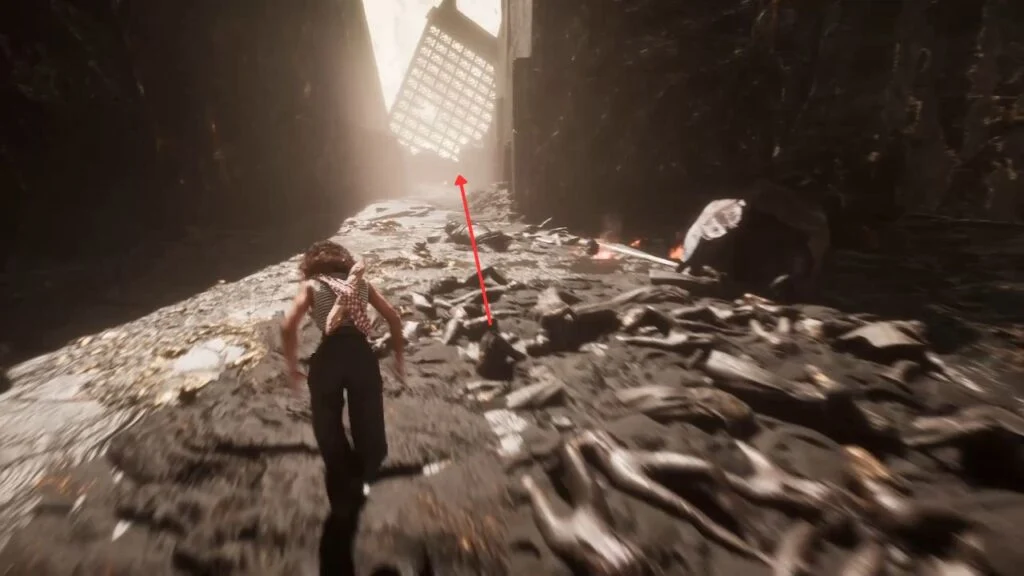
Head back through the crawl space, kill the remaining enemies ahead, and proceed through the lantern-filled cave to activate Expedition Flag: Tainted Cliffs.
Tainted Cliffs

Follow the spiral staircase and grab the Resplendent Chroma Catalyst on top of the platform. Cross the grapple point and pick up Chroma x4,260 along the way. Another black-and-white scene plays on the main path, the figure should be obvious by now.
Continue along the main road. You’ll encounter Greatsword Cultists and Reaper Cultists. The Reaper Cultists on the right drop Weapon – Chation (Level 15), kill them and grab the Chroma x2,130 they were guarding. Just behind them is a platform for a Pétank.
Follow the right side of the cliff to find the Pétank on the bottom platform. Before chasing it, look behind the broken windmill on the right for a Colour of Lumina.
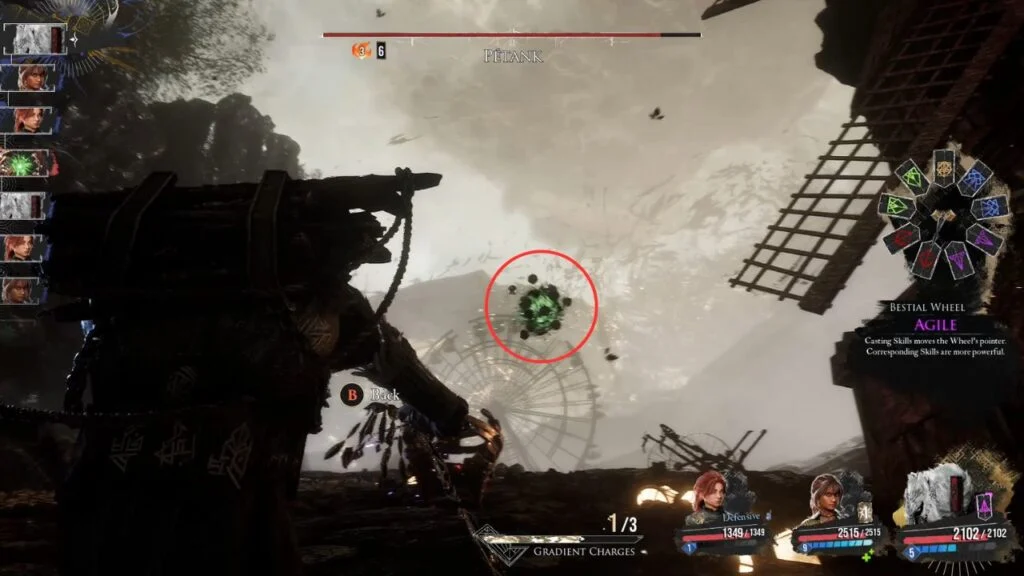
Chase the Pétank to the platform behind the Cultists you defeated earlier and follow it along the left cliff to engage it on the platform. To damage this Pétank, shoot its core with free aim.
Once hit, it releases a floating orb. Hit the orb again with precise free-aim shots. Counter all attacks perfectly, otherwise the Pétank flees after 3 turns.
Rewards: Resplendent Chroma Catalyst x5 + Colour of Lumina x5 + Recoat
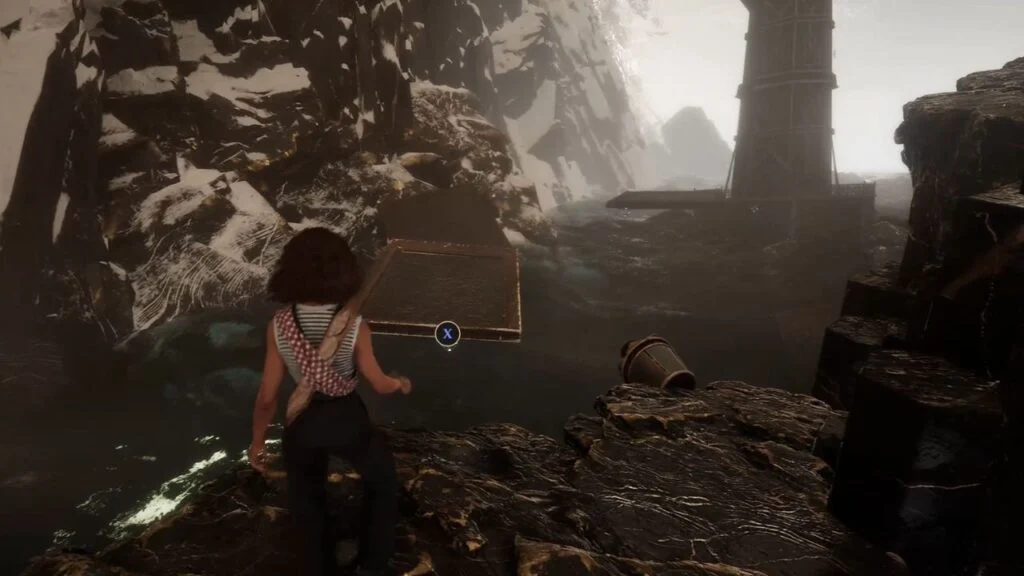
Head back toward the windmill. Just before it, look right to find grapple points leading to floating picture frames. Grapple to the lighthouse at the end and grab the Recoat behind it.
Return to the main path and pick up Chroma x4,260 under the statue at the intersection. The main path goes right, but there’s a magic rope on the left leading underground, explore that first.
Monolith Mime
Down below, a Mime is protected by Clair and Obscur. Take out the two allies first. Once they’re gone, use Maelle’s shield-breaker skill to remove all 8 of the Mime’s shields at once, then break its invisible wall to finish the fight.
Rewards: Maelle Haircut – Voluminous
Climb back up using the magic rope. Follow the lantern-lit path and defeat the group of Hexga, Obscur, and a Greatsword Cultist. After the fight, check behind the rock pillar on the right for Pictos – Weakness Gain.
Look to the far left for a climbable ledge, climb it for Chroma x2,130.
Head back down, go through the exit, follow the grapple points, and activate Expedition Flag: Tainted Battlefield.
Tainted Battlefield
Right after activating the flag, look right for a Resplendent Chroma Catalyst. Cross the wooden bridge, and before killing the enemy on the ledge, go behind it and drop down for a Colour of Lumina. Head back up and defeat the group of Troubadour and Chaliers for Weapon – Troubadim (Level 15) and Pictos – Longer Shell (Level 15).
Jump down from the ledge, immediately turn right, and take down the patrolling enemies. Follow the side path to the end for a Colour of Lumina. Head back, take the left path at the branch, defeat the patrolling enemies there, then climb the magic rope on the right for Chroma x2,130.
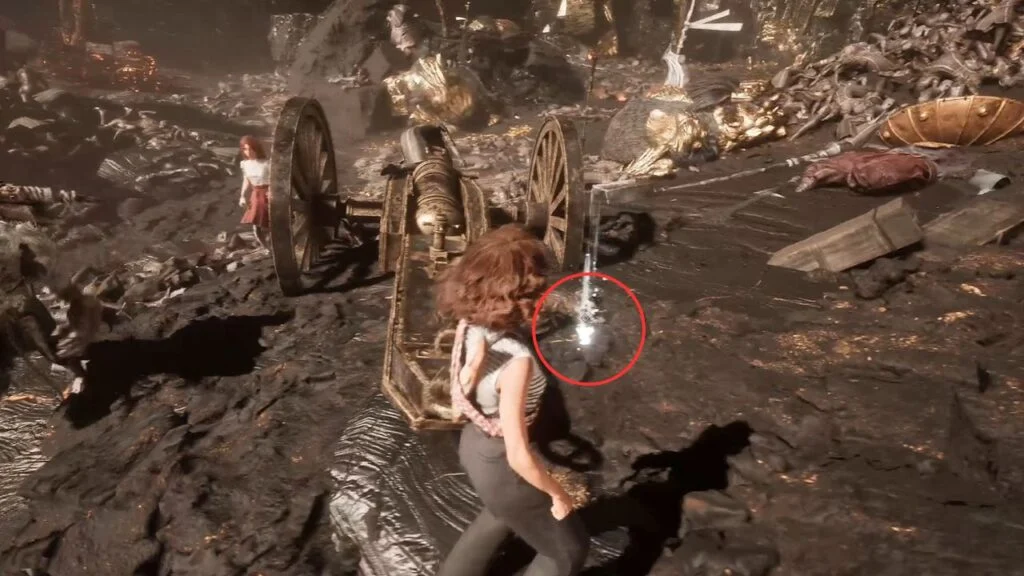
Head back down and follow the main road. Defeat Clair and her group, then look right and grab Chroma x2,130 behind the broken cannon. Continue along the main path and, before the small opening, climb the slope on the left for a Colour of Lumina.
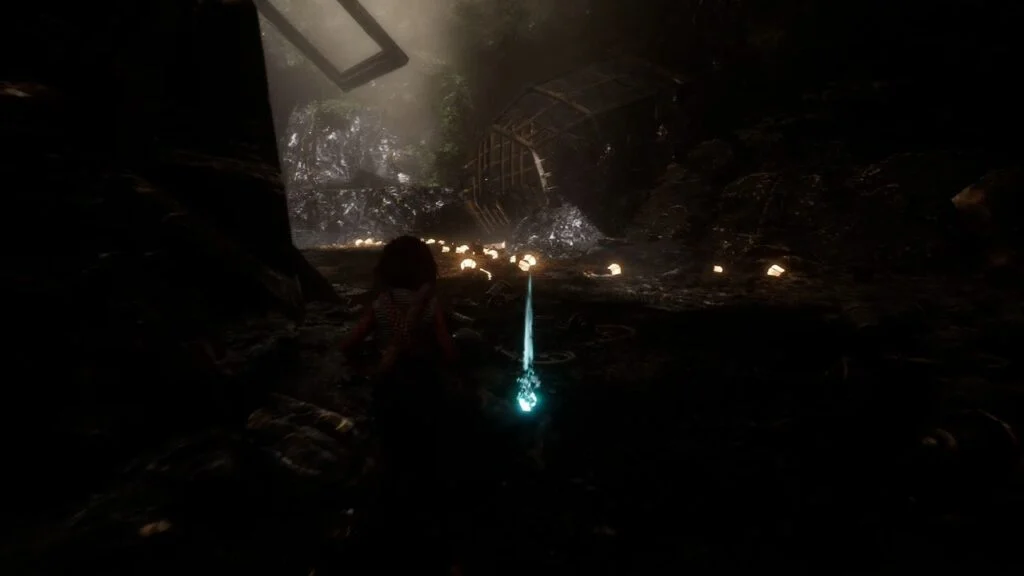
Go through the narrow opening and follow the path through the large door to a tombstone. Look left and enter the cave, this leads to the Manor.
The Manor
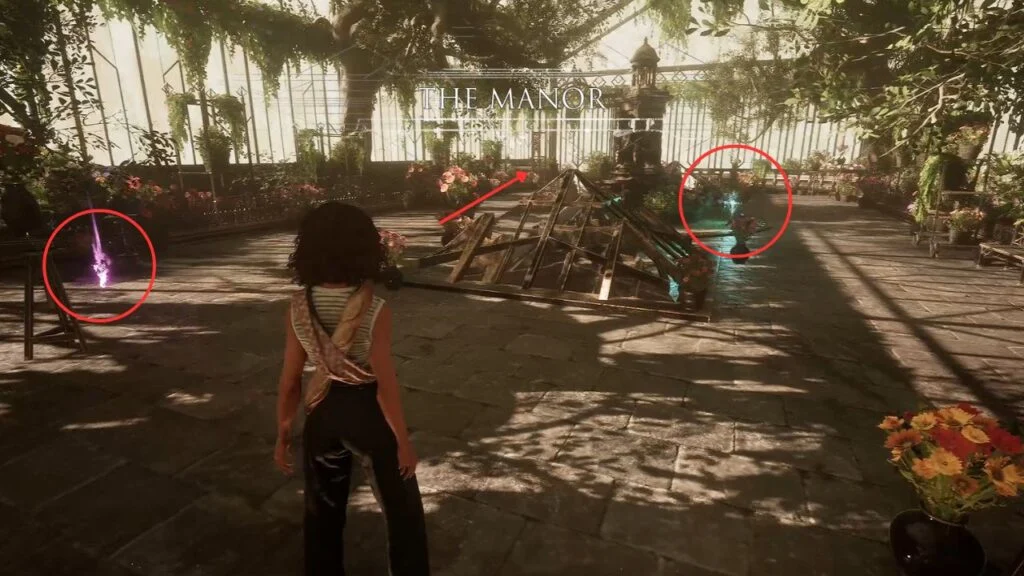
You enter through a greenhouse on the top floor. Grab Record – L’Amour D’une Mère and Journal – Aline before heading back to the main entrance. Go down the stairs at the back end of the greenhouse to exit.
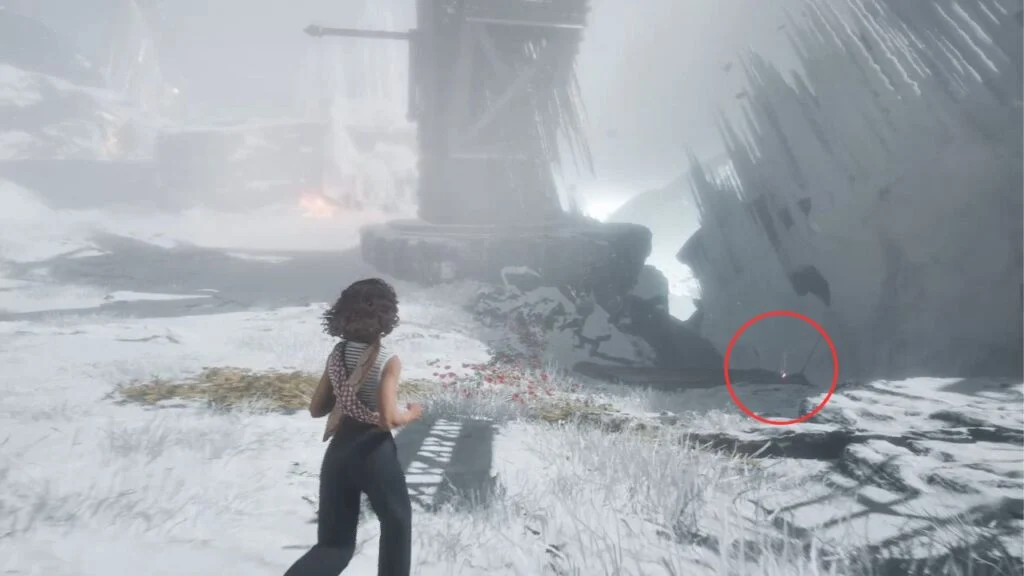
Follow the path past the tombstone and continue along the grapple points into the snowy area. Activate Expedition Flag: Tainted Hearts.
Tainted Hearts
A recreation of the train station atmosphere. Follow the path and watch the black-and-white scene when it triggers. After, head to the open area.
Take the right path first. On the right side of the crane, grab the Colour of Lumina on the train platform. Continue, defeat the patrolling enemies, and collect Chroma x4,260 at the end of the platform.
Head back to the split and take the left route for an optional boss.
Optional Boss: Gargant
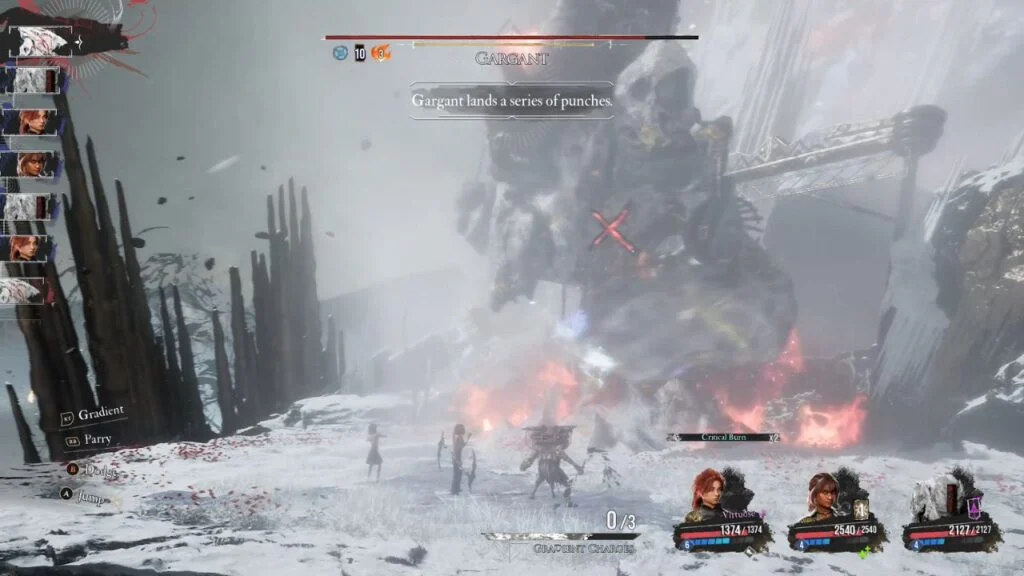
Gargant switches between Ice Stance and Fire Stance, absorbing damage from its current element while taking extra damage from the opposite. In Ice Stance, use fire attacks. In Fire Stance, use ice attacks. It can also use other elemental attacks without the same penalty.
Its most dangerous attack is a 6-hit combo with pauses before the fifth and sixth hits. It also has a 4-hit combo that can hit your entire party. It can summon snowstorms that reduce visibility and use Freeze attacks that completely immobilize characters.
Rewards: Resplendent Chroma Catalyst x3
After the fight, look left and grapple across the gap to find a Paint Cage.
- First lock: beneath the ice wall along the path to the entrance.
- Second lock: right above the Paint Cage, between the hanging train and the cliff.
- Third lock: head toward the cliff, look right, the lock is just behind the ledge.
Opening it gives you Pictos – Empowering Parry.
Head back to the Gargant area and climb the handholds on the right to find Melosh, a Gestral Merchant selling Healing Tint Shard. Defeat him in combat for Pictos – Greater Defenceless and Sciel Weapon – Garganon. In the snow across from him, look for Pictos – Enfeebling Attack.
Return to the main path and defeat the enemies guarding the gate. After passing through, turn left and grab the Colour of Lumina behind the pillar. Head into the cave ahead, grapple across, and look left between a pillar and some rubble for a Resplendent Chroma Catalyst.
Speak with the Faceless Boy to trigger a teleport. After the cutscene, activate Expedition Flag: Tainted Lumière.
Tainted Lumière
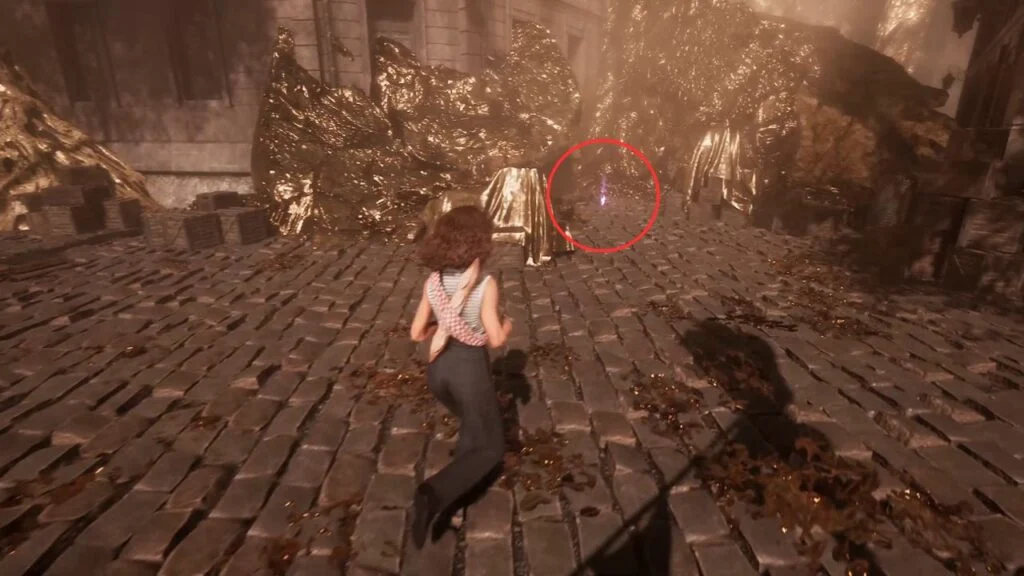
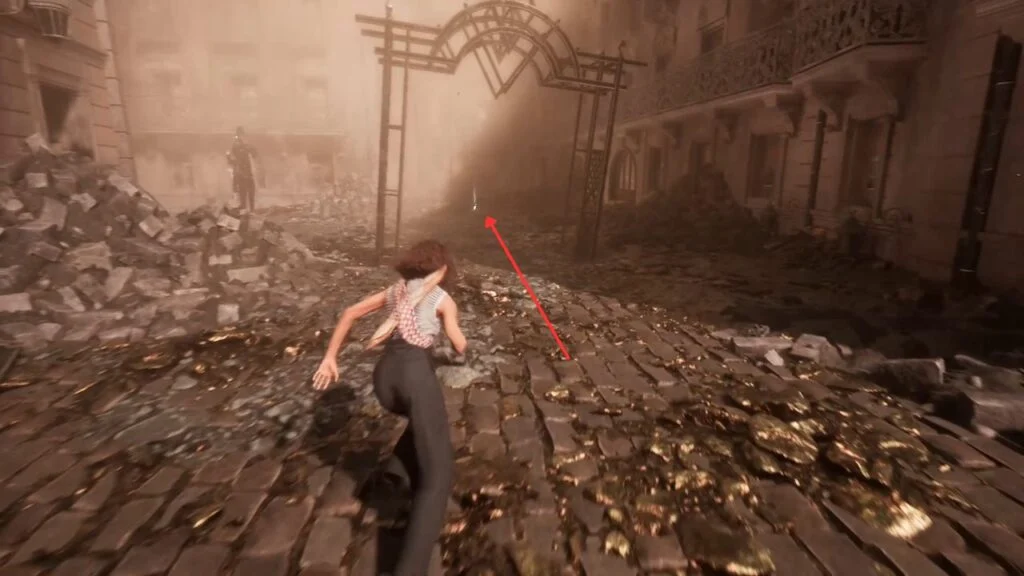
The final major area before the Paintress, built from a darkened version of Lumière. Fight the Gold, Steel, and Ceramic Chevalières around the central fountain, one group drops Pictos – Perilous Parry (Level 15). Take the left path and find a Recoat between the golden rocks.
Follow the narrow left path and grapple across the gaps for a black-and-white scene. After it ends, grapple across the next gap and kill the patrolling enemy. Stick to the right wall, pass through the flower market, and collect Chroma x4,260 ahead. Defeat the enemy on the left.
Backtrack to the intersection with the golden rock wall and turn right, heading down the stairs. Enter the alley directly in front, there’s a harp inside, and grab the Colour of Lumina beside it.
Follow the main path to a great tree. Take the right path and look in the right-hand alley for a Colour of Lumina. Grapple across the gaps, defeat the patrolling enemies, and at the end grab Journal – Expedition 70 and another Colour of Lumina.
Return to the main path and go through the golden tunnel. Right after exiting, immediately turn left and climb the stairs for a Colour of Lumina at the top. Take the narrow road beside the stairs, grapple across, and climb the stairs ahead for the optional boss.
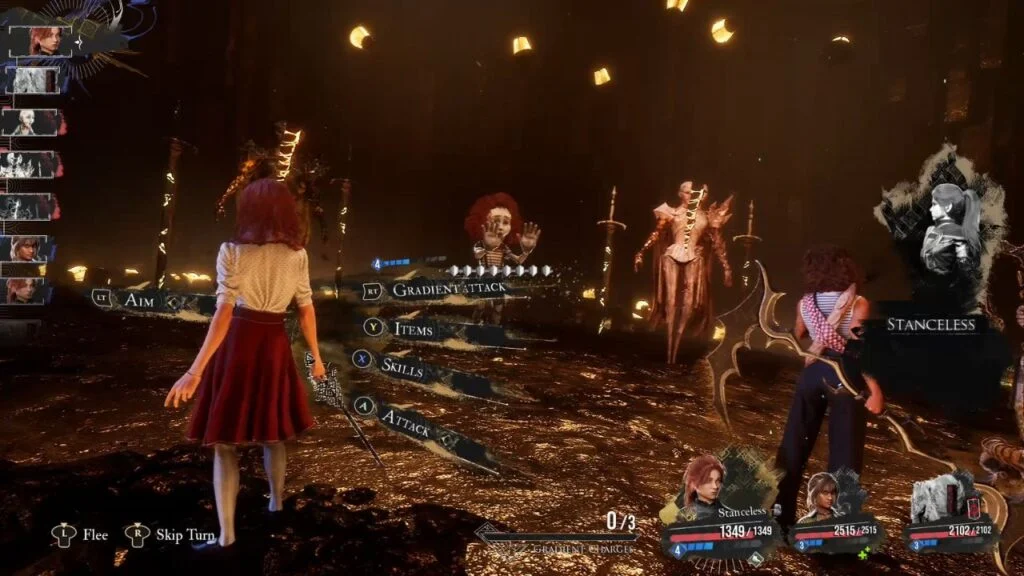
Optional Boss: Clair Obscur
The toughest optional boss in the game. Before focusing on Clair Obscur itself, clear the Clair and Obscur allies first, they can buff the boss with Enrage and shields, making the fight much harder. The boss charges its blades before every attack, giving you a clear visual cue for when to parry or dodge.
Rewards: Verso Weapon – Dreameso + Pictos – Breaking Attack (Level 15) + Resplendent Chroma Catalyst x2 + Colour of Lumina x5
Behind where the boss stood, loot Lune Weapon – Lithelim from the table.
Head back to the main road, defeat the remaining Clair and Obscur, and proceed into the cave opening. Activate Expedition Flag: Tower Peak.
Tower Peak
This is your last stop before the final boss sequence. Rest at the flag, check your equipment and Pictos, and assign any remaining Skill Points before proceeding.
Boss: Renoir
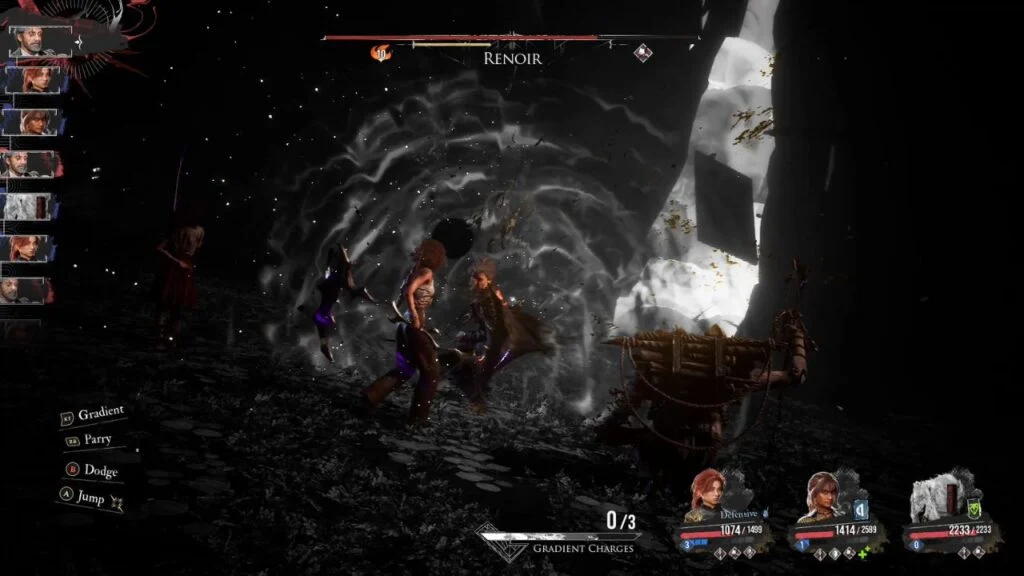
The White-Haired Man is finally here for a real fight. It’s a long two-phase battle, so come prepared.
Renoir has no elemental weaknesses, but Fire attacks still apply Burn for consistent damage over time, keep that stacked throughout the fight.
His most dangerous ability is Vanish, which permanently removes a party member for the rest of the battle, they cannot be revived. To stop it, perform a Gradient Counter exactly as his sword moves toward the black orb he summons. Never let this one through.
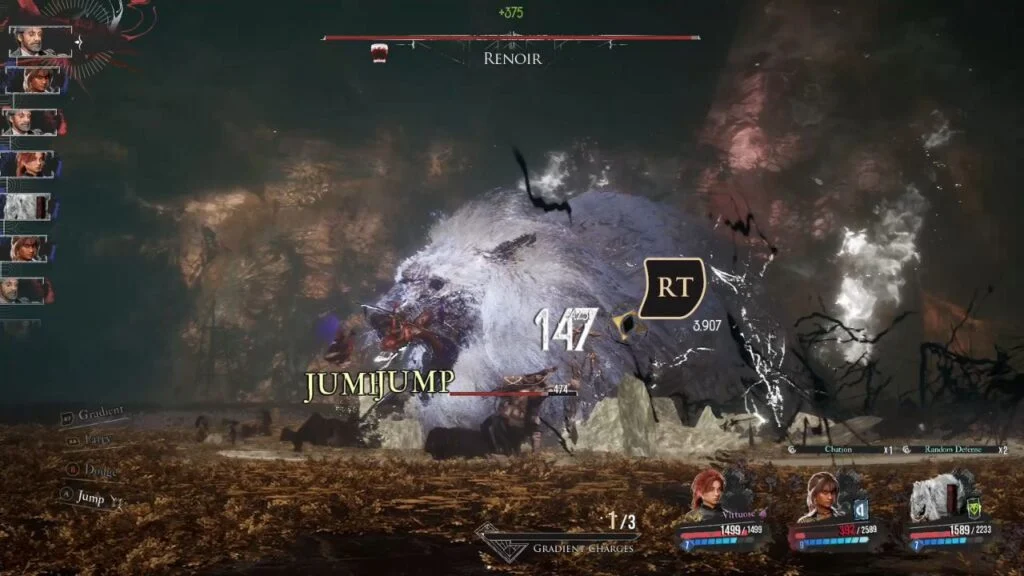
At 50% health, Renoir summons a lion-like Lumina beast and resets to full health. He also gains Enrage, letting him attack twice per turn. The beast adds new attacks to the mix.
Save your strongest abilities for Phase 2. Always attempt to Gradient Counter Vanish. Keep Burn stacked throughout.
Rewards: Verso Outfit – Renoir’s Suit + Pictos – Second Chance + Resplendent Chroma Catalyst x3
To Monolith Peak
After defeating Renoir, use the Expedition Flag to travel back to the Continent and stop at camp. Upgrade everything you can, you’re heading to the final battle at Monolith Peak.