Flying Waters is the second area of Act 1, following Spring Meadows. This guide covers every collectible, side quest, optional boss, and secret in the area so you’re fully prepared before moving on.
You start on the world map. The Flying Waters is at the giant coral structures in the northeast. Before heading there, there are items worth grabbing nearby.
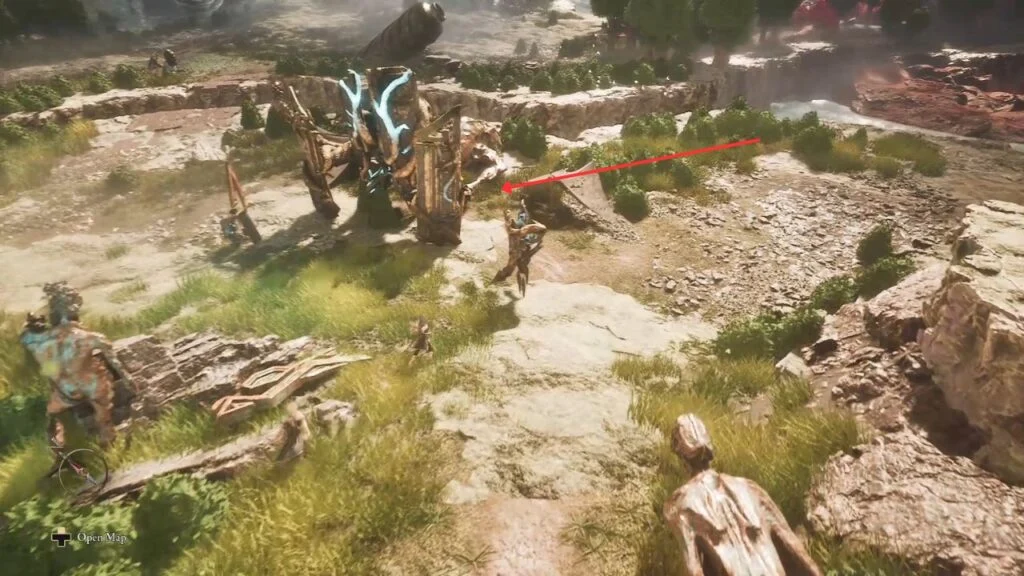
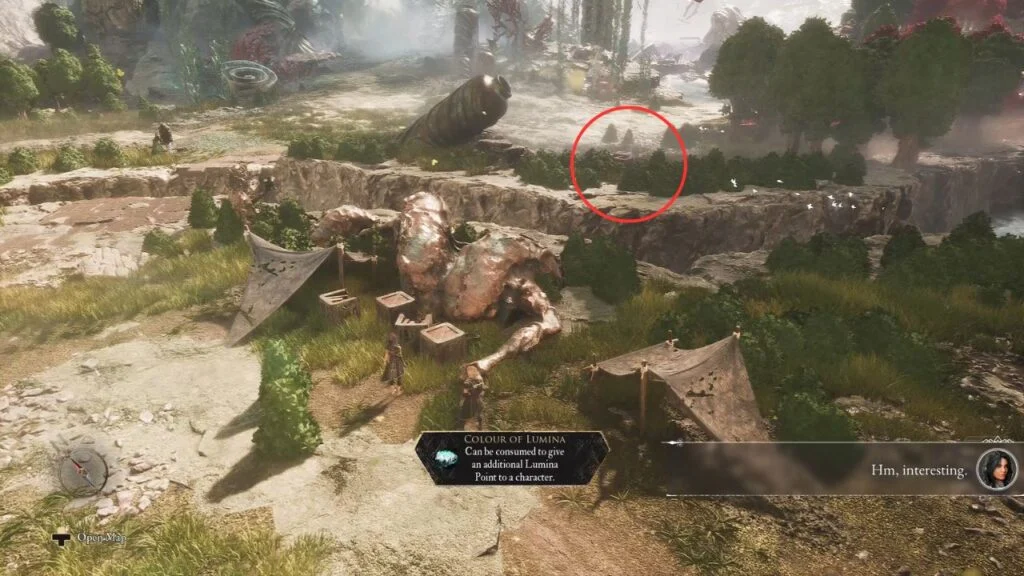
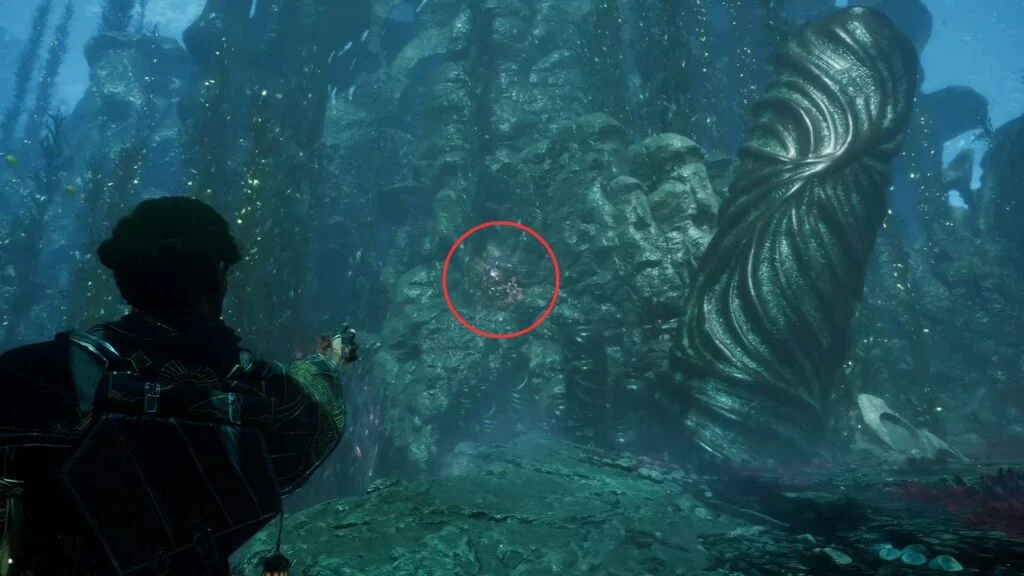
Close to your starting point, there’s a small camp guarded by a Portier, Abbest, and Volester. Kill them and collect the Colour of Lumina they drop. Look across the river gap, and you’ll spot a huge jar, there’s another Colour of Lumina beside it.
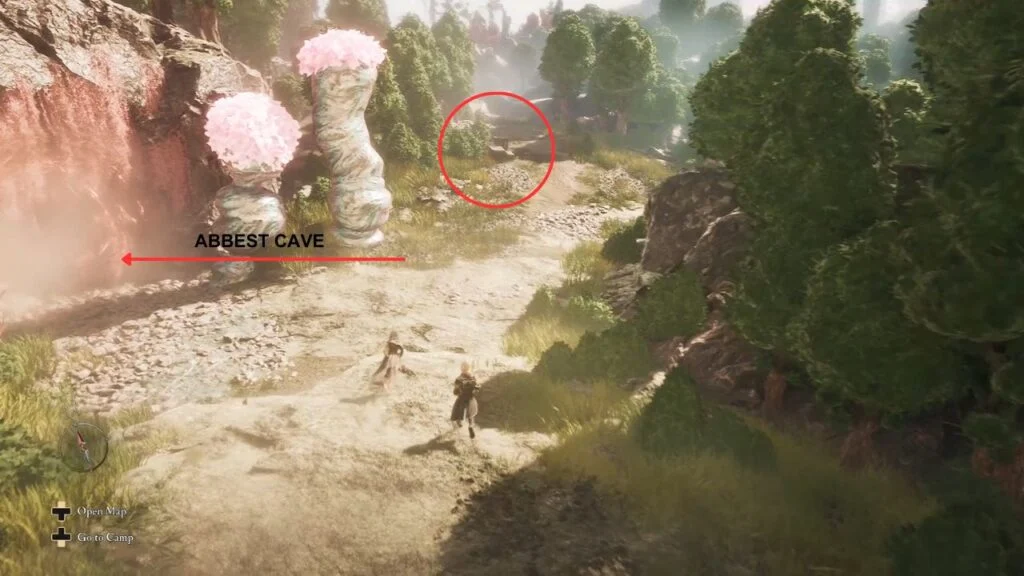
Follow the path left from the spawn to find the entrance to Abbest Cave. It’s probably too tough for your current level, so don’t go in yet, just note it for later. Right outside the cave entrance, turn right and grab the Colour of Lumina between the boxes.
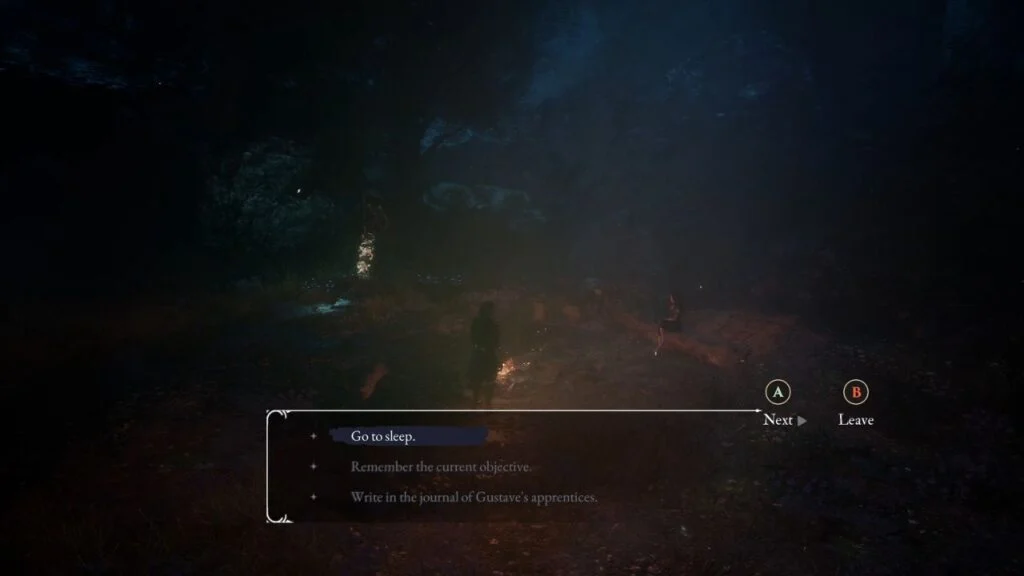
While on the world map, you can also set up camp. At camp, you can play Music Records on the gramophone, rest and spend points at the Expedition Flag, write in Gustave’s Journal, and talk to your companions to build relationships.
When you’re ready, interact with the campfire, select “Go to sleep,” then head to the coral structures and enter the swirling vortex.
Expedition 68 Wreckage
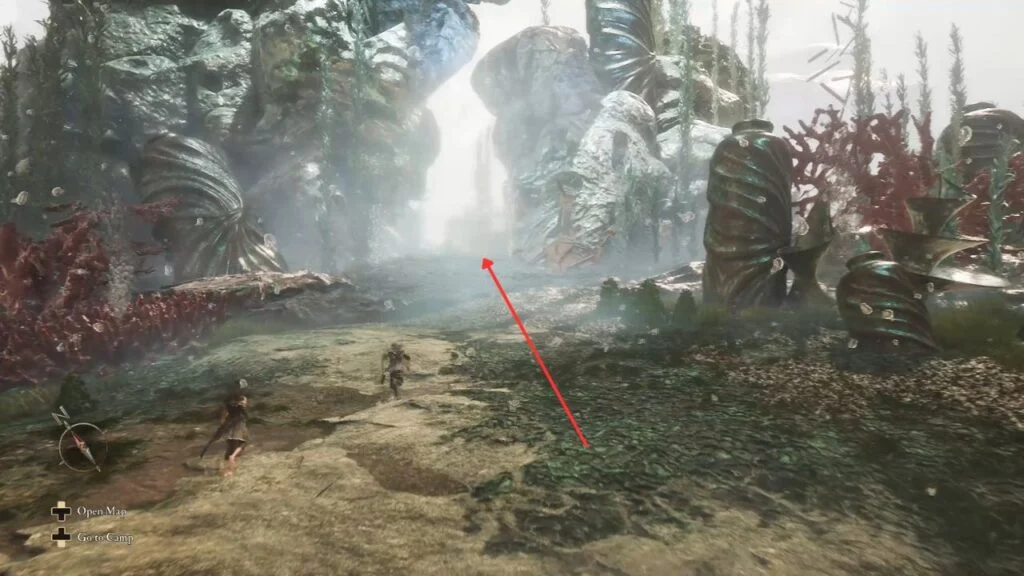
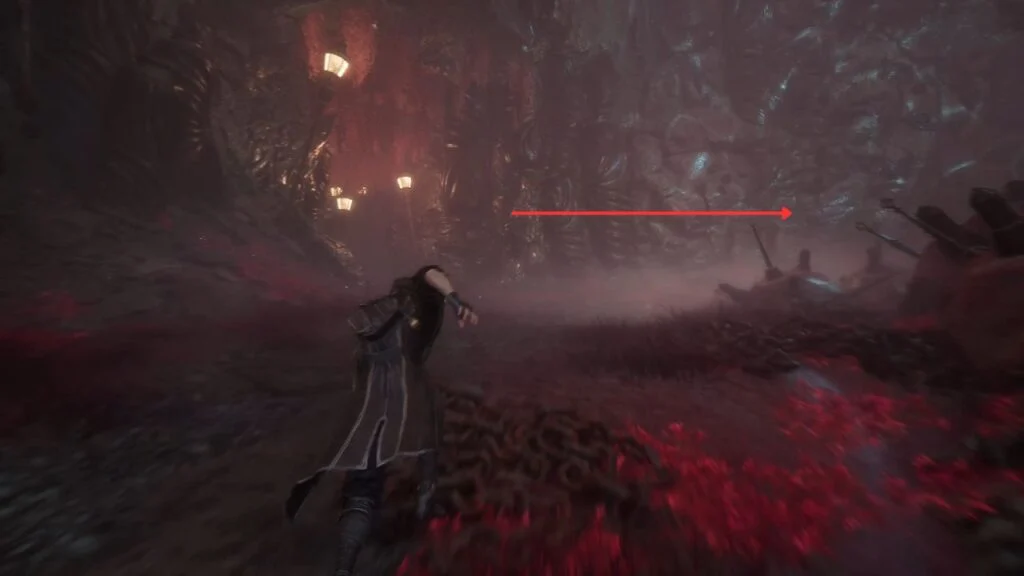
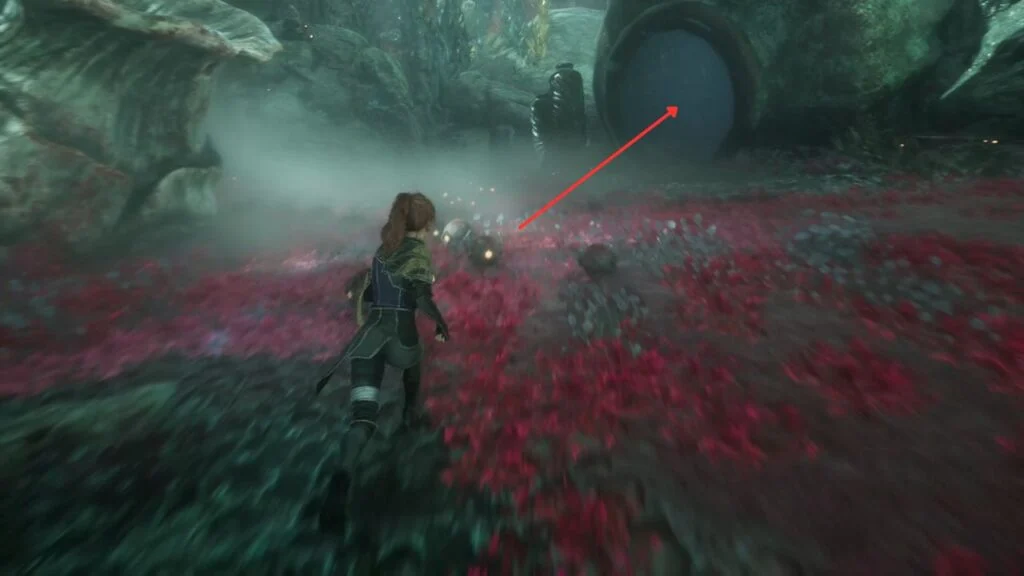
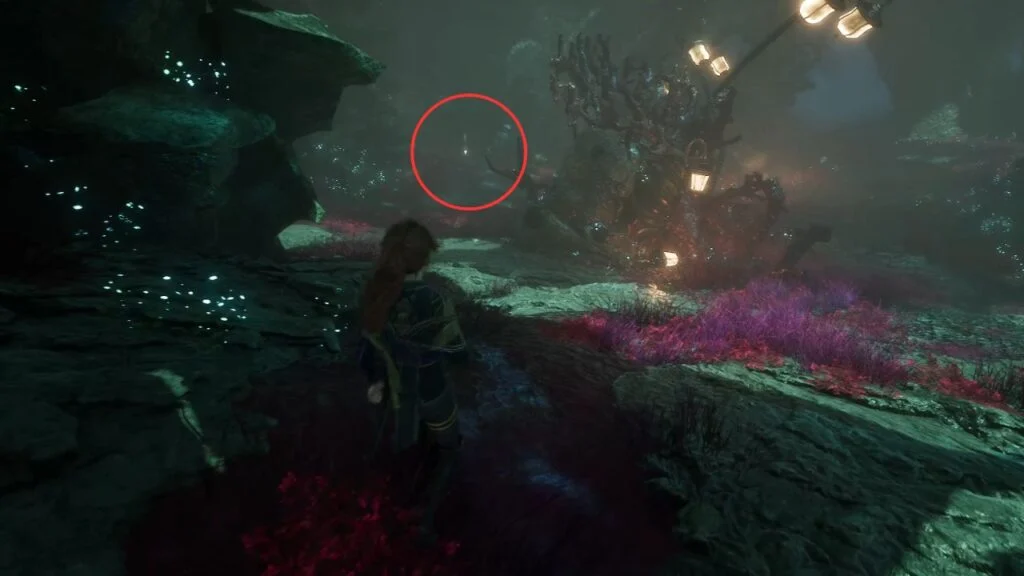
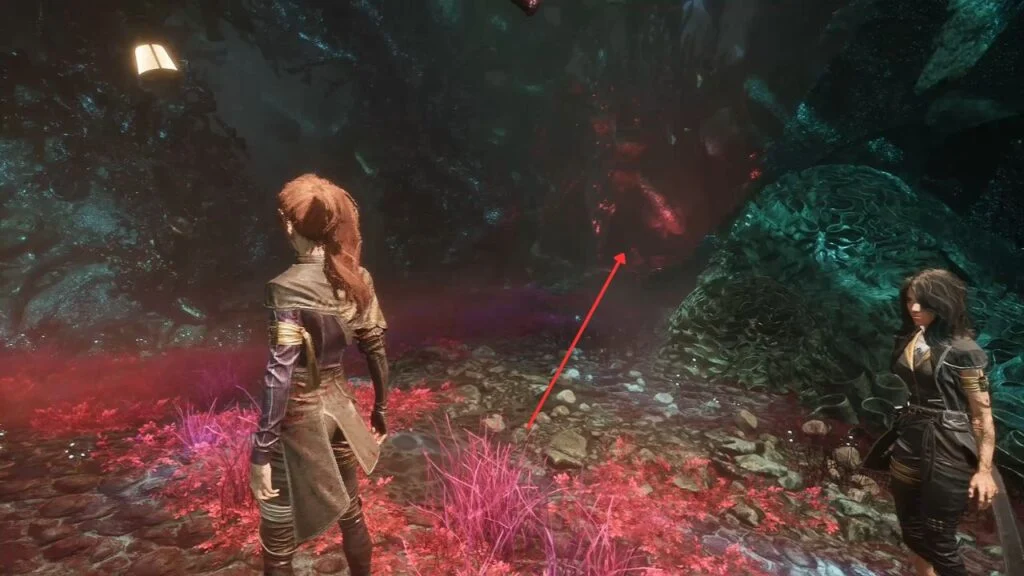
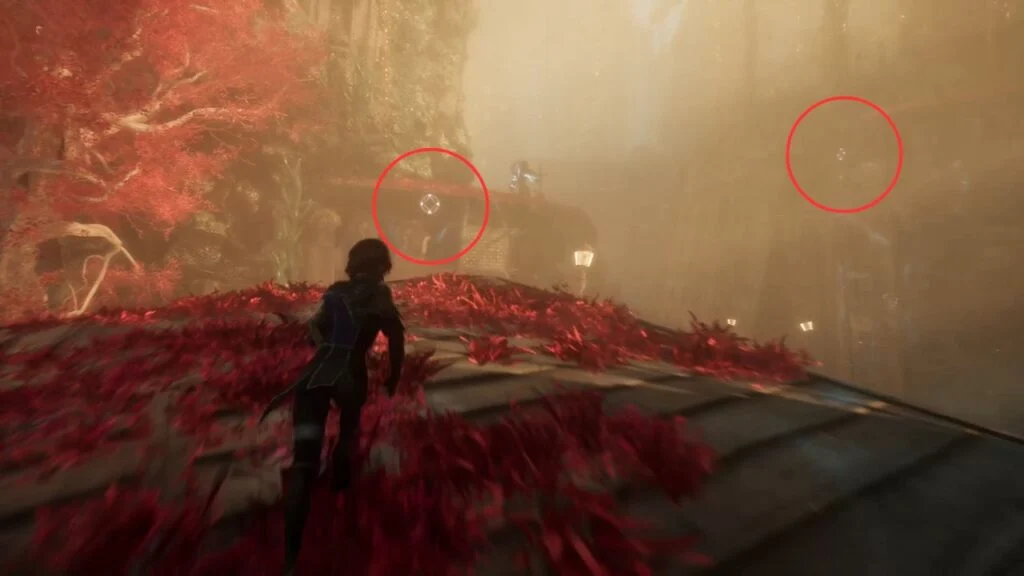
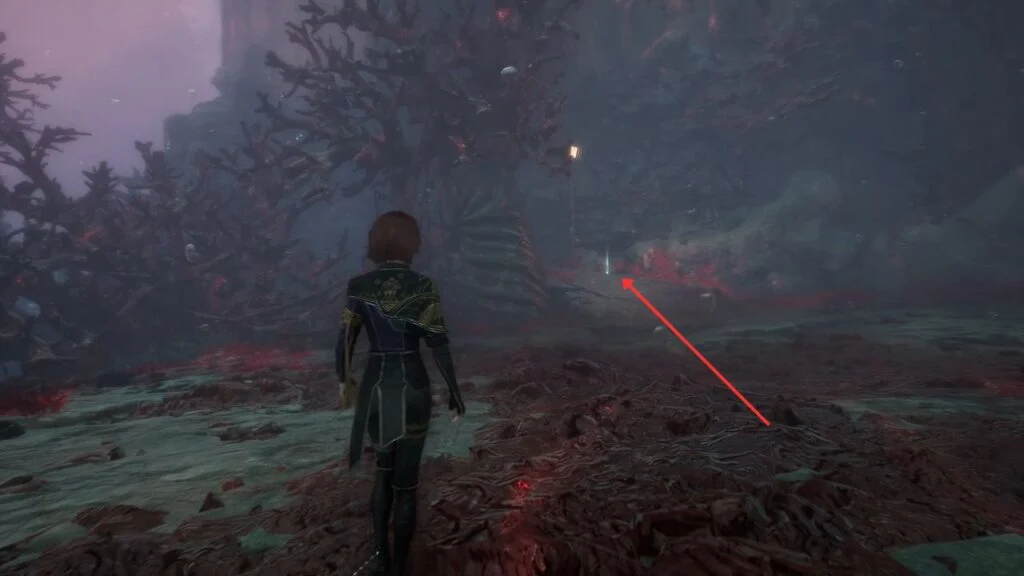
Right as you enter Flying Waters, you’ll see a shipwreck ahead, it’s from Expedition 68. A cutscene plays as you approach. After it ends, look for a small path on the left hidden behind seaweed to find Pictos – SOS Shell.

Behind the wreck is a Paint Cage with rare items inside. To open it, find and shoot three locks:
- On the tail of the whale statue by the shipwreck
- Turn left after shooting the first lock, it’s partially hidden by seaweed
- Turn around and look at the rock wall for the last one
Breaking all three opens the cage and gives you a Chroma Elixir Shard and an achievement.
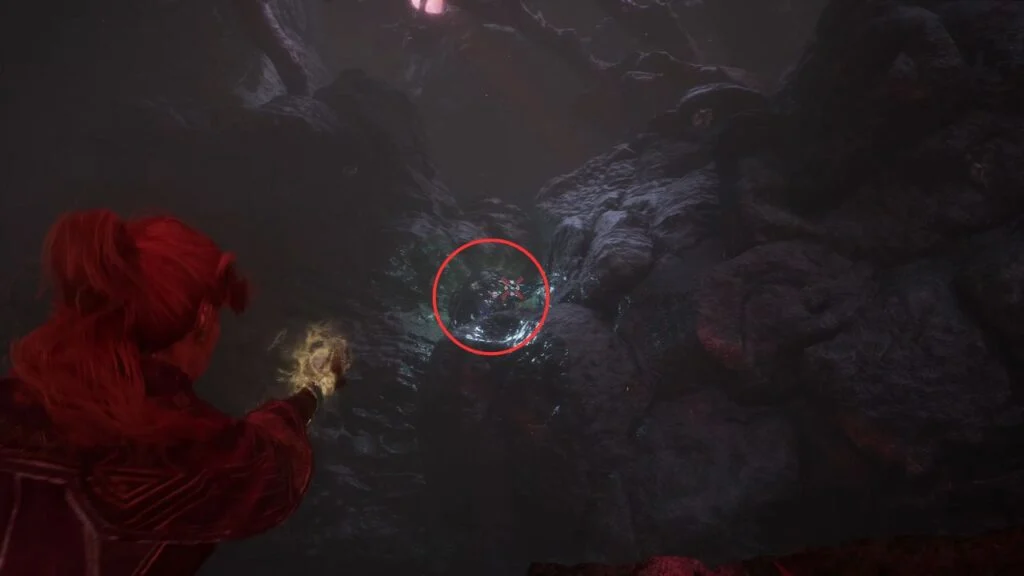
Follow the path behind the cage and pick up Chroma x333 along the way. In the next open area, you’ll meet your first Luster enemy.
They use two main attacks: a two-hit combo (horizontal slash into a jumping slam) and a dash where they charge through your party three times fast.
After defeating it, turn left just before the uphill slope for a Colour of Lumina. Where the path splits, go left first to fight two Lusters. Behind them is Pictos – Marking Shots.
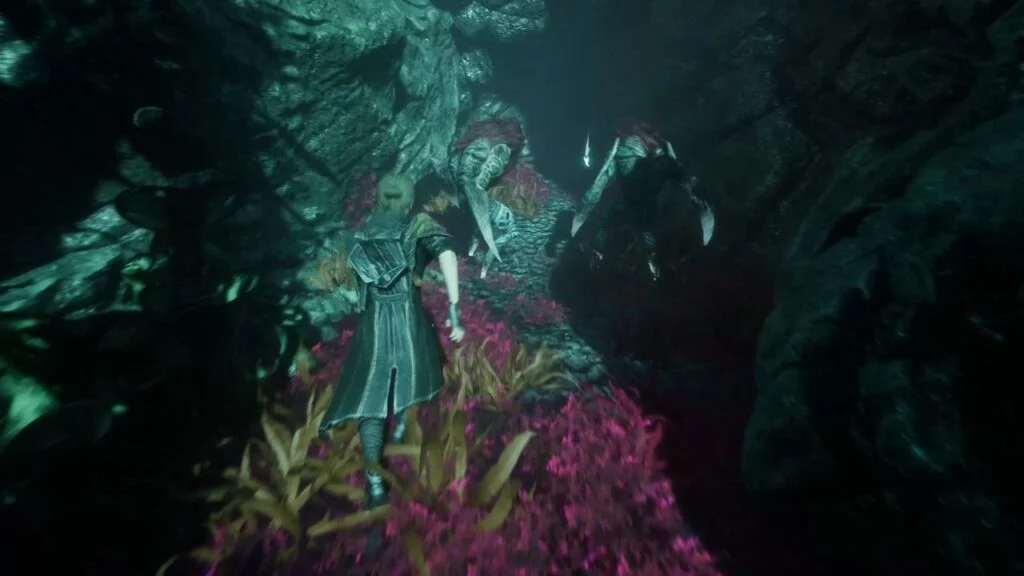
Back on the main path, you’ll run into Démineur enemies. They summon lightning bolts that deal heavy damage. The trick with them is to shoot the mines they carry, it triggers an explosion that damages all enemies in the area at once.

After killing the first group, go right for a Chroma Catalyst. Keep moving down the main path, fighting more enemies as you go. Before entering the cave ahead, turn right for another Chroma Catalyst, but be ready, three Démineurs will ambush you as you grab it. Head into the cave tunnel until you see a hut in the distance.
The Hut / Manor
Before approaching the hut, go to the far left of the area to activate Expedition Flag: Noco’s Hut. Then circle around to the back of the hut for Chroma x665.
Walking up to the hut triggers a cutscene that takes you to The Manor. Activate the Expedition Flag: Entry Hall on the left when you arrive.
There are two secret areas here worth finding before doing the story, so explore those first.
Secret Area 1 — Hidden Room

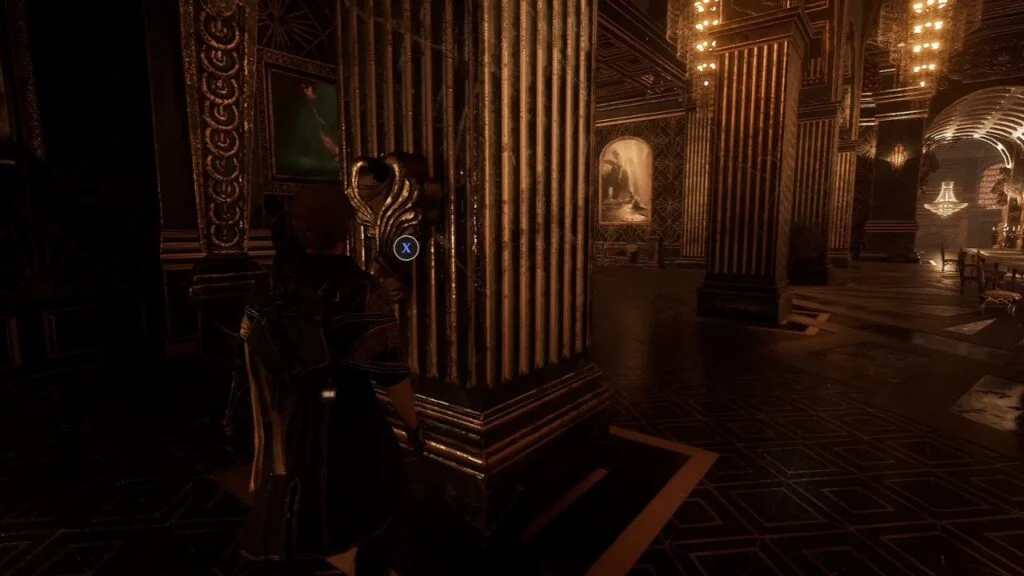

Climb the stairs and go straight into the main dining hall. There are four shell-like handles to interact with:
- On the right wall beam as you enter
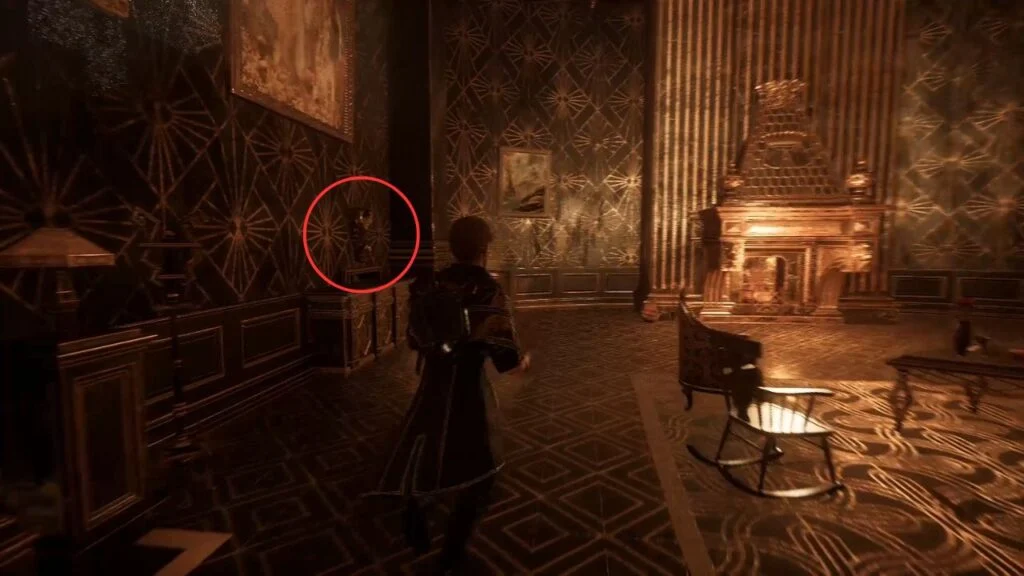
- On the back of a pillar in the back-right corner
- On the back-left wall near a painting
- Above a cabinet by a fireplace
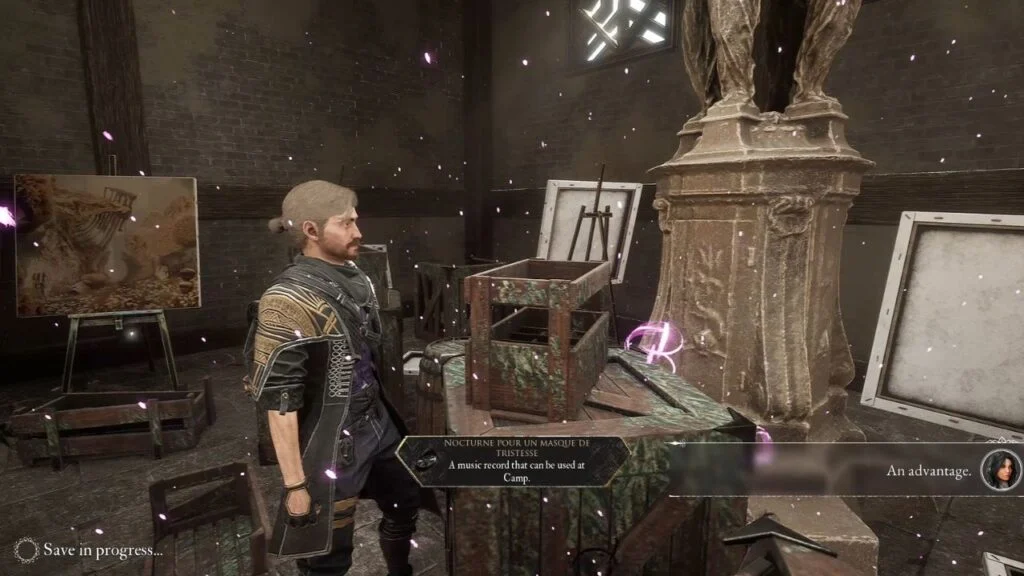
Activating all four opens a hidden room by the fireplace. Inside is Record – Nocturne Pour un Masque de Tristesse.
Secret Area 2 — Dog Portrait Room
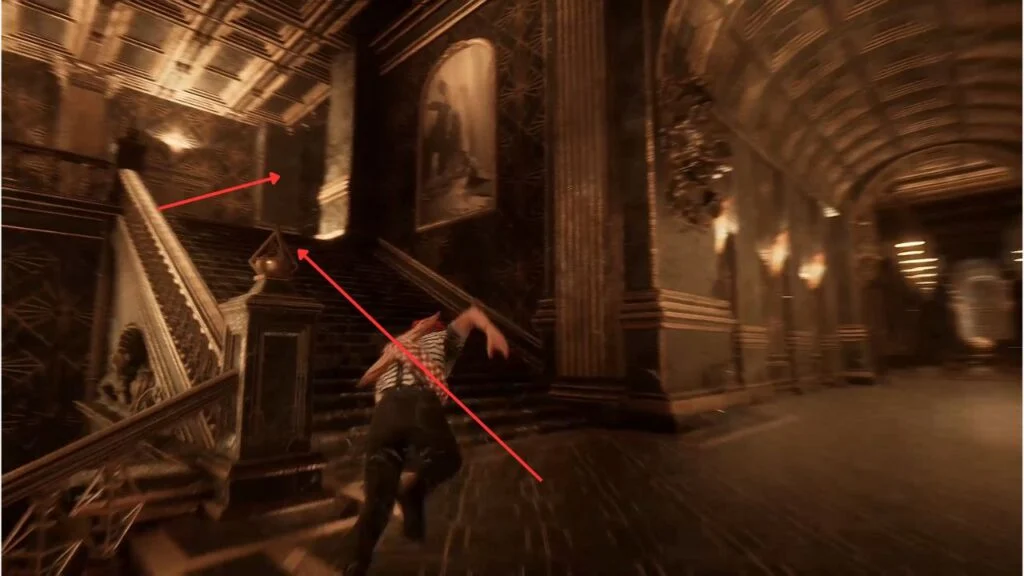
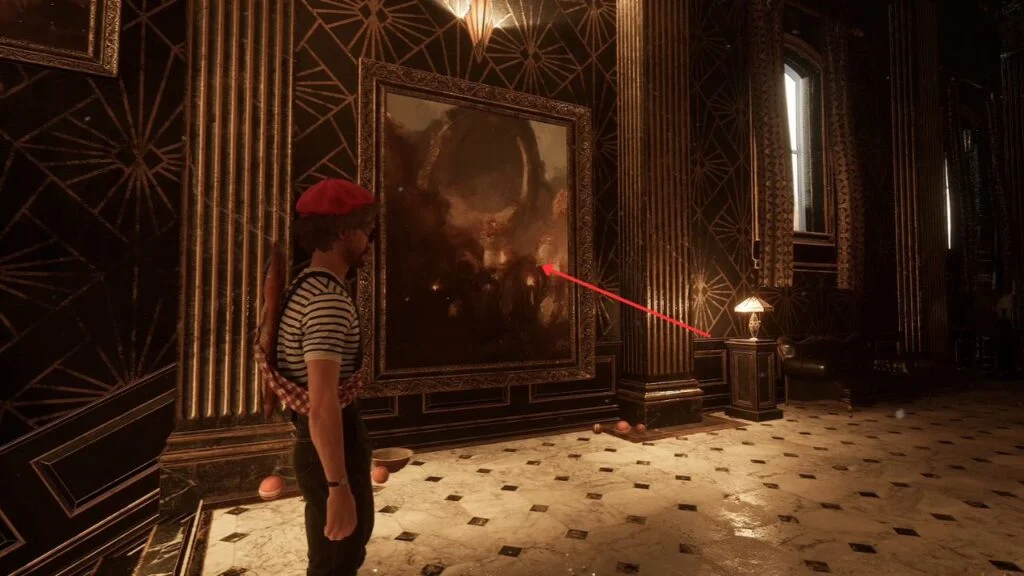
Go back to the entrance and take the left set of stairs up. Turn right, head up, and look for a large painting on the left wall. Jump through it, it works, just do it. On the other side is a room full of dog portraits, and at the far end you’ll find Shape of Life.
Main story
Head back to the entrance, take the right set of stairs this time, turn left, go up, and follow the hallway. Look for an open door with blue light coming from it. Inside is Maelle.
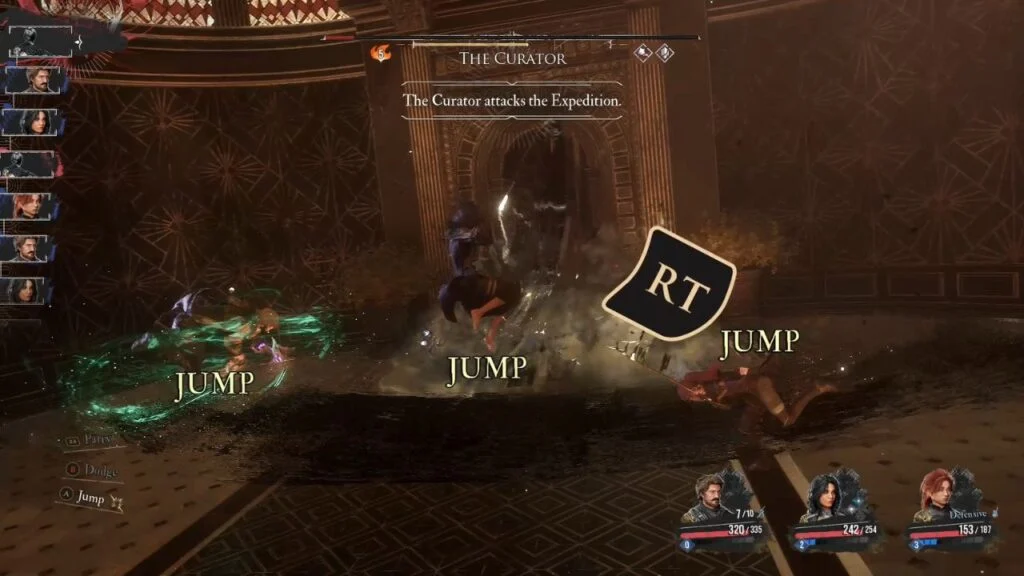
When you try to leave through the front door, the Caretaker blocks you. This fight introduces a new mechanic, “jump flair” attacks that have to be jumped over, not blocked or parried. Jumping them successfully lets you follow up with a team counter-attack.
The fight also teaches you Maelle’s stance system. She has three stances:
- Defensive — reduces damage taken, generates 1 AP per dodge or parry
- Offensive — raises damage output but leaves her more vulnerable
- Virtuose — enables much higher damage output
Switching stances is key to playing Maelle well. Every stance change gives her 1 AP, and certain abilities trigger specific transitions.
After defeating the Caretaker, you return to Flying Waters.
Meeting Noco
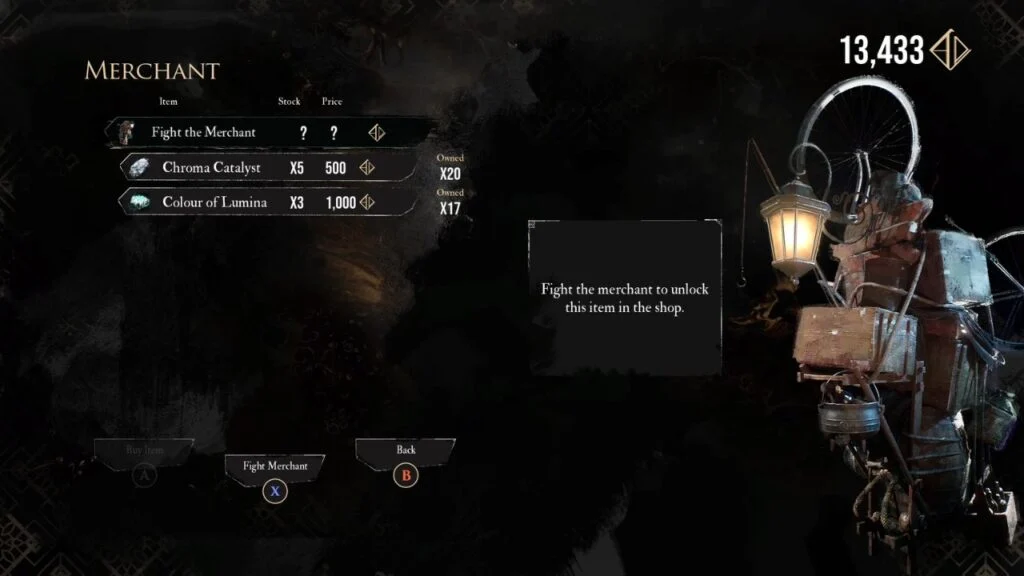
Back at Noco’s Hut, a cutscene introduces Noco, a Gestral merchant who trades items for Chroma. Beat him in a duel to unlock Pictos – Exposing Attack for purchase in his shop.
After shopping, go through the opening Noco creates. Watch for a Chroma Catalyst on the right as you move through. In the next area, kill two Brulers to receive Brulerum, a weapon for Maelle.
The lantern-lit tunnel on the left is the main path, but hold off on it, there’s a lot to find in this area first.
Turn right just before the tunnel to fight a Luster. After killing it, look for what looks like a large fallen vase, it’s actually a tunnel entrance.
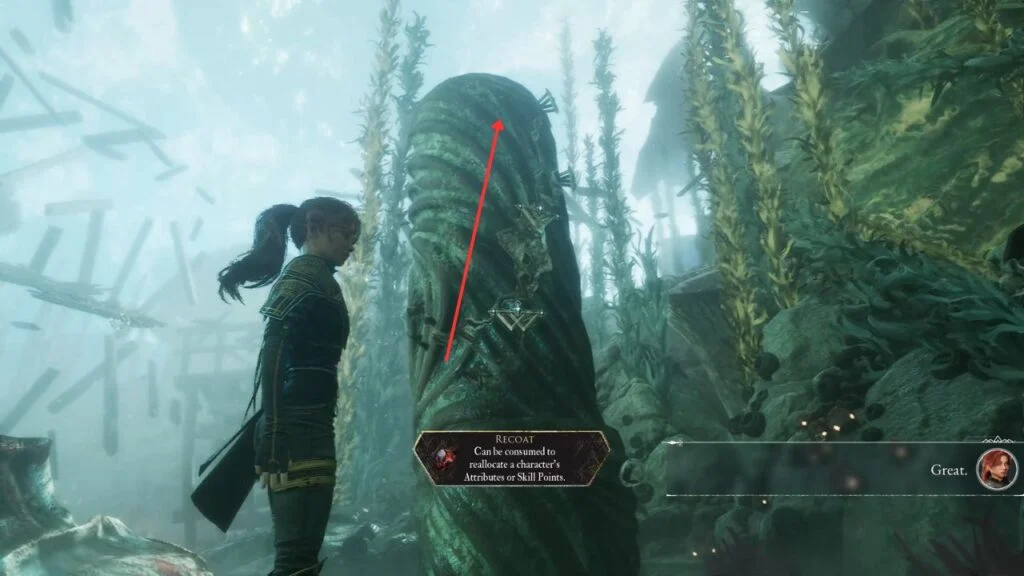

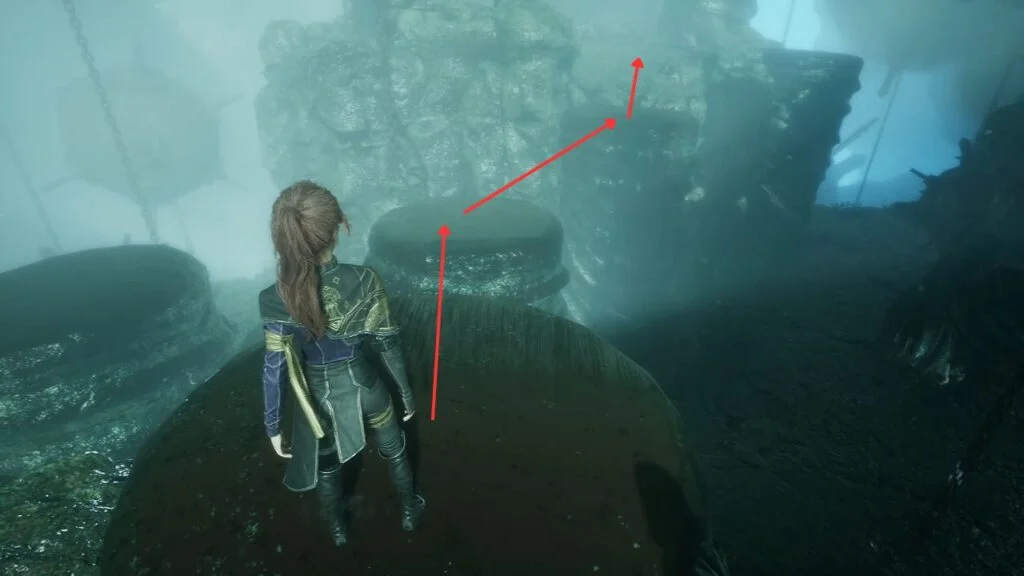
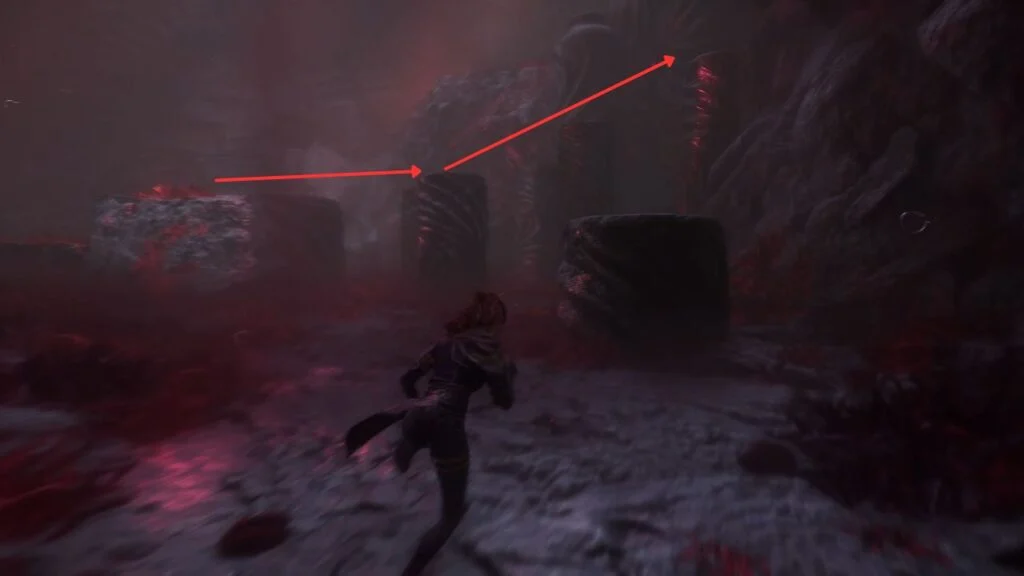
Before going in, look to your left for a Recoat sitting on top of a small pillar. From there, find the climbing handholds on the stone pillars nearby. Climb to the top of the tallest one, use the grapple points, and reach a ledge at the end of the platform where you’ll find Pictos – Augmented Aim.
Nevron Side Quest
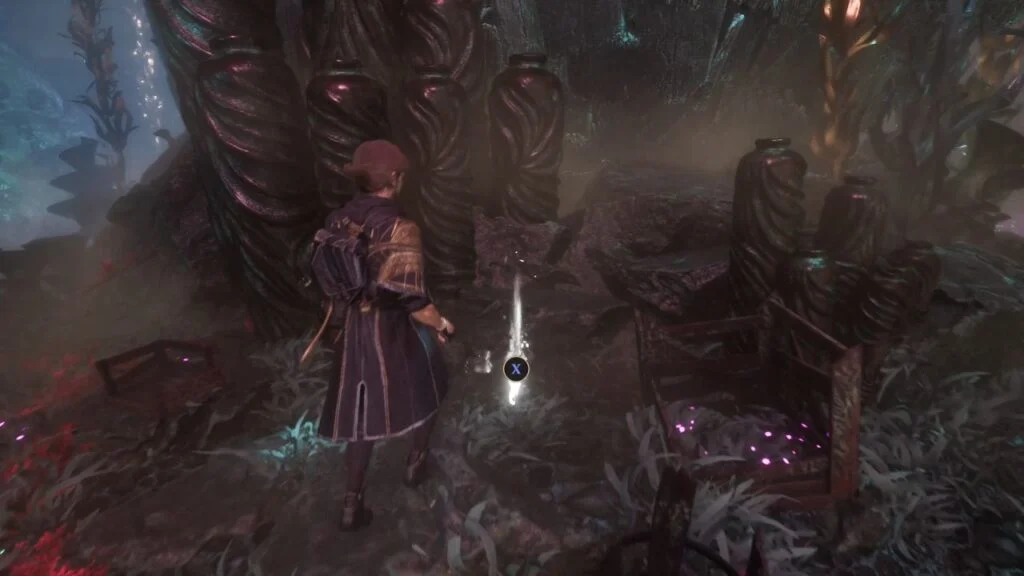
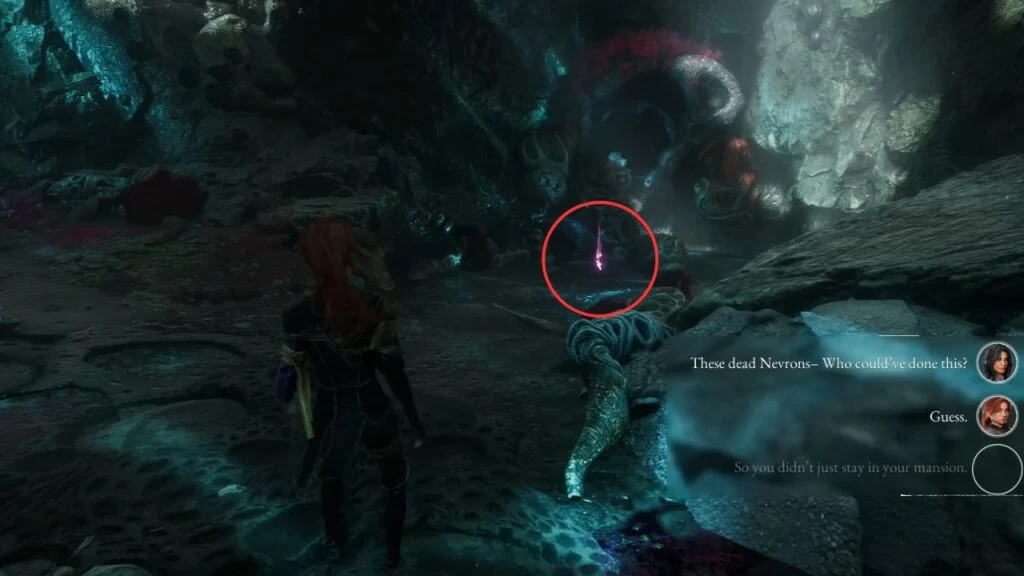
Jump down and head into the fallen vase tunnel. Inside is a non-hostile Démineur, your second Nevron side quest. It needs a mine.
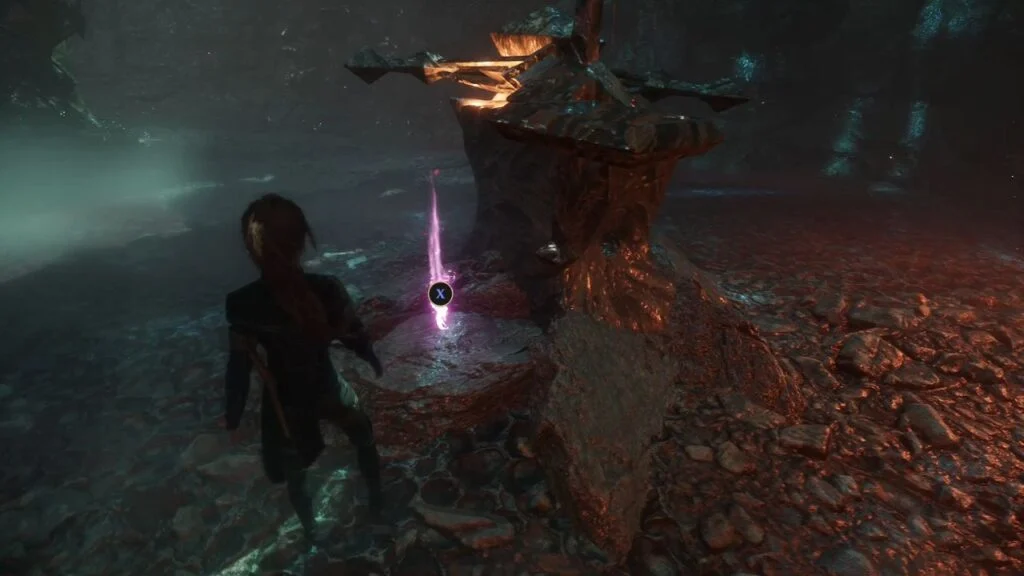
Look to the right of its location for a series of pillars. Jump across them to reach a ledge with an Intact Mine. Bring it back to the Démineur, and you’ll receive Deminerim, a strong weapon for Lune.
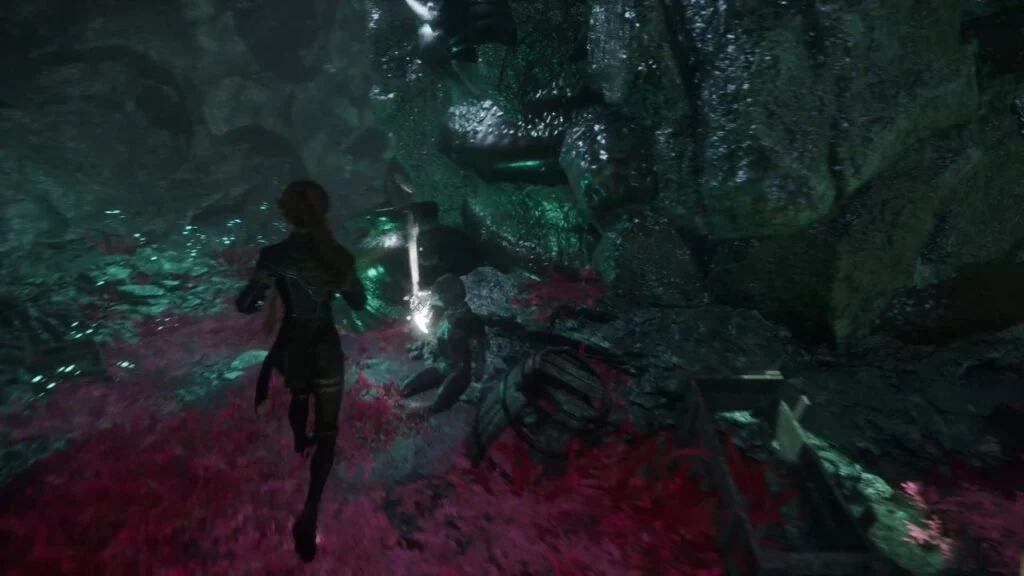
Exit and head through the lantern-marked tunnel. You’ll come across a Cruler working at an anvil, kill it for Gustave Weapon – Cruleram, and check behind the anvil for a Chroma Catalyst.
Coral Cave

Continue until you hit Expedition Flag: Coral Cave. Check the small section to the right as you enter for Pictos – Staggering Attack. On the main path, look left of the large cluster of lanterns for Chroma x333.
Keep moving. When a Cruler bursts in from the left, kill it and check where it came from for Pictos – Rewarding Mark. Turn back and take the slope upward to the left, there’s a Luster and a Colour of Lumina at the top. Backtrack and jump down the ledge, then look behind the coral for Chroma x665.
Turn left and look for a glowing cave on the right. Drop down and grapple across the gap into a larger cavern. Follow the right path to a Paint Cage guarded by three Crulers. Kill them first, then find and destroy three locks:

- Midway up the wall behind the cage
- On a wall right beside the cage
- Mounted on a nearby mine
Opening it gives you a Revive Tint Shard.
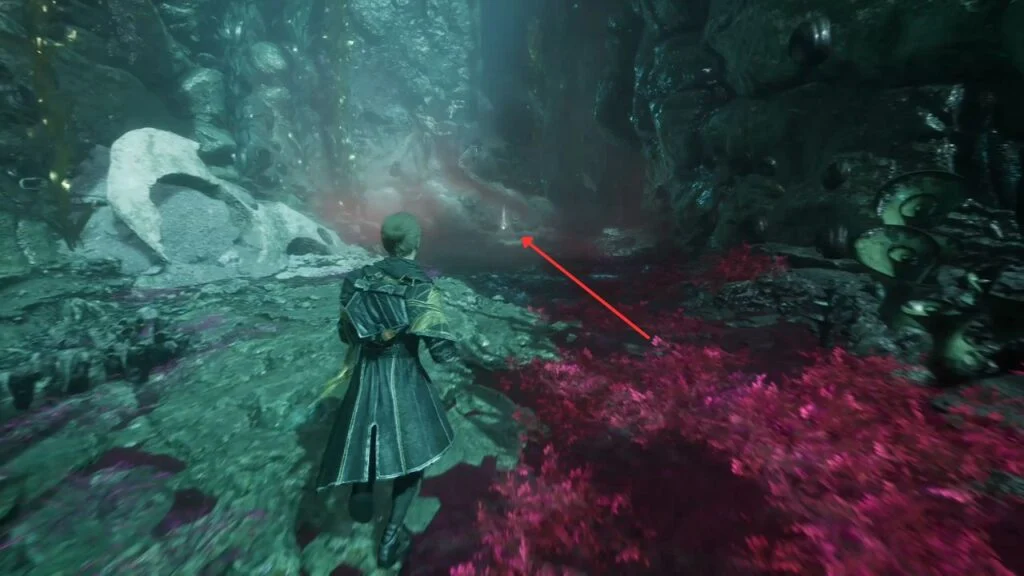
From the cage, follow the other path to a series of pillars. Climb up and jump your way to the upper ledge, then follow the path to another Colour of Lumina. Return to the main path and continue until you find Journal – Expedition 68.
Lumièran Streets
At the end of the path, you’ll see a giant monster ahead. On the right is a climbable wall, that’s the main path, but first look left and push through the wall of seaweed. There’s another climbable wall behind it.
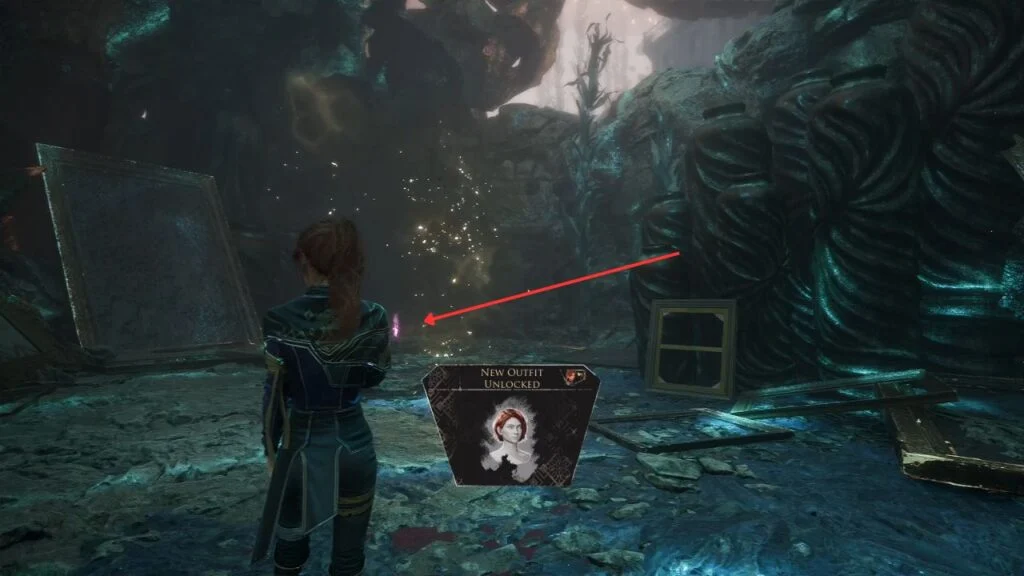
Climb up to find the third Mime. It’s tougher than the previous two, but beating it rewards you with a Colour of Lumina and a short haircut for Maelle.
Go back and climb the main wall. On the upper path, note a passage through seaweed on the right, that leads to an optional boss you can come back to. Continue forward to activate Expedition Flag: Lumièran Streets.
Optional Boss: Bourgeon
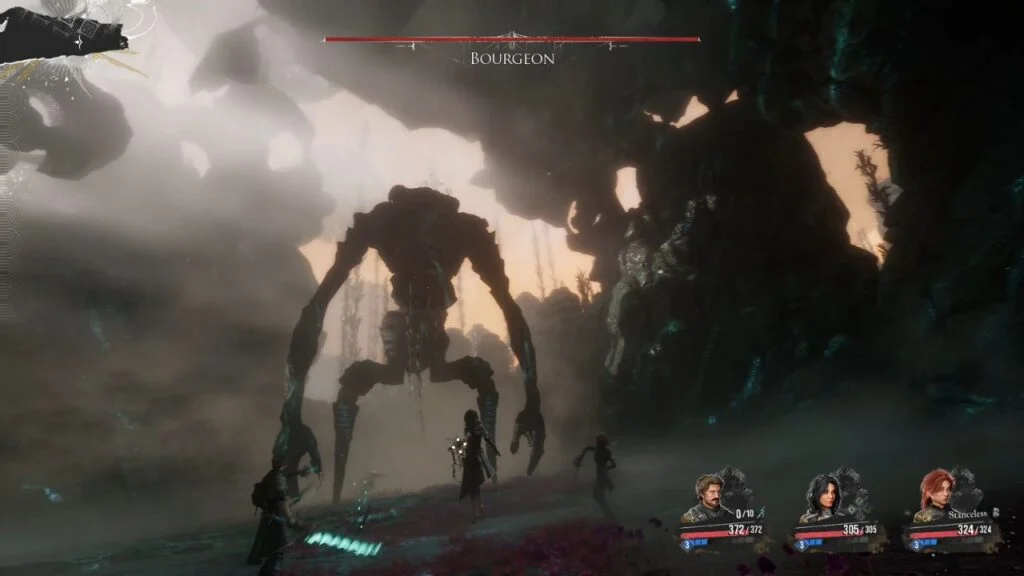
From the Expedition Flag, head back down to the seaweed passage for the optional boss Bourgeon.
This thing has a huge health pool and a nasty ability called Consume, it swallows one of your characters mid-fight, removing them from battle until you deal enough damage to force it out.
It also hits with multi-hit ground slam combos (ranging from 3 to 6 hits) and spits Miasma, a green fluid that inflicts the “Exhausted” debuff.
Bourgeon is weak to lightning, so use Lune’s Thunderfall and Gustave’s Overcharge. Lightning weapons help too.
Rewards: Gustave Weapon – Abysseram, Pictos – Augmented Counter, Bourgeon Skin, Chroma Catalyst. Come back later if it’s too much right now.
Lumièran Streets Area
Head down into Lumièran Streets. The area has a looped path, a story path on the right, and a climbable wall on the far left. Explore for loot before pushing the story.
Follow the path left. When it curves right, kill the patrolling enemy. Climb the slope on the right for a Colour of Lumina. Drop down, kill a Cruler, and collect the Energy Tint Shard behind where it stood.
Turn right and clear the remaining patrols. Get on top of the sunken building at the start of the area and use the grapple point. Kill the Bruler up top, then look right for another grapple point leading to a row of rooftops. Follow this path to find Pictos – Versatile.
Optional Boss: Chromatic Troubadour
Head to the climbable wall on the far left of the area. Kill the Cruler at the top, follow the grapple points, and pick up the Chroma Catalyst along the way. At the end is the optional boss Chromatic Troubadour.

This boss hits extremely hard, a single combo can kill you. Learn its patterns first. It wields a giant trumpet and uses two main combos:
- Tricky Shot — a quick trumpet slash followed by two green orb attacks (3 hits total)
- Trumpet Concerto — three rapid trumpet slams; the first can reduce health to 1HP, the second can outright kill
Focus on breaking the boss with Gustave’s Overcharge or Maelle’s Fleuret Fury. Fire attacks apply burn for damage over time.
Rewards: Lune Weapon – Troubadim, 2x Chroma Catalysts, 5x Colour of Lumina.
Grab Pictos – Energising Break from the back of the arena, then use the grapple point at the top of the hill to return to the main area.
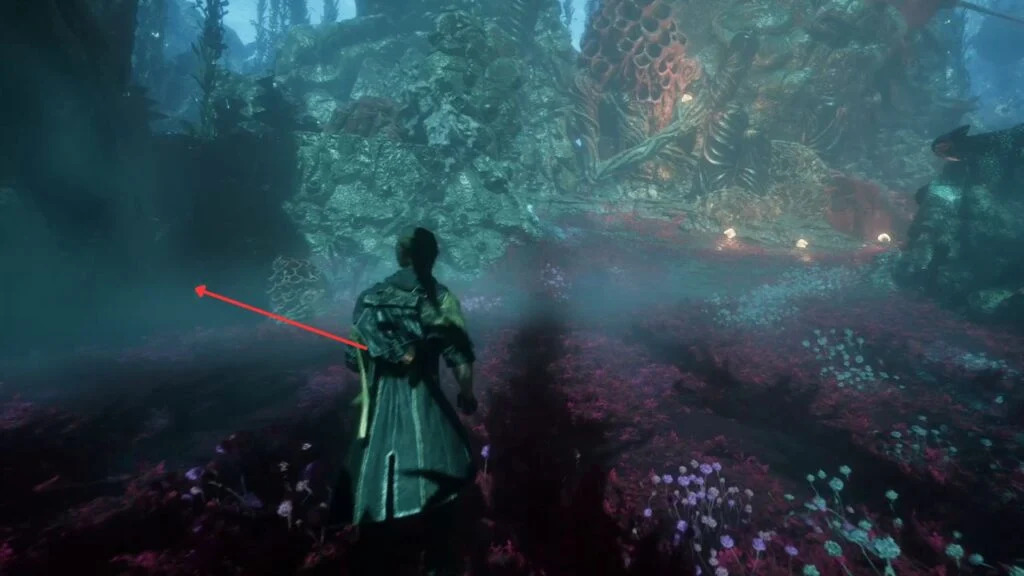
Flower Field

Take the right path from Lumièran Streets to find Expedition Flag: Flower Field. Rest here and spend your Skill and Attribute Points, there’s a story boss ahead.
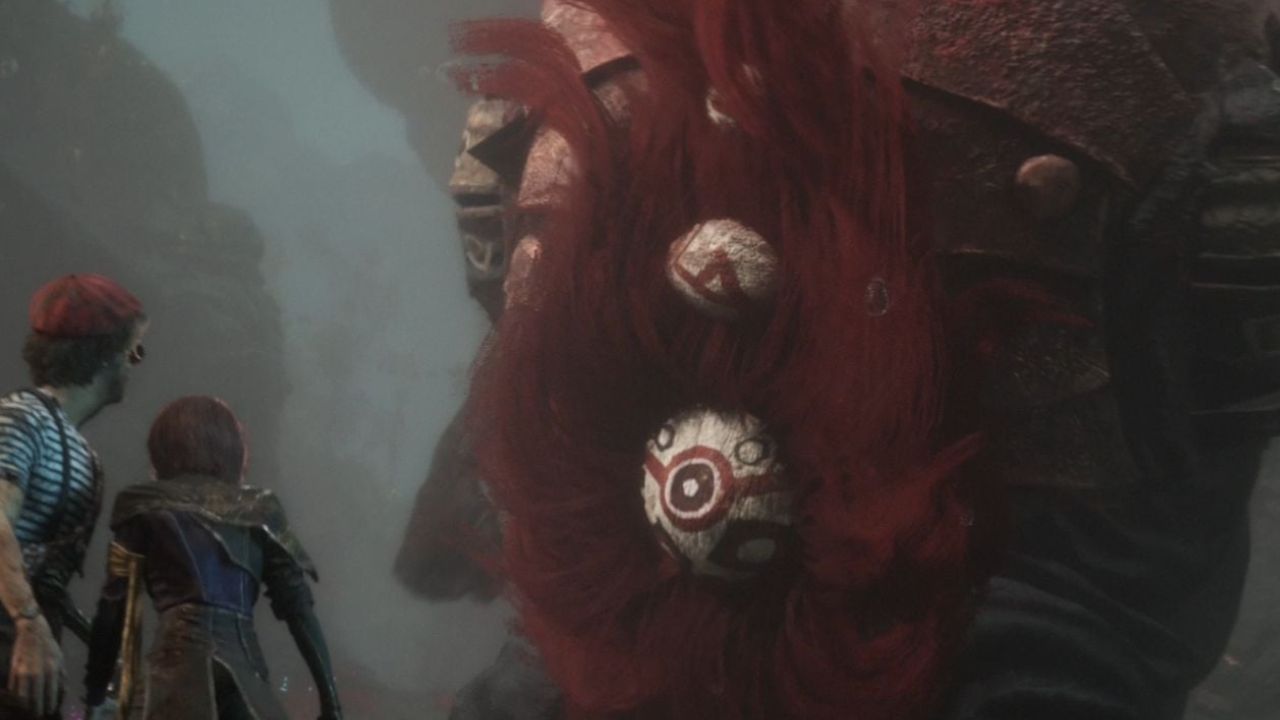
Past the flag is a large flower-filled cavern. A cutscene plays, then you fight Goblu.
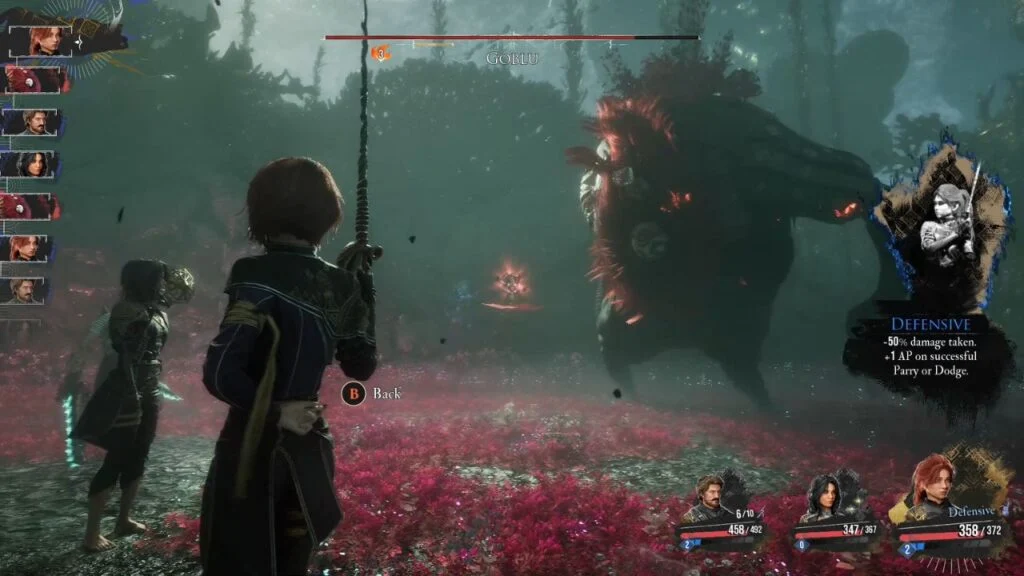
This large Nevron has two shields that need to be hit before you can damage him properly. He has no obvious weak points, but watch out for his flower mechanic, he can grow flowers and consume them to regenerate health. When flowers appear, switch to free aim and shoot their weak spots before he eats them.
Goblu is weak to lightning. Use Lune’s Thunderfall and Gustave’s Overcharge as your main damage. Fire also works for burn damage over time.
His attacks:
- Jump — slams the ground three times, hits the whole party
- Slam — jumps and performs an overhead slam on one character
- Swinging Combo — 2-hit or 4-hit arm swing combos
- Grow/Regenerate — creates flowers that heal him if left alone
Rewards: Shape of Health, Polished Chroma Catalyst, 3x Chroma Catalysts, Recoat.
Several cutscenes play after the fight, wrapping up the area. Take the path out of the boss arena and enter the portal to leave Flying Waters. Next stop: Ancient Sanctuary.